 jaromir.sukuba
I received nice gift from fellow hacker yesterday - my nice, shiny, homemade PCB. Double sided PCB, with no soldermask, but I can live without it.
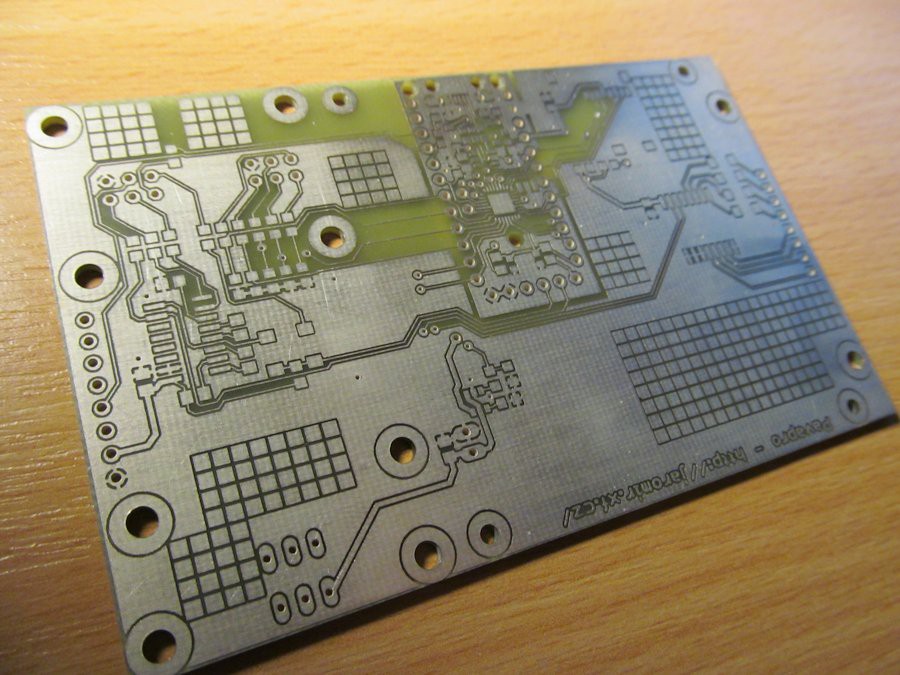
I didn't enjoy it very long, as I had a lot of work to do.
Soldering QFN AVR
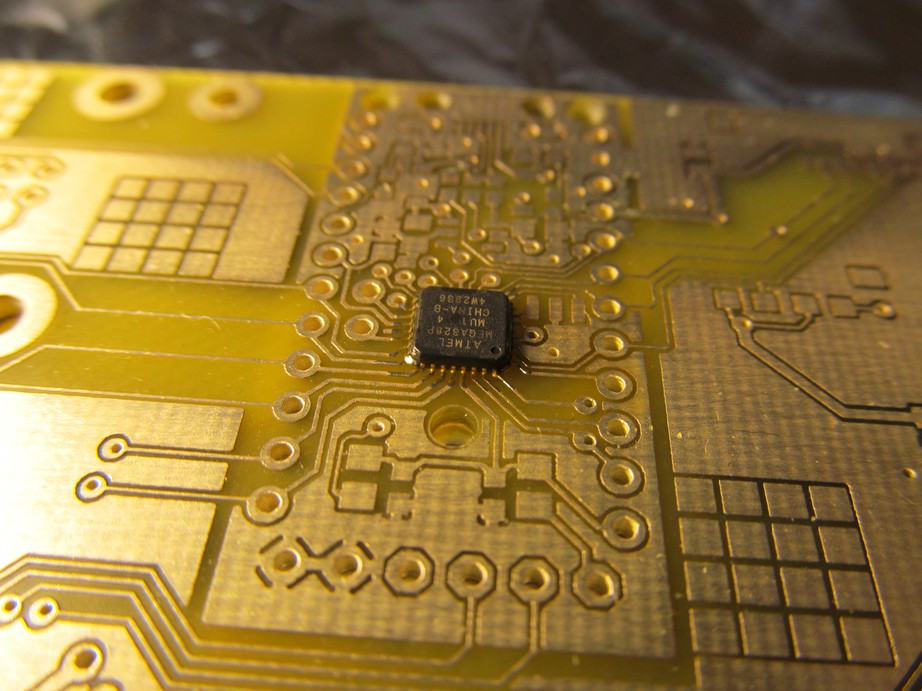
It is not that hard as it may look, even without professional tools. I took the AVR and bit of flux
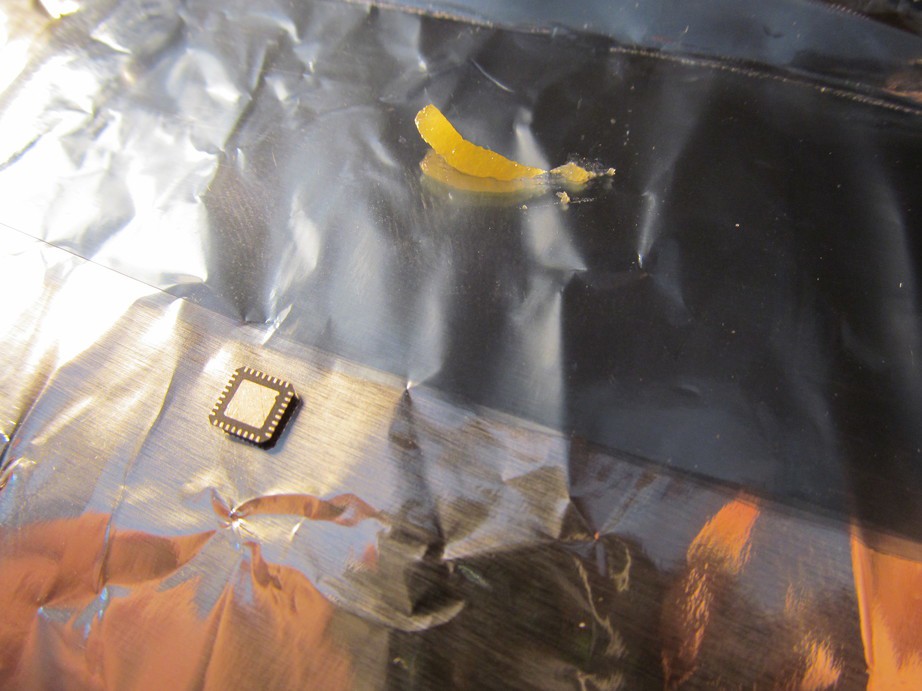
and solderer the pads. Notice the difference between soldered AVR (left) and virgin one (right).

I soldered the PCB as well
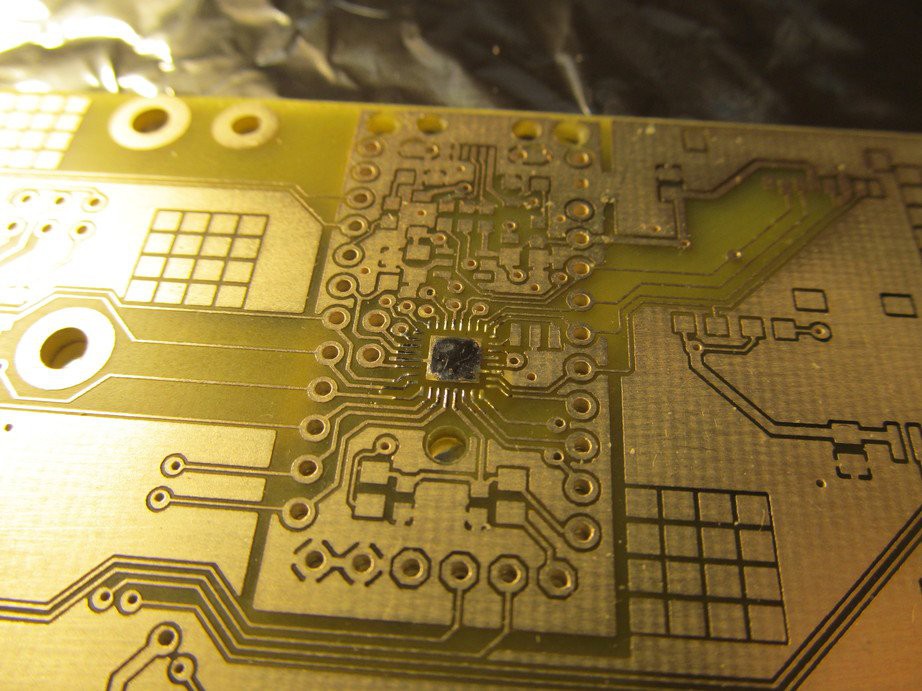
applied more flux to PCB and placed the chip on it.
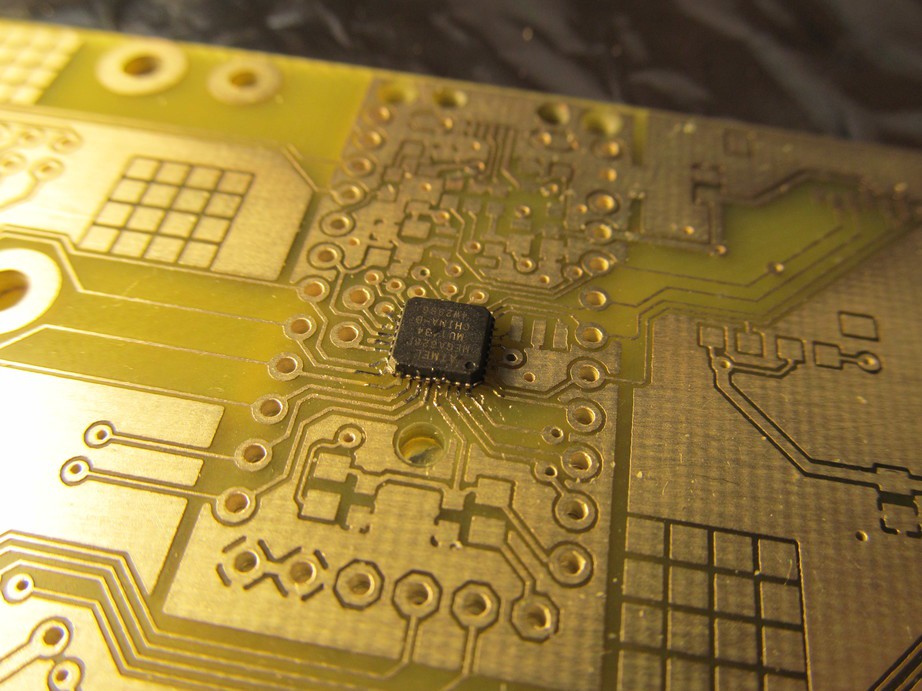
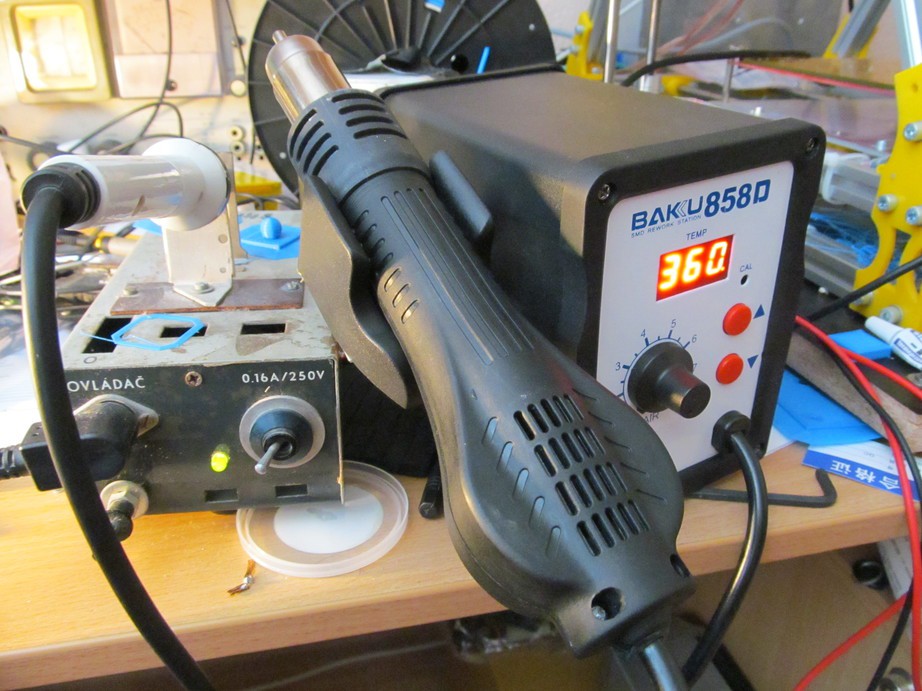
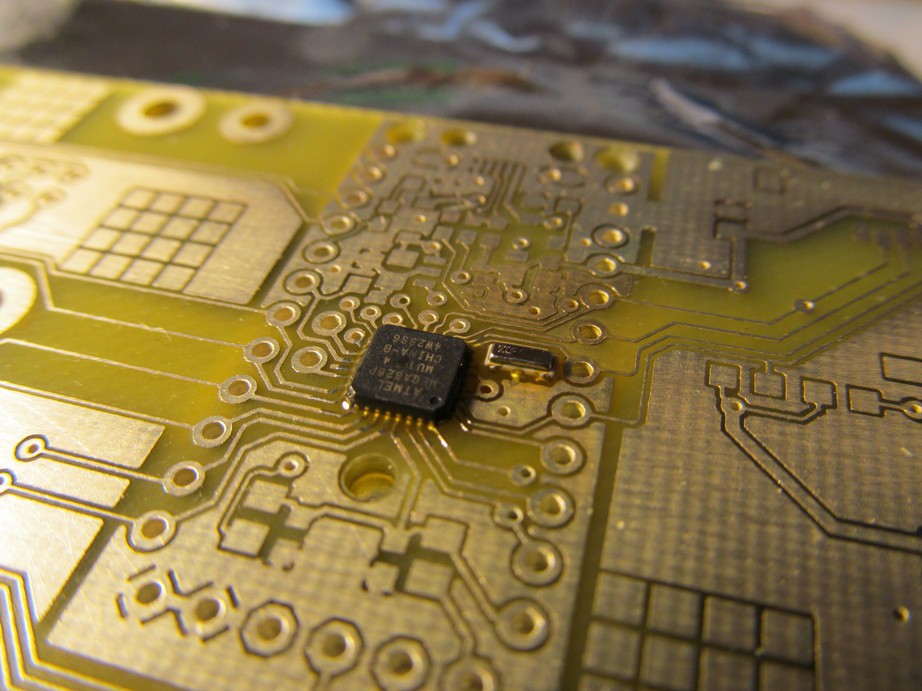
reflowed with hot-air gun and here we go:
Nicely soldered QFN chip, using those crude tools (homemade soldering iron on left, cheap chinese hot-air gun on right)
I repeated the same process for 12MHz resonator
Then I took DMM and checked if the pads are correctly soldered. I checked the internal protection diodes on IO pins on diode check against ground

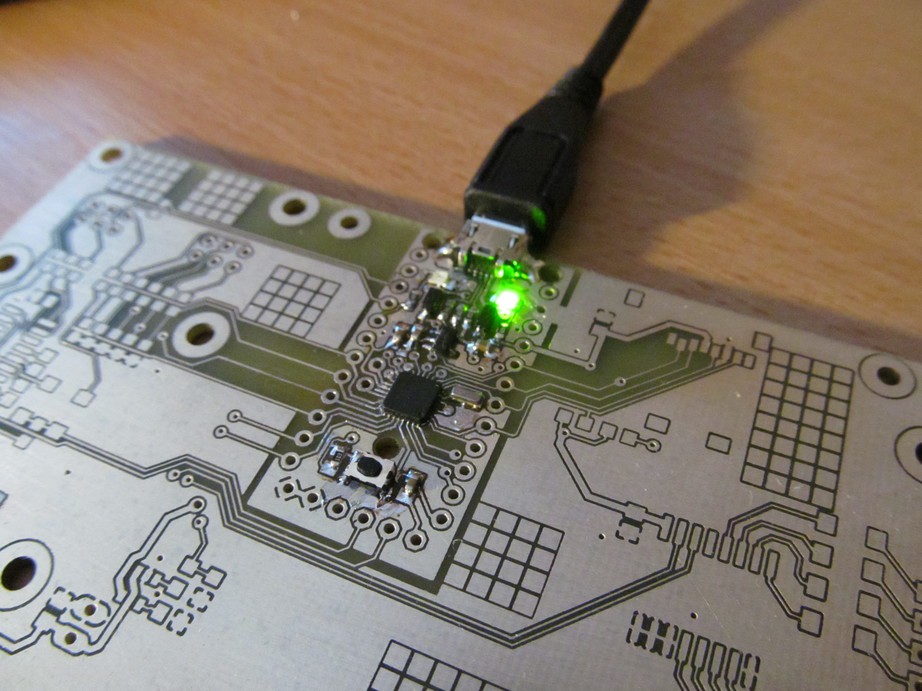
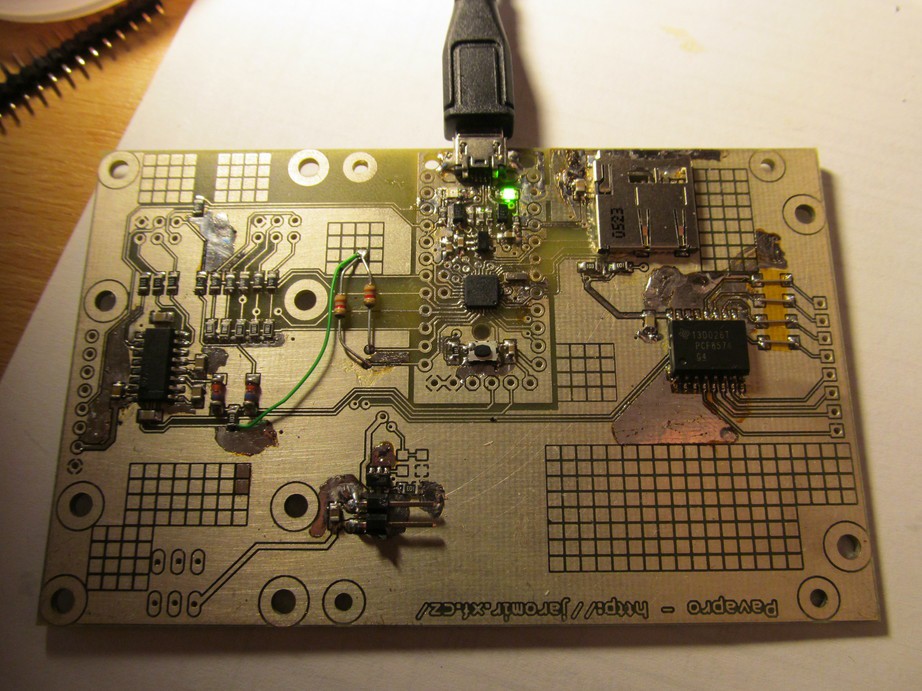
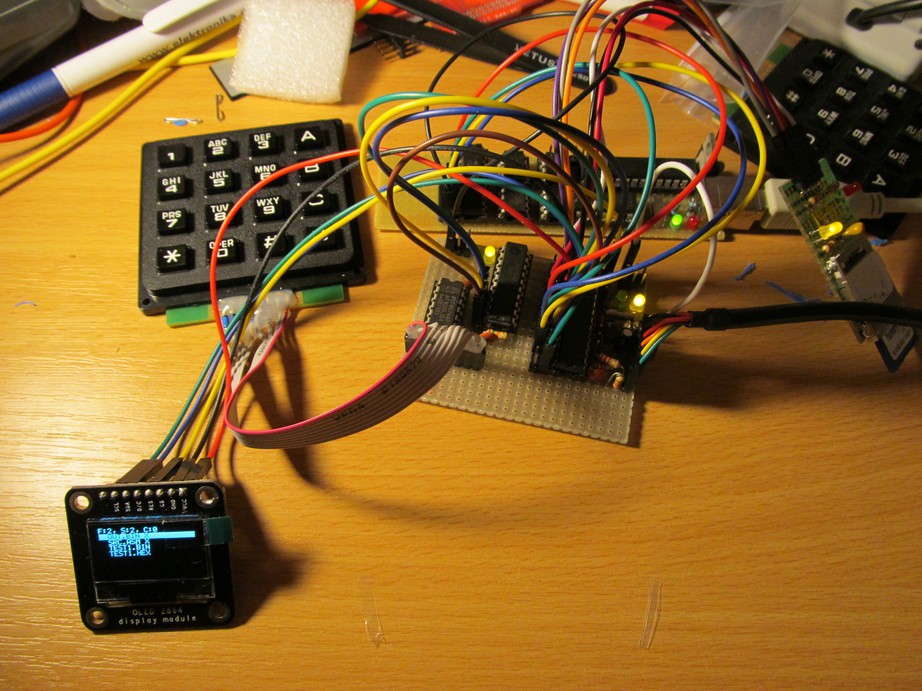
I soldered the other trinket pro components and made smoke test:
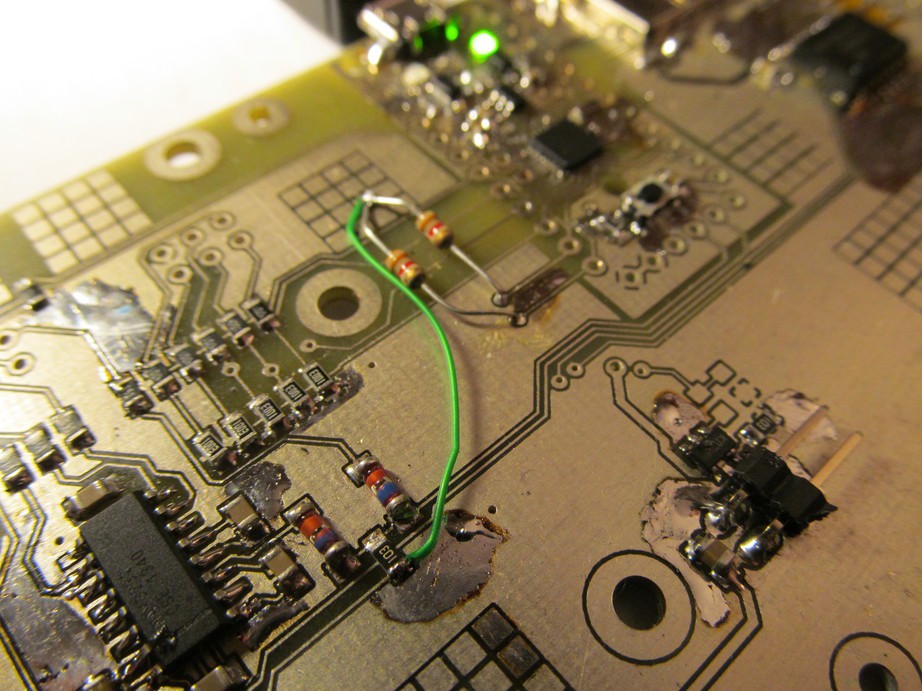
As I populated other components, I noticed I forgot to add pull-ups on I2C bus. D'oh! I greenwired (literally) the pull-up resistors and made the use for "breadboard" areas I included on the PCB.
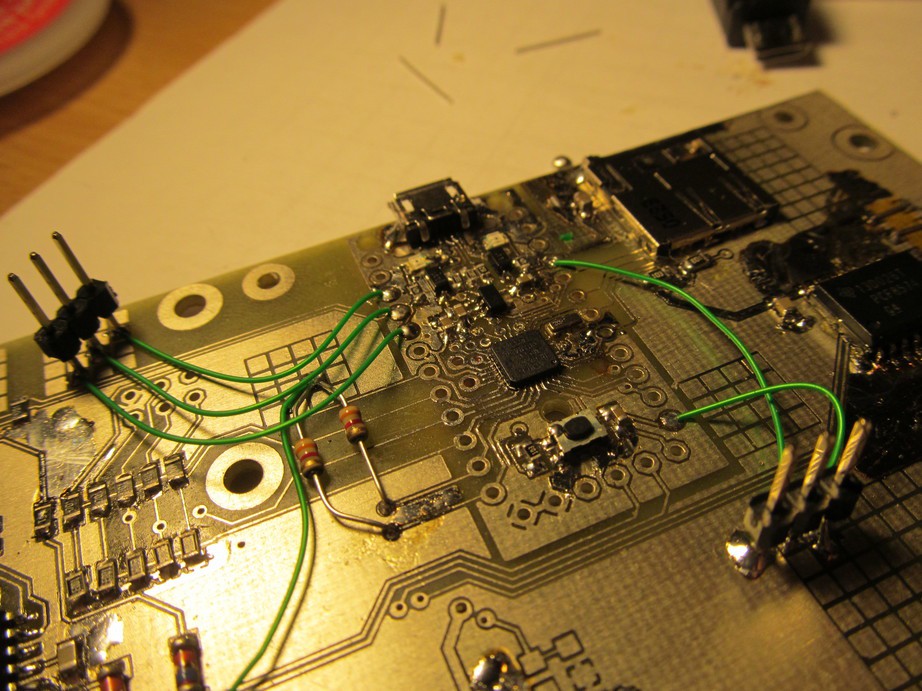 I flashed the bootloader (for testing purposes, I took another arduino, flashed arduino ISP sketch and with a little help of avrdude I flashed the bootloader in.
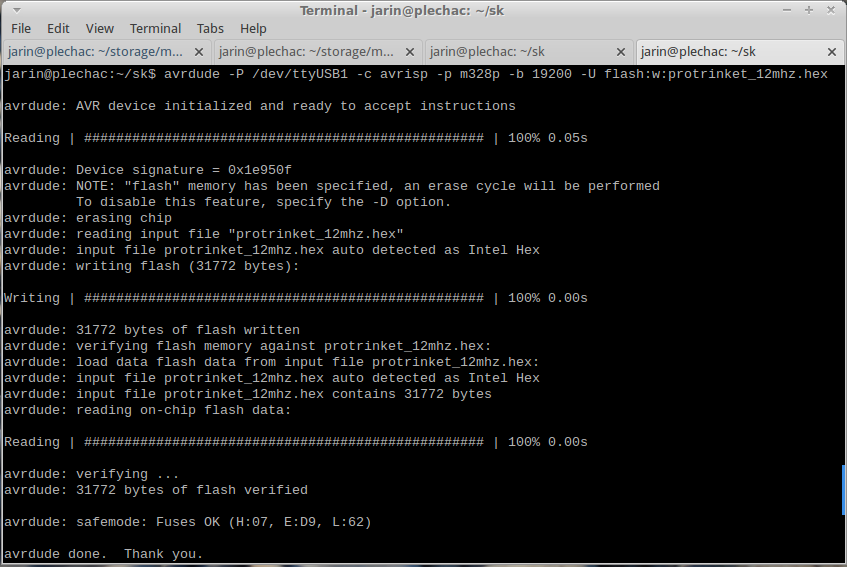
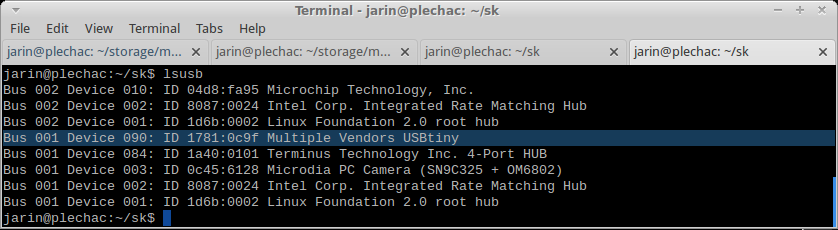
Whoo-hoo!
Using the manual from adafruit I set up the arduino IDE for trinket pro and flashed blinky example

Awesome! it works!
Now I'm going to port the software from my protoboard version of pavapro
Discussions
Become a Hackaday.io Member
Create an account to leave a comment. Already have an account? Log In.