Since my last update - a mere 18 hours ago - a lot has happened (little of which was sleep, but that's ok, it's the weekend!!)
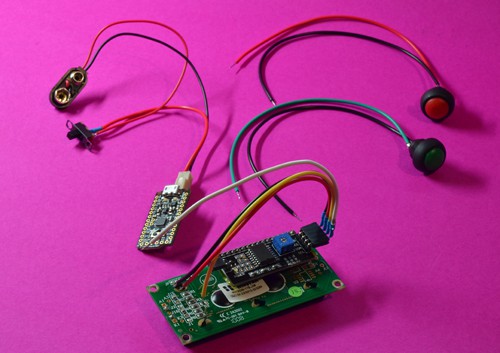
First up I started by soldering wires to the switches, the 9v battery snap and the socket for the LCD screen.

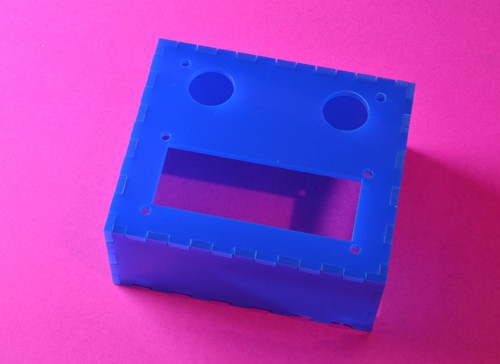
Work on the box started next. Using an Acrylic glue, I assembled the front and sides.

Aw! Looks like a robot!!
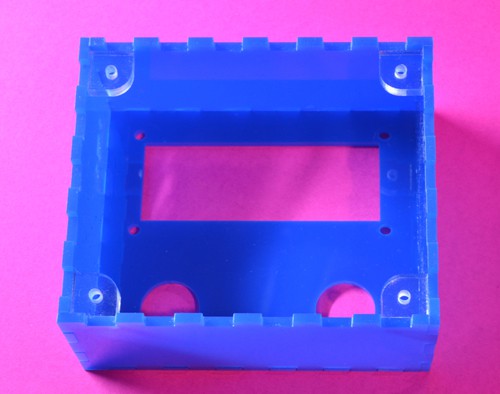
To close the box up, I've attached 4 screw tabs at the back.

These are threaded for an M3 screw. I'm using M3 screws throughout this build as they're a good size and I have a bunch of them in different lengths :)
Next up, final assembly!
 Sascha Grant
Discussions
Become a Hackaday.io Member
Create an account to leave a comment. Already have an account? Log In.