0%
0%
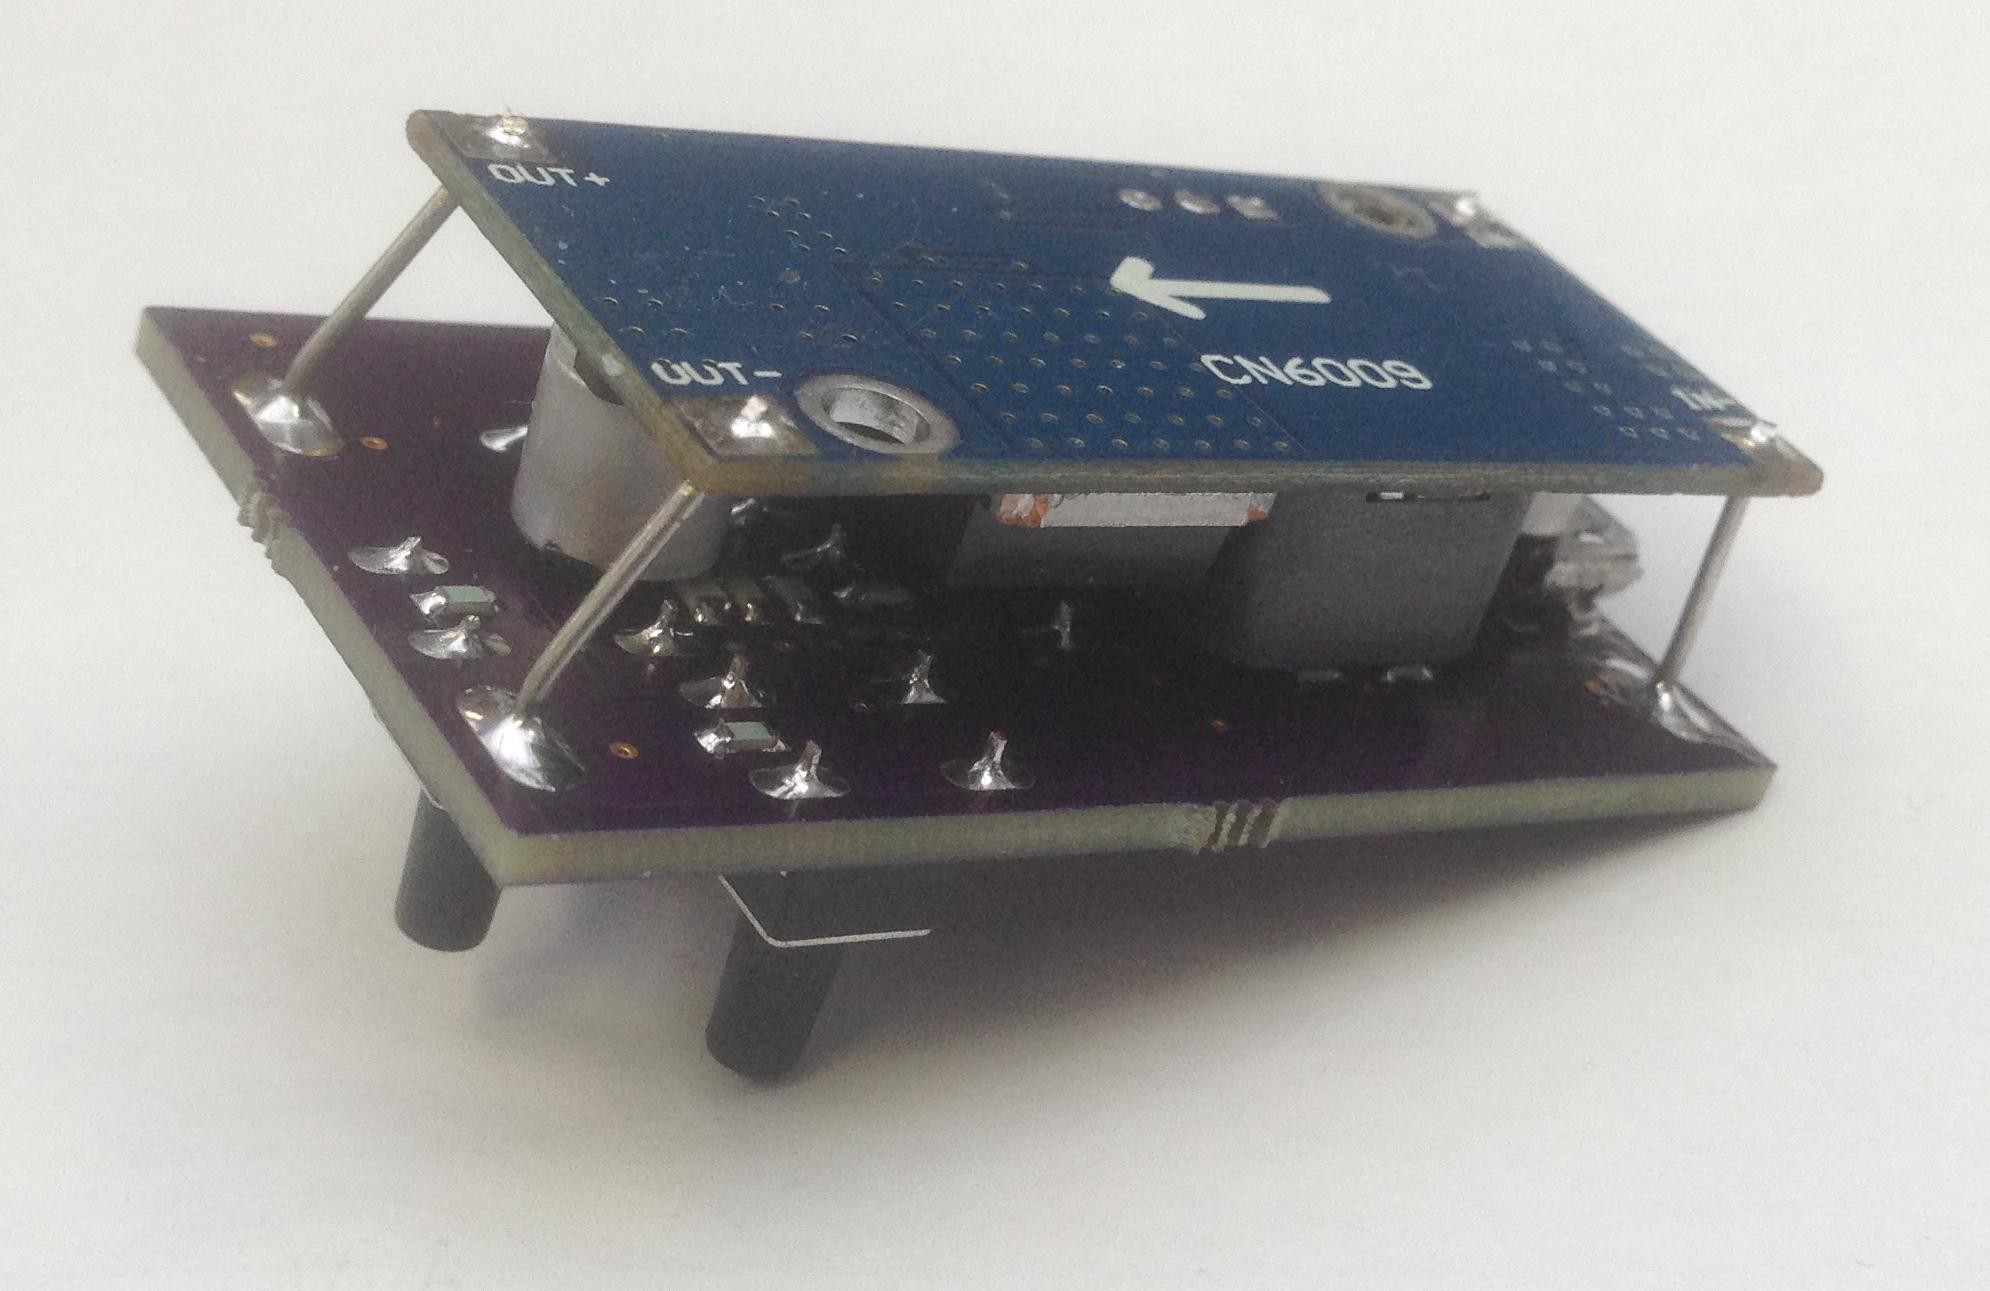
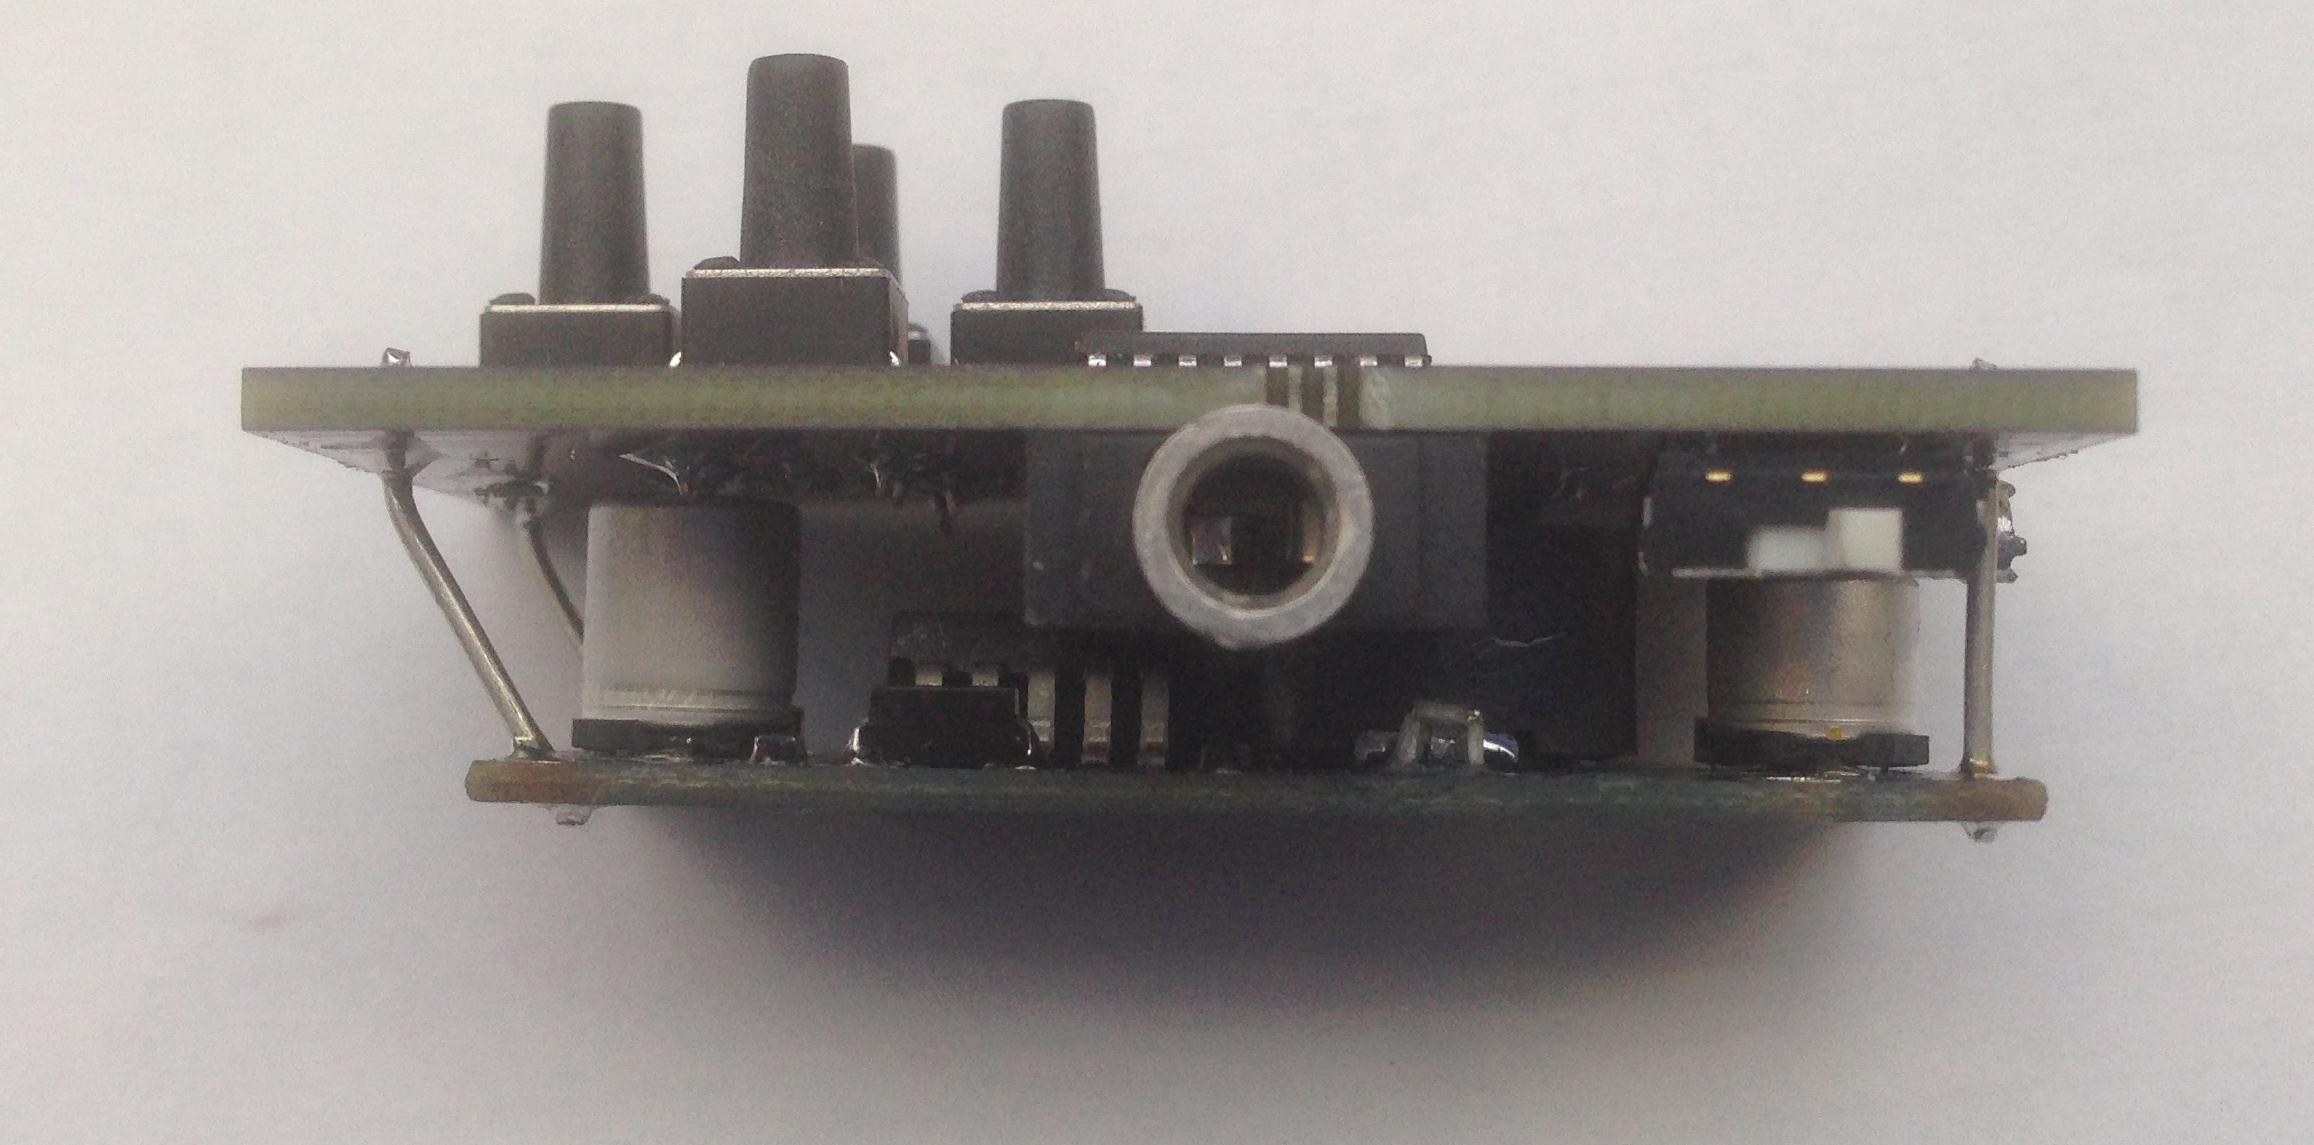
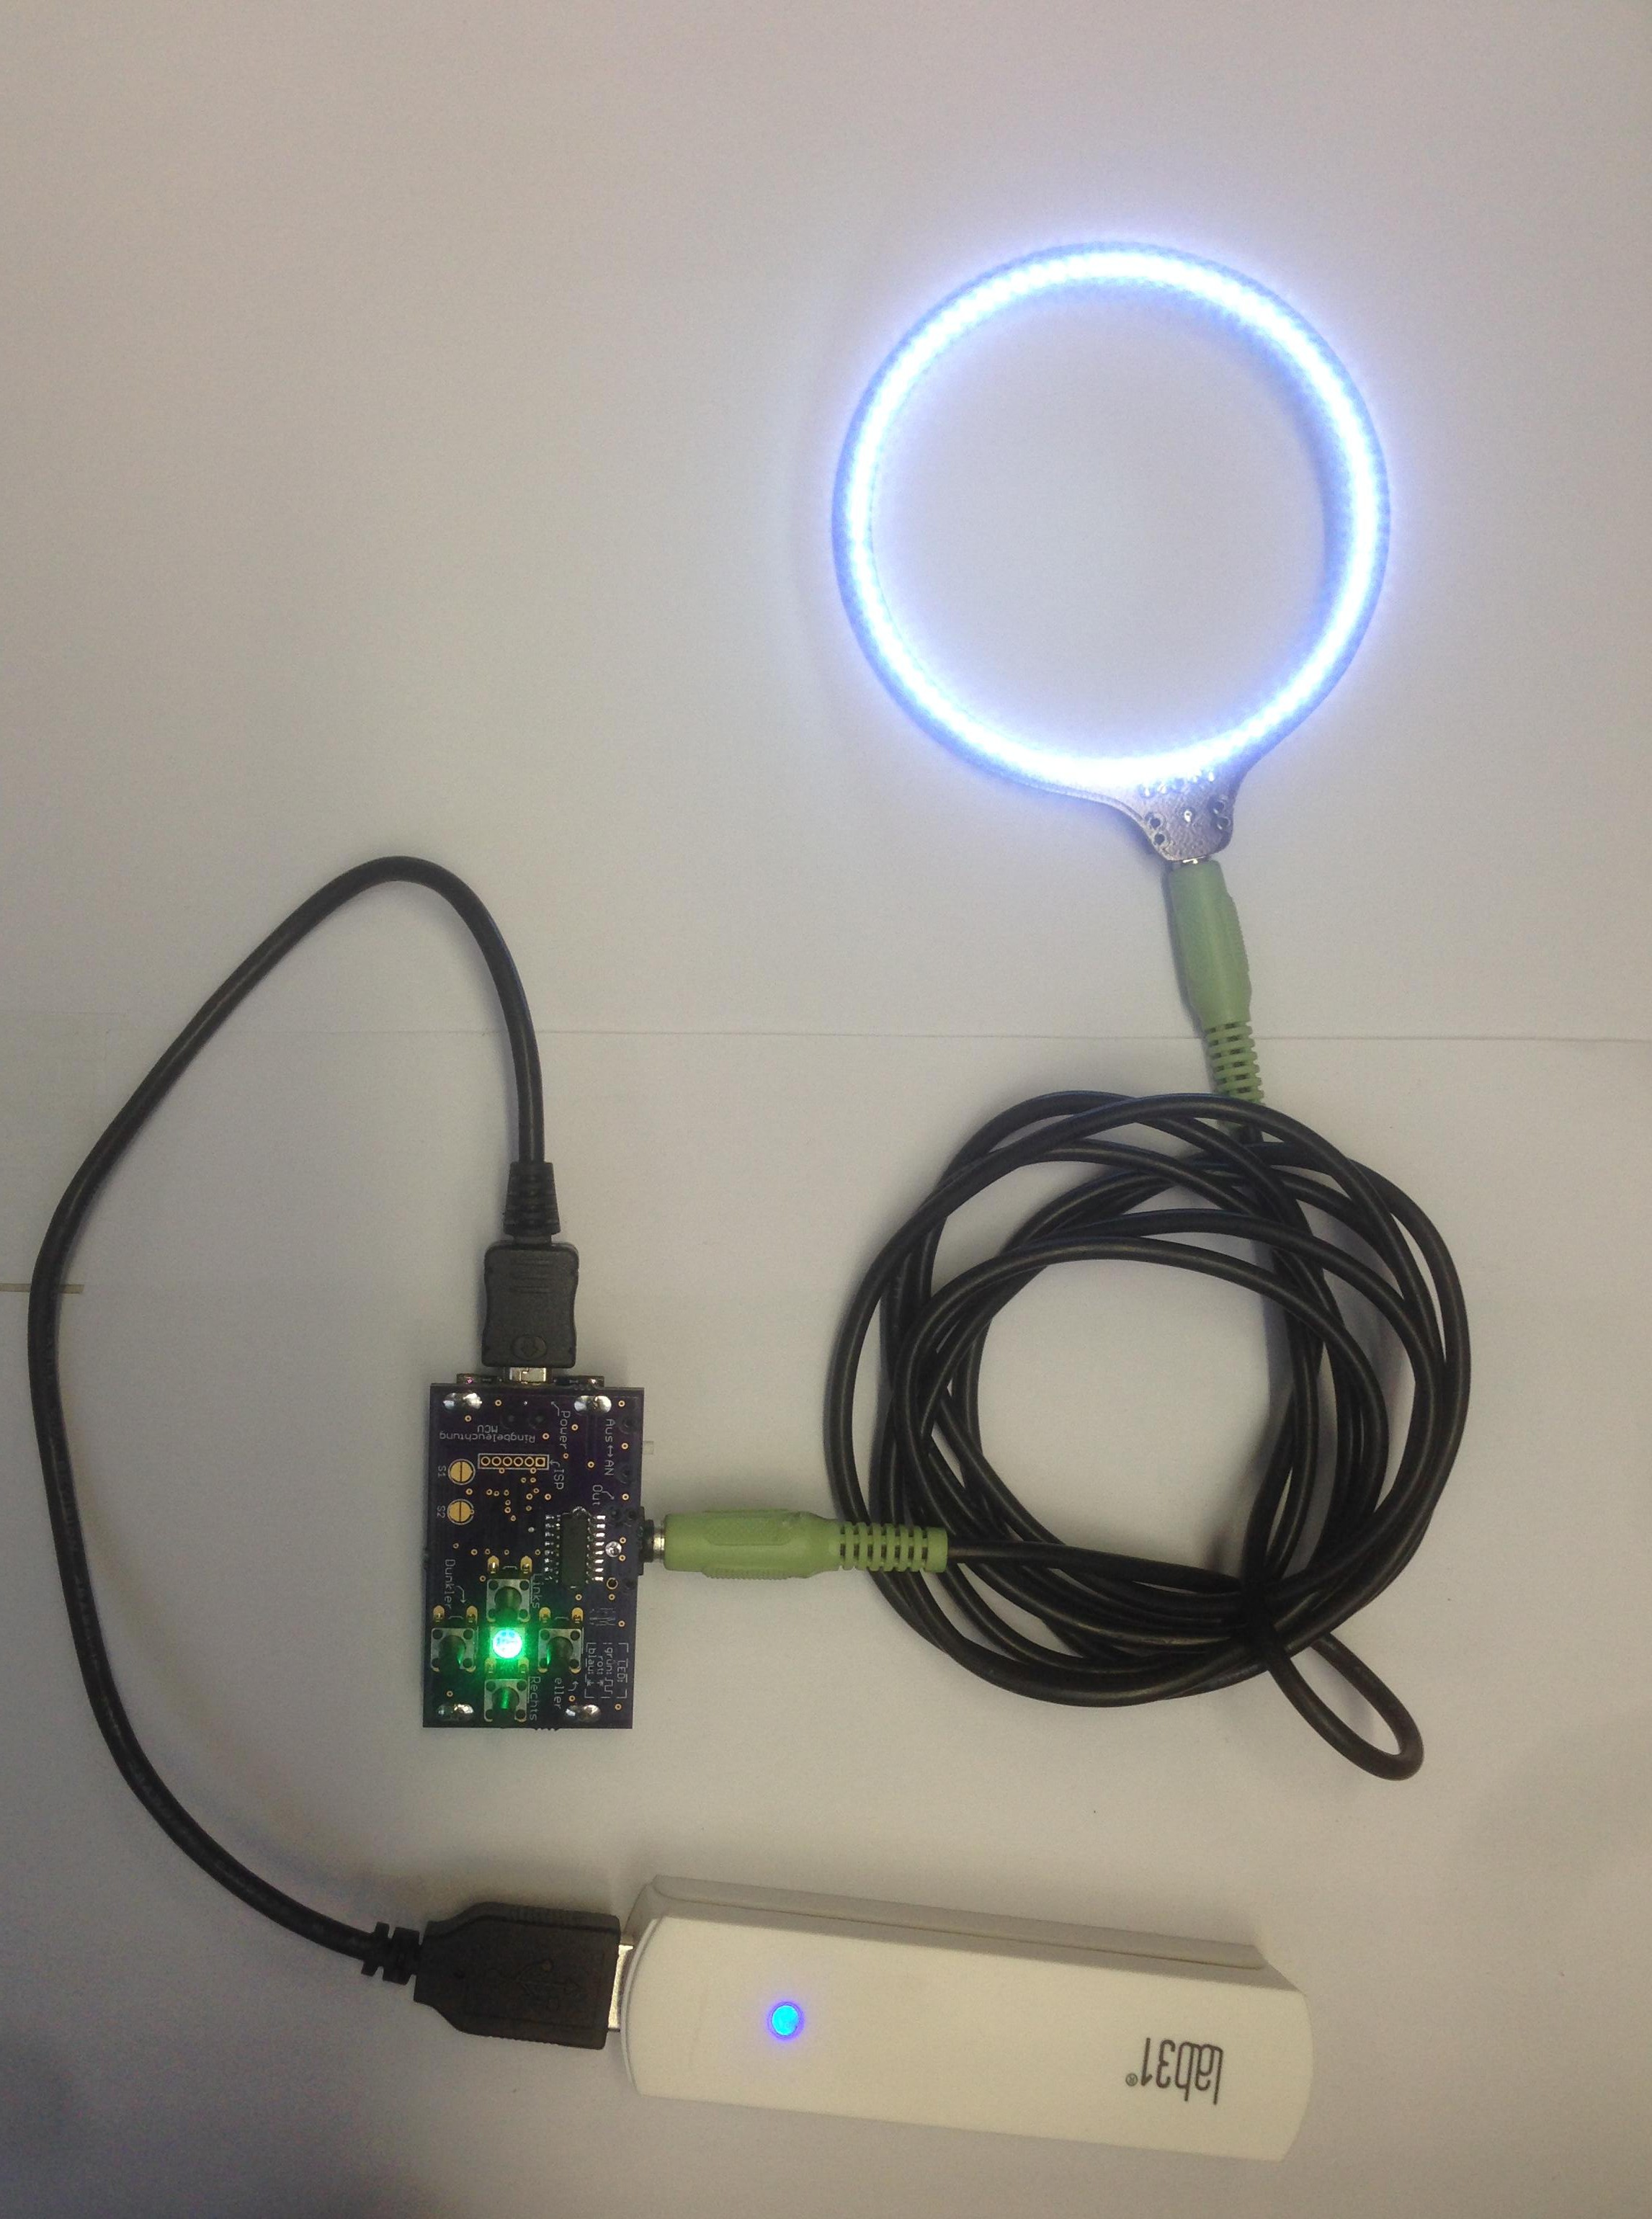
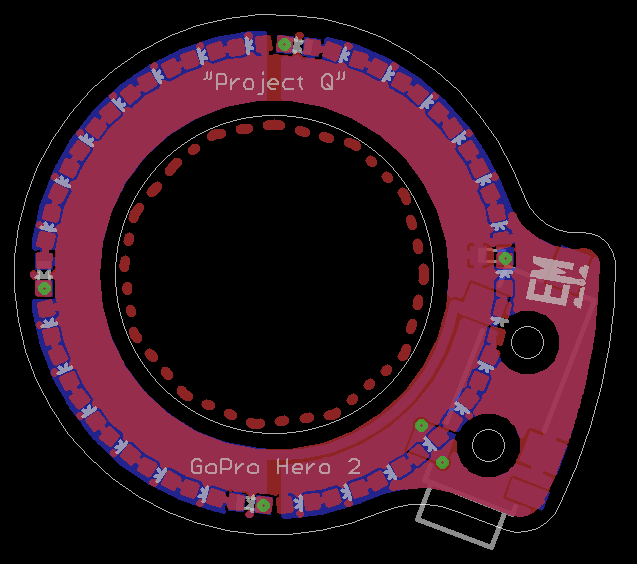
"Project Q" - LEDring
dimmable LEDring for the illumination of camera photos
 Viper-Gtr
Become a Hackaday.io member
Already have an account? Log in.
Just one more thing
To make the experience fit your profile, pick a username and tell us what interests you.
Pick an awesome username
hackaday.io/
Your profile's URL: hackaday.io/username. Max 25 alphanumeric characters.
Pick a few interests
Projects that share your interests
People that share your interests
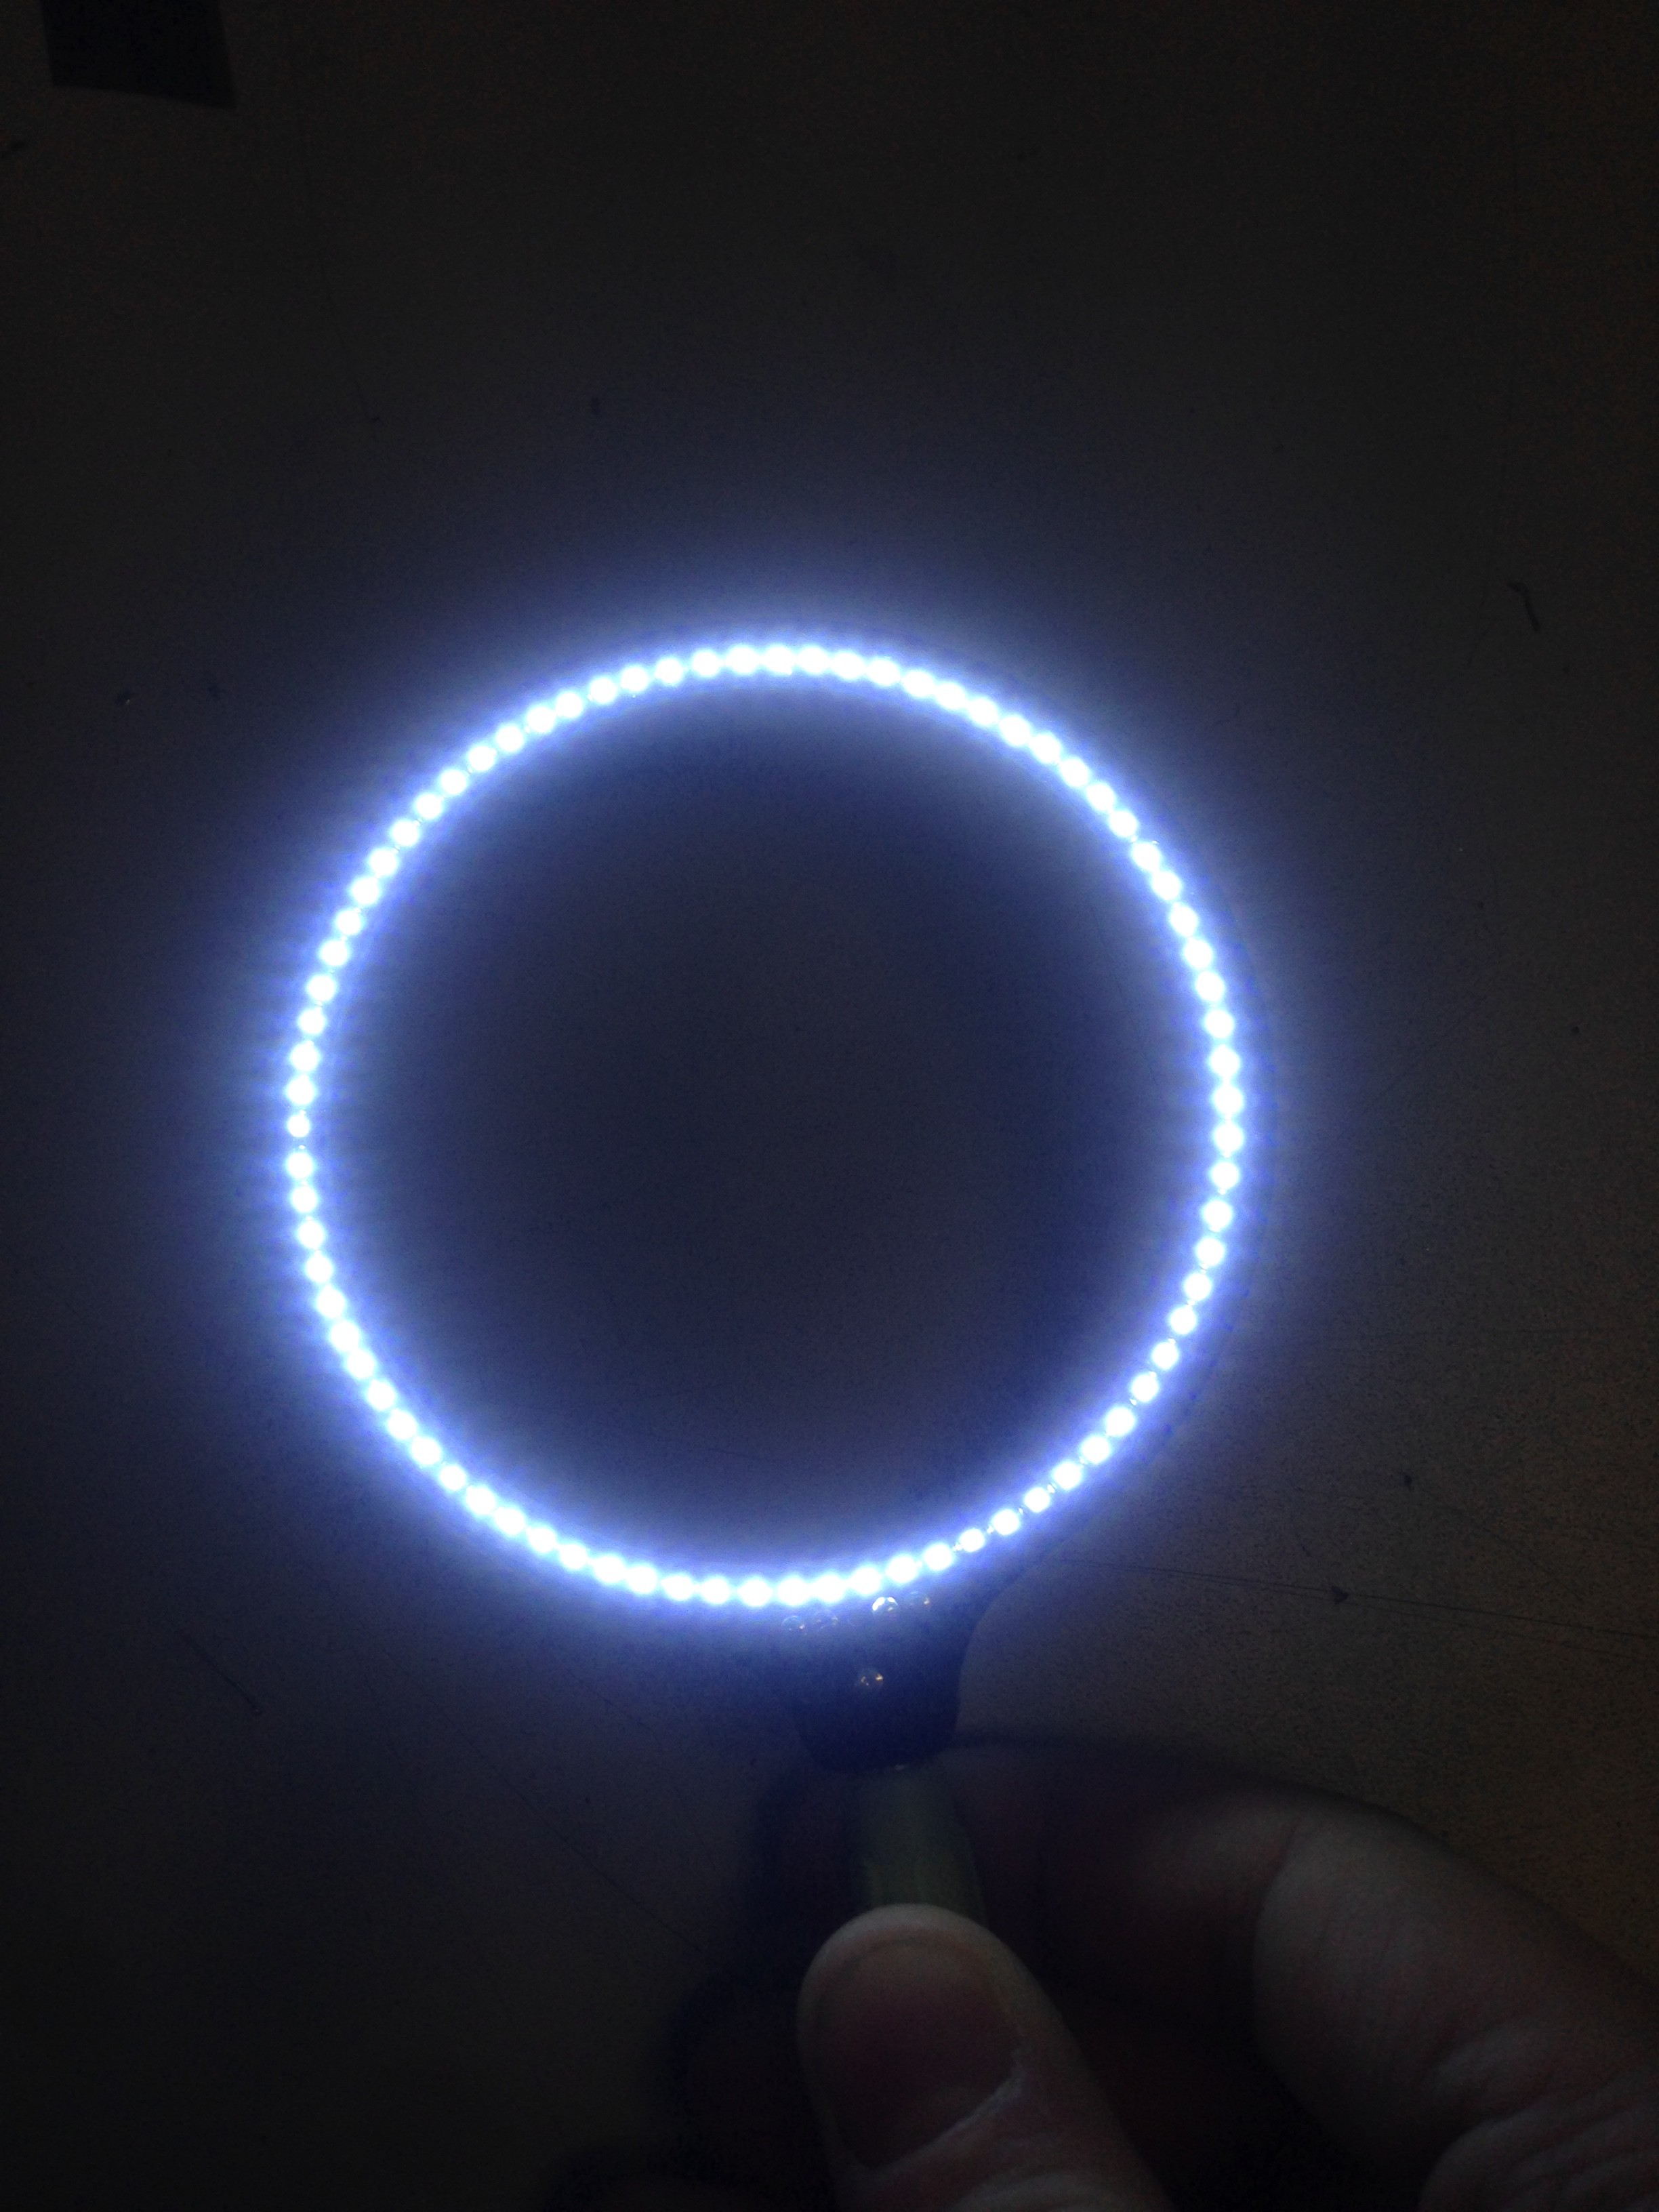
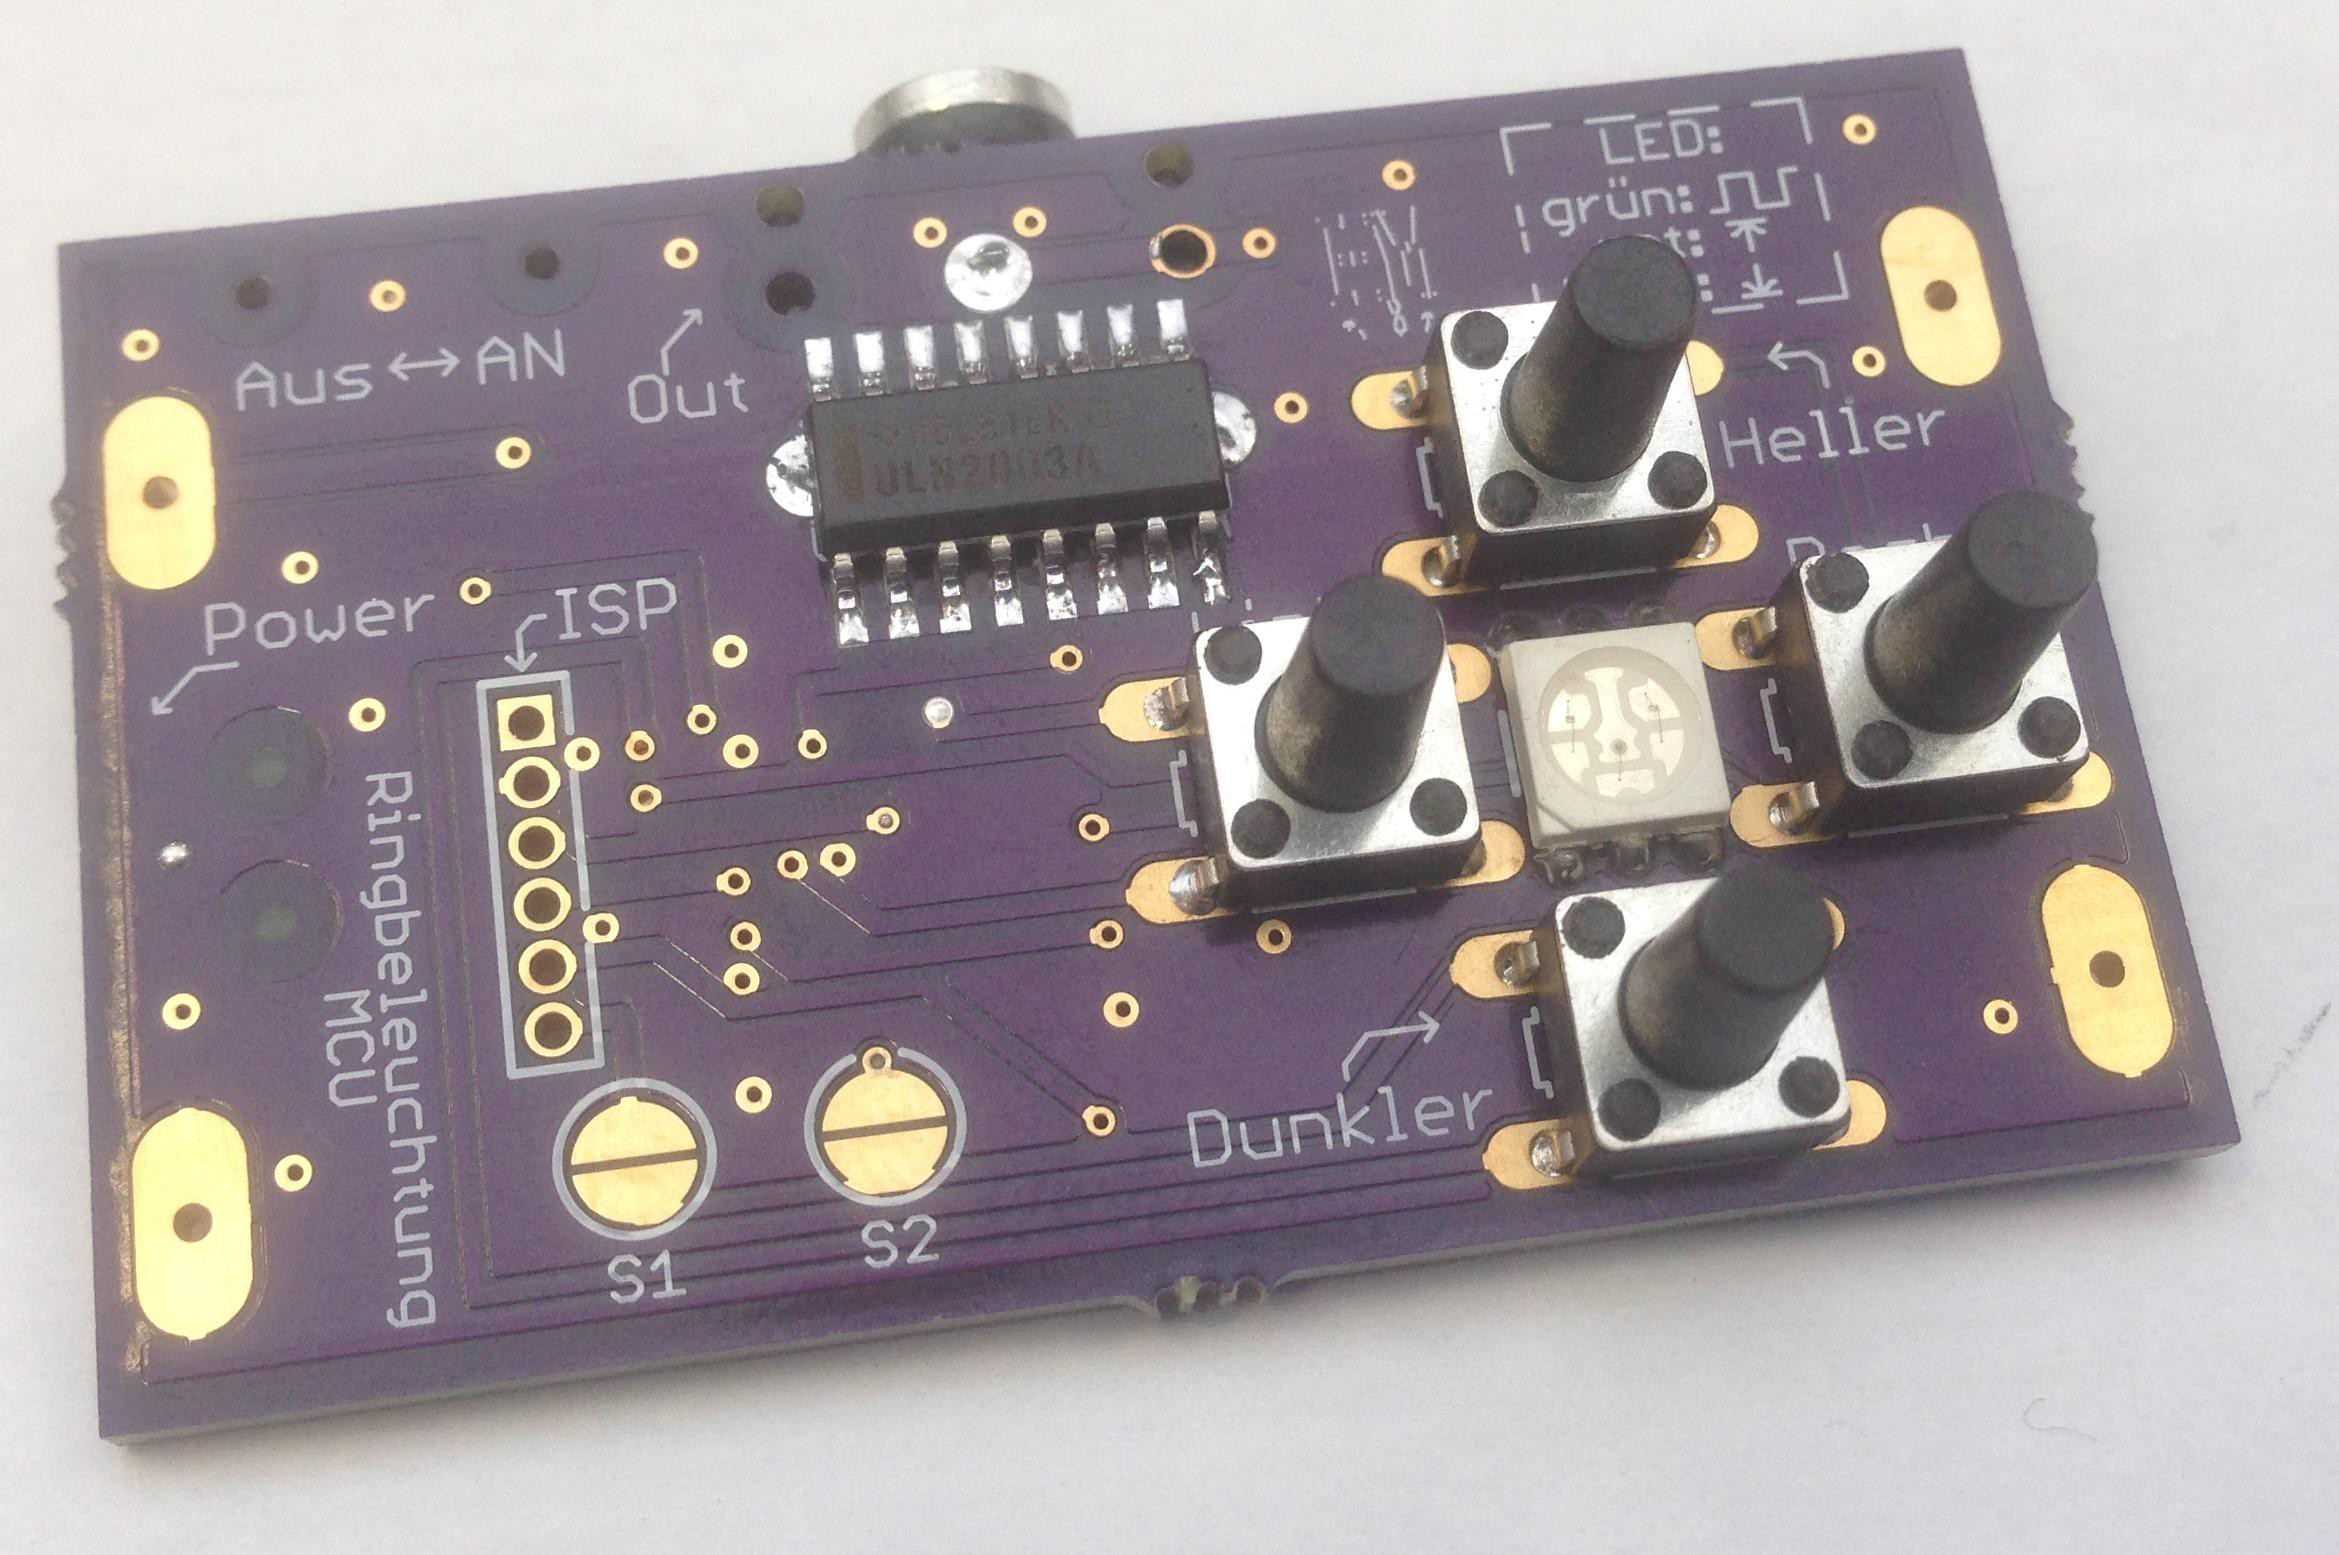 Top-View
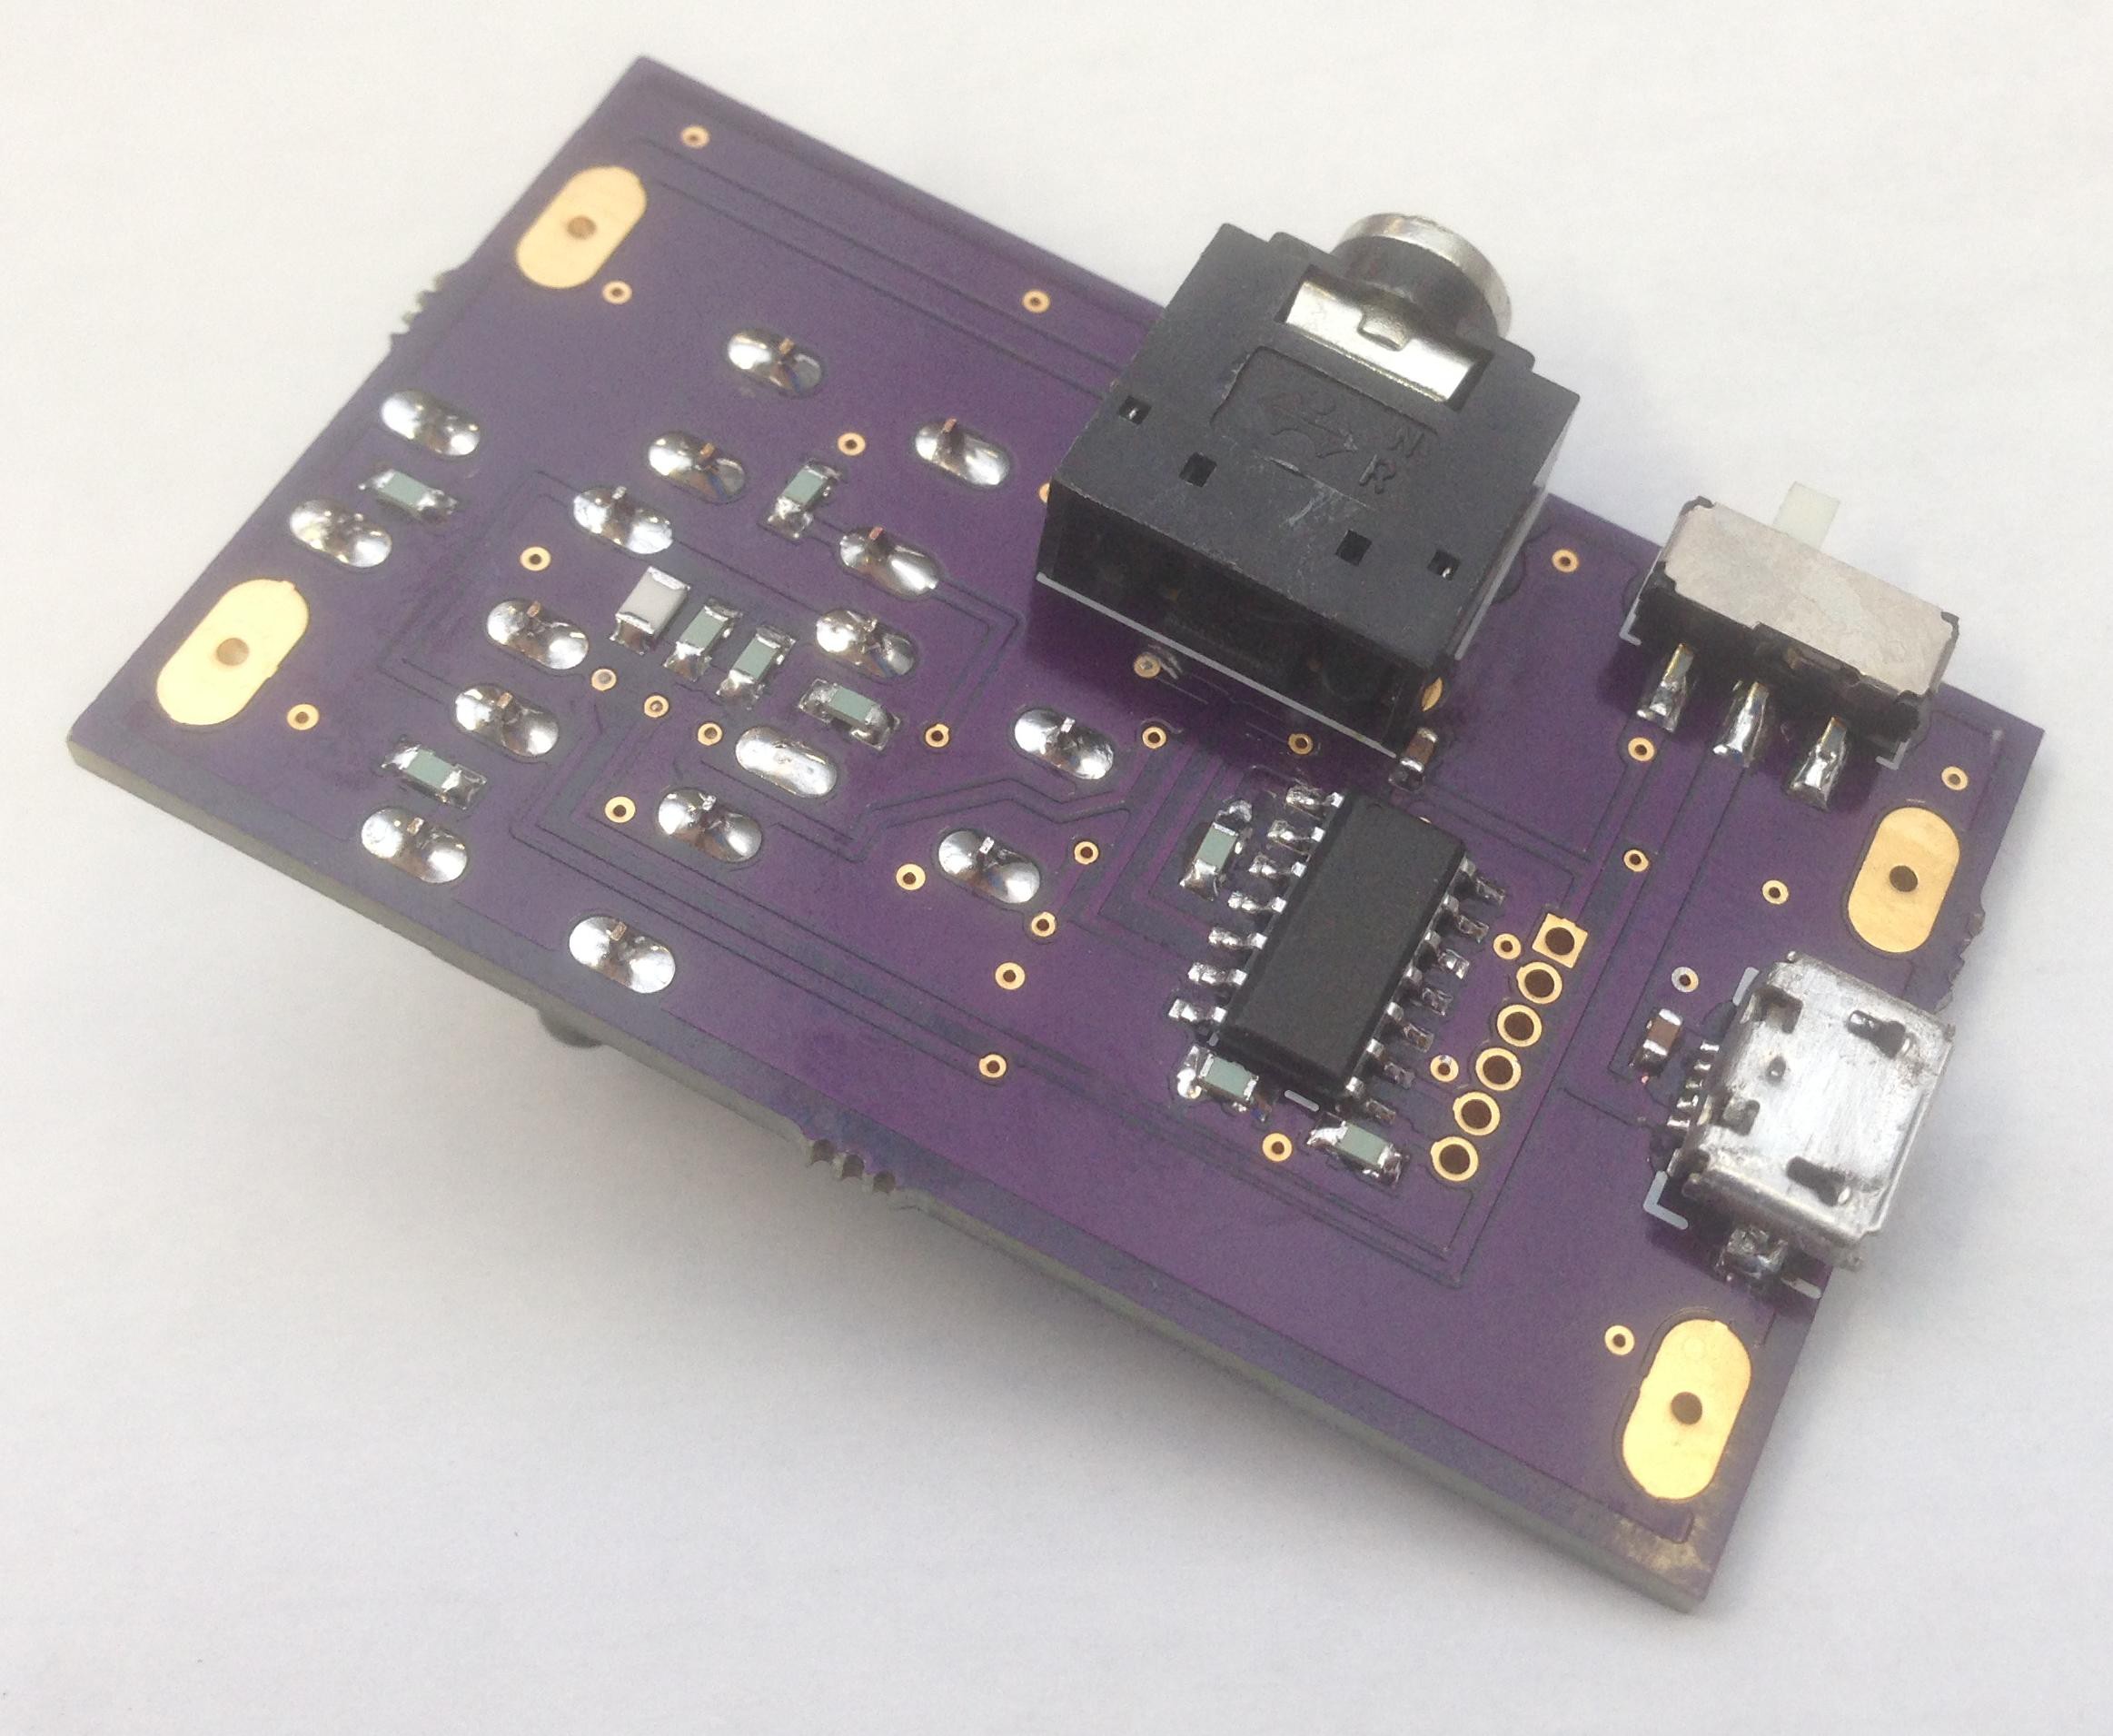
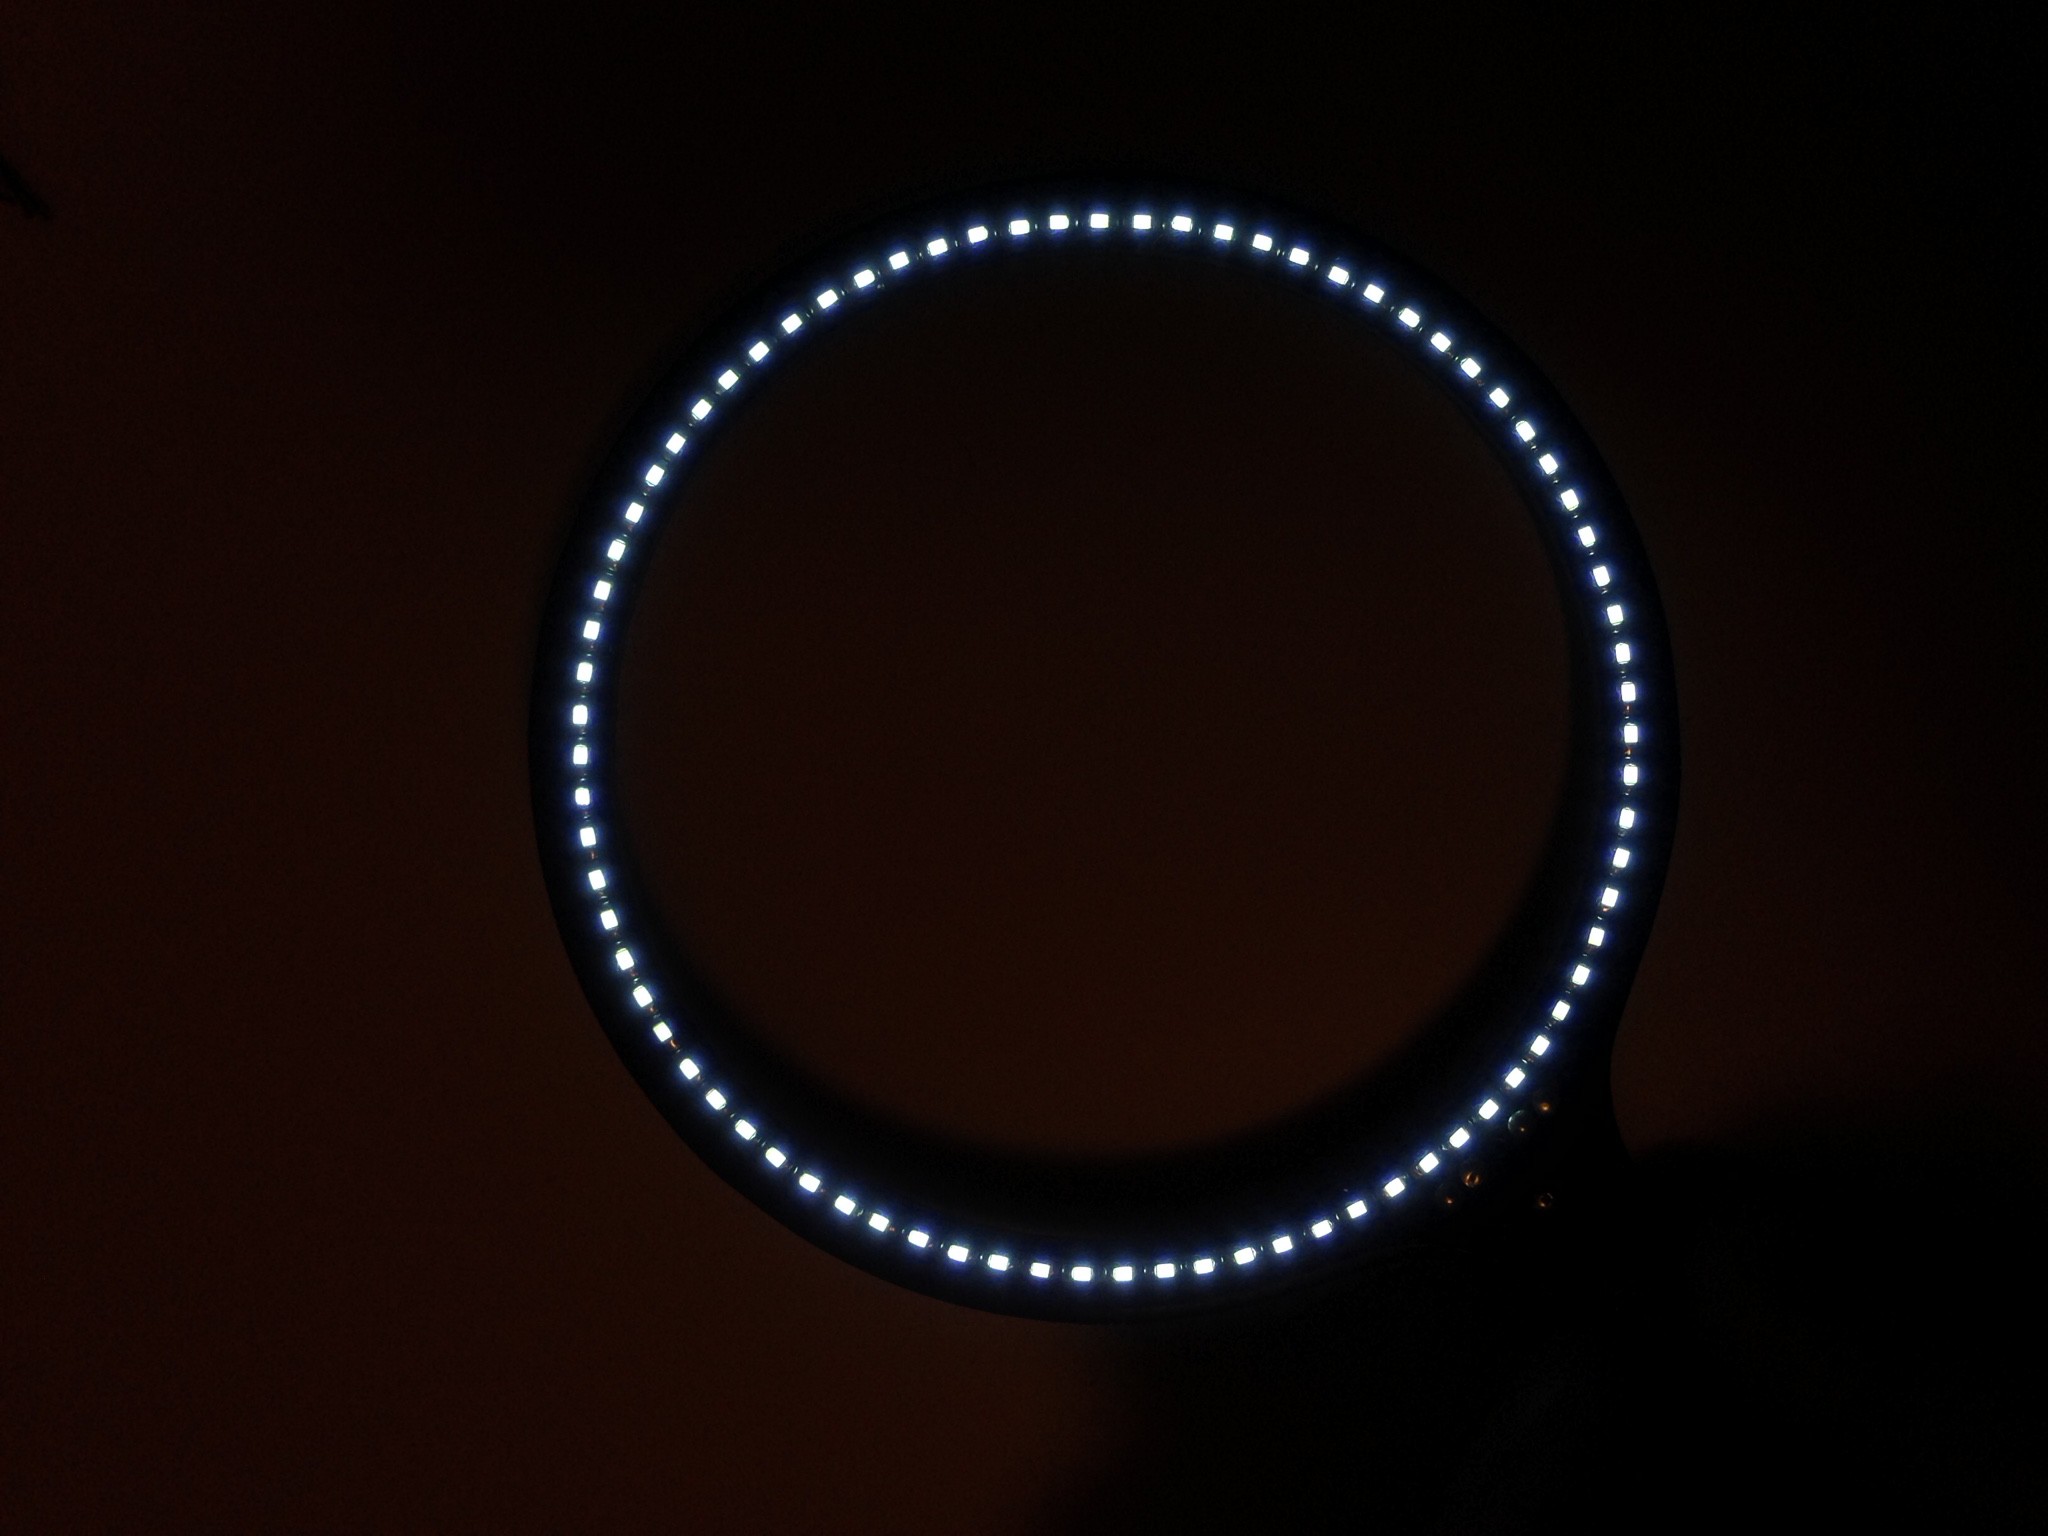
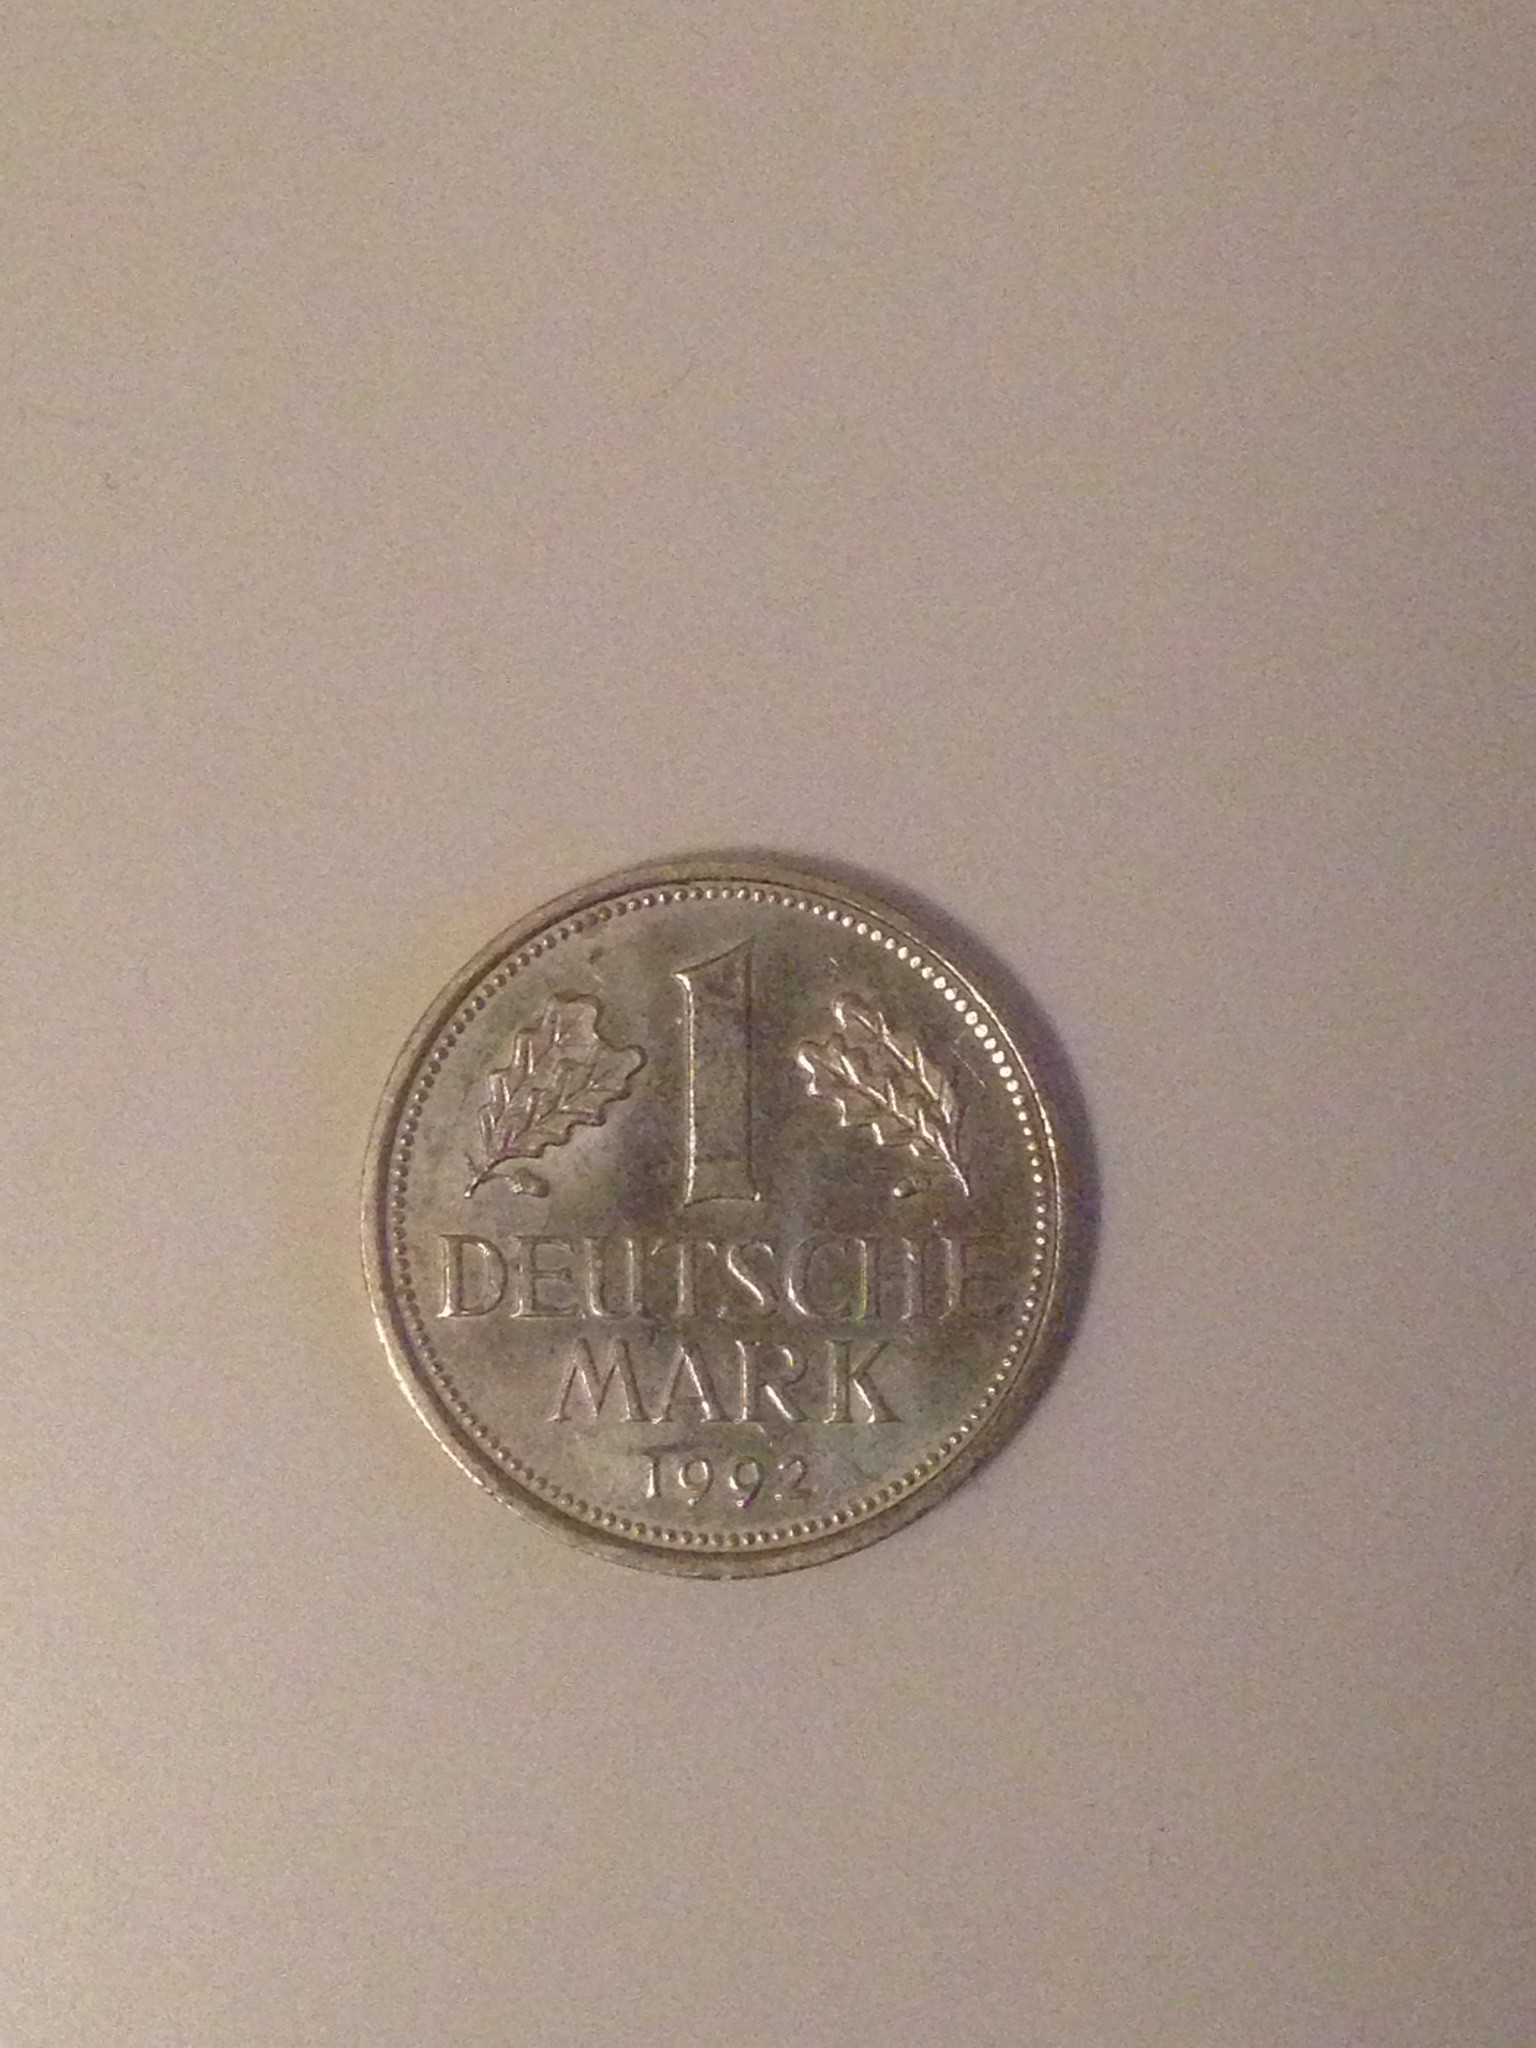 with normal flash
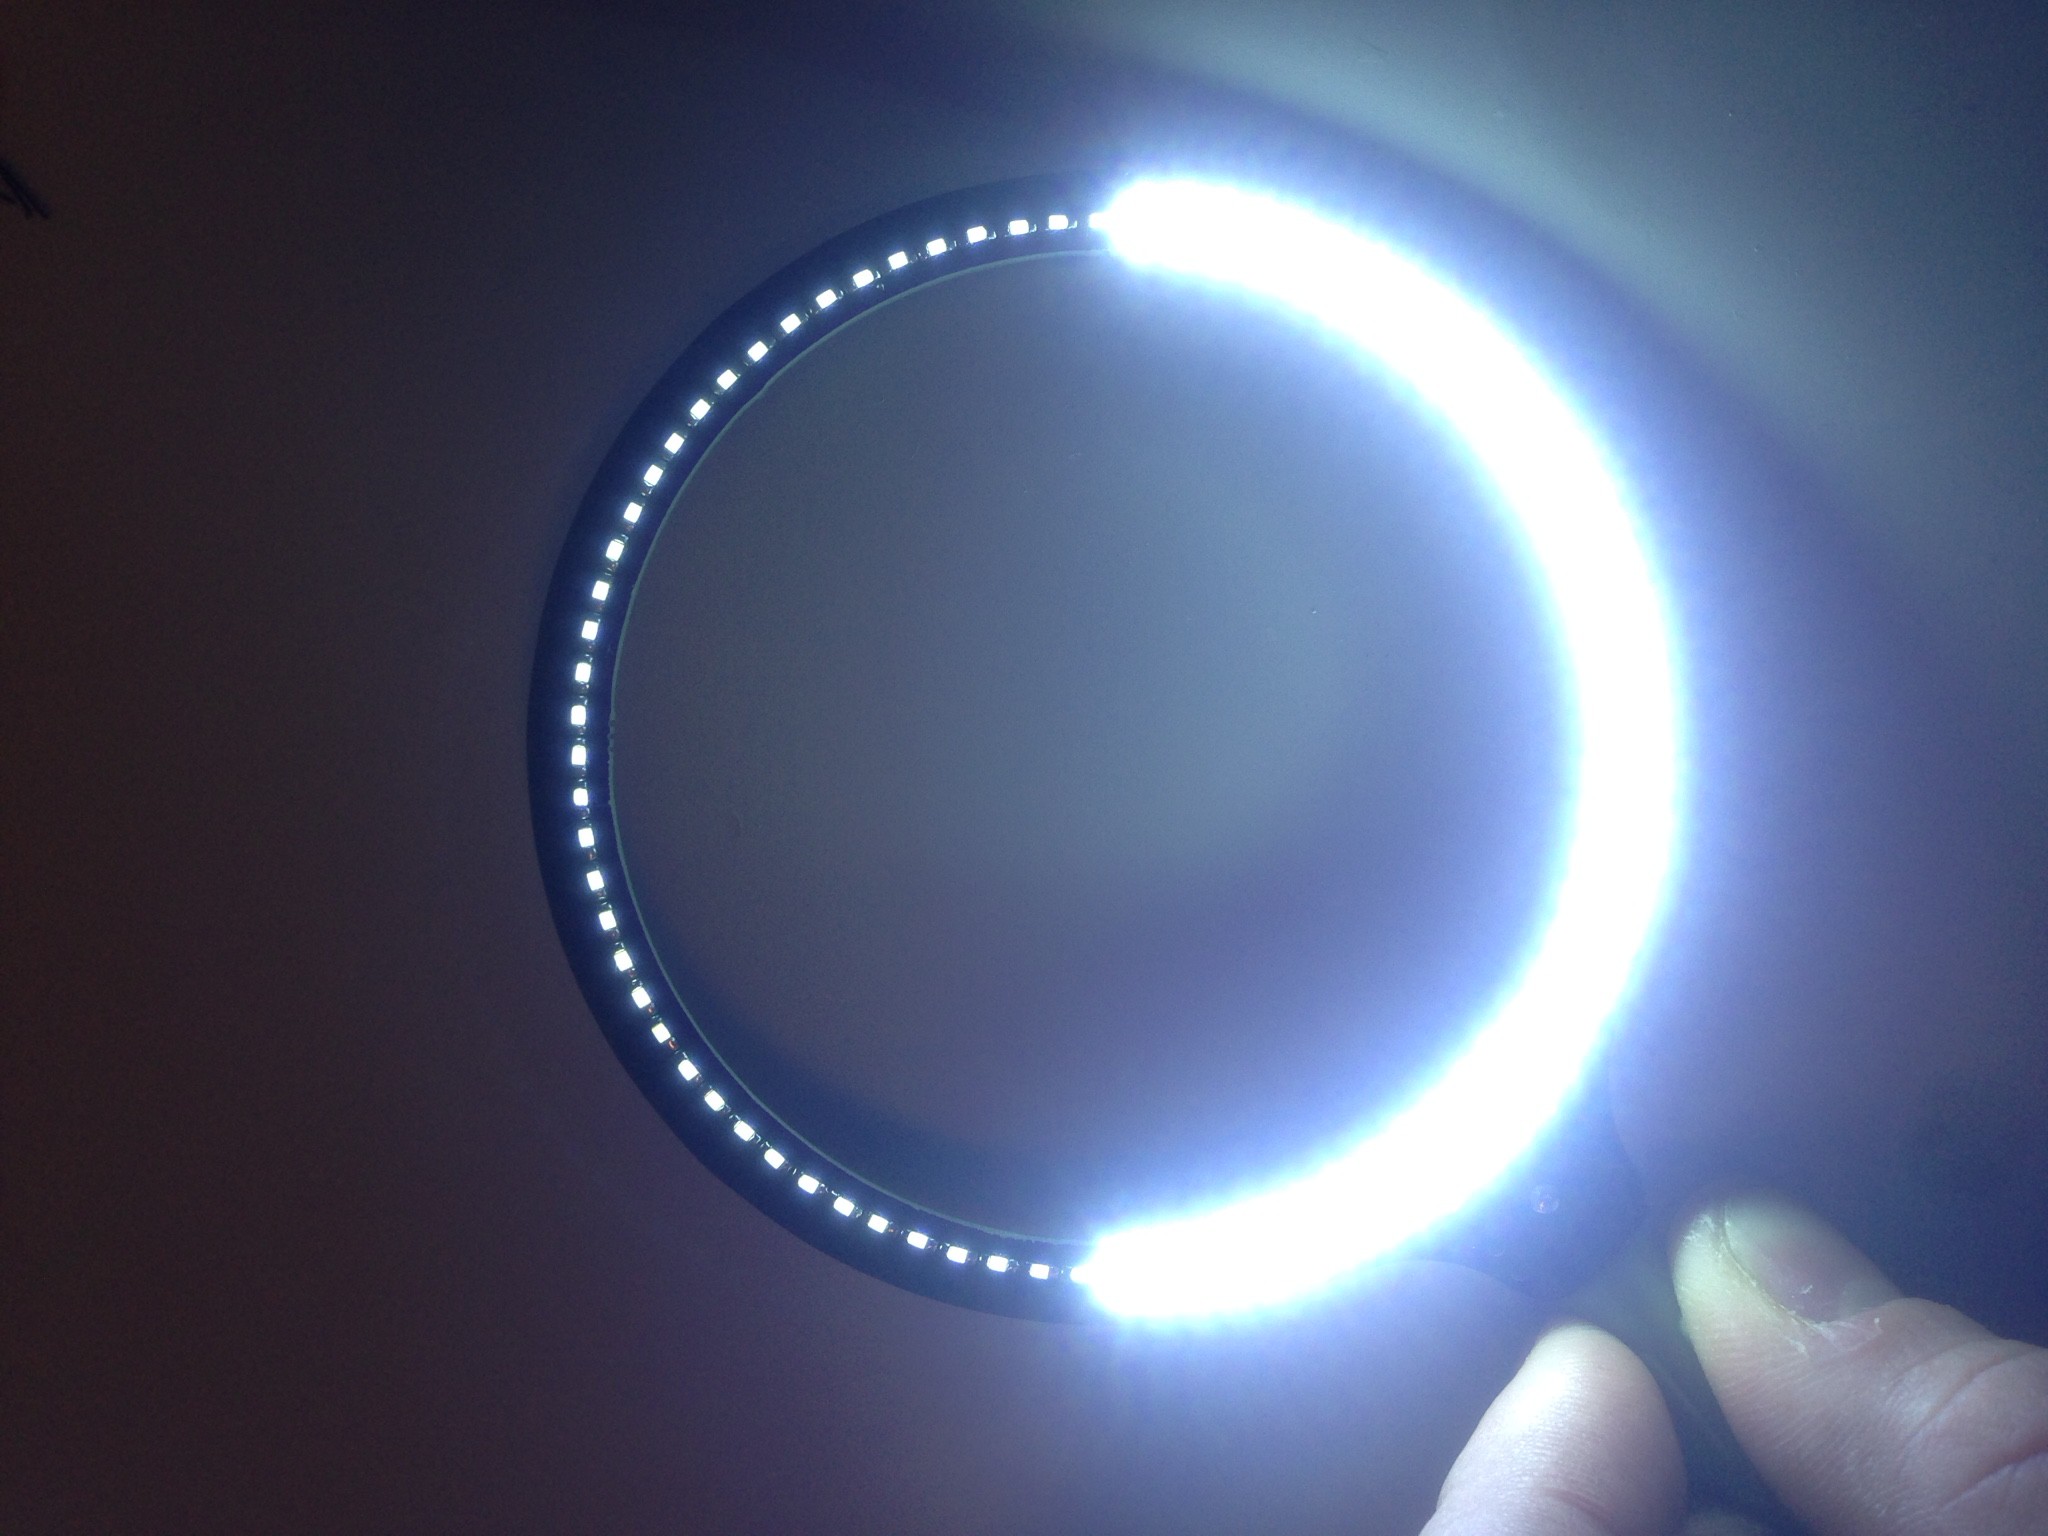
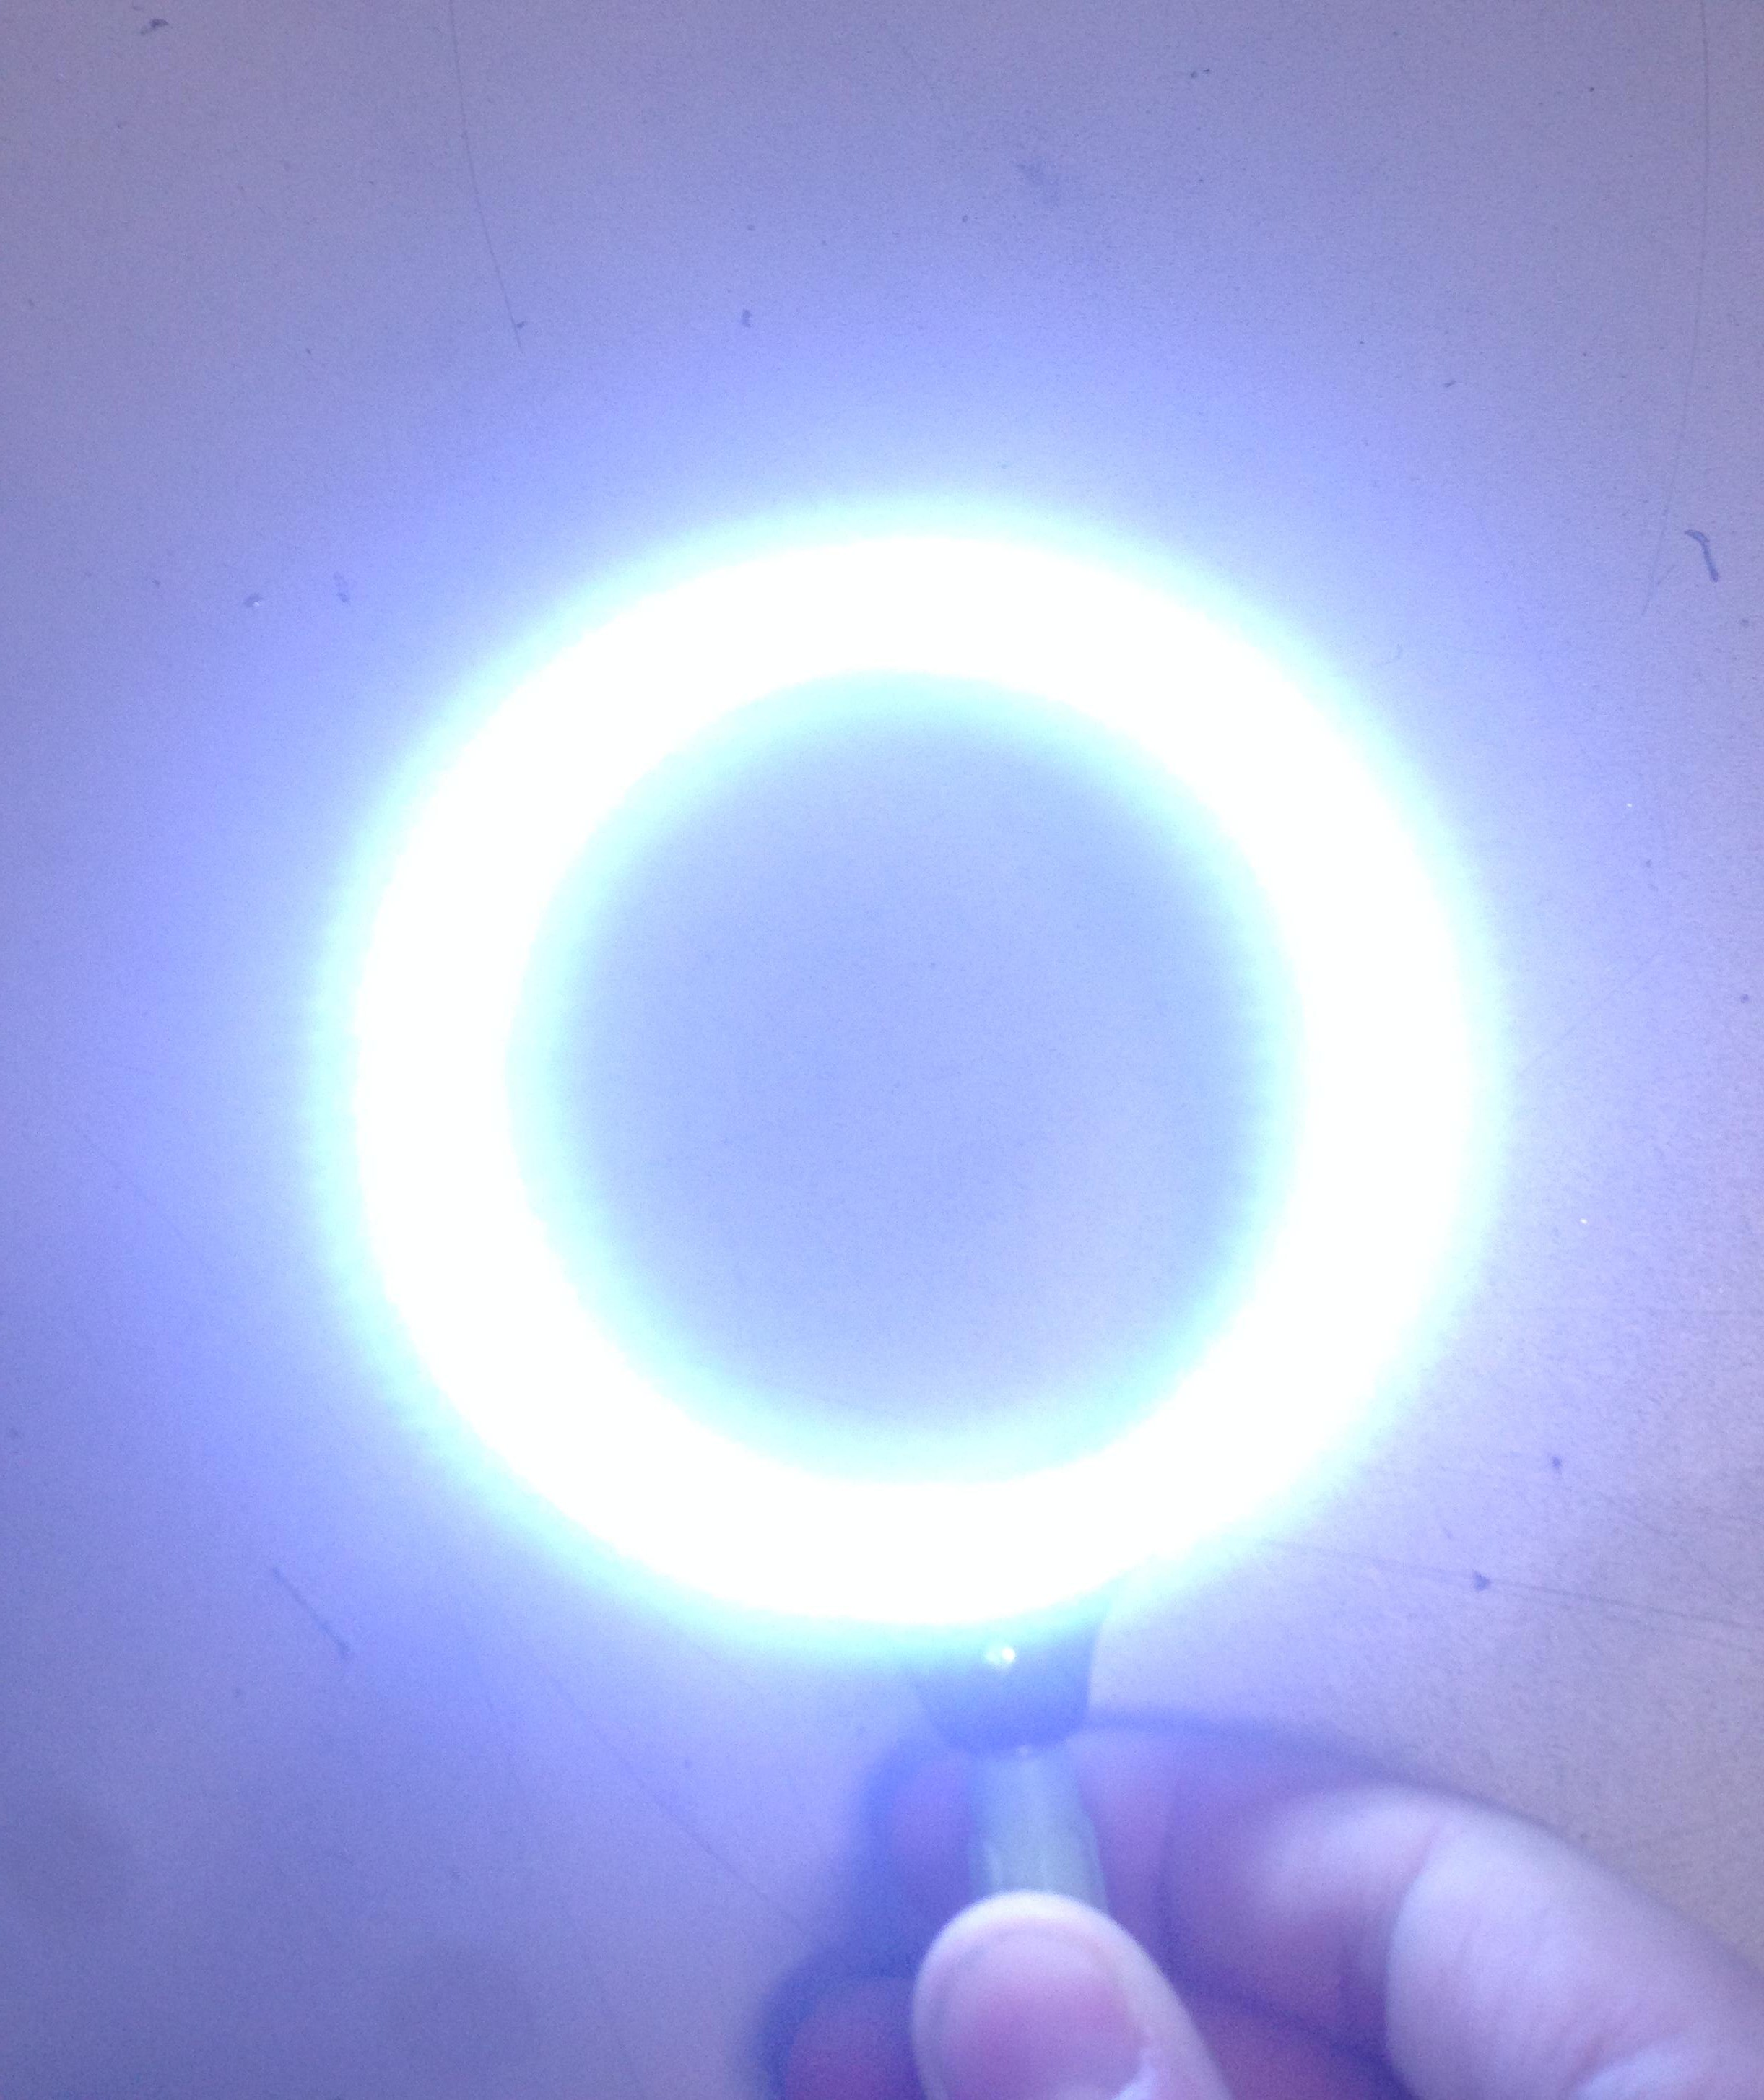
 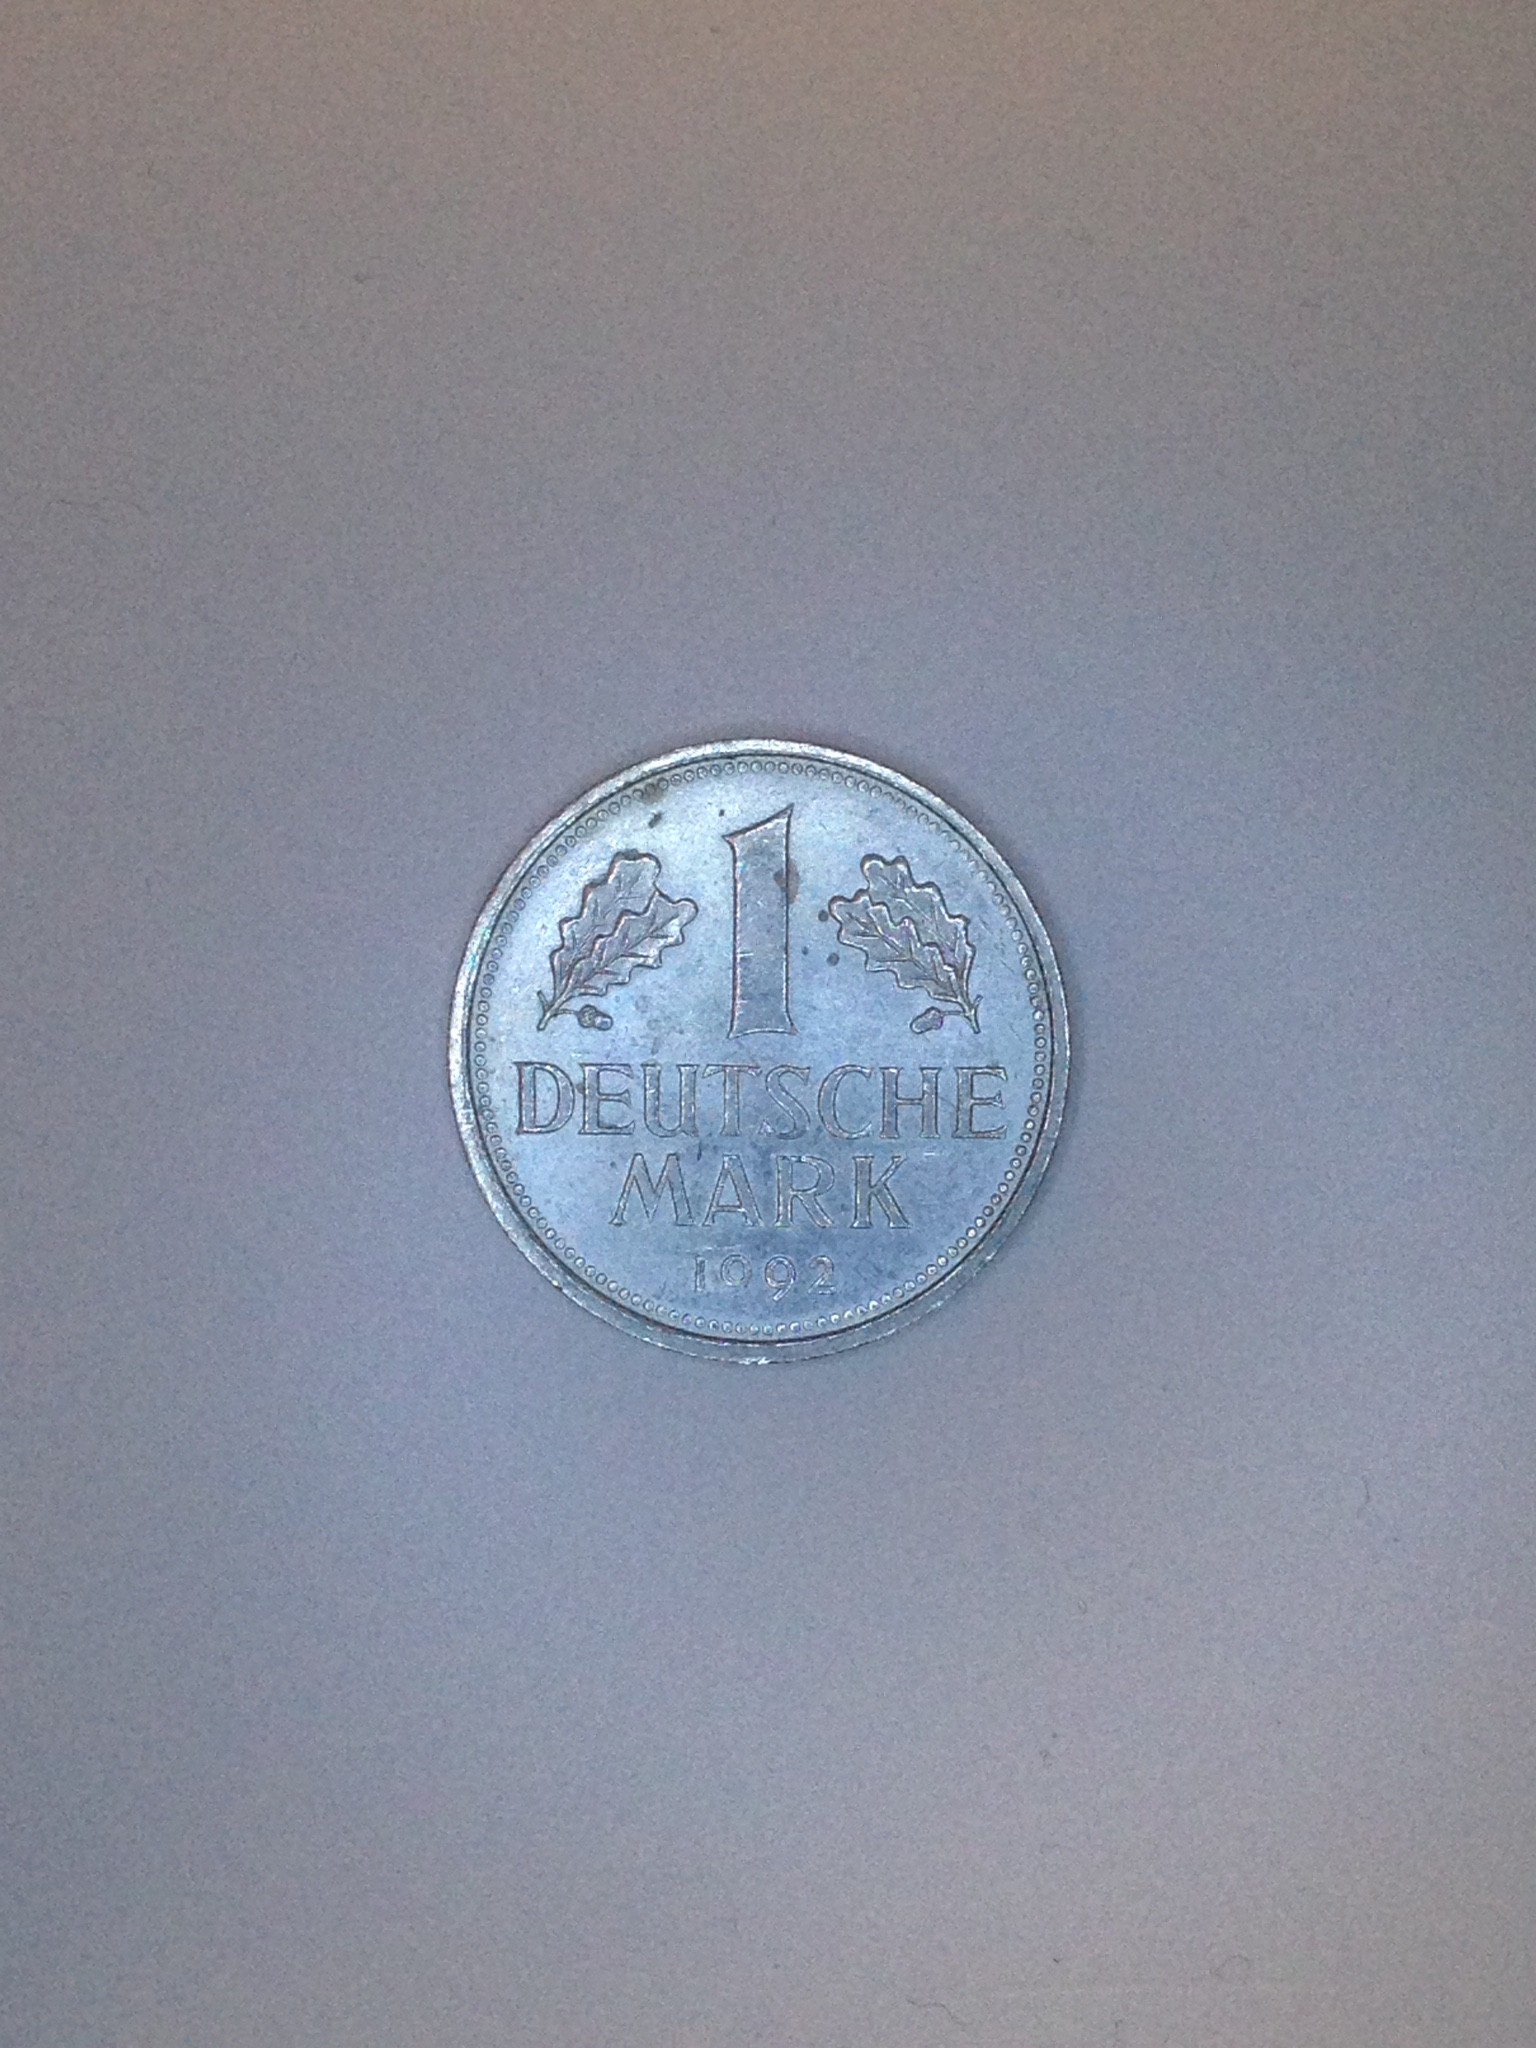 with 20% PWM - both sides
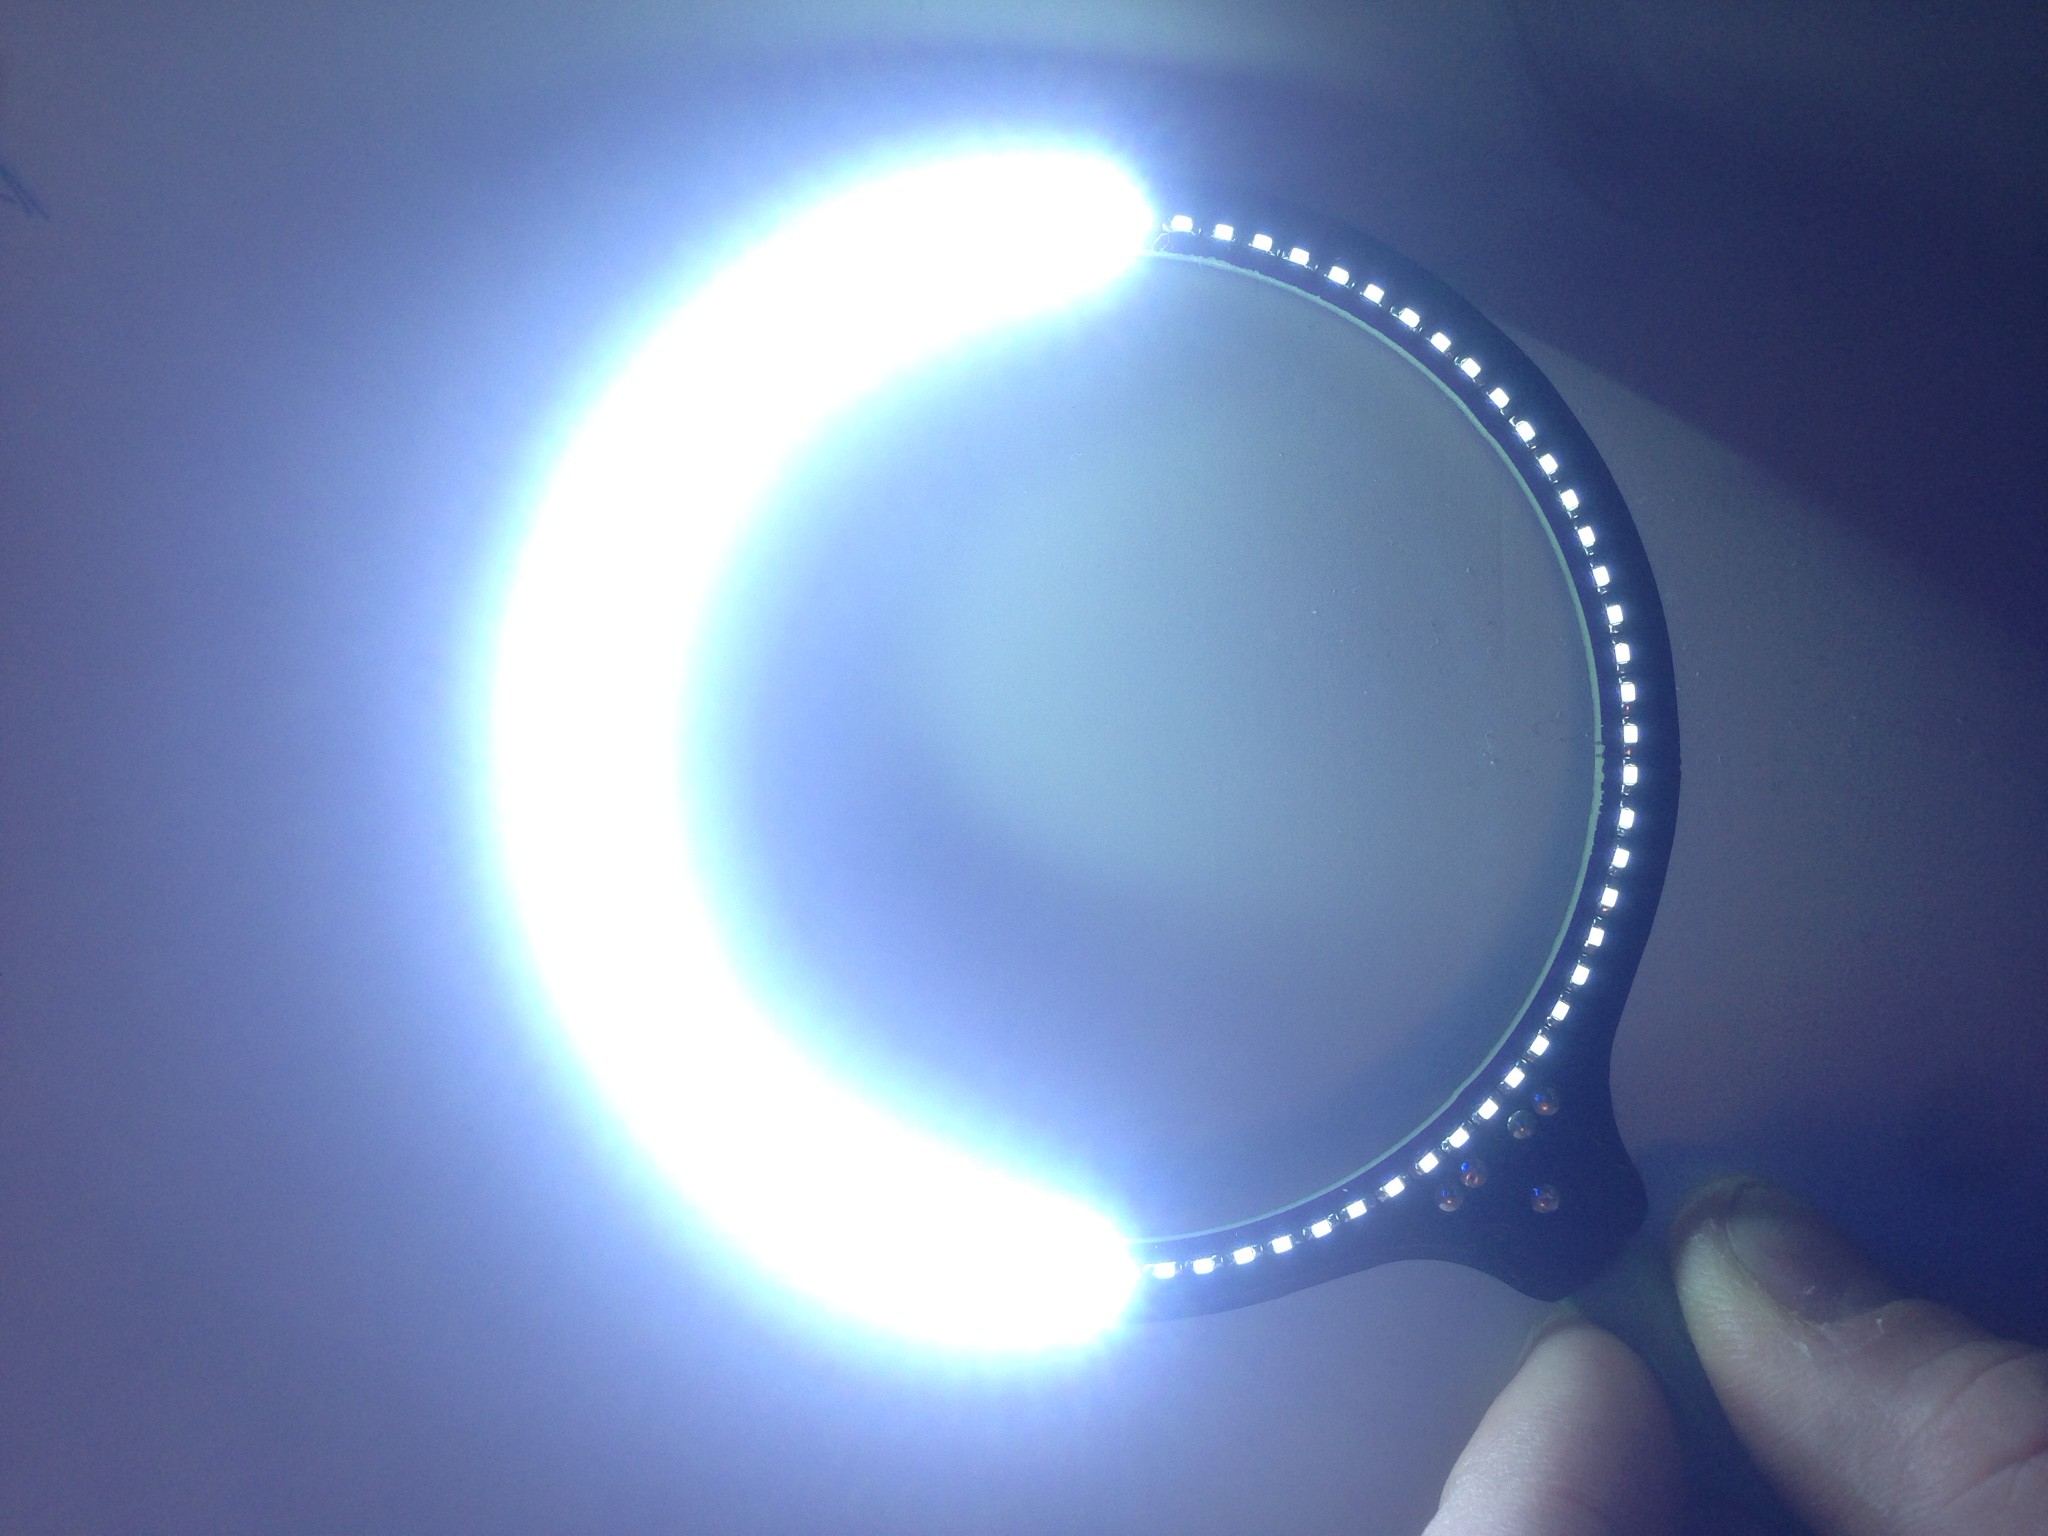
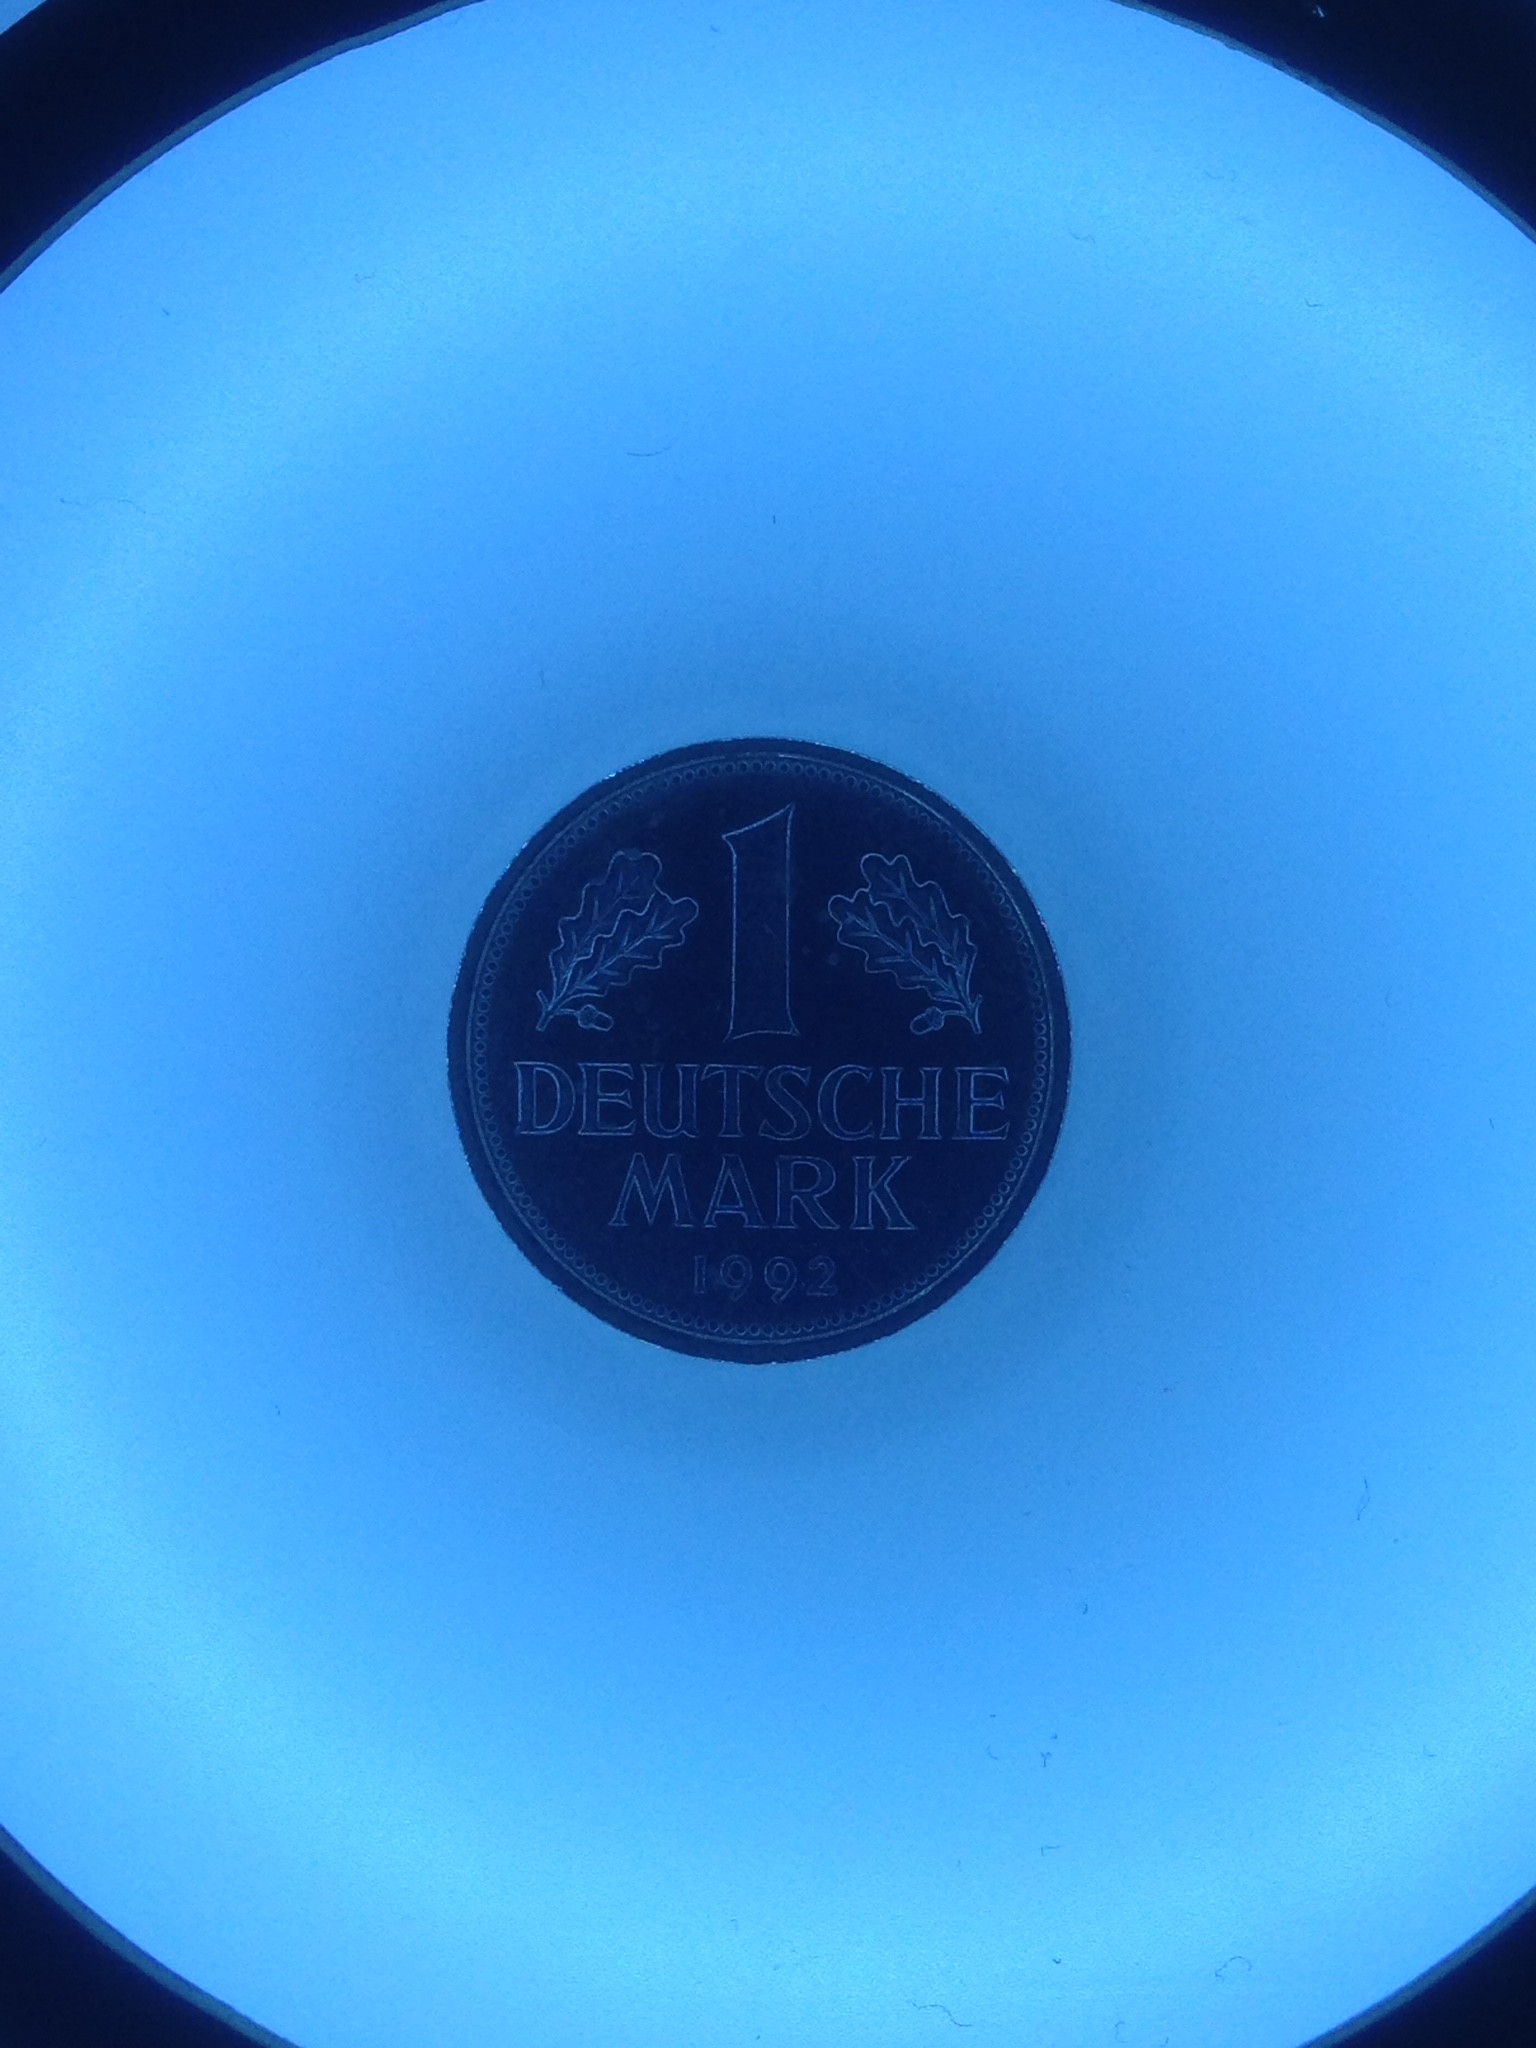 with 100%-PWM (the camera has turend automatically into "overdrive" ^^)


I like the idea of balancing 'warm' and 'cold' LEDs per shot. Perhaps a simple pot with each side hooked up to one color? ...and perhaps the best diffuser would be to have the LEDs face a concave ring with a parabolic profile that is coated with paint mixed 1:5 with Barium Sulfate.