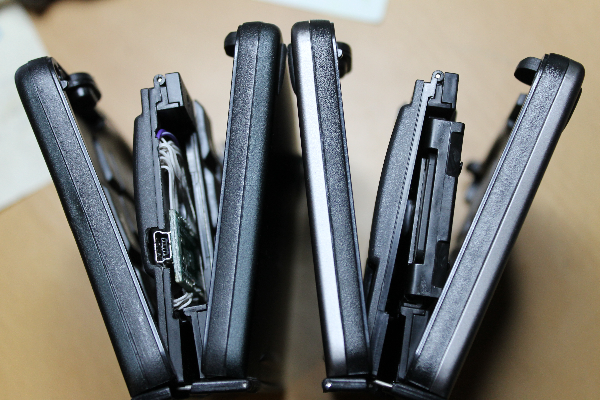
So I thougt to give the teensy I had in stock a run. (basicly because I got the information it's able to appear as a HID (USB Keyboard).
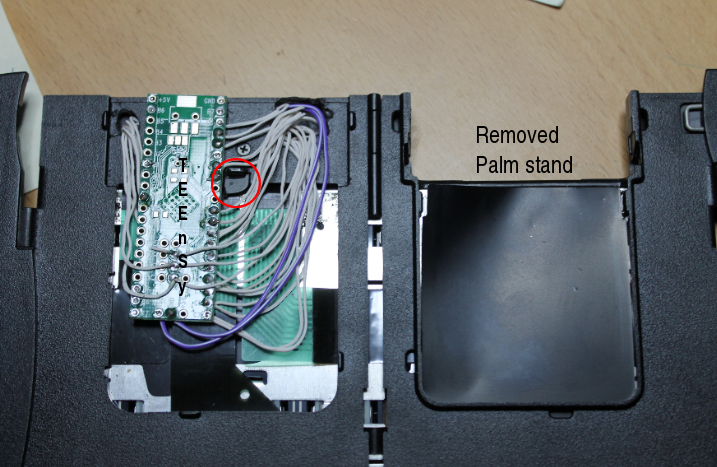
To make space for that, I removed the all parts that make the Palm stand and made some holes to fit the wires and connector.
Left the teensy inside the keyboard, right the orignal space with the Palm stand for comparison.

And here is one opend from the backside (I had to cut of half of the little plastic nob on which that part rests on the table).

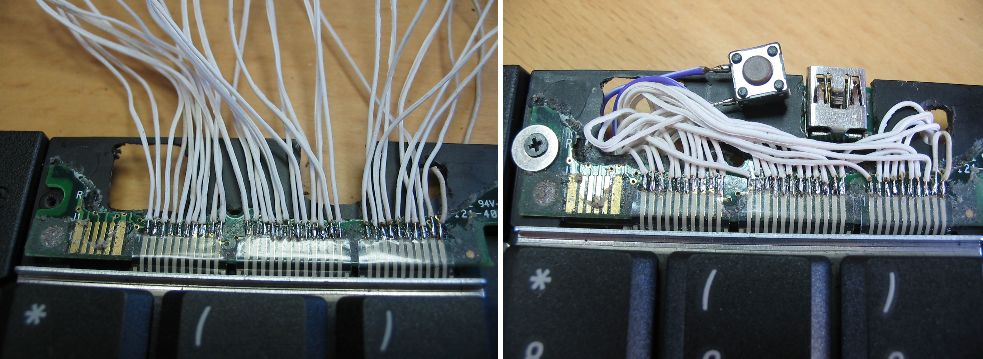
wiring is a bit ugly, but I thought it'll do for fisrt run. The other side is ever more difficult and I daaditionally needed to remove the reset switch from the teensy and wire it to the top, since I would otherwise had press it with most of the keyboard strokes, which pressed the switch underneath.

I drilled a little hole in the top of the case to get the reset switch pressed with the bended paper clip Trick.
As you can see, I cutted of all parts of the PCB to have only the contact pads for the wiring left. The rest was a little sketch (with the help of the arduino forum and sisam), to go for a test run. It BASICLY worked, which means I got some (but not all) keystrokes, but never random or false respond. So I guess I possibly riuned some contacts by soldering temperature, or mechanicly while several dis-/reassambling or simply broke some of the ribbon cables. But all in all I count it promissing enough to go for custom arduino (or at lest a breakout board first), which will the replace the cutted down original one and will use the z-axis conductive tape.
In the above setup the housing squeses on the the soldering pints, which is a additionally source of possible connecting problems.
 mclien
Discussions
Become a Hackaday.io Member
Create an account to leave a comment. Already have an account? Log In.