Close
0%
0%

RetroGamer CNC Jog Shuttle

Everyone needs a little fun in their life.

Similar projects worth following
My cousin and I thought this would be fun. It's a pain in the ass to zero any CNC machine without either a jog shuttle, camera, a controller in a decent location, or limit switches. We're going with the first.

I carry around my project composition book with me just about everywhere I go, because you never know when a smokin' cool idea is going to hit. Setting up the plasma for a cut is alway a pain in the ass, and remanent cuts should just be easier. So it was probably natural that this idea would come up as we were making some killer fire pits.

I'd like to point out that while this is kinda cool, you could actually put together a pocket sized device with a Trinket, BLE HID, a little Li-Po battery, two little buttons and one of those tiny joystick switches.....

.....just sayin'.
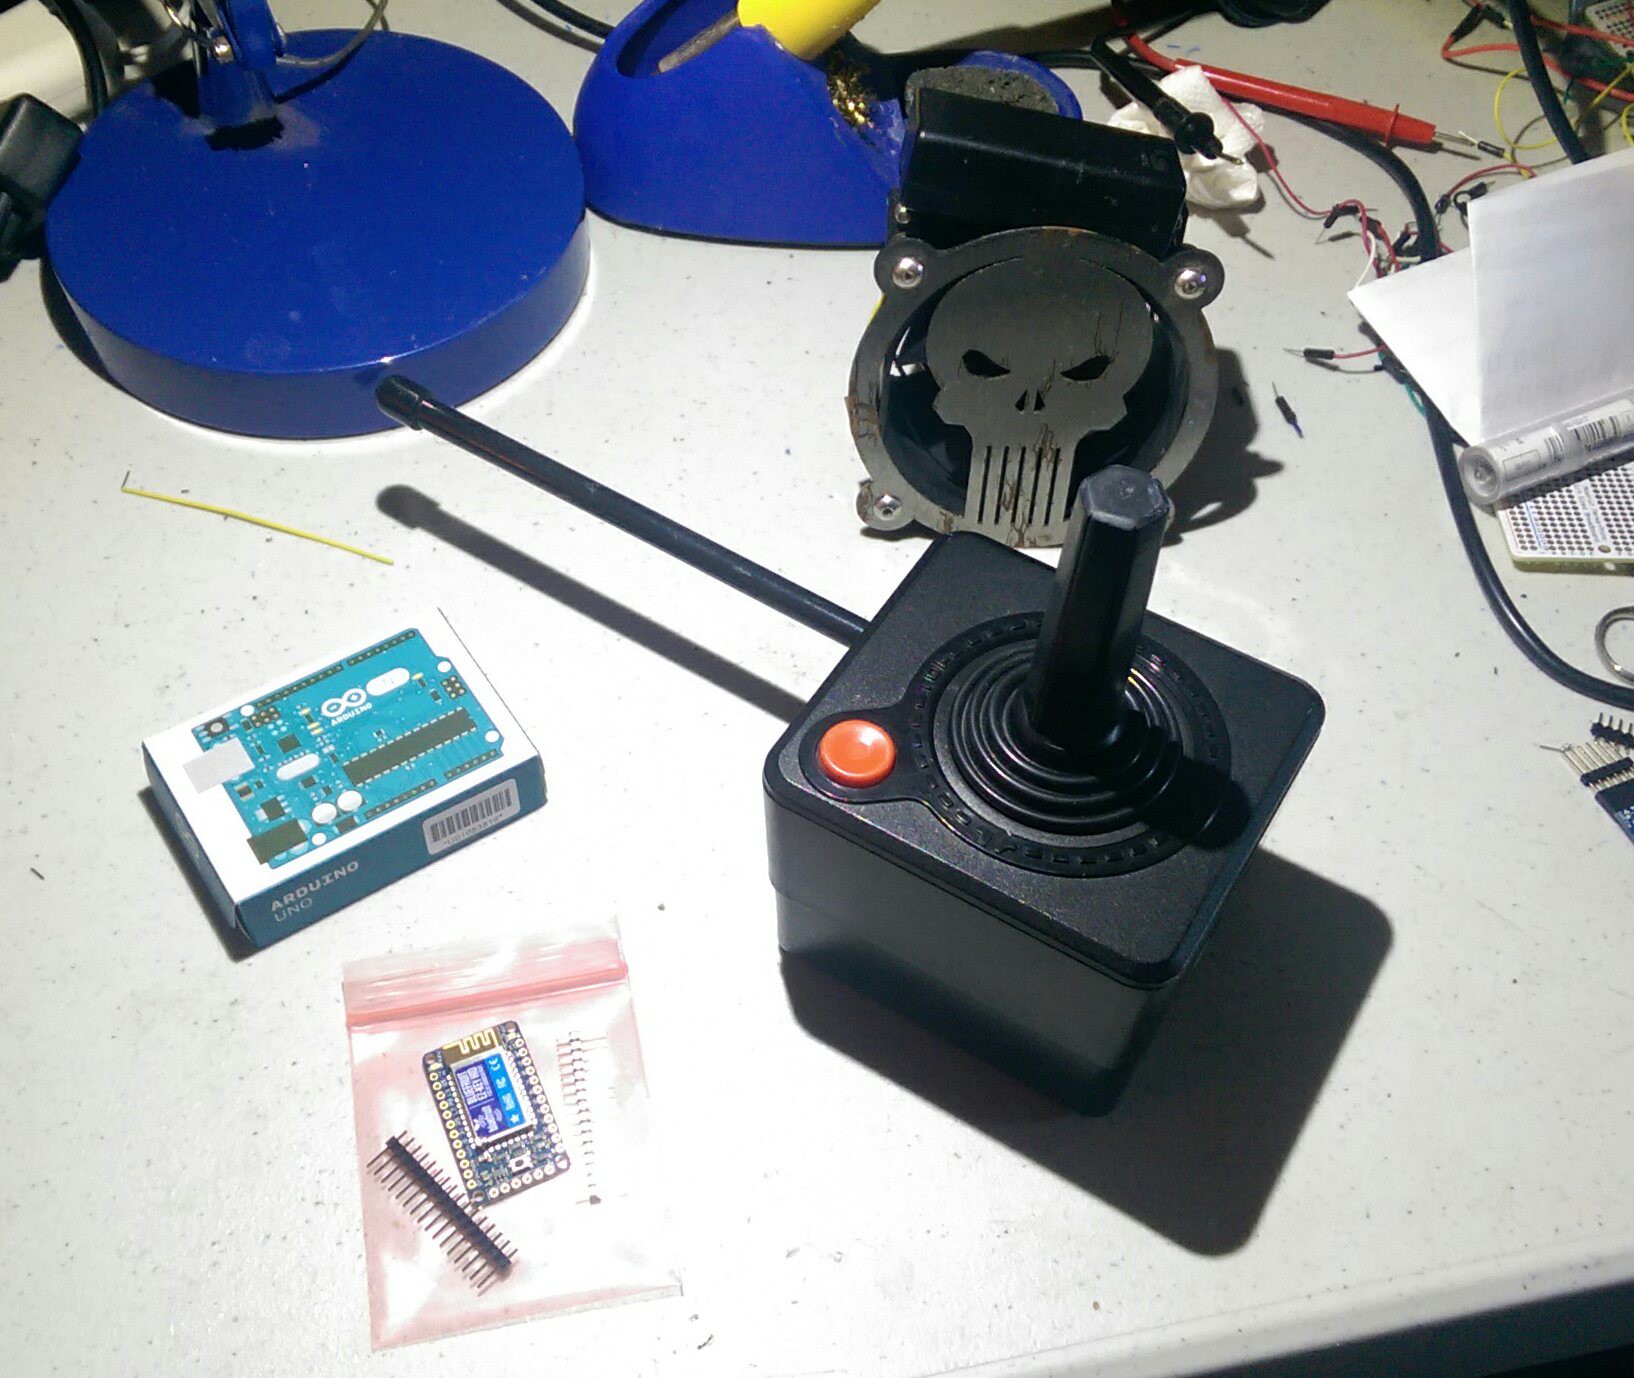
  • 1 × Atari Remote Control Joystick purchased on ebay for $10
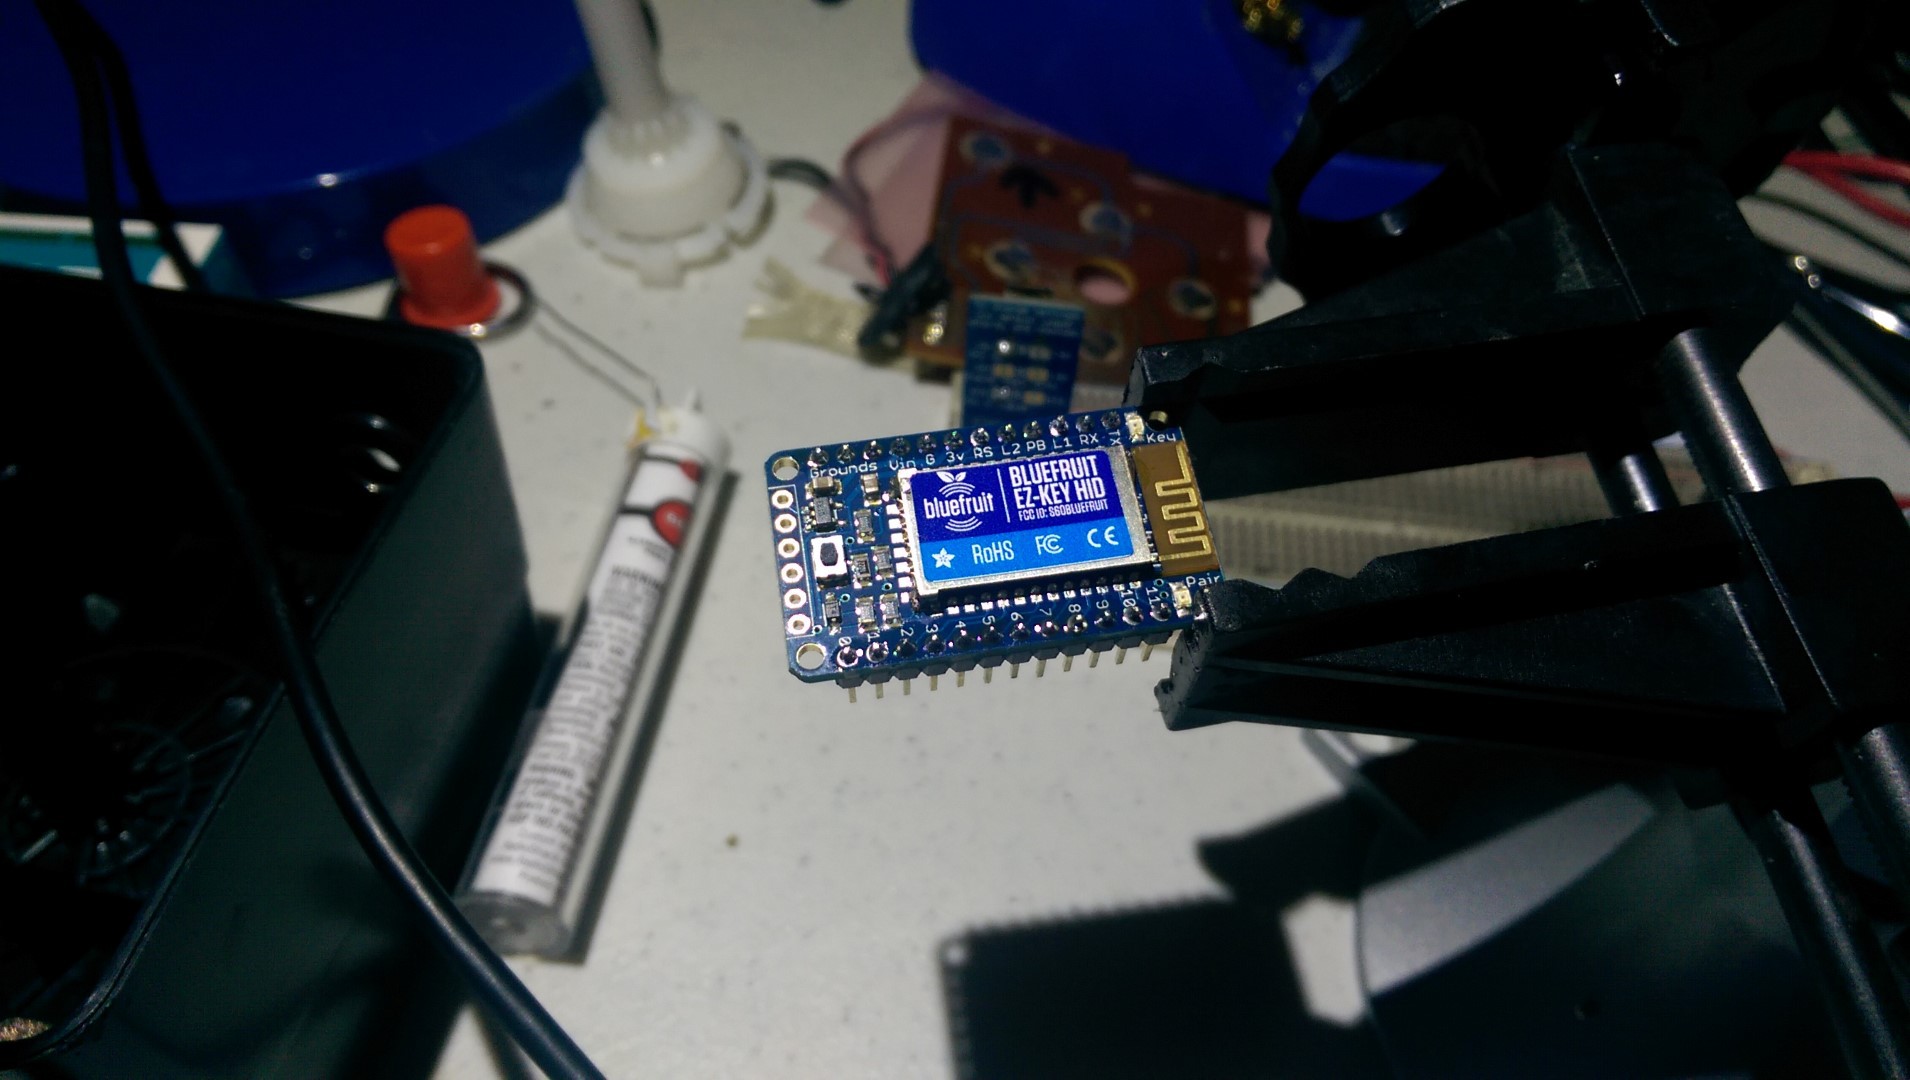
  • 1 × Bluefruit EZ-Key - 12 Input Bluetooth HID Keyboard Controller - v1.2 PID: 1535 by adafruit
  • 3 × Misc Momentary buttons.
  • 1 × COMMON CATHODE RBG LED Capacitors / Aluminum Electrolytic

  • Round 3

    Jeremy Lambert01/31/2015 at 03:24 0 comments

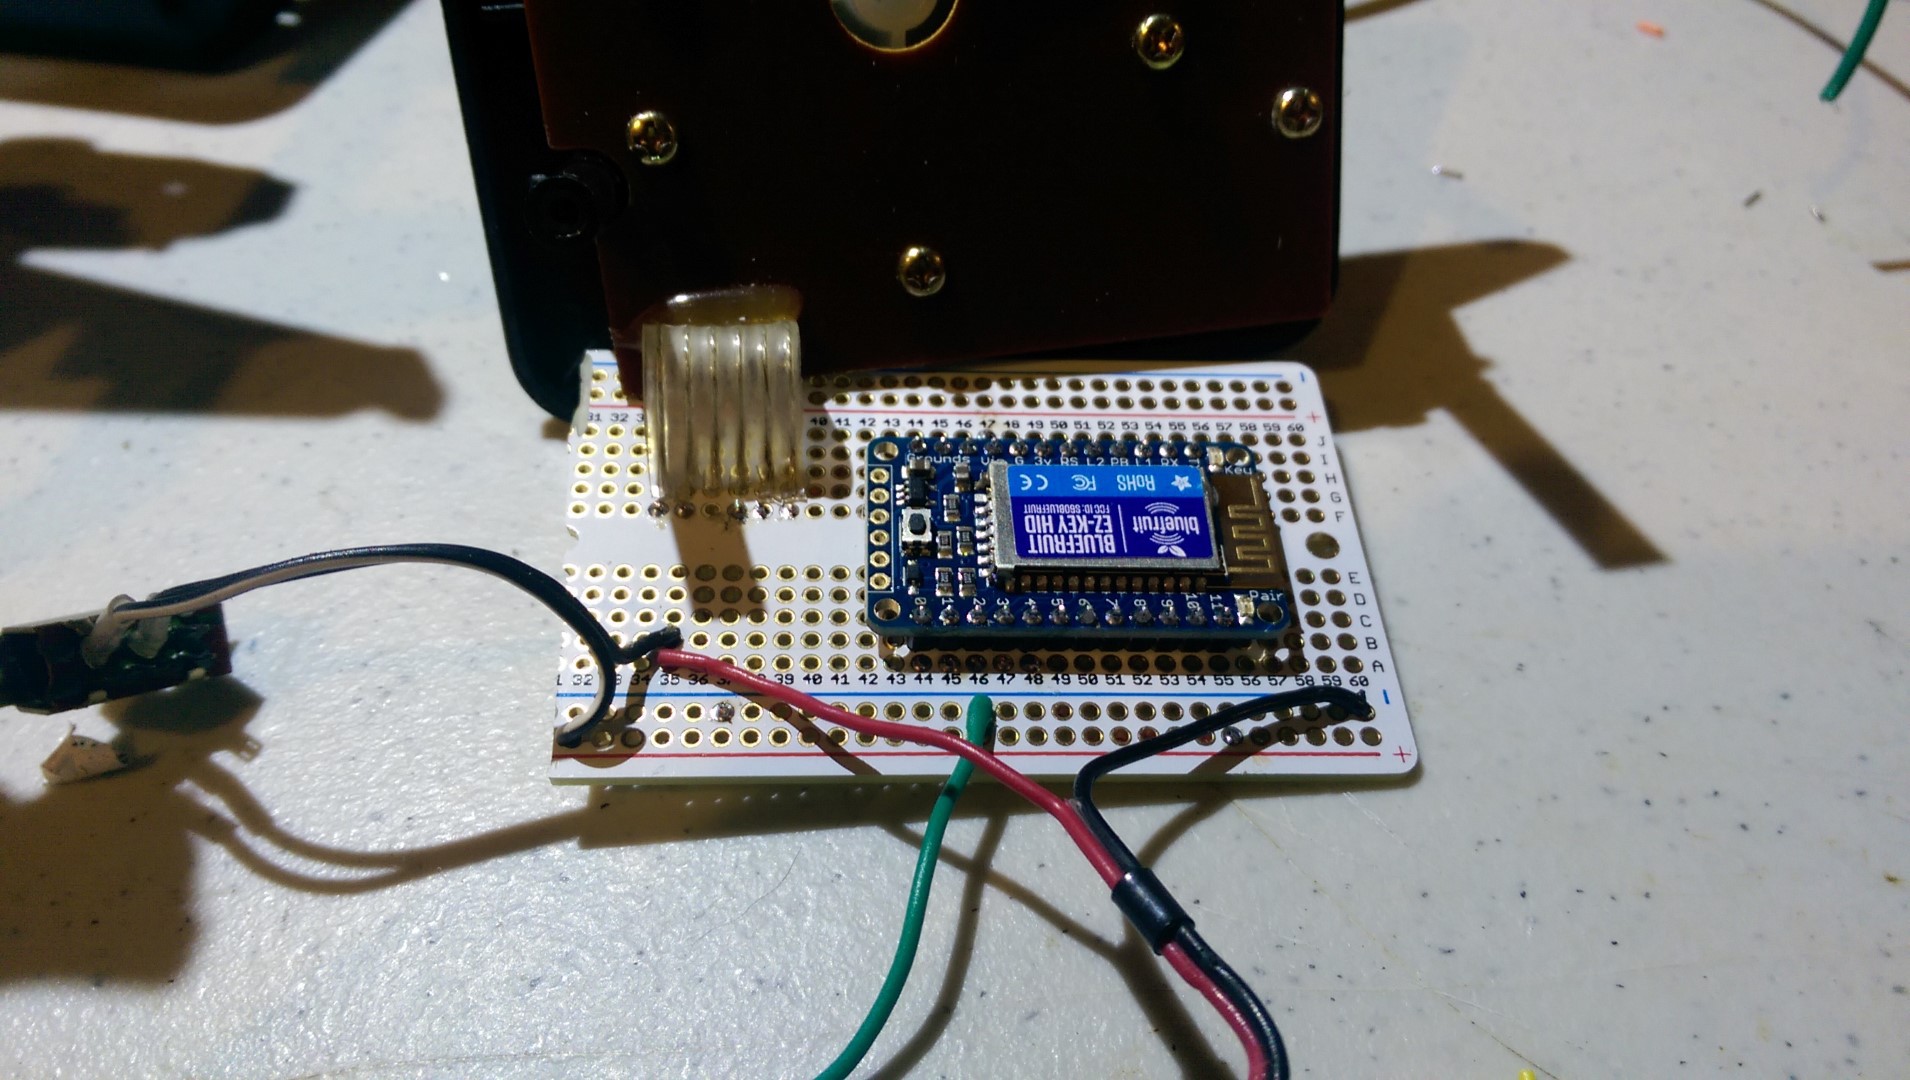
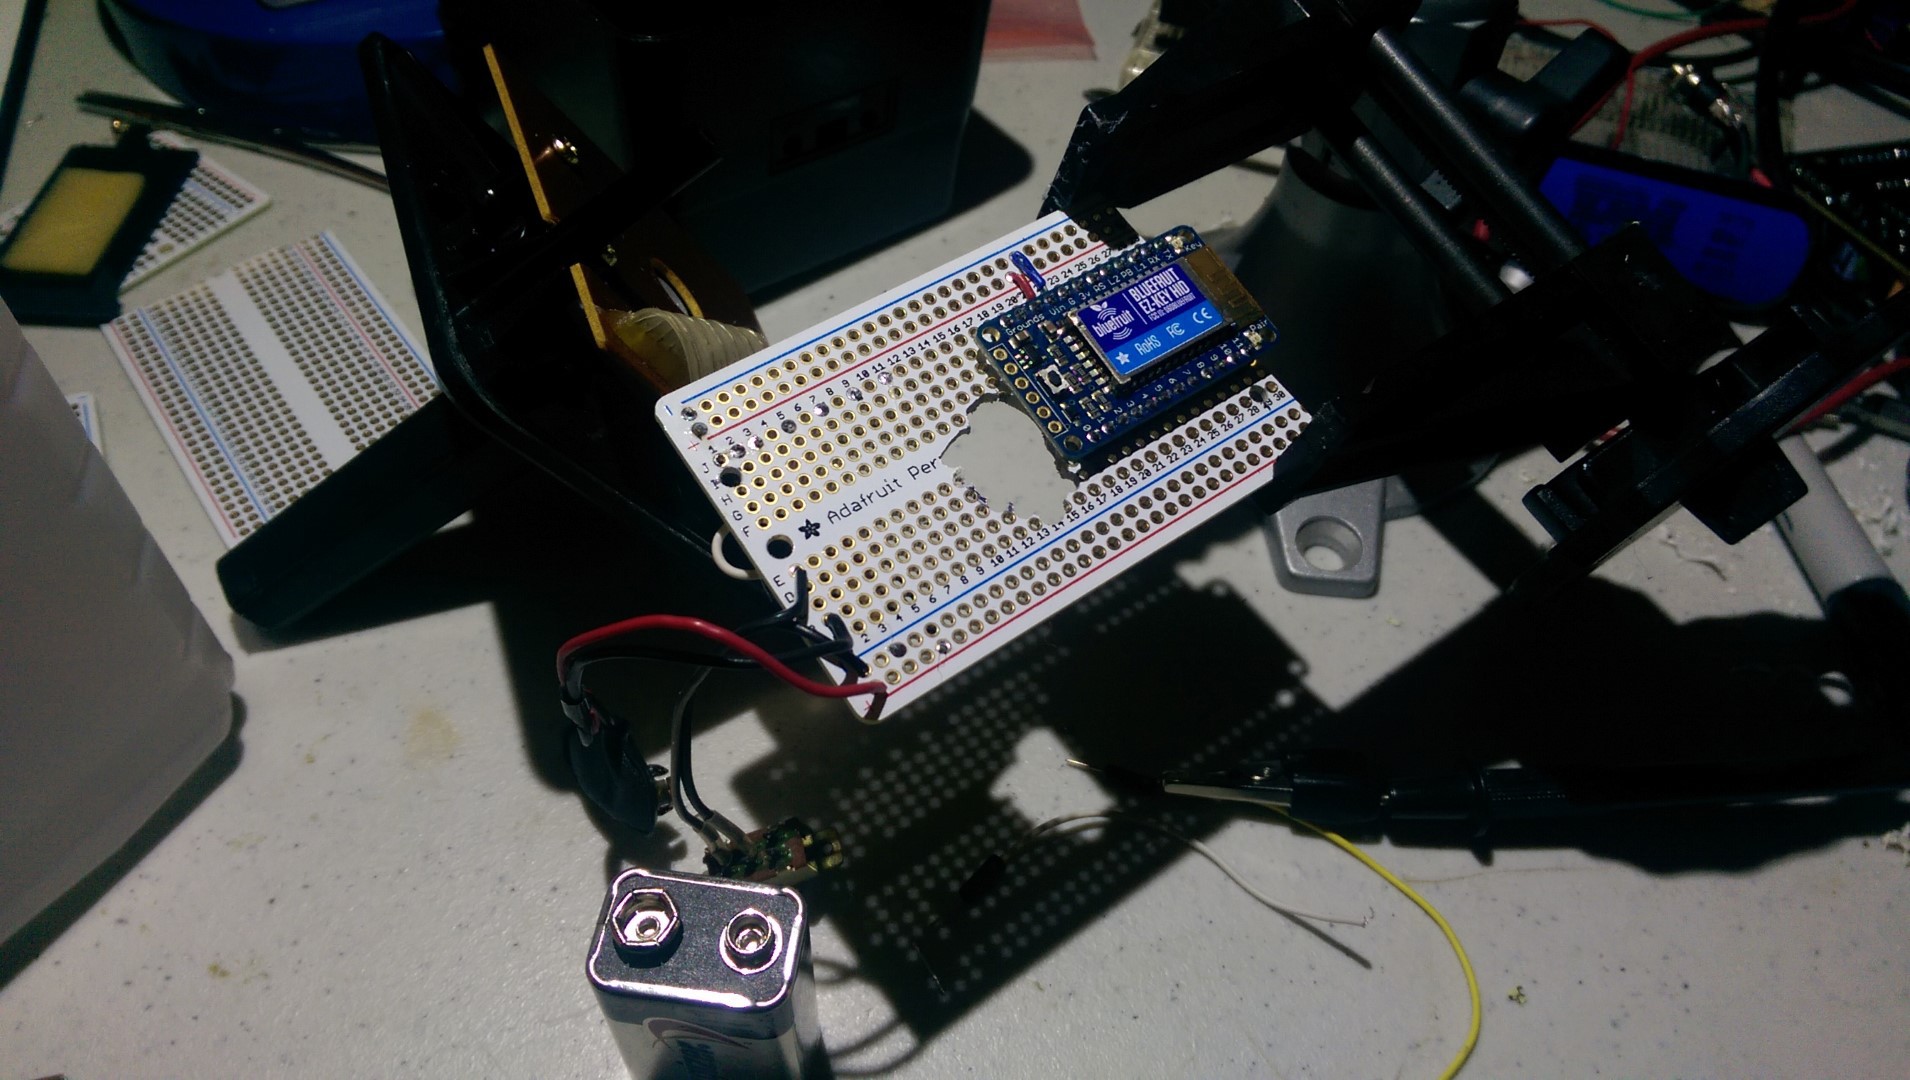
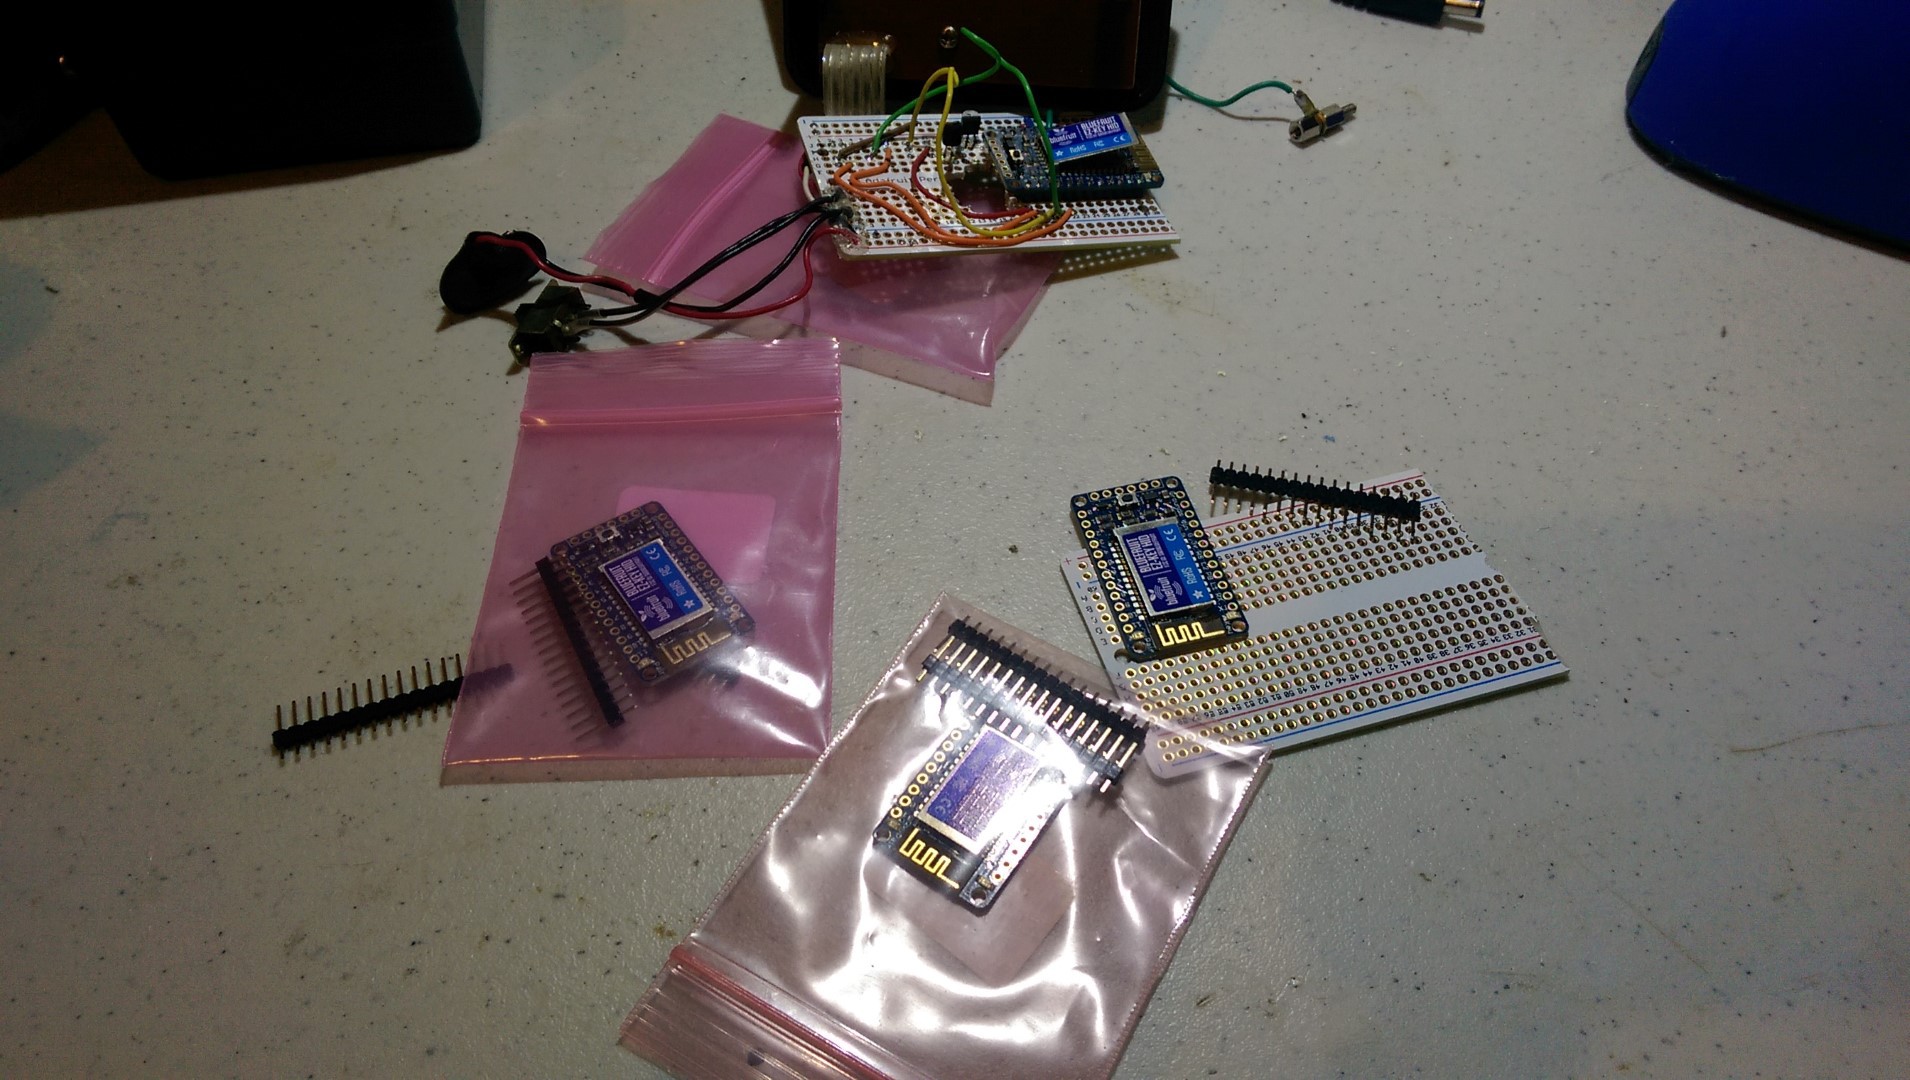
    Since I fried the last HID board and am planning on doing a deadbug version of this:

    I got a few.

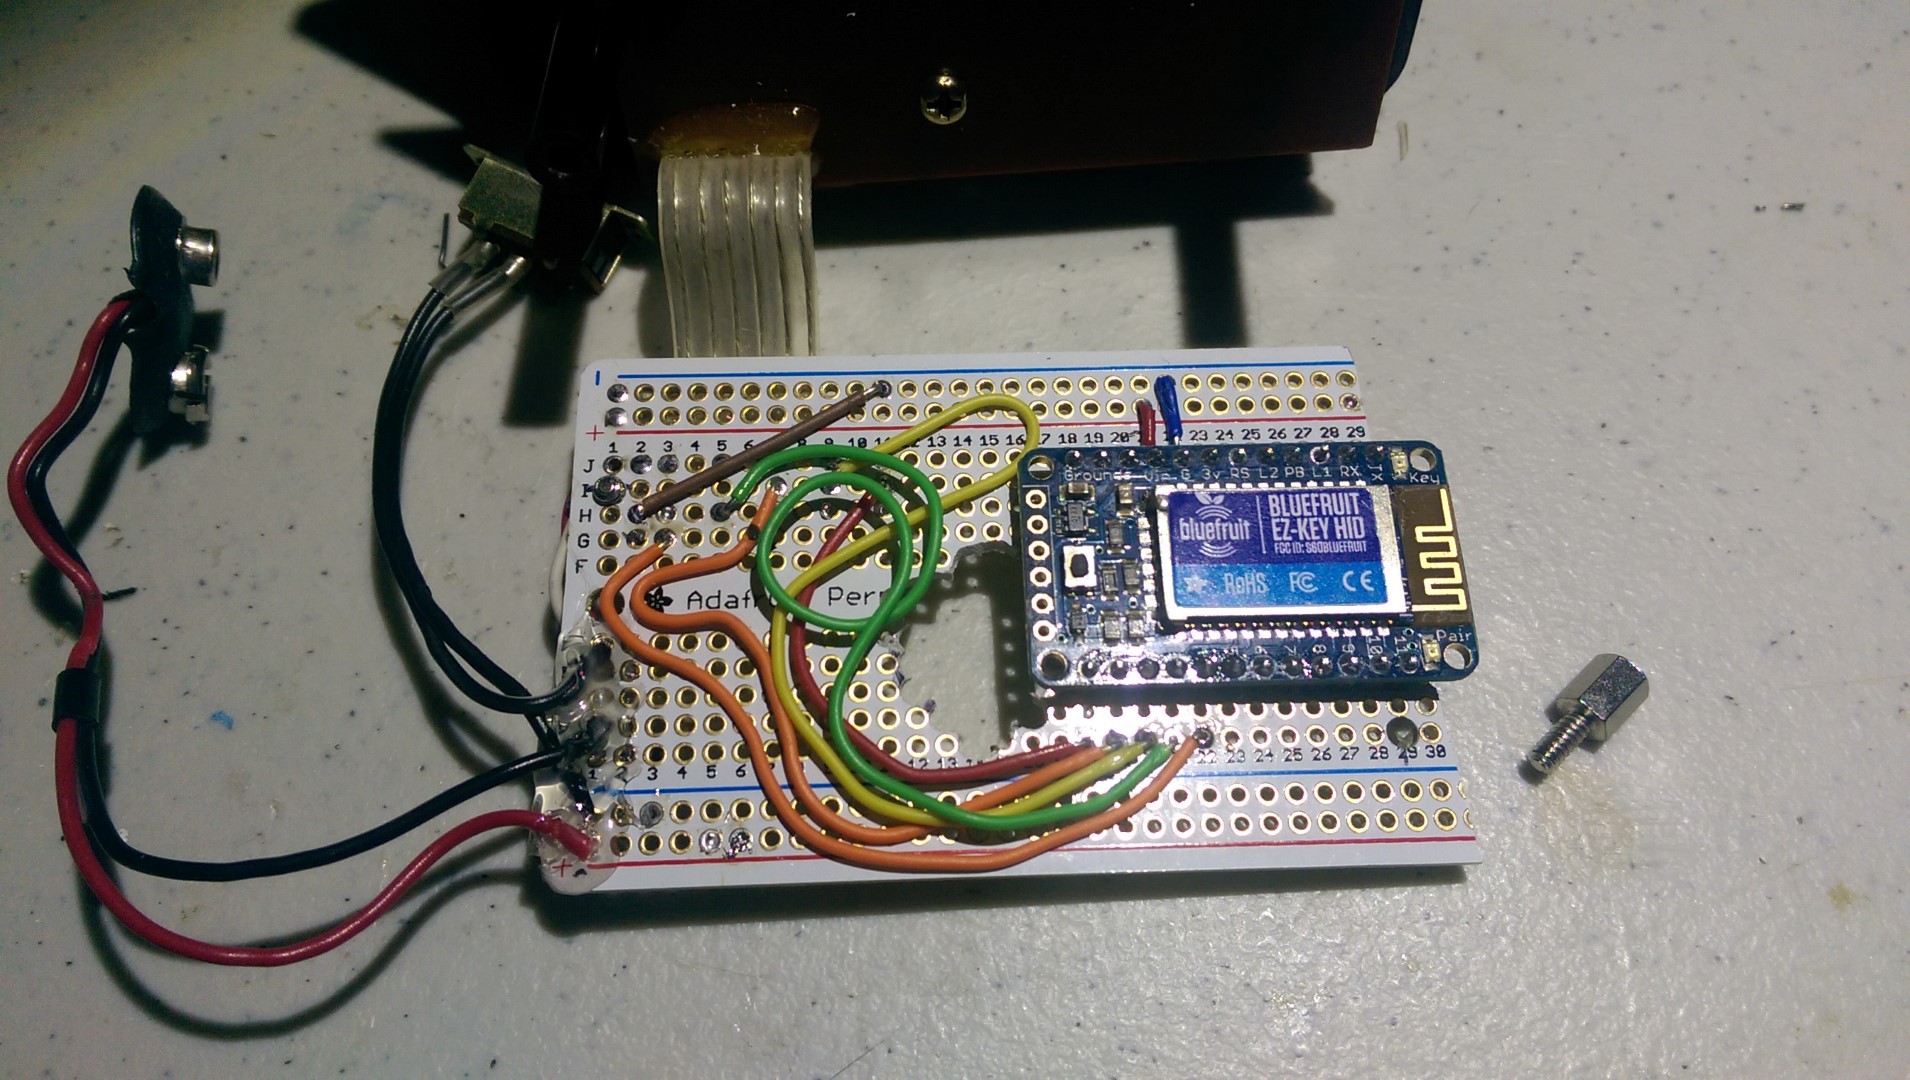
    New layout.

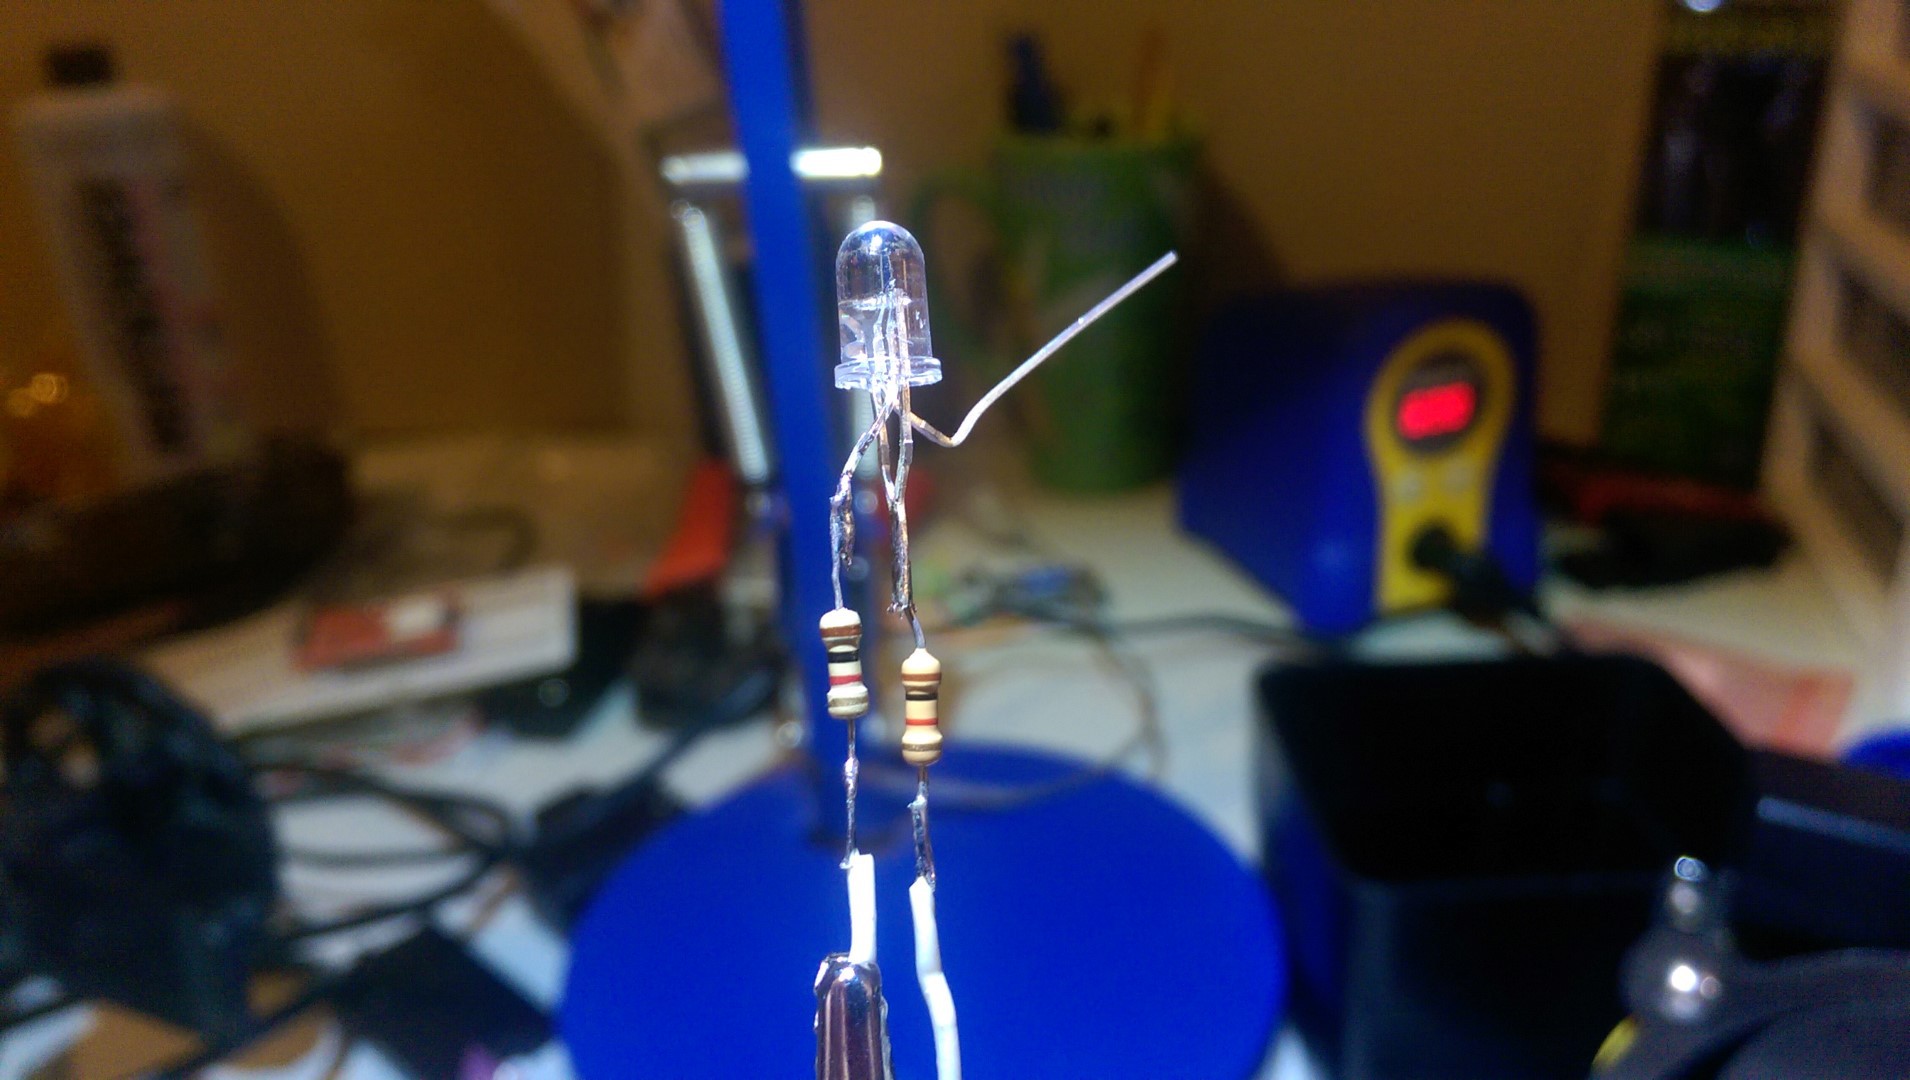
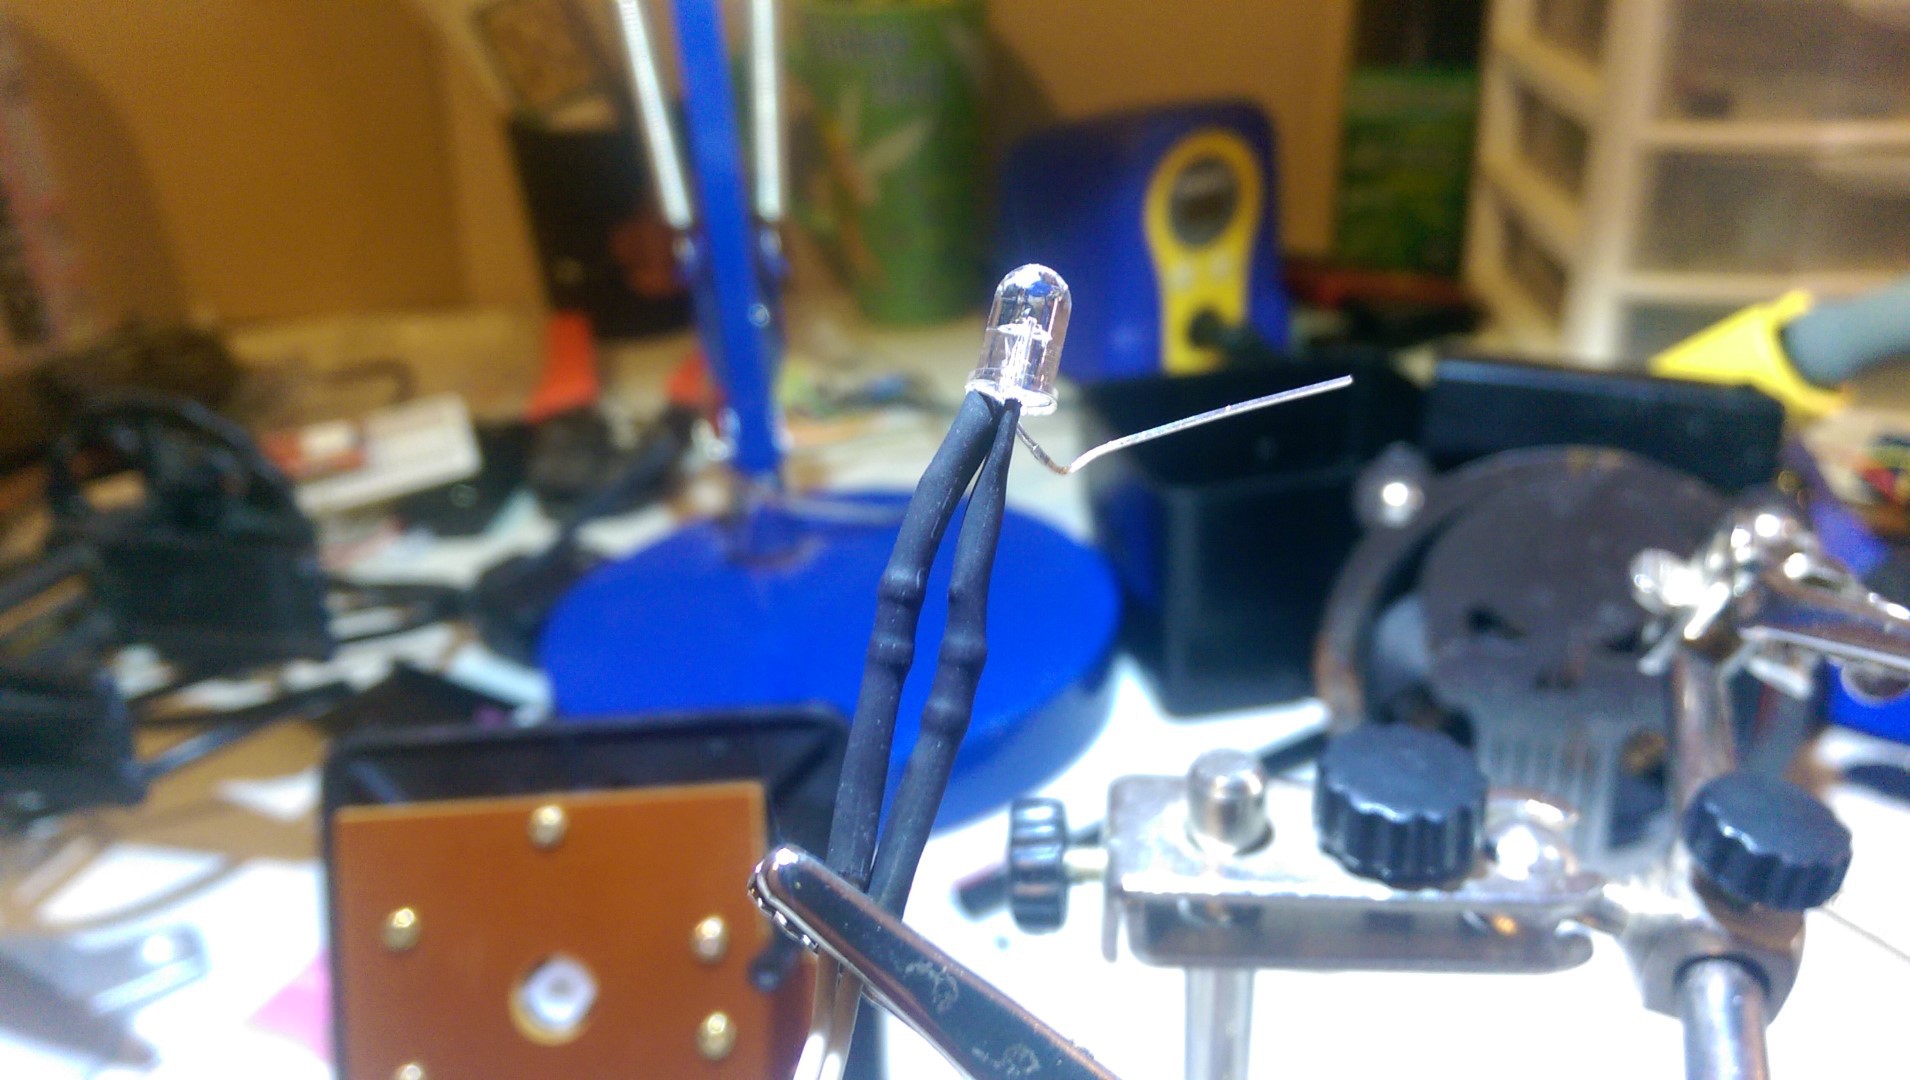
    Re-did the LED, this time with the correct type.

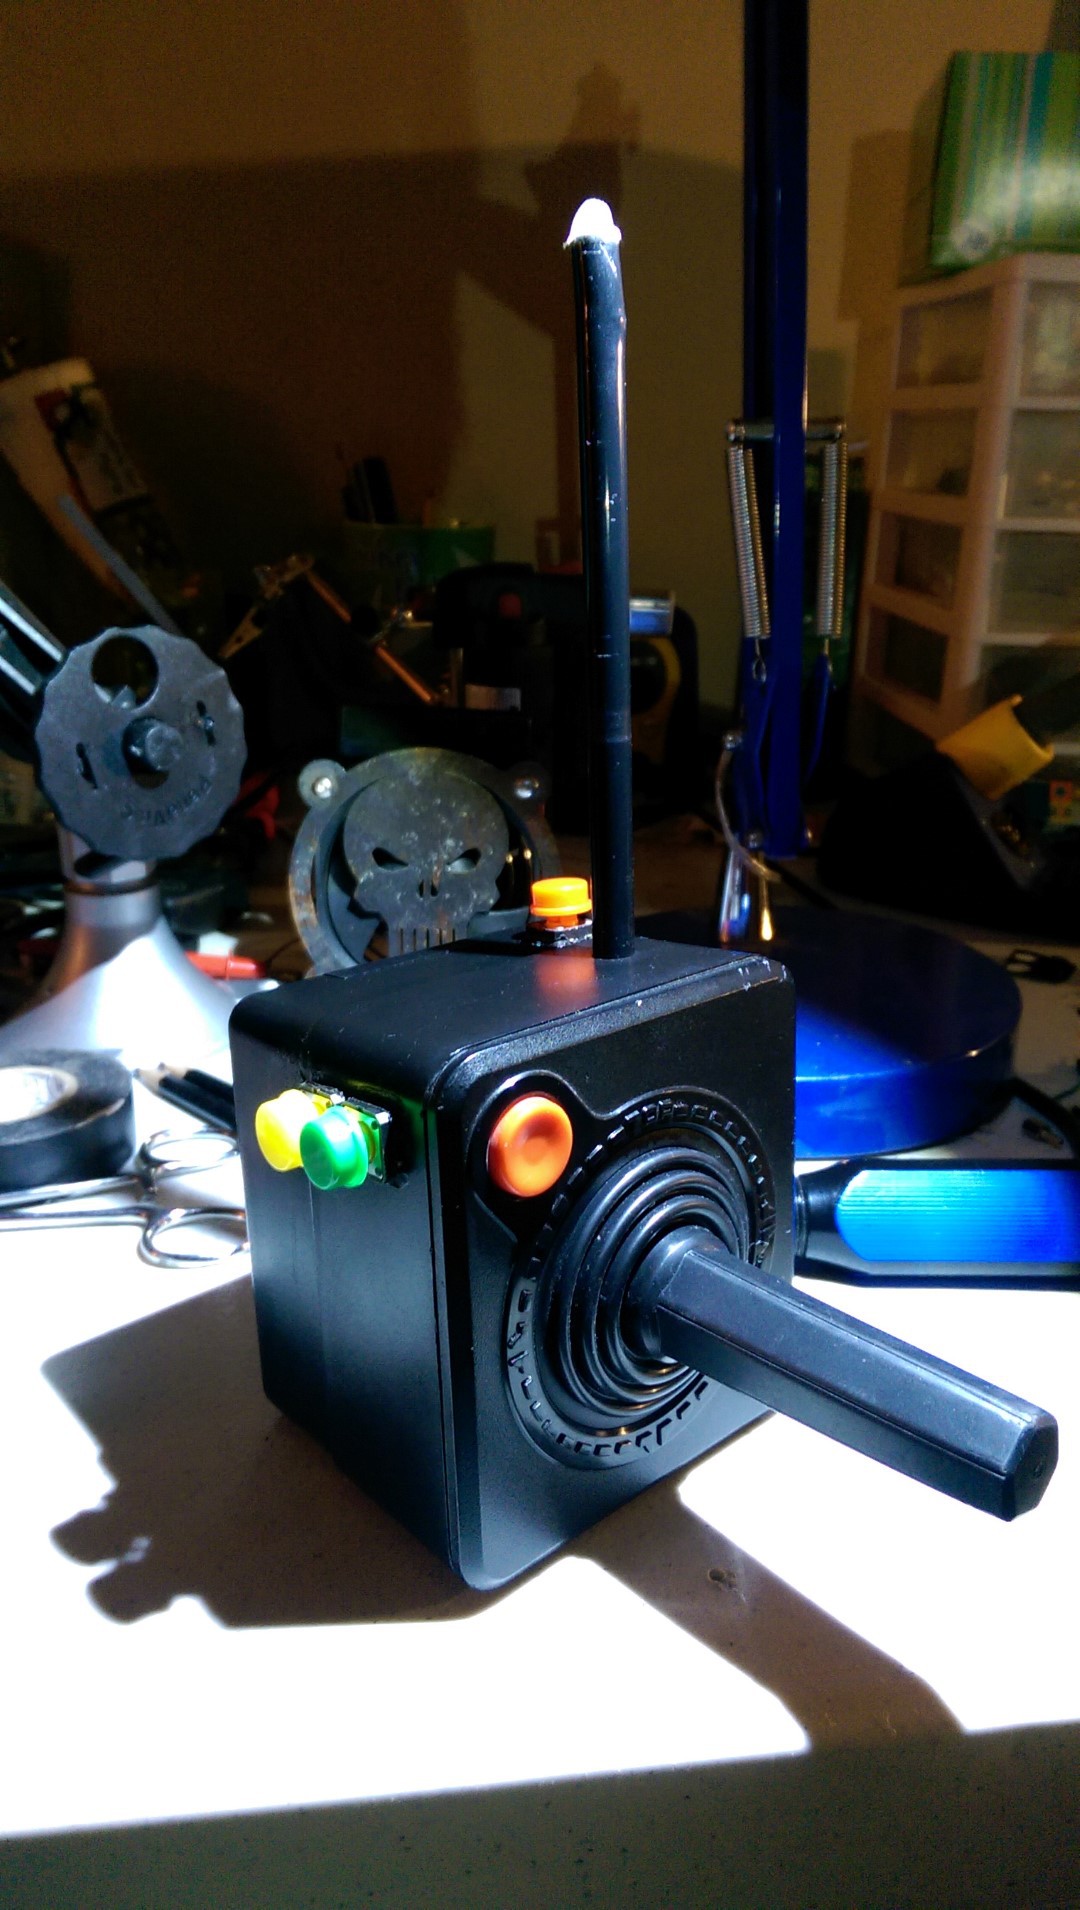
    Wired it back into the antenna itself as negative, since we aren't really using it anymore.

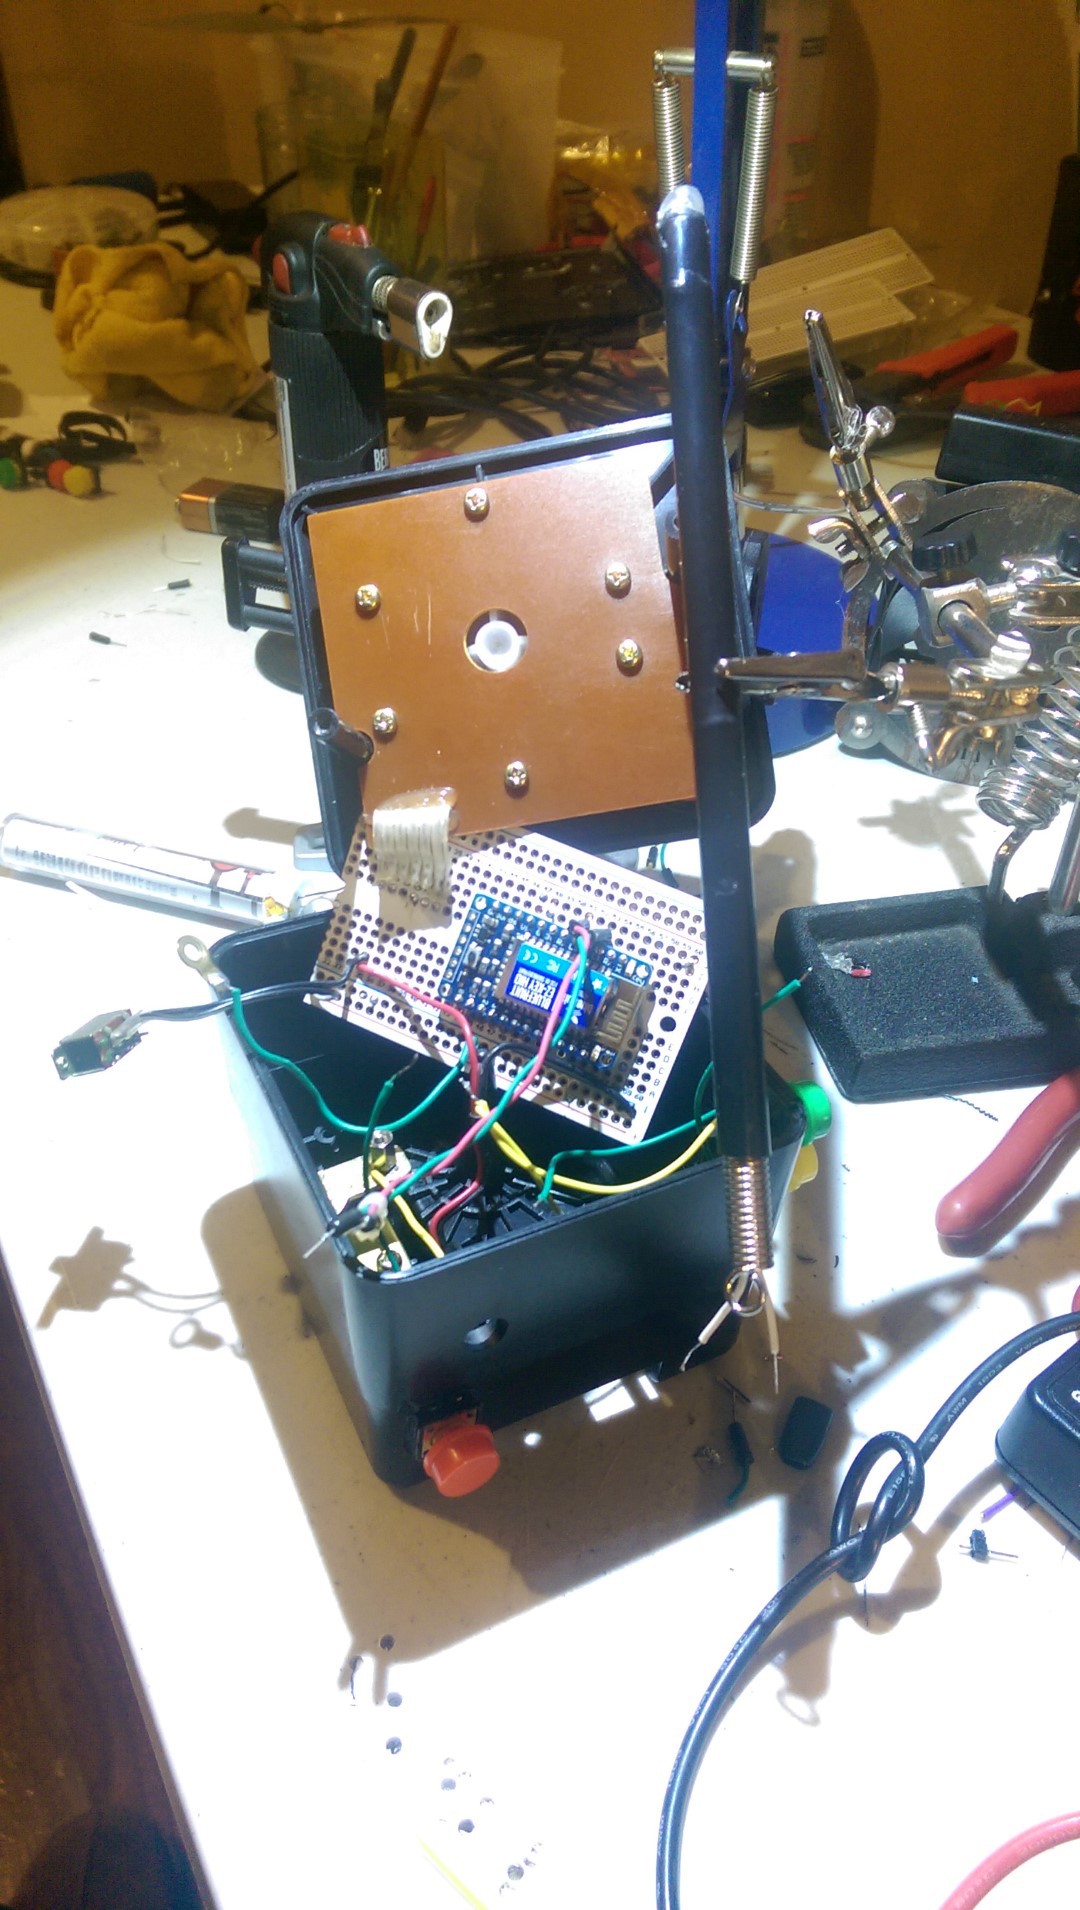
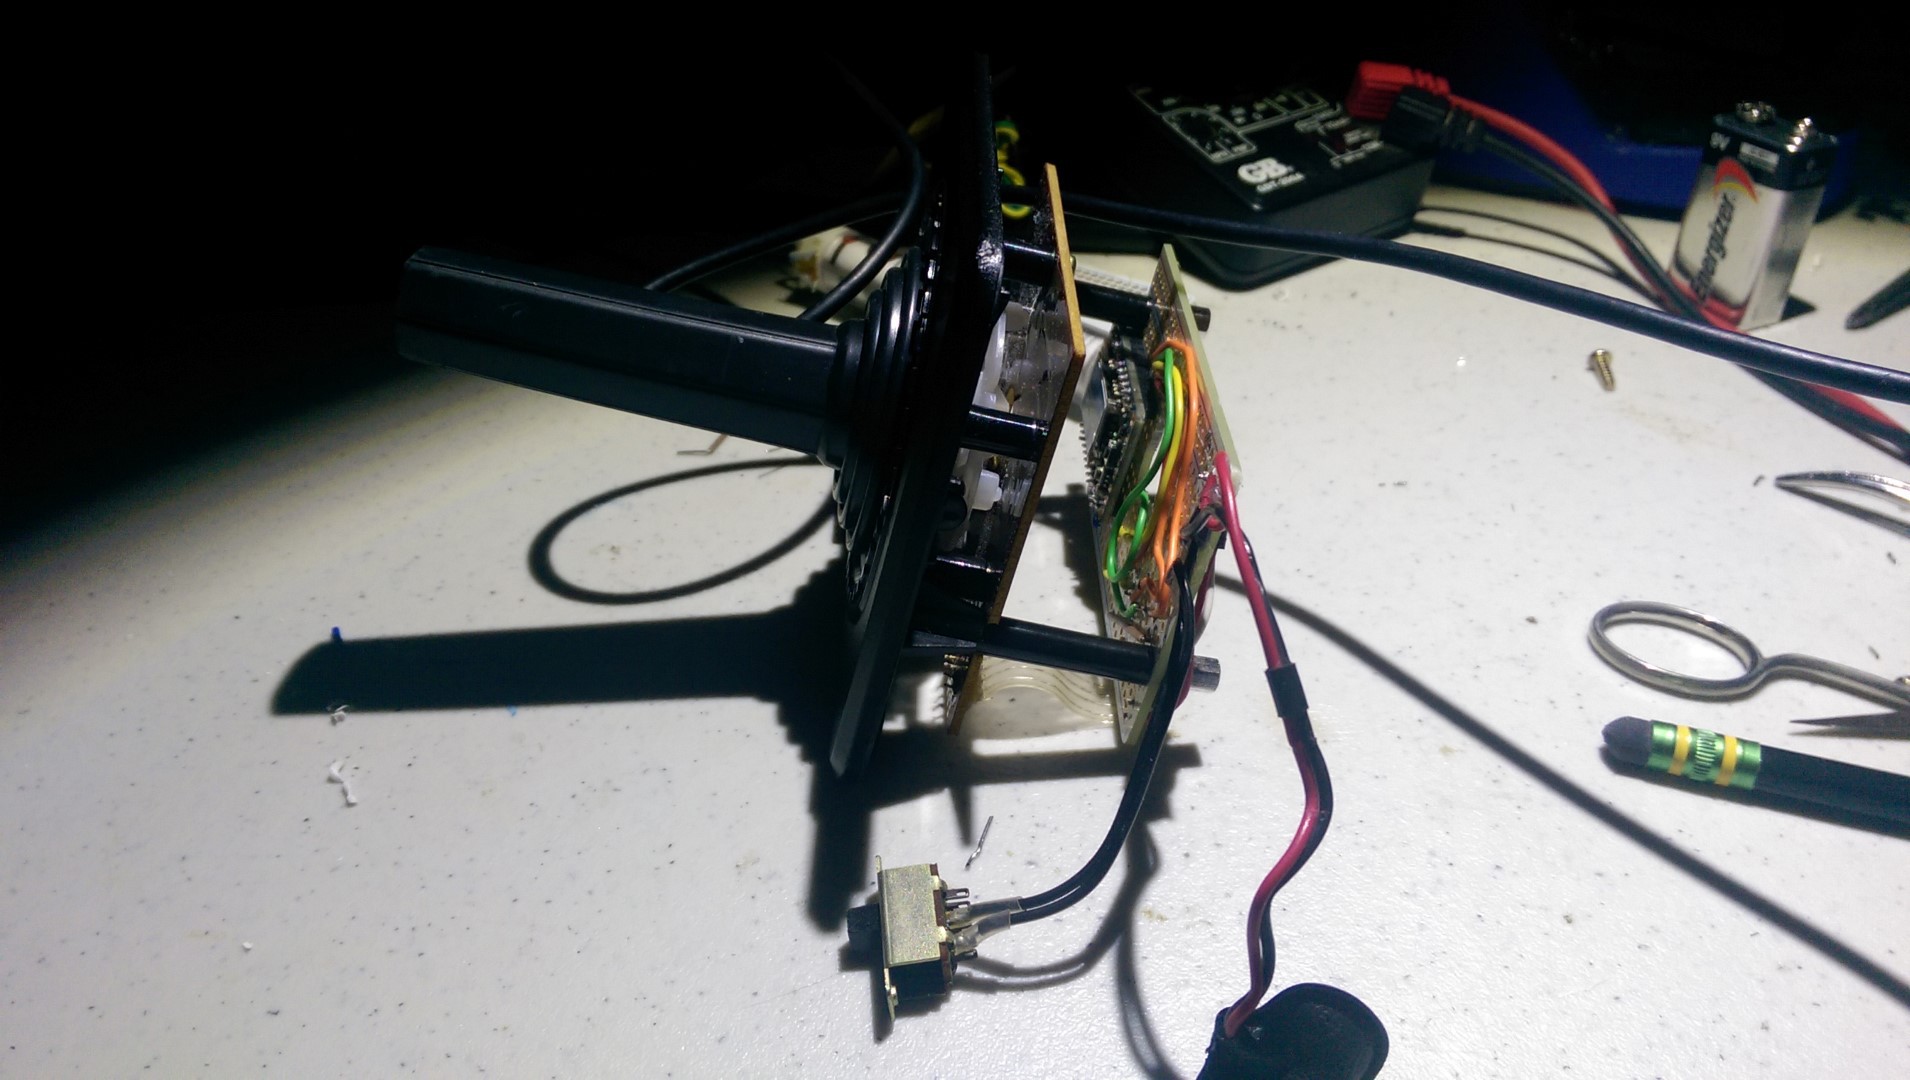
    Added 3 buttons for Z +/- and e-stop. They are thermally fused (read: melted) to the outer case. Also decided to use the OG atari button for Run.

    And voila.

  • Build Log Day 2

    Jeremy Lambert01/25/2015 at 02:22 0 comments

    @*@&@$*&@#)!!!)$#%&*%&)@!!!

    I fried the Bluefruit. I got careless and raked a trace while I was working on the light problem. POOF.

    ....ordered 3 more, just in case.

  • Build Day 1

    Jeremy Lambert01/24/2015 at 09:33 1 comment

    I have been excited to do this project for a while. I didn't know what shape it was going to take, but I knew that a shuttle for the plasma was a must.

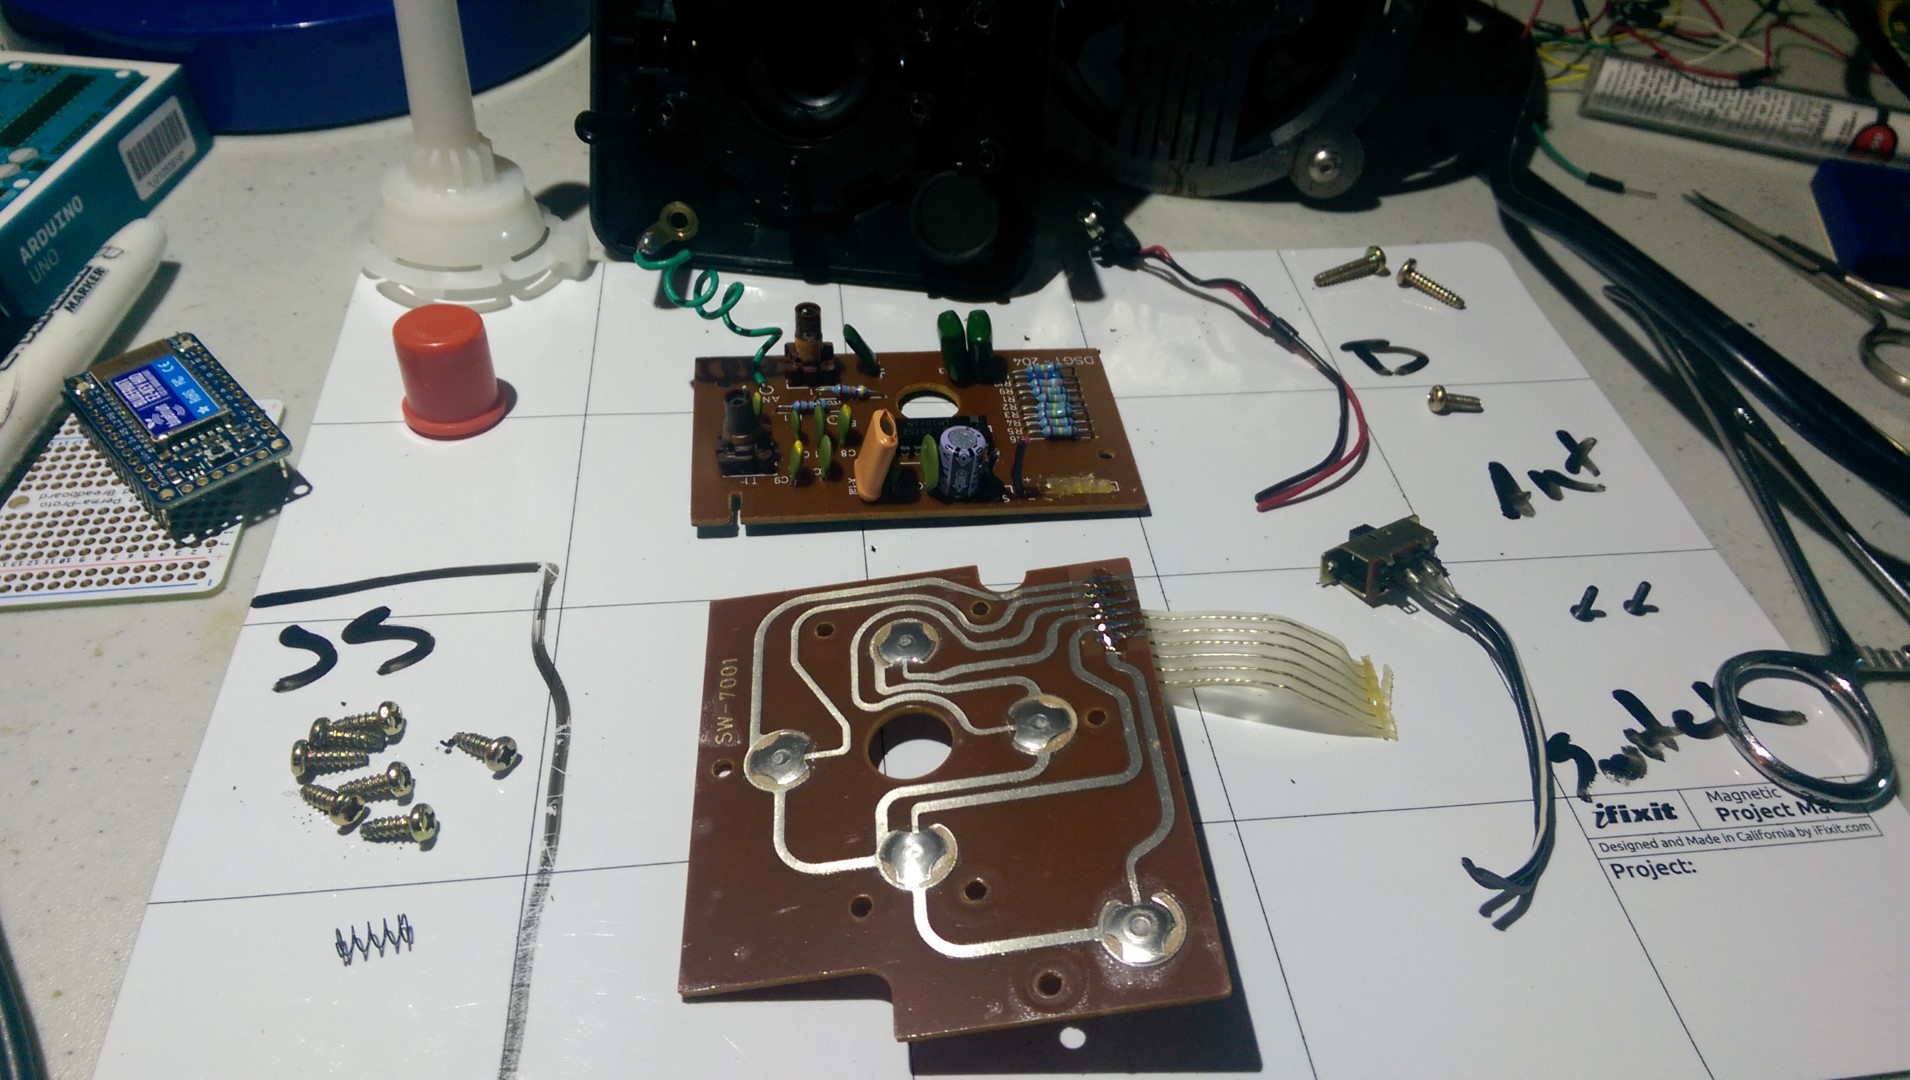
    First things first. BREAK IT DOWN!

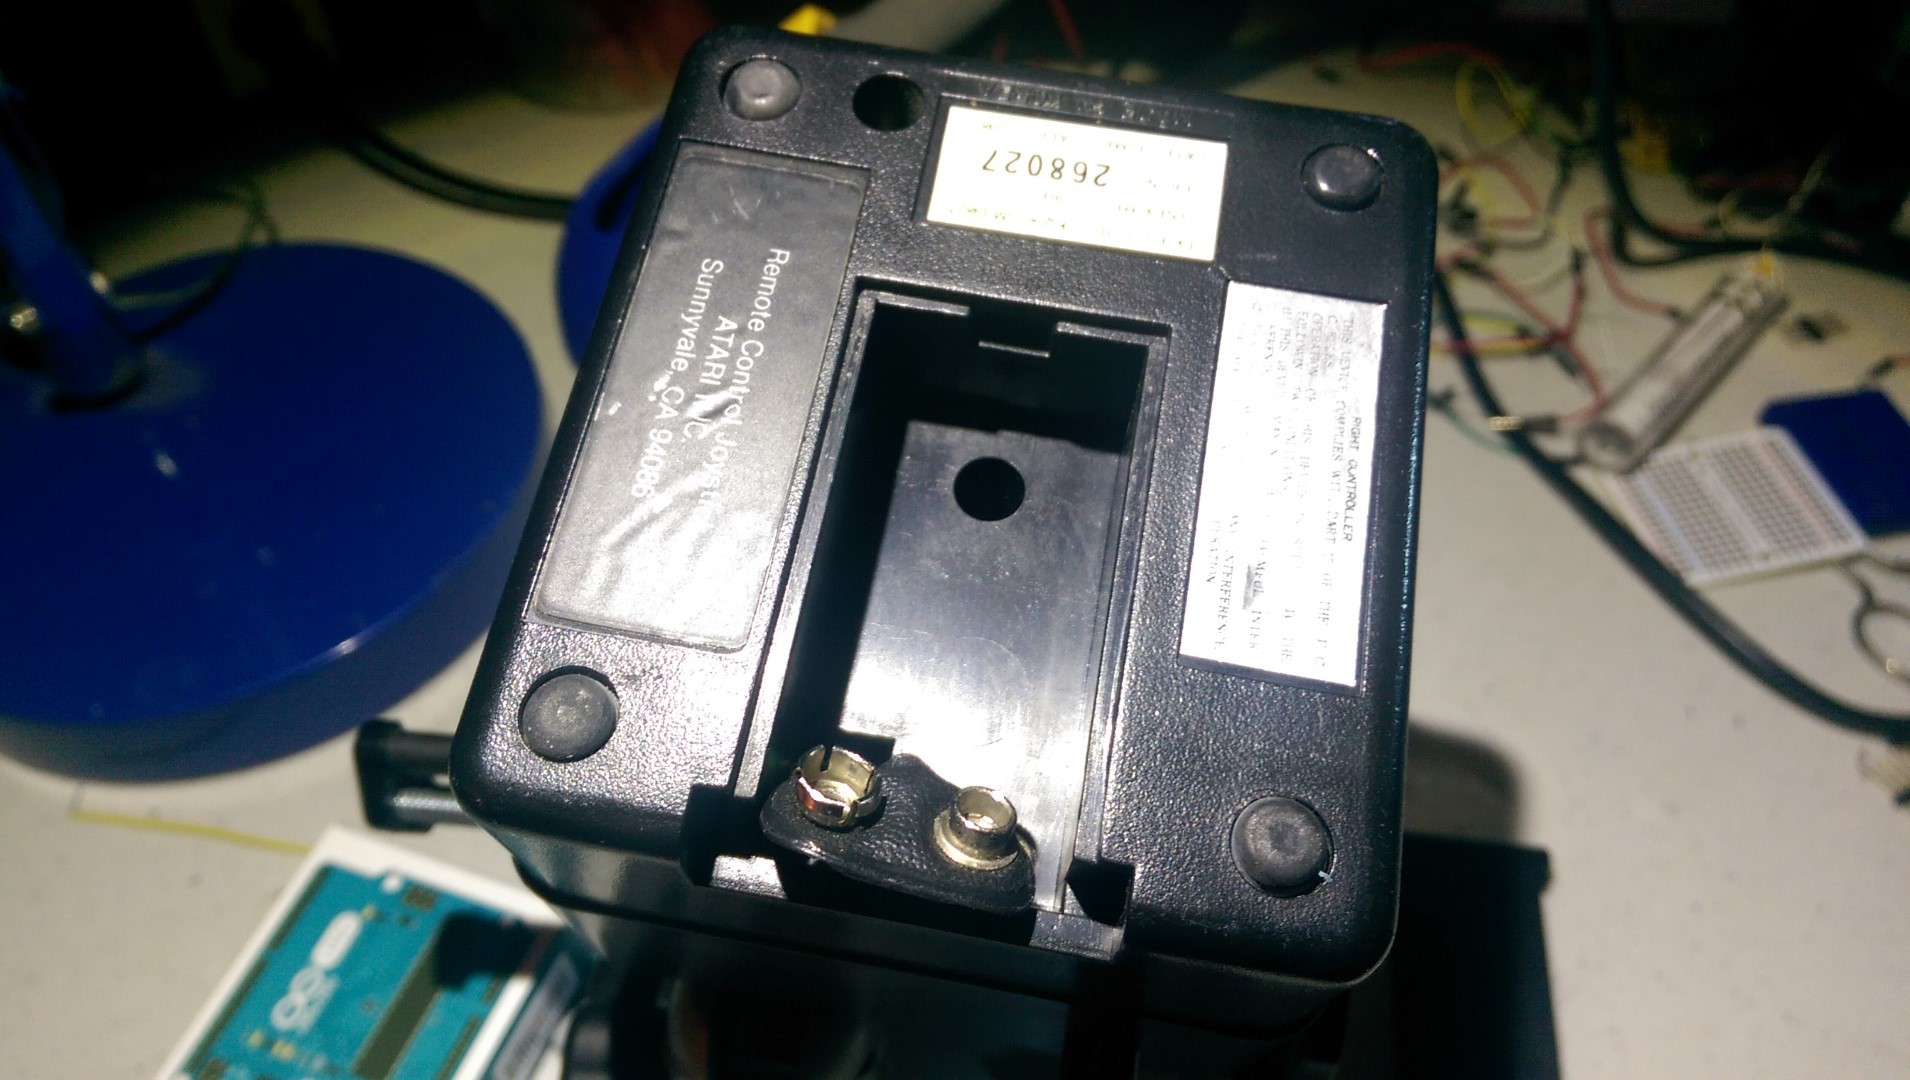
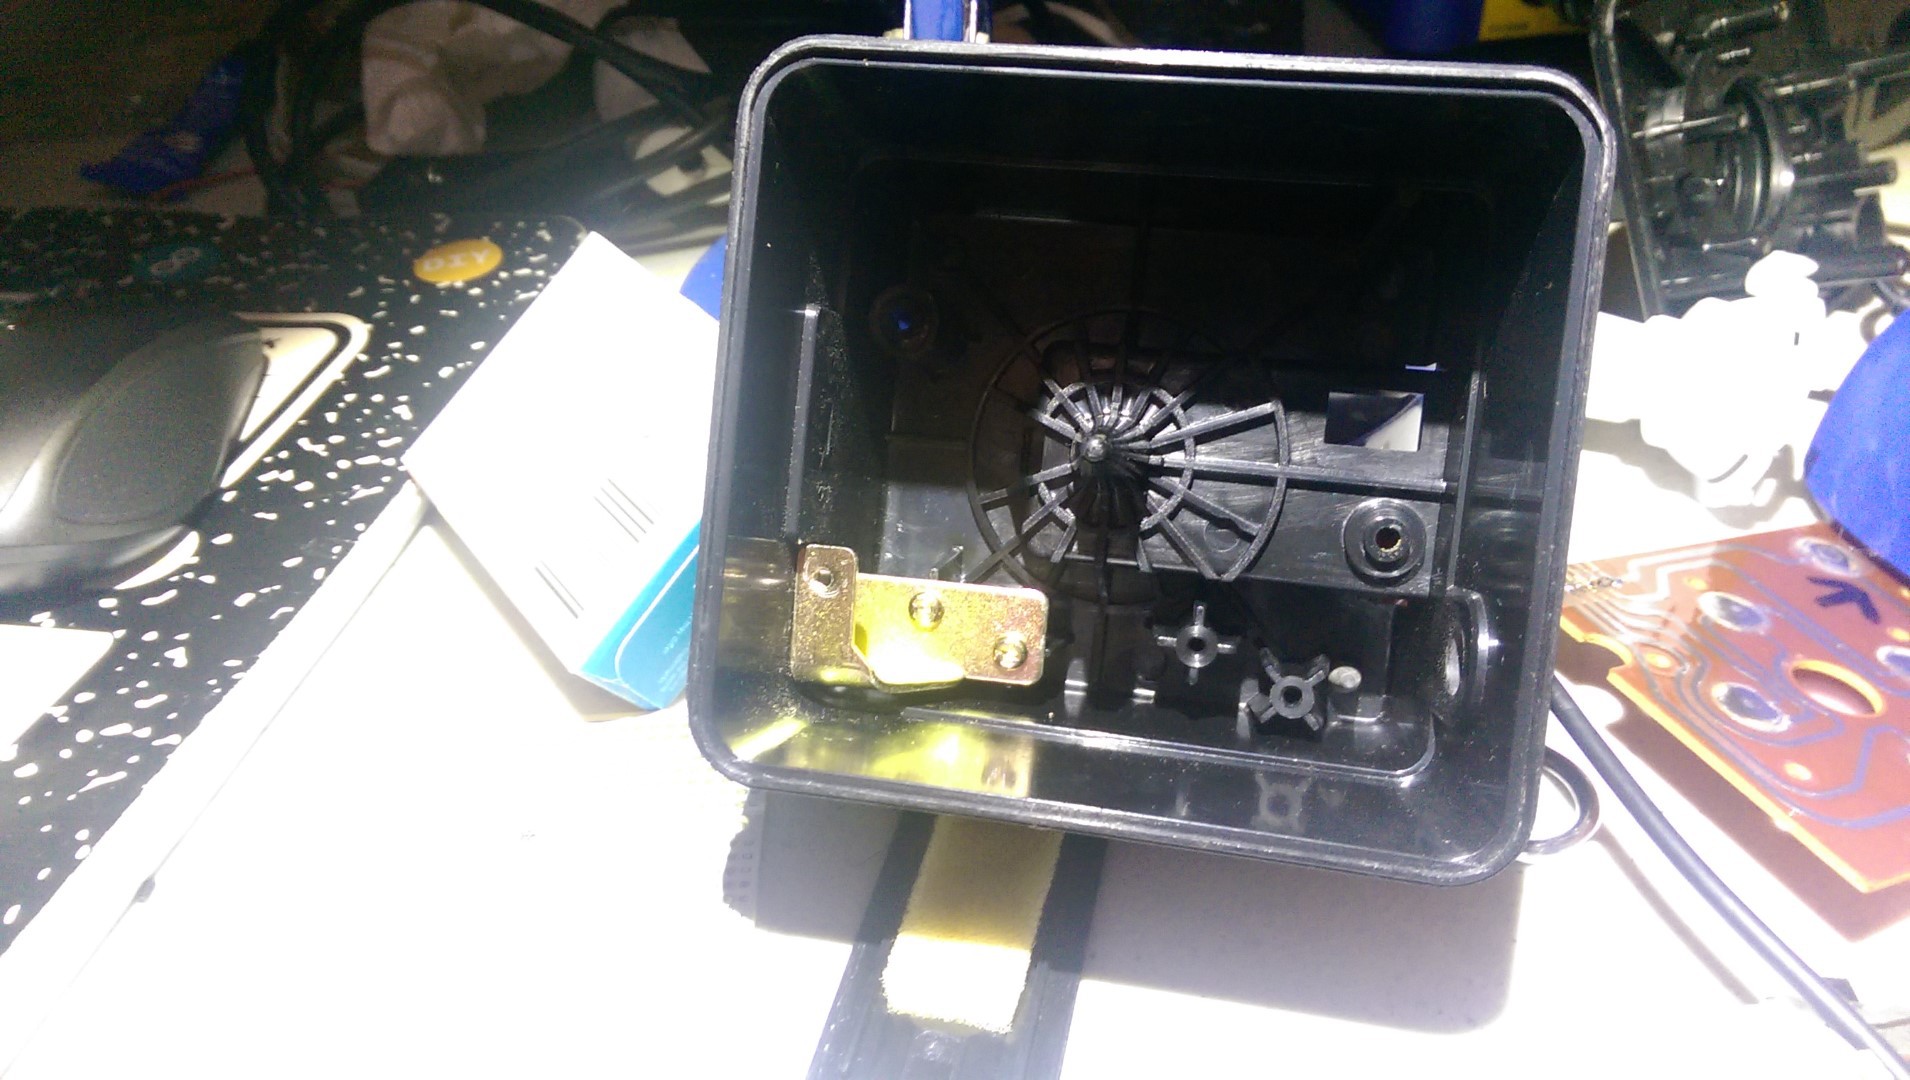
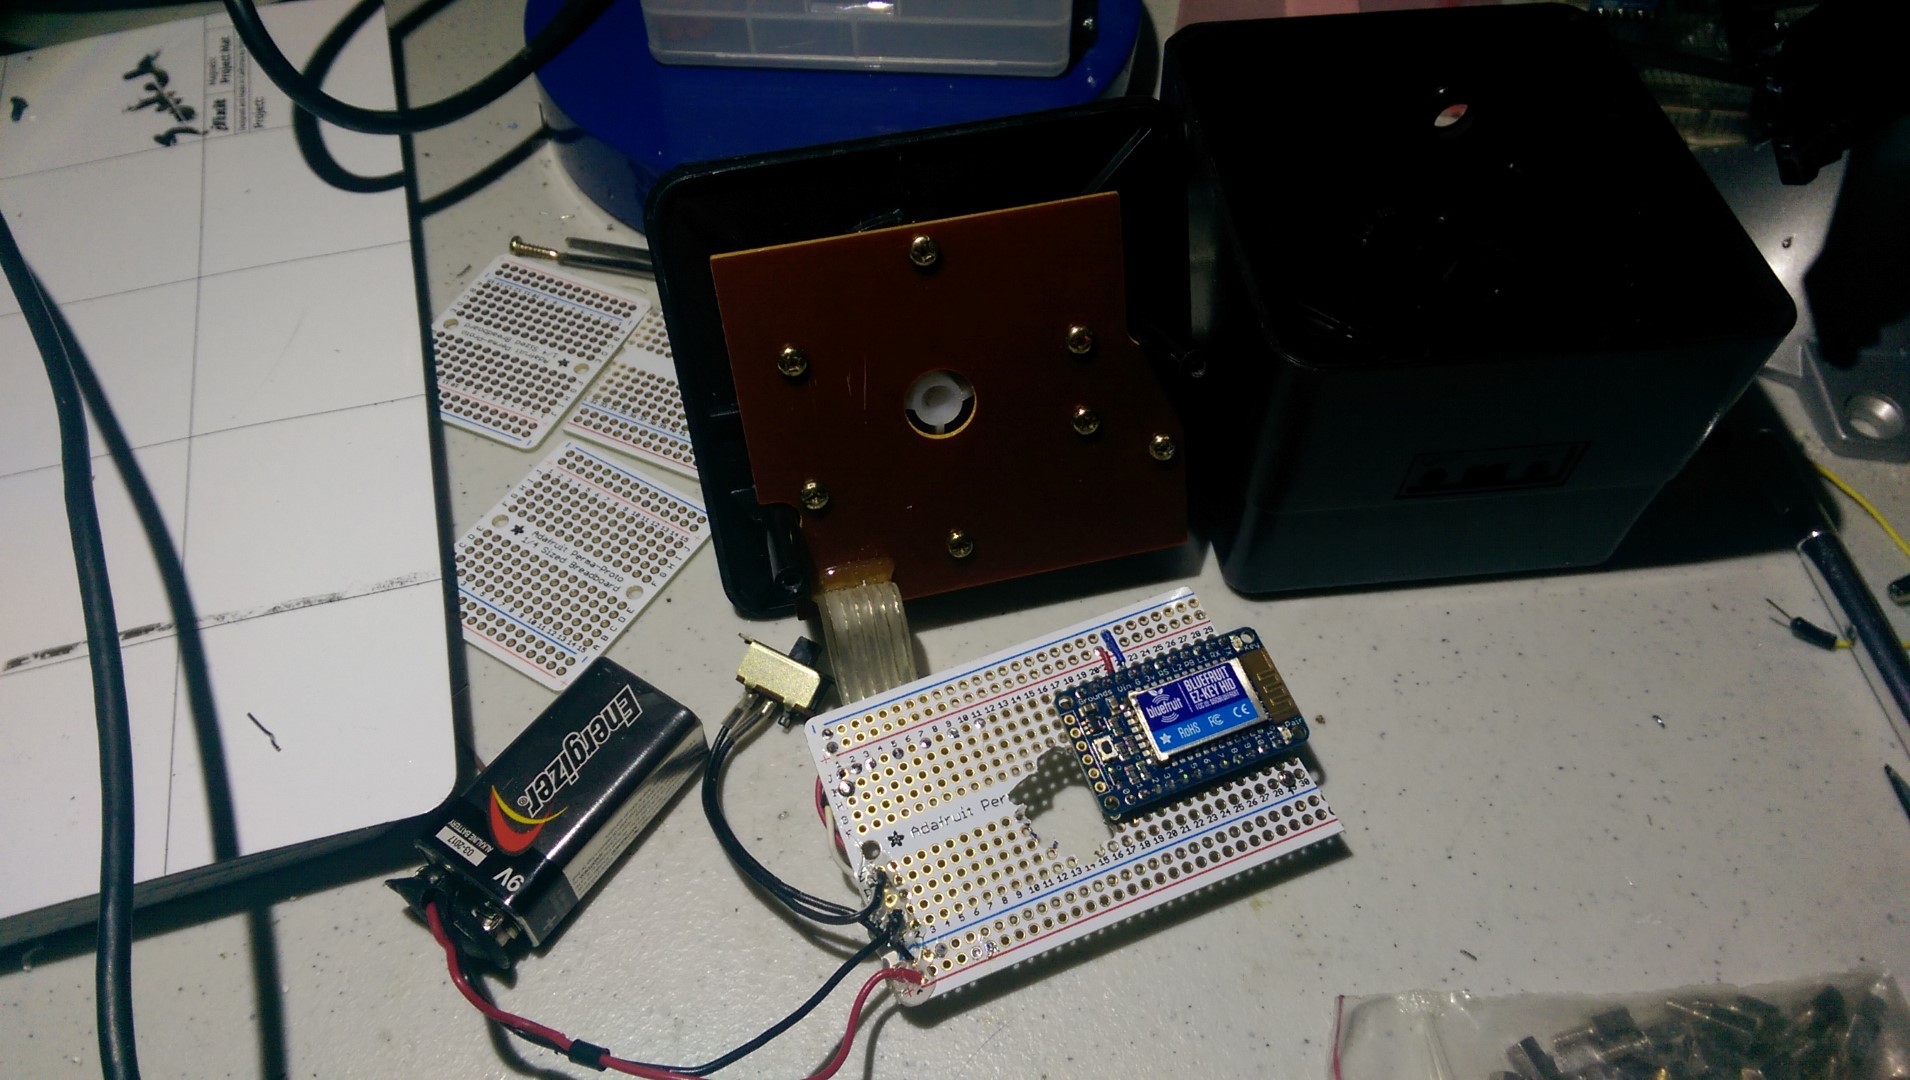
    First signs are good! The battery compartment looks clean and the connector looks intact. I really want to try to keep as much of the original housing and equipment as possible.

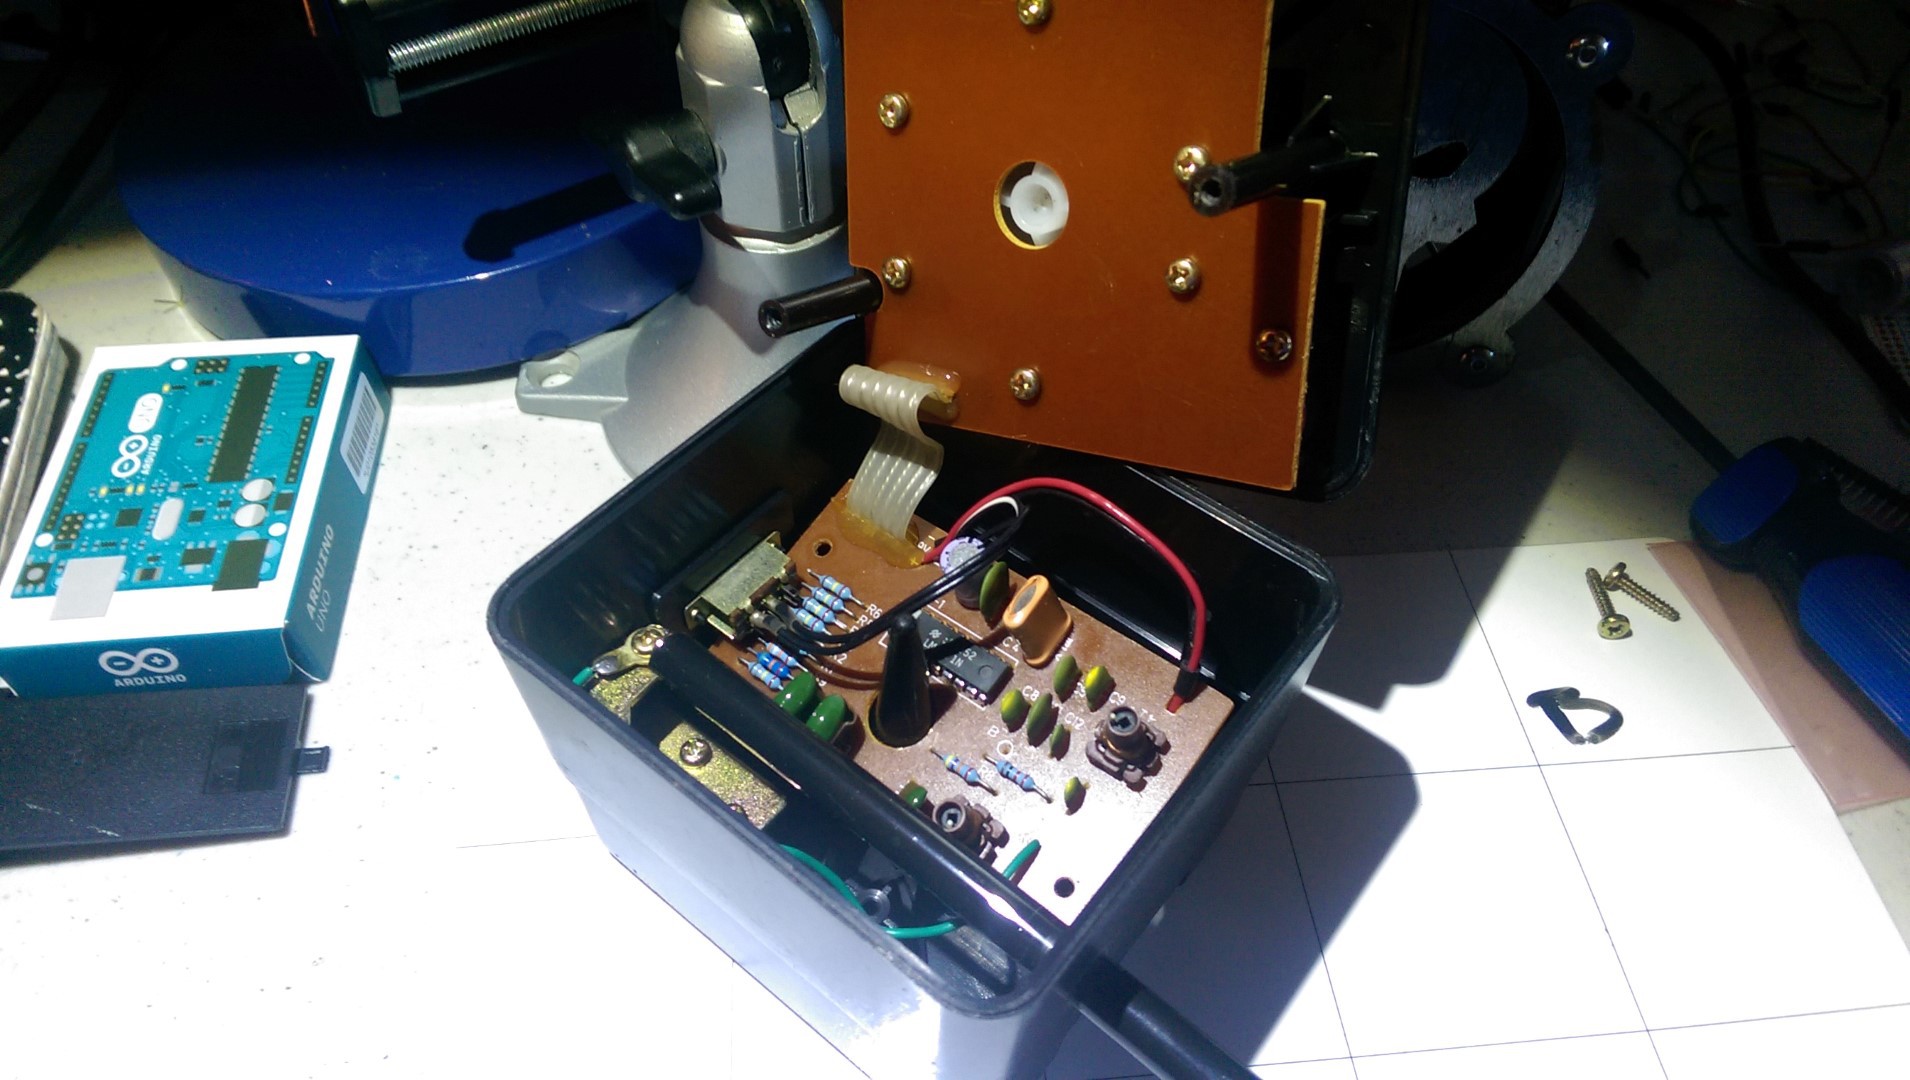
    Guts look amazing. Jump ahead: I put a new battery in it and the SOB works. Too bad I'm about to cut this bad boy up.

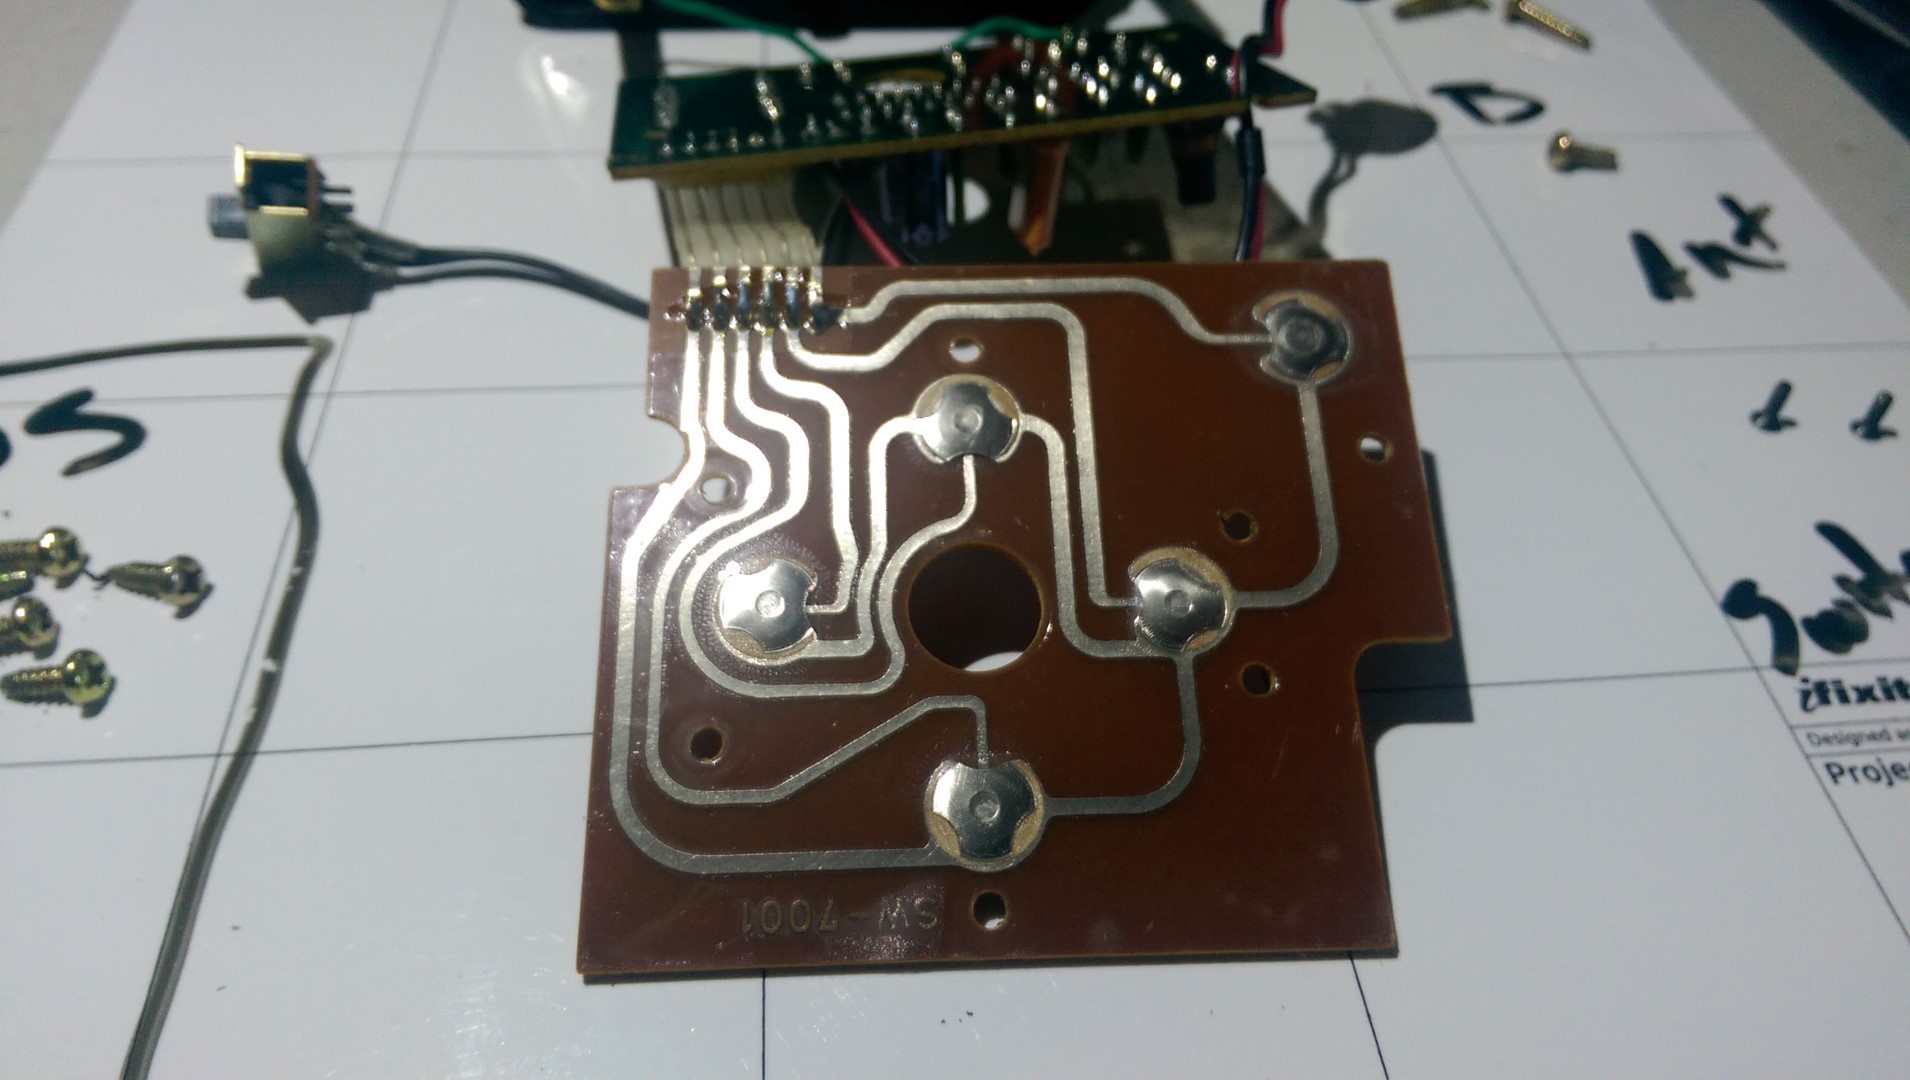
    The pads under the joystick look good as well. A couple of quick tests say that all of the posts still work.

    Enough gawking. Time to give it the chop.

    If you don't have one of these silly magnetic writable mats, find one. They are lifesavers.

    Let's get started. Threw some pins on the HID. No good pics, but I swear I clean them off.

    See that weird post in the middle? It helps support The joystick so the pads work easier. Levers and all that.

    As a consequence, anything that goes in there has to have a hole in it. I played with a lot of different layouts of board and chip and breakout, and decided that I wanted to keep OG as much as I could.

    not. one. word.

    After soldering back on the original switch and battery connector, the HID, the J-pad, it's starting to look like something.

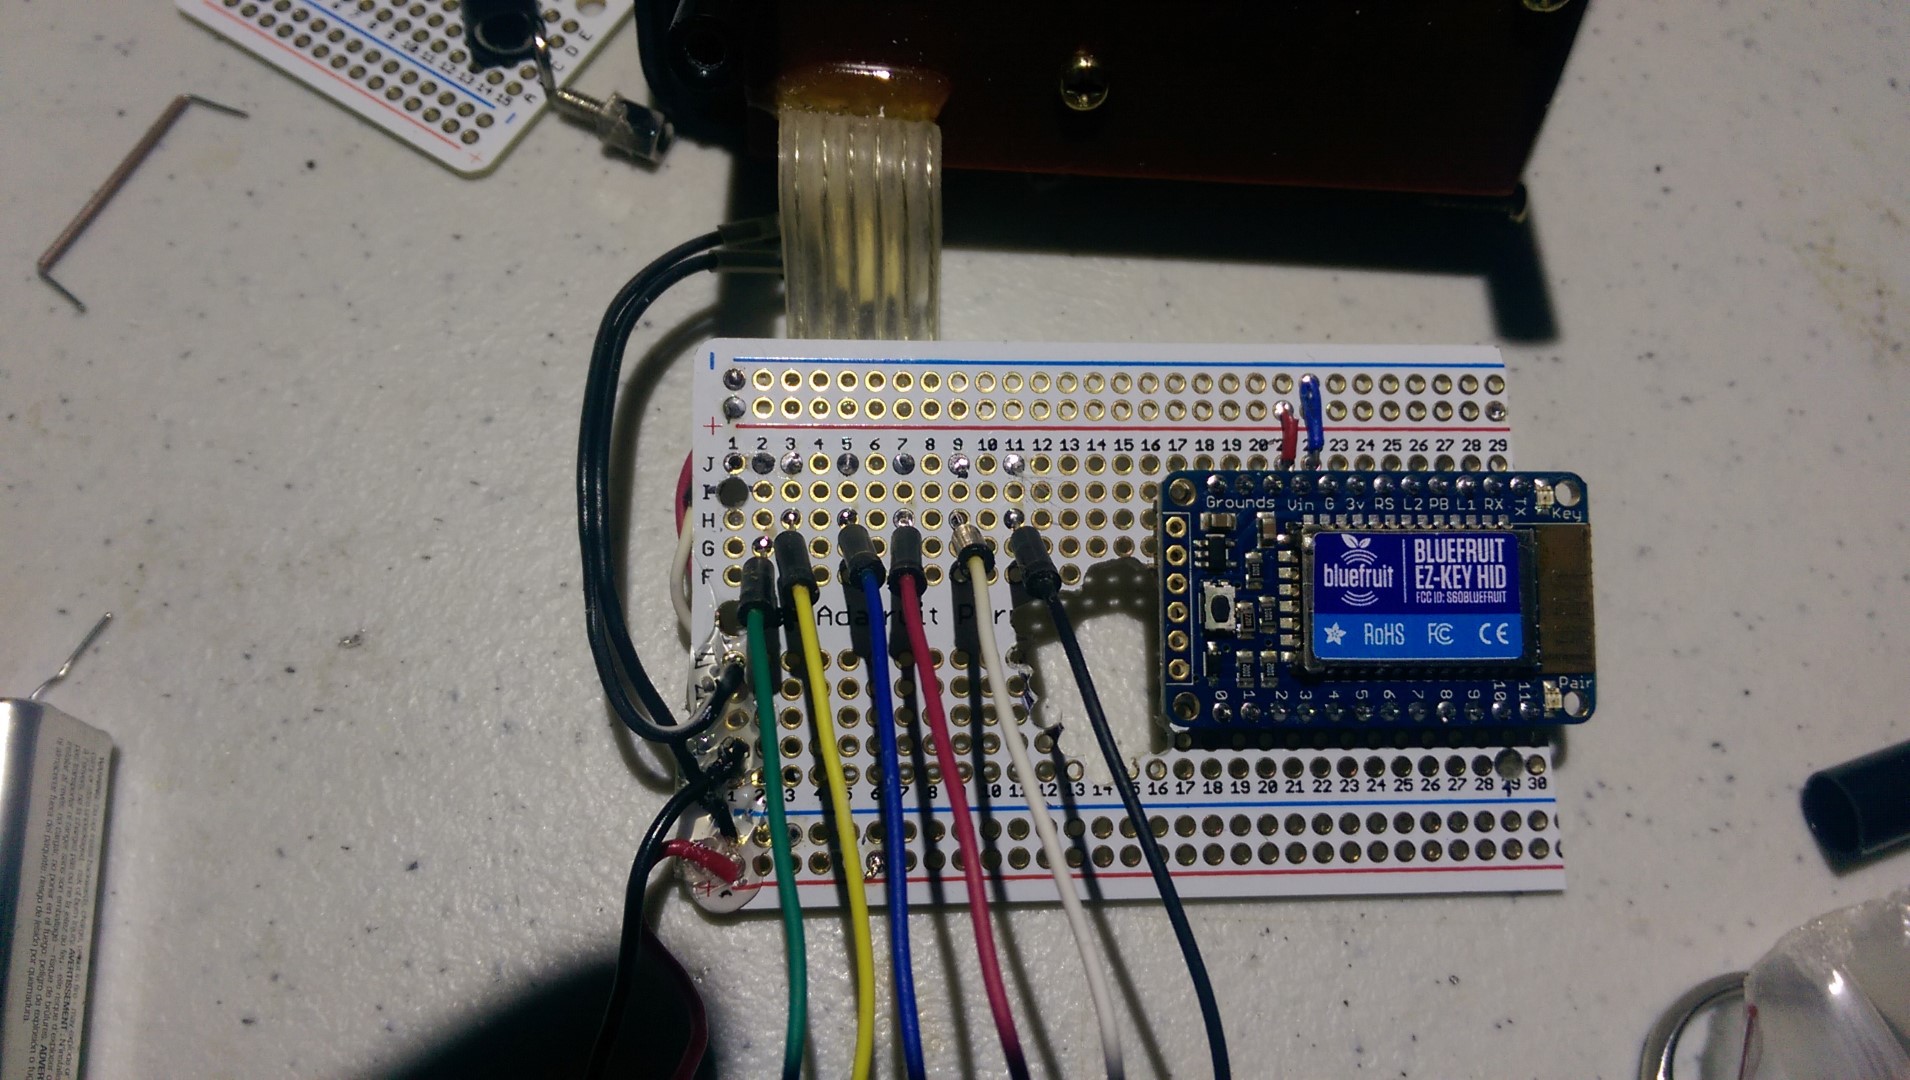
    Now...before I start wiring the pad to the HID, one more test:

    Green pin is common. The other 5 are the pressure pads. Check. Getting exciting.

    whimsy, bitch.

    finally tacked it up and tested it out.

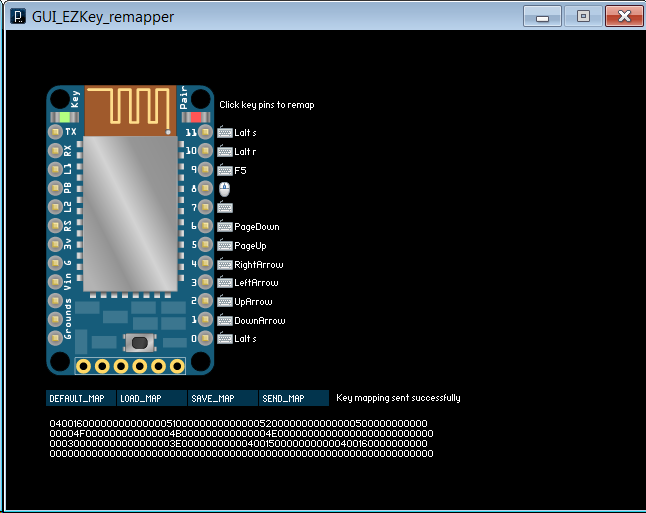
    keymap:

    It went perfectly. I was kinda hoping for some fails, but it's gone really, really well. I can already see problems with joystick pads not maintaining a constant connection for long keypresses. Might need some pullups to ensure the HIGH signal gets recognized. Other than that, this project is cherry. Tomorrow, adding a rotary or something for the Z up/down and some blinky-bling. Not that a plasma needs a lot of z work all that often, but it's nice to be able to adjust FRO and z tweaks on the fly. Especially if your metal starts warping.

  • PARTS!

    Jeremy Lambert01/23/2015 at 21:19 0 comments

    Got the parts today.

    Time to get my head right and get busy!

View all 4 project logs

Enjoy this project?

Share

Discussions

Jeremy Lambert wrote 01/24/2015 at 09:35 point

I'm also going to go over the original board that was in the case. It's super simple and a good exercise in RF.

  Are you sure? yes | no

PointyOintment wrote 01/24/2015 at 00:14 point

For Z you could just hold down the button and use the Y axis of the joystick.

  Are you sure? yes | no

Jeremy Lambert wrote 01/24/2015 at 00:19 point

I think I'm actually going to have two more buttons besides the originals. stop/start and torch on/off

  Are you sure? yes | no

Similar Projects

Does this project spark your interest?

Become a member to follow this project and never miss any updates