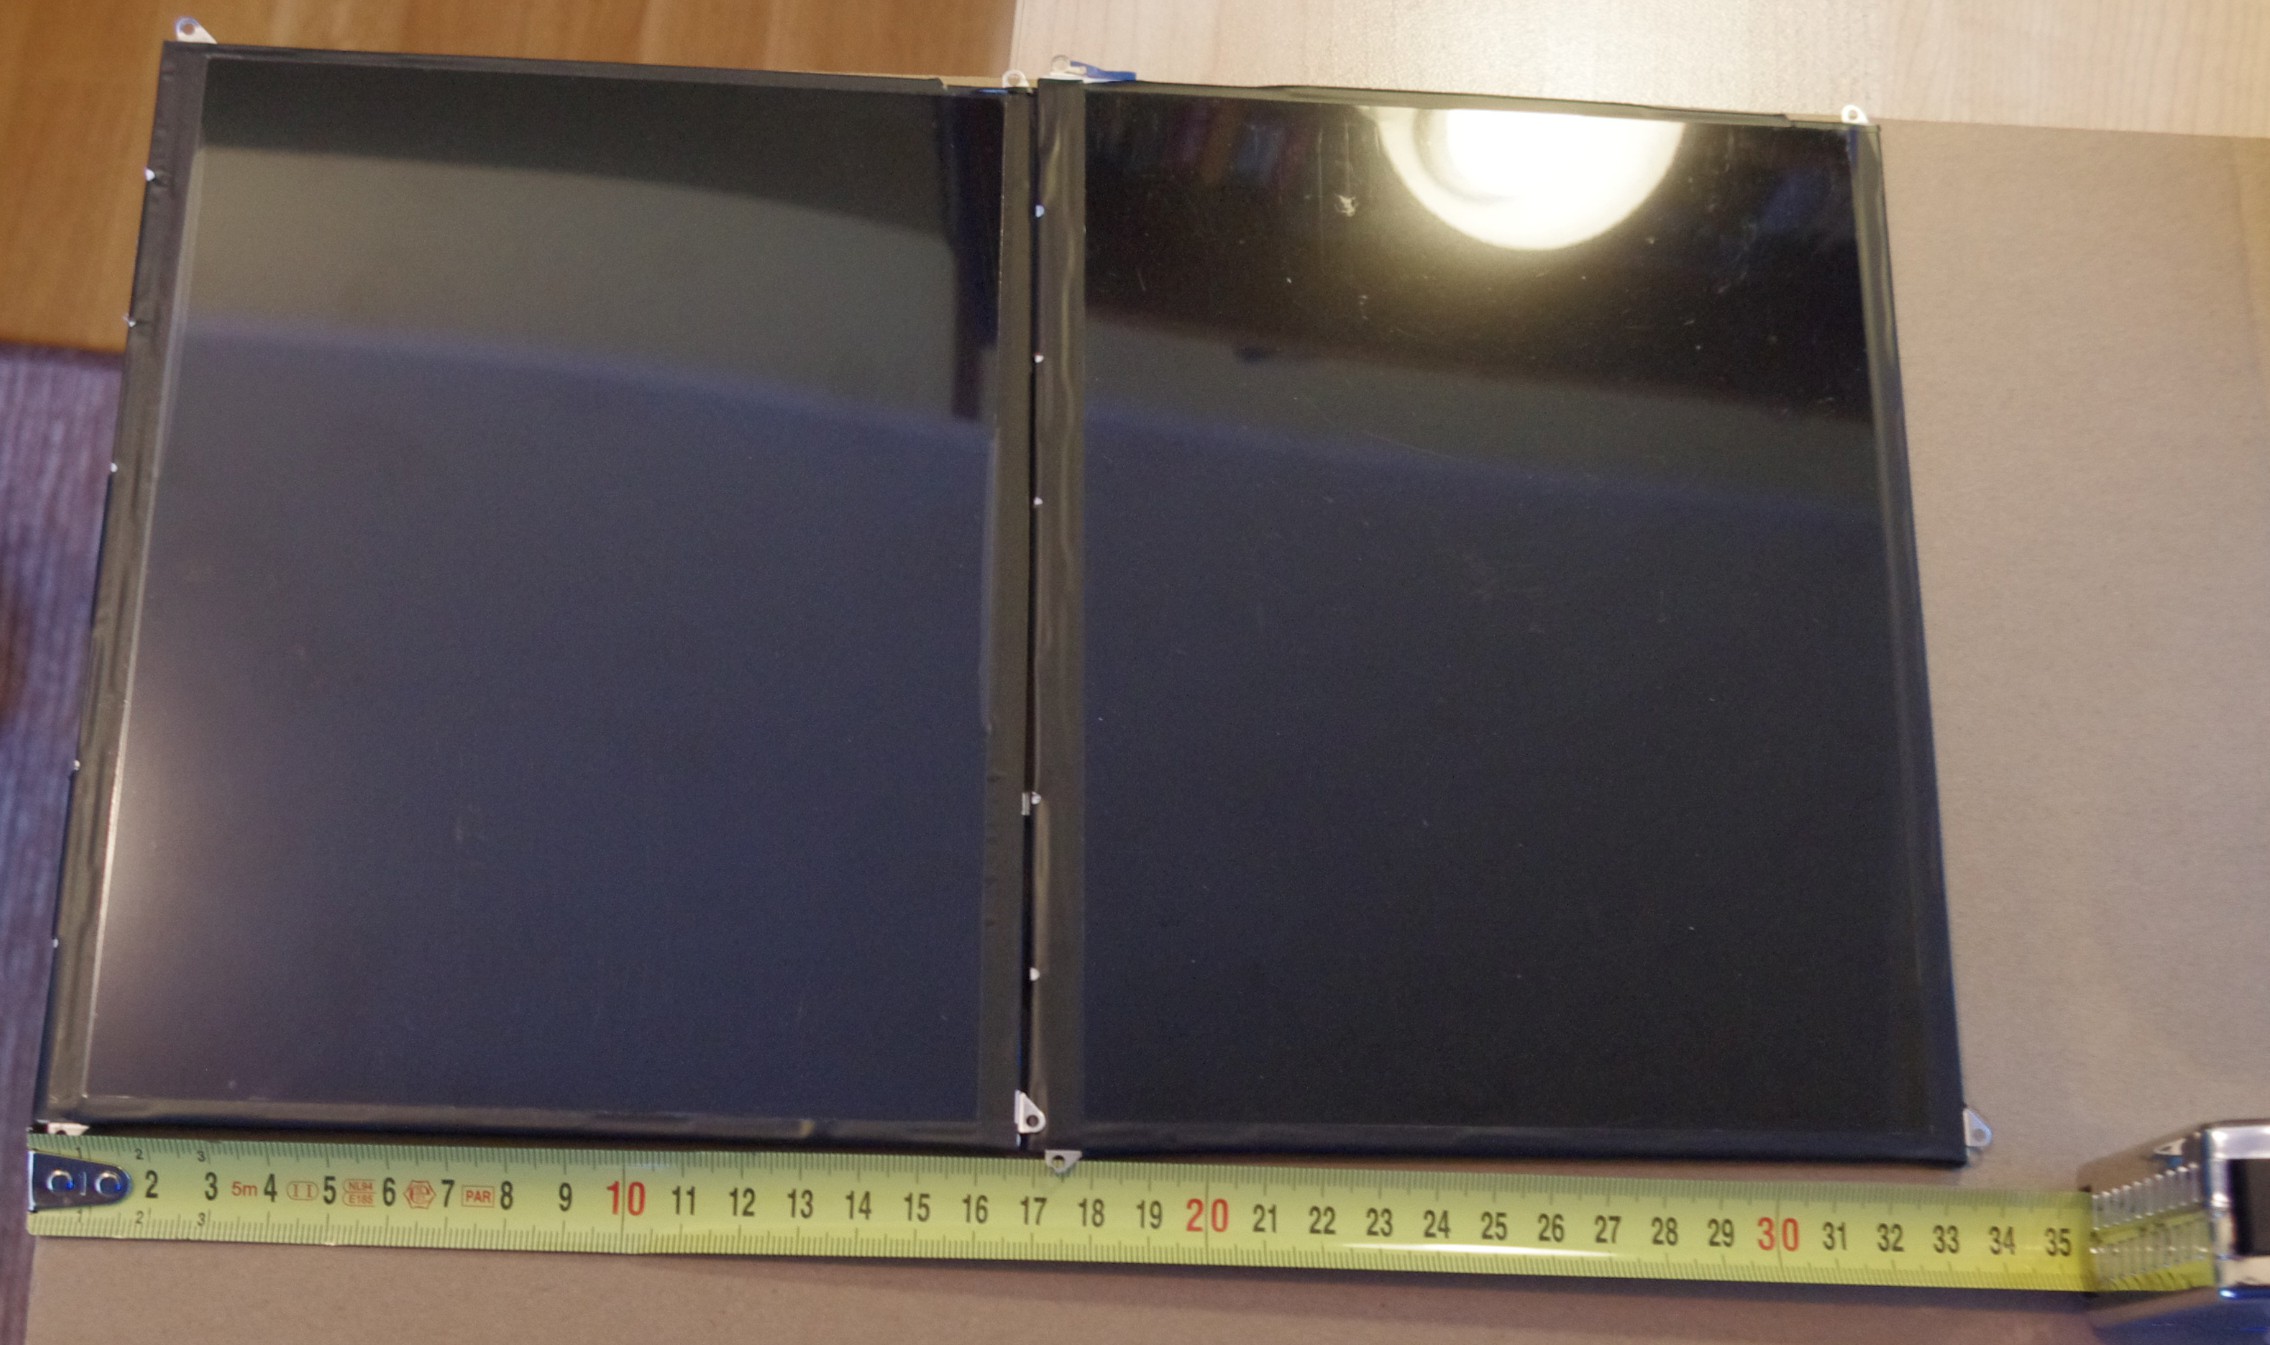
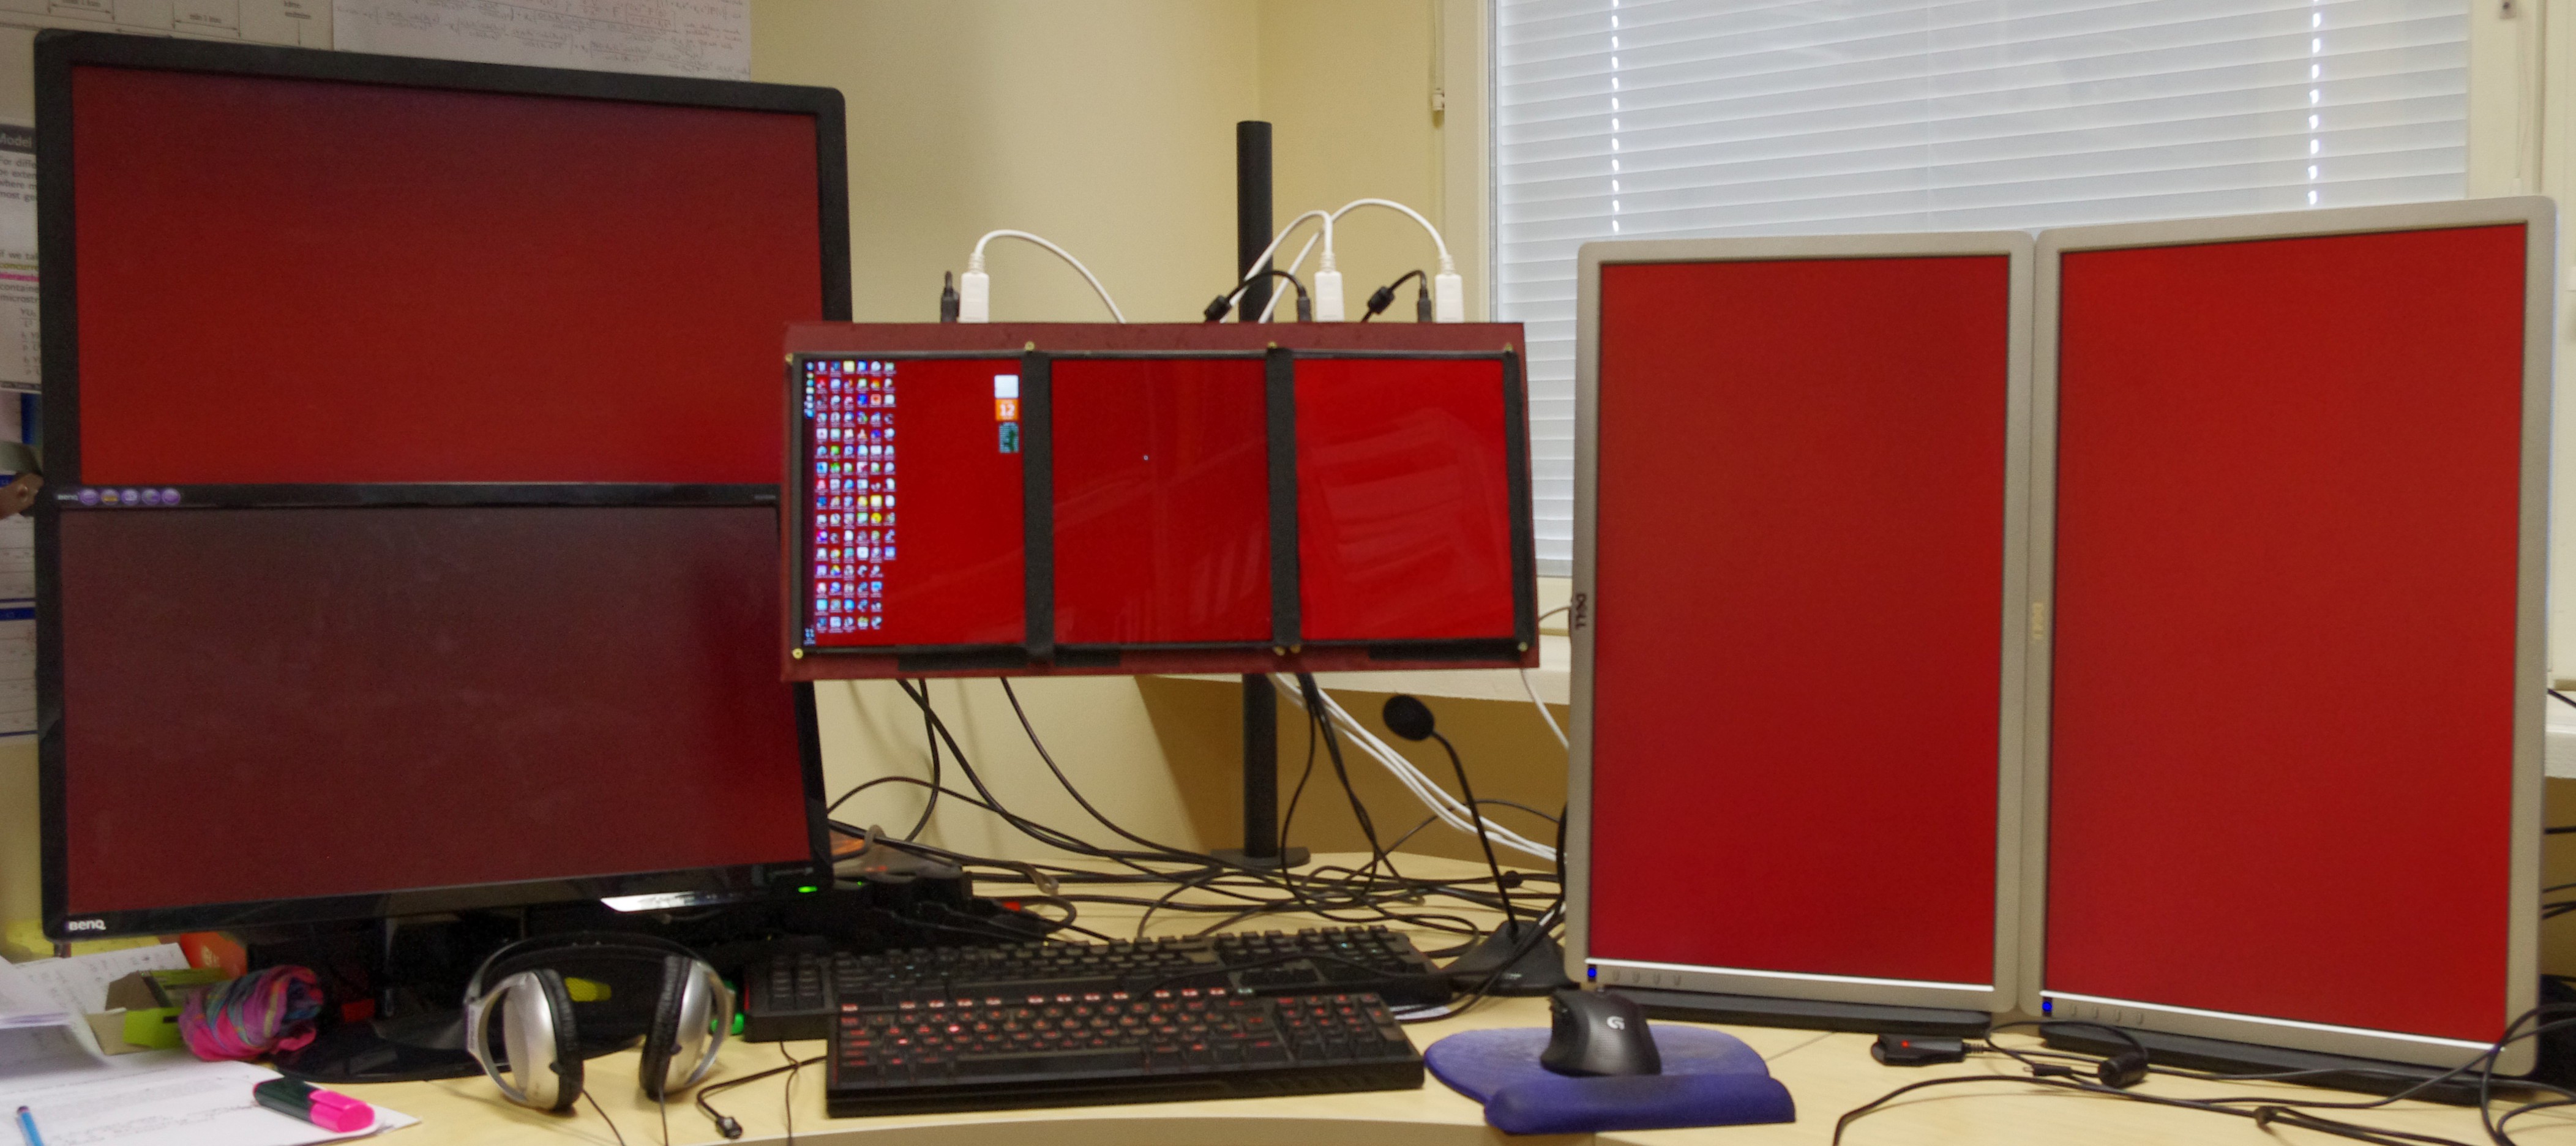
As I noted somewhere earlier the idea was to go for 3x1 portrait eyefinity. Well .. to be honest the initial plan was to go for 5x1 portrait eyefinity but after I played around with 3x1 portrait with these screens I decided to stop there. These screens at ~40 cm from my face already filled by field of vision more or less completely. Anyway .. so more screens...
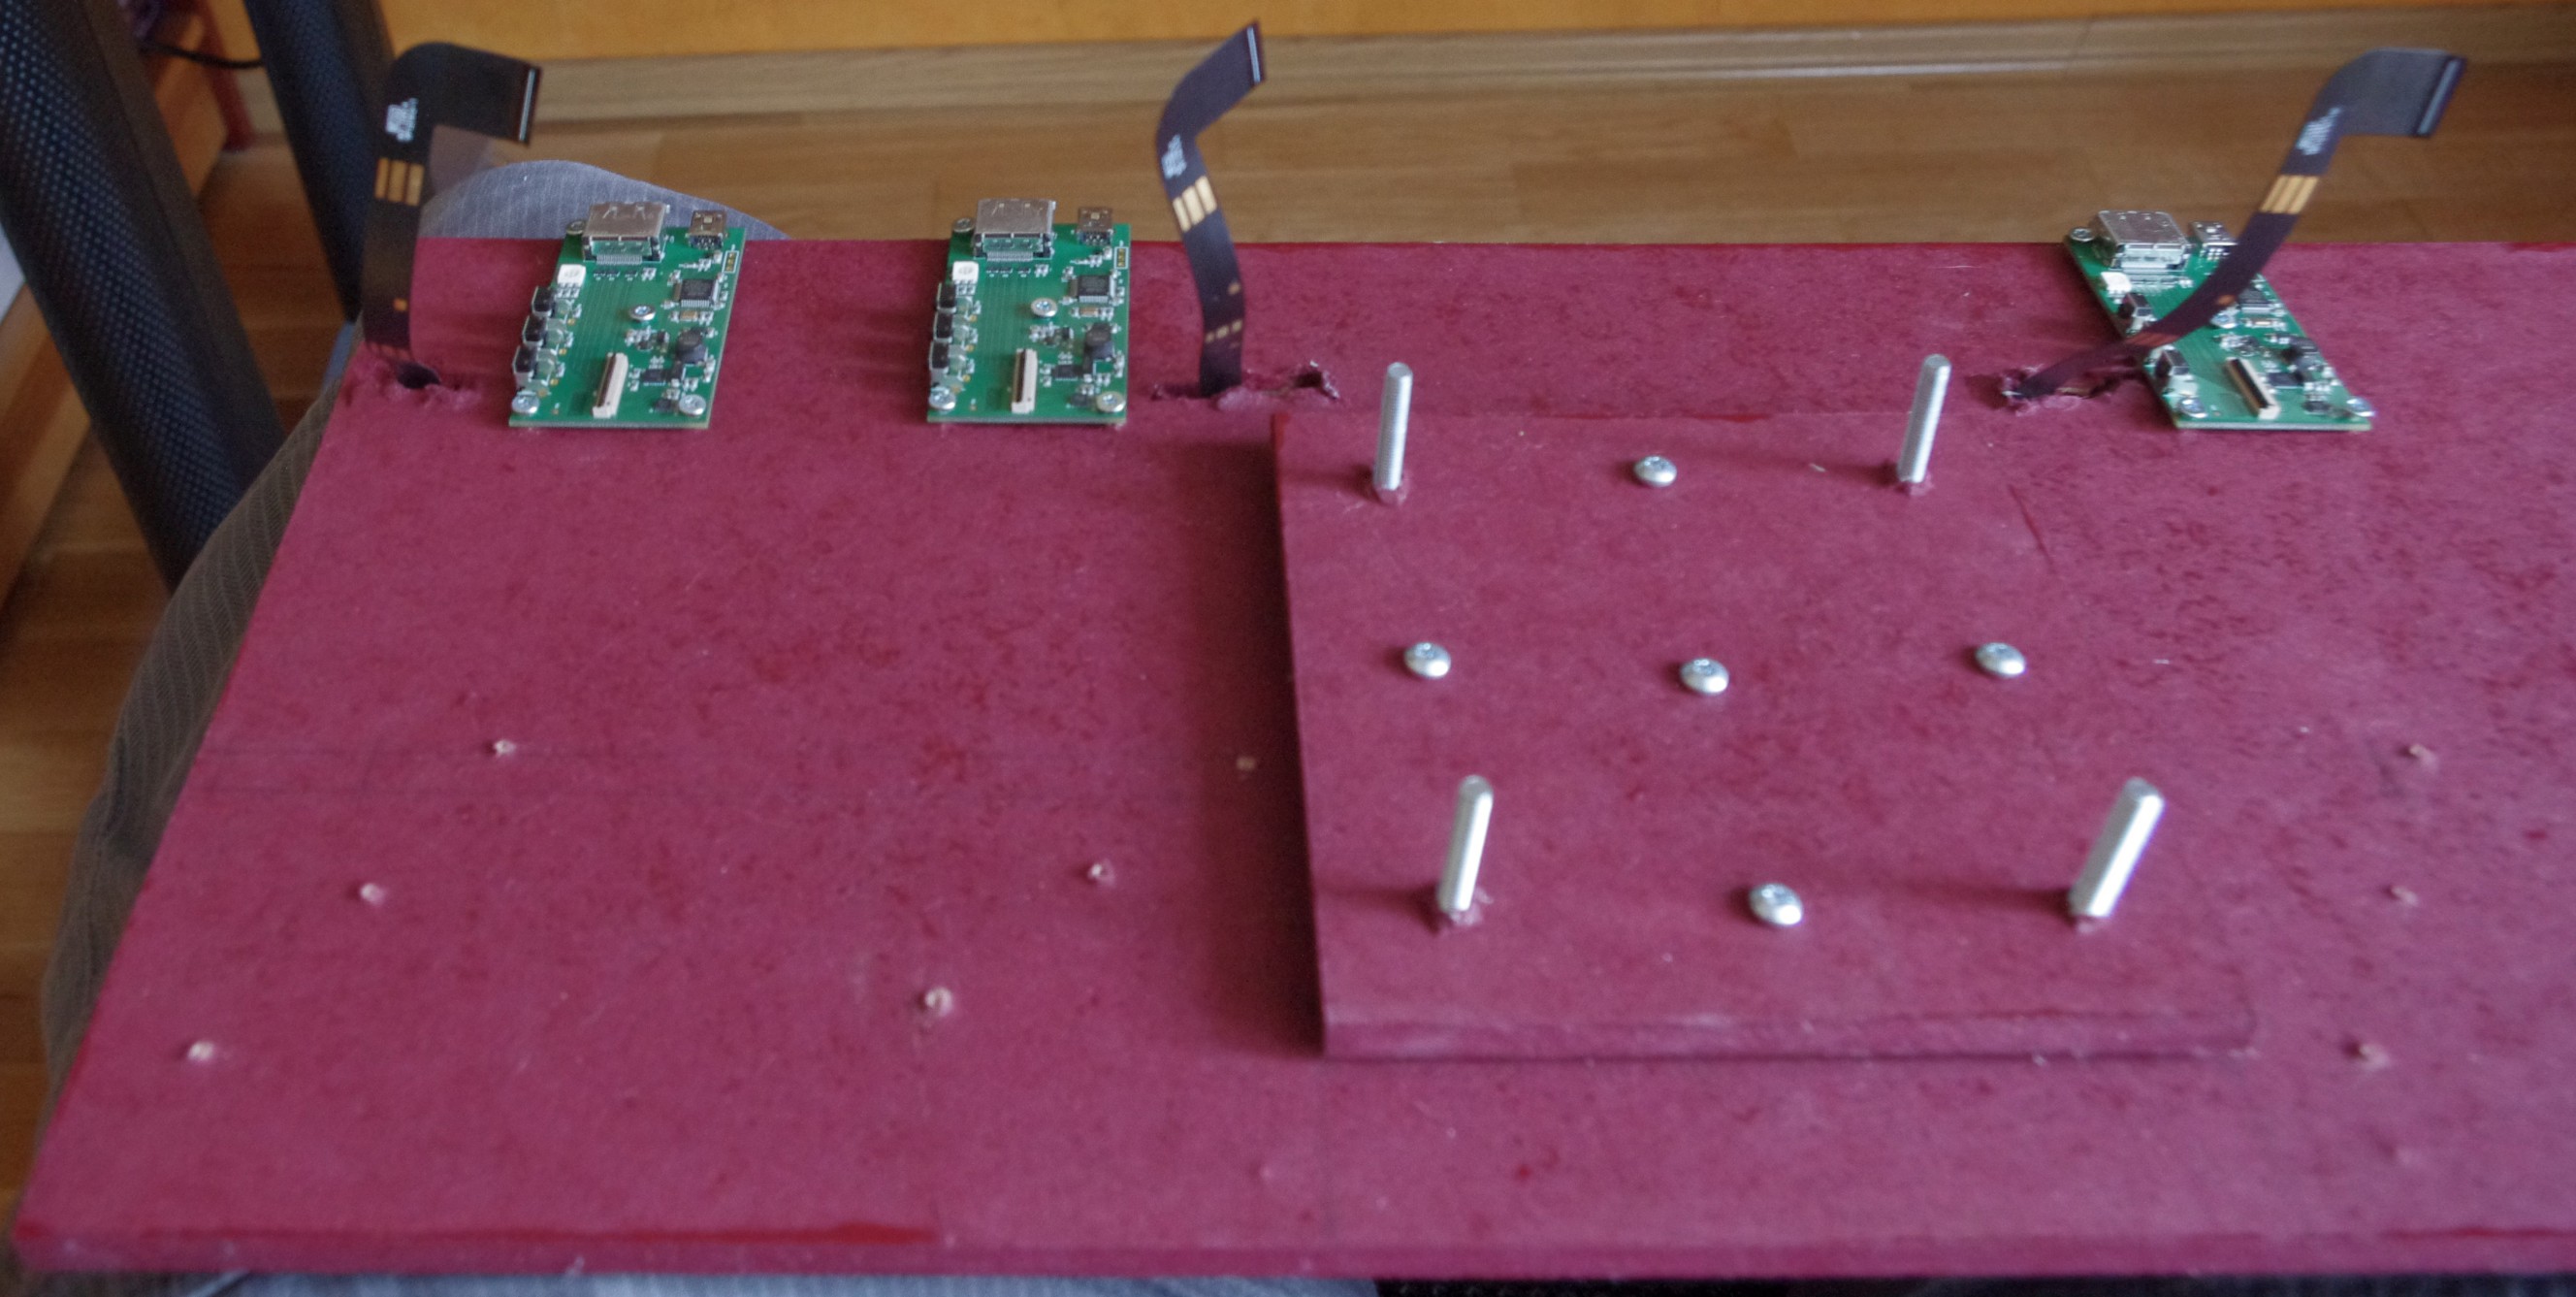
(1) For a start when I decided how do I want to arrange the screens I used just a piece of cardboard to figure out where do I need holes to put the ribbon cables though and how would the screens align up correctly.
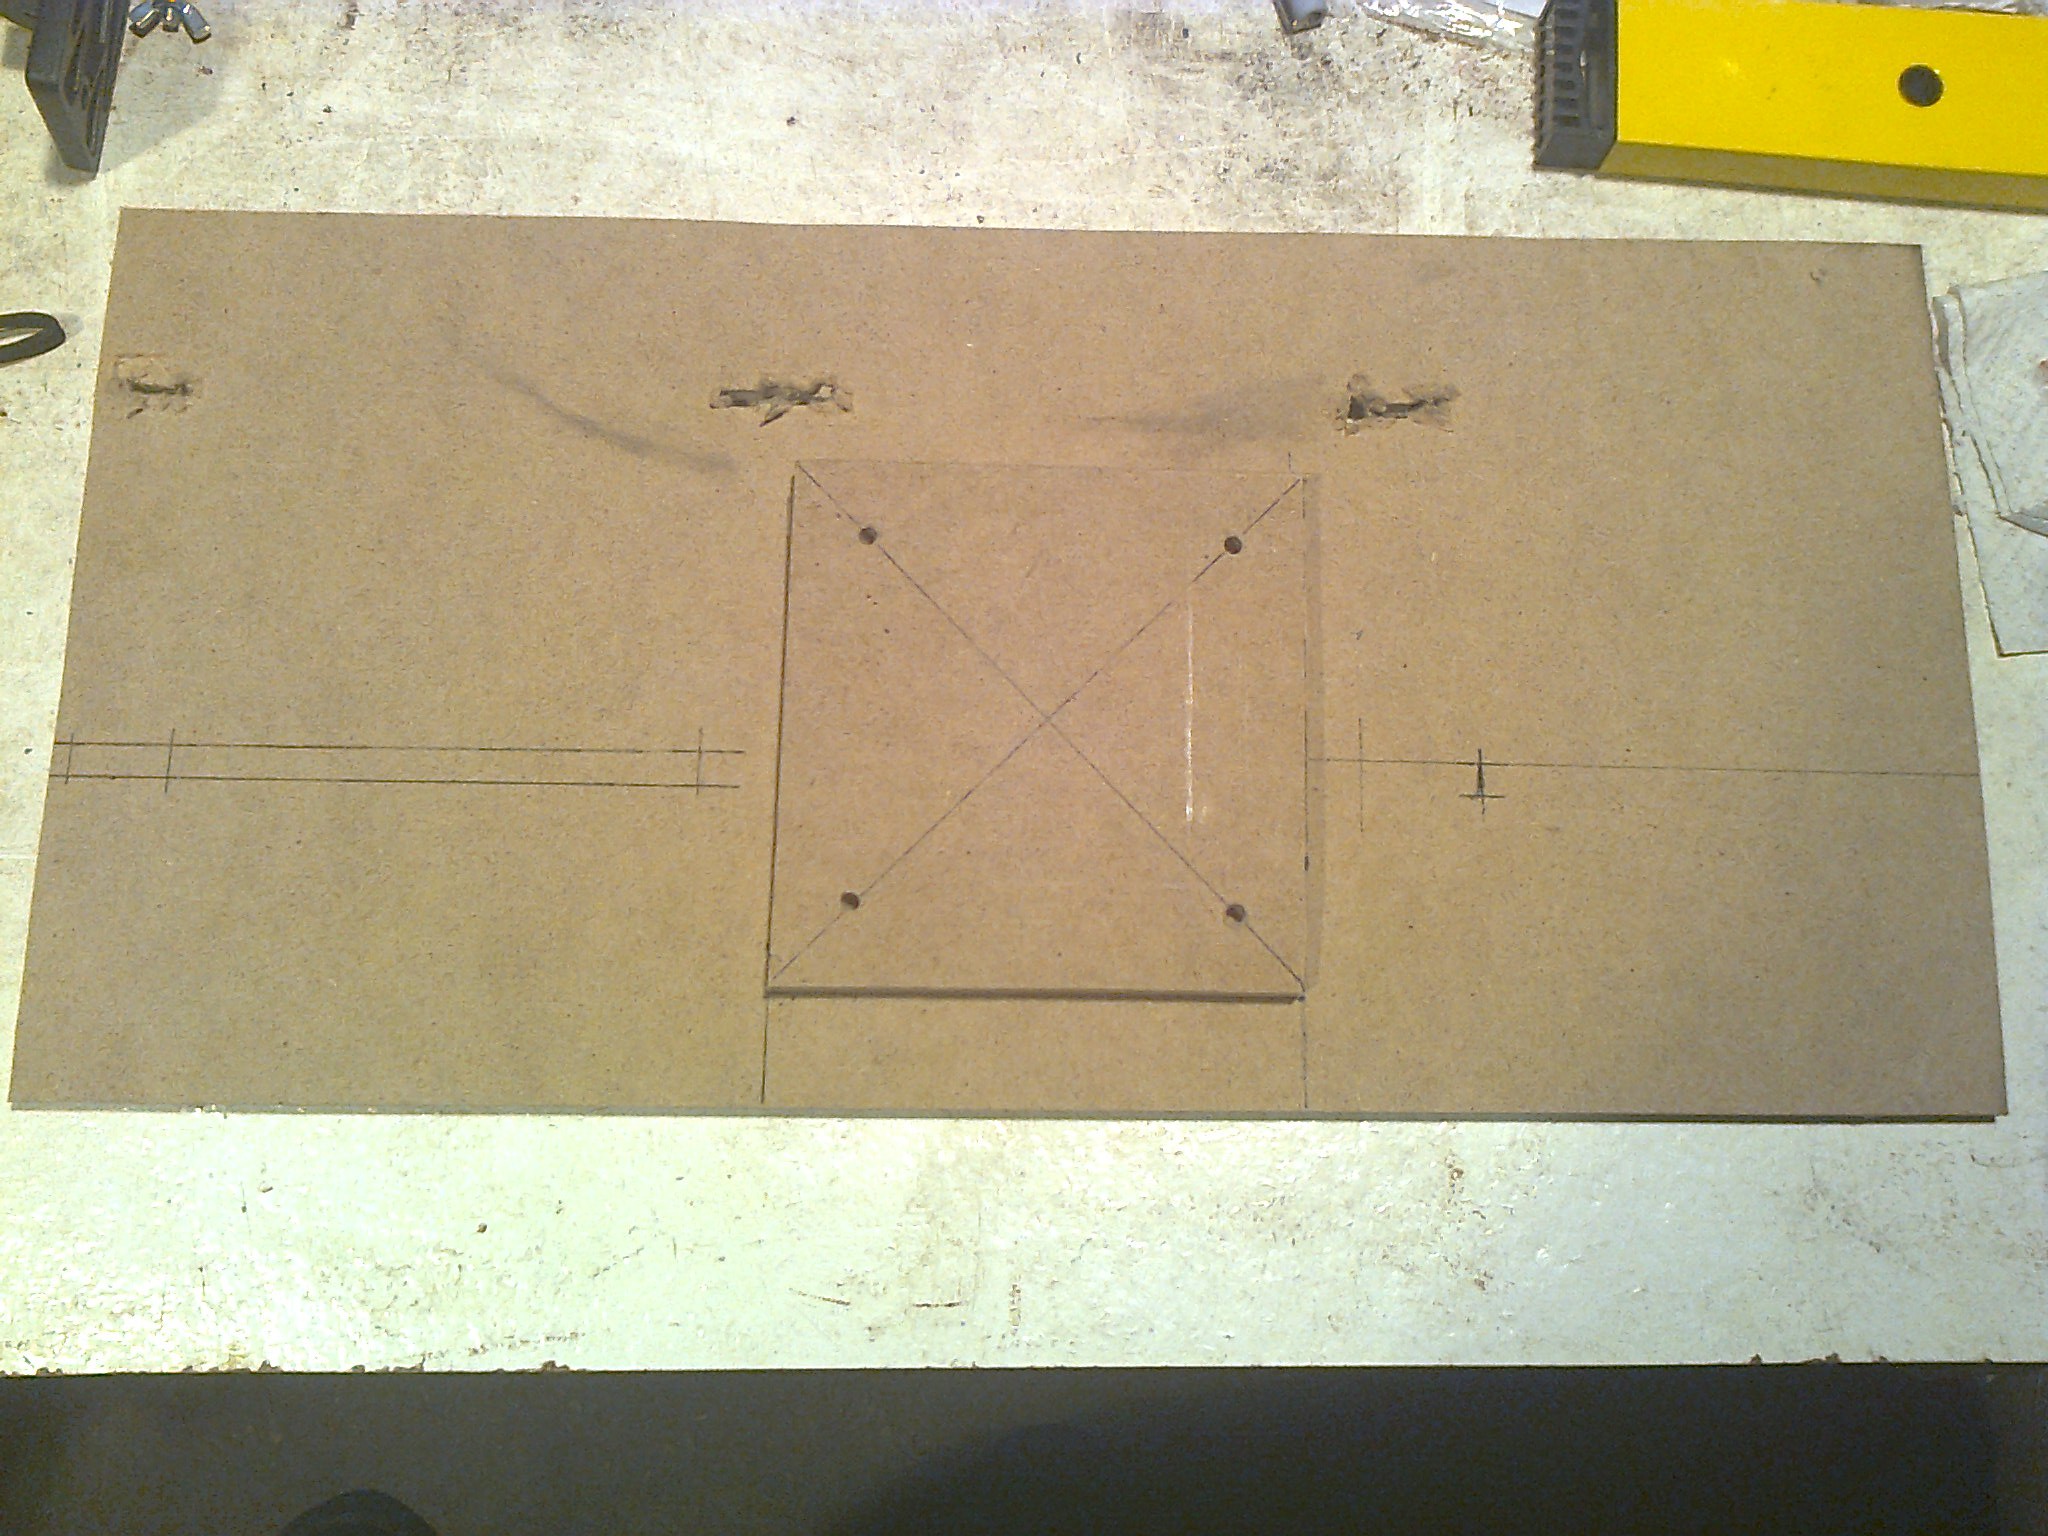
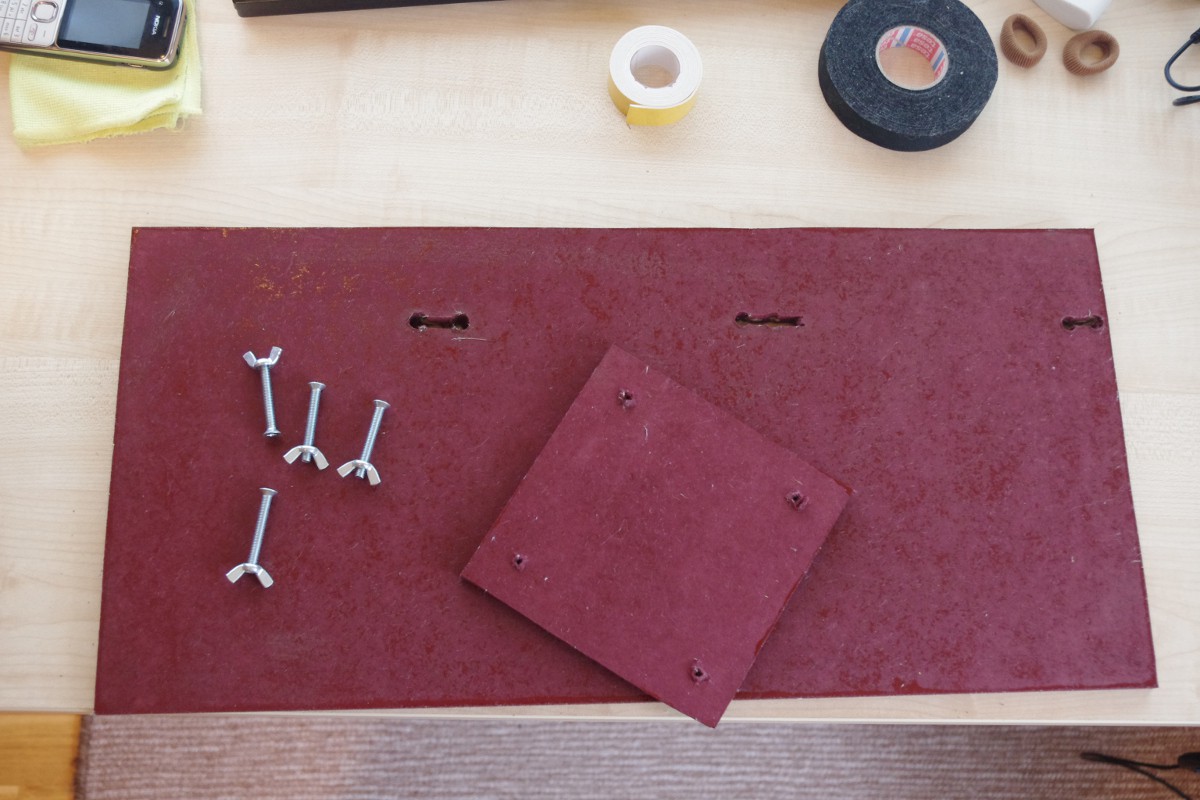
(2) After that I used the cardboard to cut the piece of MDF into more or less right size and make some holes into it on the right locations. I used a small hand saw and a small drill.
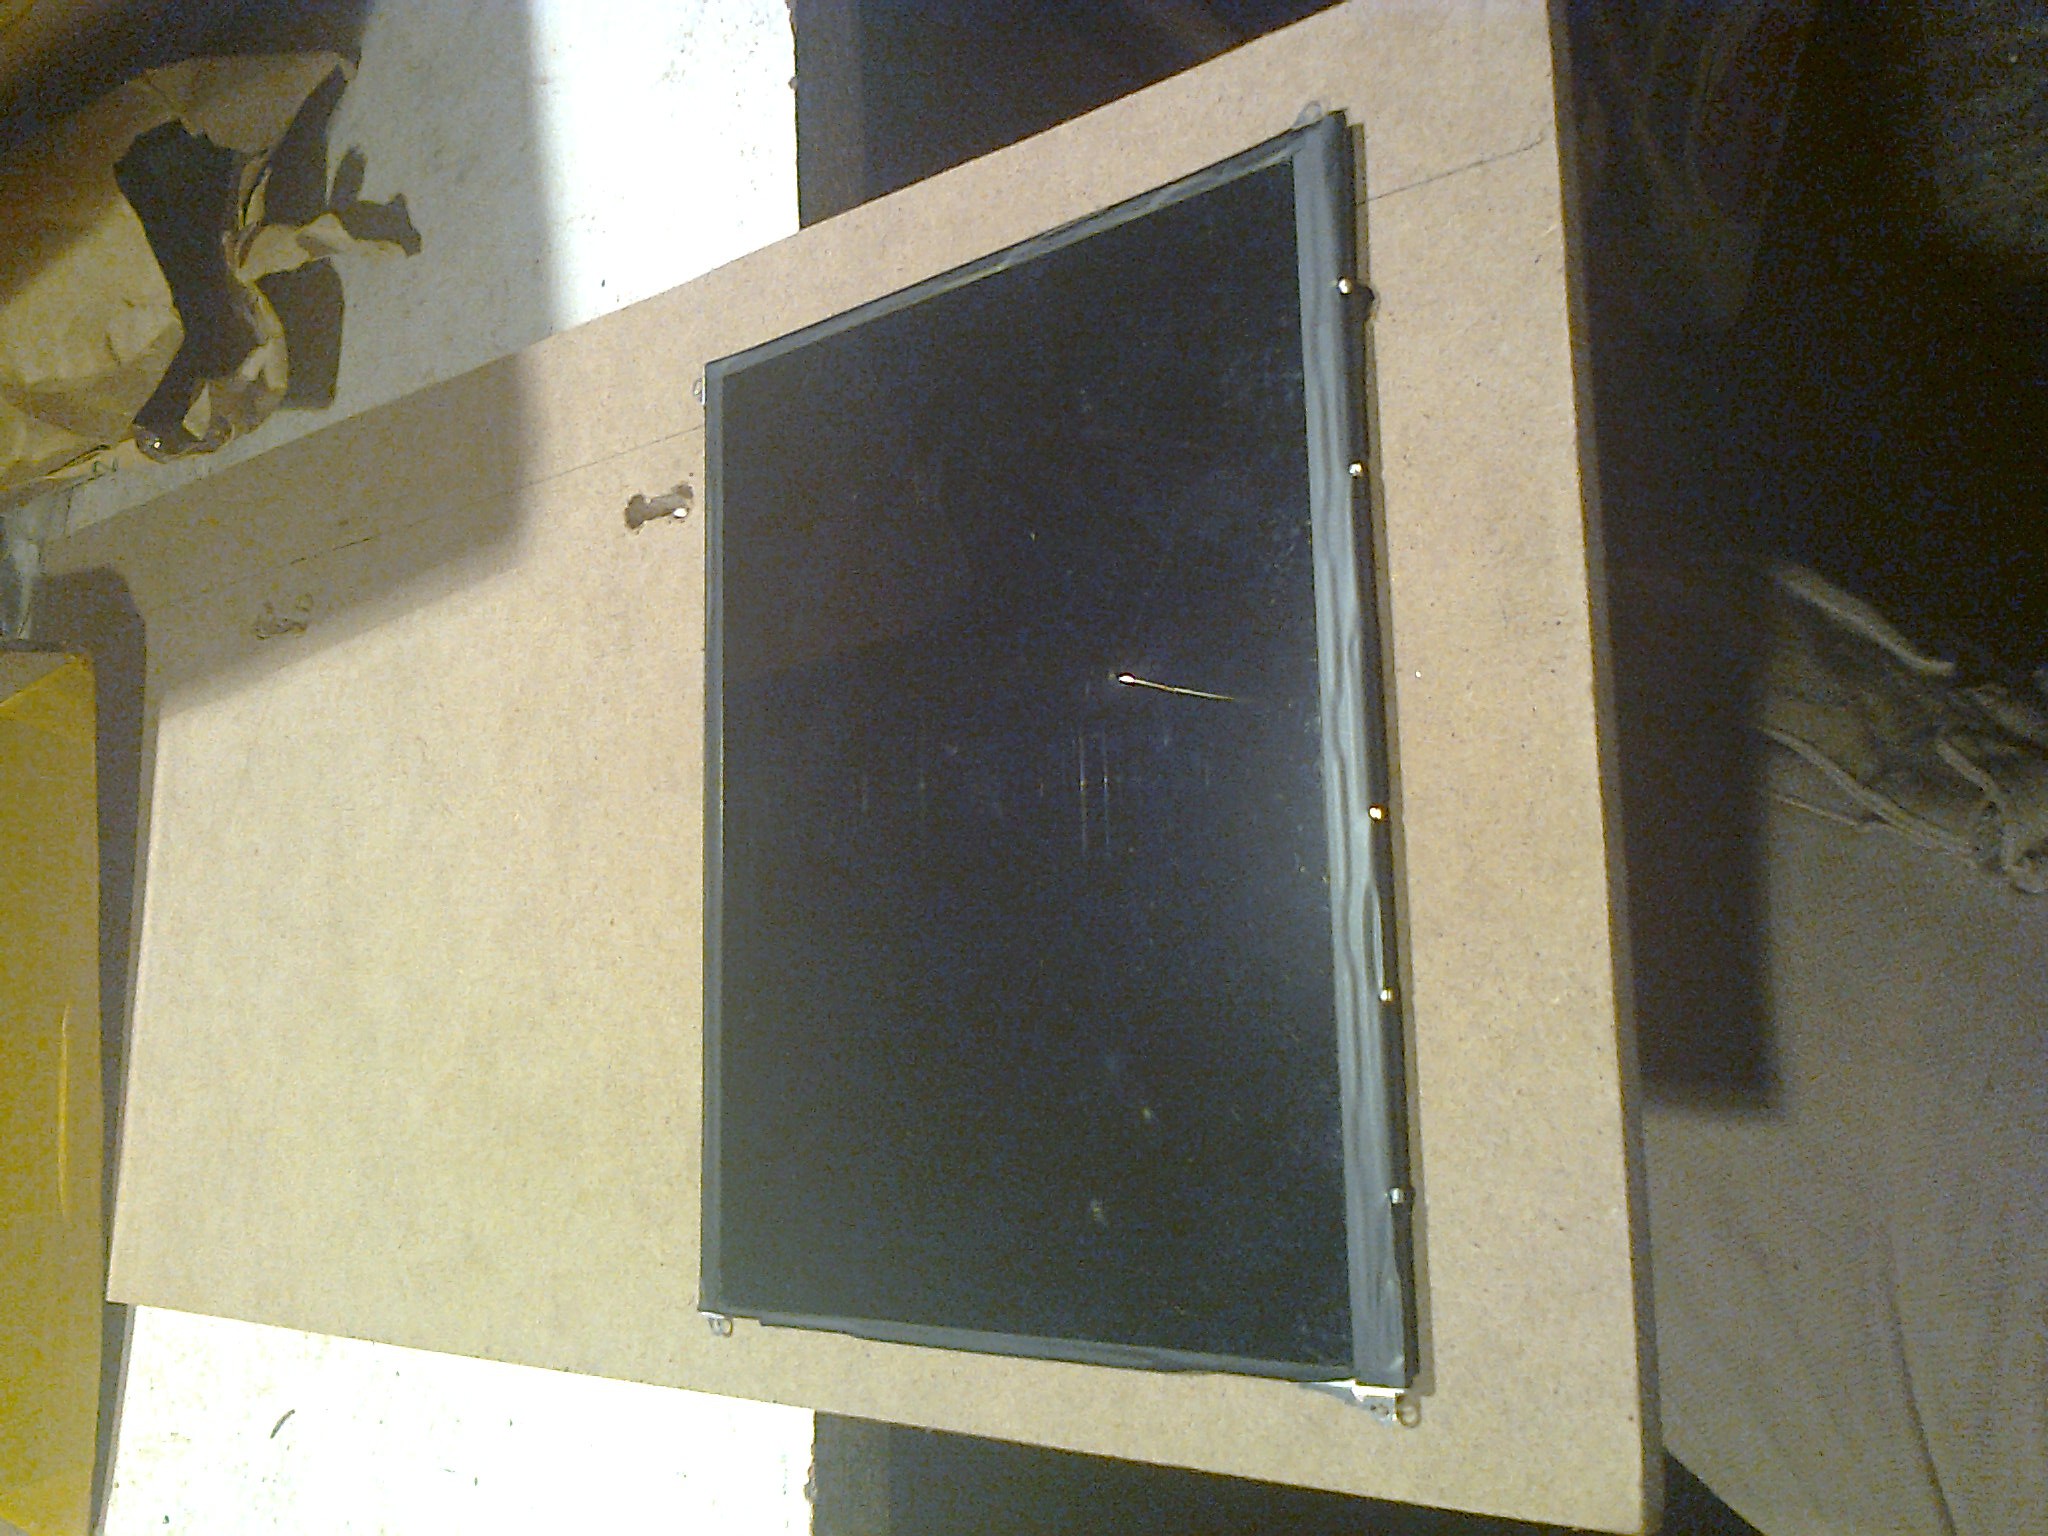
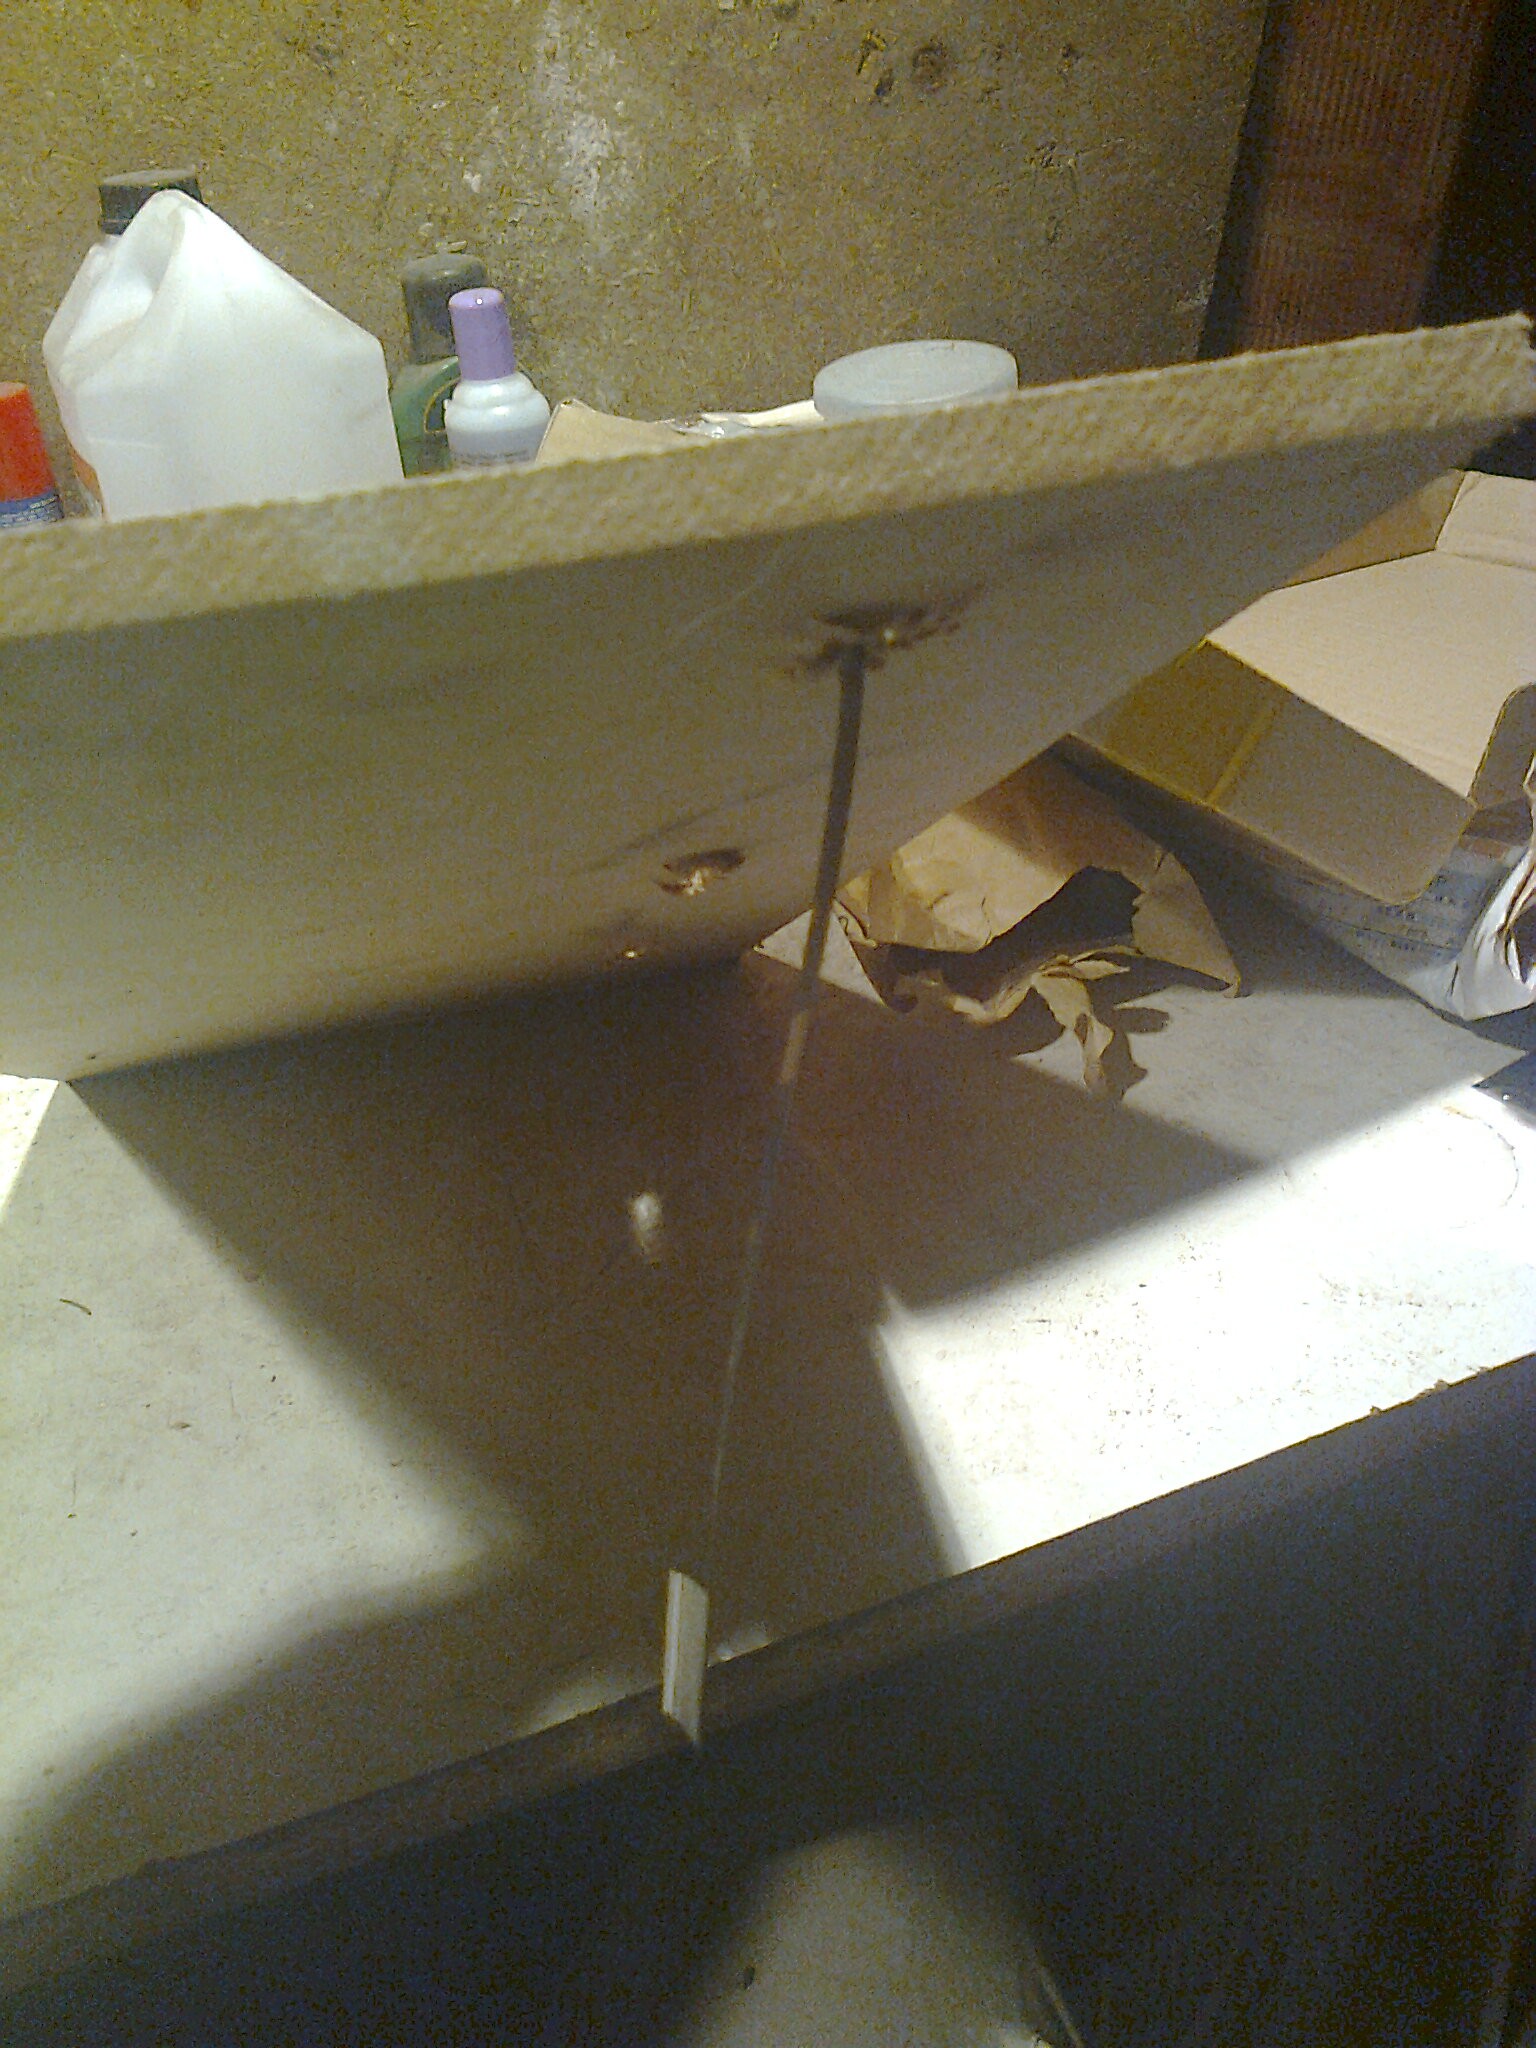
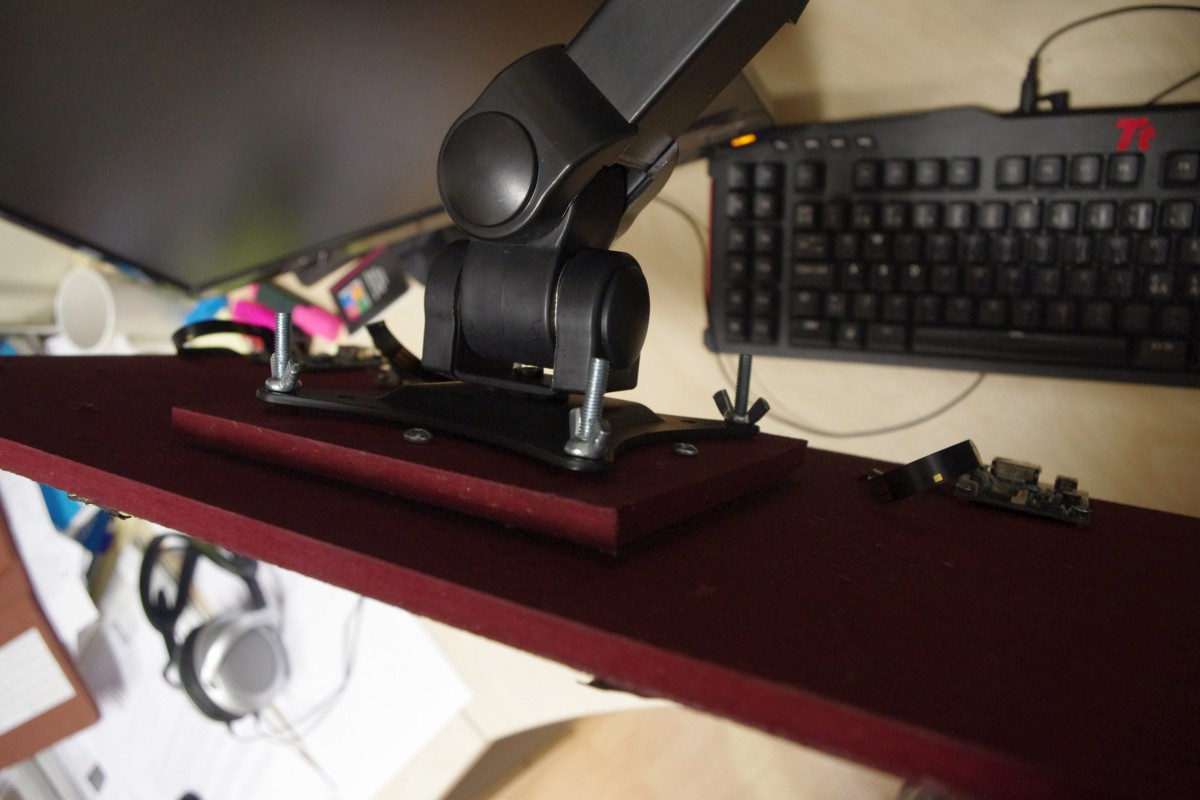
(3) for mounting that MDF plate up with the screens to be actually usable in the practice I decided to use a VESA mount. which mount I did also from the same MDF plate and some bolts. I had a spare VESA 100 wallmount I used to see if things align up properly.
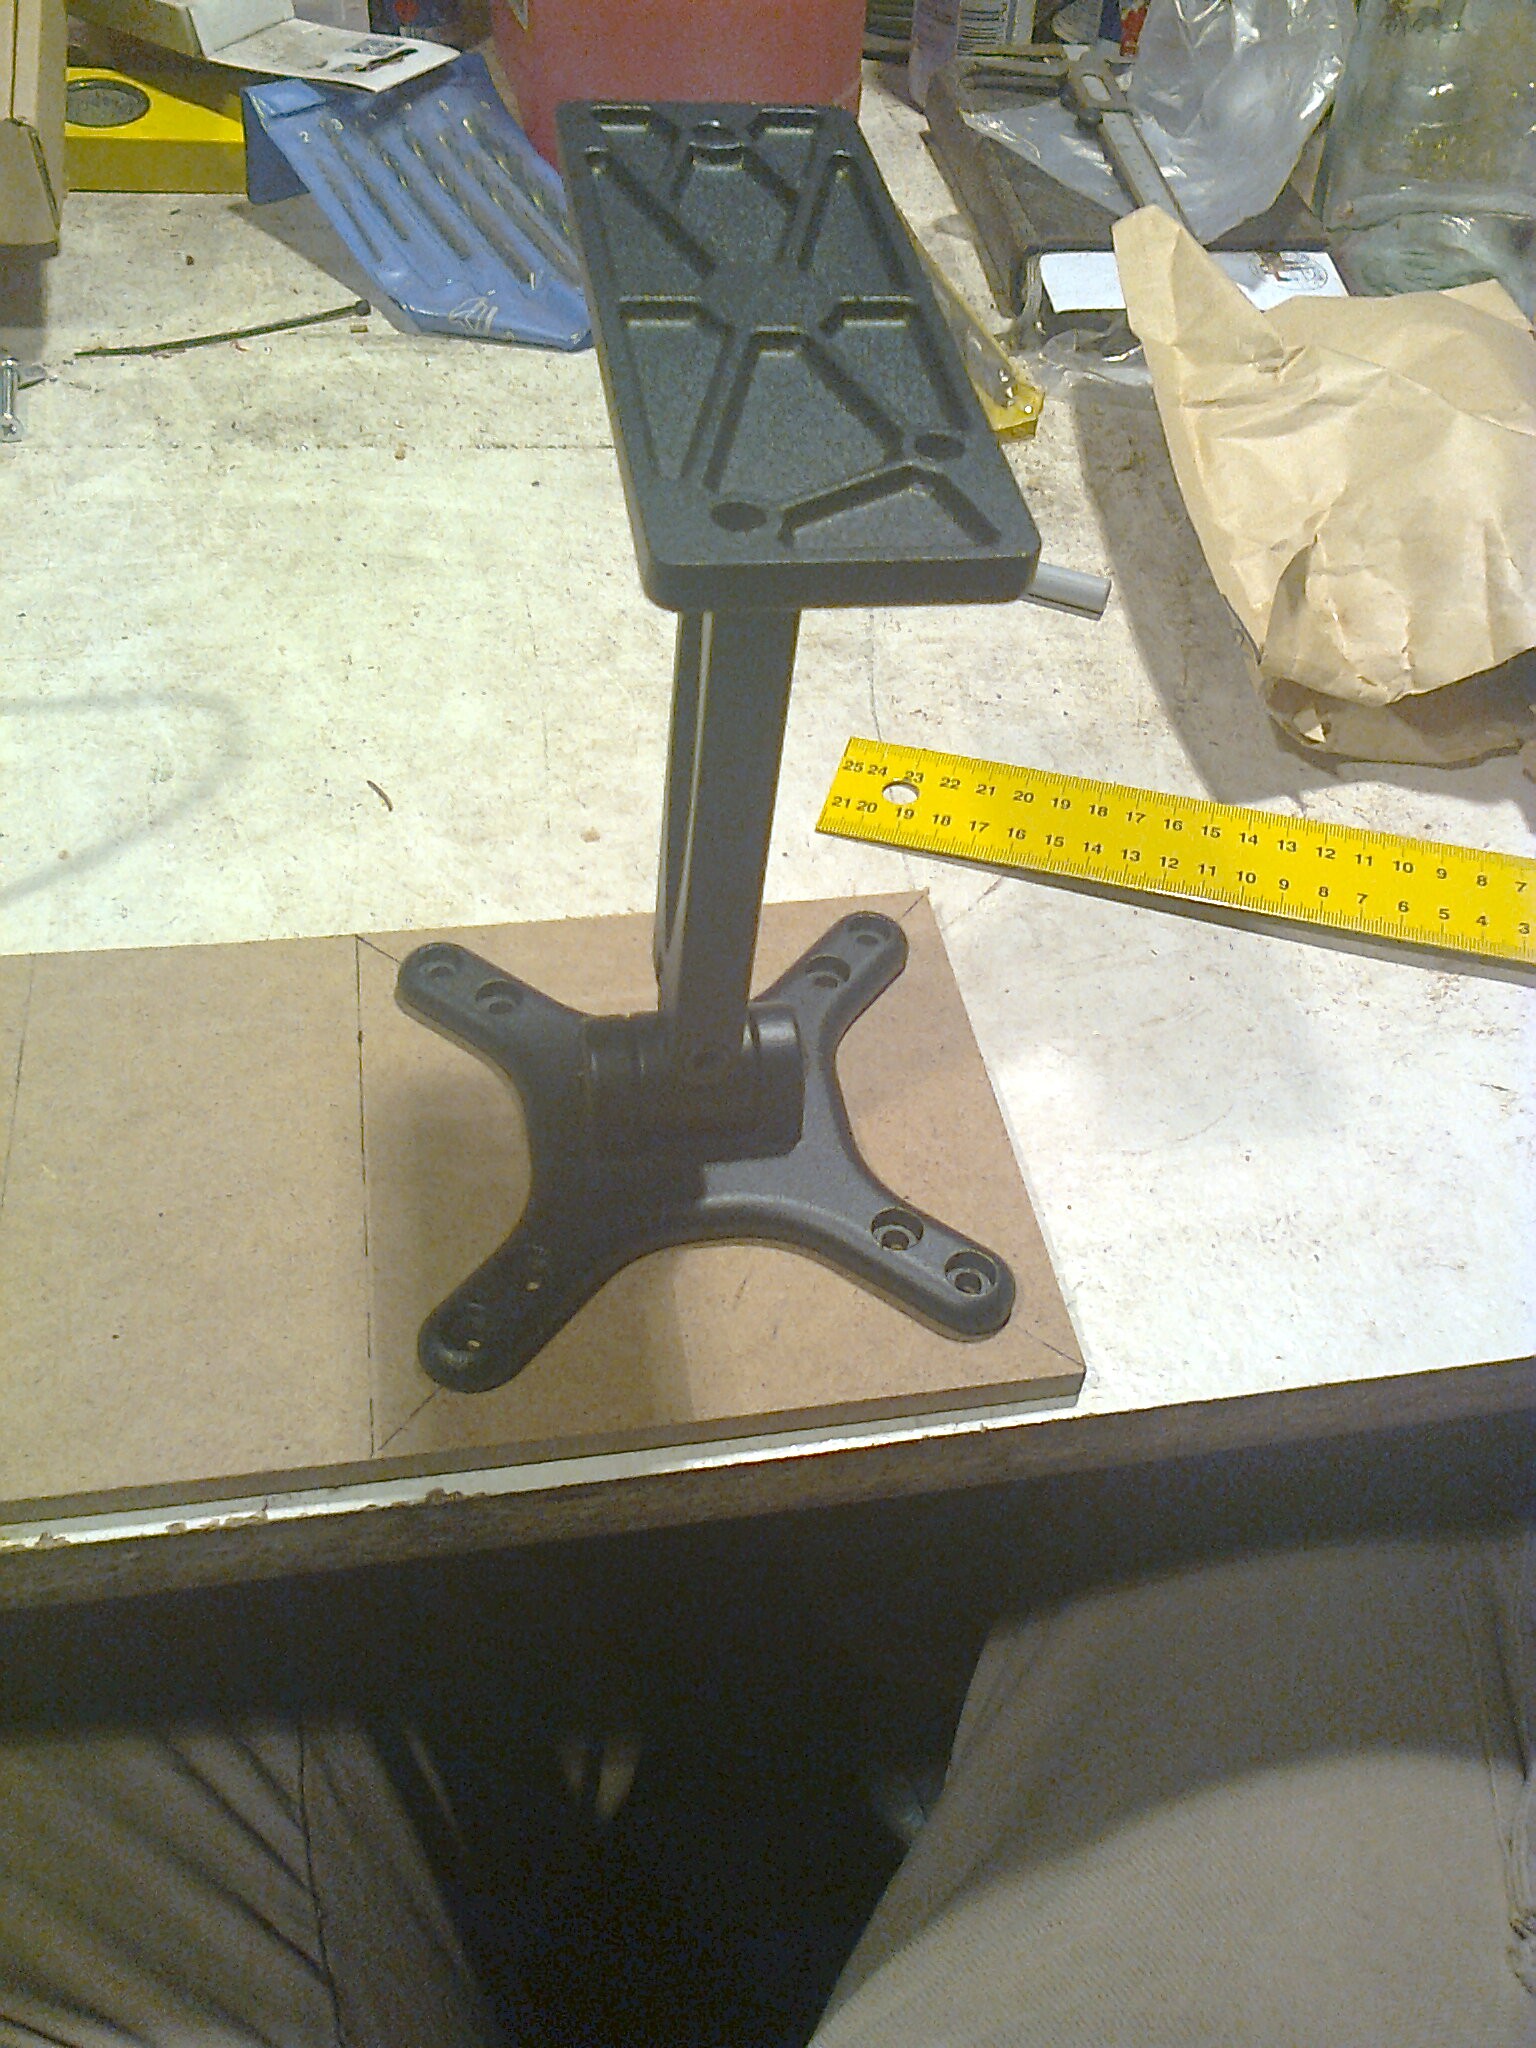
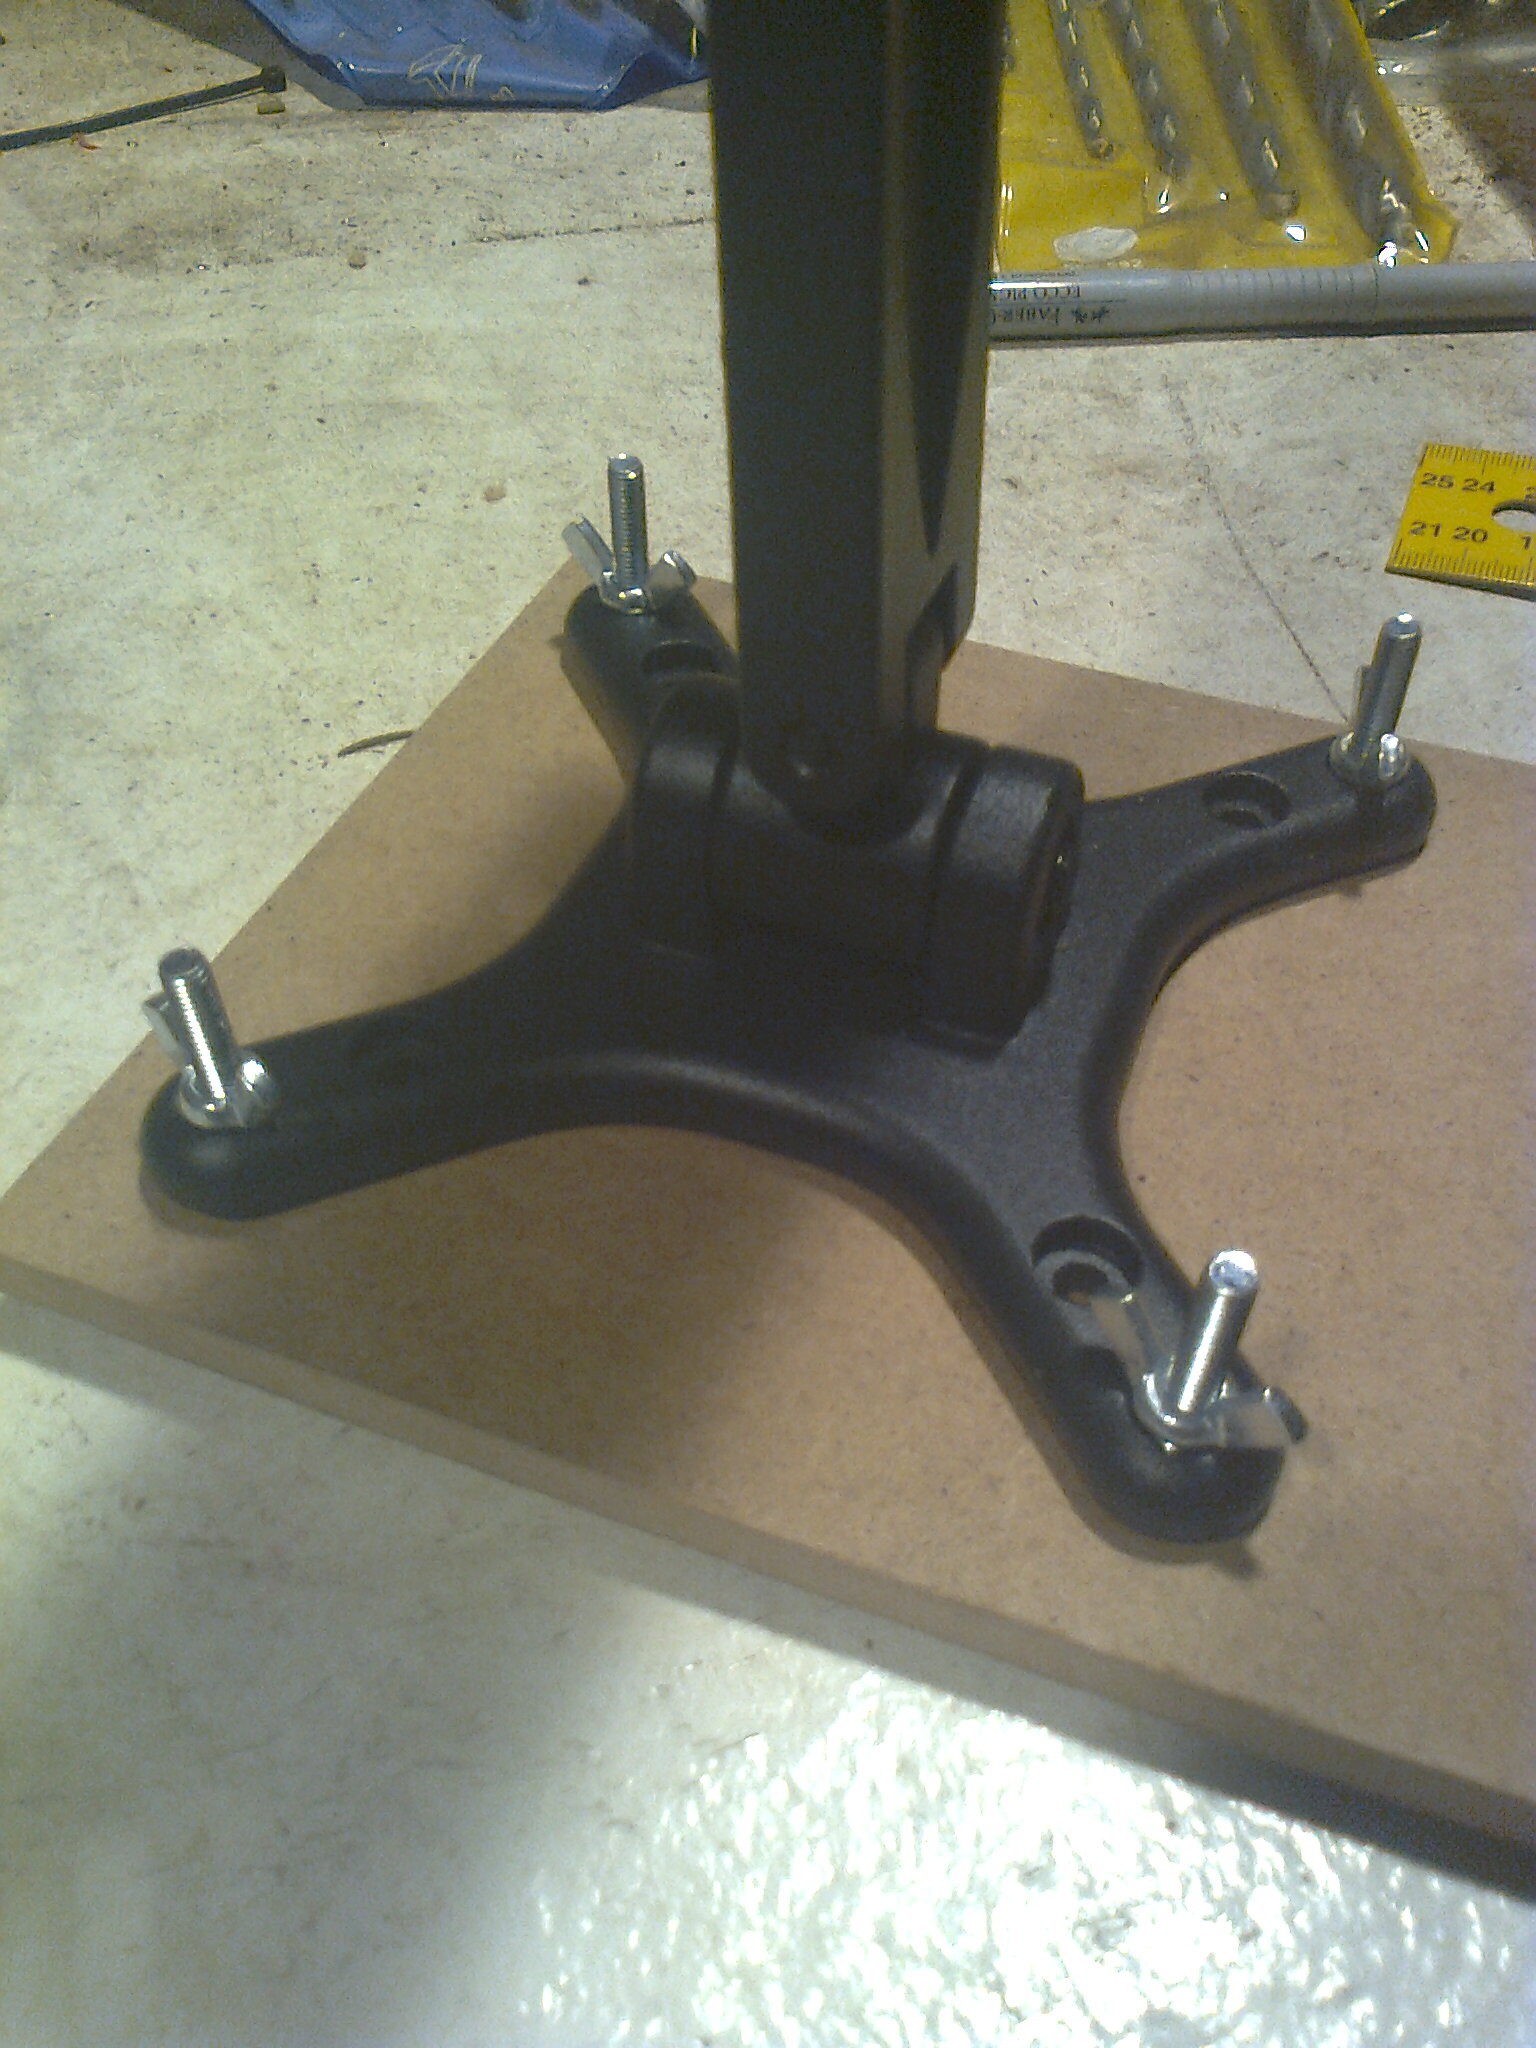
(4) I painted it red. Just because the red was what I had lying around.
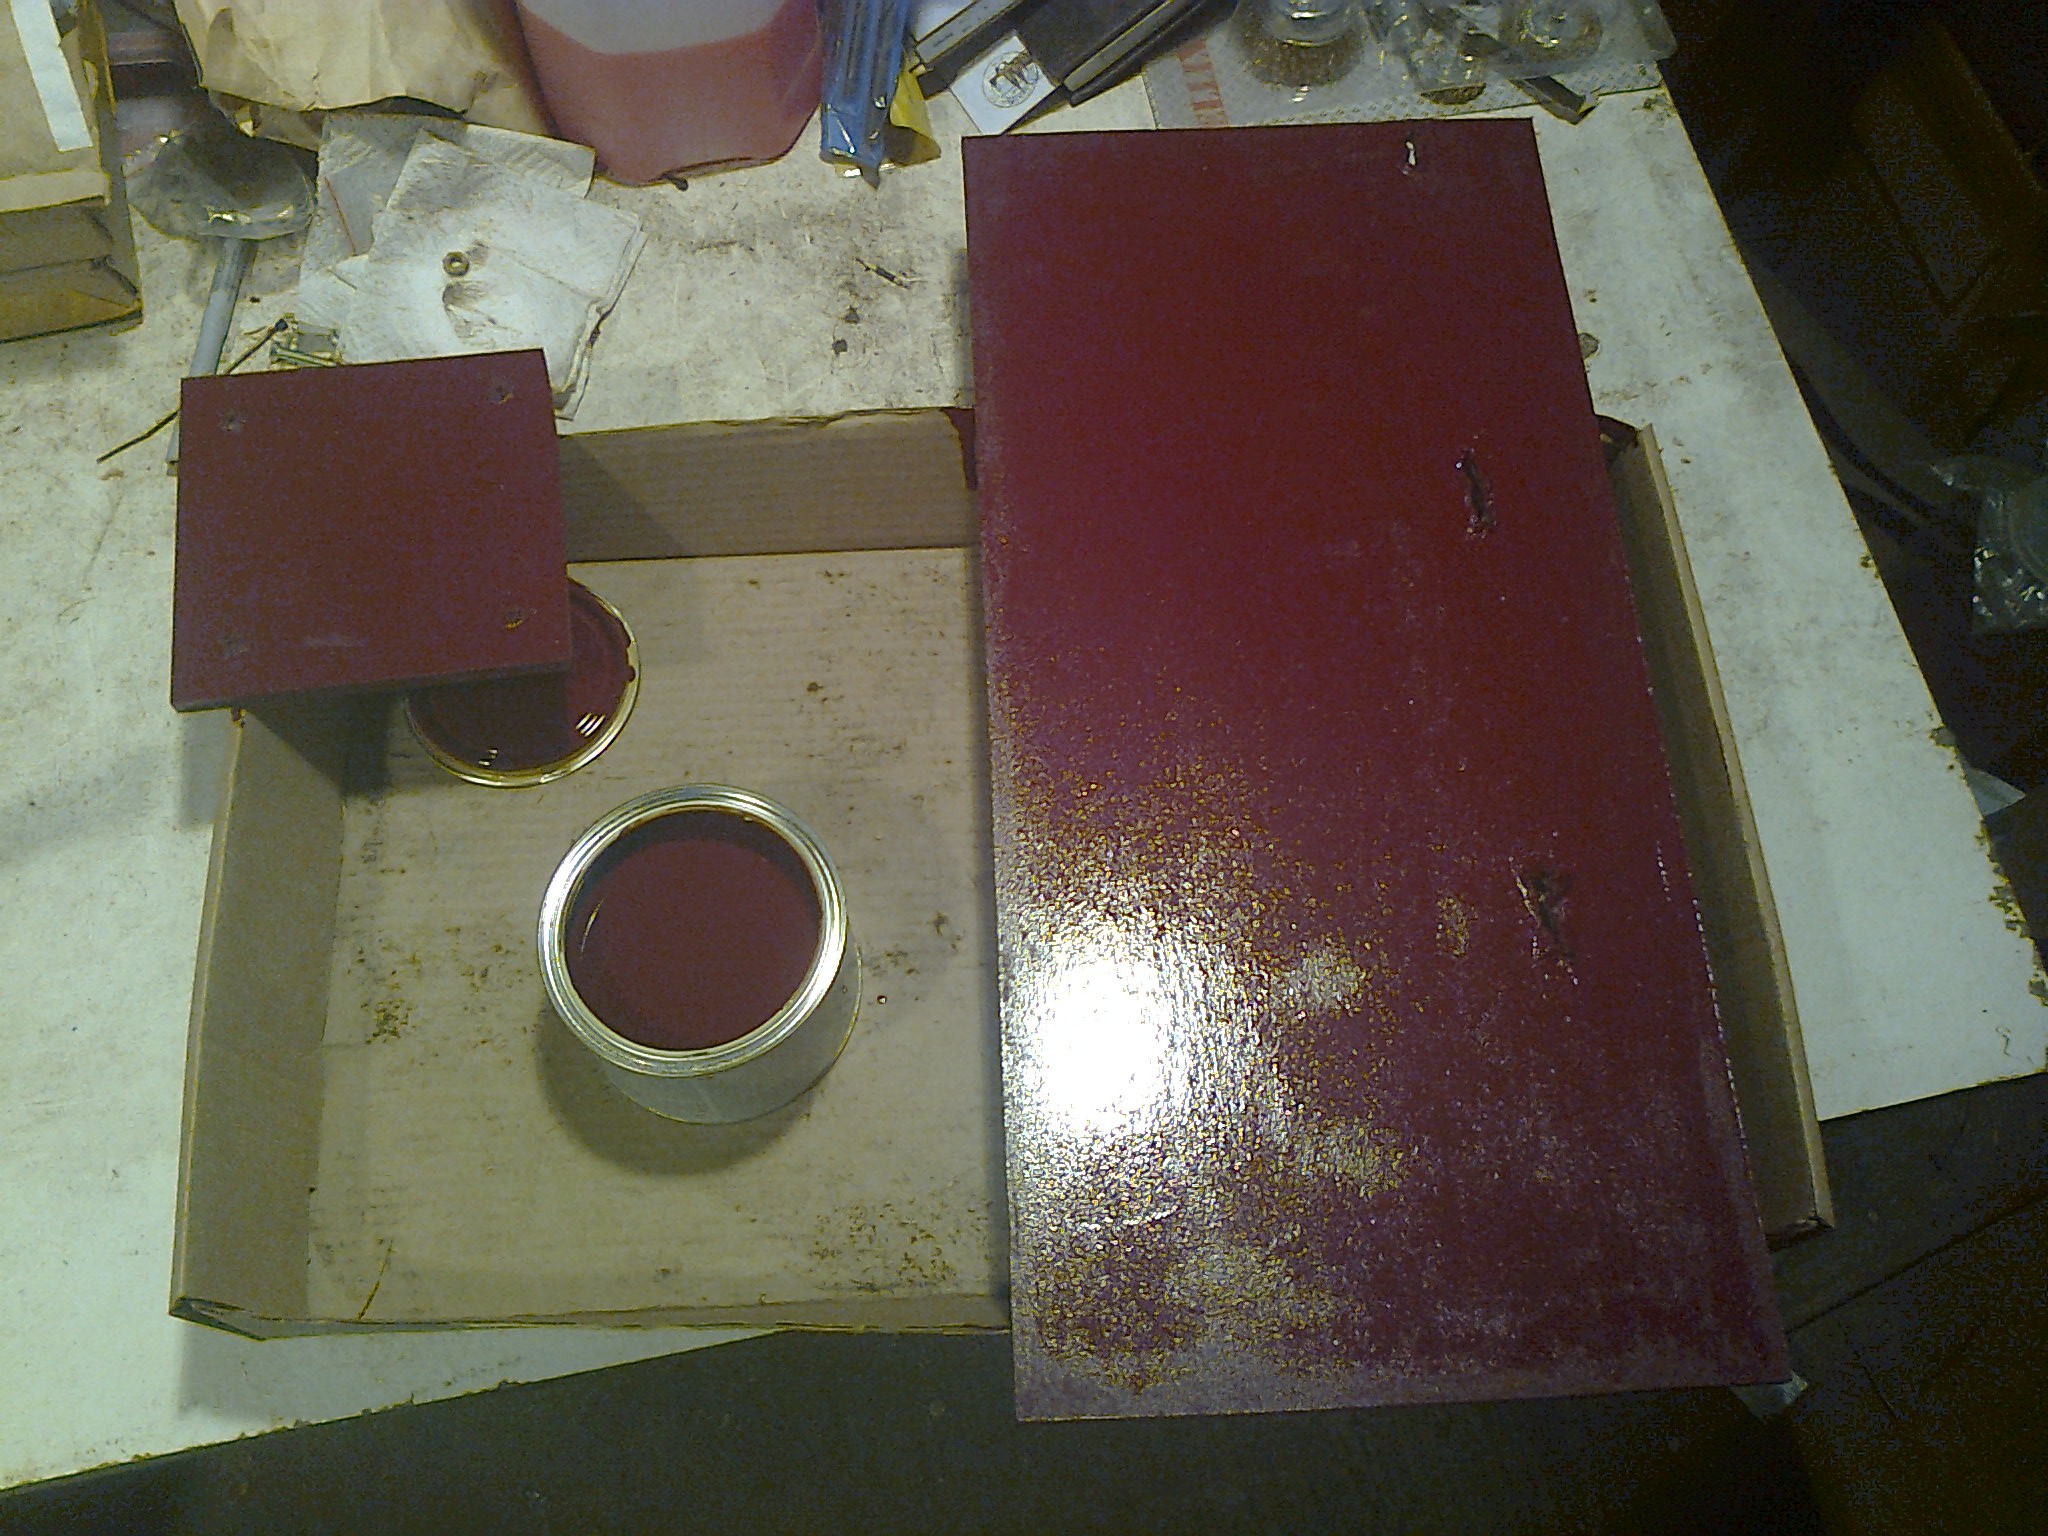
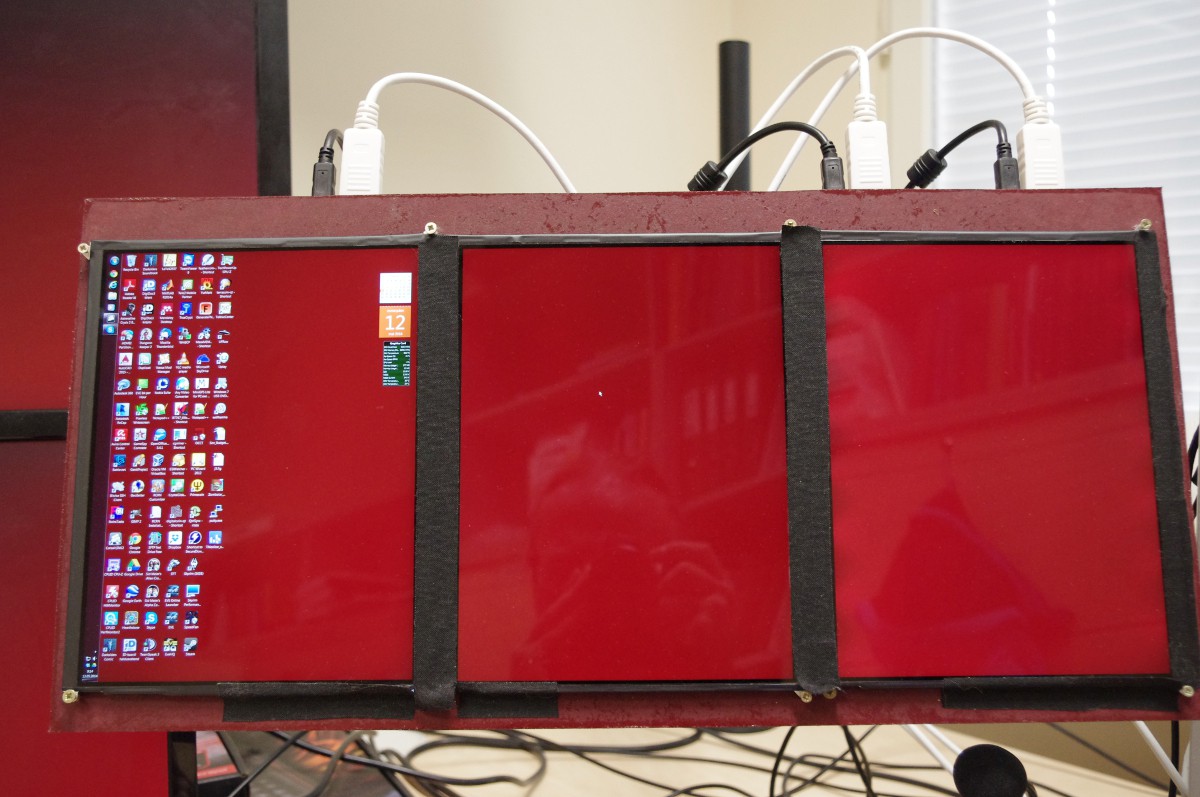
(5) Screw everything together, set it up and see if it works (it did, surprisingly although I had to try few different power-bricks to sort out the power issues).
I used ordinary sufficiently small wood screws to attach the ipad screens to the MDF plus few pieces of two sided tape initially (two sided tape does not seem to stick to MDF for extended periods)
A good stand is a must for that kind of setup as you literally want them in your face at 265 ppi for them to be usable. The ppi is a bit on the high side for using programs that cant zoom or dont scale well.
Total budget was:
~150 EUR screens
~100 EUR PCB's + transport from Japan
~100 EUR for good enough VESA stand, MDF, paint, bolts and USB powerbricks plus some USB cables.
Total: ~ 350 EUR
 Kert
Kert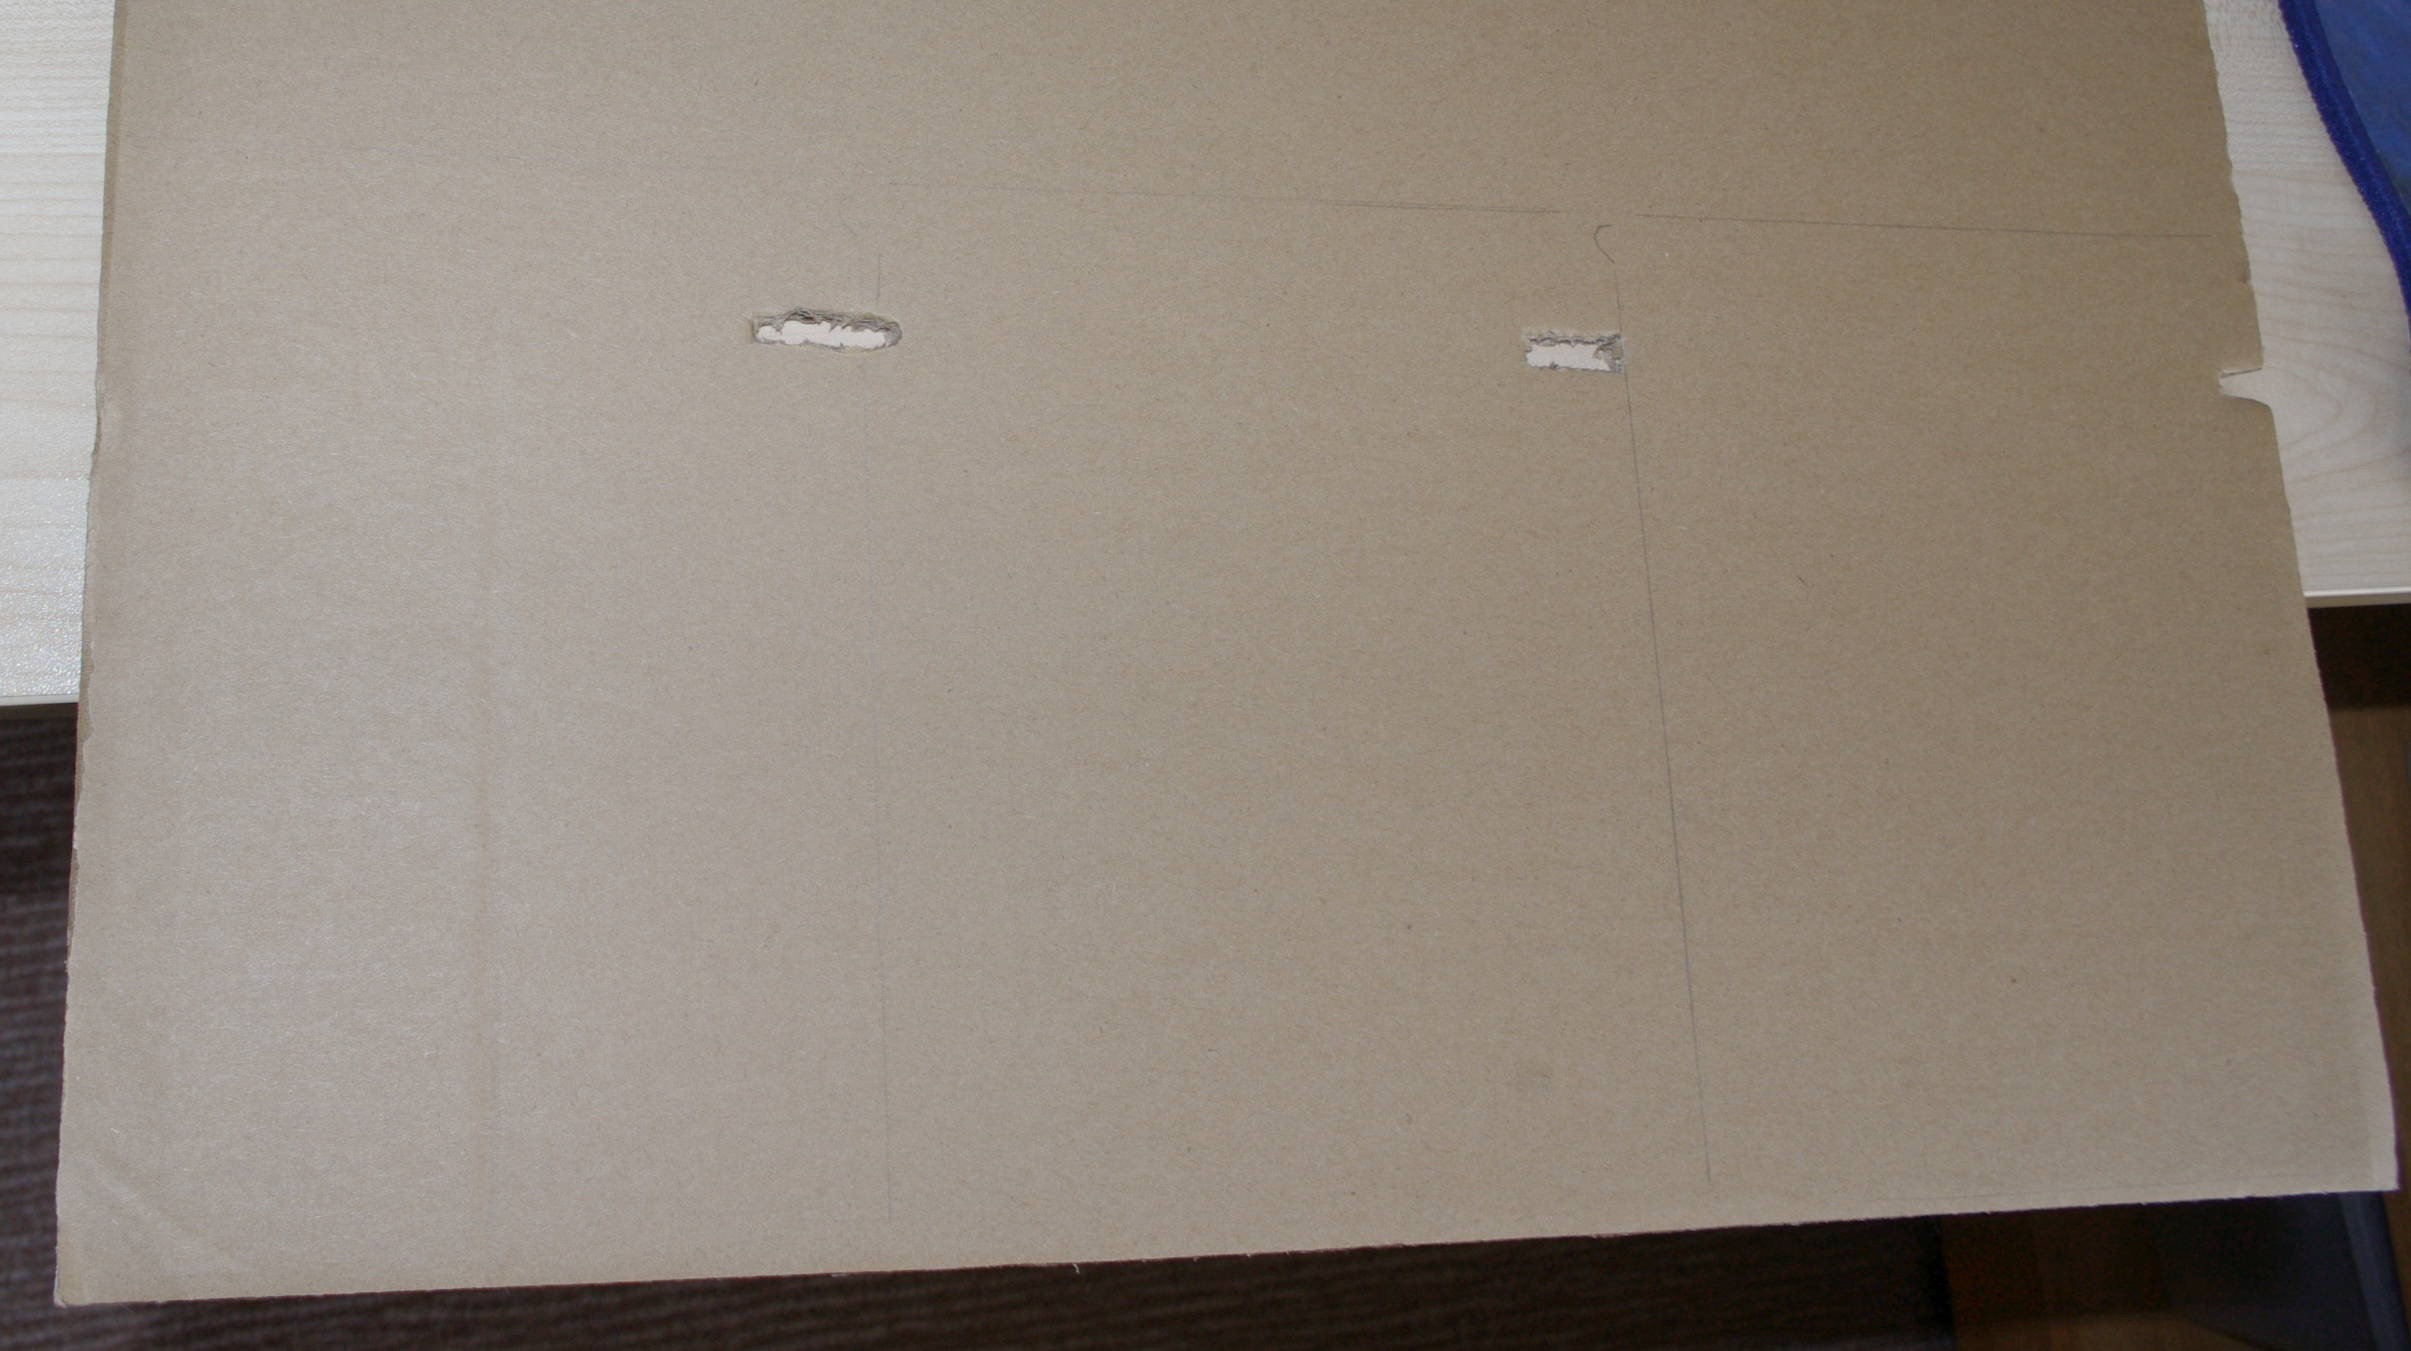
Discussions
Become a Hackaday.io Member
Create an account to leave a comment. Already have an account? Log In.