 Kert
KertIt was pointed out to me by one of my friends (when I was complaining how hard it is to get crap laser cut) That there is a Makerlab in Tallinn with a 70W laser. The ticket for a day is about 10 EUR and access to the laser costs about 5 EUR / 30 min. Obviously 70W is not quite enough to cut aluminium (they have also a CNC router but I will investigate that one a bit later probably). It IS sufficient, however, to cut acrylic.
Now I am not really familiar with acrylic as I have never used it before. But hey it's a laser so how could I resist? So my CNC machine plan evolved into containing the "alpha" version in laser cut acrylic. On the past sunday I took the time and went to visit that Makerlab, getting a short safety instruction about where not to stick my fingers if the laser is humming and how to upload the autocad drawing and press "start" button. Well - there were also some numbers to be inserted like cut speed and beam power which were in some not very well formated txt file on the desktop of the controlling machine. I got hold of some scrap acrylic left over from previous projects waiting the trip to dumpster and did some trial and error for the cost of 15 EUR altogehter. I am not going to put that into the budget or I would be way overbudget far too soon ;)

A 180 mm fangrill made of 2mm thick scrap acrylic.
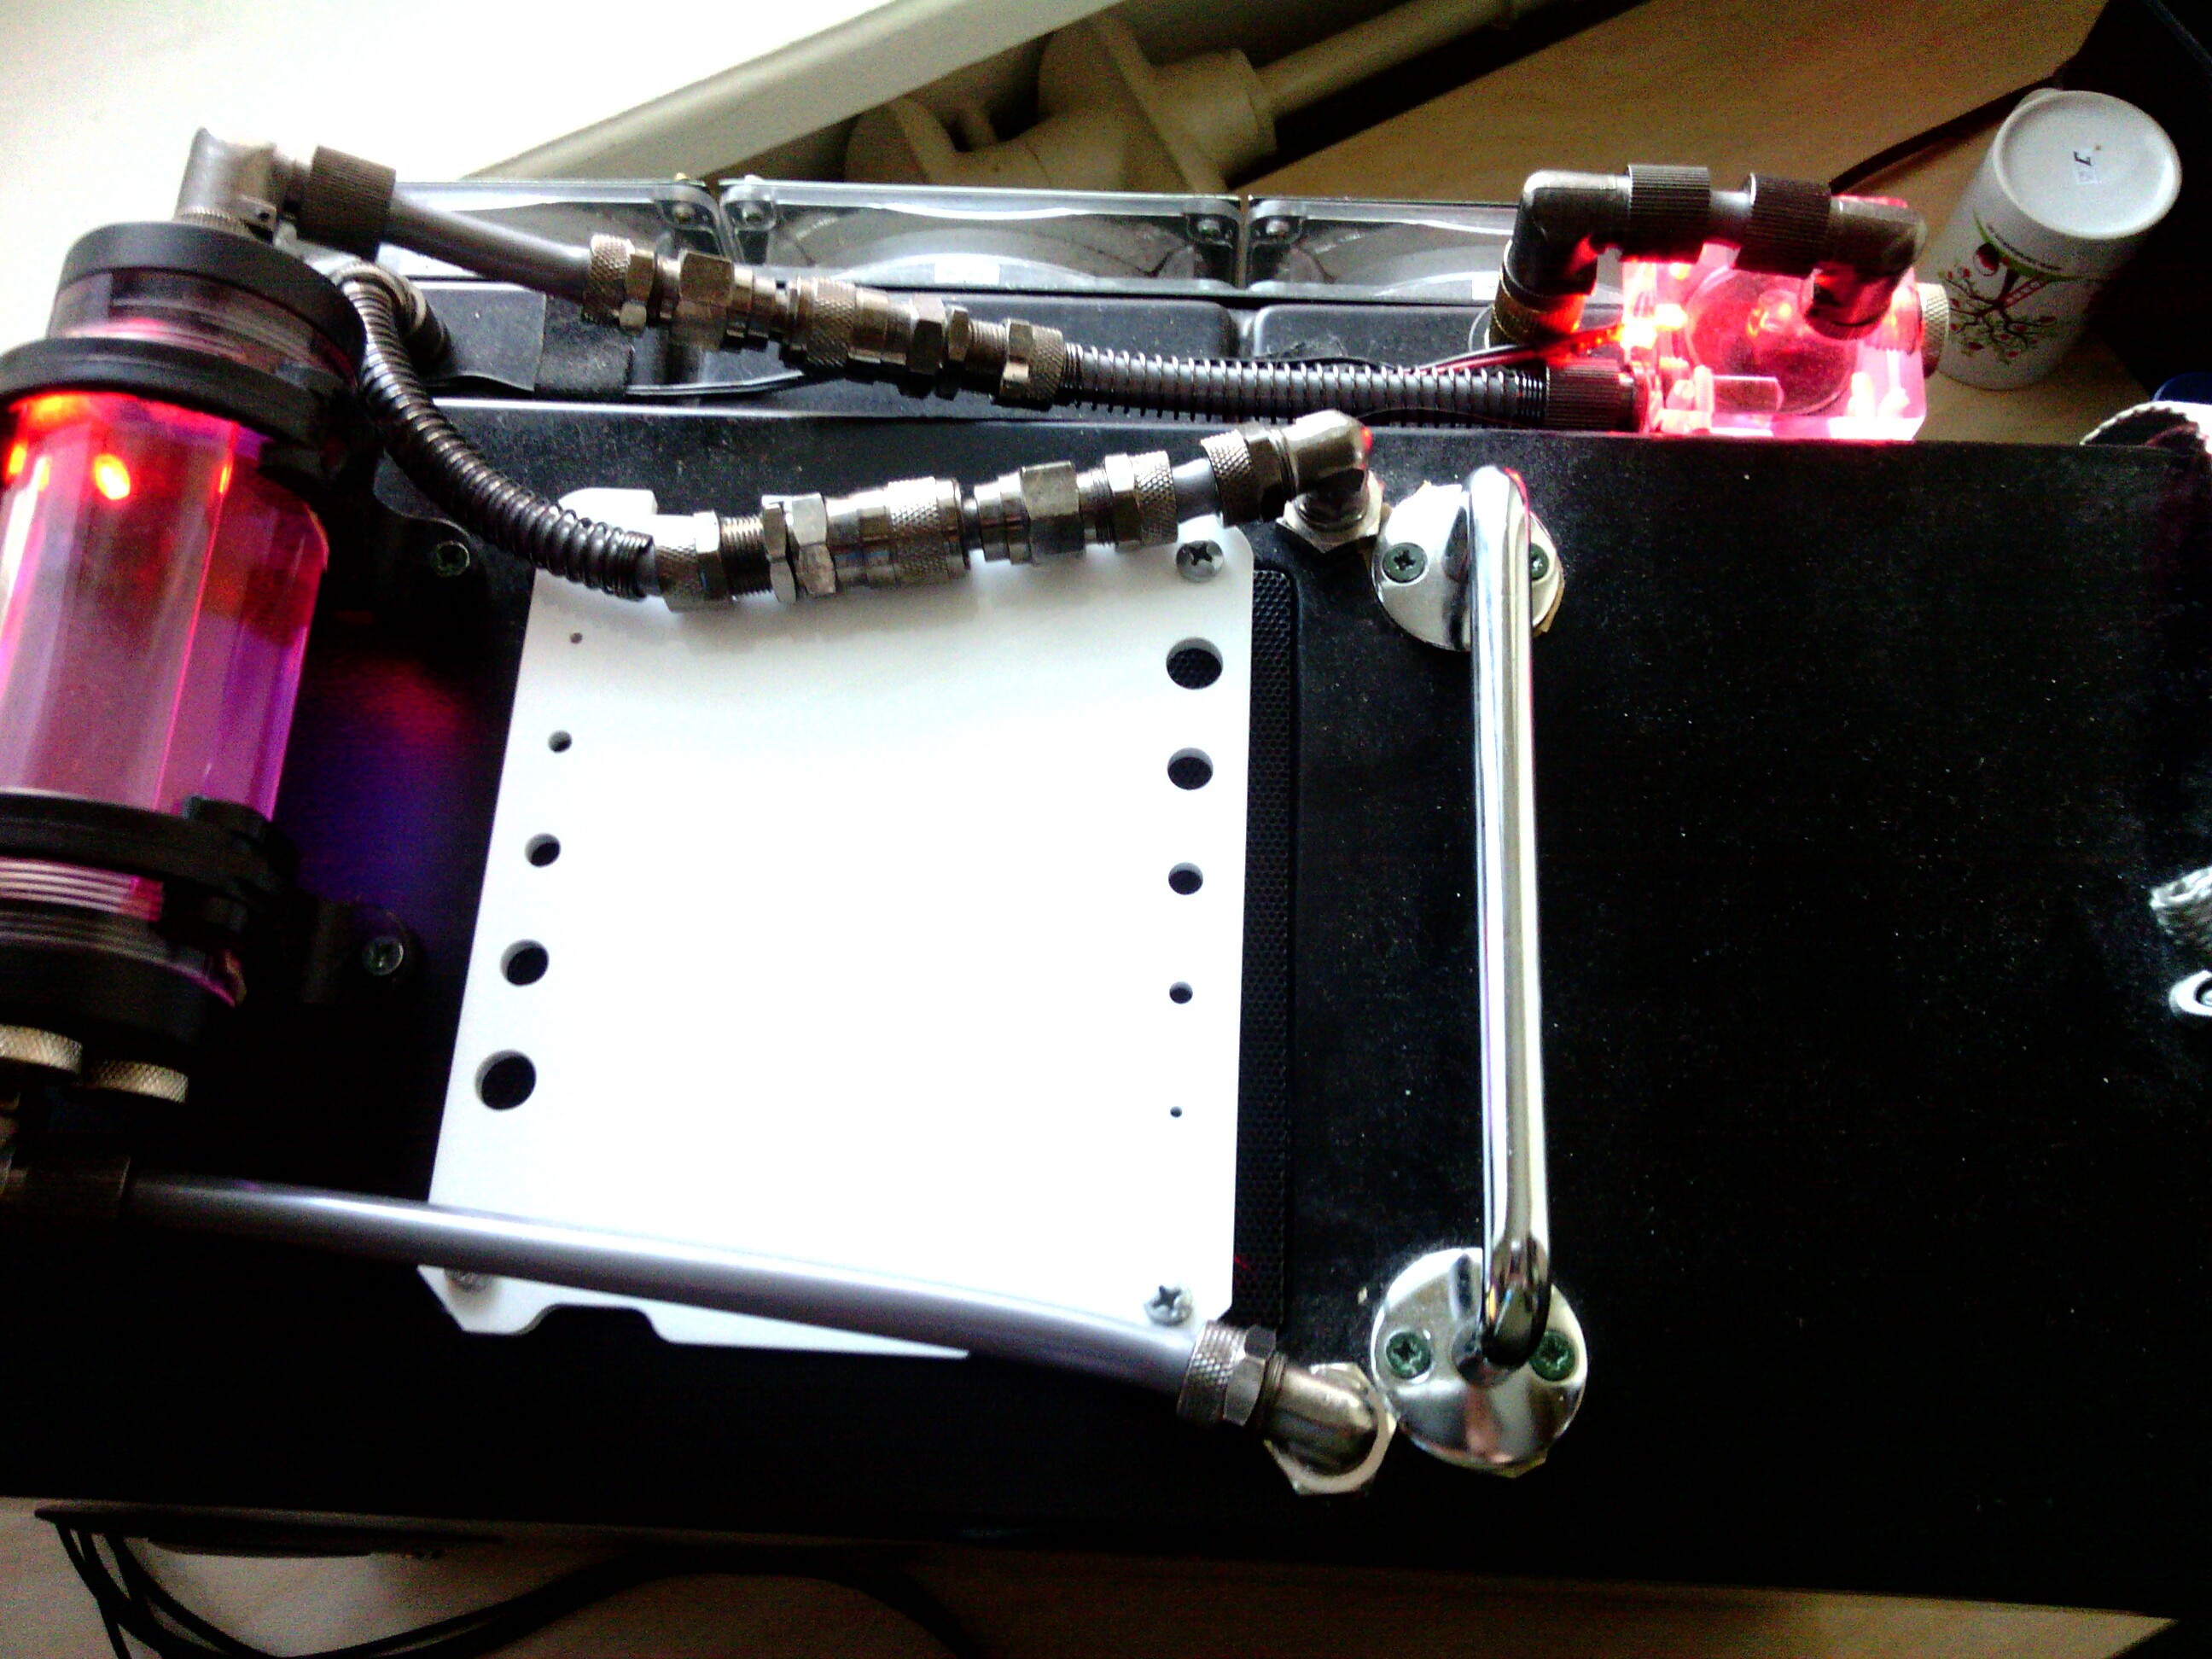
And a test piece made of 6mm thick acrylic (sitting there to prevent snow or rain going straight into my PC when I lug it around).
I also tried the same fan-grill in 6mm thick veneer but at the chosen parameters laser did not cut through that all the way.
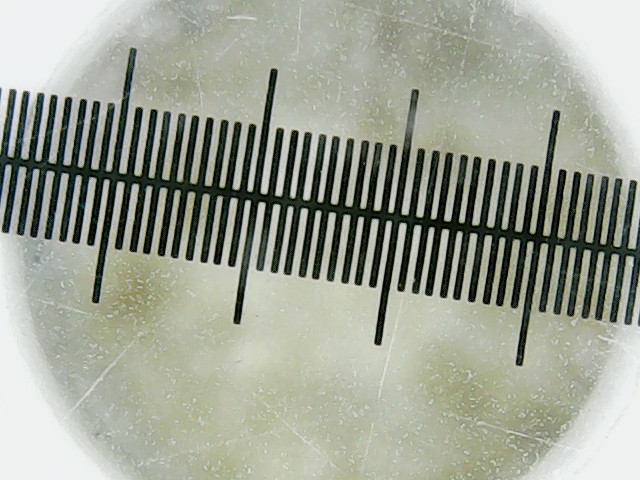
Overall color me impressed. I like that laser. Just the cut line is far wider than I expected from a laser. The guy babysitting me during my first use of the laser noted that the cut line in acrylic is "approximately 0.5 mm wide).
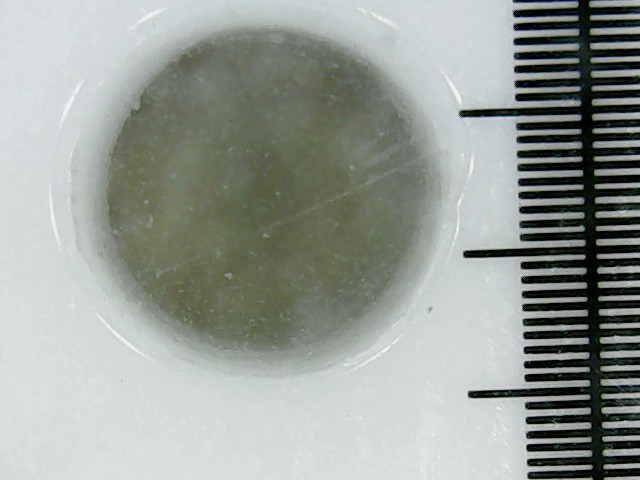
Also the holes did not end as pretty as I would have liked occasionally:

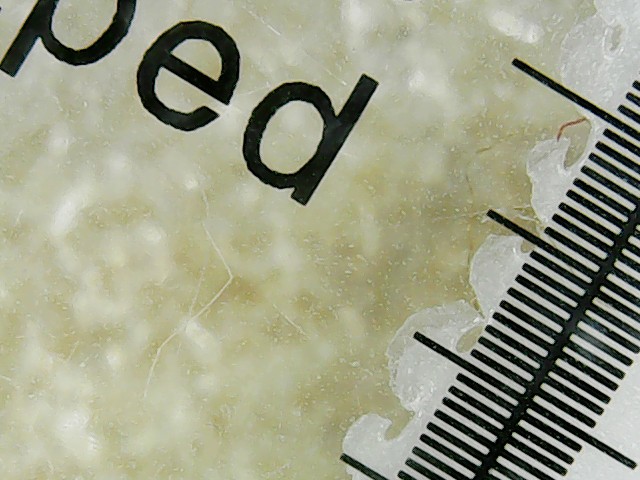
Pictures are taken with a cheap USB microscope from china (which I am intending to use for setting zero point in the finalized machine), tick distance on the scales is 100 micrometers (0.1 mm).
I have my doubts if a 6 mm acrylic is suitable enough for a desktop cnc machine but we'll see. If nothing else it will be a nice test machine to see if everything fits togehter as intended in reality.
The work area of that laser is 400 x 600 mm so that can set some constraints on my machine if I want to get all laser cut parts done on it.
Discussions
Become a Hackaday.io Member
Create an account to leave a comment. Already have an account? Log In.