Close
0%
0%

reactive led gems : make the music pop

show control from an led instrument. bring the audience into the performance experience. play highly reactive and mode setting patterns

Similar projects worth following
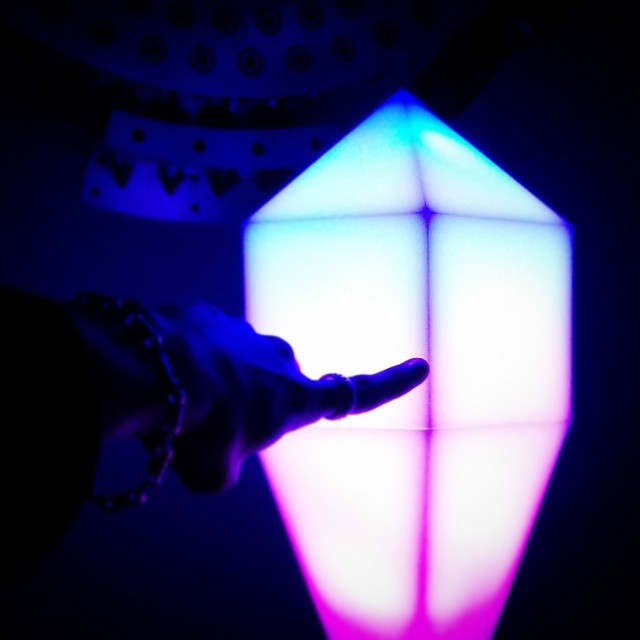
Live LED Gem Drums:

this device hosts a multitude of replaceable piezo drum trigger sensors.

with each hit a midi event is triggered for the sound and then an osc message for the lighting control.

the trick is keep the latency down, making it solid enough to drag on and off stage, and make it look awesome!

To keep the latency down and make tons of patterns we decided to generate all the led patterns on a Freescale based Teensy 3.1 . these message payloads are minimal and fast.

these midi events ultimately have to go into ableton live to generate the drum hits and music. this is a great use of ableton because so often ableton sets are so locked to the quantization that they feel a bit robotic of fake. quantization is where each note or sound has been programmed to happen exactly on the beats. with this type of live play setup drummers can play a little behind or ahead of the beat to really ramp up the energy or soften the mood.

BOM for Usb Gem Controller:

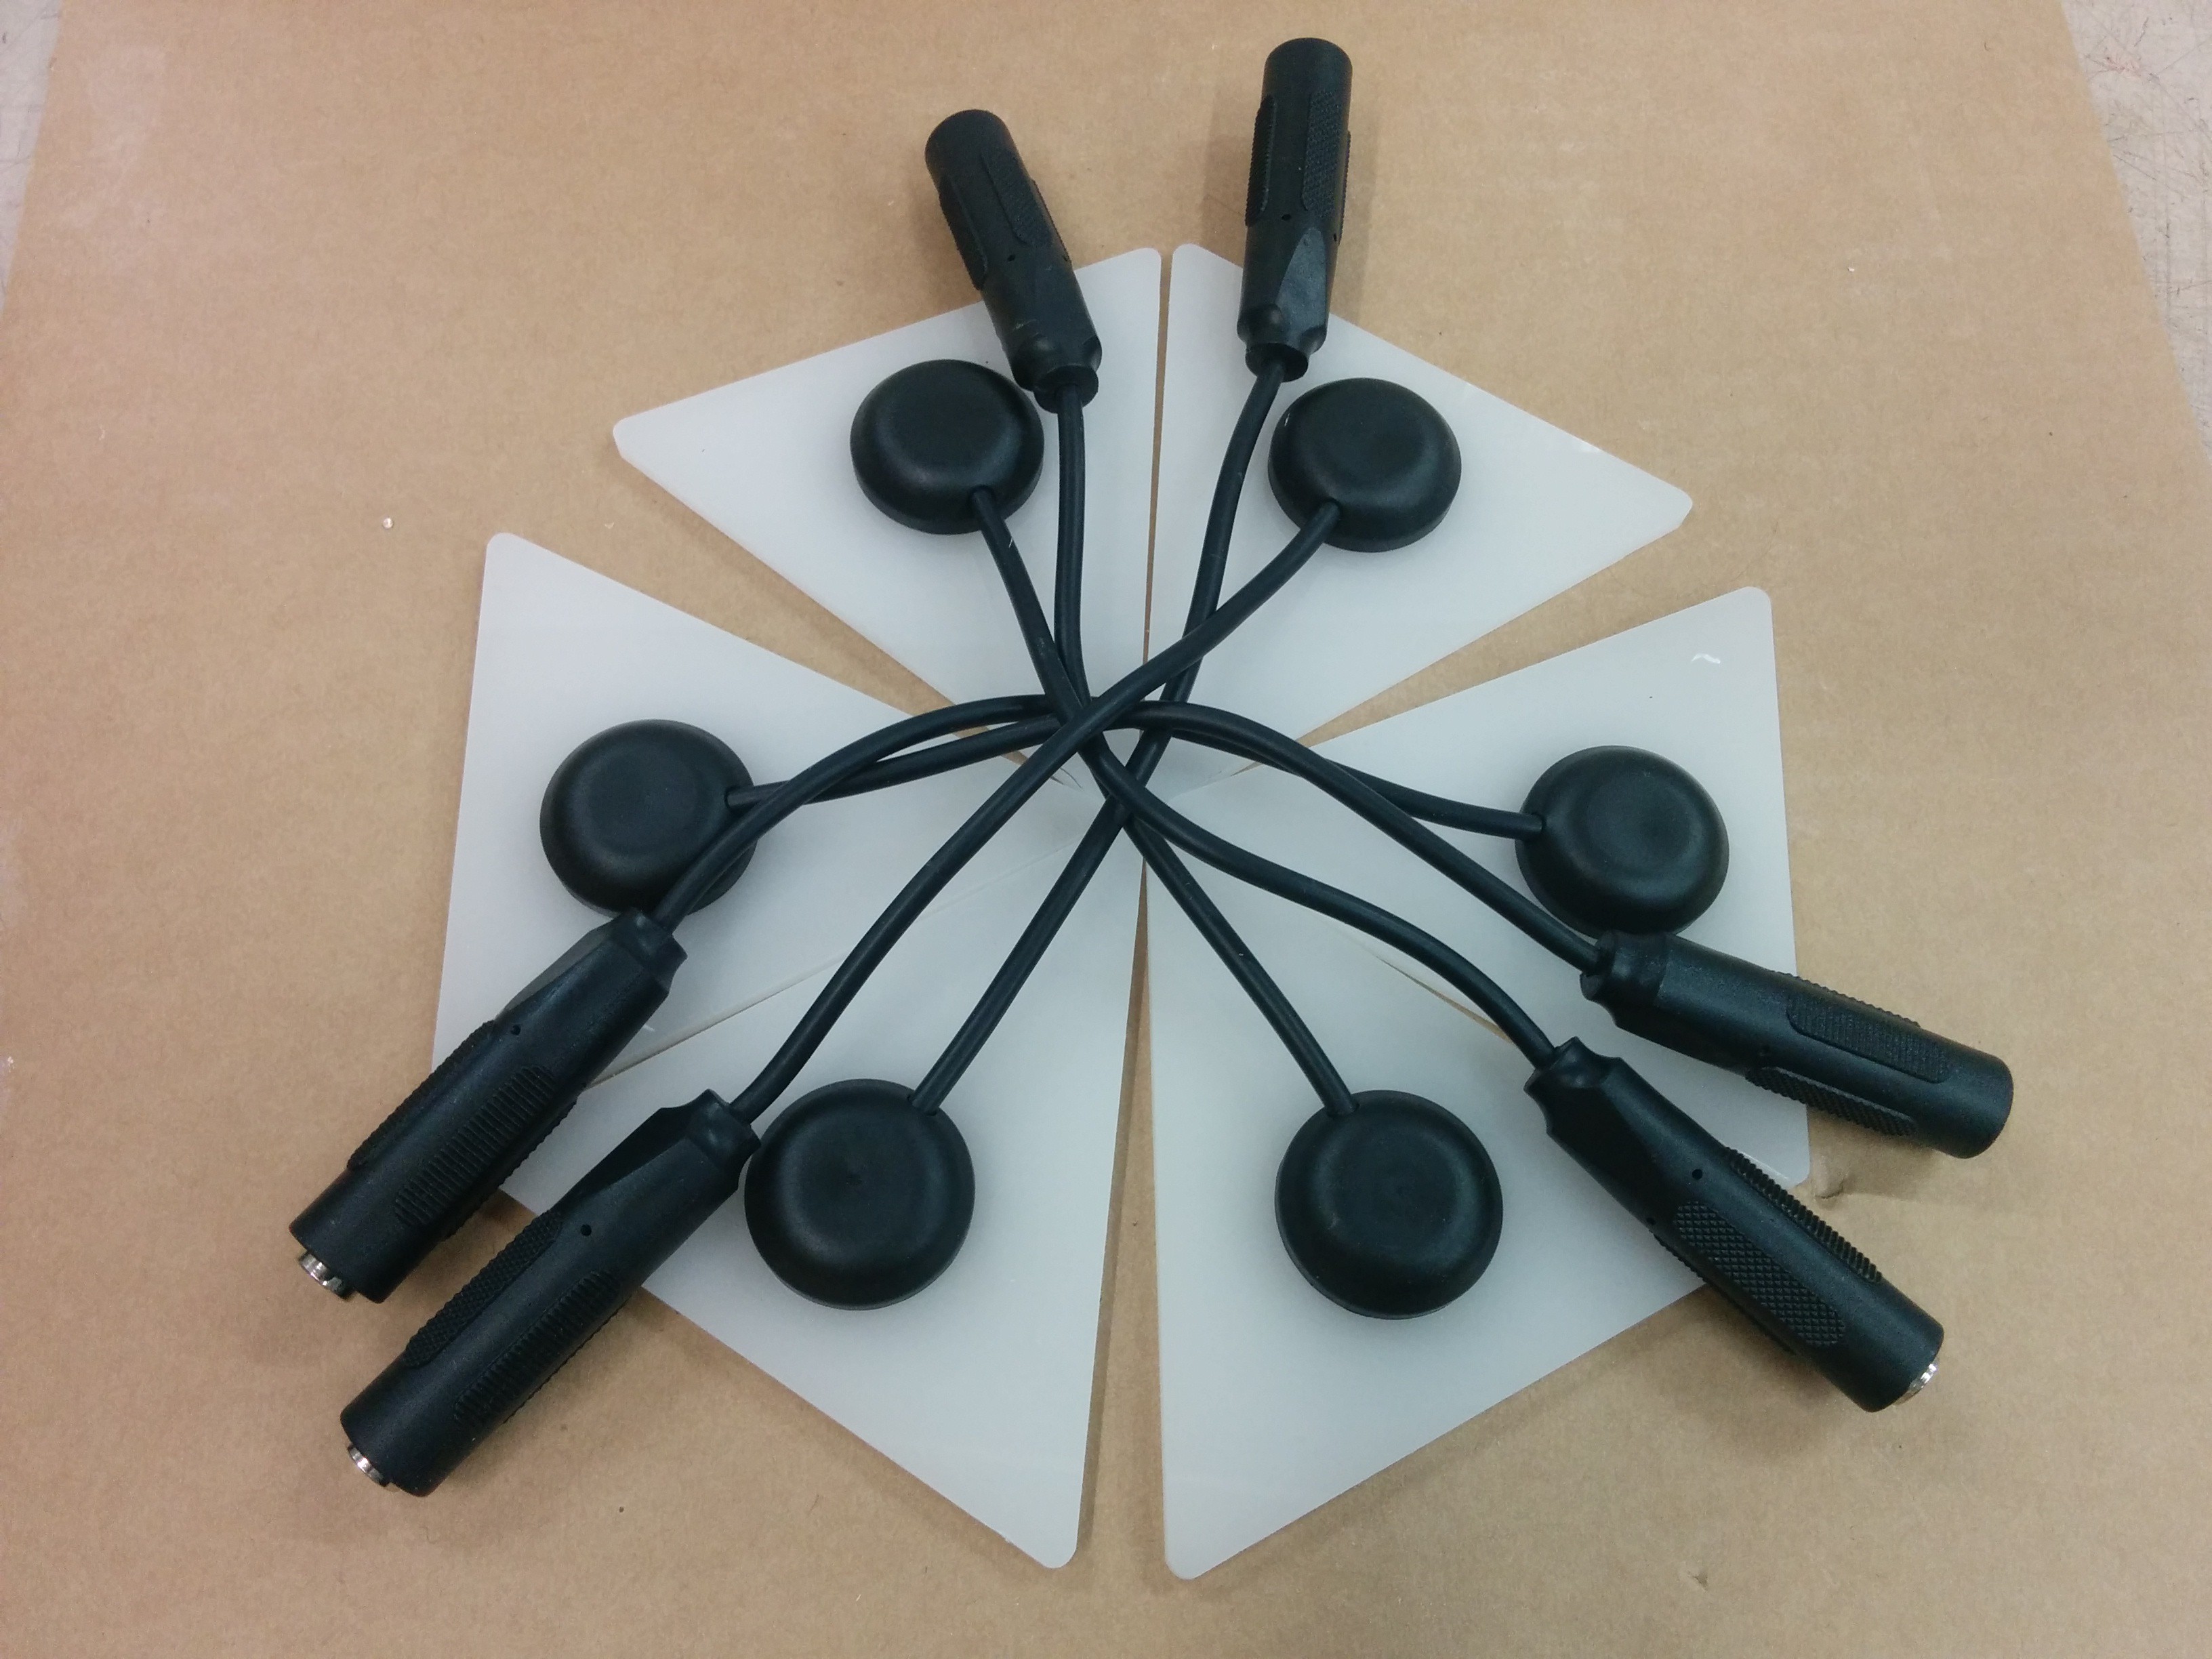
  • 8x piezo drum triggers
  • Freescale driven Teensy 3.1
  • octows2811 adapter
  • UV and Amber of leds and resistors (for status lights)
  • cat 6 (25ft)
  • barrel jack connectors male and female with 6ft of cable
  • midi drum module

BOM for each Gem

  • piezo drum triggers
  • ~100 ws2811 leds 60/m
  • polycarbonate tubes
  • heatshrink
  • hotglue
  • ws2811 soldering board
  • barrel jack connectors male and female with 6ft of cable
  • 1/4" audio mono extension cable 6ft
  • misc velcro
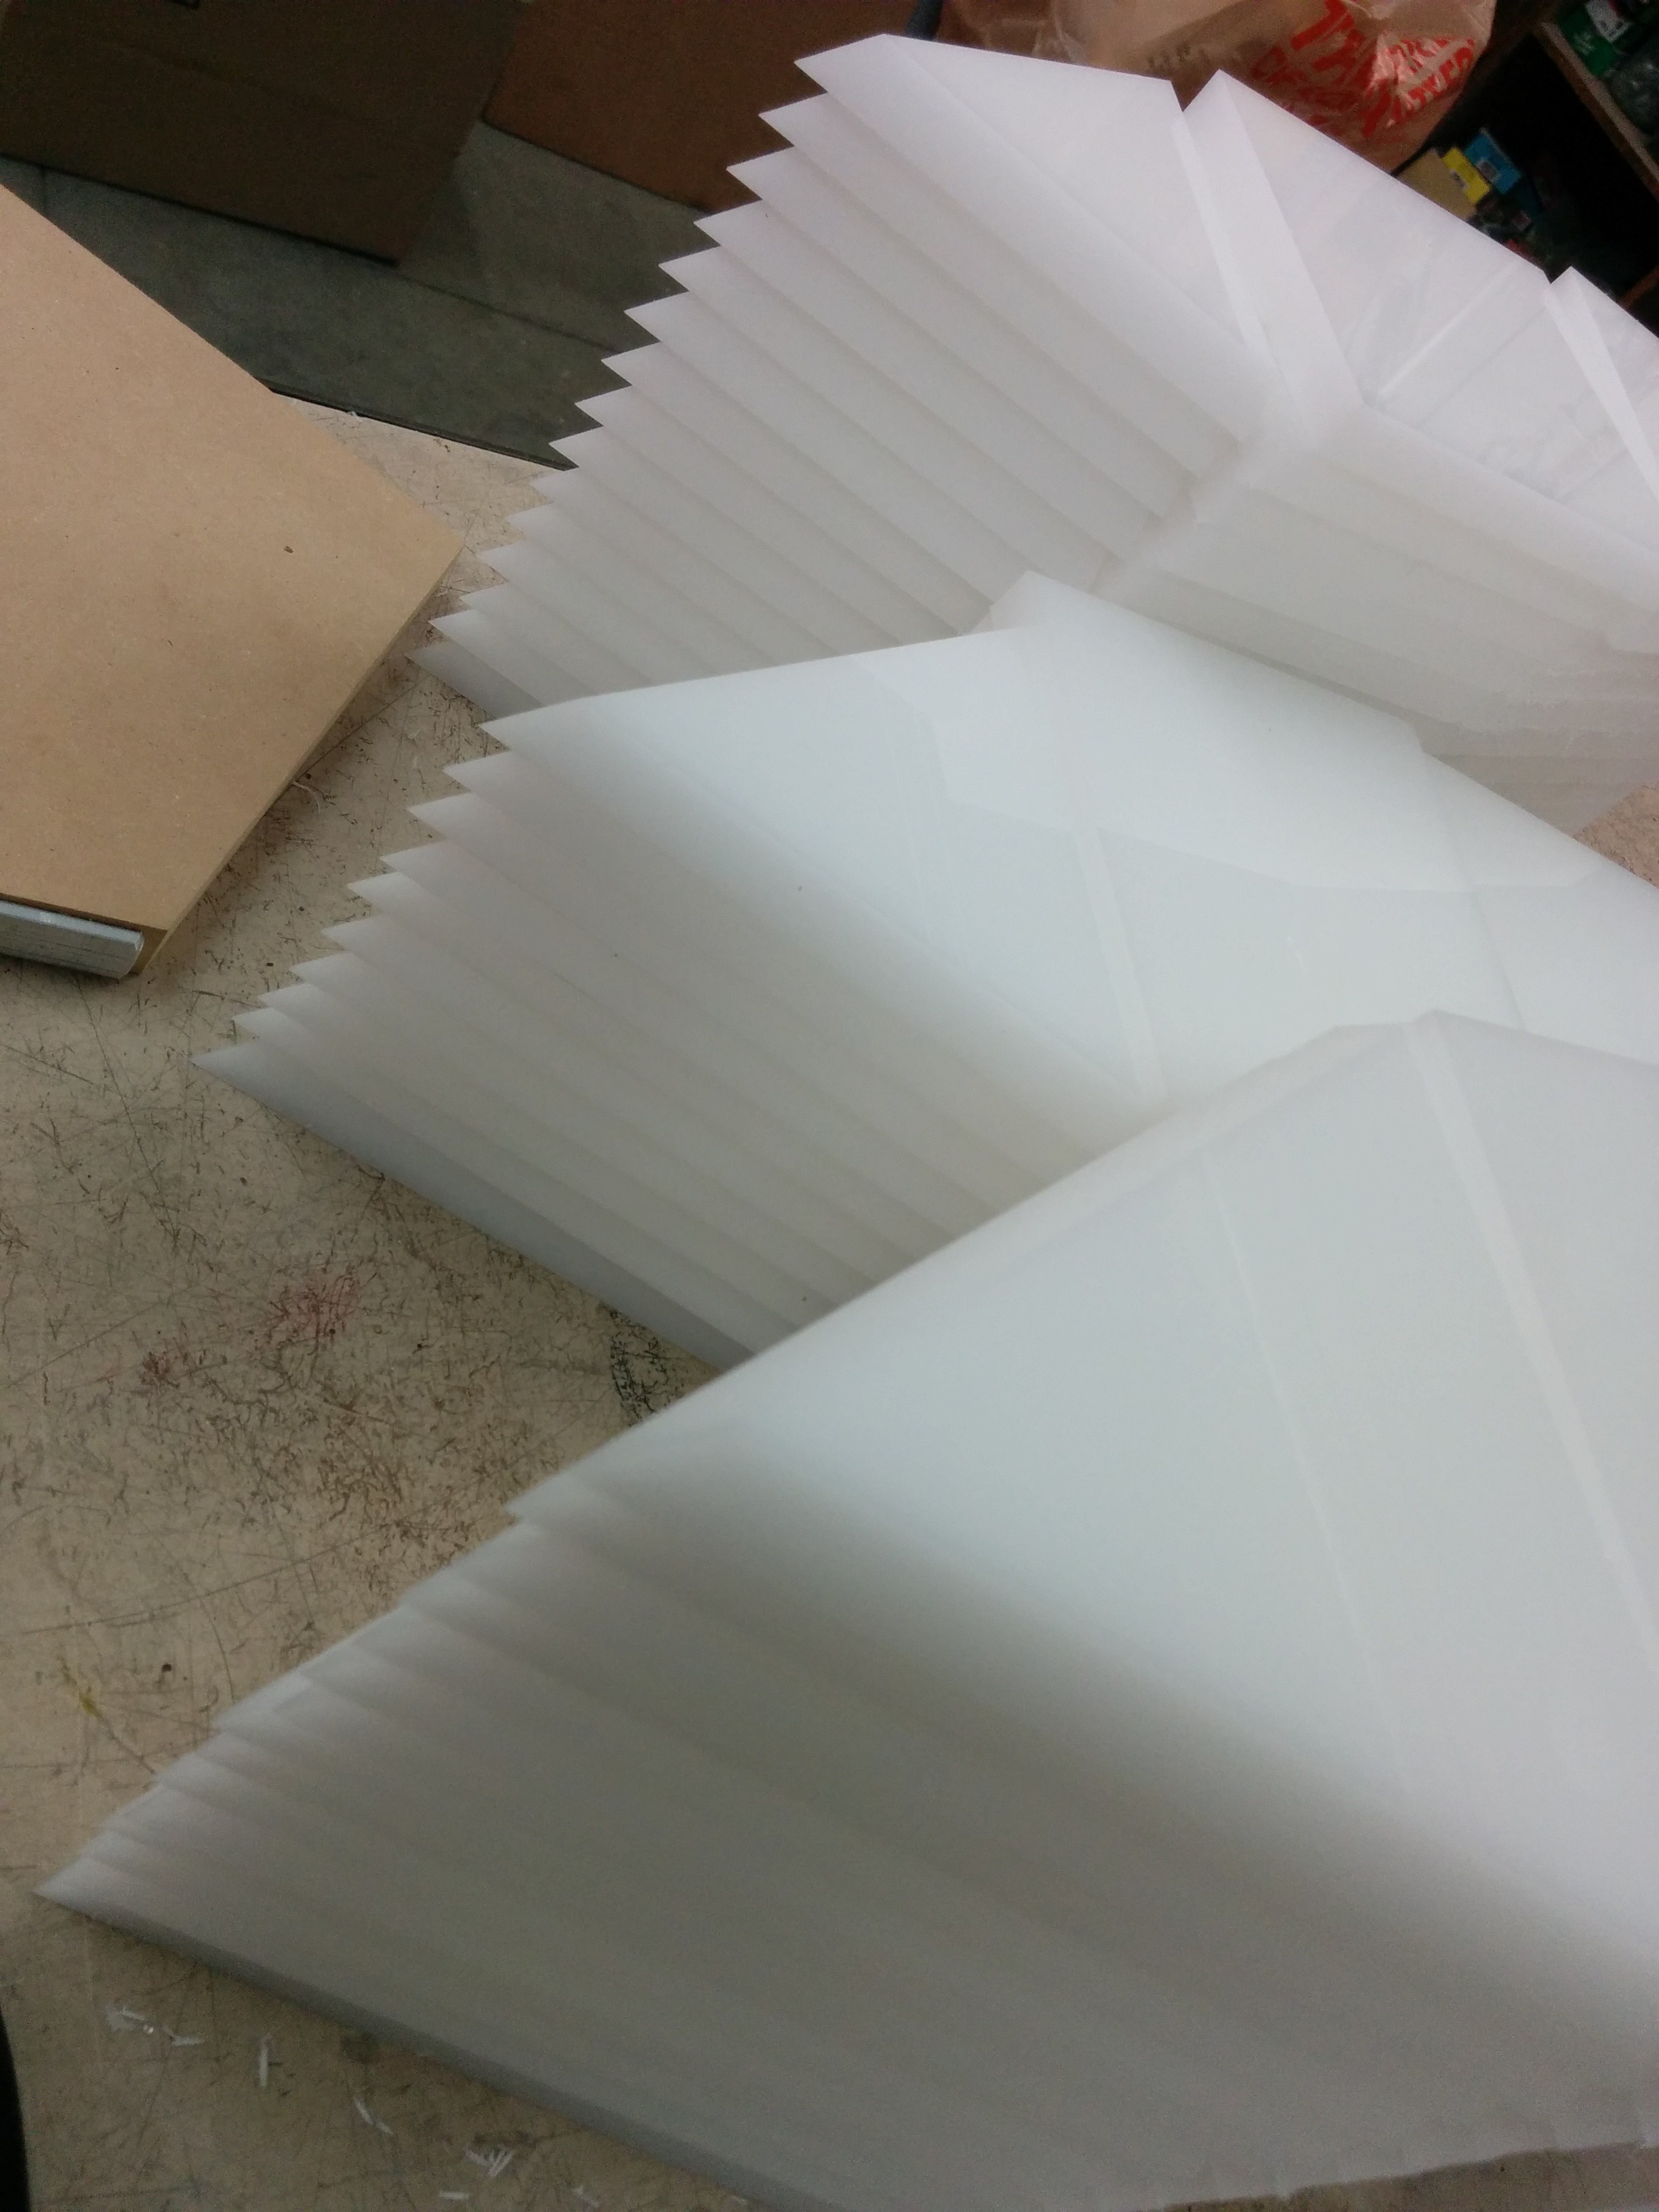
  • 3/4 inch white acrylic

  • 2 × Teensy 3.1
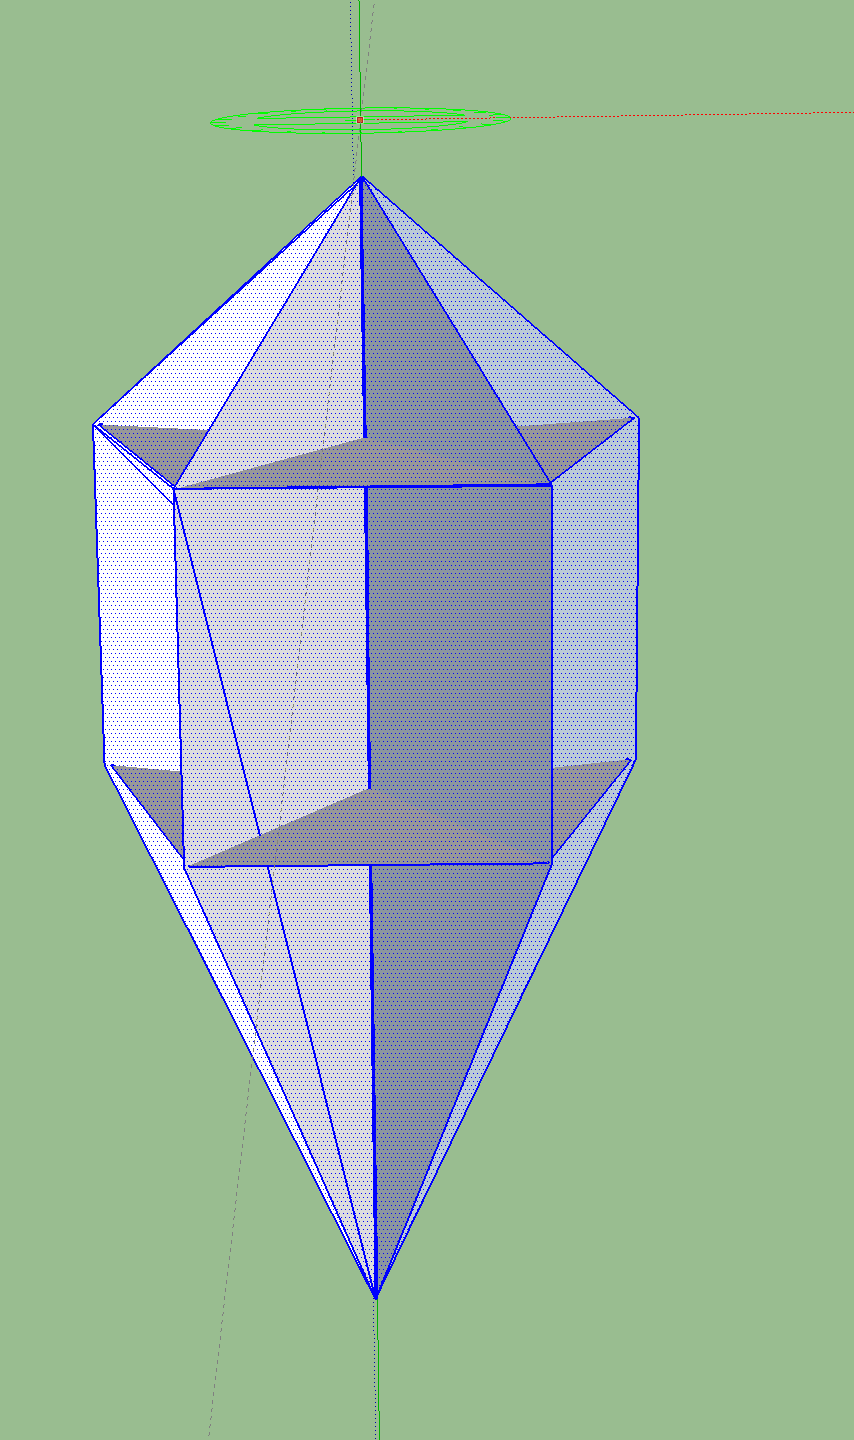
  • 9 × amazing acrylic gems fabricated by josh http://sparklemasters.com/
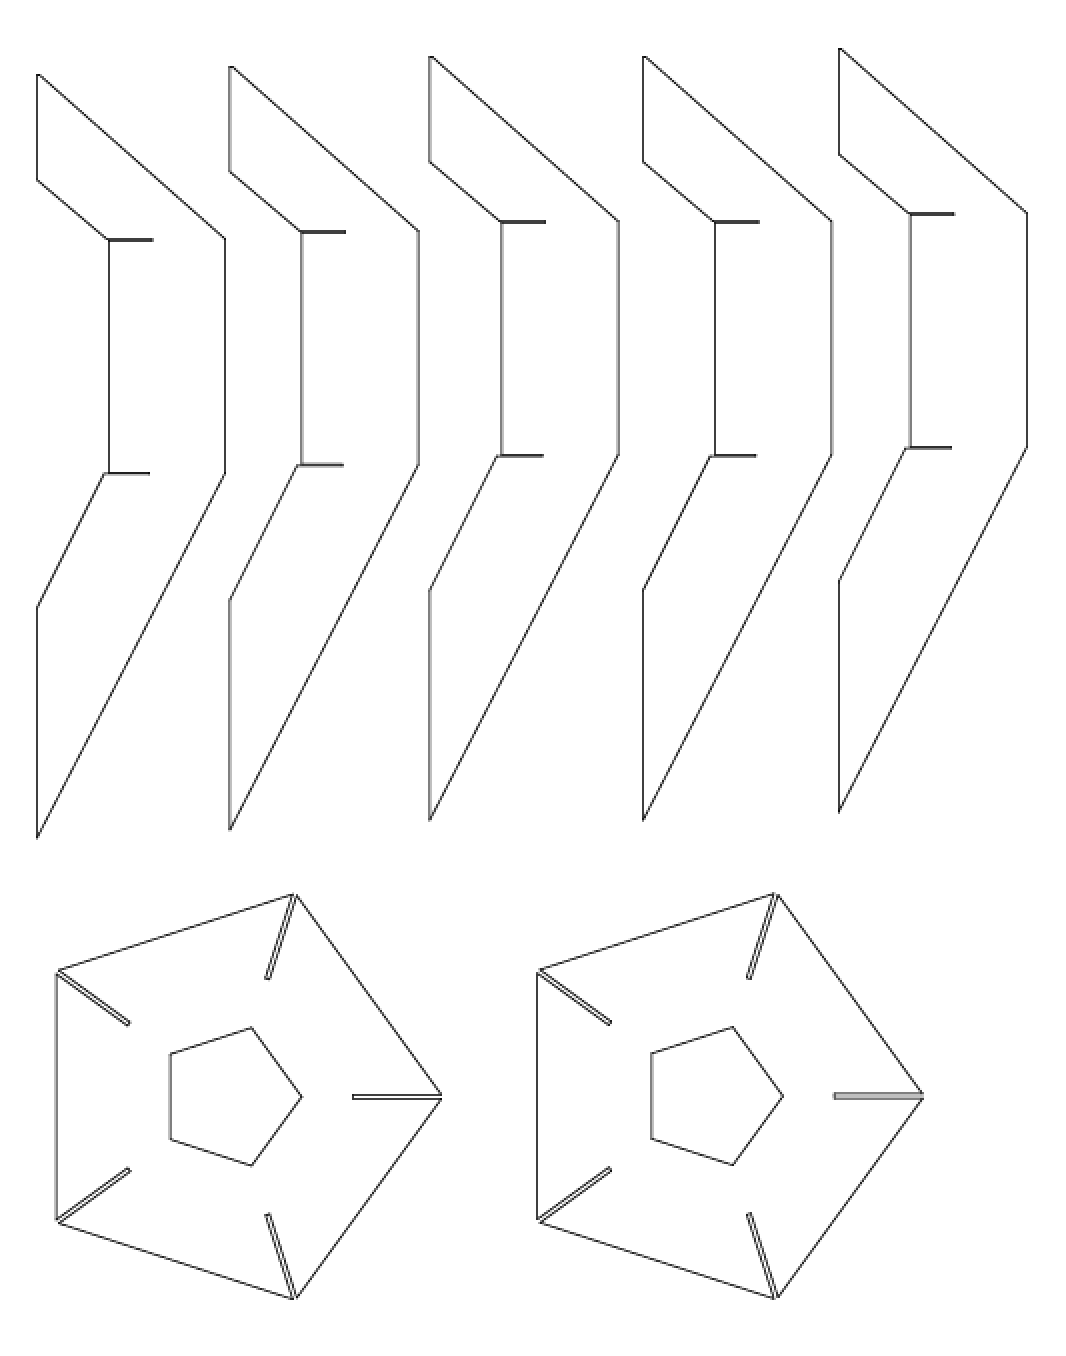
  • 11 × custom led light pipes these polycarbonate light tubes keep the leds safe while on the road and thrown around
  • 2 × Teensy Ws2811 Adapter
  • 1 × power cabling and connectors use something baller here. nobody wants a soldering parties on the road (recommended that you try it anyway, if only just for fun)

View all 6 components

  • end of the tour

    mpinner10/03/2015 at 03:45 0 comments

    after rebuilding the development environment to get the dev/test gems working again. seriously, kids, keep backups of all your arduino libraries and versions for important projects. it took me the better part of a day to reinstall and track down the right library dependencies.

    things seem to be doing ok with only minimal maintenance. i had to replace a teensy because it forgot the programming. nicely enough there was plenty of time as we had at least one extra of everything.

    Thanks, #Hacker Channel ;) !


  • Shaders

    mpinner06/26/2015 at 22:23 0 comments

    Q : how do you control 1000s of leds with minimal delay?


    A : no delay.

    from the beginning i knew this was going to be the central issues. to ease development i choose to parse all the osc messages on the microcontroller.

    this is a fairly novel approach. osc doesn't specifically rely on having a network, but everyone uses it over udp. my teensy looks like an osc device sorta. i have to parse all the osc traffic on my teeny. this has to be the highest priority task and cannot be delayed. these usb / serial buffers will overrun quickly and i need the hits to be perfectly sync'd (<5ms) .

    doing all this osc parsing in c is kind of maddening, but afforded me only having to manage the message formats in one place. (DRY: don't repeat yourself)


    ok, SHADERS


    their use wasn't strictly required. i have GPU. I probably wasn't even implemented correctly. I use the term "Shader" in this case to explain the design pattern and division of responsibility. i knew i'd need to add patterns fairly quickly and have lots of data driven configurability.

    basically you can get a ton of different behavior by implementing this virtual method:

      virtual uint32_t shade (float height, uint32_t color, uint32_t currentColor, float remaining, uint32_t secondaryColor);

    that is all. here is one of the more complex ones.

    inline uint32_t shade (float height, uint32_t color, uint32_t currentColor, float remaining, uint32_t secondaryColor) {
    
        if(remaining > 0.85) {
          if(2 > random(100)) {
            return color;
          }
        } 
    
        if(remaining > 0.7) {
          if(2 > random(100)) {
            return secondaryColor;
          }
        } 
    
         if(5 > random(100)) {
          return colorByBrightness(0.9, currentColor);
        }
    
        return currentColor;
      }  
    };

    right. not all that complex. check em all out here : https://github.com/mpinner/PurityRingGems/tree/master/Arduino/Gems_HitSync

    the trick is in how you think about the context and task.

    each led is essentially complete responsible for only itself and i know how to write simple code to control one led.

    i provide myself a rich context for each led to live within. things like timing, colors, and position are all normalized from 0.0 - 1.0. this makes writing code extremely predictable, easy, and inefficient.


    I am doing so much floating point math. it is almost irresponsible and completely insane for what could be ALL integers


    ALMOST INSANE:

    the only things that makes it ok:

    - having plenty of spare cycles on my Teensy's Freescale

    - being able to accept a new OSC Message ANYTIME , even between calculations for neighboring pixels

    - Measuring my effective frame rate to ensure it always looked GOOOOOOD . initially i was pushing 200fps. once i started adding more and more and more features and cross gem patterns, my frame rate dipped to just over 60fps.. sweet!

    one might argue it looks even better this way because you are constantly calculating the most accurate colors. im not sure that's quite true, but you'll have to see it live.

    a fun side effect was being able to bring in and compare previous pixel values to have feedback like effects. i didn't play with this nearly as much as i should have, but it is very apparent when you start using the touchosc interface to simulate hits very very fast.

    well, i hope this helps

    please review the code and comment as needed. learn what you can. no elitism please. i did this all under no sleep and serious duress.

  • octows2811

    mpinner02/27/2015 at 19:17 0 comments

    midi and osc and octows2811... oh my.

    there are sooooo many ways to get from a midi device to a teensy running octows2811, im boggled.

    also, my target system runs ableton and windows;( so that doesn't make midi handling all that less complex

    thus far my stack is

    midi -> ableton -> live grabber -> processing -> oscuinoSerial -> teensy serial

    i might simplify this by compiling teensy as a midi device, but im really in love with the scripting language i've built upon OSC and the debug info i can get back...

    more on this to follow..

  • next step... output

    mpinner02/24/2015 at 08:22 0 comments

    the next step is evolving... the output!

View all 4 project logs

Enjoy this project?

Share

Discussions

mpinner wrote 04/10/2017 at 02:54 point

still going strong. wiring harness and connectors have been replaced with dmx from the rj45 style plugs

  Are you sure? yes | no

mpinner wrote 02/24/2015 at 08:23 point

10mm pink. found em randomly at @crashspacela

  Are you sure? yes | no

davedarko wrote 02/12/2015 at 22:01 point

I want to see this in action :) It's a beautiful case! what's the color of the leds, they look purple-ish?

  Are you sure? yes | no

mpinner wrote 06/26/2015 at 19:11 point

you can see em in action at any of their tour stops :  http://purityringthing.com/

or here on conan : 

or maybe this video does a nice job : 

  Are you sure? yes | no

Similar Projects

Does this project spark your interest?

Become a member to follow this project and never miss any updates