 MasterOfNull
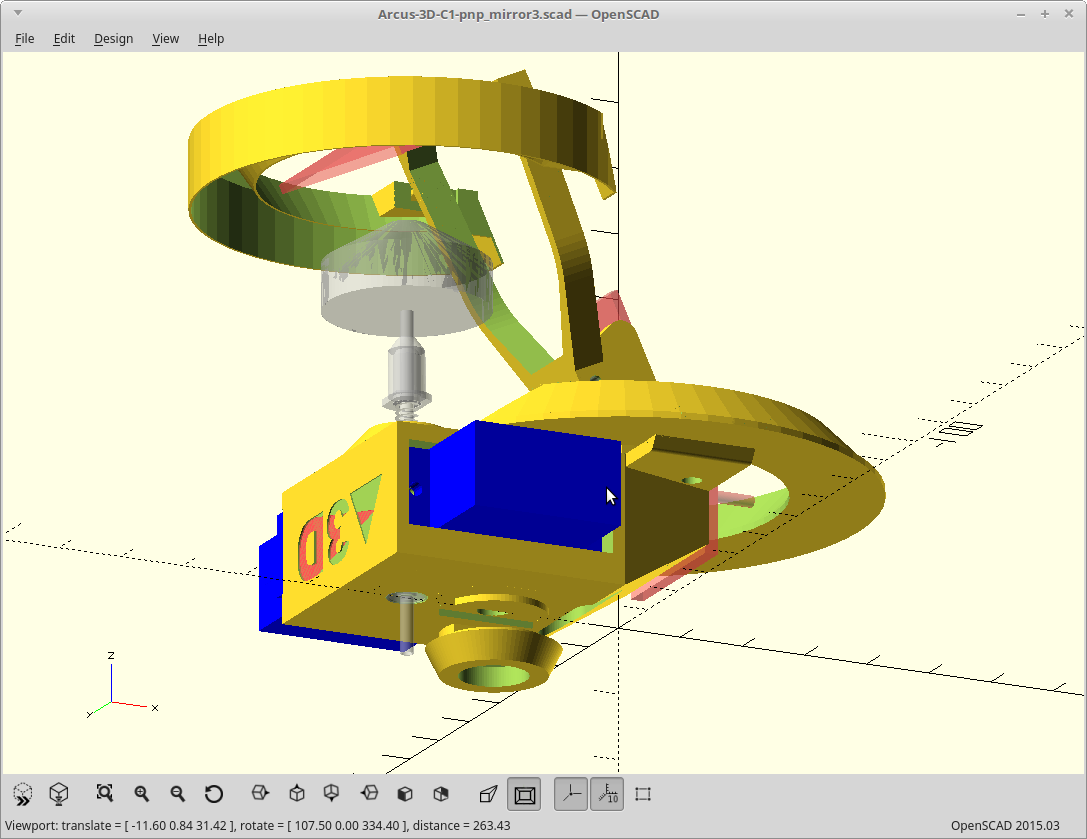
Modeled a new groove mount using a single central bolt, and removed the extra plastic.
The bolt screws through the plastic washer and into a nut glued into a pocket inside the body. This allows me to tighten it down onto the end effector flange very effectively.
Printed. Fitted. Looks great.
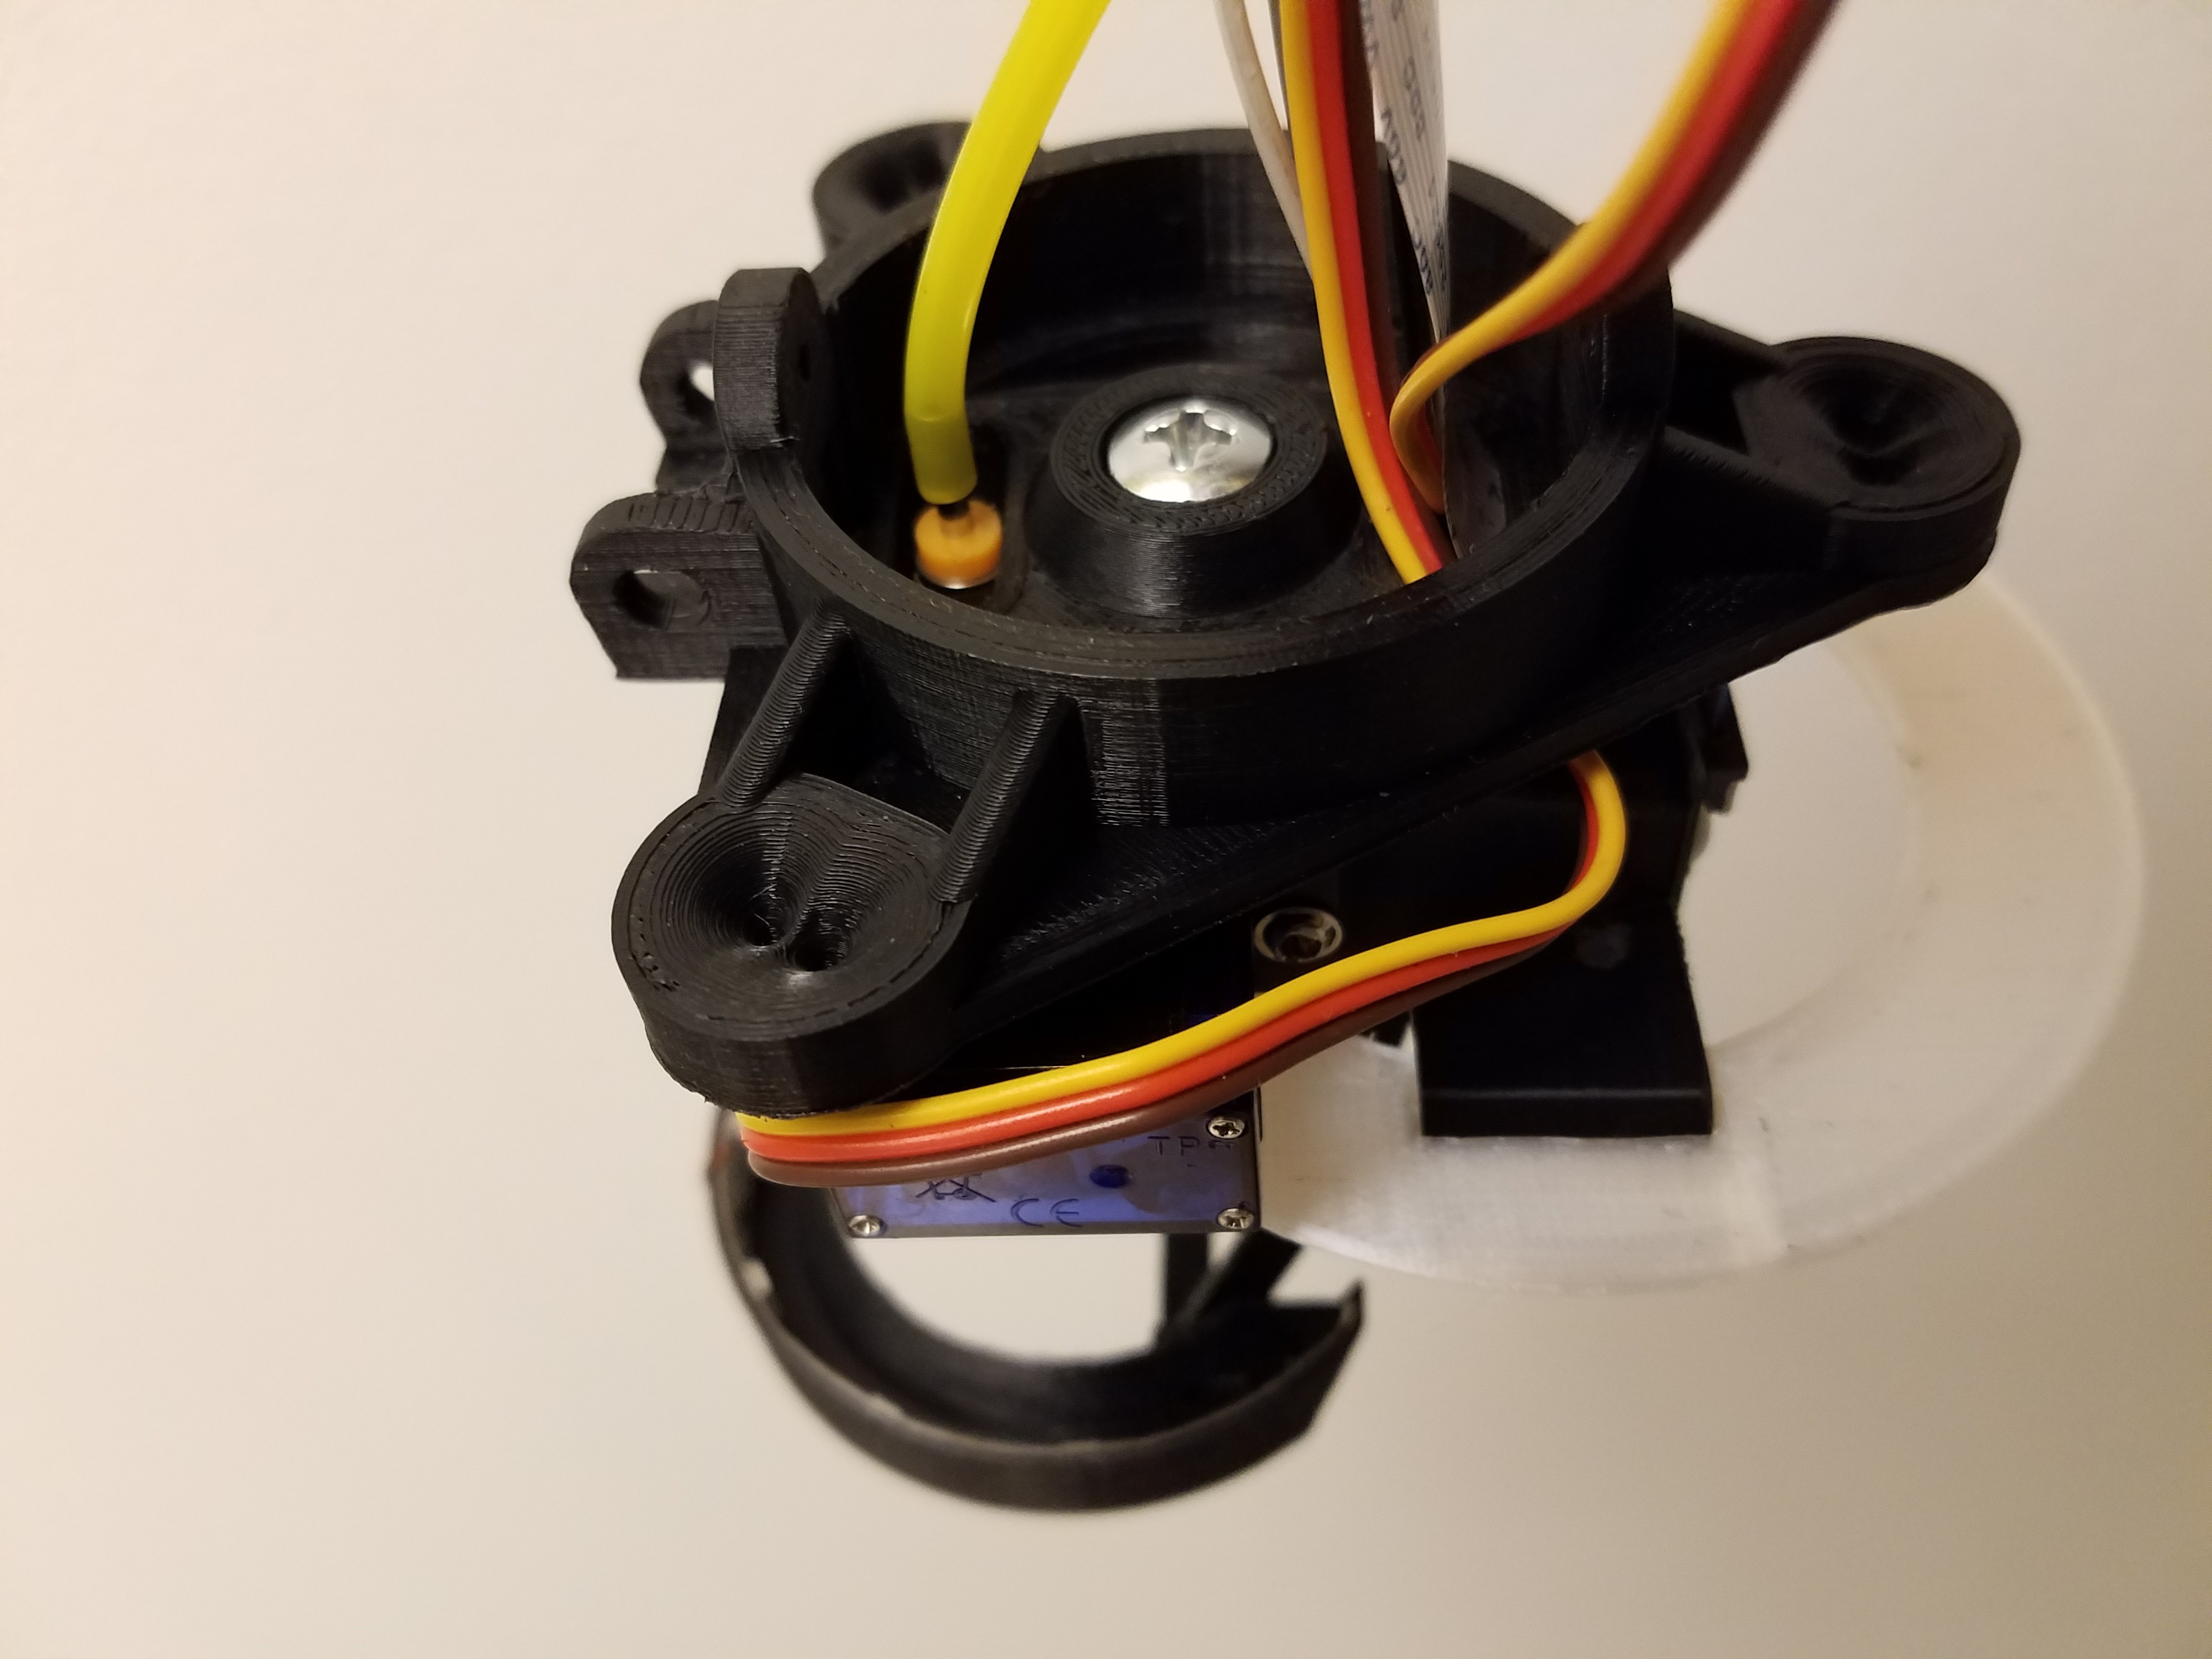
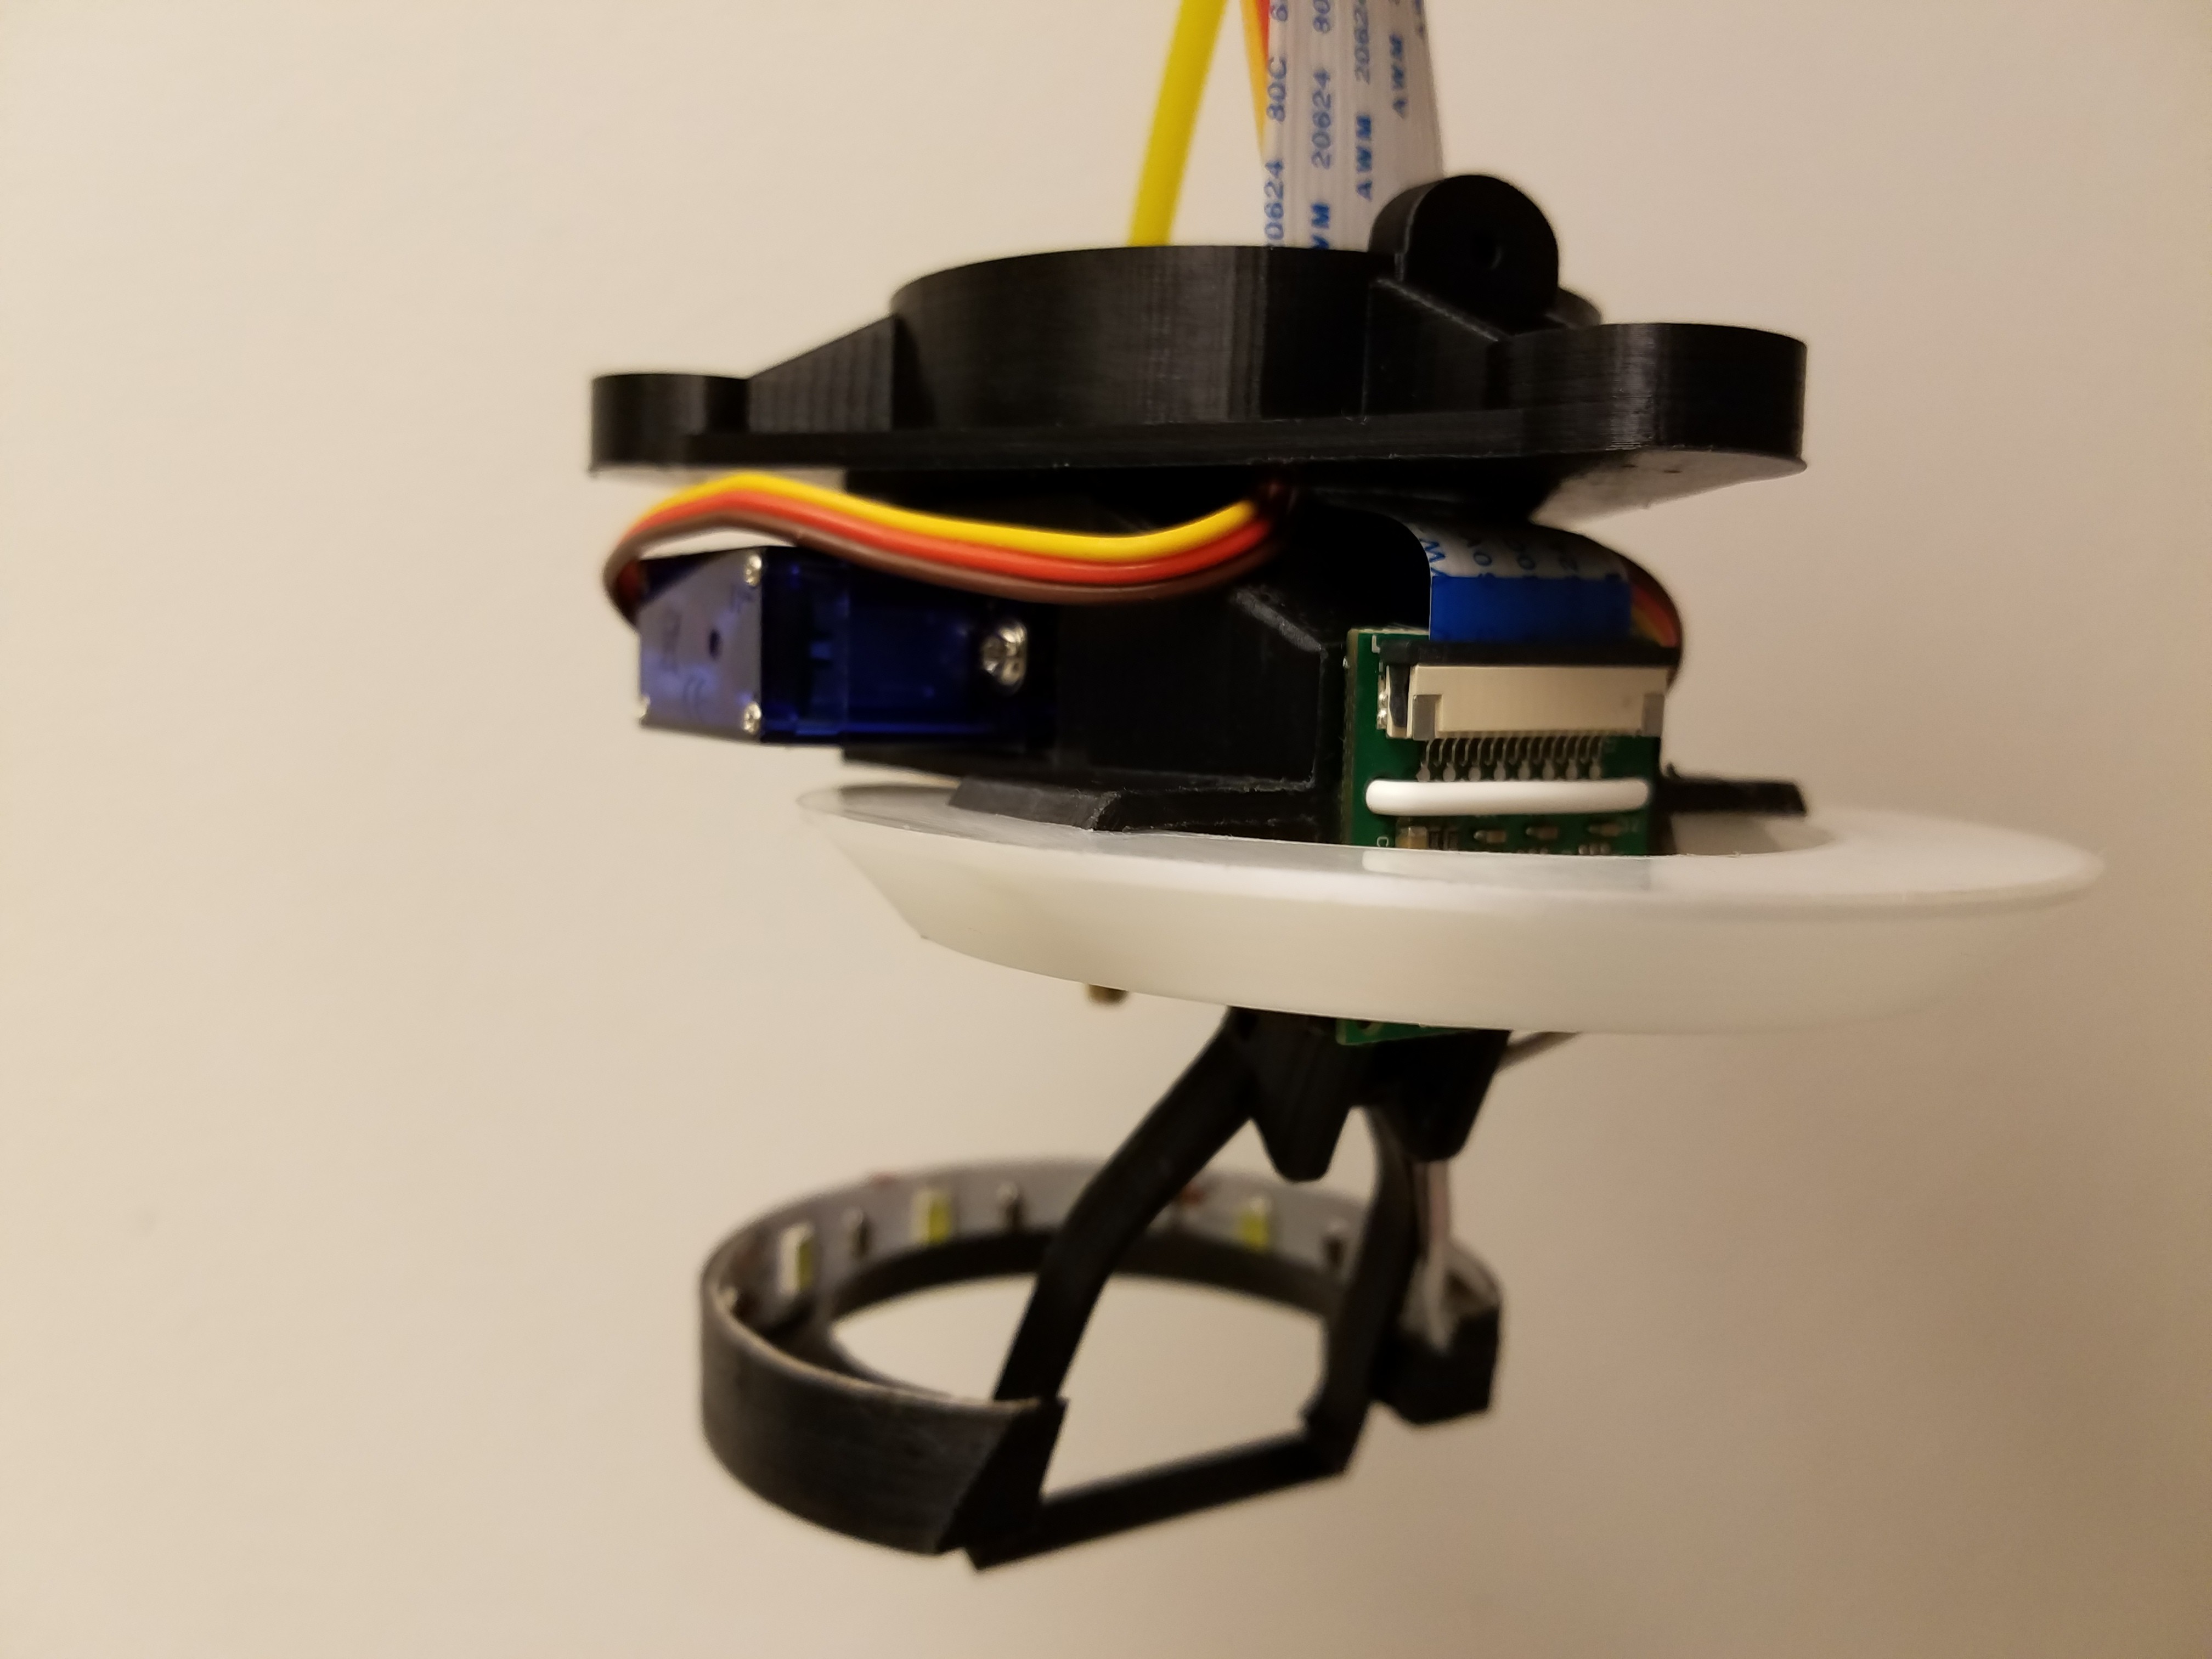
The slant of plastic I removed makes it lighter and as a bonus I don't have to route all the wires through the body now.
I'm really happy with it.
The main light ring nylon diffuser is still too brittle and splits along layer lines instead of bending though. I recently rebuilt the print head for the M2 and heating capacity was increased, so this may be just the need to do some further calibration.
Discussions
Become a Hackaday.io Member
Create an account to leave a comment. Already have an account? Log In.