 MasterOfNull
Since I finally have my rod positioning settled again, I could move on to building the base.
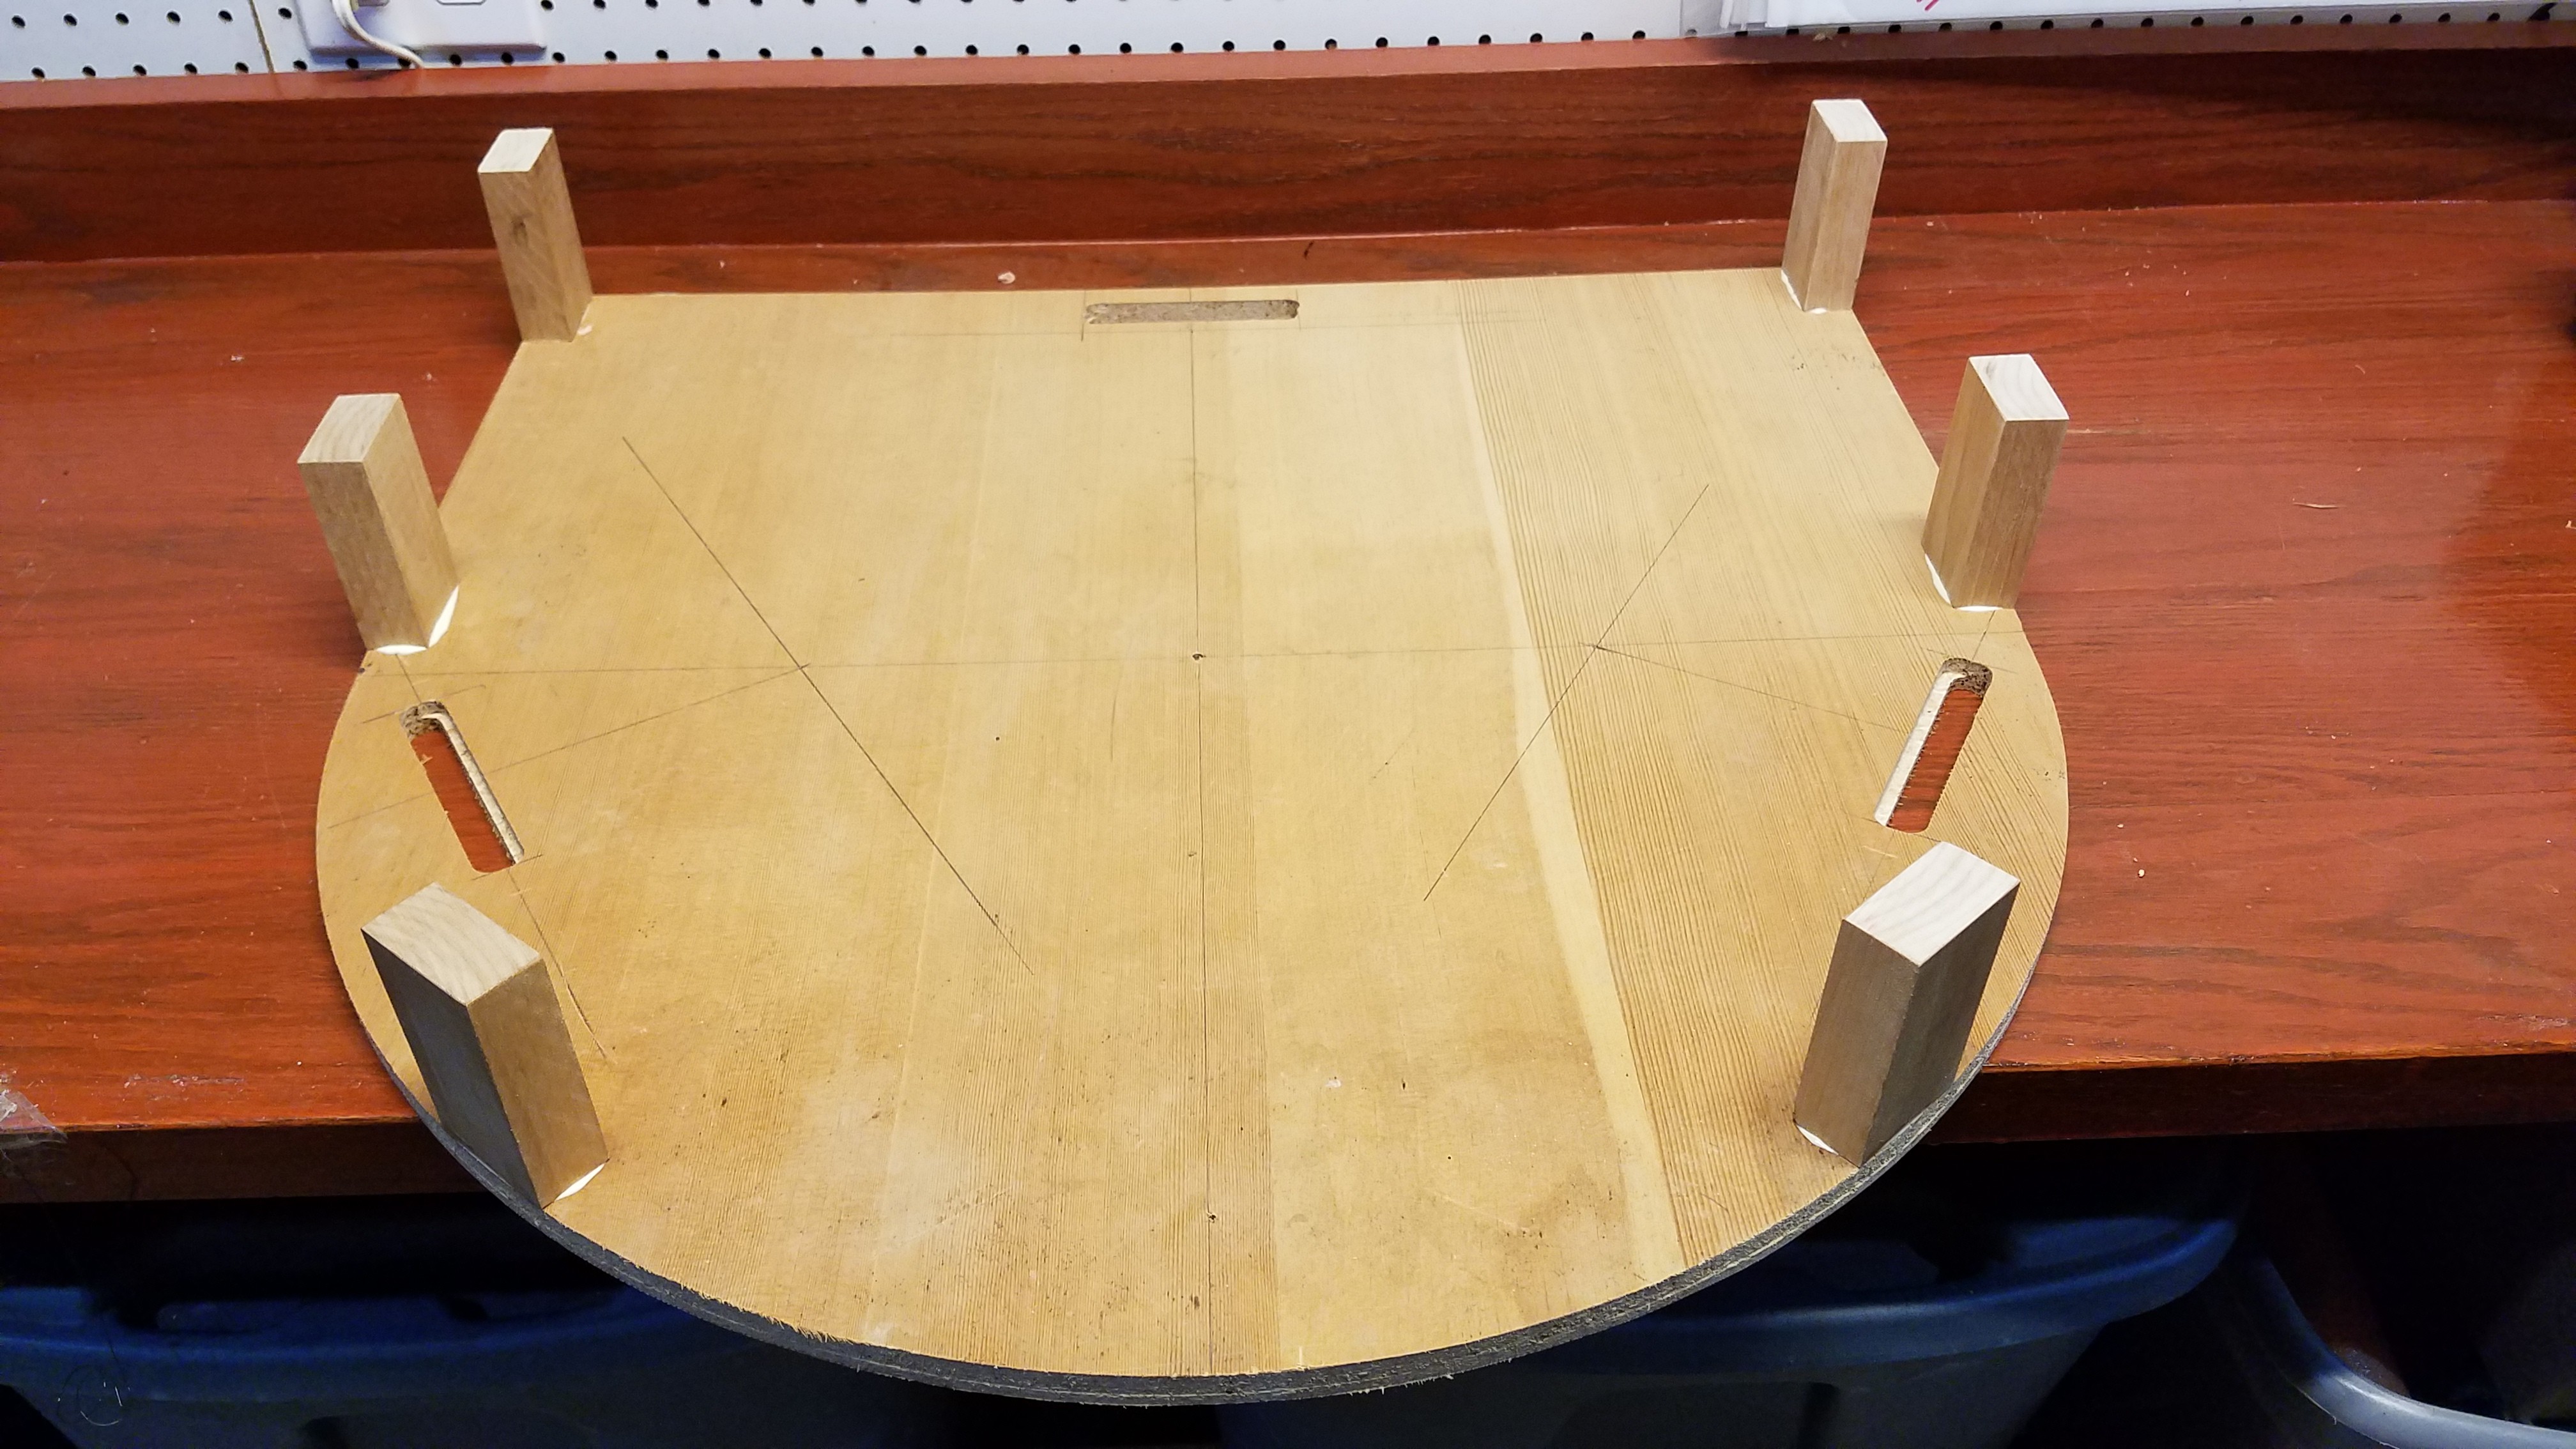
Routed out a circle on one end of my 2'x2' piece of oak laminated particle board. I'm going to wrap the outer edge in a strip of polycarbonate I have leftover here from building the M2 and paint the inside black, assuming I can remember what paint chemistry does not break down polycarbonate.. Feel free to comment!
It's going to be pretty, and simple to do to boot.

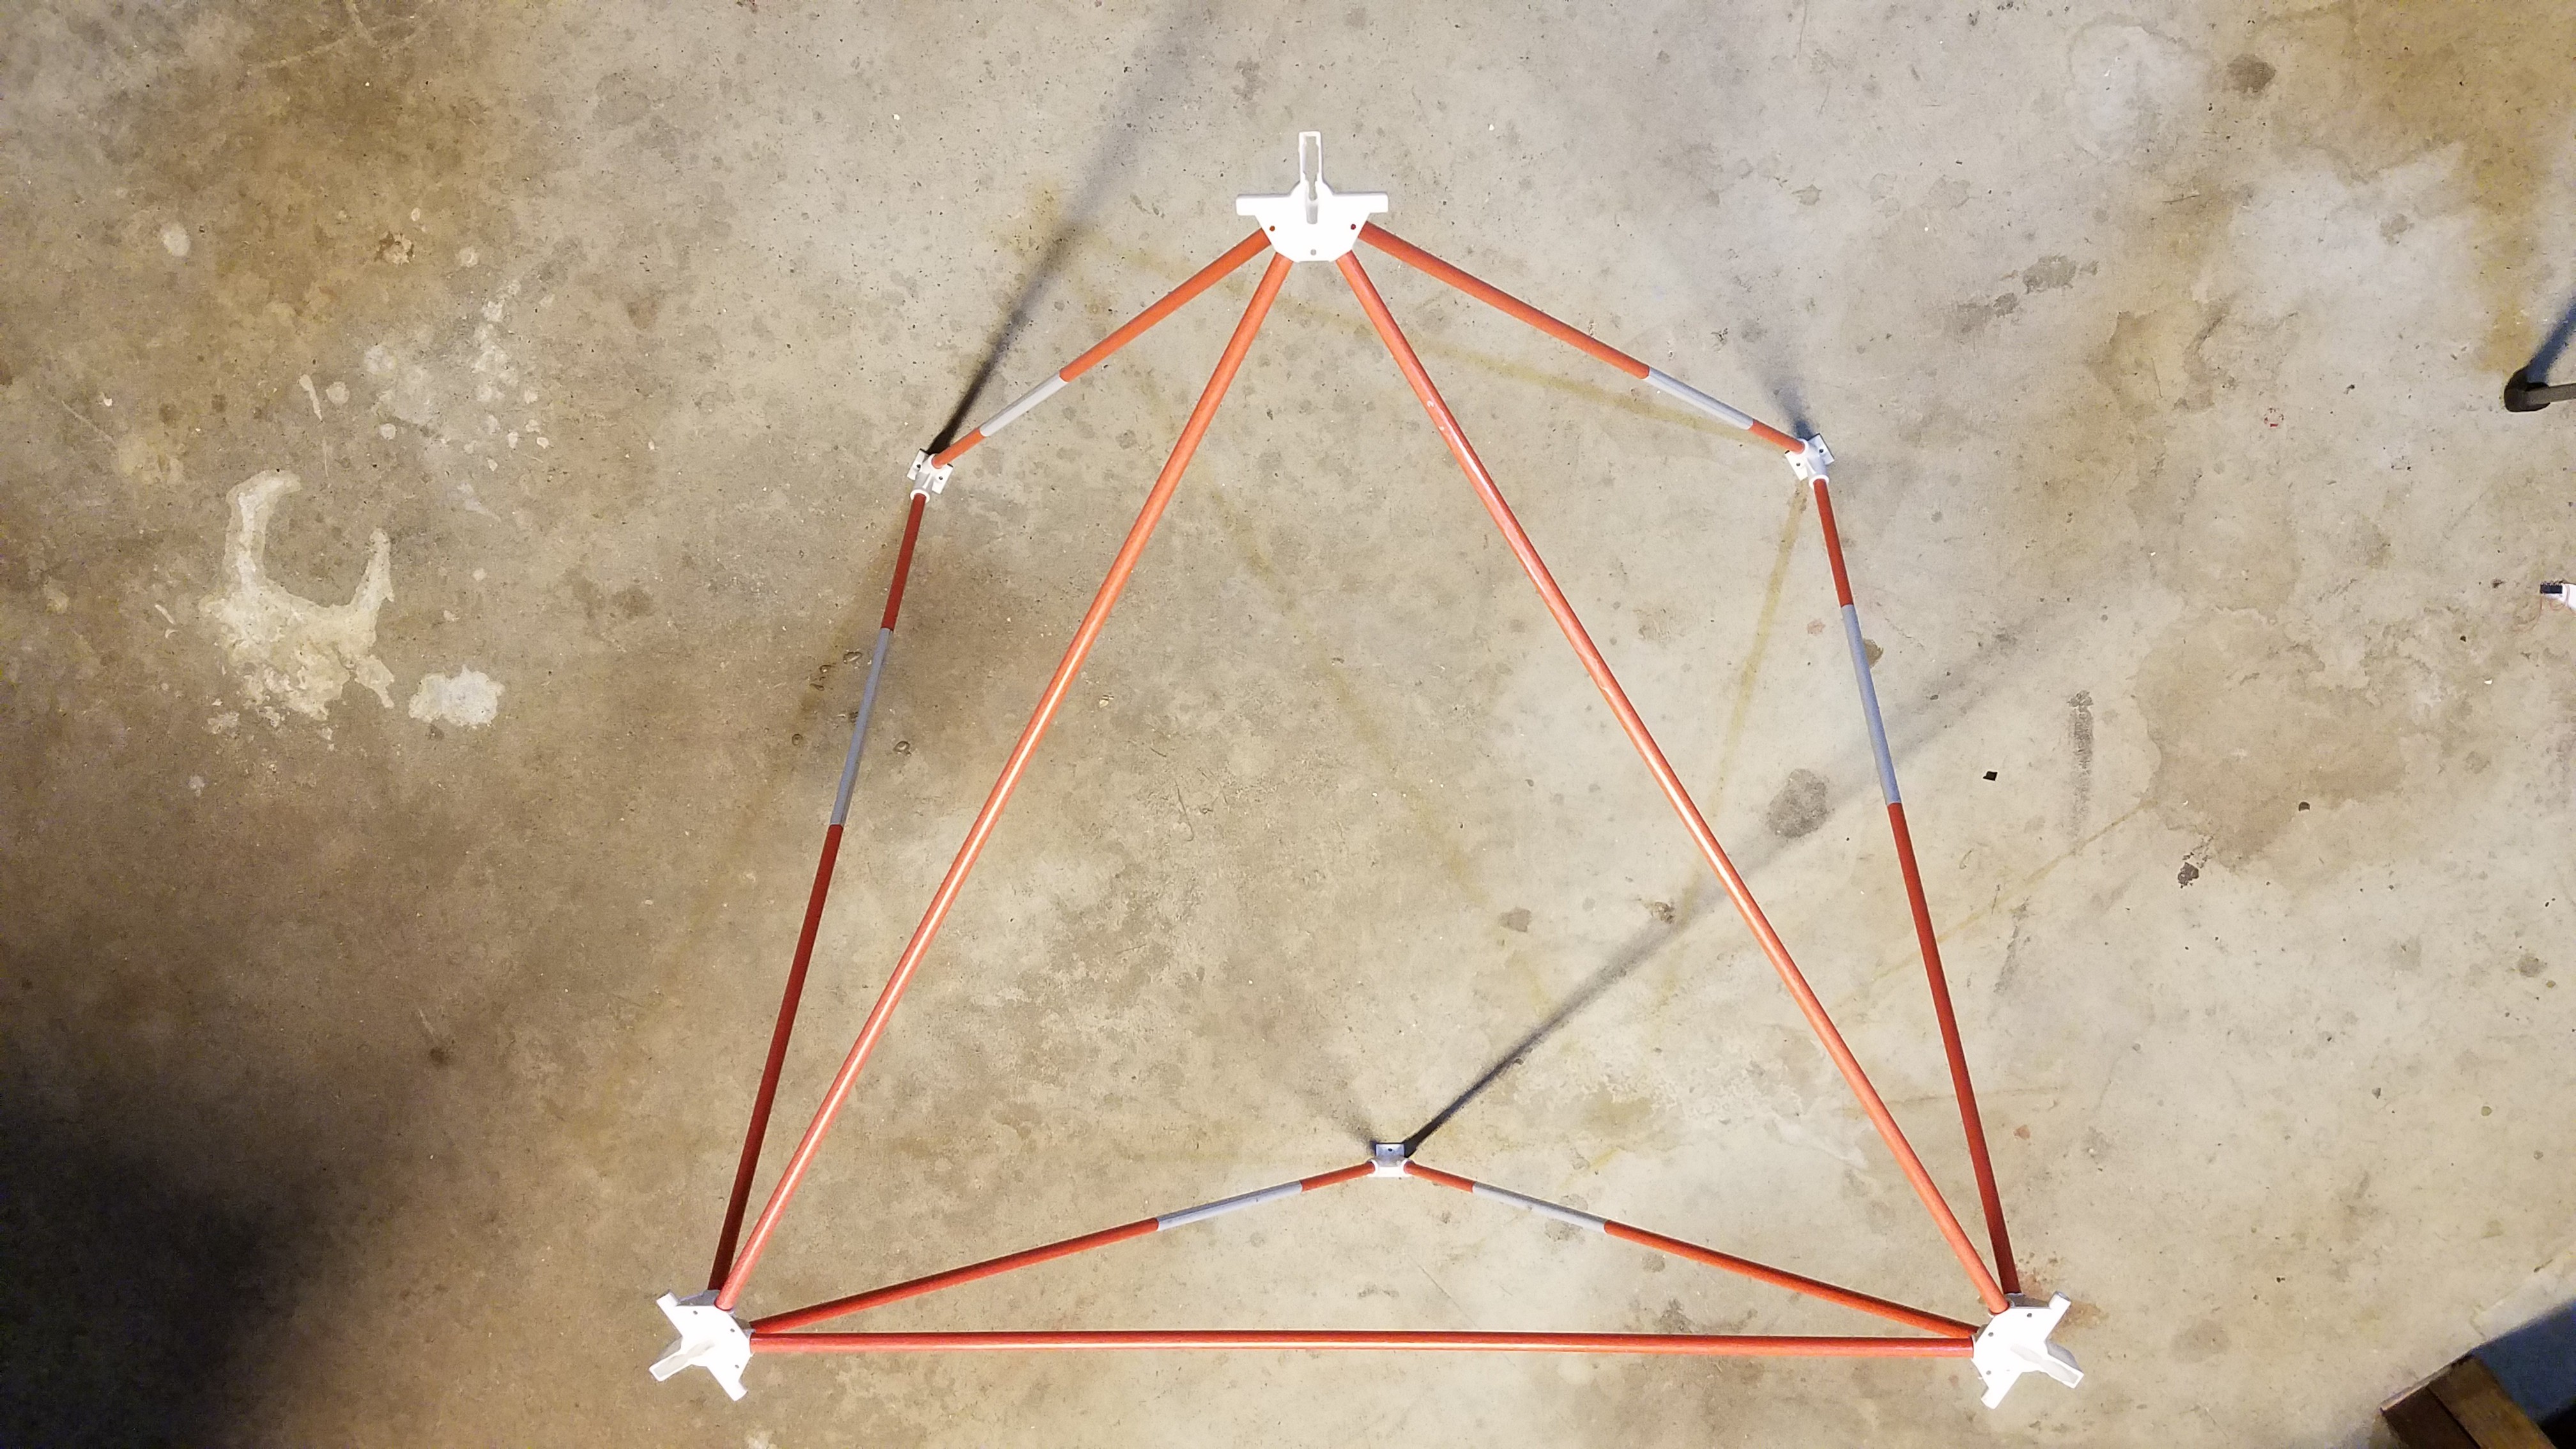
The new lower mounts eliminate the crossmember, so I modeled a few 3D printed templates to avoid having to measure stuff.

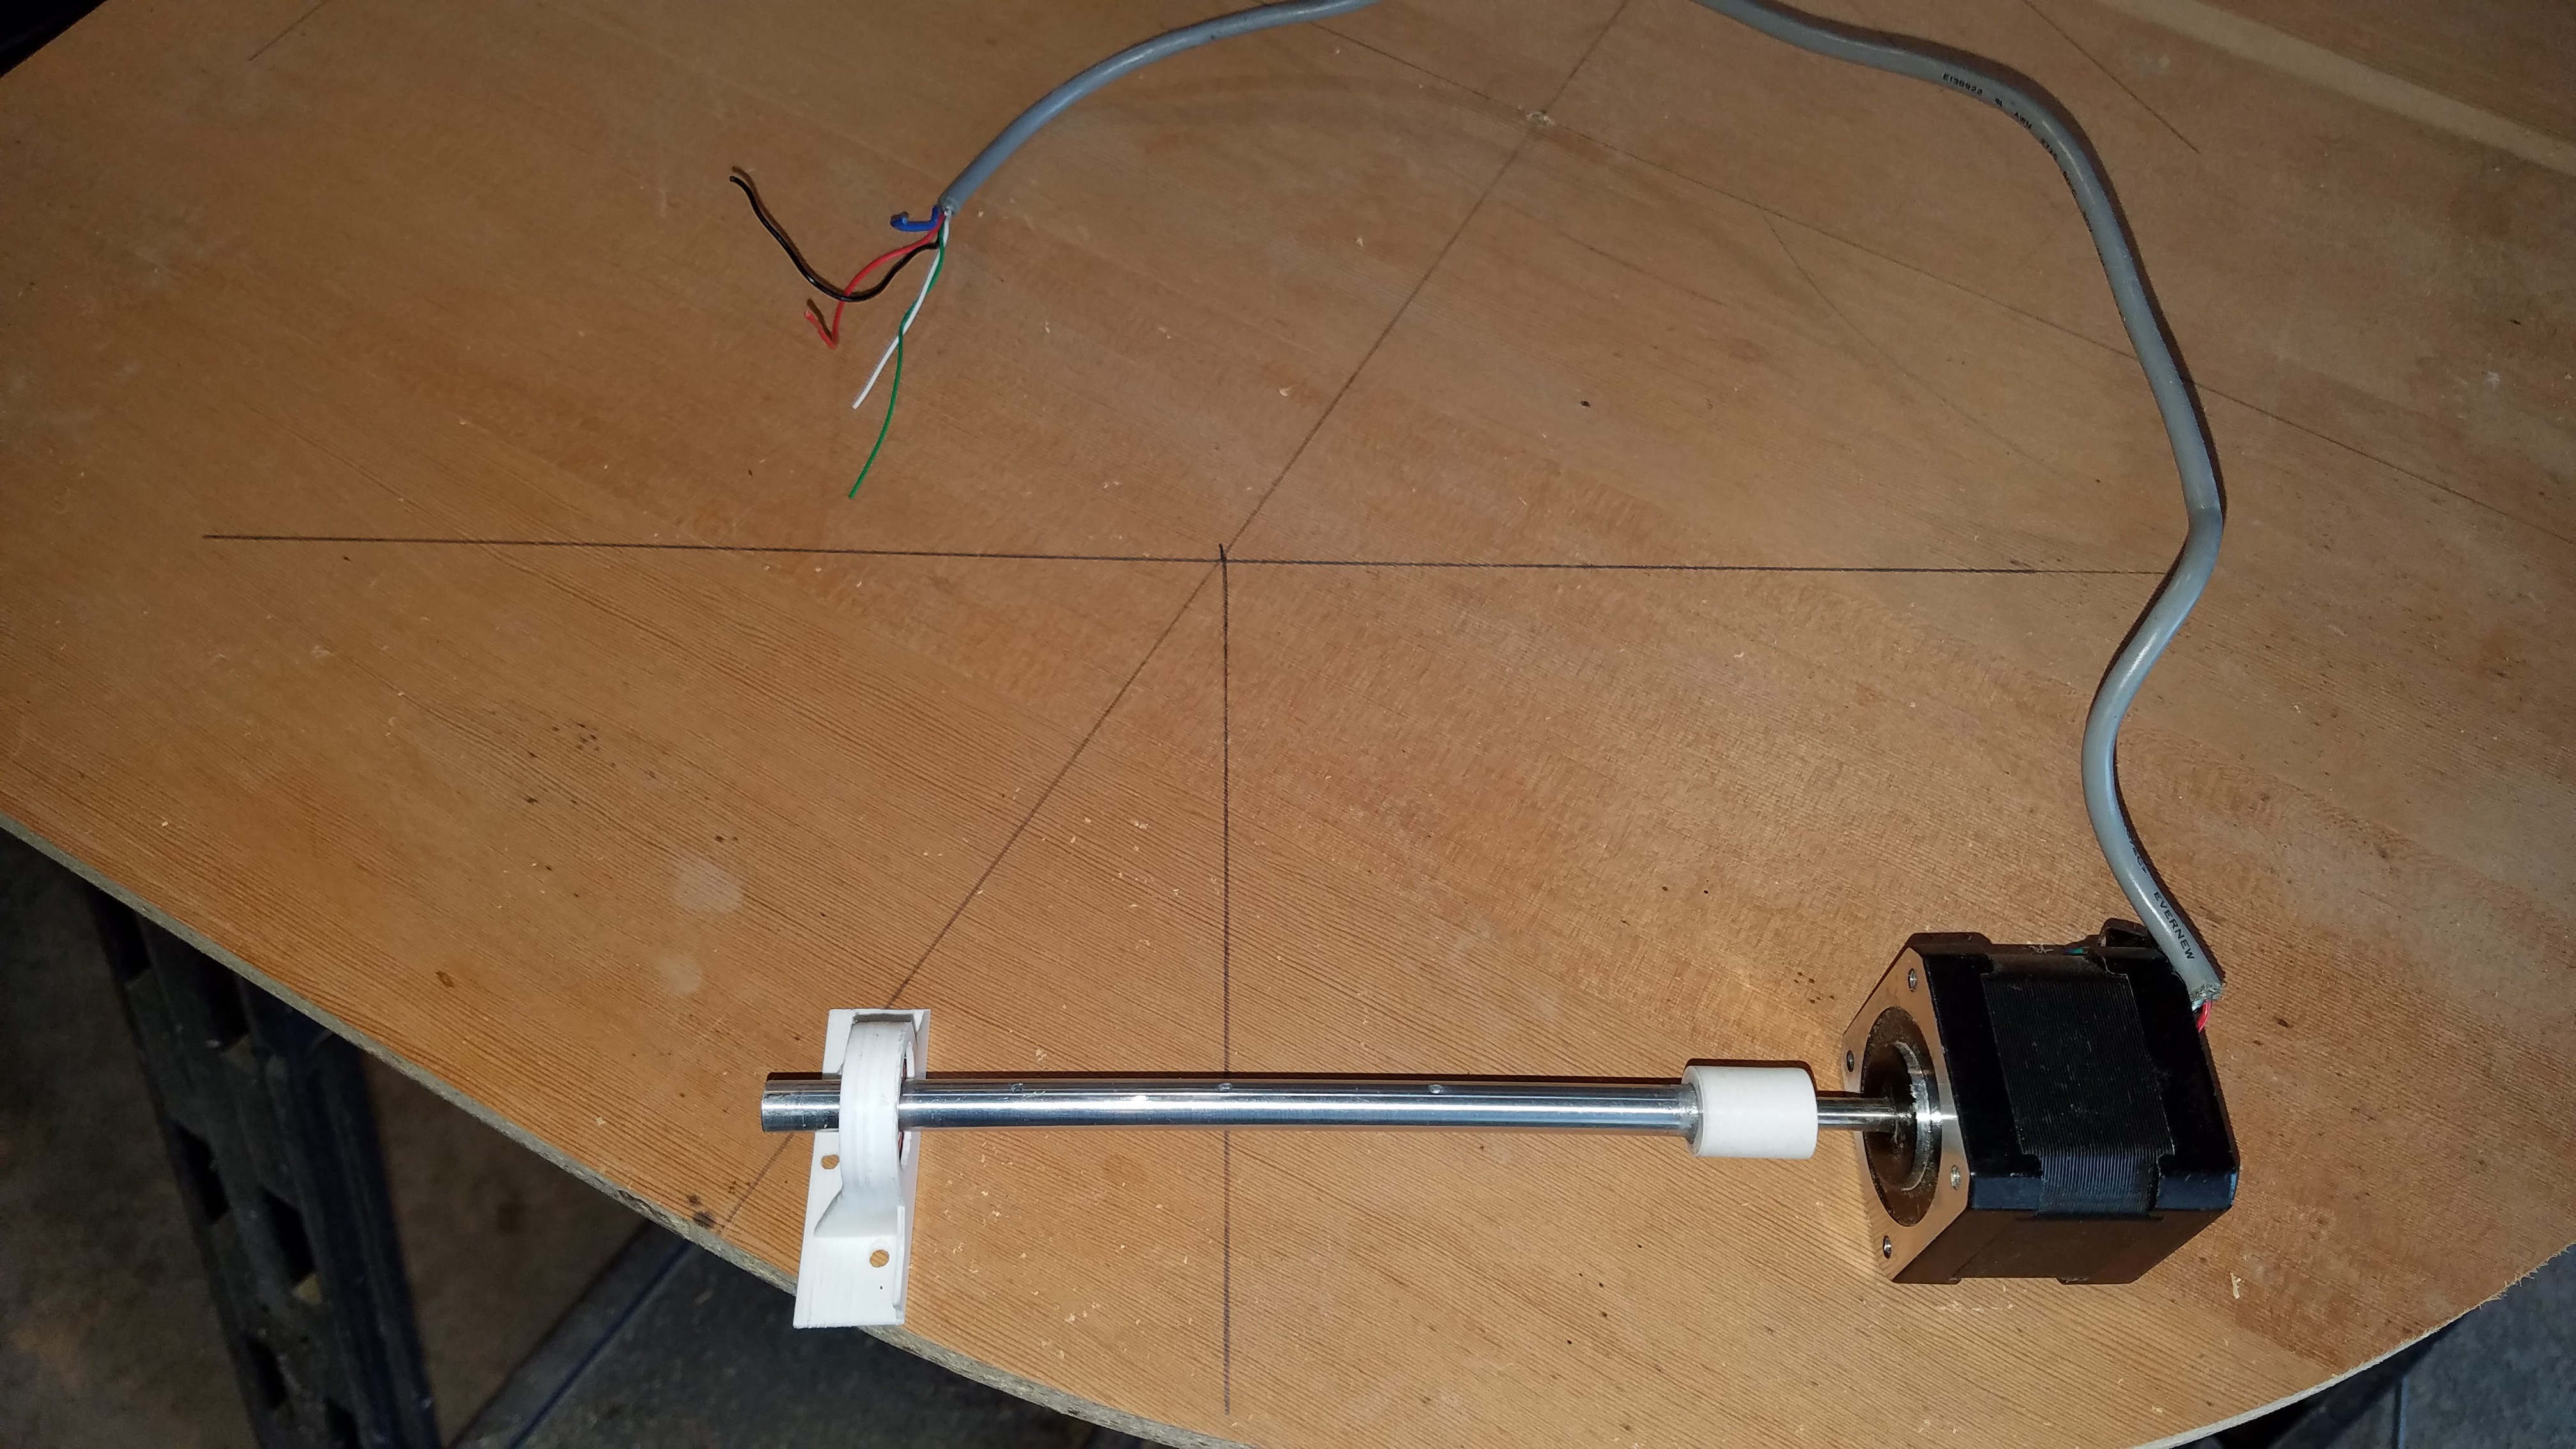
Figured out where I should put my drive rods. Basically I moved them out as far as I could staying parallel to my top pulleys, and still keeping the mechanics hidden. Yes, I'll cut the edge off.
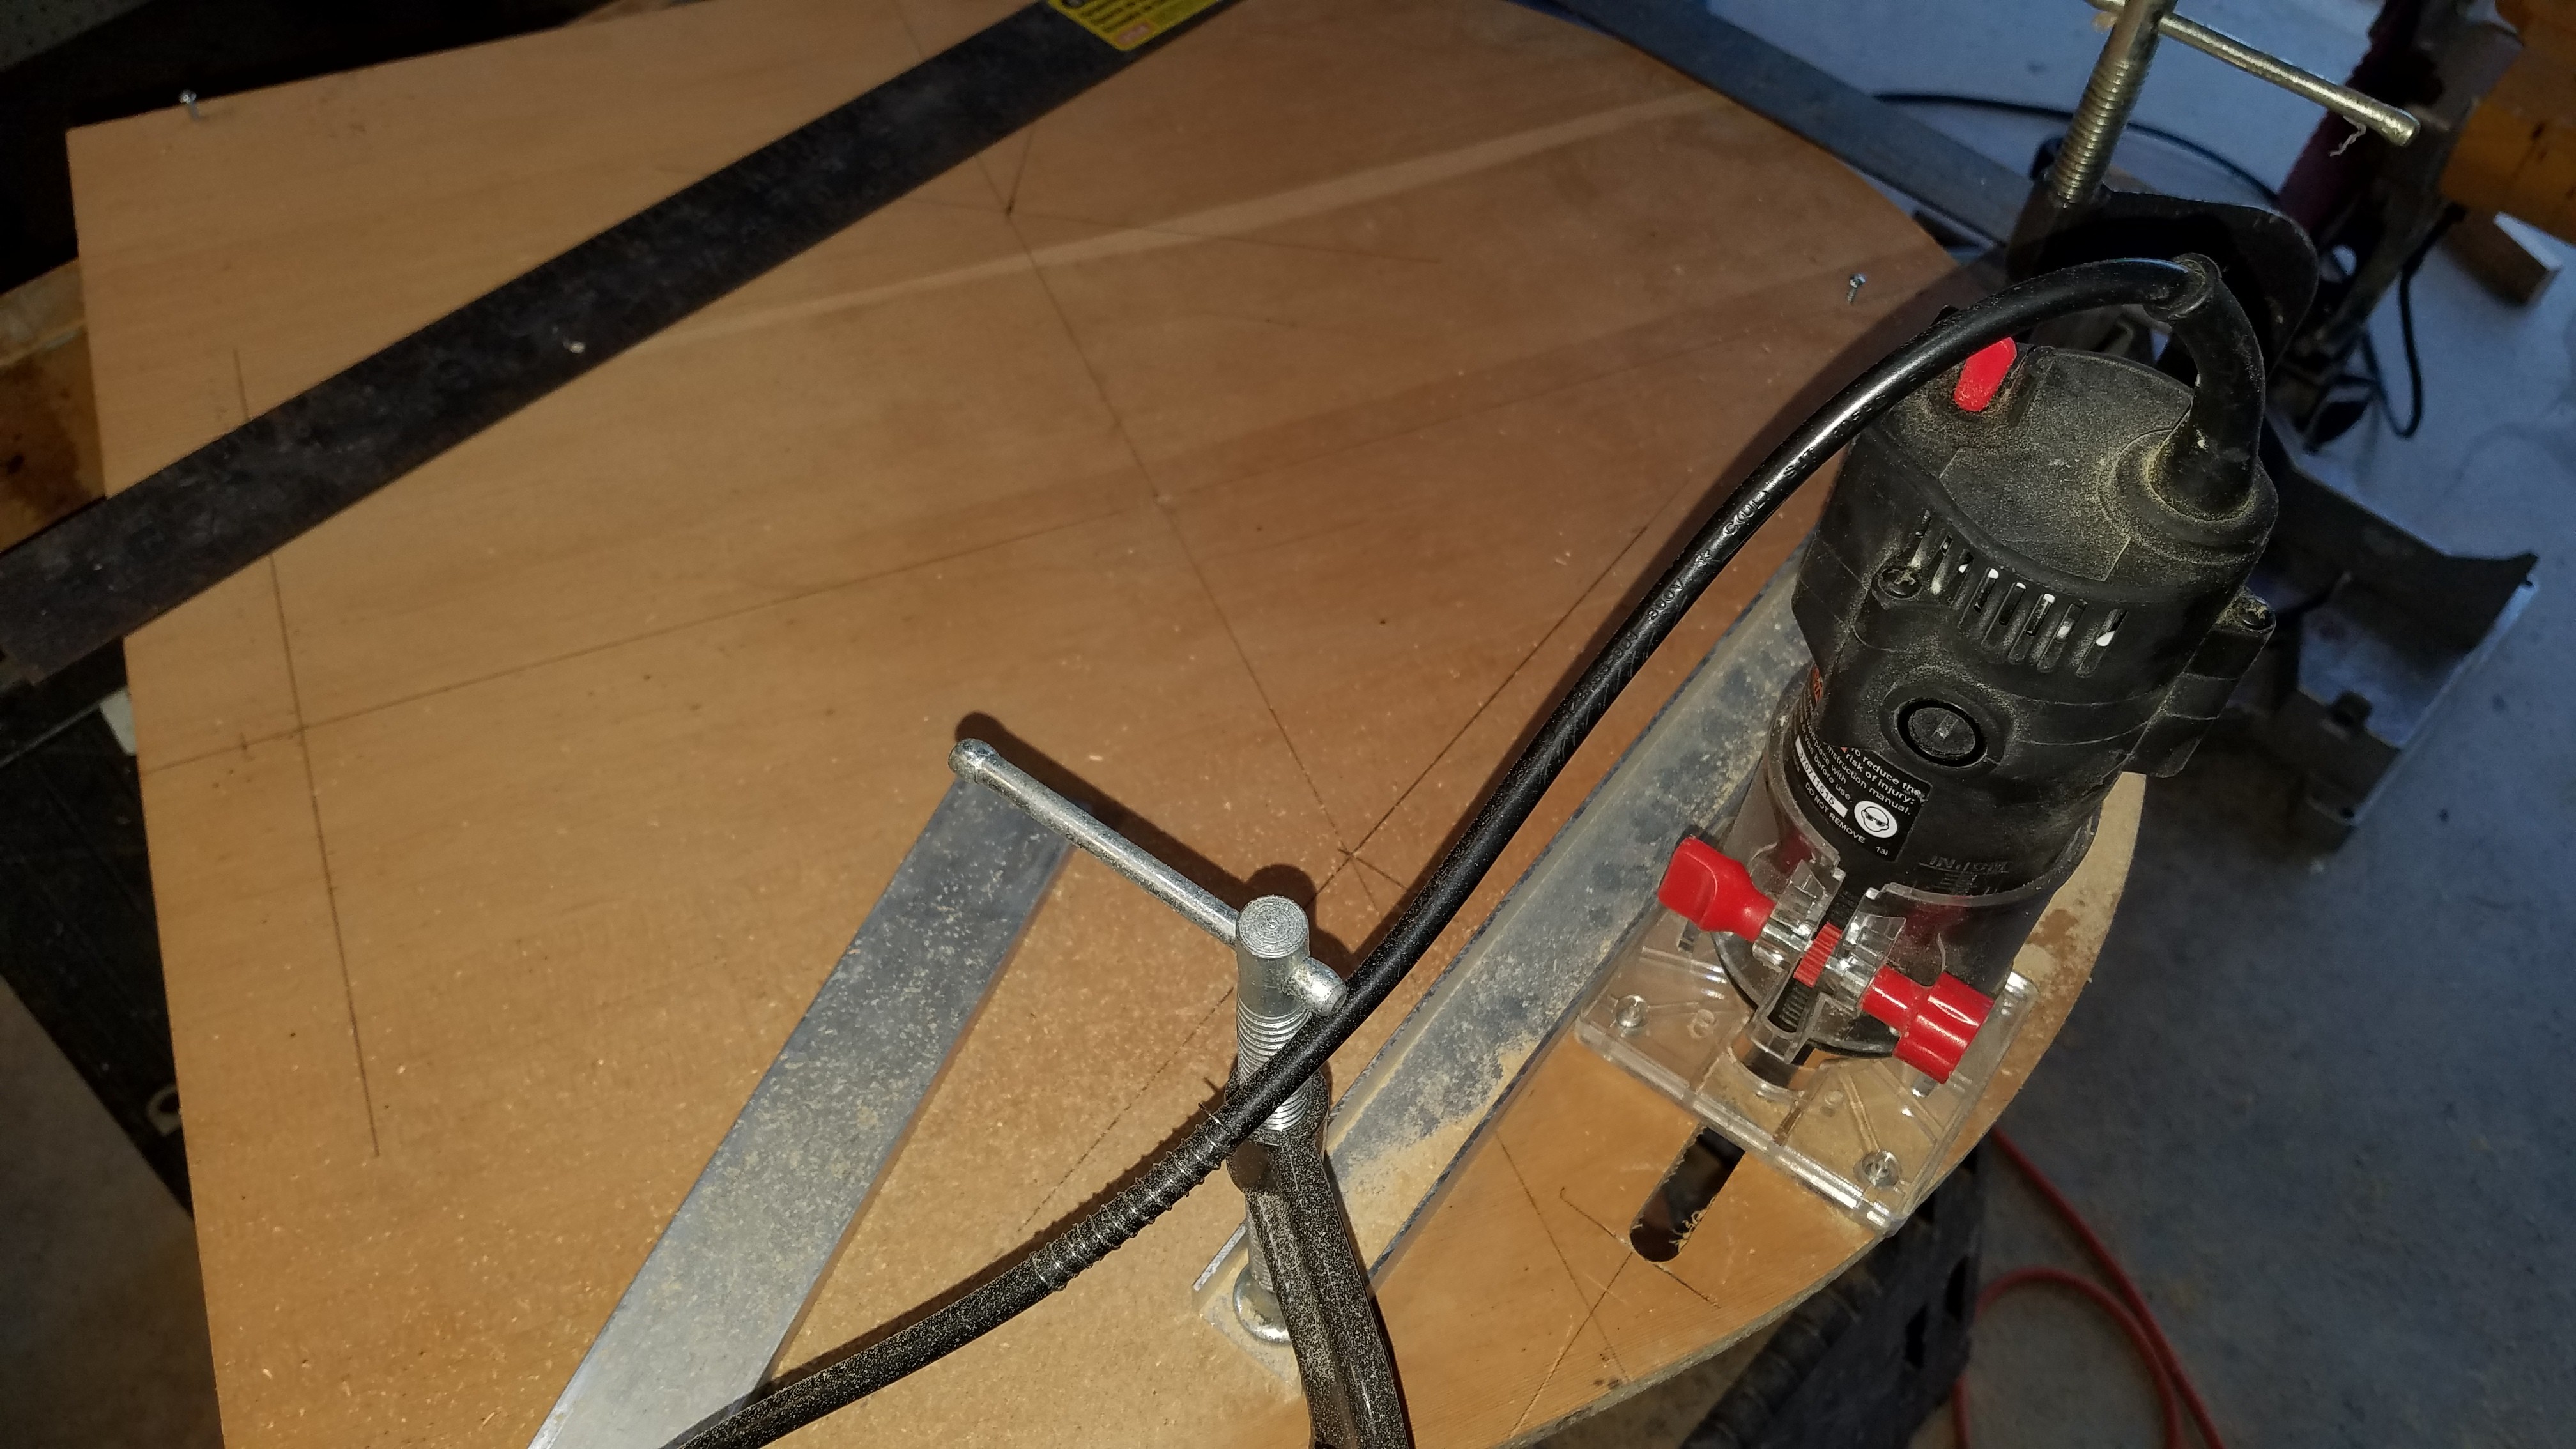
Routed out the slots for the 'cables', roughly accounting for the angle at which they will intersect the upper pulleys.
Added the blocks which will support the plywood base, and allow me to fasten down the polycarbonate strip. Yay, I got to use my oak blocks after all...
Waiting for the glue to dry overnight, then I can assemble it.
Discussions
Become a Hackaday.io Member
Create an account to leave a comment. Already have an account? Log In.