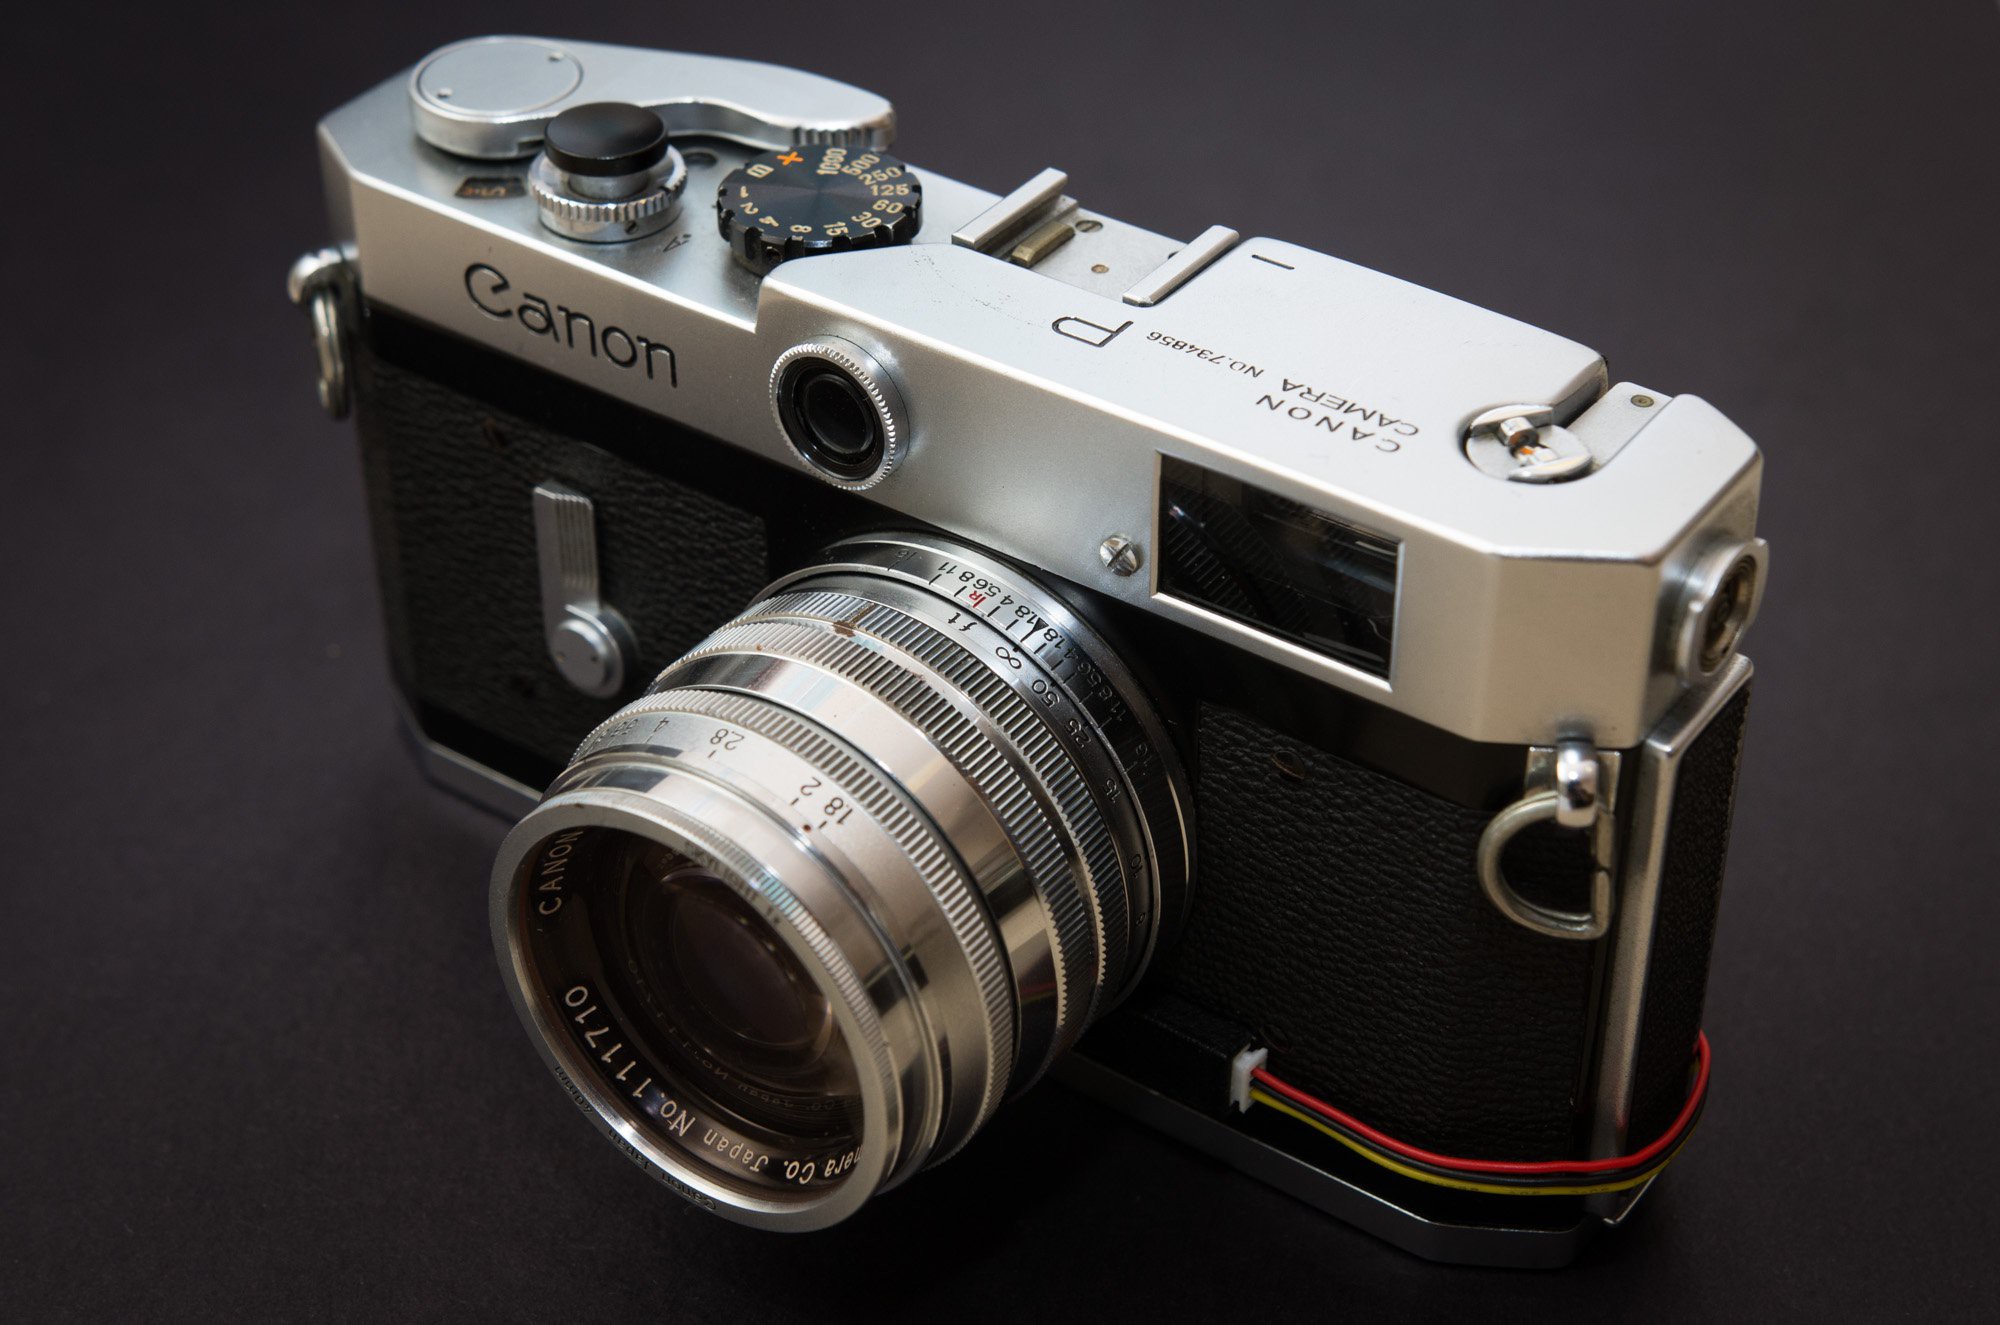
Well, it's done! Just glued on the two last 3D printed pieces (the cover for the JST connector, and the console), and calibrated the light meter to match the exposures from my K5 (everything matches to within 1/2 - 1 stop). Calculating an exposure takes about 2 seconds, and so far the accuracy looks pretty good.

The JST connector unplugs to open the film door. Wish I could have found some black JST cords though :(

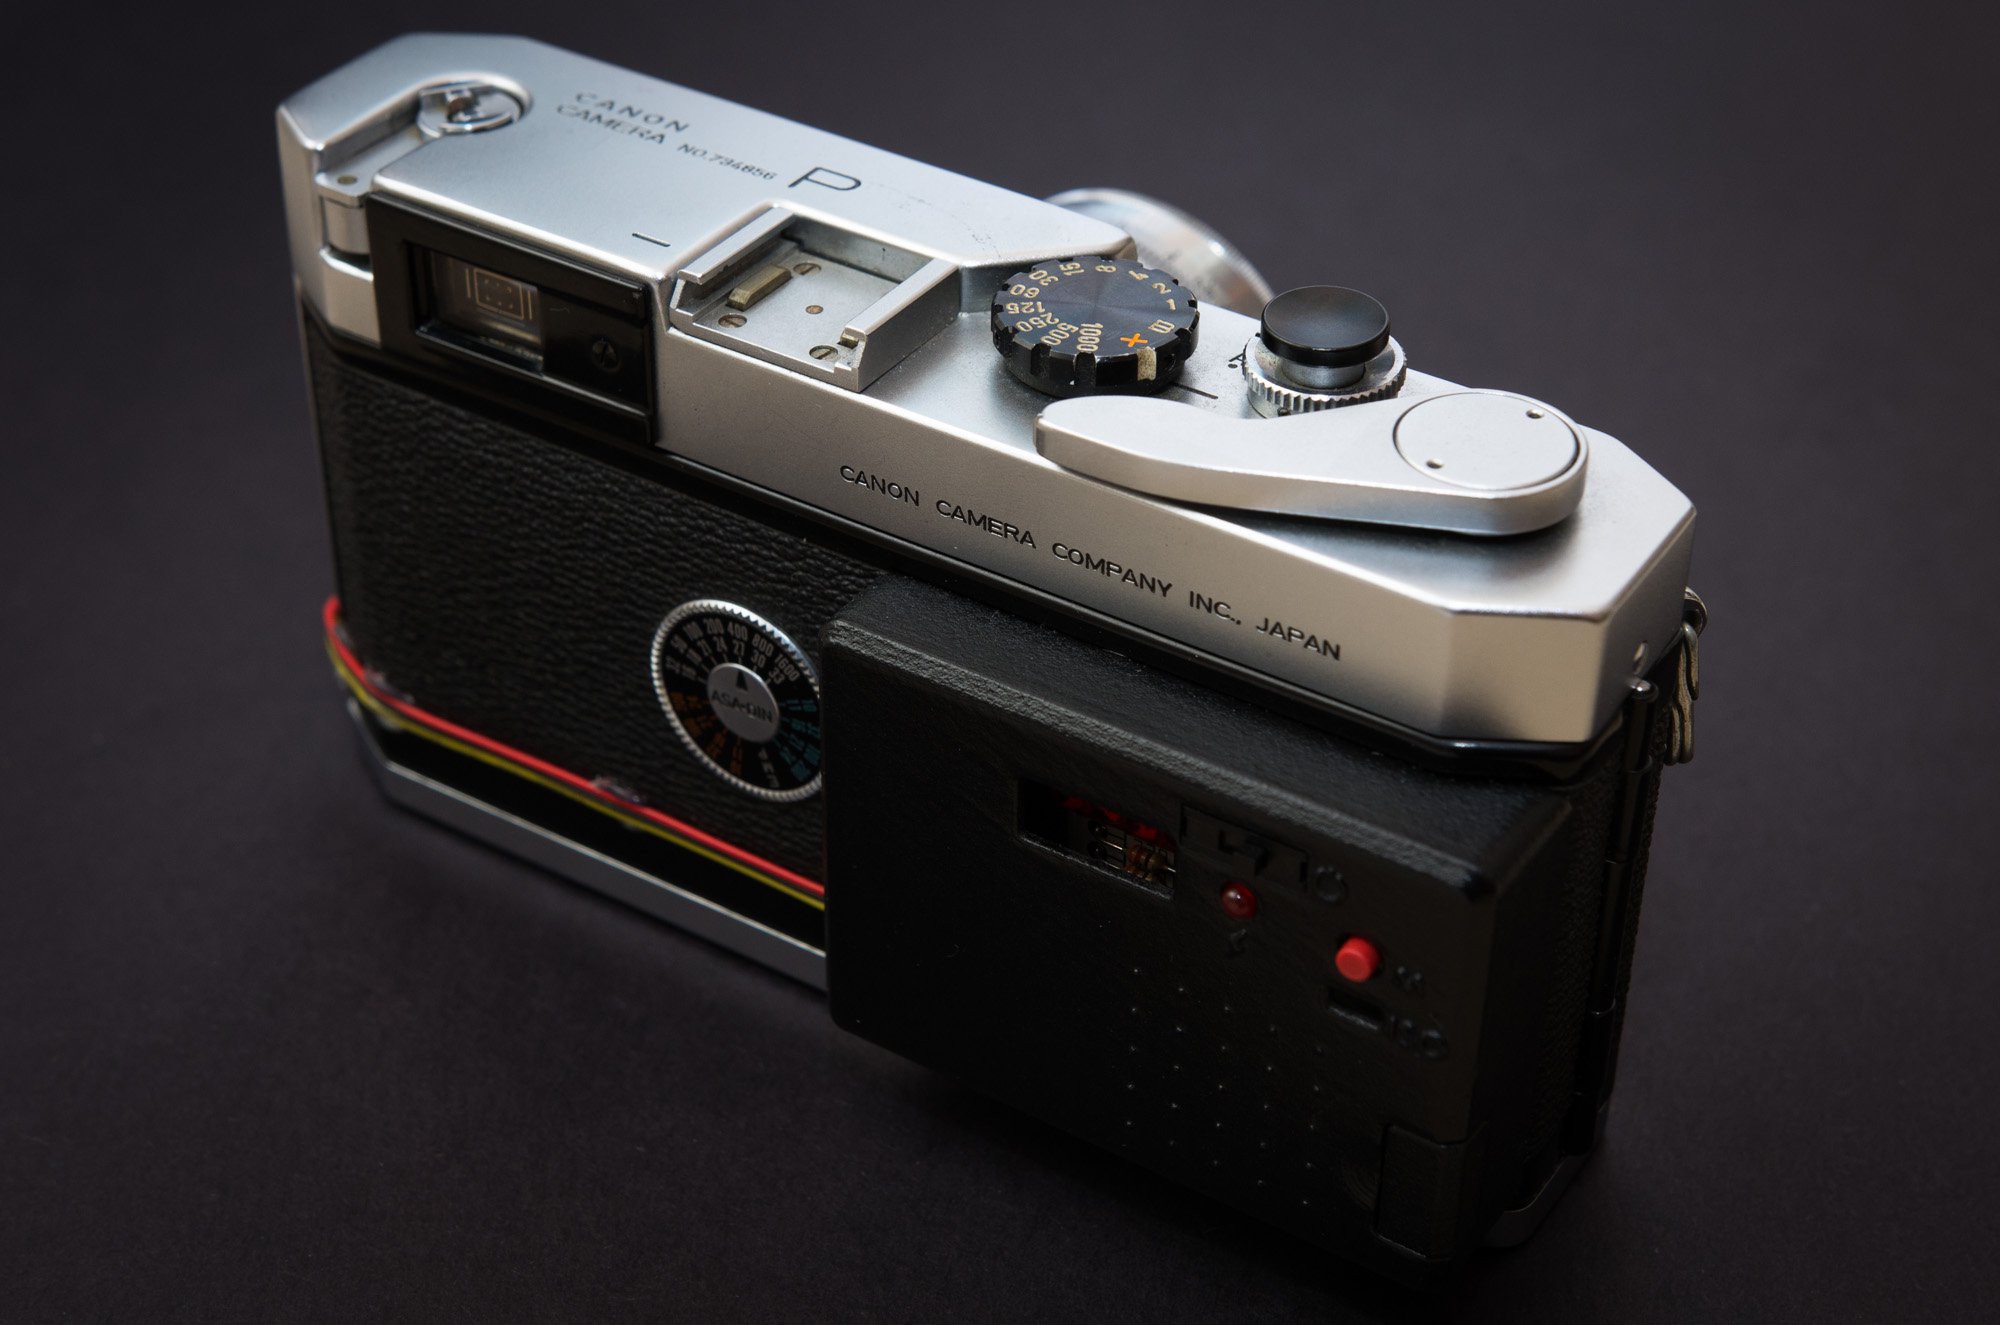
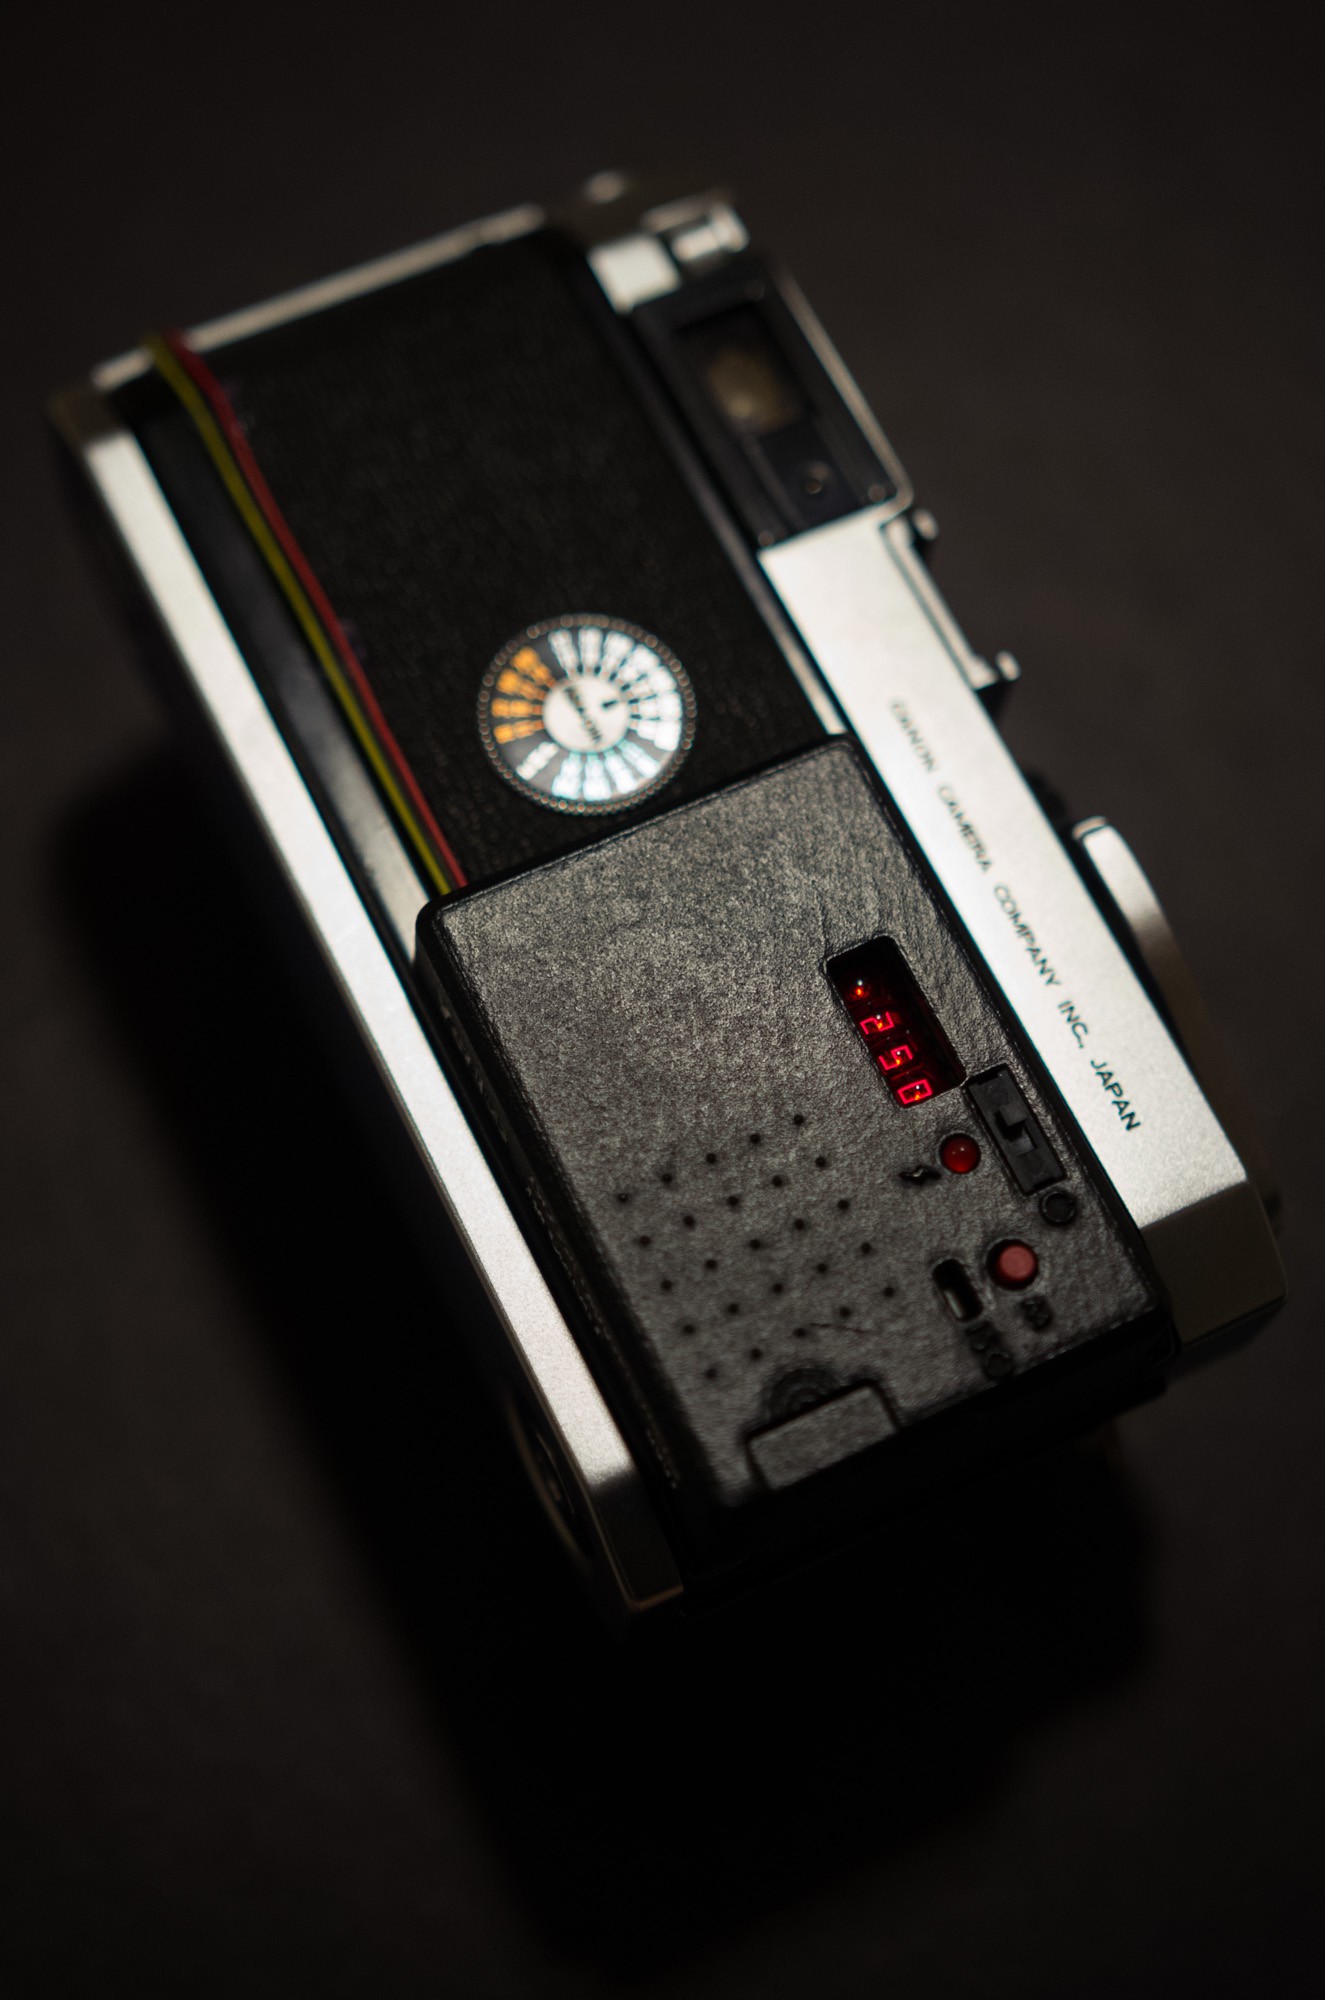
The console. The red button is the metering button, and there's a recessed button for changing the film speed. The red light lights up when a USB cord is plugged in and charging the battery.

Couldn't take a nice photo with flash, since it overpowers the bubble display. I'm not sure how readable it'll be in direct sunlight, though it's reasonably recessed in the console so it shouldn't be too much of an issue.
Yeah, I know the exposed wires don't look very good! It would have been better if they were black, at least. I may cover them up with shrink tubing later, or at least with black tape. If I had used SMD instead of thru-hole components, the console could have been made smaller, as well. But I worked with what I had and I'm more than happy about what I've made so far. Looking forward to finishing off the roll I have in it now - I'll post back with some exposures from the camera, and also a video of the meter in action.
 Kevin Kadooka
Discussions
Become a Hackaday.io Member
Create an account to leave a comment. Already have an account? Log In.