Finally made some headway on making this project a physical reality. All of the required parts have come in, and I'm back from Hawaii to visit my family. Here we go!
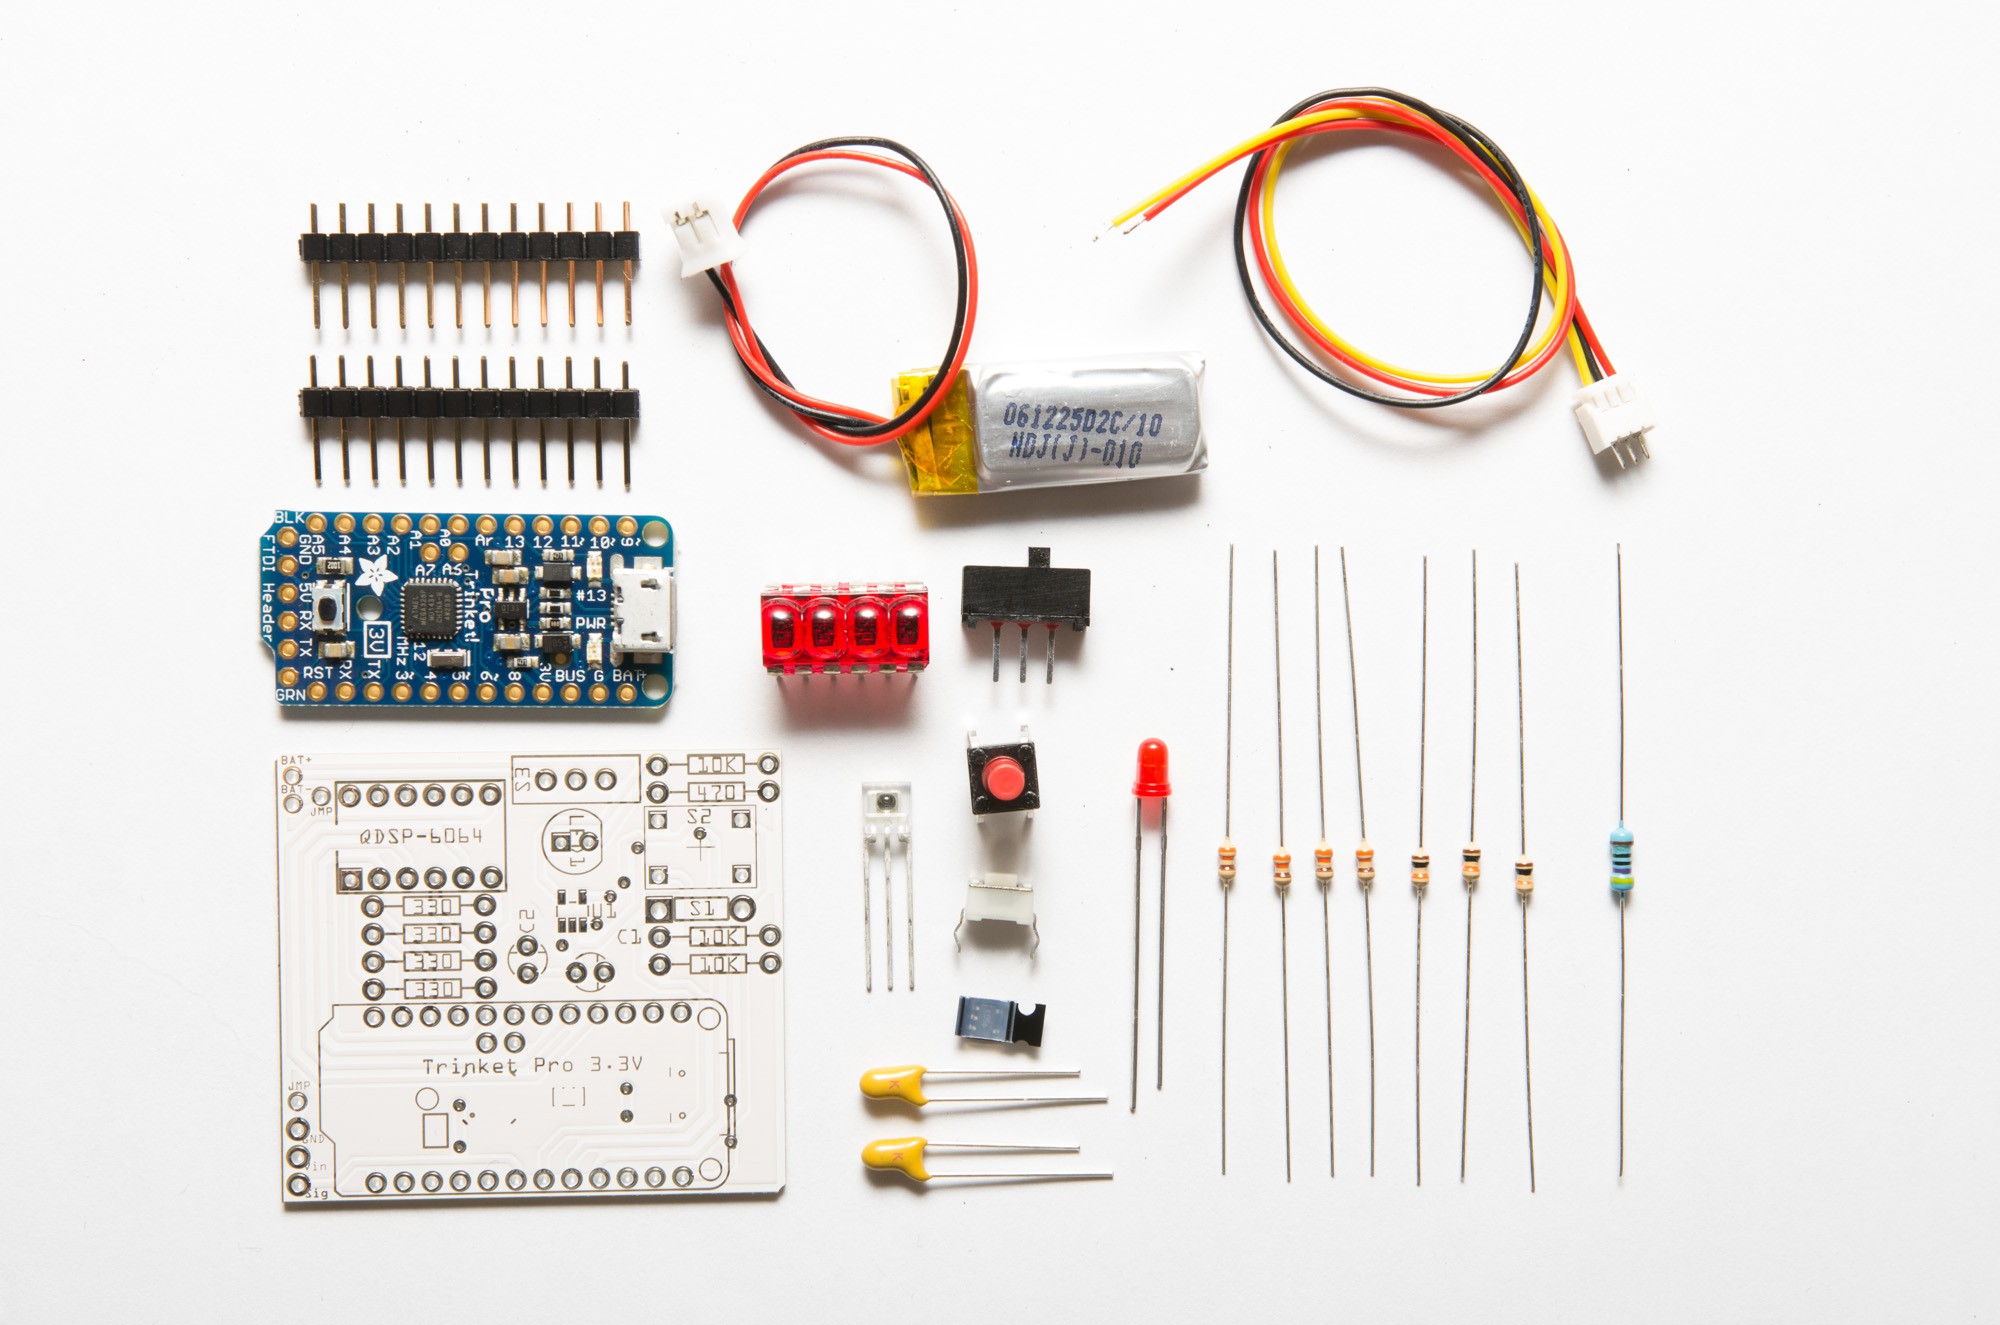
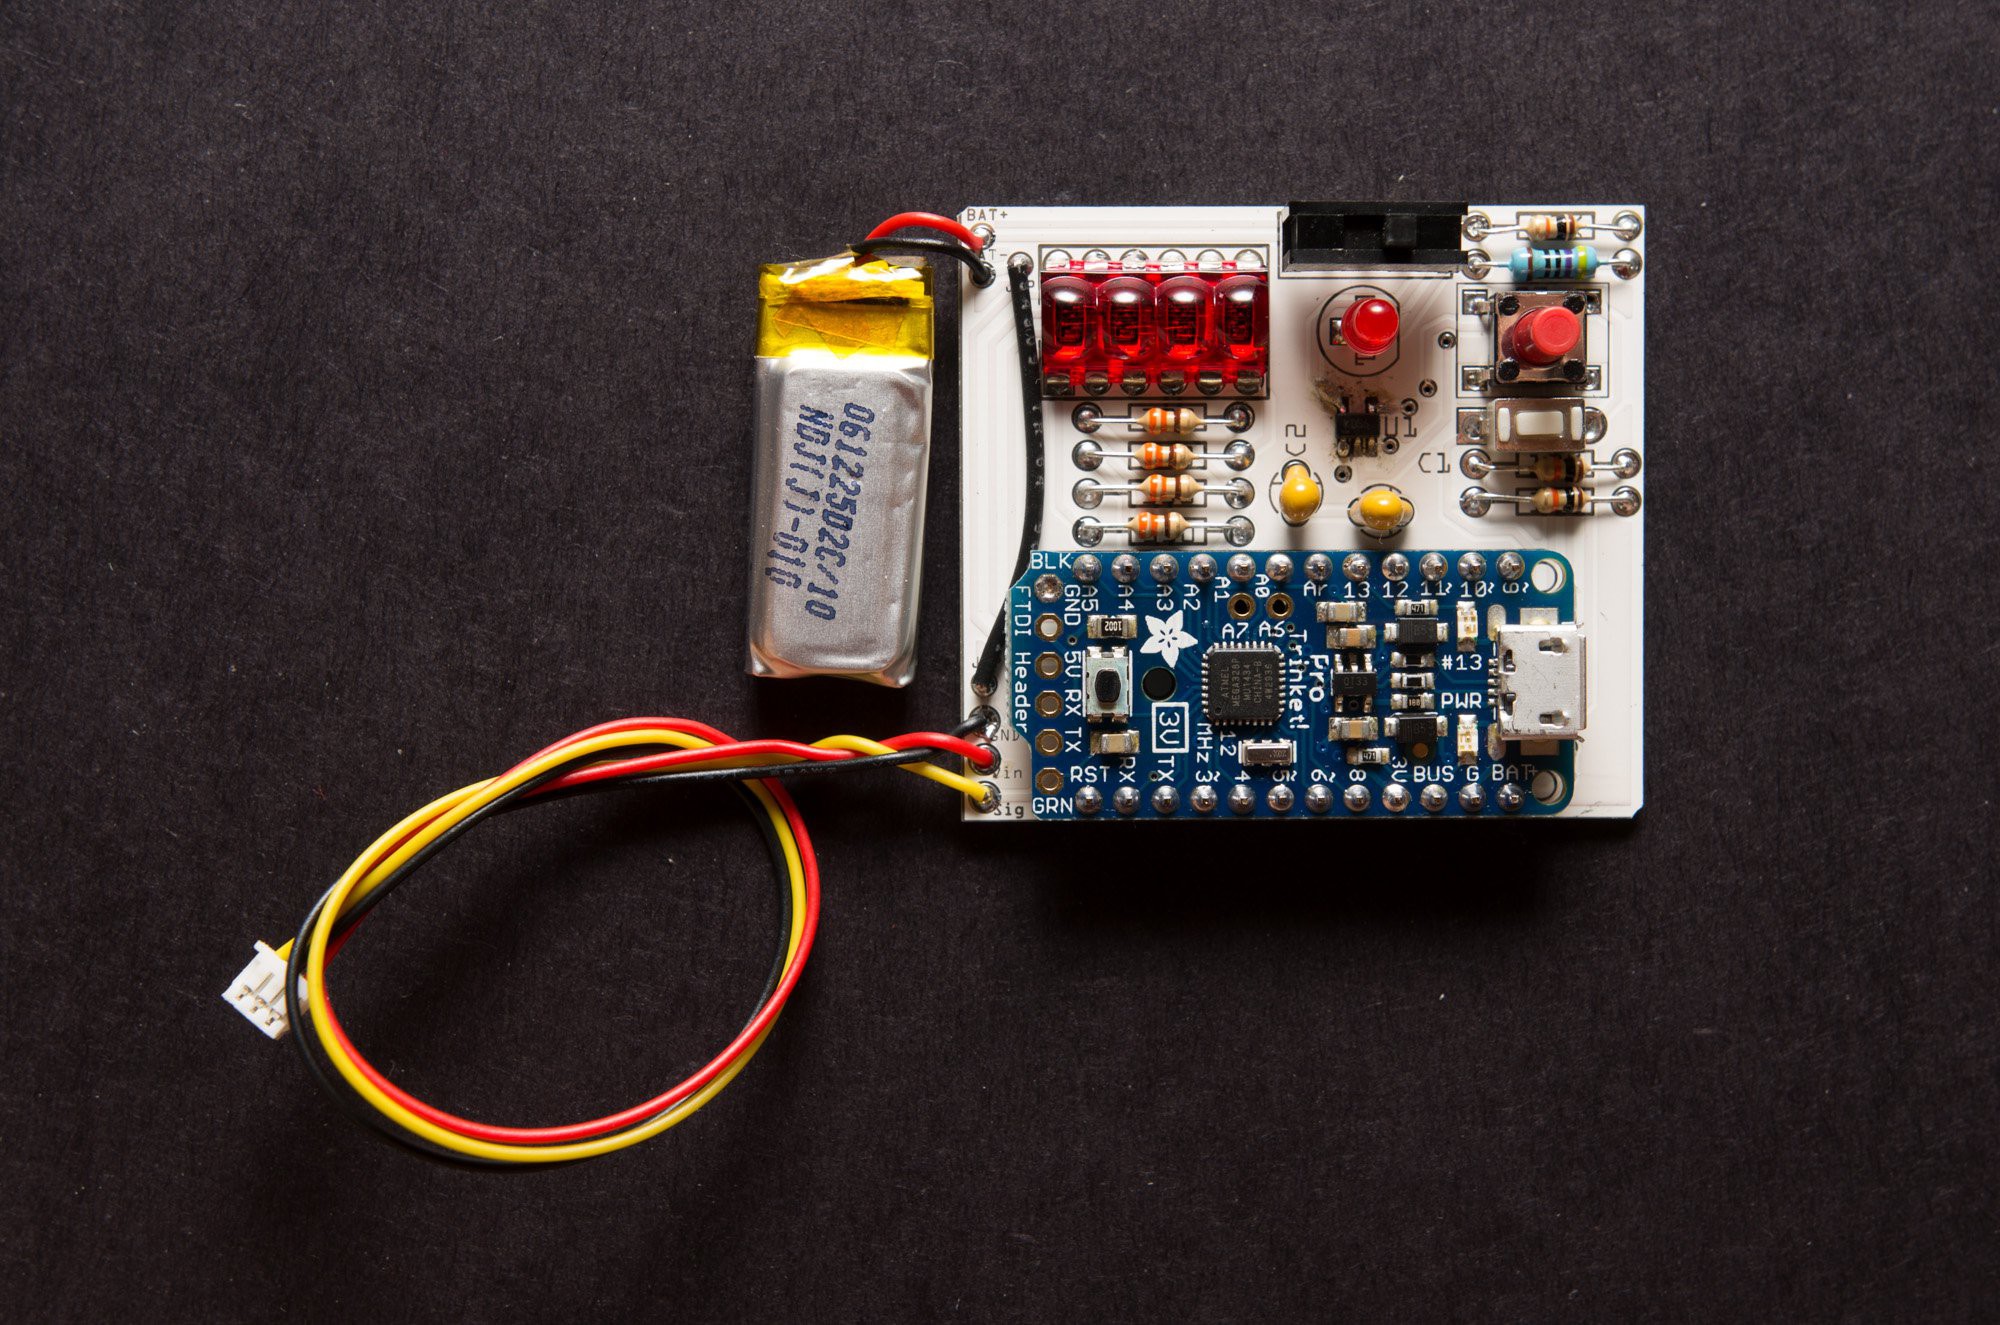
Here are all the electronic parts:
- Custom PCB from Fritzing
- Trinket Pro 3V
- QDSP-6064 HP bubble display
- SPDT power switch
- 3.7V 110mAh lithium polymer battery
- TSL235R light-to-frequency meter
- 6x6x9mm tactile switch
- Mini tactile switch
- MCP73831 lithium polymer charge controller
- 3mm red LED
- 3-pin 1.25mm JST connector
- Tantalum capacitors (4.7pF)
- Resistors (330R, 470R, 10K)
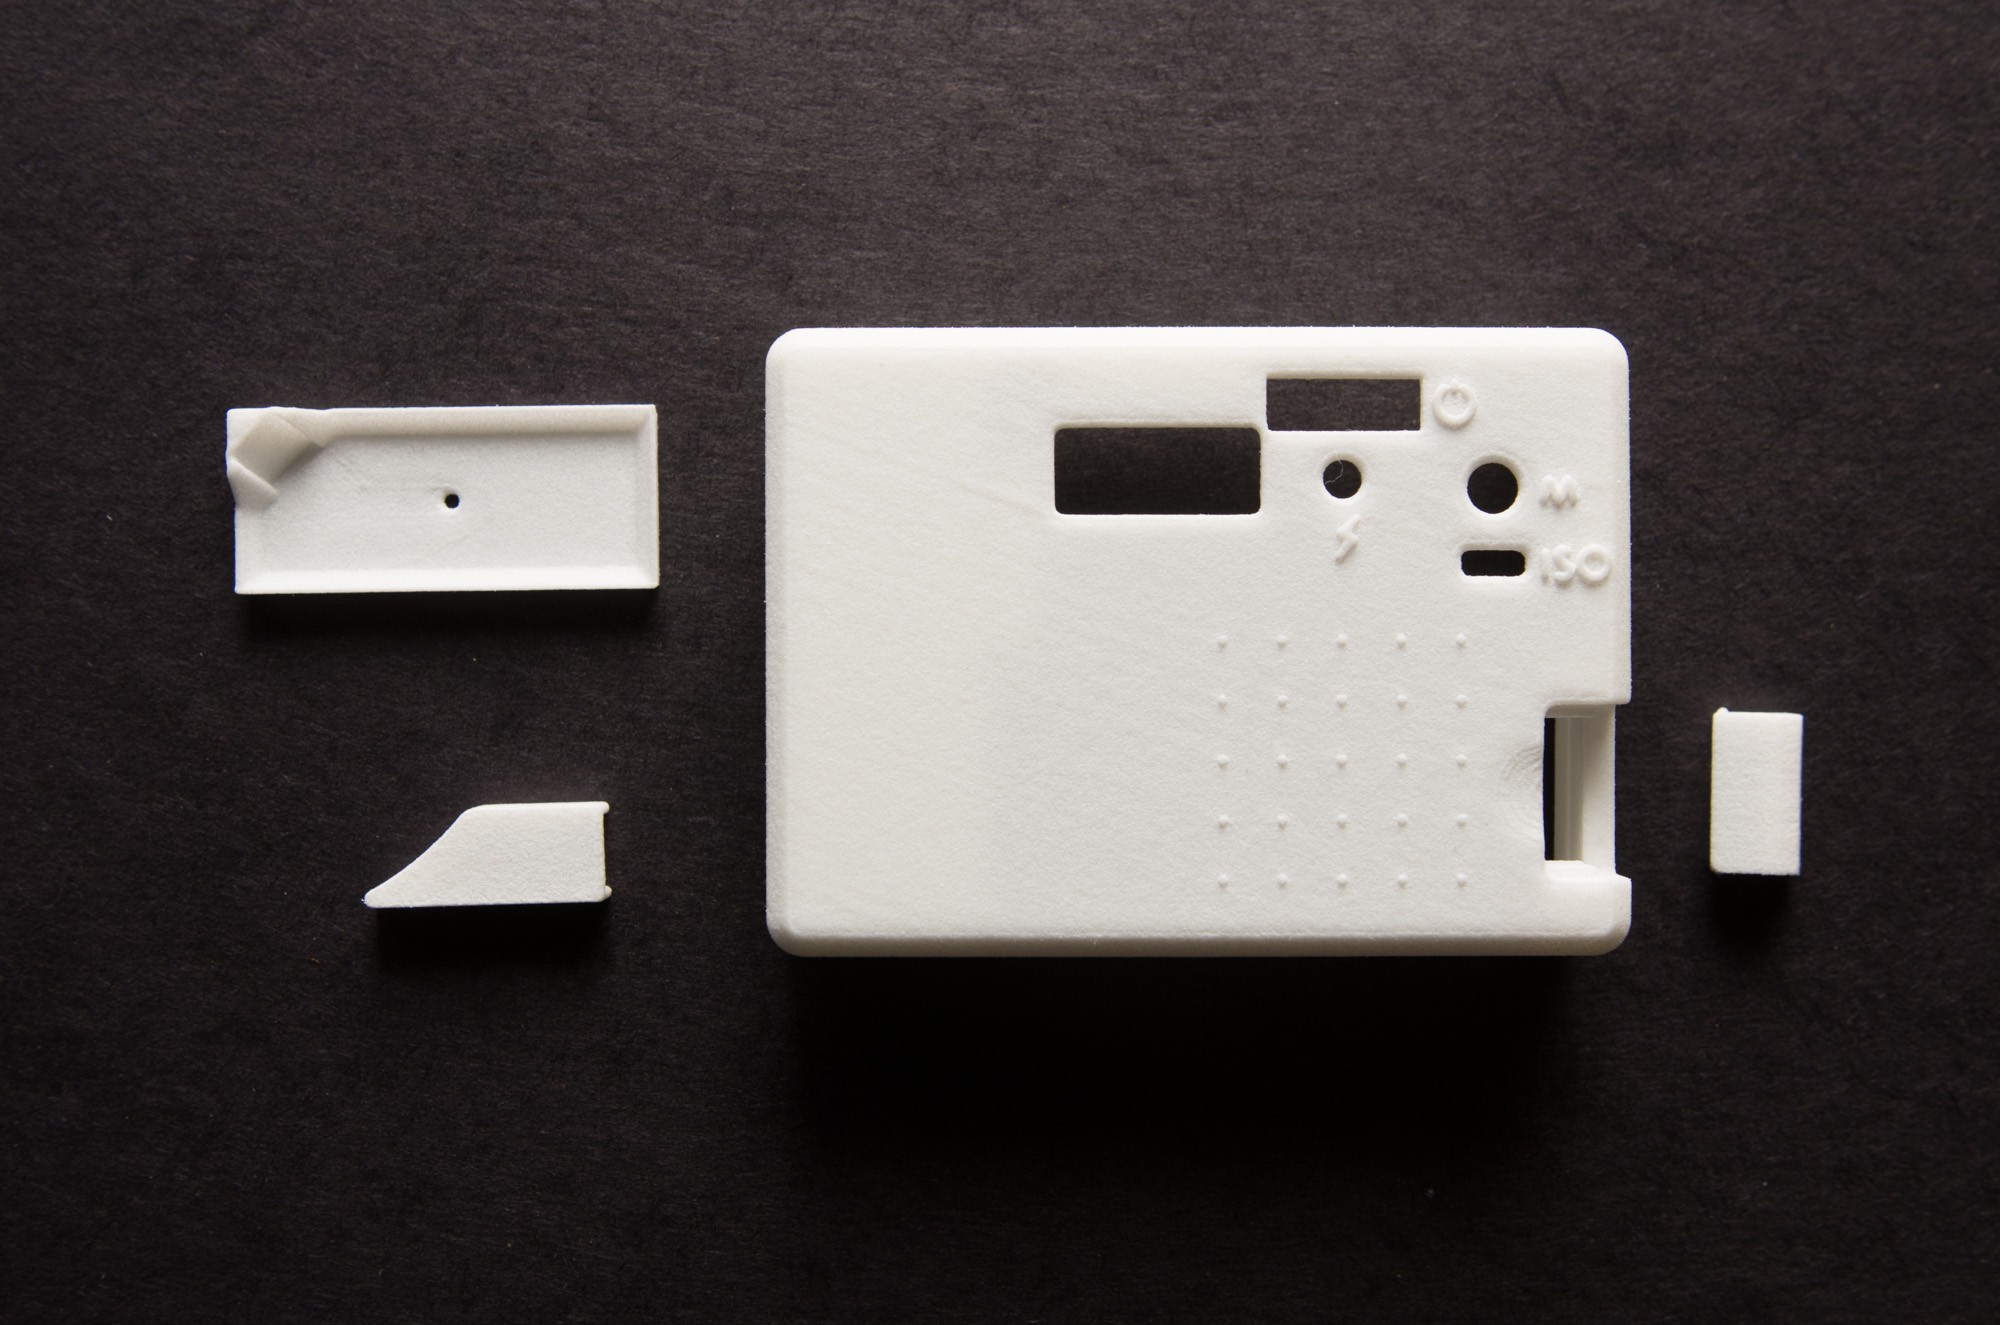
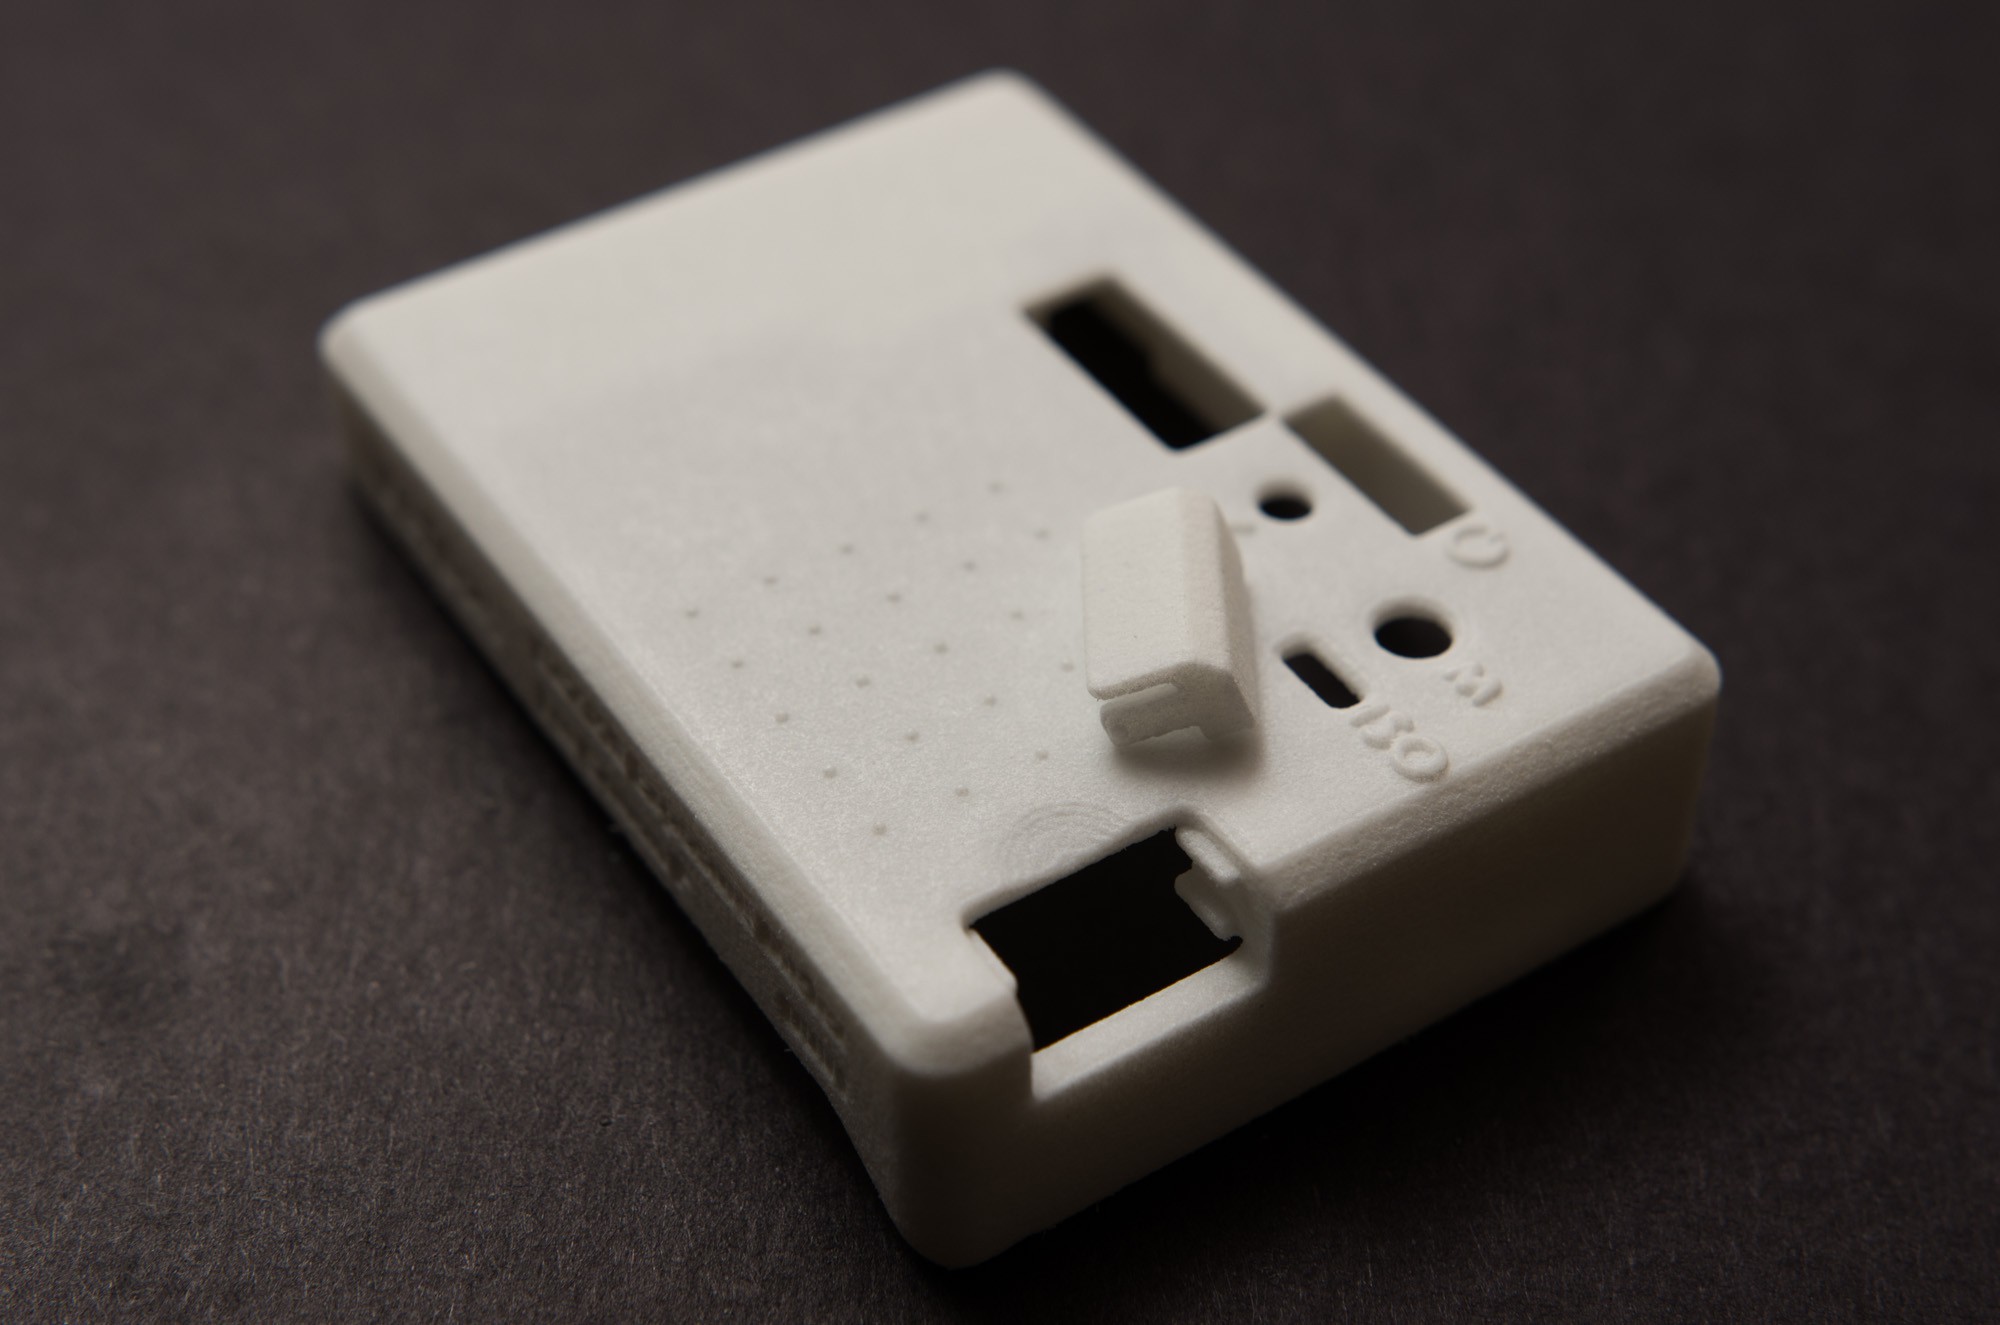
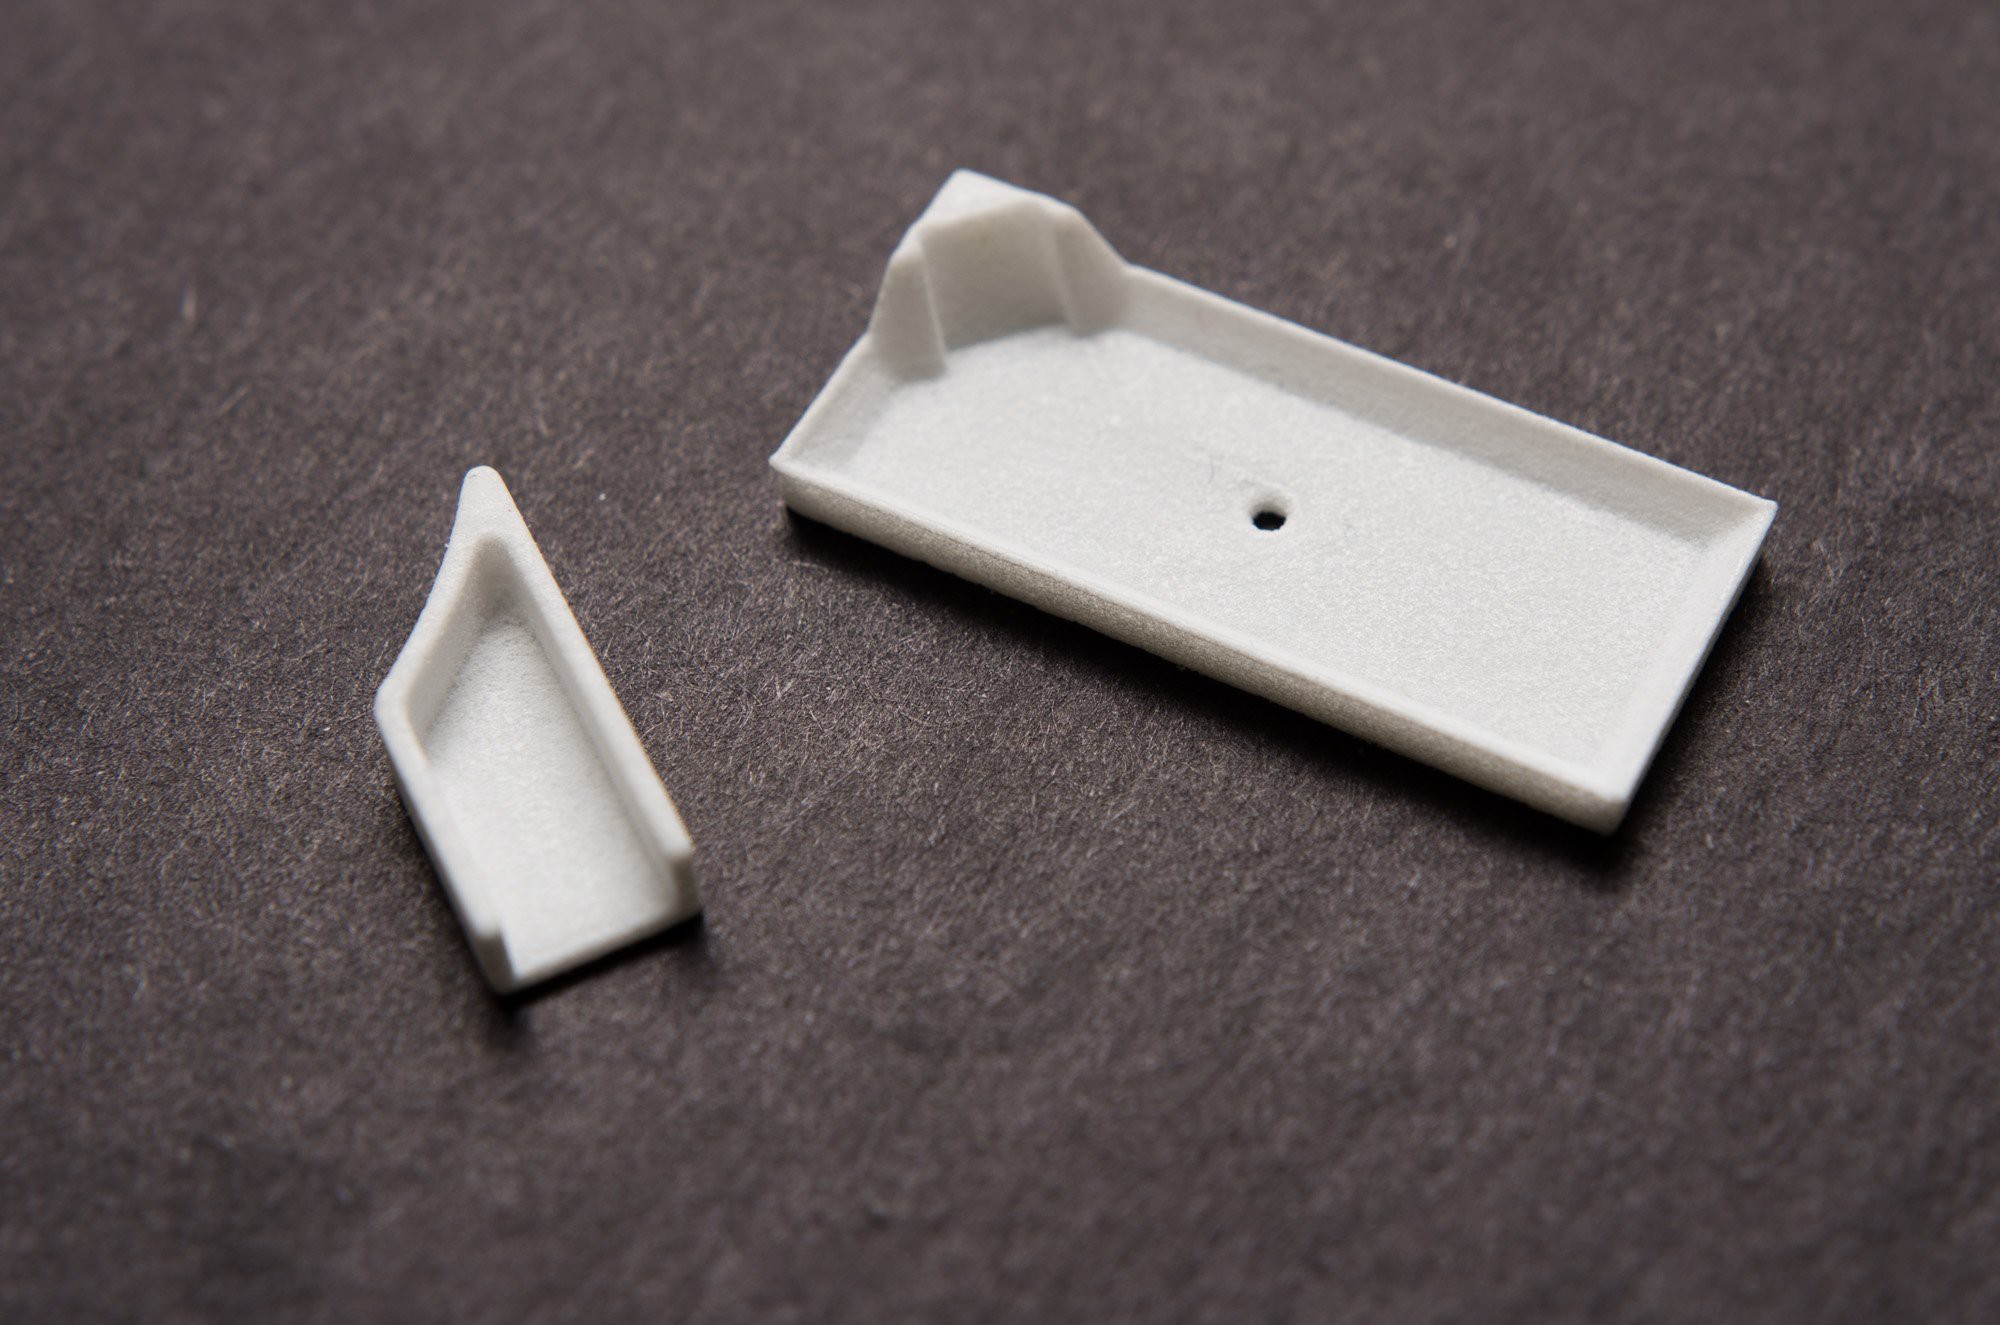
3D printed parts! Polished polyamide from Shapeways.
- Top left: Mount for TSL235R (inside exposure chamber)
- Lower left: JST connector cover
- Center: Console
- Right: Console USB port cover
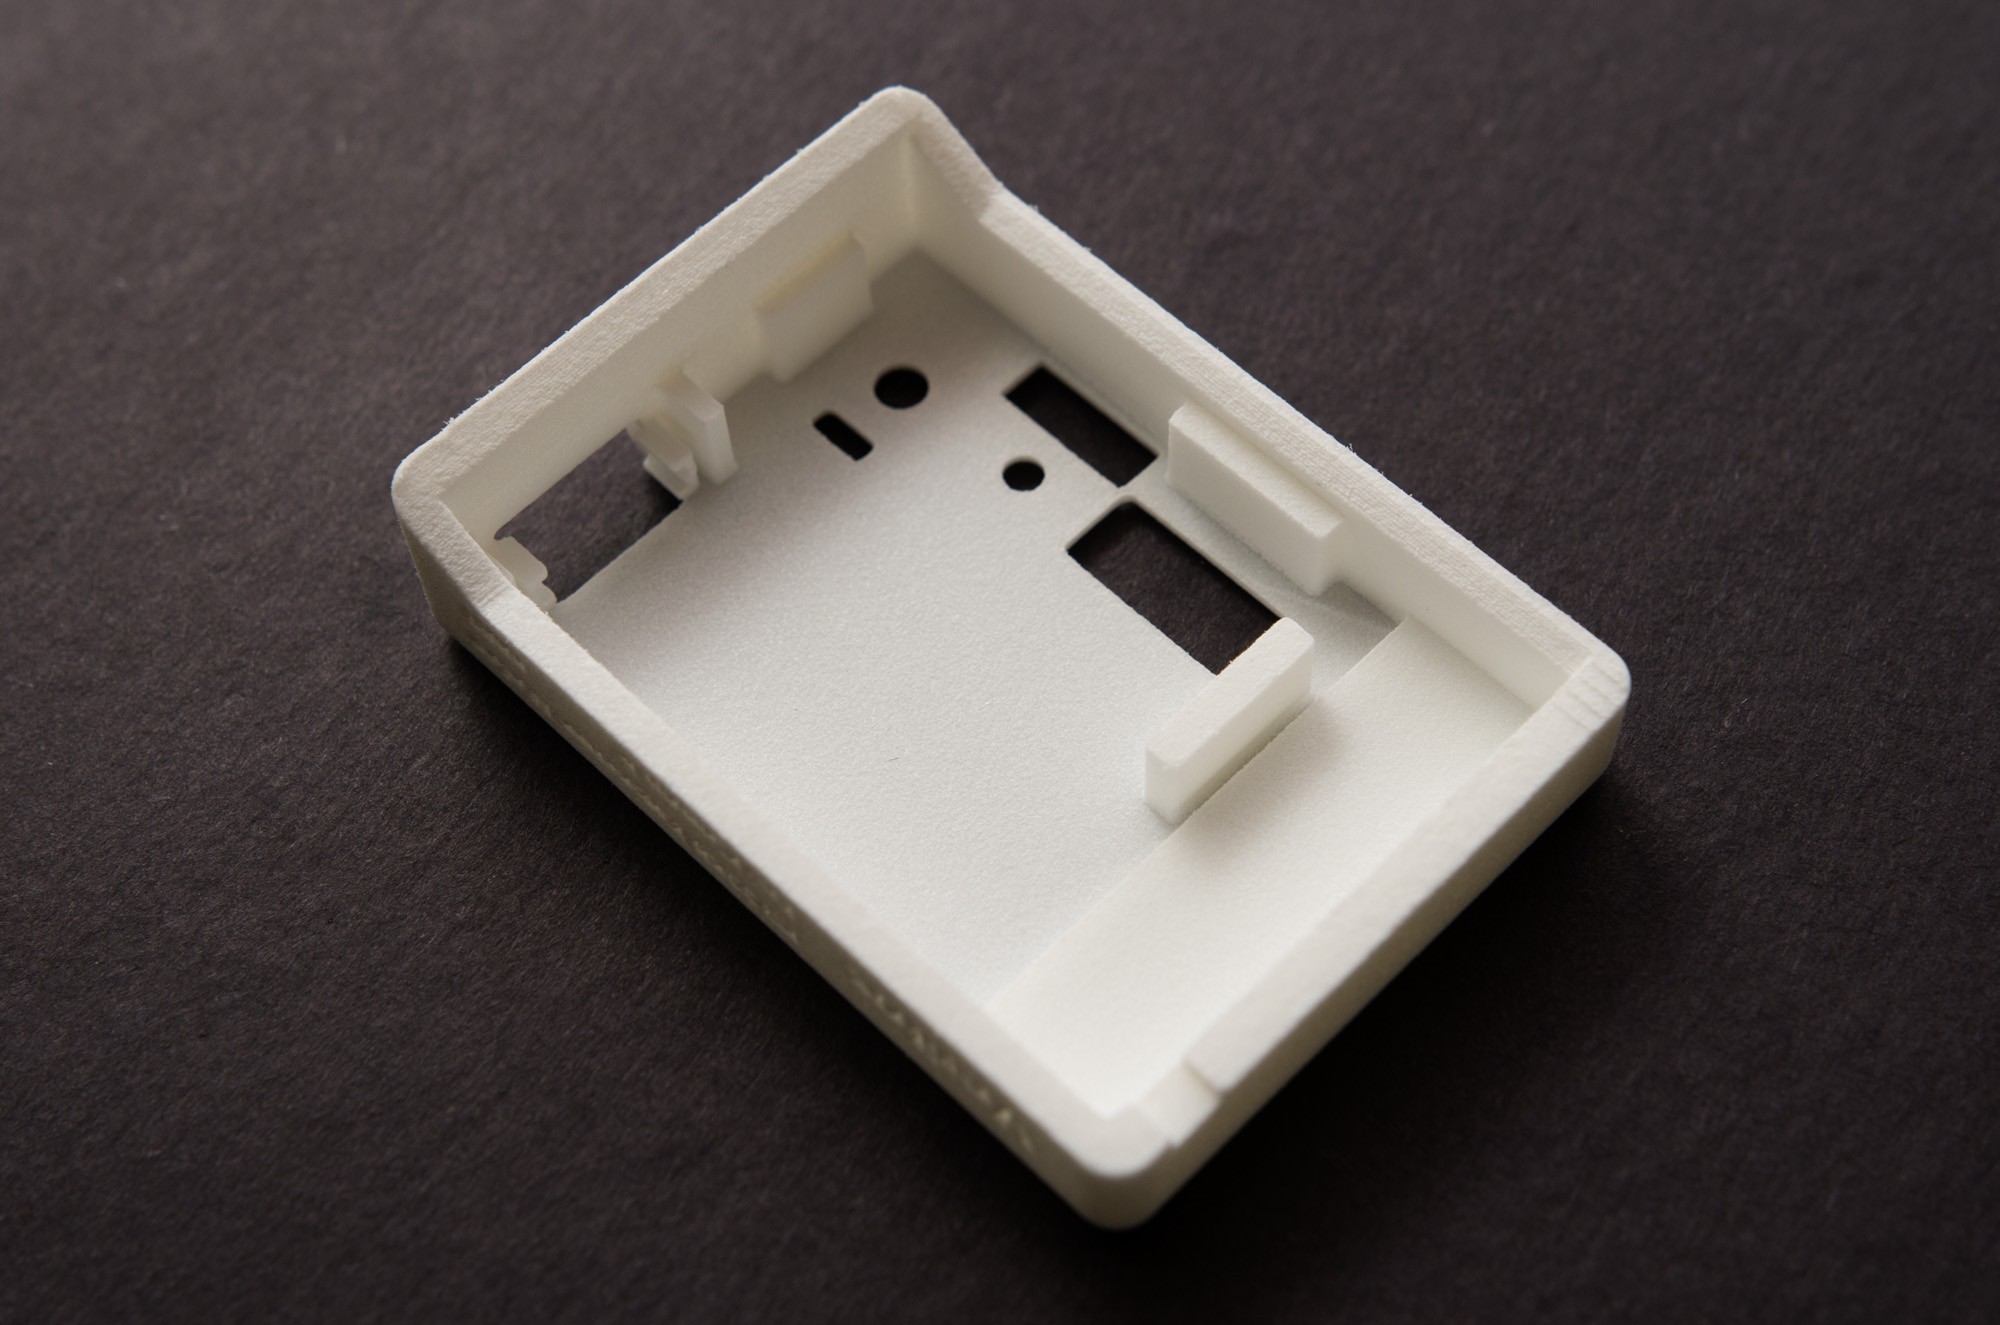
The console houses almost everything excluding the light sensor itself.
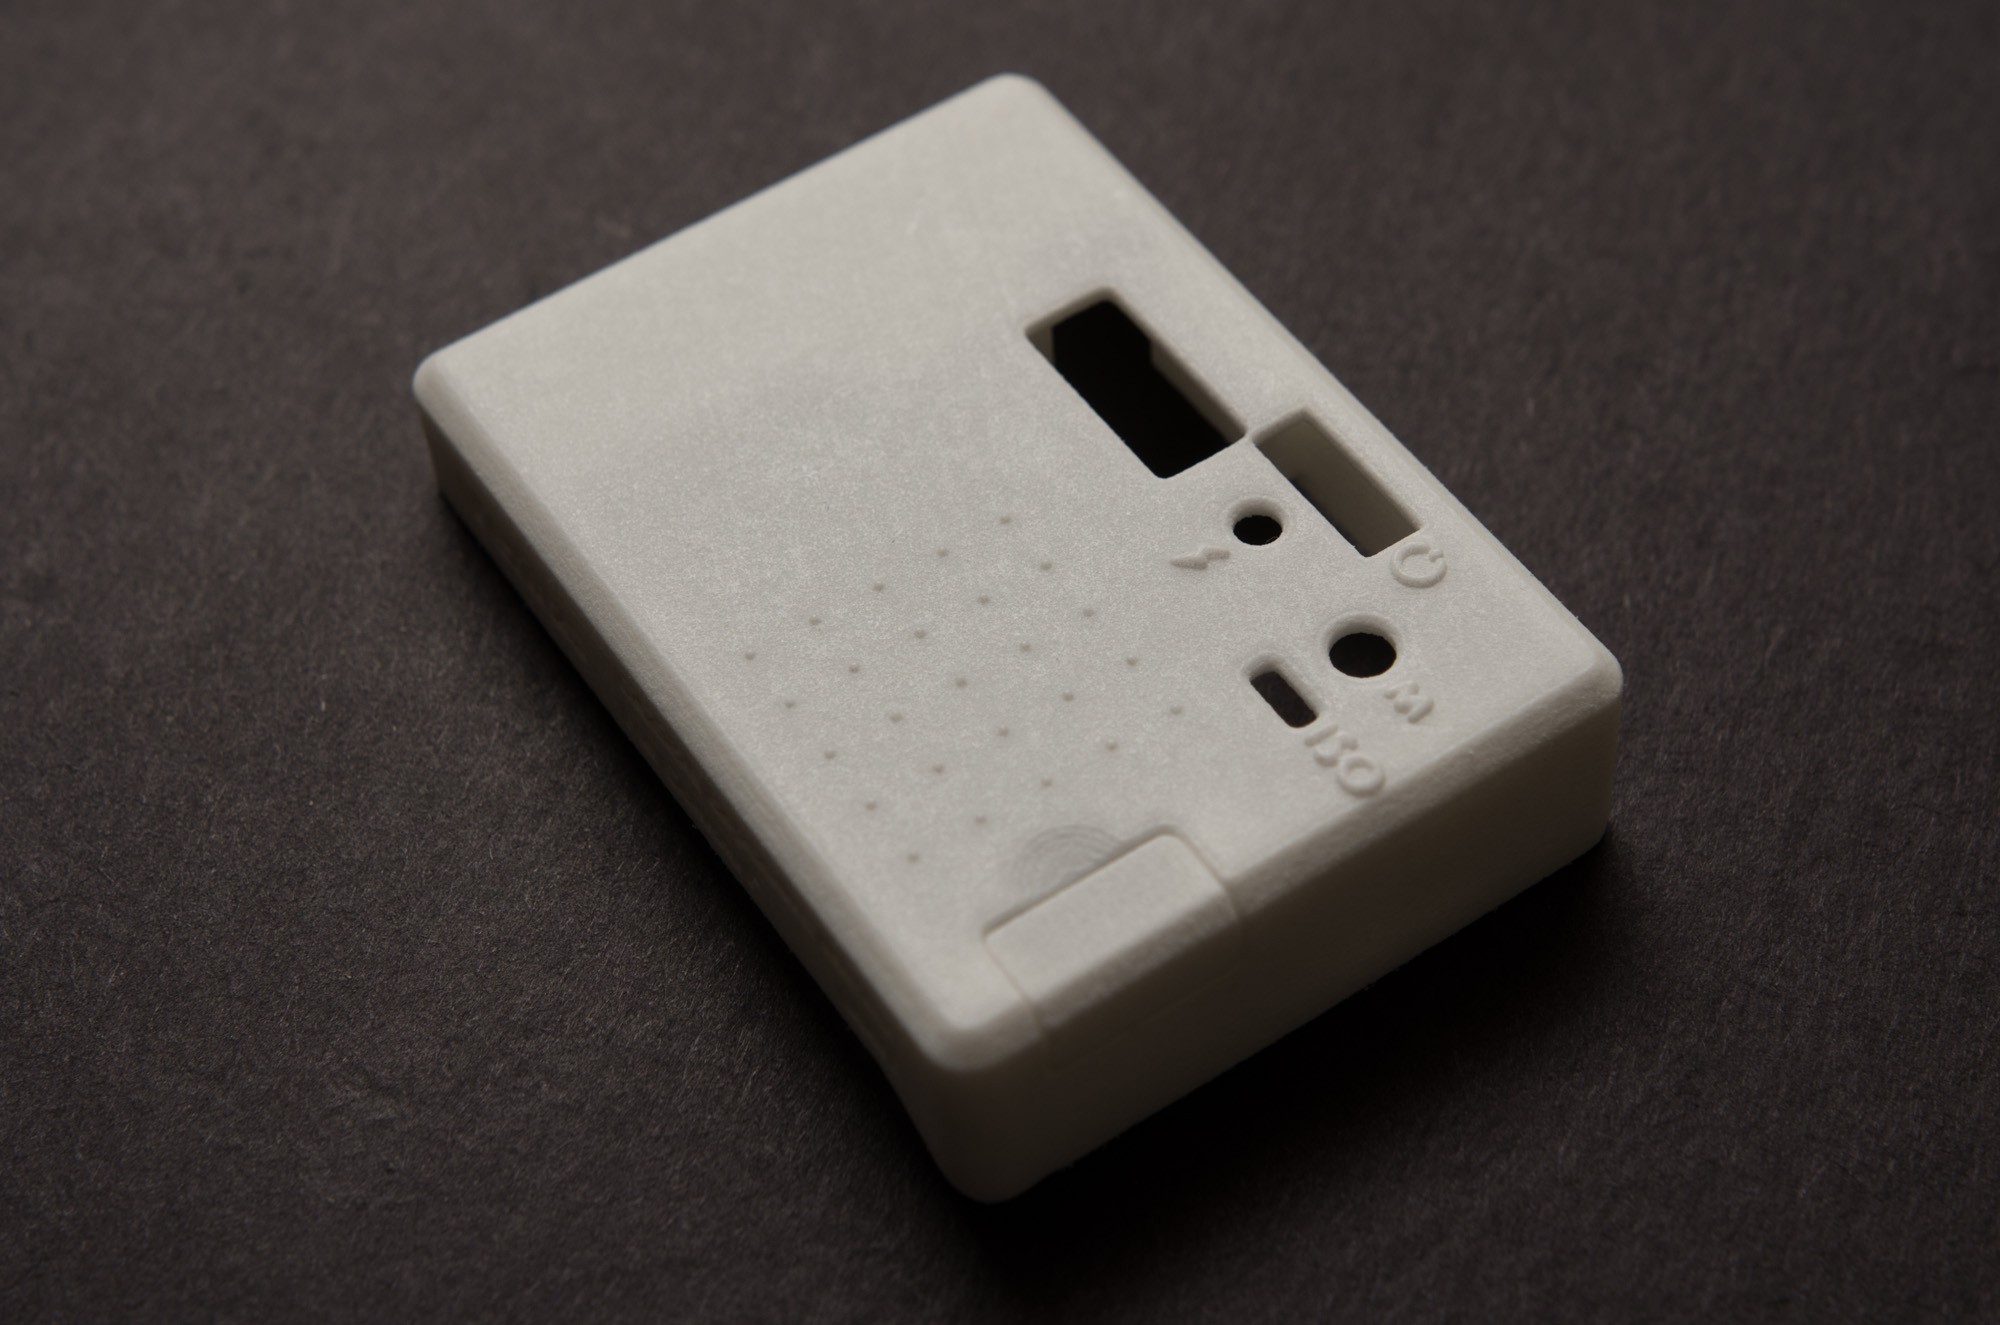
You can plug in to charge or reprogram via micro-USB. The USB port has a little cover held in by friction.
Closeup of the light sensor mount and the connector cover.
The PCB all populated with electronics. The male JST connector will hook up to the female counterpart which connects to the light sensor.
All painted up and with the electronics in it.
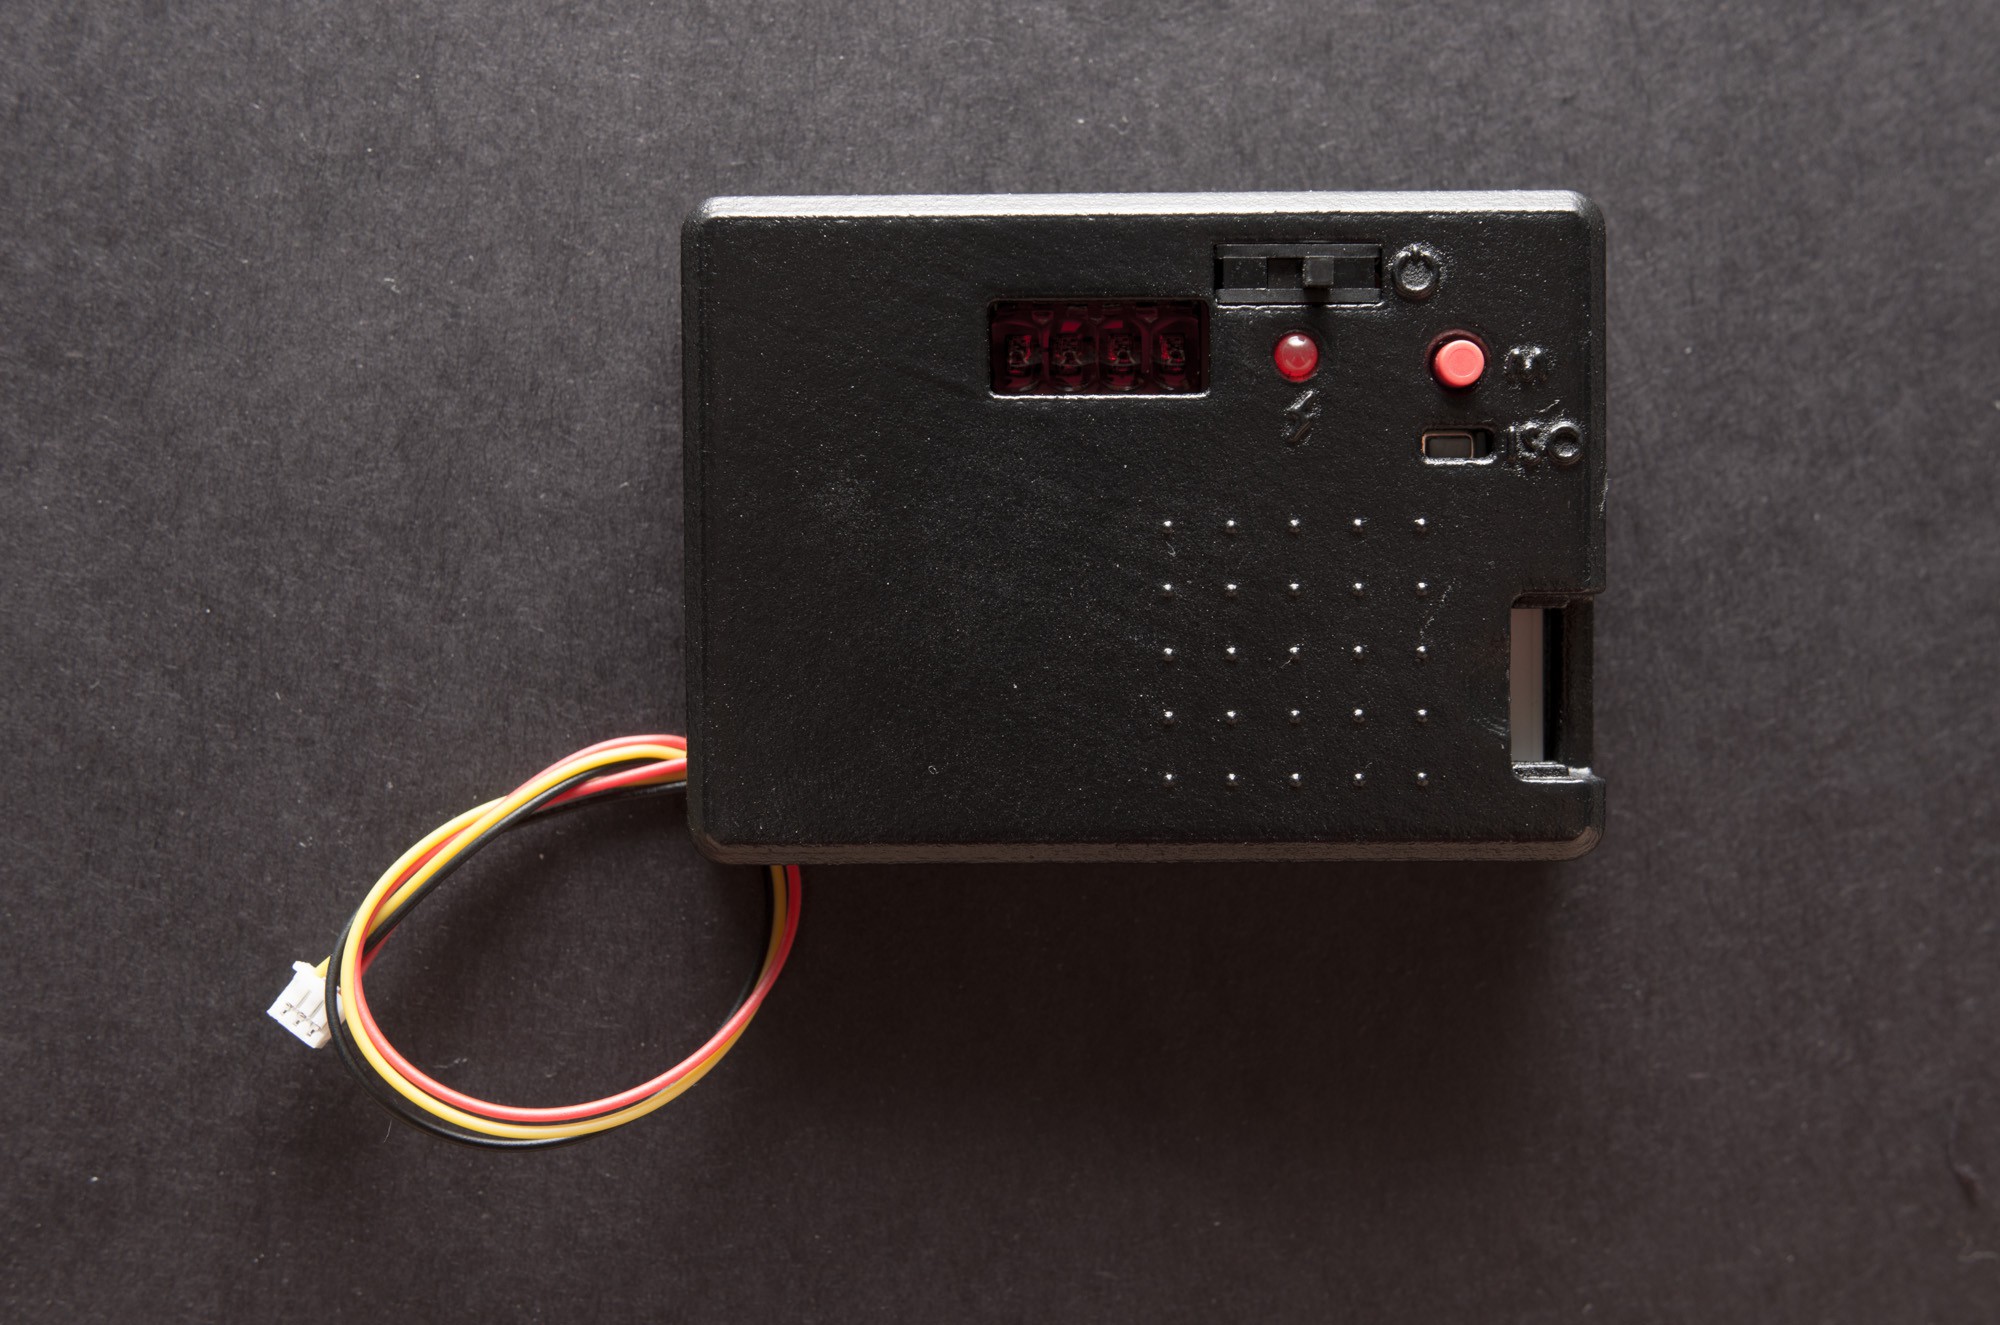
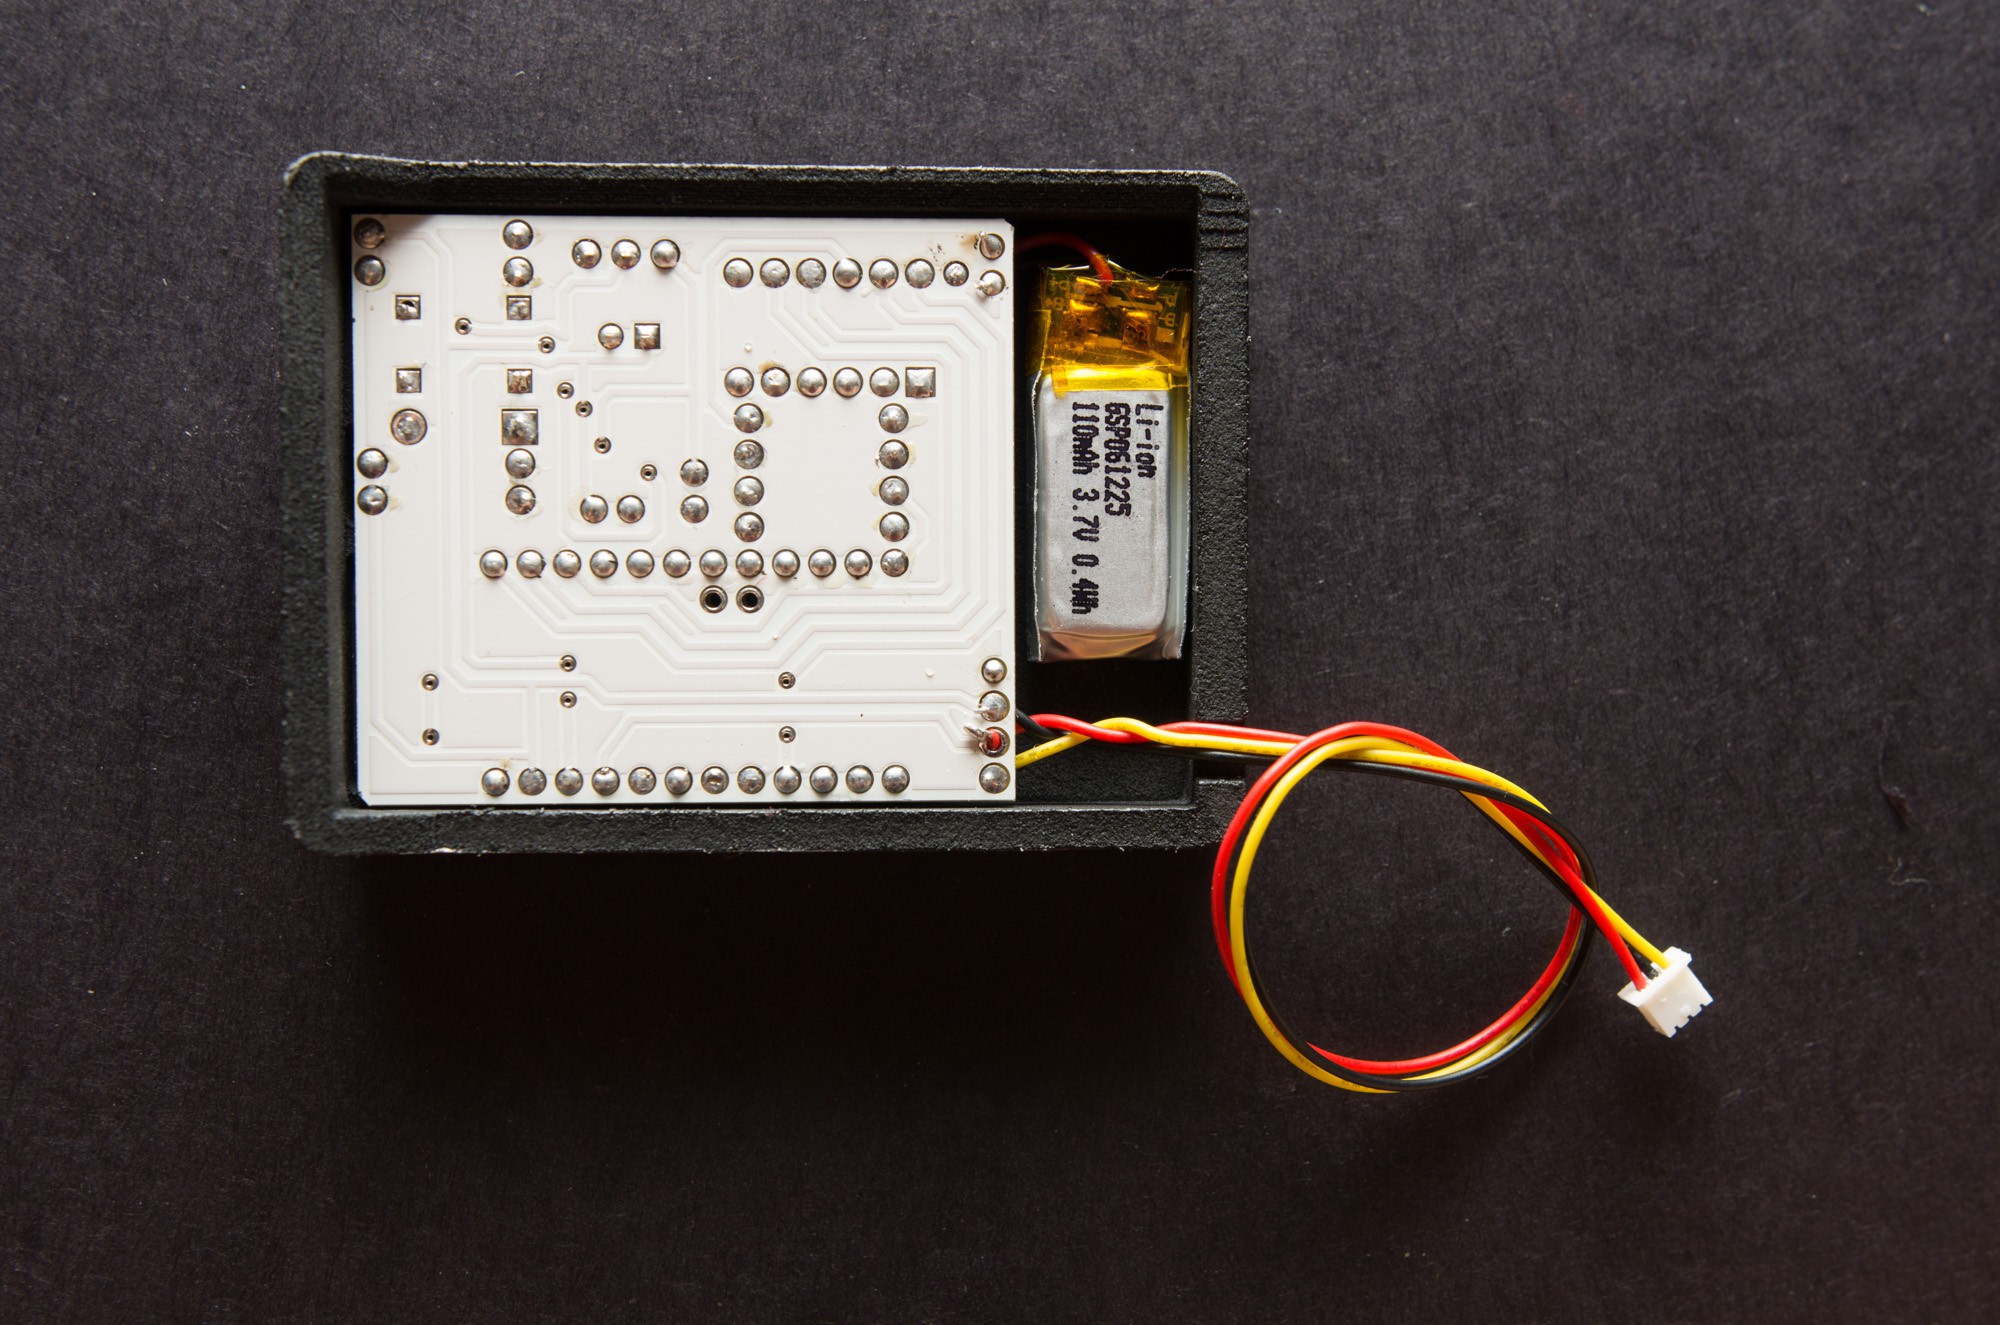
Some lettering, for fun.
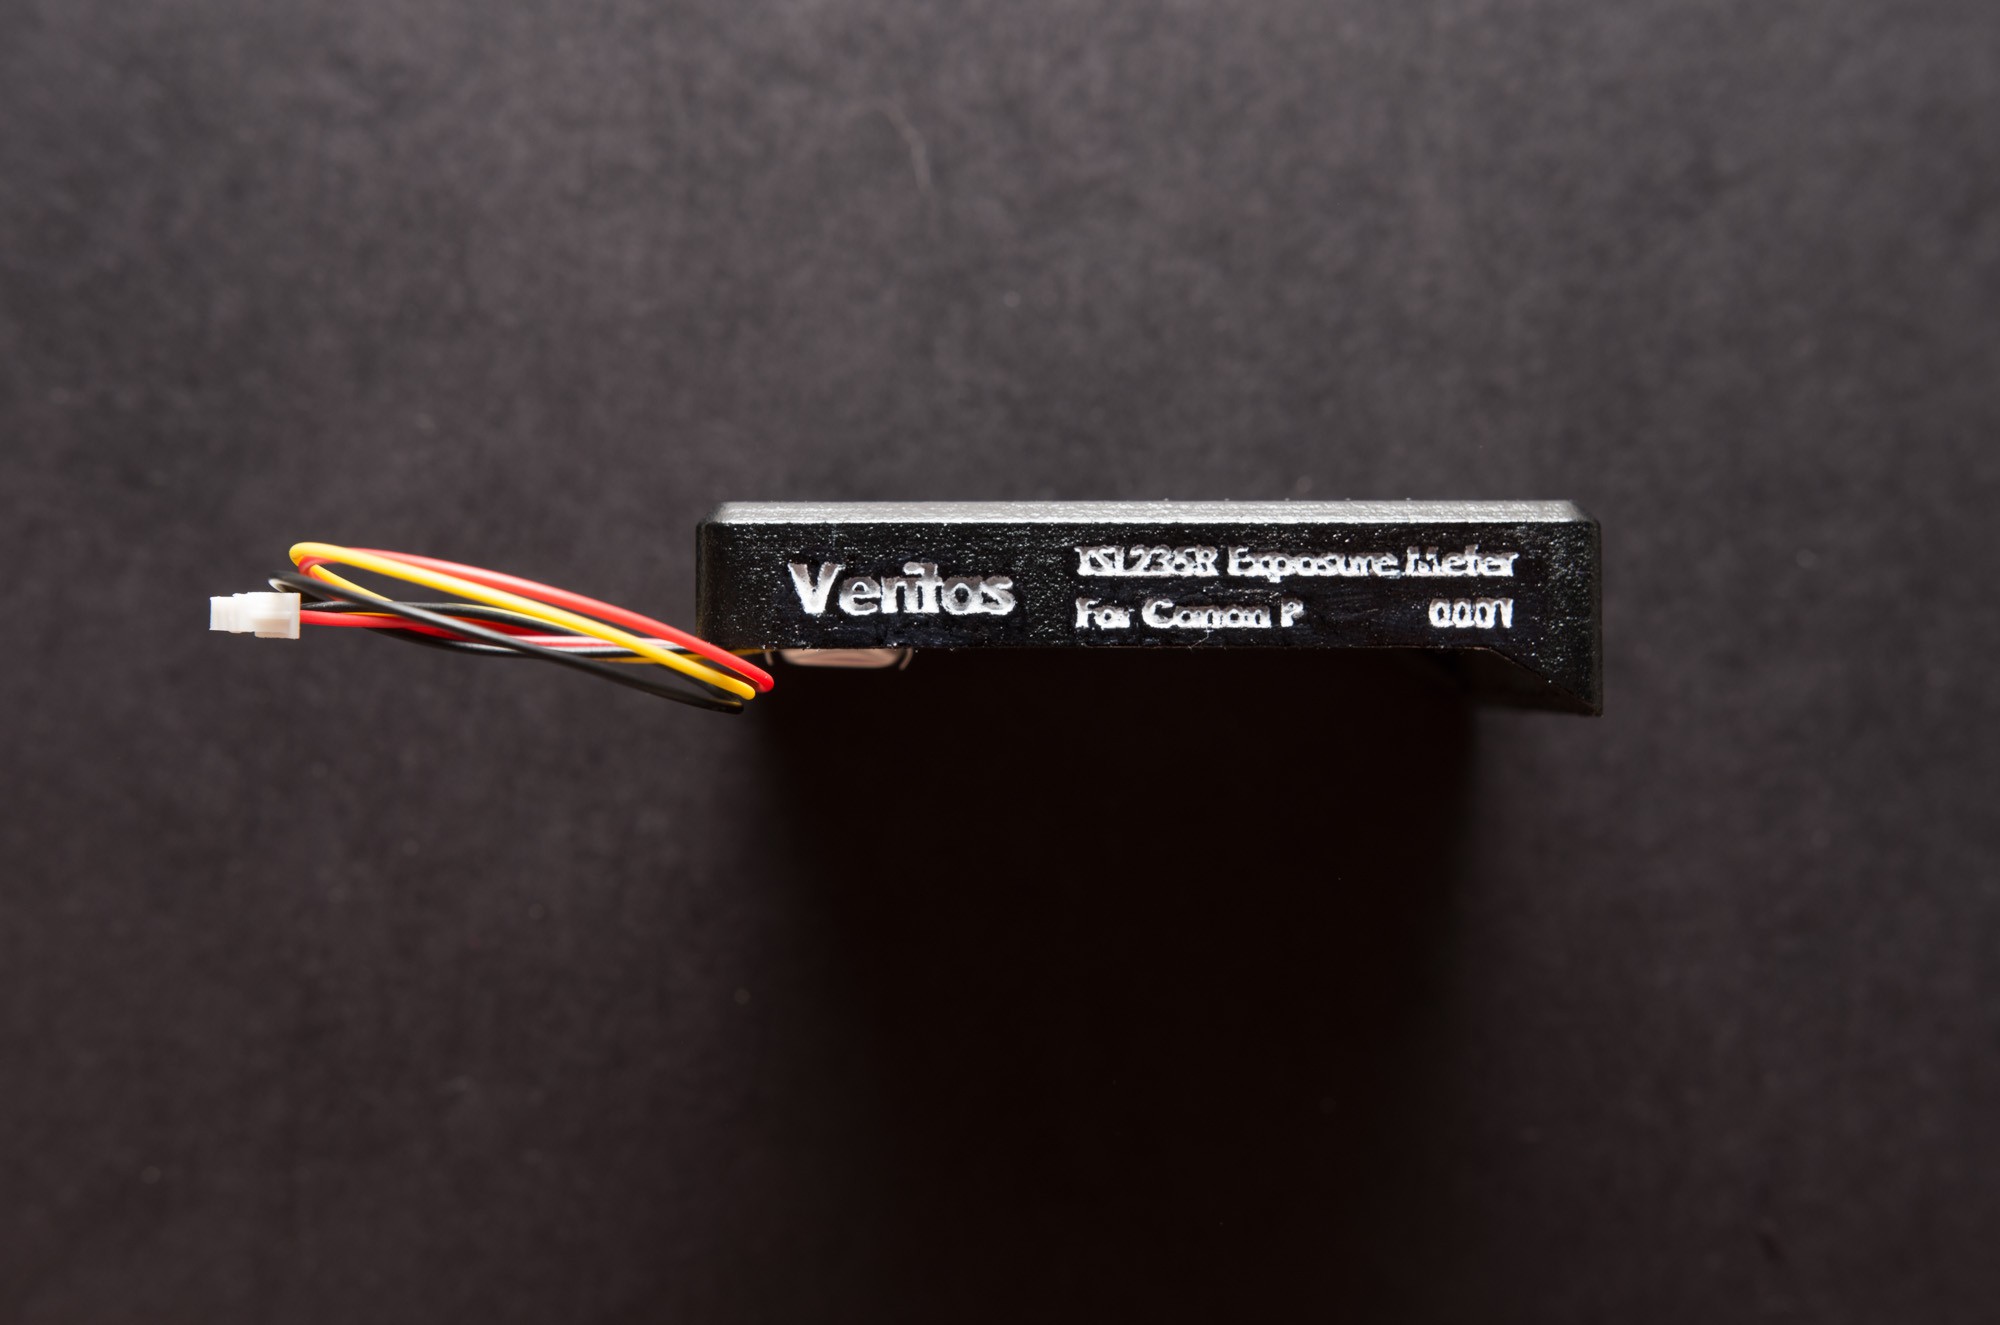 Things are coming along smoothly! Hope to update again tomorrow.
 Kevin Kadooka
Discussions
Become a Hackaday.io Member
Create an account to leave a comment. Already have an account? Log In.