I have perviously written about Sensor Mania, this describes my workflow for coming up with new ideas for sensors and applications. Well yesterday when I received my sound level meter, I thought that a good way to spend the evening would be getting this meter to push data to the web!
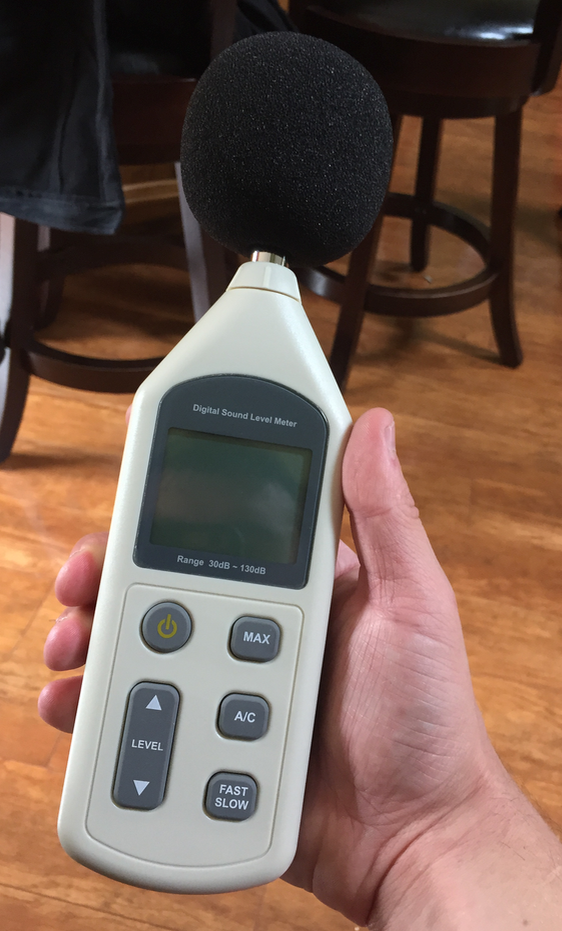
So heres a picture of the meter fresh out of the package:

I was shocked at the size, it is a pretty large device, I guess I was just expecting something smaller. Regardless, I'm happy with it, I really liked the price and the user interface is clean and simple which is great.
The one feature that was critical for me is that this unit had a DC output for its measurement. This interface is prime for attaching to my sensor node and that is exactly what I set out to do.
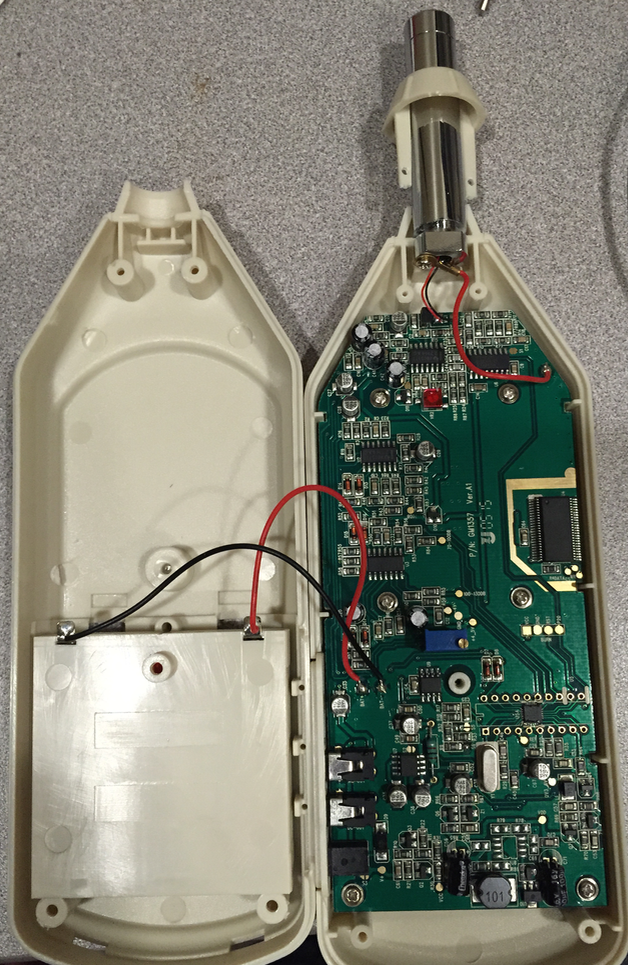
Let's take a look inside:


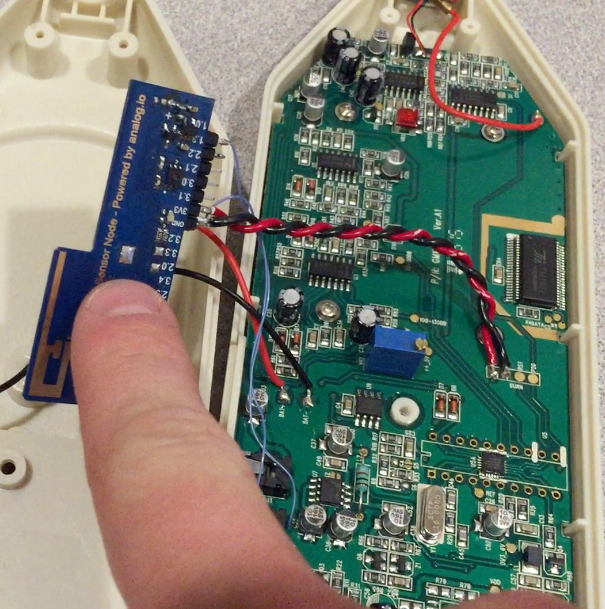
For $25, I'm pretty impressed with the build. In some ways for the number of components, I'm shocked that there is actually profit to be made for this unit. Regardless, I scanned through the board and found some very conveniently labeled test points and places to tie in my Sensor node. Here's the breakdown:

As shown in the picture I soldered wires in on the signals of interest and connected them to a pin header which I intend to connect to the sensor node.

One very convenient point about this unit is that the VCC test point turns on and off with the Meter power button. This is really convenient for power management of the device when it is powered off, essentially the sensor node is powered off as well.
With connections in place, it is time for a little code. Here it is, less than 20 lines of code!
#include <analog_io.h>
#include <SPI.h>

analog_io radio(P3_5, P3_6, P2_5);

float sound;

void setup()
{
  SPI.begin();
  SPI.setDataMode(SPI_MODE0);
  SPI.setBitOrder(MSBFIRST);

  analogReference(INTERNAL2V5);
}

void loop()
{
    sound = analogRead(A3)*0.244140625;

    radio.print(">");
    radio.print(sound,3);
    radio.flushBle();

    sleep(500);
}
I previously wrote about bridging these BLE packets to the web win an iPhone using some Tech BASIC code running on my iPhone. Here it is again:
DIM uuid(0) AS STRING
DIM watchdog AS INTEGER

BLE.startBLE

BLE.startScan(uuid)


SUB BLEDiscoveredPeripheral (time AS DOUBLE, peripheral AS BLEPeripheral, services() AS STRING, advertisements(,) AS STRING, rssi)
  IF MID(peripheral.blename,1,1)= ">" THEN
    PRINT peripheral.blename

    Comm.readHTTP(1,"http://lgbeno.analog.io/input/b9QmbEO2Y2Hg9yQl59qB?private_key=&sound="&MID(peripheral.blename,2,7),"GET","","head","")
    WHILE NOT EOF(1)
      LINE INPUT #1, a$
      PRINT a$
    WEND
    CLOSE #1
    watchdog=0
  END IF
END SUB

SUB nullEvent (time AS DOUBLE)
  watchdog=watchdog+1
  IF watchdog>30 THEN
    BLE.startScan(uuid)
    watchdog=0
  END IF
END SUB
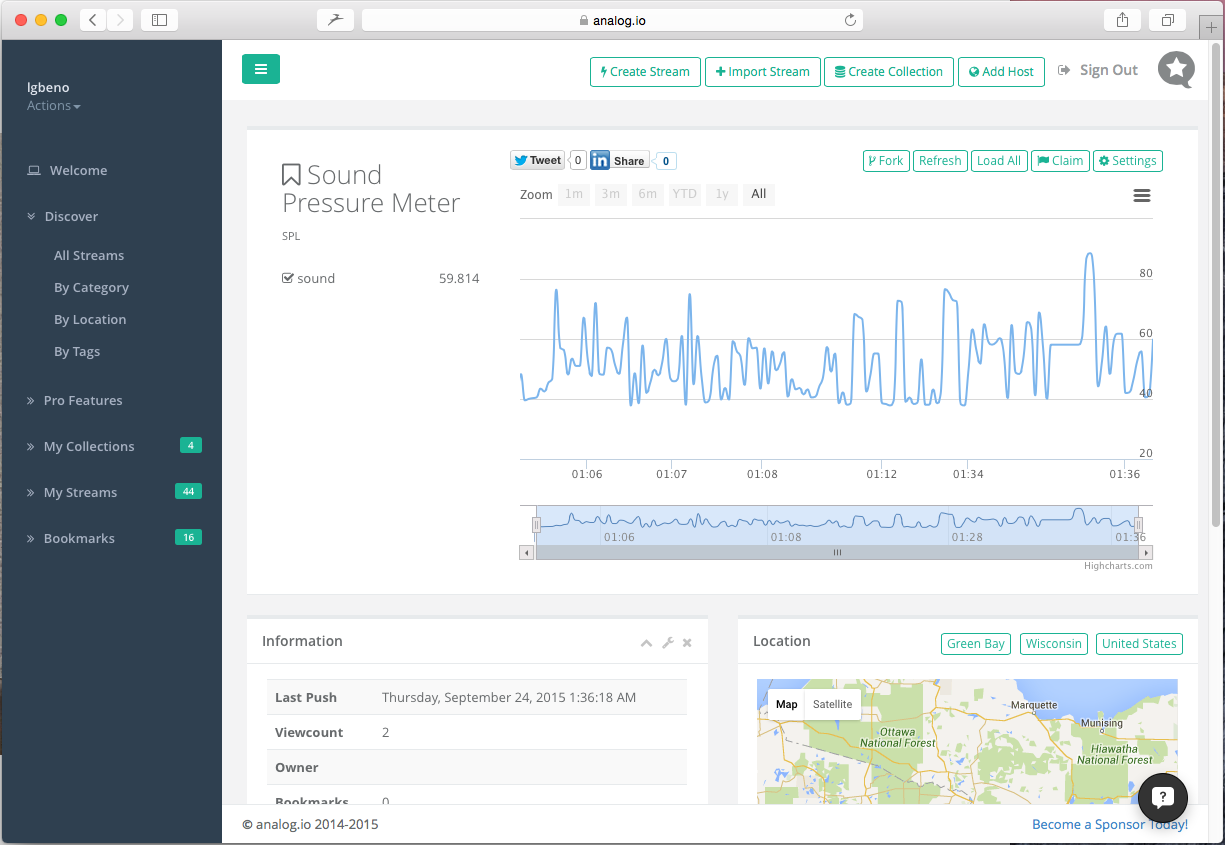
Then there is the chart plotted on analog.io:
Check out the video above for more details and an in depth discussion.
 Luke Beno
Discussions
Become a Hackaday.io Member
Create an account to leave a comment. Already have an account? Log In.