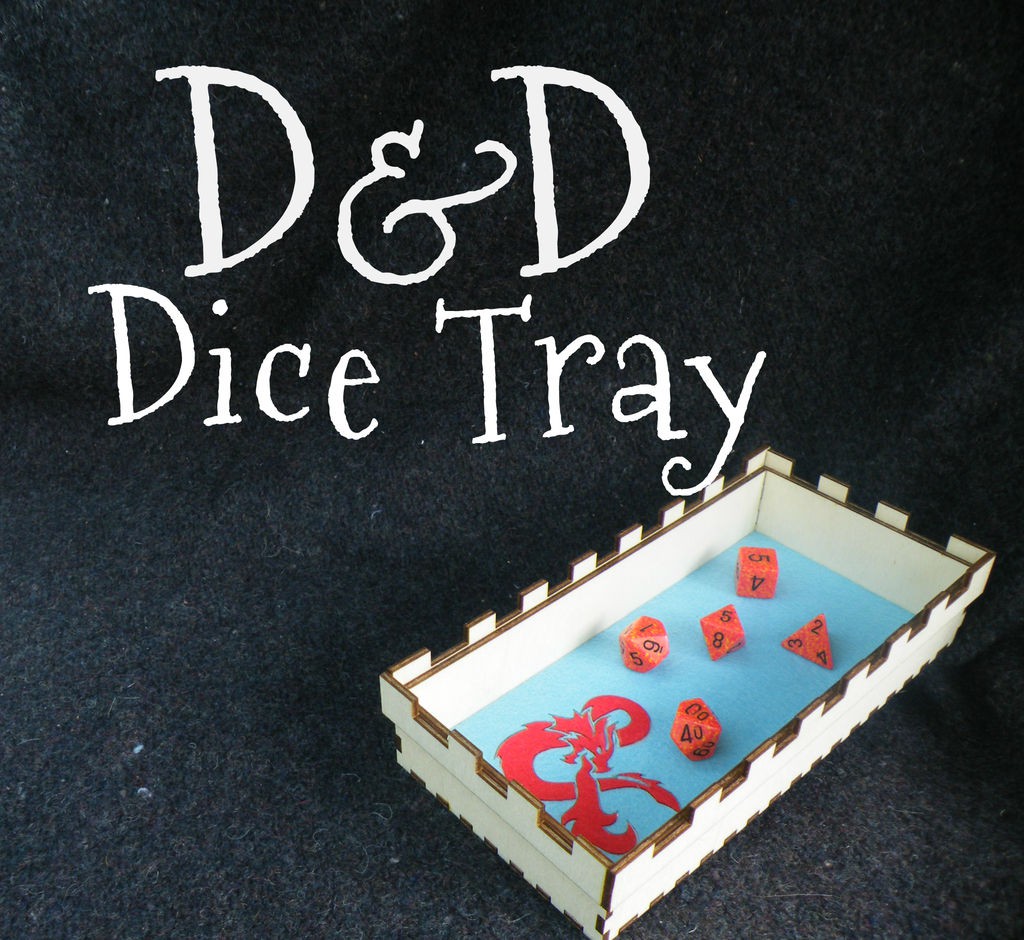
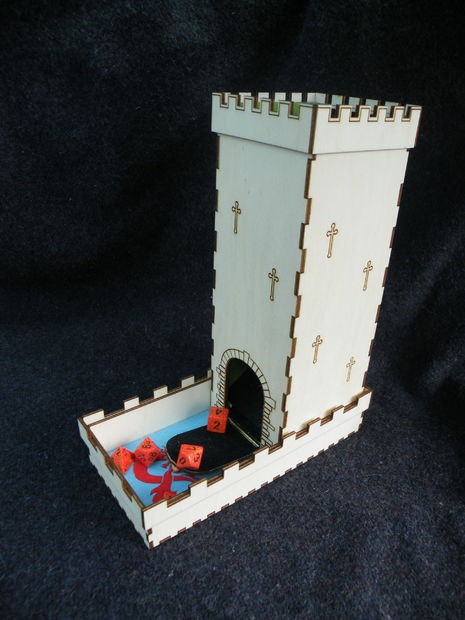
Having made a dice tower, I decided to make a matching tray to stop dice skittering all over the table.
It can be used on its own, but I have made this to exactly fit the tower.
I've also taken the opportunity to play with lasering to make an inlaid pattern in felt.
Step 1: Needful Things
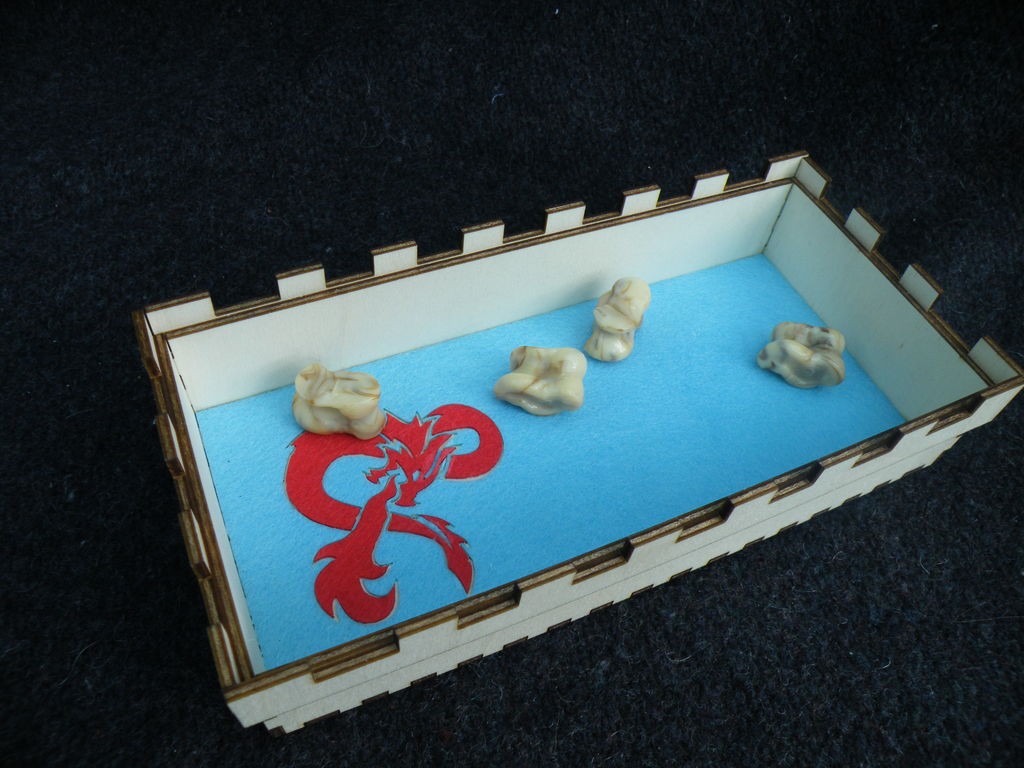
If you don’t have your own laser wood cutter, it is possible to cut the pieces out by hand, but if you want to be sure of getting the cuts right, you can download the files attached to this step - one for the wooden parts and one for the felt lining - and get them cut online.
Be careful which felt file you download - one will just etch-cut the logo into the felt, the other will cut it right out - if you get this cut twice, in two colours of felt, you can inlay a contrasting logo. It costs a few dollars more, but looks way nicer!
If you're doing your own cutting, the files you can edit to suit your own cutter are on the next step.
As well as your chosen cutting tool and the files attached, you'll need;
- 3mm plywood - you could use any 3mm thick material, depending on your preference. MDF would look good.
- Felt - if you're going to try the same inlay, you'll need two colours of your choice.
- PVA wood-glue
- Scissors -sharp nail-scissors are good.
- Clamps
- Time - including drying time, this should take you 60-90 minutes (the warmer the work-space, the quicker the glue will dry).
Download Dice Tray 3mm 24x12 Ponoko ready_NEW.svg
Download Dice Tray 3mm P2 Ponoko ready_NEW.svg
Download Dice Tray inlay Felt Cut P2 Ponoko Ready.svg
Download Dice Tray inlay Felt Engrave P2 Ponoko Ready.svg
Step 2: Cutting
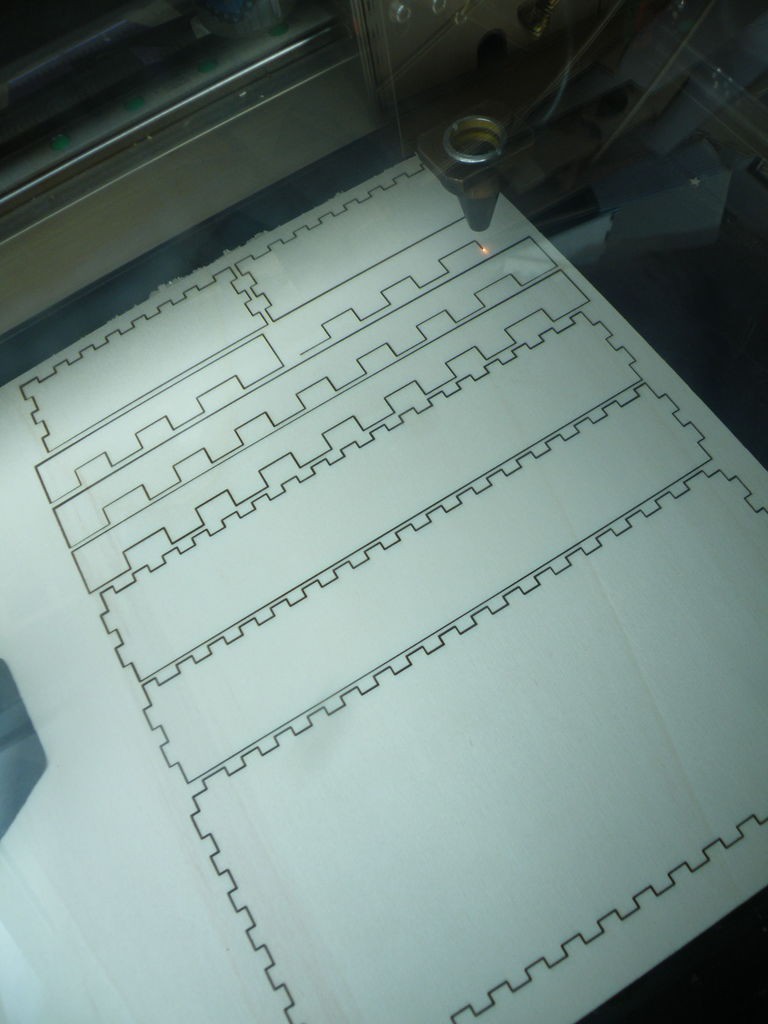
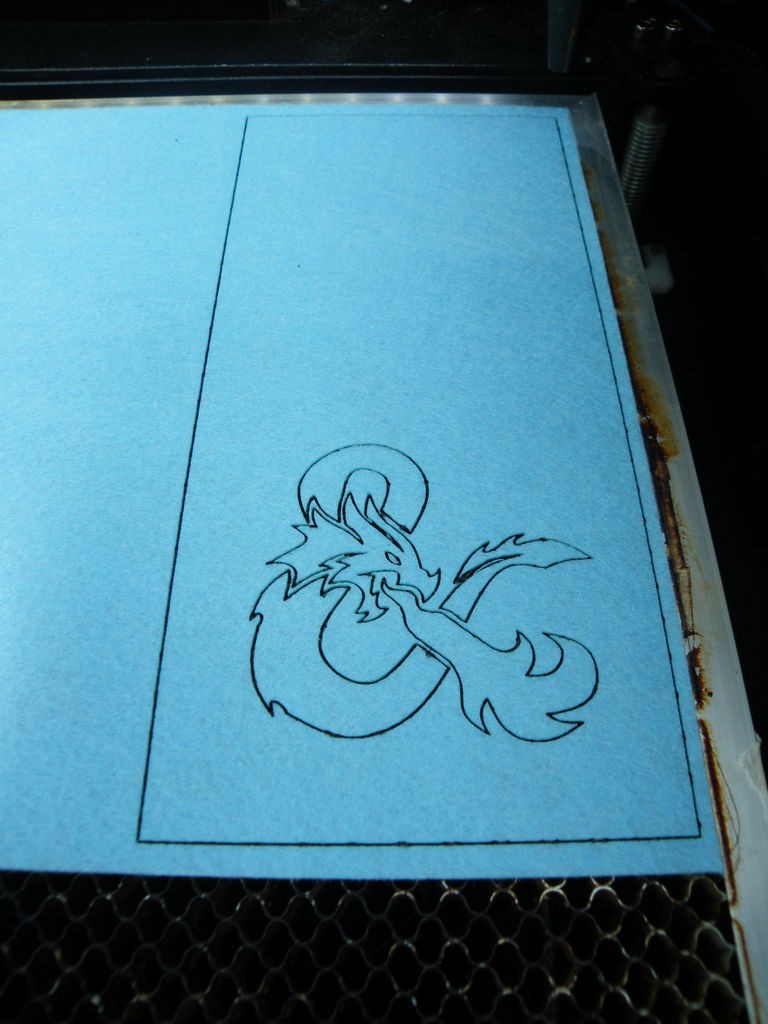
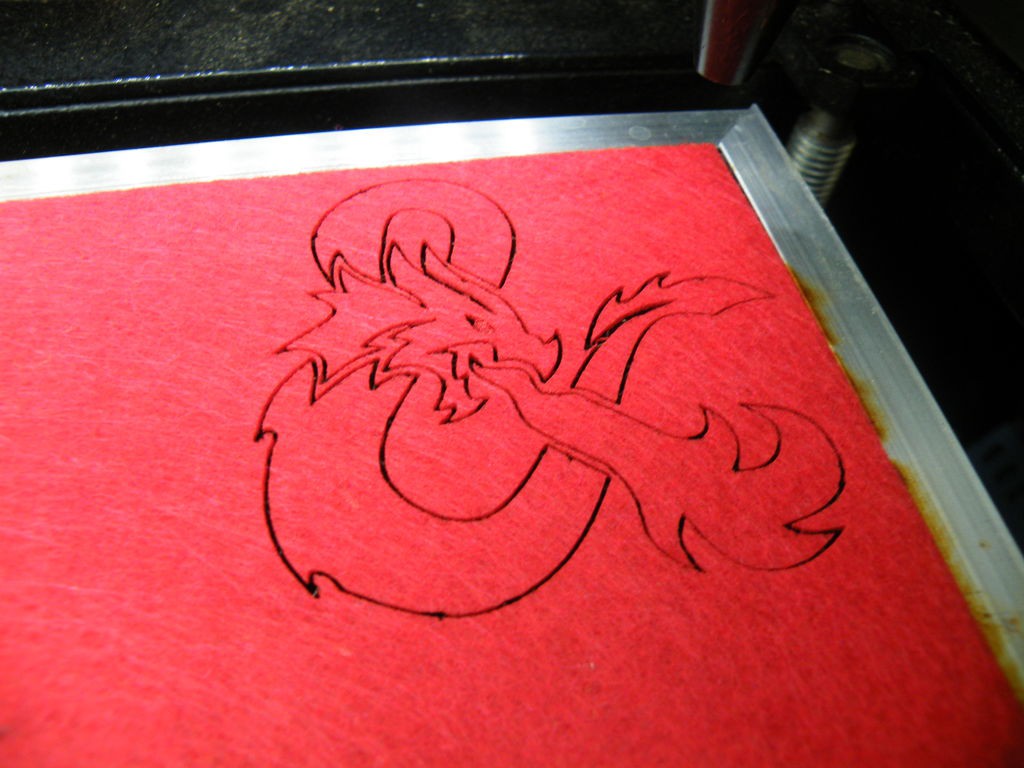
If you’re getting your parts cut online, you can skip this step. There, that’s saved you some reading...
The main files as given have all the parts, wood and felt, in one run.
You'll need to edit the files & cutting settings to suit your machine, but as a guide I found that this cheap pound-shop felt cut well with the same power as the plywood, but twice the speed.
The inlay felt is cut from the same file as the felt that will line the tray, but minus the rectangular outline.
When you cut the felt, make sure you use a honeycomb bed, and be gentle lifting the felt off the bed after cutting, watching for the loss of small parts.
Step 3: Construct the Tray
Lay out your parts, glue the joints, and lift into place.
Clamp gently (3mm ply can hold the curves it gains during the drying of the glue), and leave to dry.
Step 4: Crenelations!
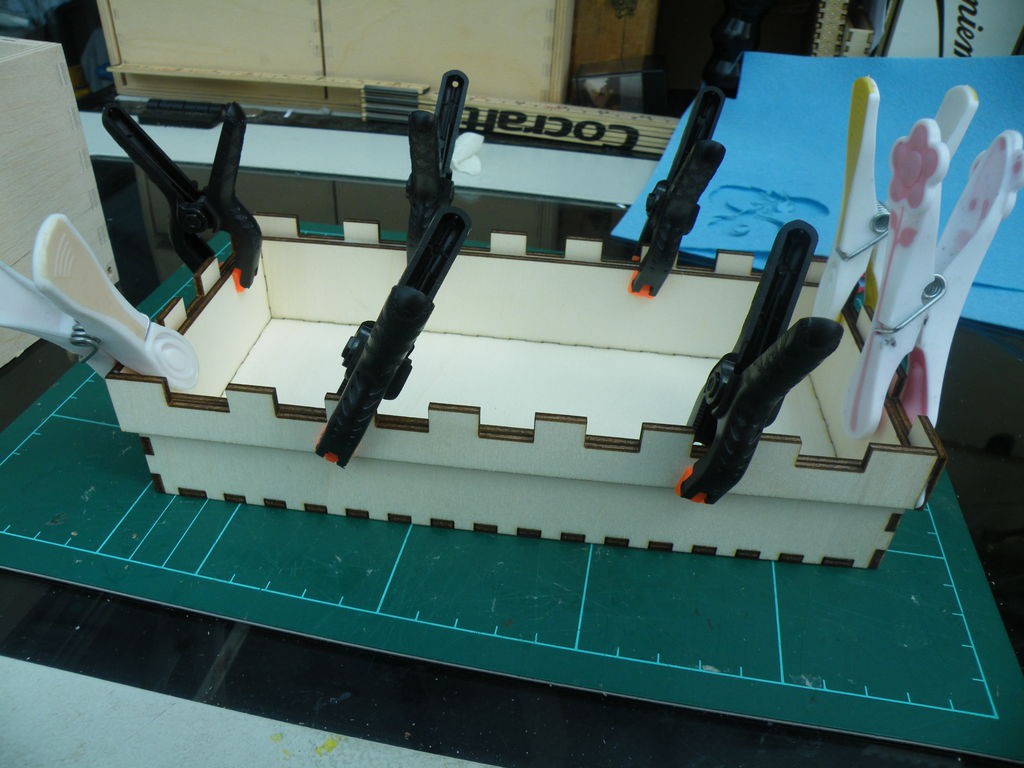
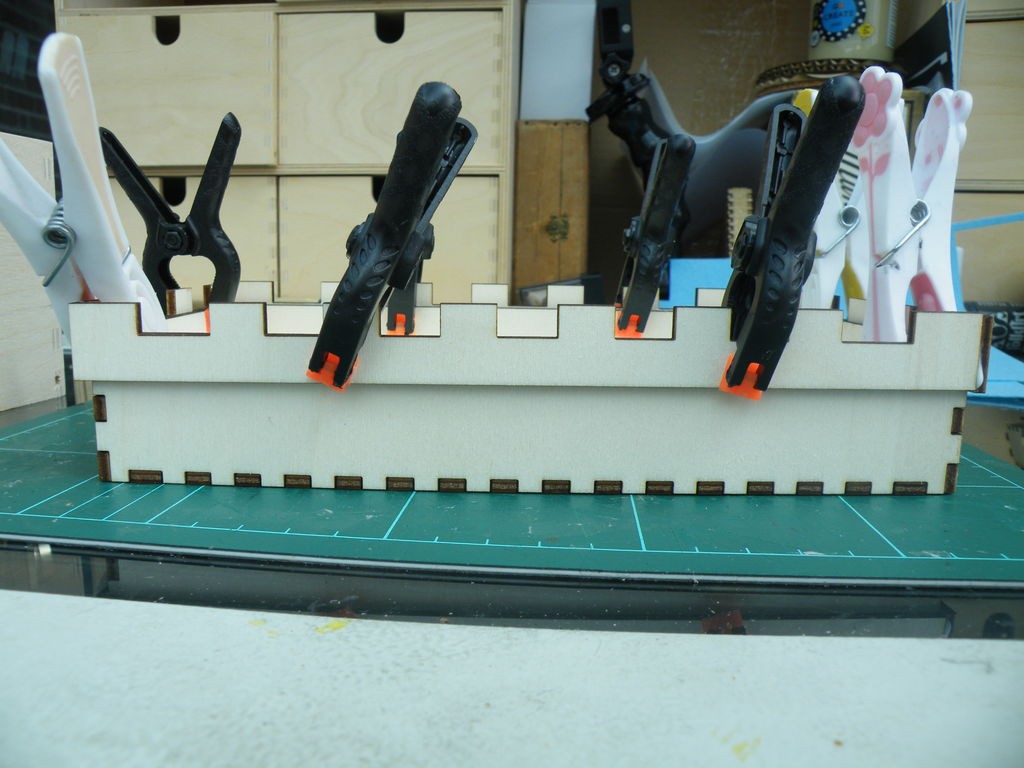
Glue the crenelations around the top of the tray.
The pieces are all 3mm longer than the side of the tray - the 3mm extra needs to stick out one side to make the crenelations one continuous piece.
Clamp and leave to dry.
Step 5: The Felt Inlay
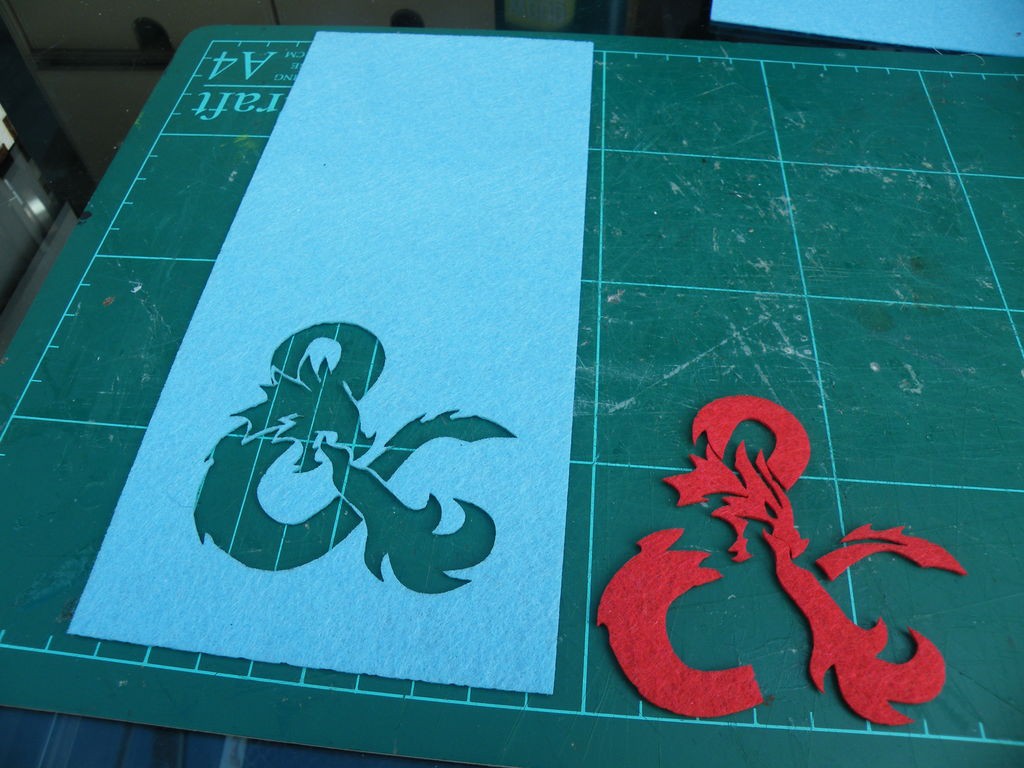

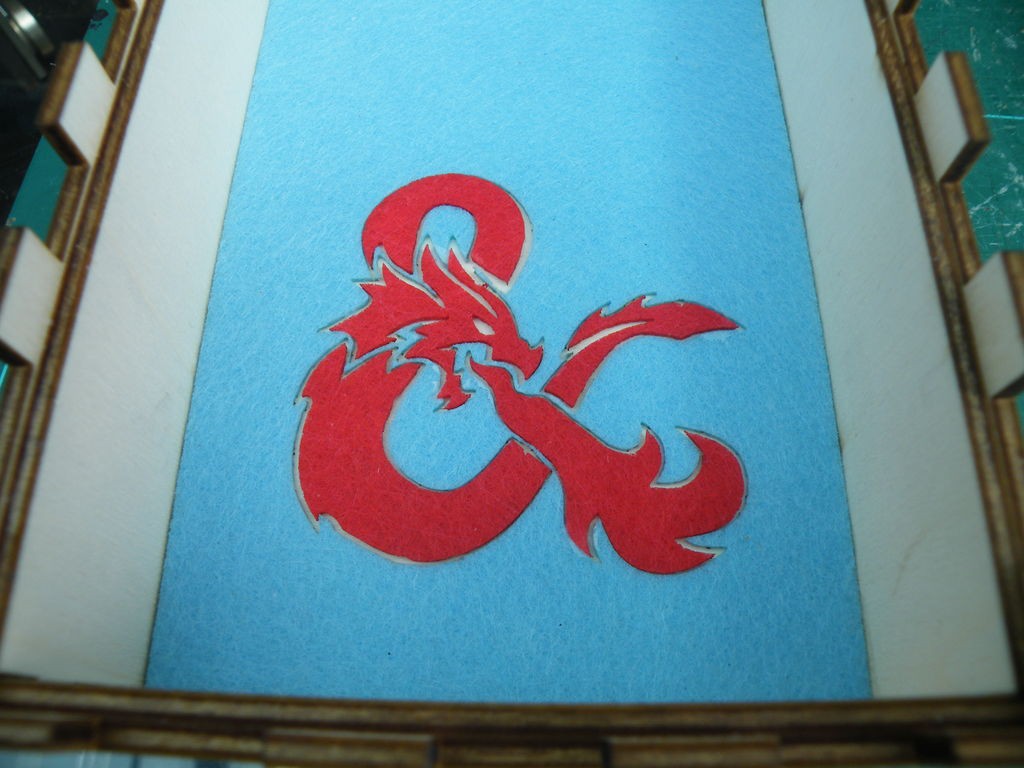
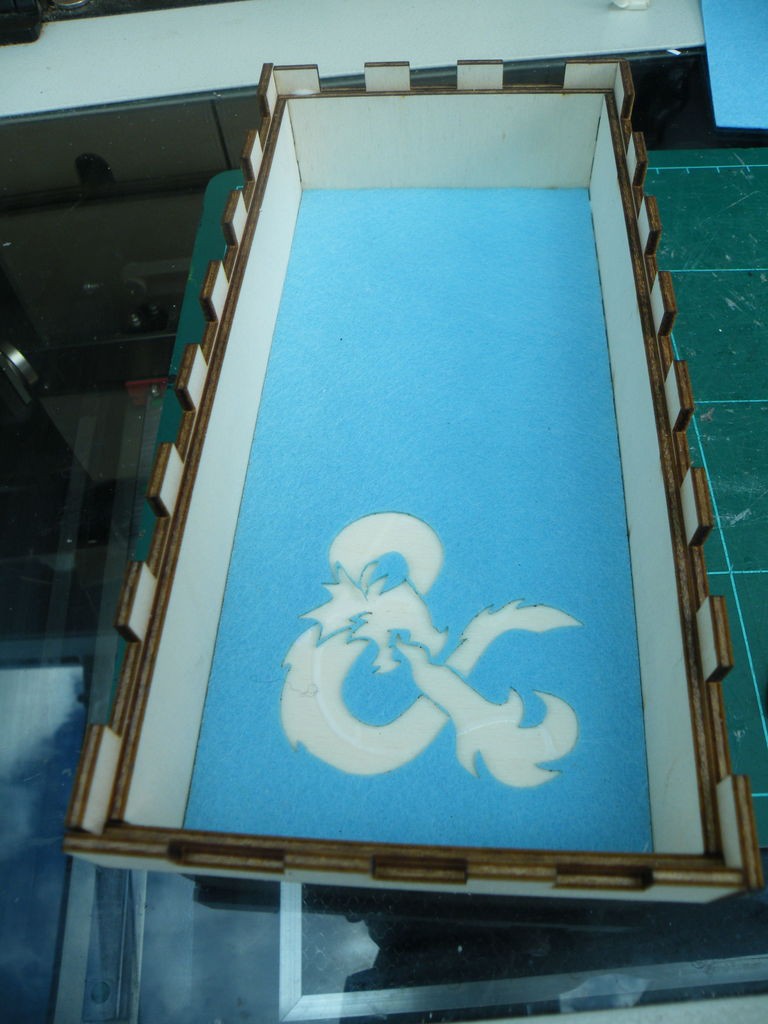
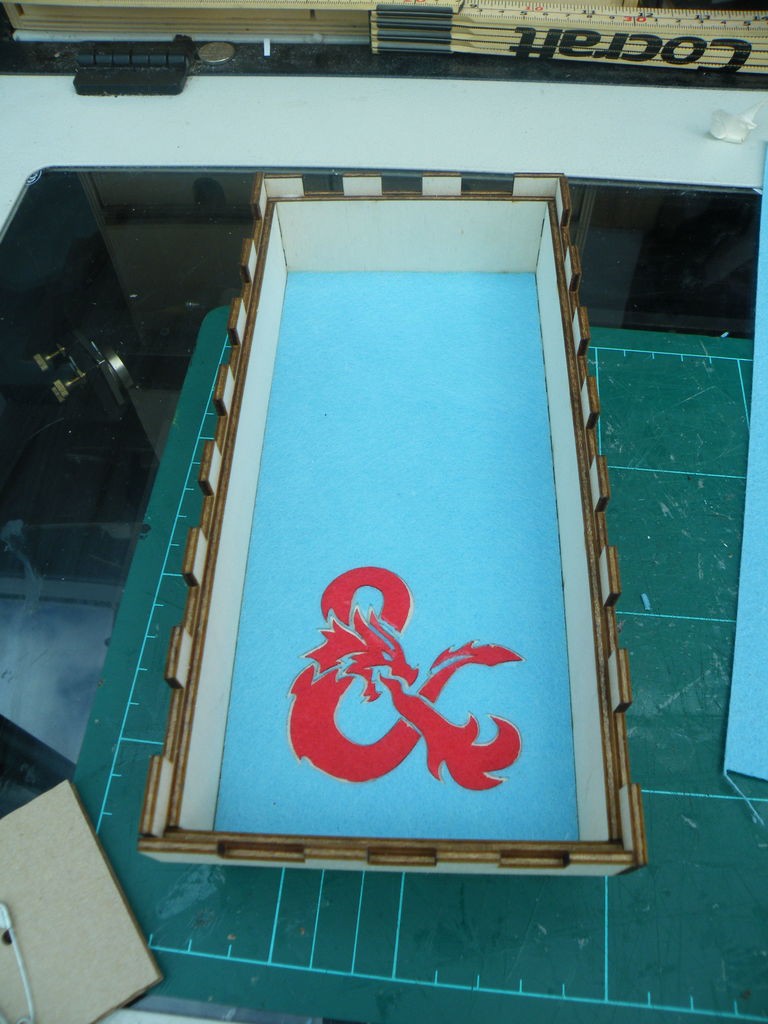
An inlay improves the look of the tray, and makes the dice way quieter - an important consideration if you’re sharing a house with other people.
Start by laying out your pieces, and comparing the layout to the actual logo (it's easy to get parts twisted or doubled-over).
Smear glue all across the bottom of the tray, and fit the main piece of felt.
Fit the inlay pieces, one at a time. Glue the space for the pieces just before you add that piece - the glue may dry too quickly to hold the last piece otherwise.
I think the "felt" is not actually woollen, since the thinner parts of the design melted away during the cut. I used the fine scissors to snip parts from the left-over blue felt to fill in the missing parts (specifically the eye of the dragon, the narrow blue part of the tail, and the gap between the top of the dragon's head and the loop of the ampersand above it.
I found it easiest to put a blob of glue on a scrap of card, then pick up drops with a pin to get glue into...
Read more » Mark Langford