32c3 Writeup: https://hackaday.io/project/5077/log/36232-the-wired
Chaos Communication Congress
is Europe's largest and longest running annual hacker conference that
covers topics such as art, science, computer security, cryptography,
hardware, artificial intelligence, mixed reality, transhumanism,
surveillance and ethics. Hackers from all around the world can bring
anything they'd like and transform the large halls with eye fulls of
art/tech projects, robots, and blinking gizmos that makes the journey of
getting another club mate seem like a gallery walk. Read more about CCC here:
http://hackaday.com/2016/12/26/33c3-starts-tomorrow-we-wont-be-sleeping-for-four-days/
http://hackaday.com/2016/12/30/33c3-works-for-me/
Blessed with a window of opportunity, I've equipped myself with the new Project Tango phone and made the pilgrimage to Hamburg to create another mixed reality art gallery. After more than a year of practice honing new techniques I was prepared to make it 10x better.
 It's been months since
I've last updated so I think it's time to share some details on how I am
building this years CCC VR gallery.
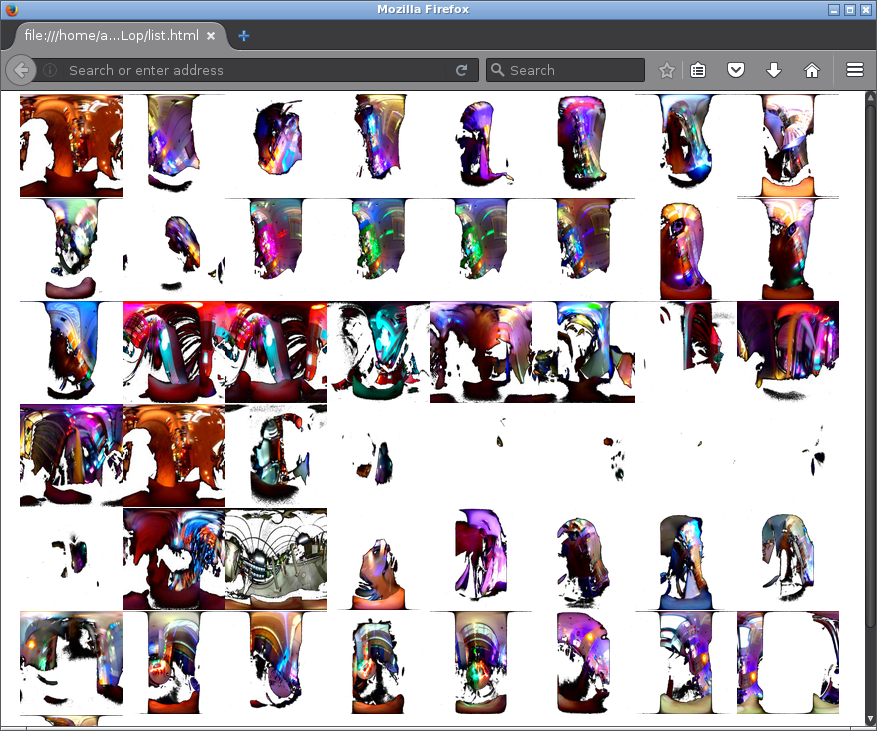
Photography of any kind at the congress is very difficult as you must be sure to ask everybody in the picture if they agree to be photographed. For this reason, I first scraped the public web for digital assets I can use then limited meat space asset collection gathering to early hours in the morning between 4-7am when the traffic is lowest. In order to have better control and directional aim I covered one half the camera with my sleeves and in post-processing enhanced the contrast to create digital droplets of imagery inside a black equirectangular canvas which I then made transparent. This photography technique made it easier to avoid faces and create the drop in space.
 This is what each photograph looks like before wrapping it around an object. I used the ipfs-imgur translator script and modified it slightly with a photosphere template instead of a plane. I now had a pallet of these blots that I can drag and drop into my world to play with.
I then began to spin some ideas around for the CCC art gallery's visual aesthetic:
I started recording a ghost while creating a FireBoxRoom so that I can easily replay and load the assets into other rooms to set the table more quickly. This video is sped up 4x. After dropping the blots into the space I added some rotation to all the objects and the results became a trippy swirl of memories.
I had a surprise guest drop in while I was building the world out, he didn't know what to make of it.
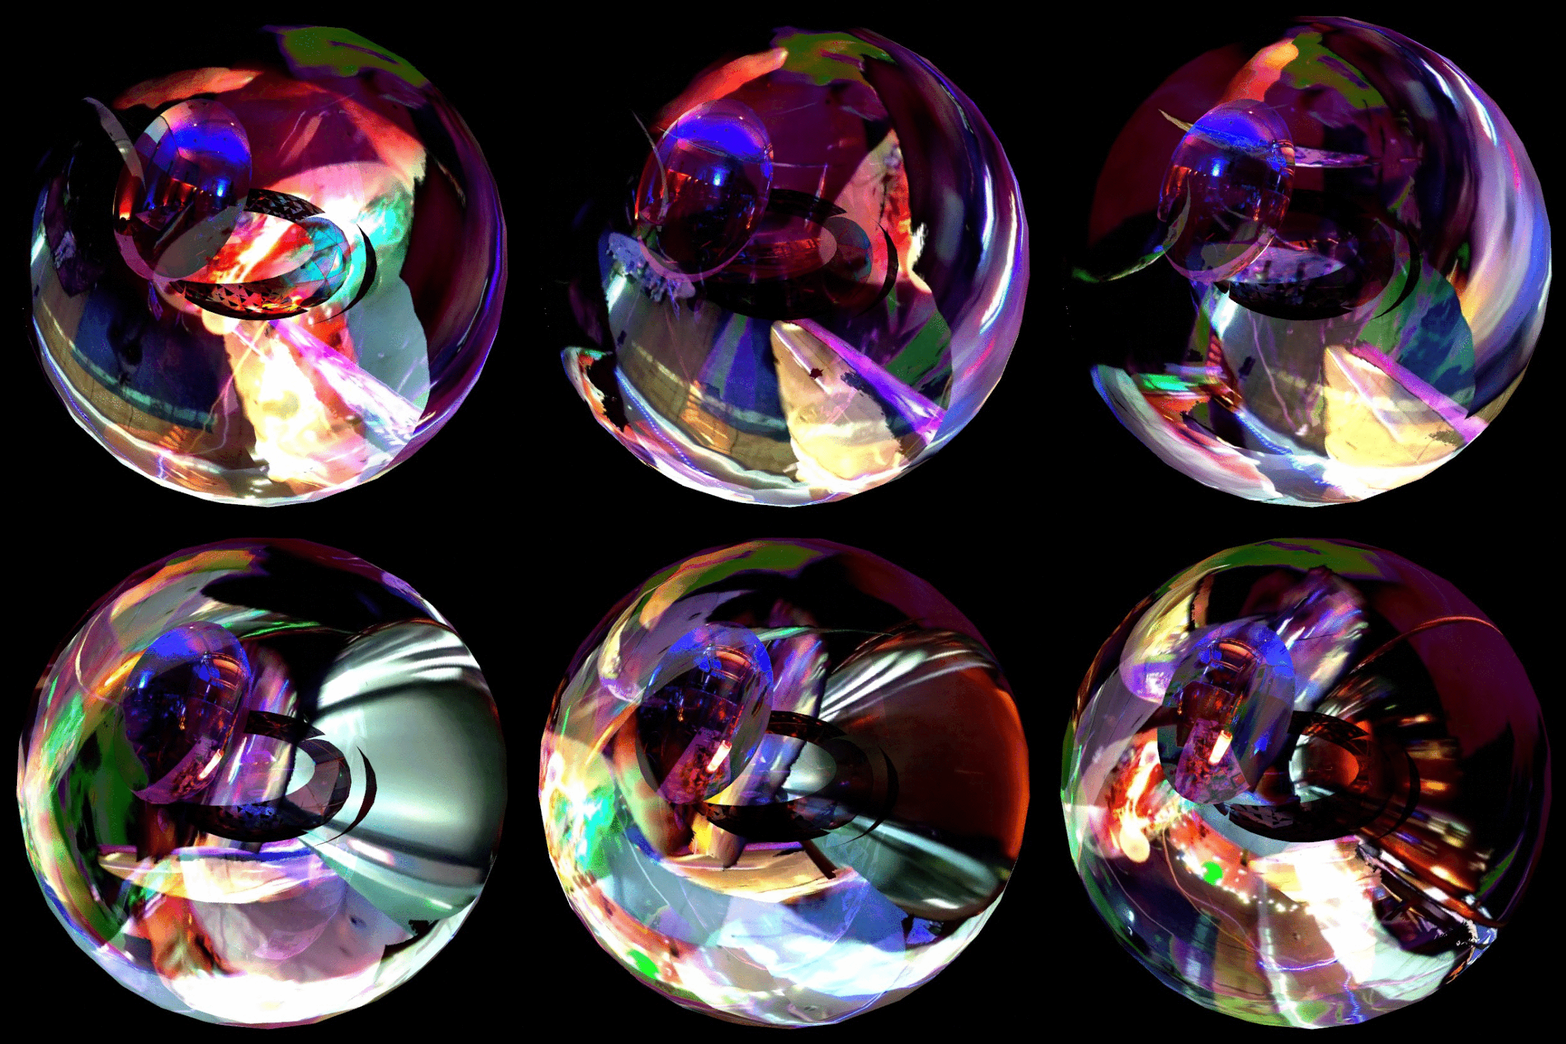
Take a look into the crystal ball and you will see many very interesting things.
Here's a return to the equi view of one of the worlds created with this method of stirring 360 fragments. After building a world of swirling media I recorded 360 clips to use for the sky. Check out some of my screenshots here: http://imgur.com/a/VtDoS
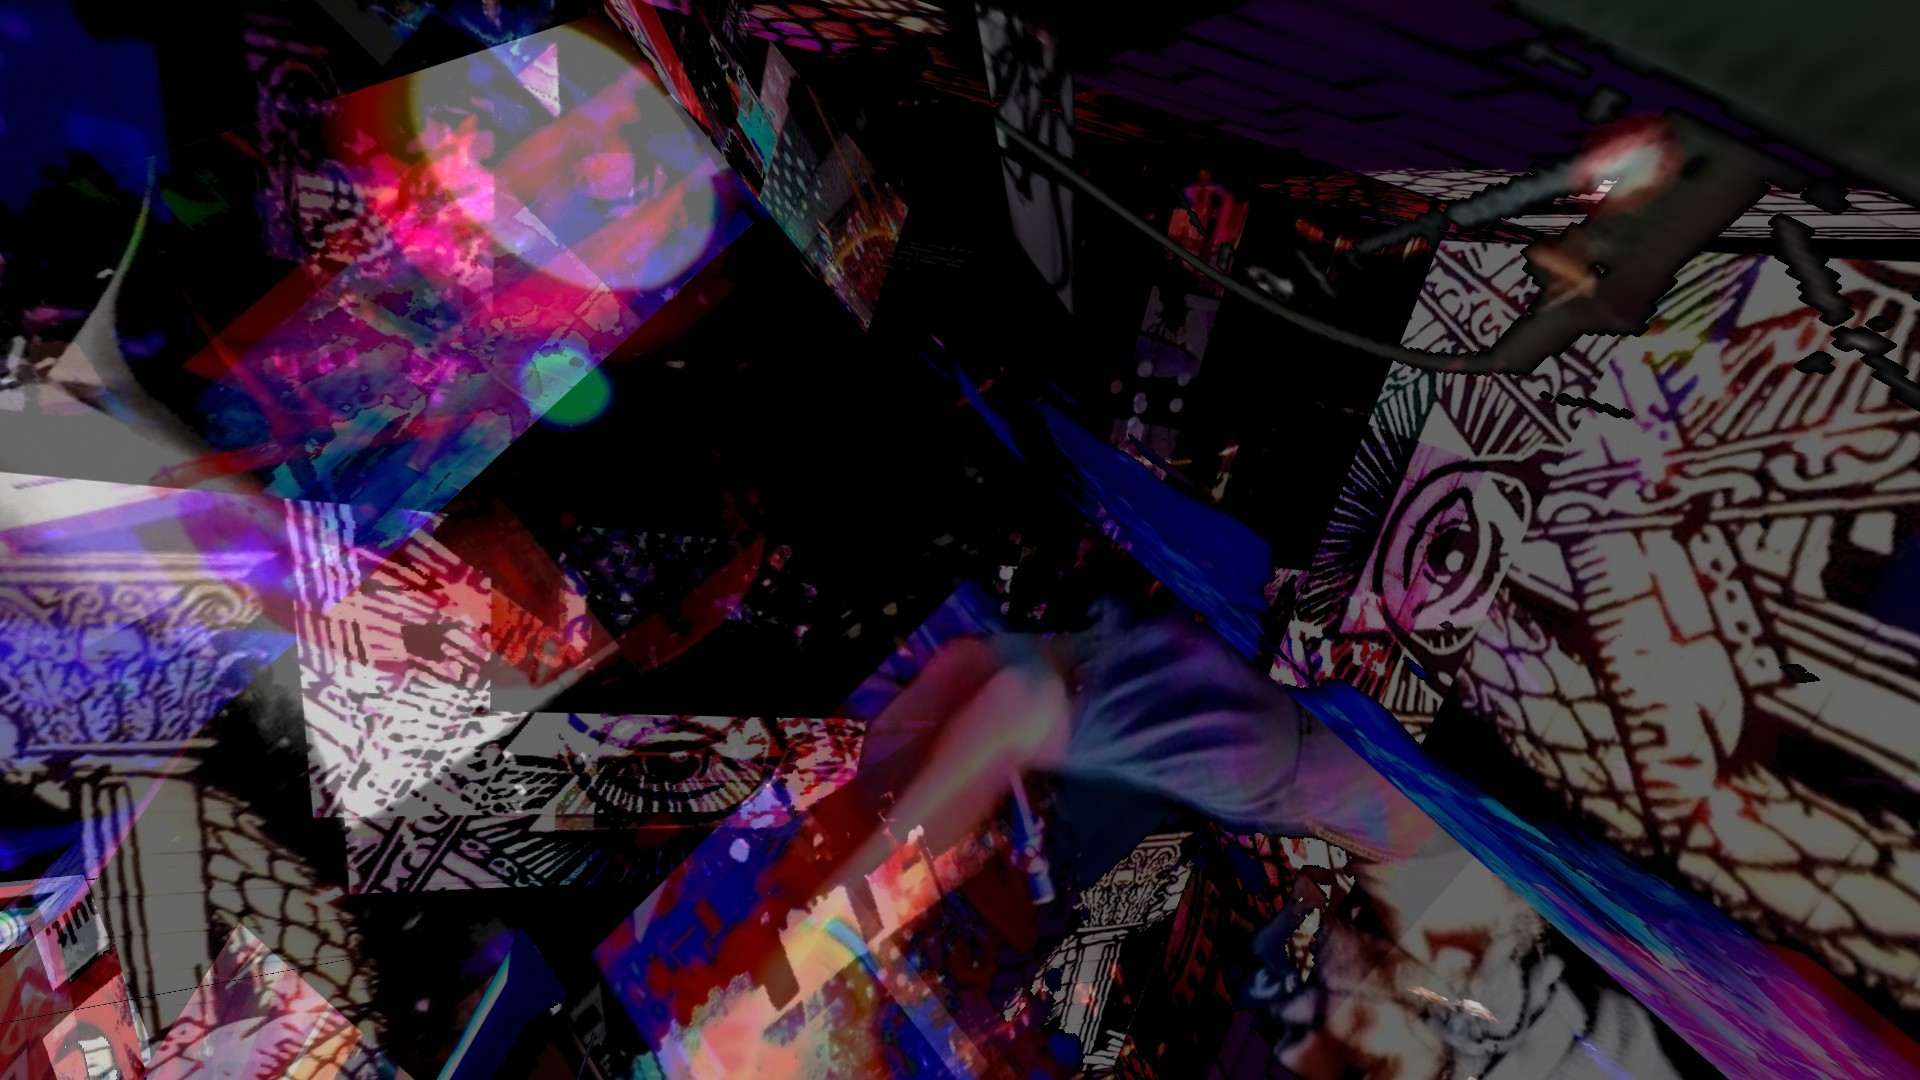
In November 2016, the first Project Tango consumer device was released after a year of practice with the dev kit and a month of practice before the congress I was ready to scan anything. The device did not come with a 3D scanning application by default but that might soon change after I publish this log. I used the Matterport Scenes app for Project Tango to capture point clouds that averaged 2 million vertices or about a maximum file size of 44mb per ply file.
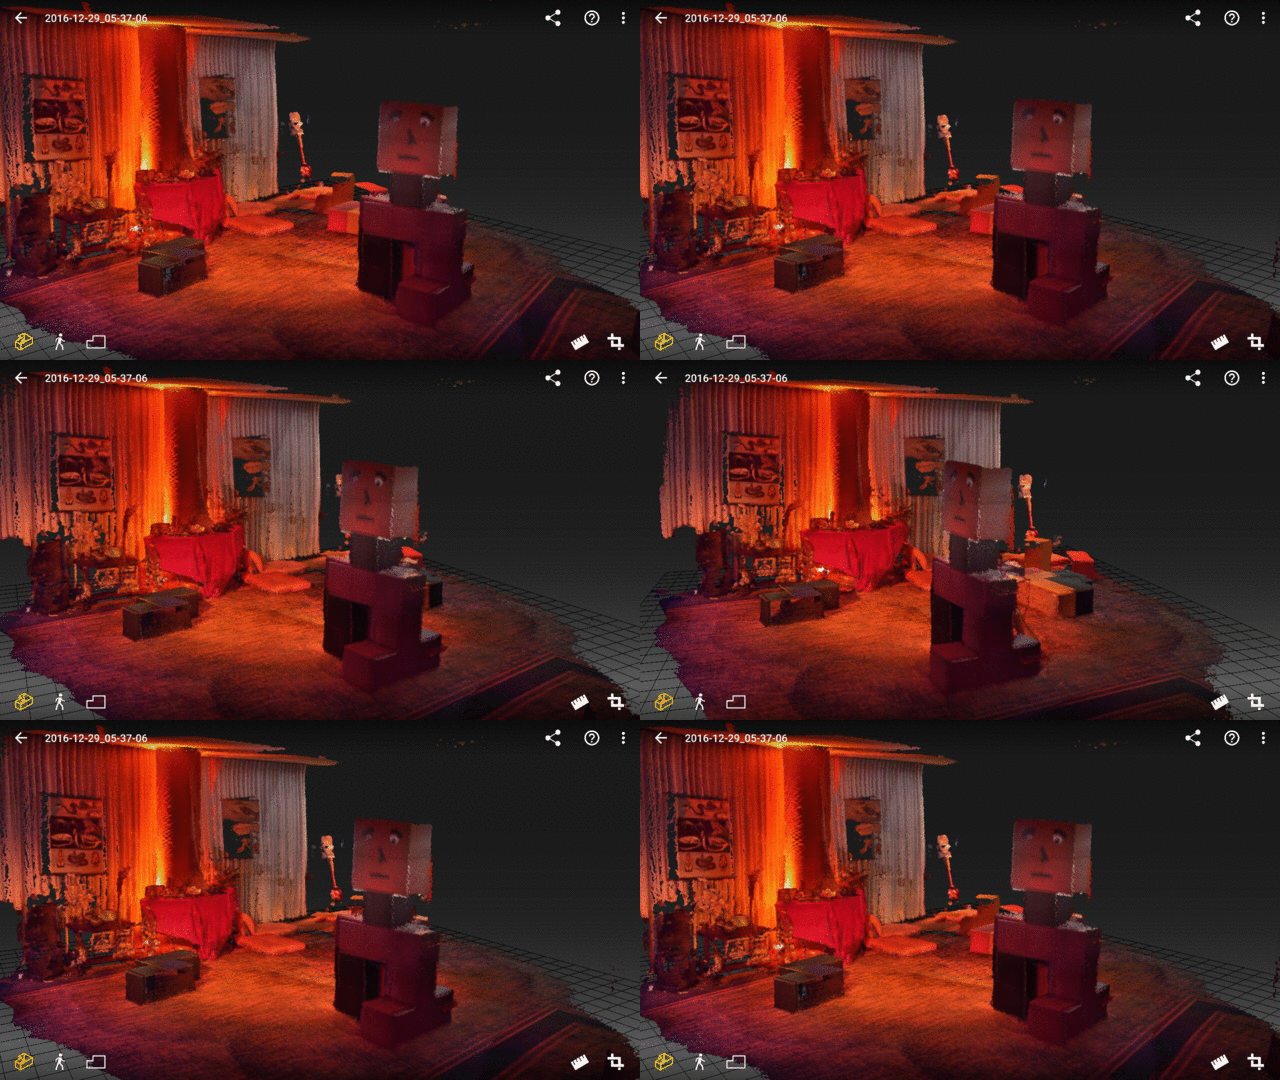
Update** The latest version of JanusVR and JanusWeb (2/6/17) now supports ply files, meaning you can download the files straight into your WebVR scenes!
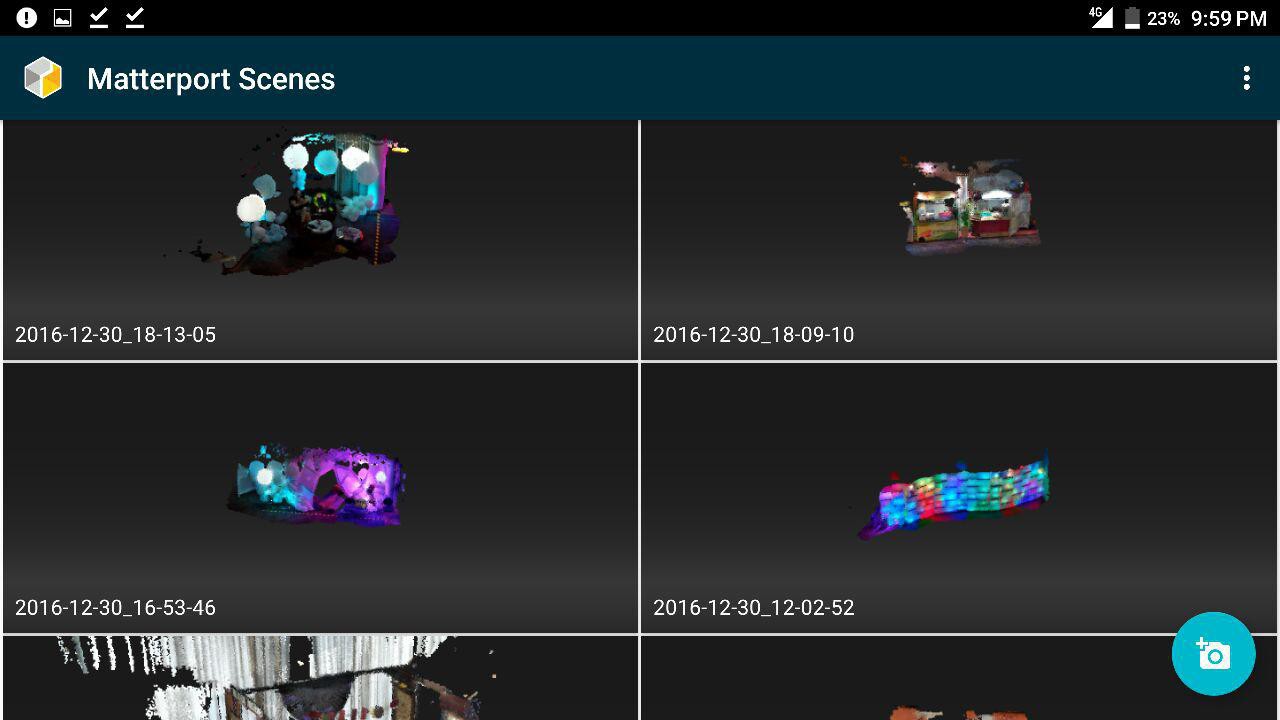
Here are the steps in order to convert verts (ply) to faces (obj). I used the free software meshlab for poisson surface reconstruction and blender for optimizing. (special thanks /u/FireFoxG for organizing).
- Open meshlab and import ascii file (such as the ply)
- Open Layer view (next to little img symbol)
- SUBSAMPLING: Filters > Sampling > Poisson-disk Sampling: Enter Number of Samples as the resulting vertex number / number of points. Good to start with about the same number as your vertex to maintain resolution. (10k to 1mil)
- COMPUTE NORMALS: Filters > Normals/Curvatures and Orientation > compute Normals for Point Set [neighbours = 20]
- TRIANGULATION : Filters > Point set > surface reconstruction: Poisson
- Set octree to 9
- Export obj mesh (I usually name as out.obj) then import into blender.
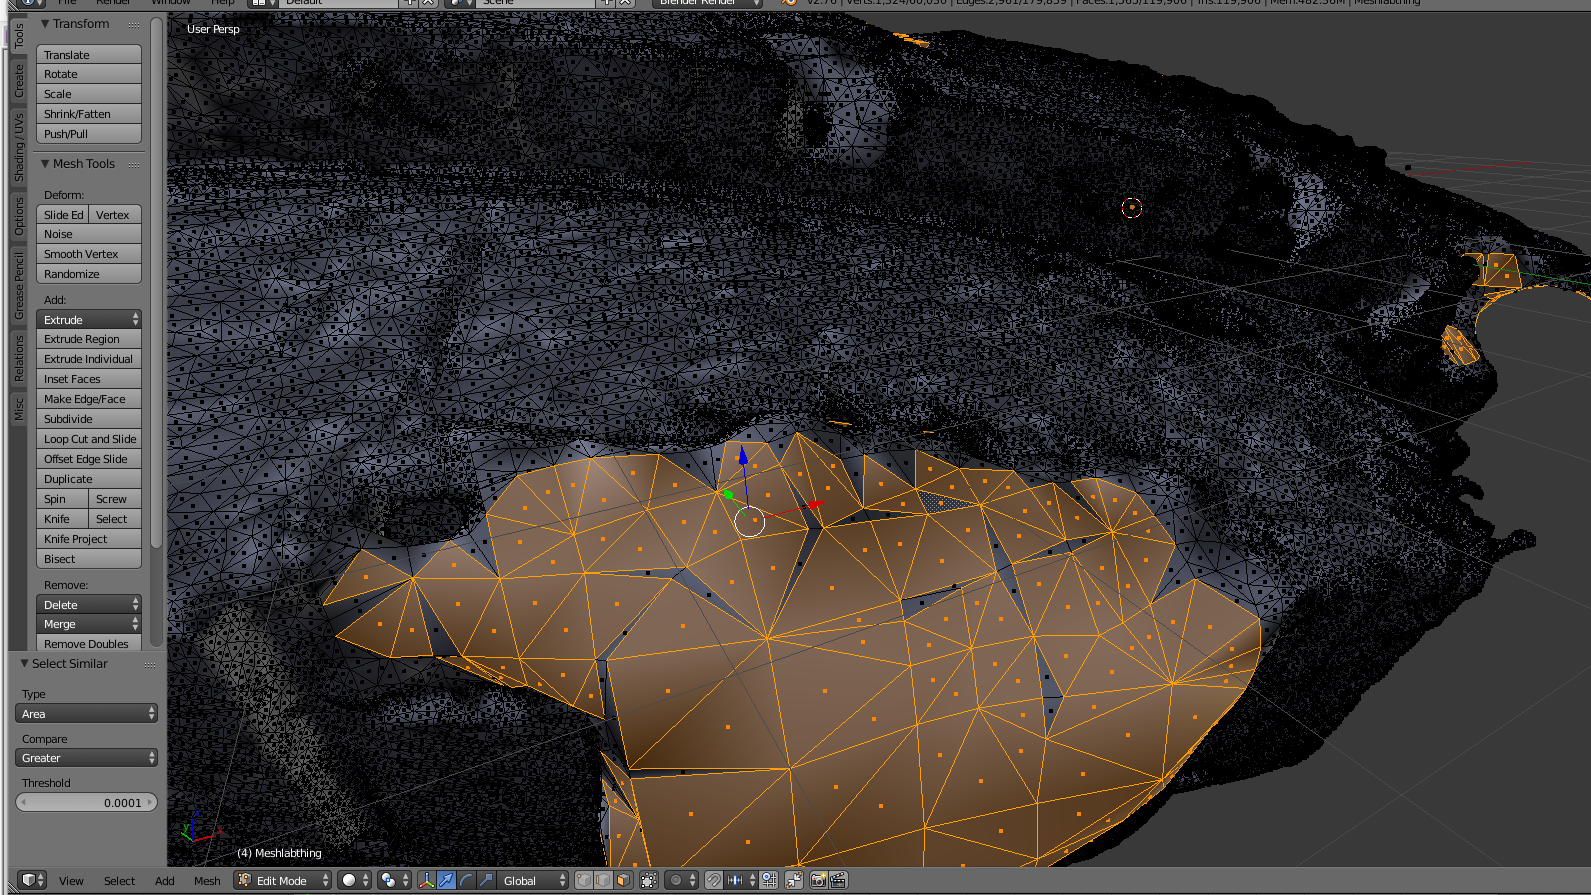
- The old areas which were open become bigger triangles and the parts to keep are all small triangles of equal size.
- Select a face slighter larger then the average and select > select similar. On left, greater than functions to select all the areas which should be holes (make sure you are in face select mode)
![]() Delete the larger triangles and keep all those that are same sized. There may be some manual work.
Delete the larger triangles and keep all those that are same sized. There may be some manual work.![]()
- UV unwrap in blender (hit U, then 'smart uv unwrap'), save image texture with 4096x4096 sized texture, then export this obj file back to meshlab with original pointcloud file.
- Vertex Attributes to texture (between 2 meshes) can be found under Filter->Texture (set to 4096) (source is original point cloud, Target is UV unwrapped mesh from blender).
That's it, the resulting object files may still be large and require decimating to be optimized for web. This is one of the most labor intensive steps but once you have a flow it takes about 10 minutes to process each scan. In the future there have been discussions to ply support in Janus using the particle system. Such a system would drastically streamline the process from scan to VR site in less than a minute! I made about 3 times as many scans during 33c3 and organized them in a way that I can more efficiently identify and prototype with.

I made it easy to use any of these scans by creating a pastebin of snippets to include between the <Assets> part of the FireBoxRoom. This gallery was starting to come together after I combined the models with the skies made earlier.
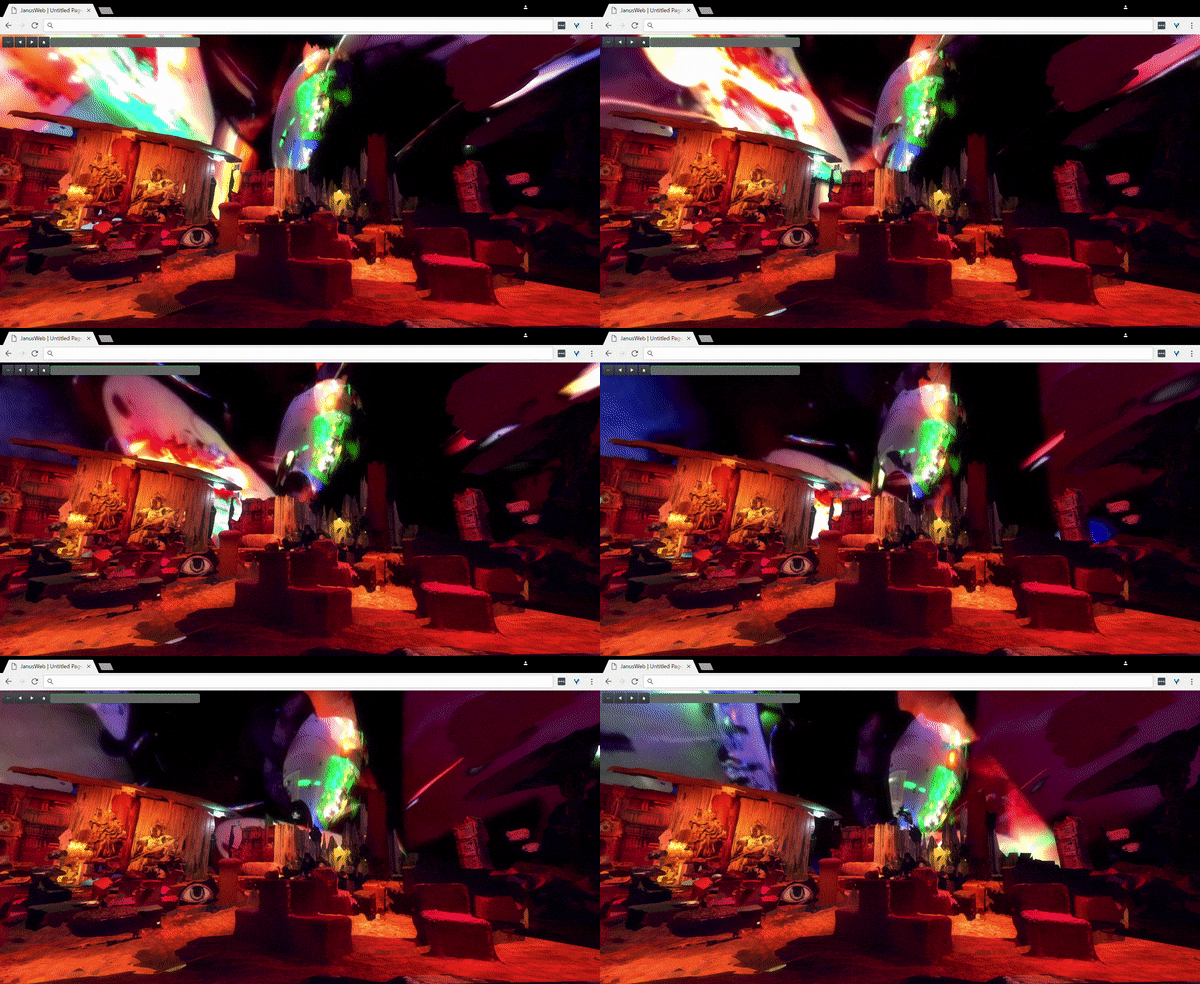
This is a preview of one of the crystal balls I created for the CCC VR gallery and currently works on cardboard, GearVR, Oculus Rift, and Vive and very soon Daydream. Here's a screenshot from the official chrome build on Android:
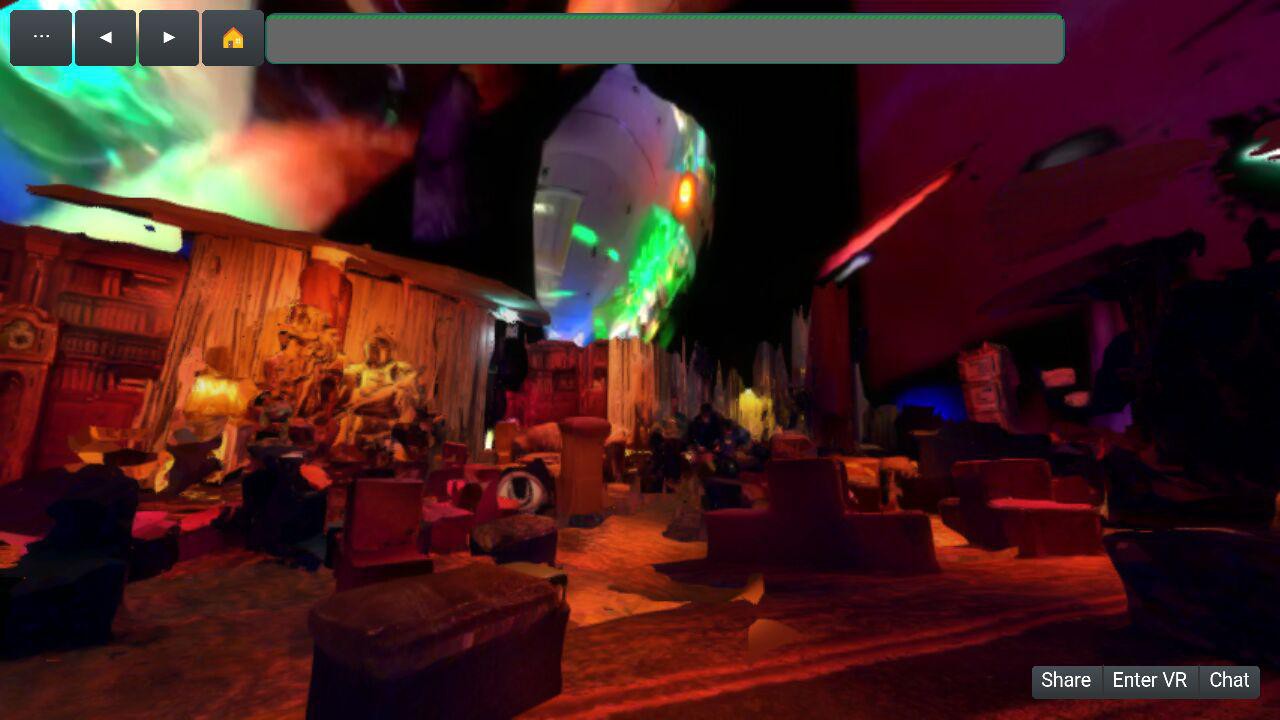
Here's the WebVR poly-fill mode when you hit the Enter VR button, ready to slide onto a cardboard headset!

Enjoy some pictures and screenshots showing the building of the galleries between physical and virtual.
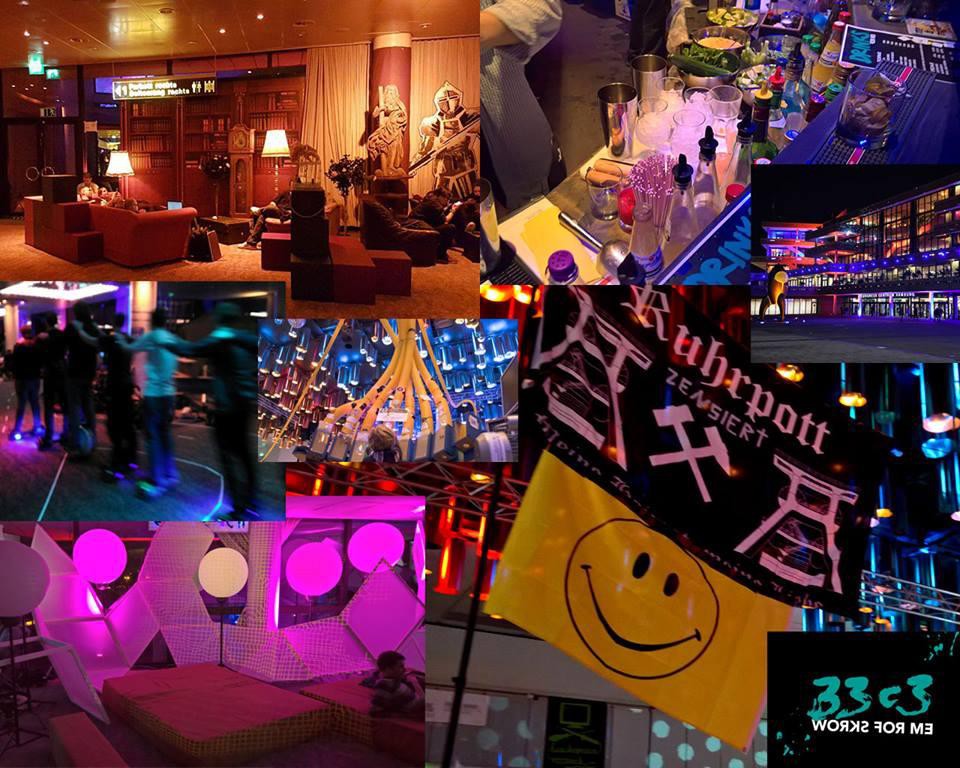
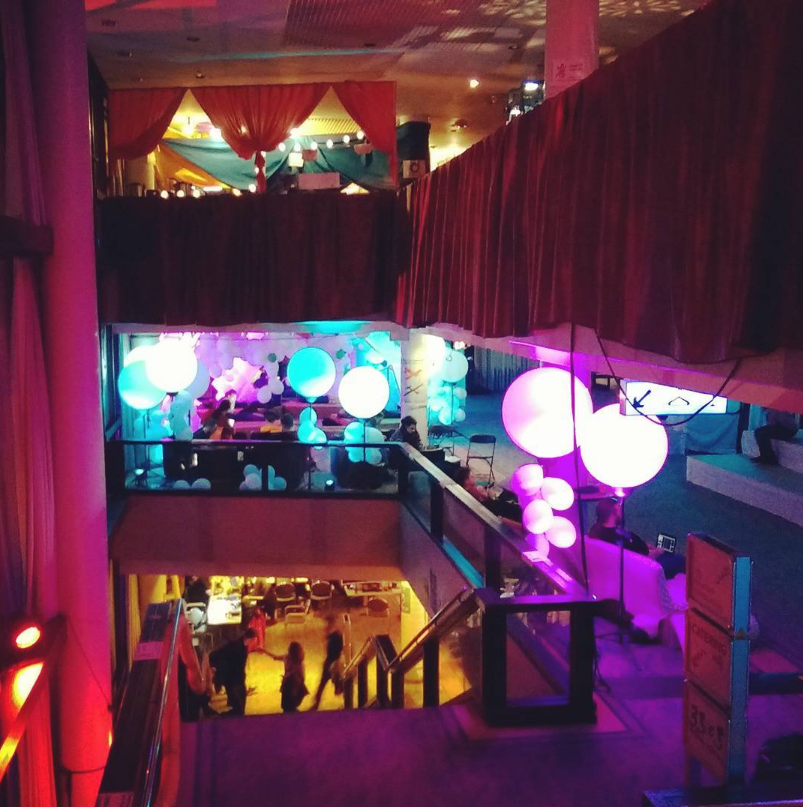
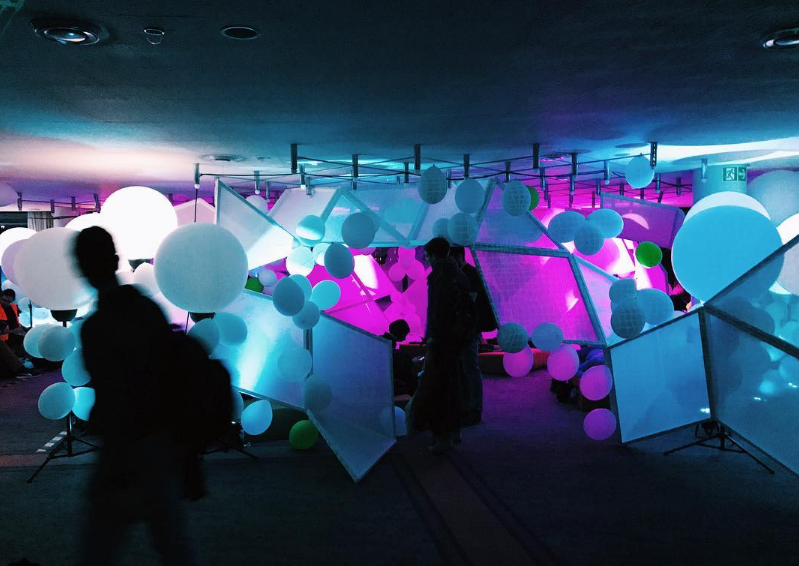
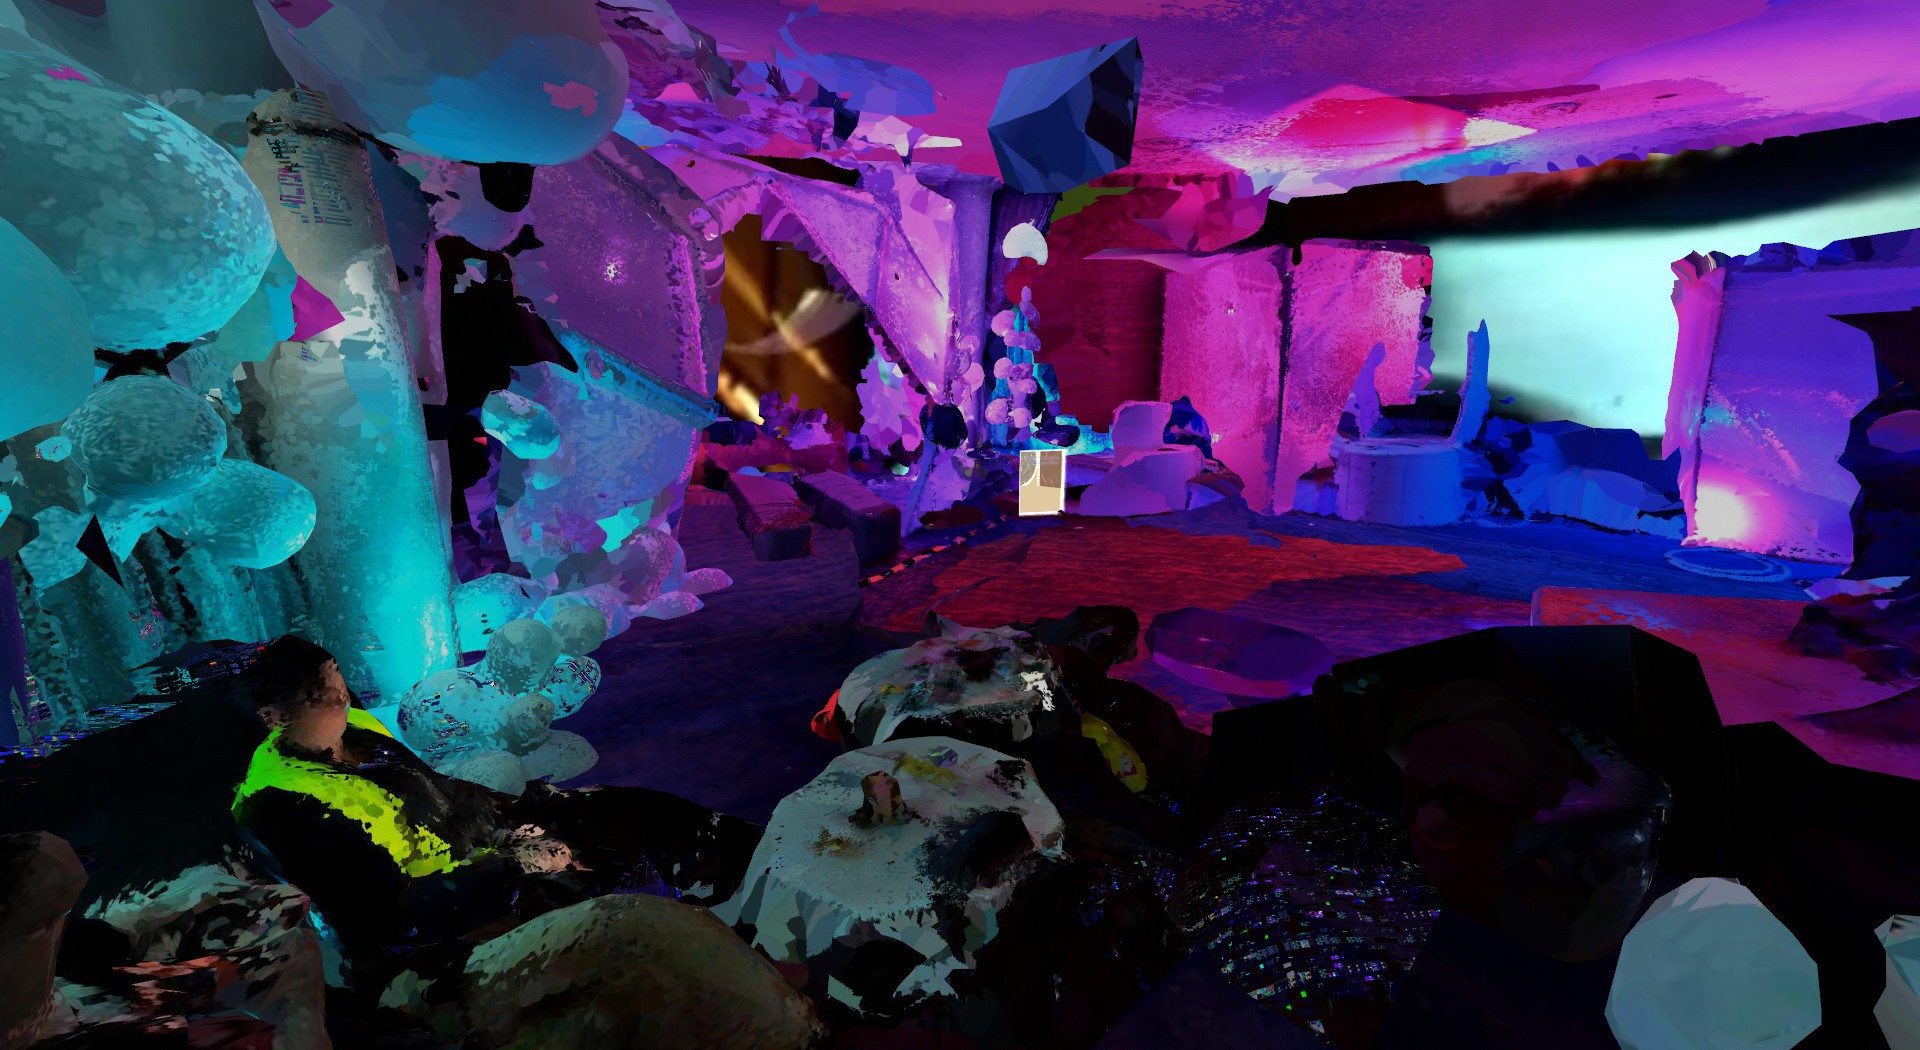

Here's a video preview of a technique I made by scraping instragram photos of the event and processing them into a glitchy algorithm that outputs seamless tiled textures that I can generate crossfading textures with. The entire process is a combination of gmic and ffmpeg and creates a surreal cyberdelic sky but can be useful to fractal in digital memories.
Old and New
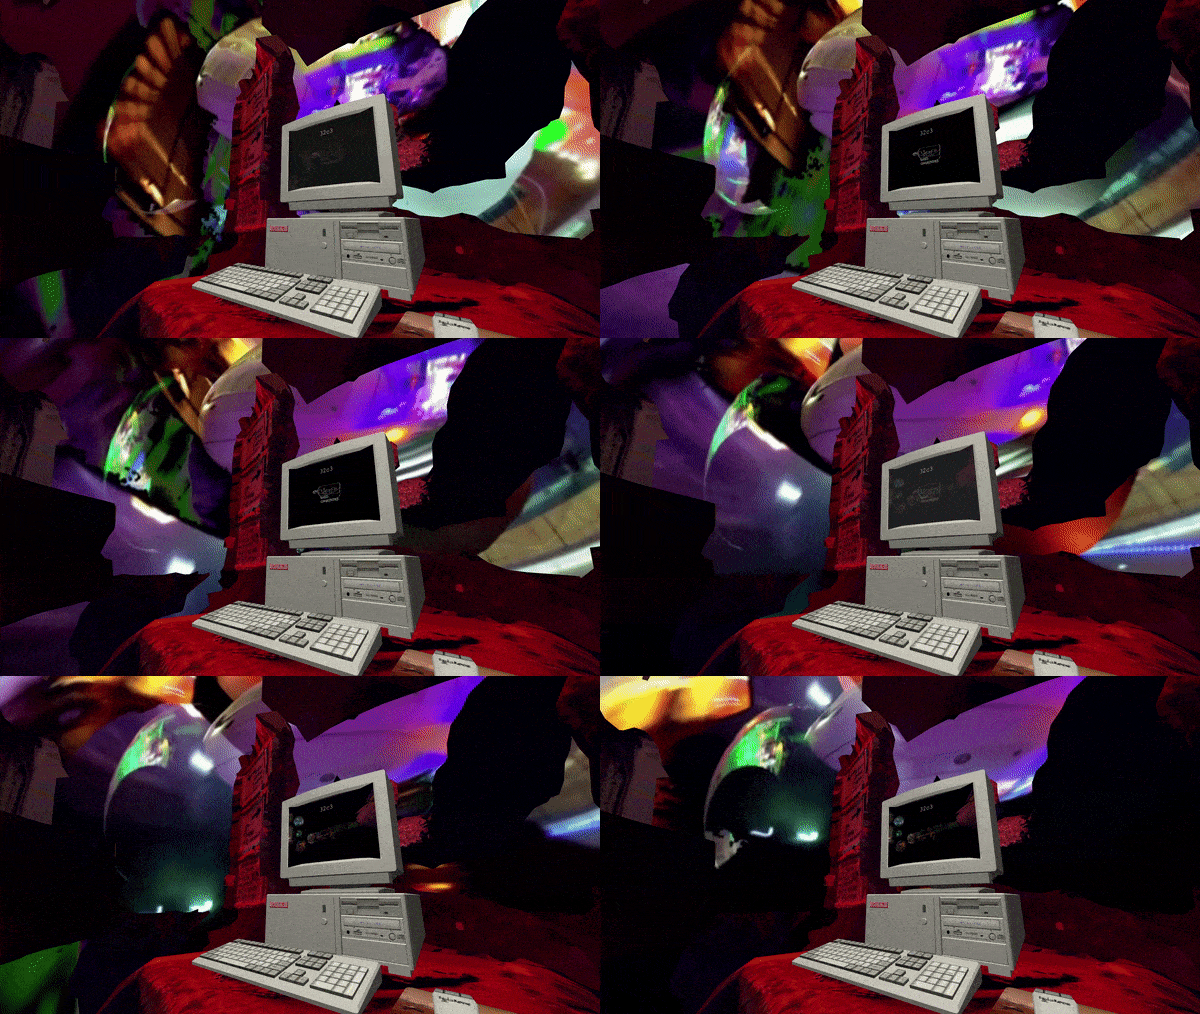
Much of my work has been inaccessible from stale or forgotten IPFS hashes because WebVR was still in its infancy. That was before, now it's starting to become more widely adopted with a community growing in the thousands and major browser support that one can keep track of @ webvr.rocks. I've since been optimizing my projects including the 2015 art gallery for 32c3 and created a variety of worlds from 33c3, easily navigable from an image gallery I converted to be a world select screen. .
Here's a preview of what it looks like on AVALON:
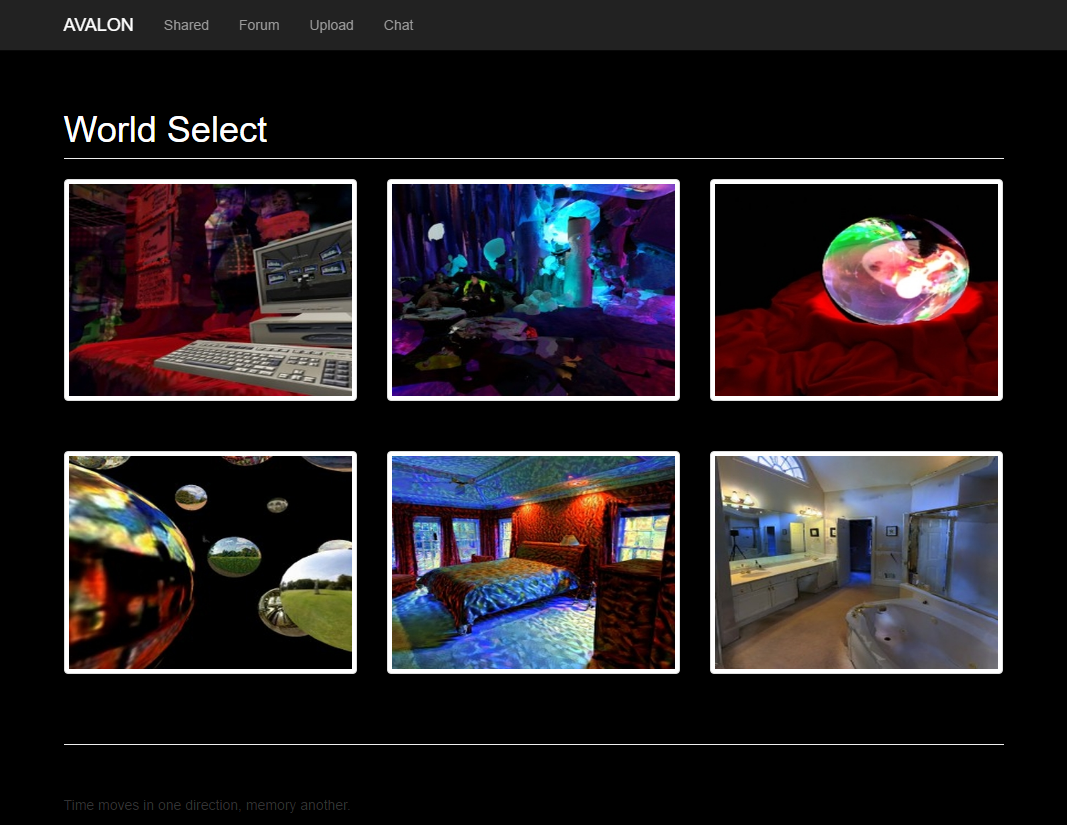
Clicking one of the portals will turn the browser into a magic window for an explorable, social, 3D world with an touch screen joystick for easy mobility.

Another great feature to be aware of with JanusWeb is that pressing F1 will open up an in-browser editor and F6 will show the Janus markup code.
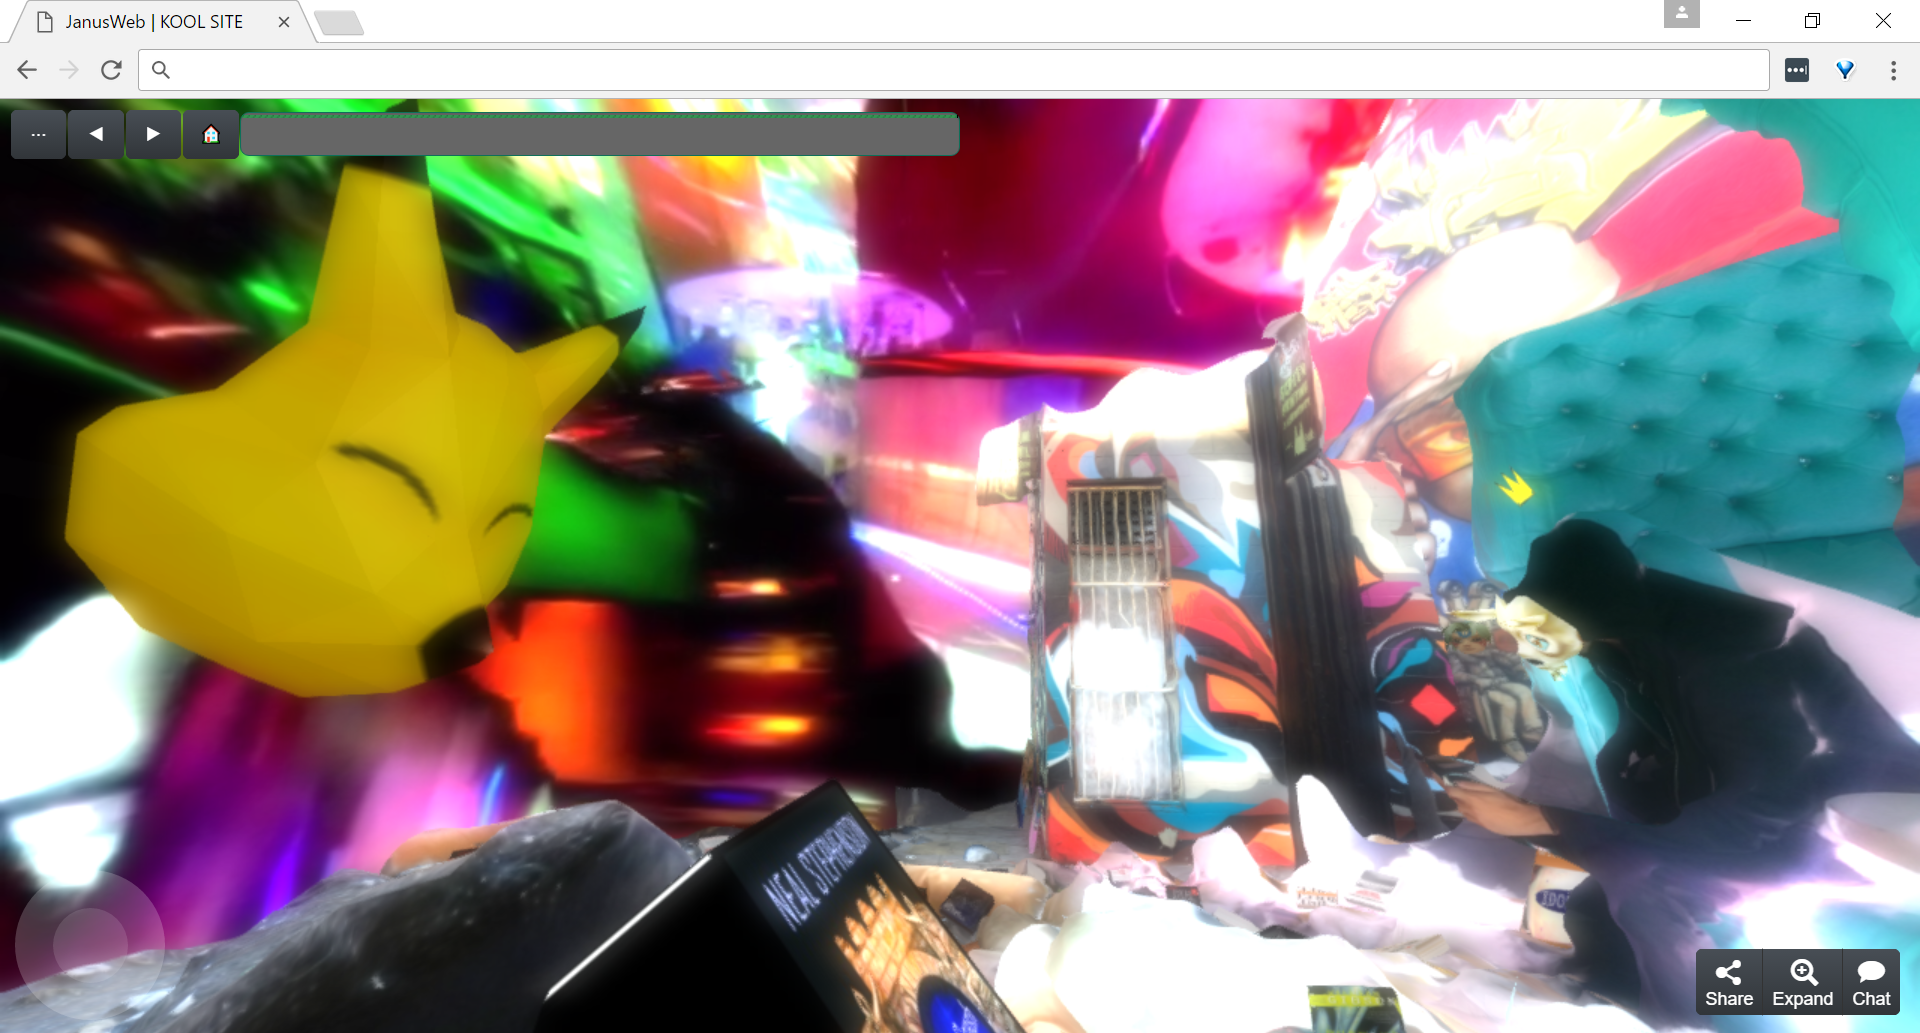
I'm in the process of creating a custom avatar for every portal and a player count for the 2D frontend. Thanks for looking, enjoy the art.
 alusion
 Delete the larger triangles and keep all those that are same sized. There may be some manual work.
Discussions
Become a Hackaday.io Member
Create an account to leave a comment. Already have an account? Log In.