I built the base cabinet first, and left the backbox for later.
![]()
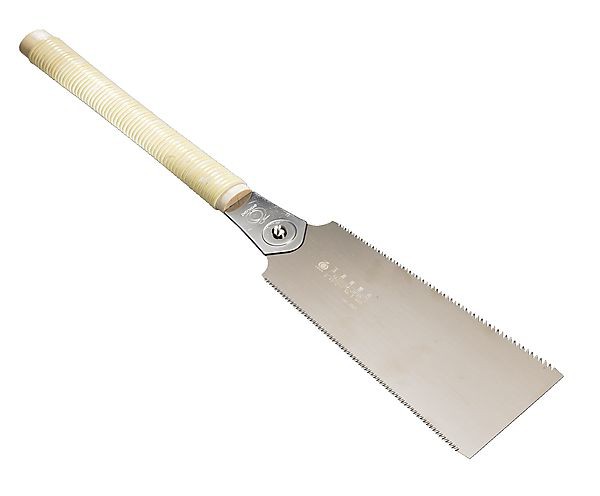
The first part of building the cabinet was sawing the sides to shape (with my favorite tool, the Japan saw.
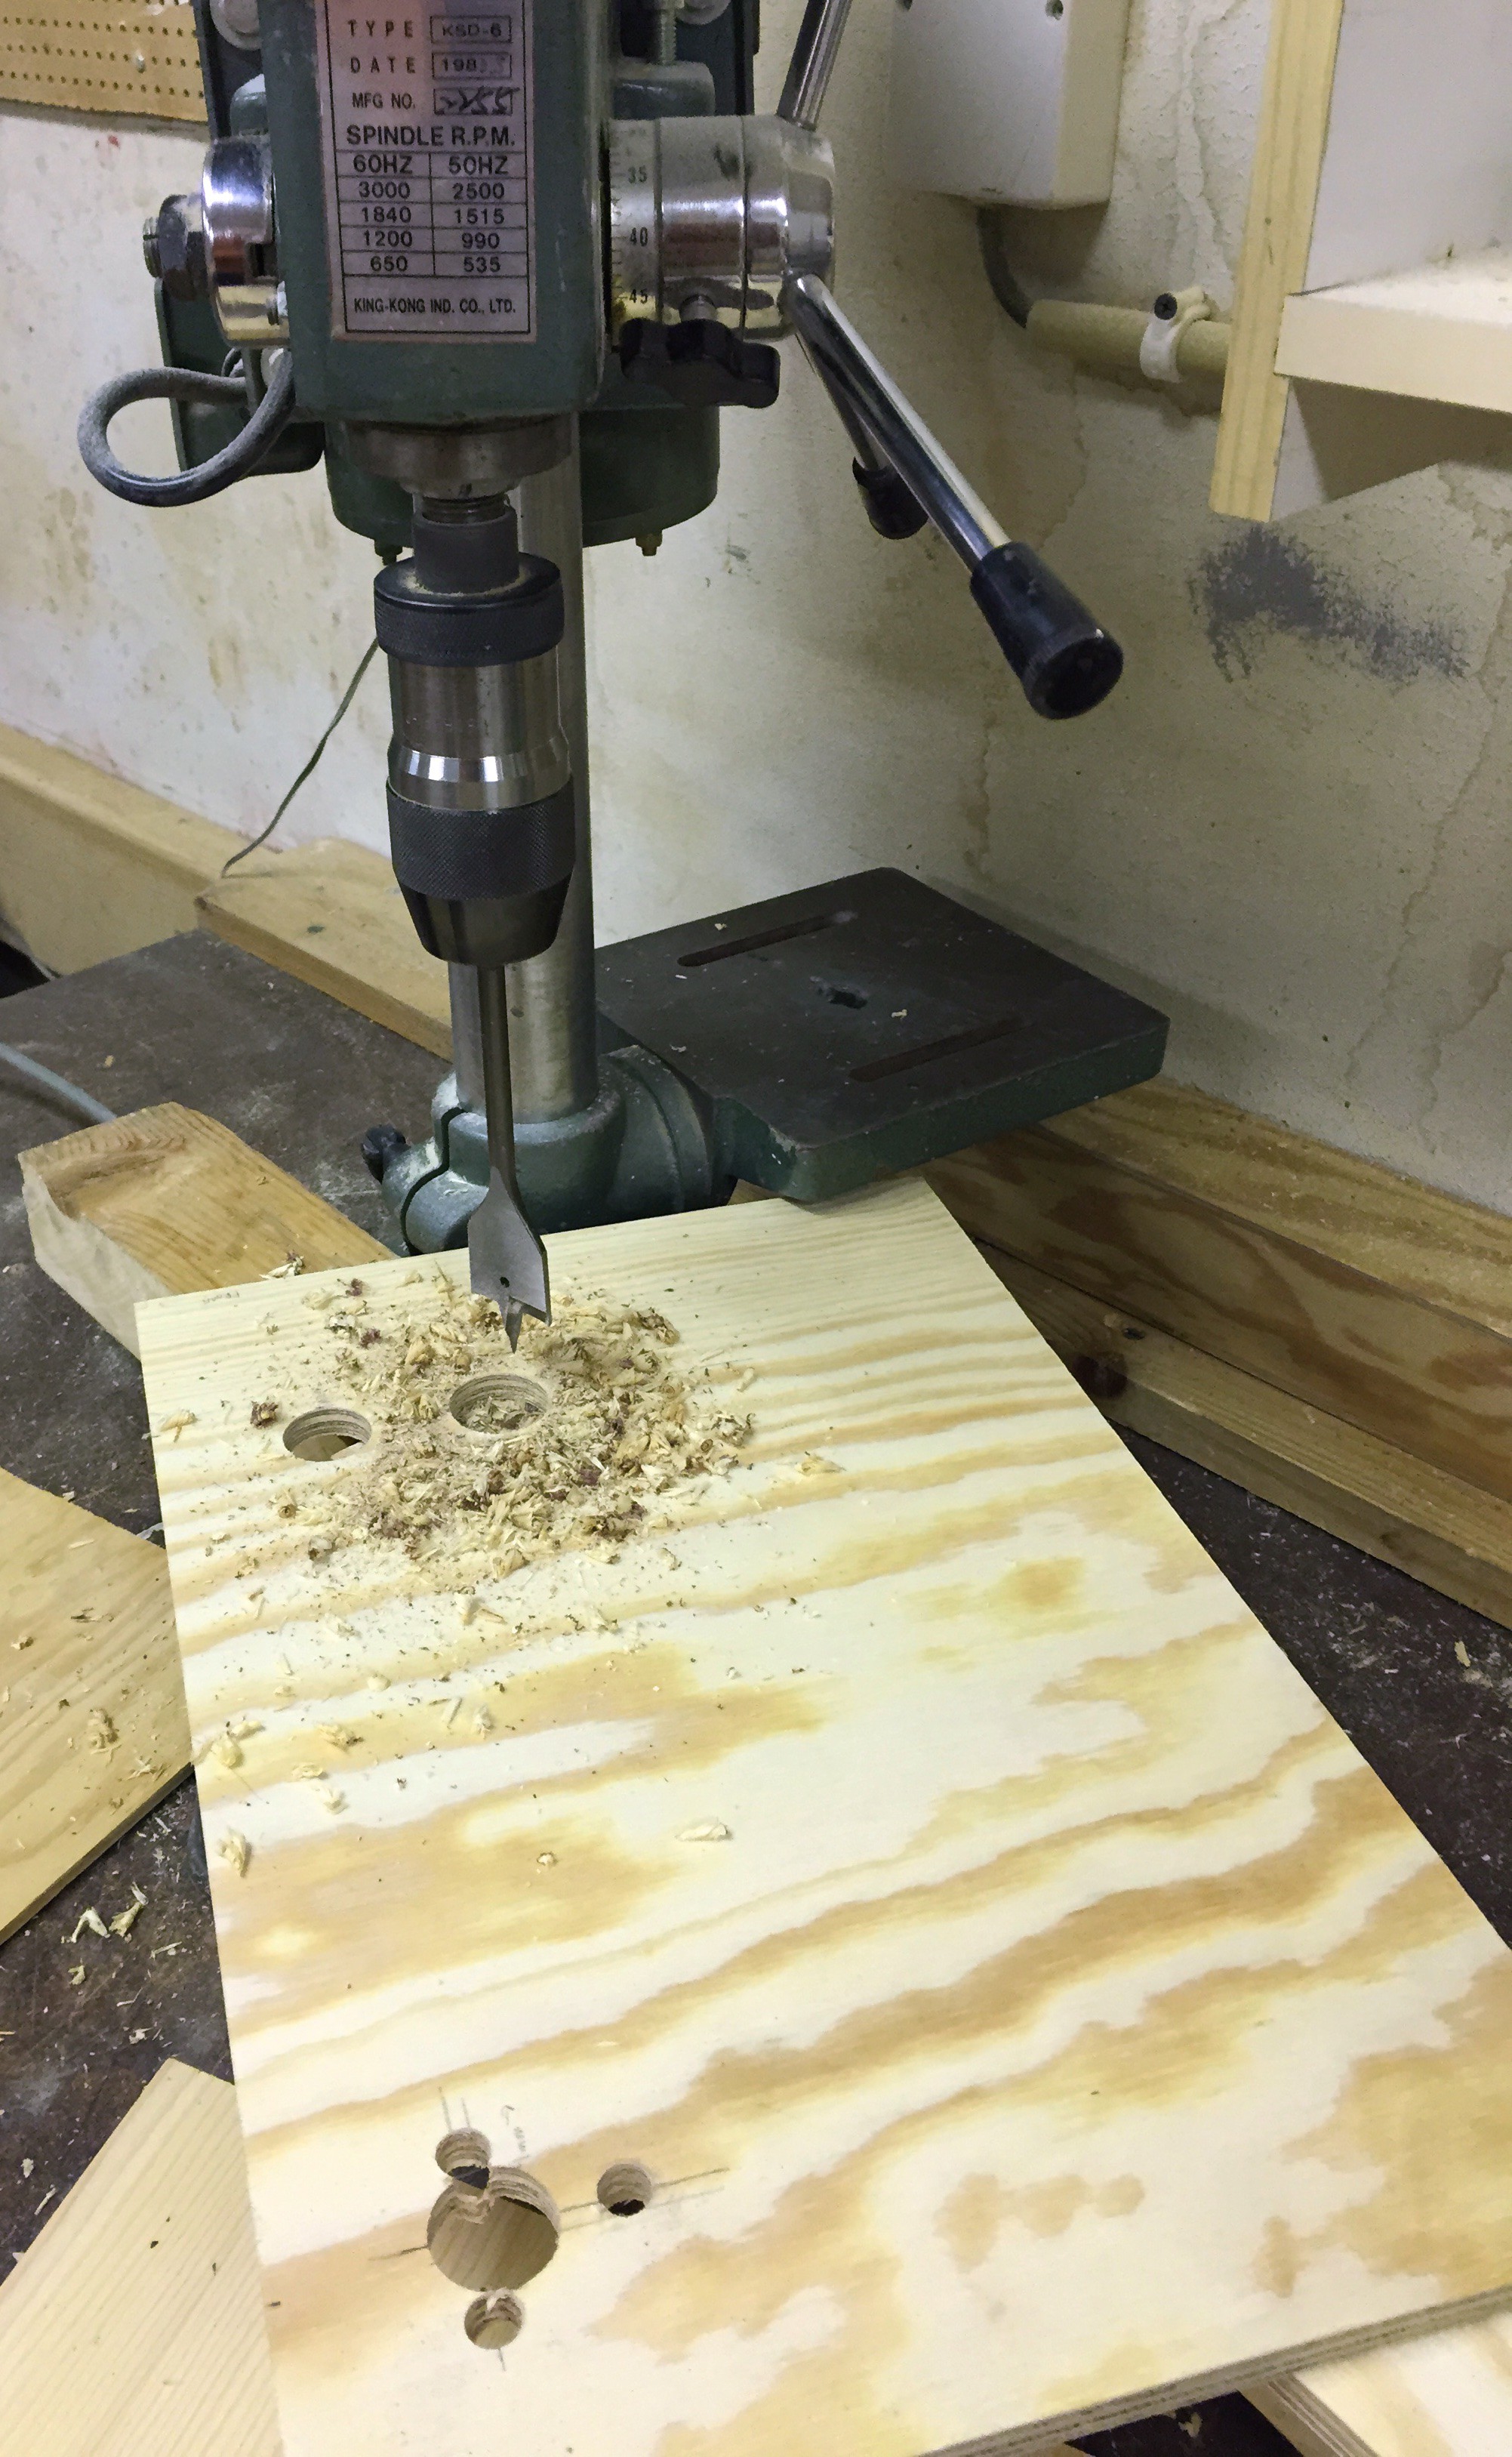
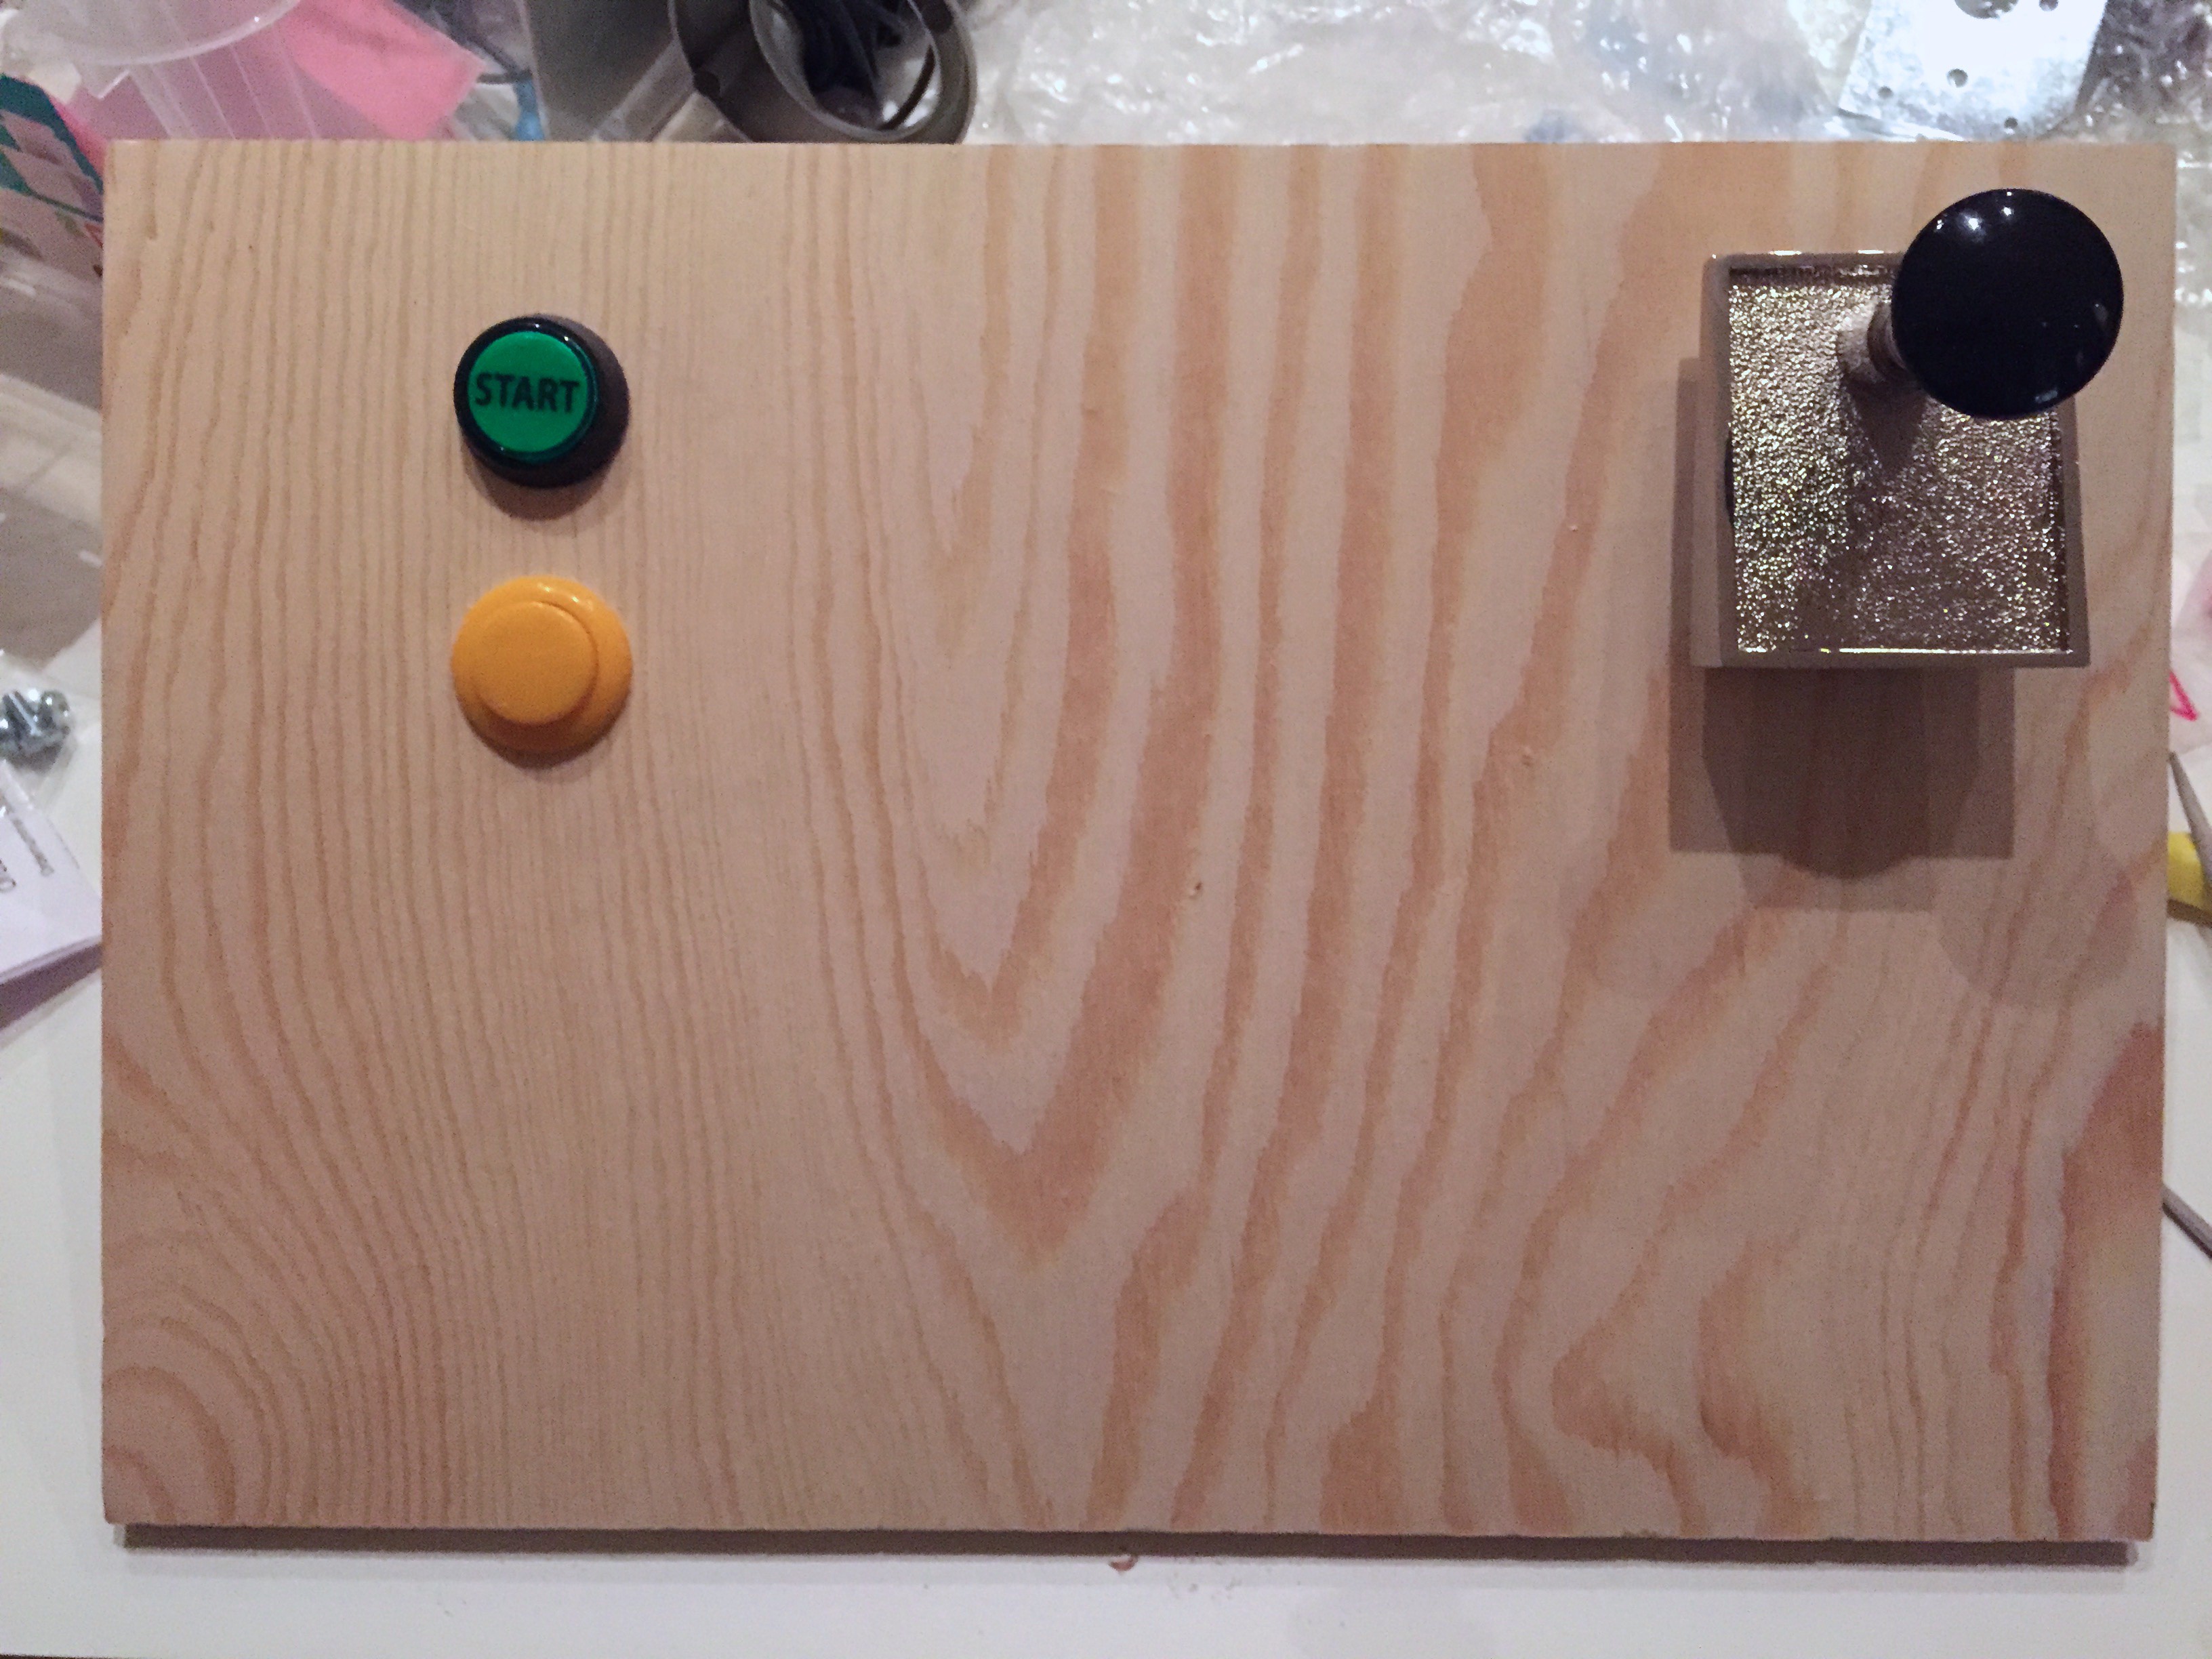
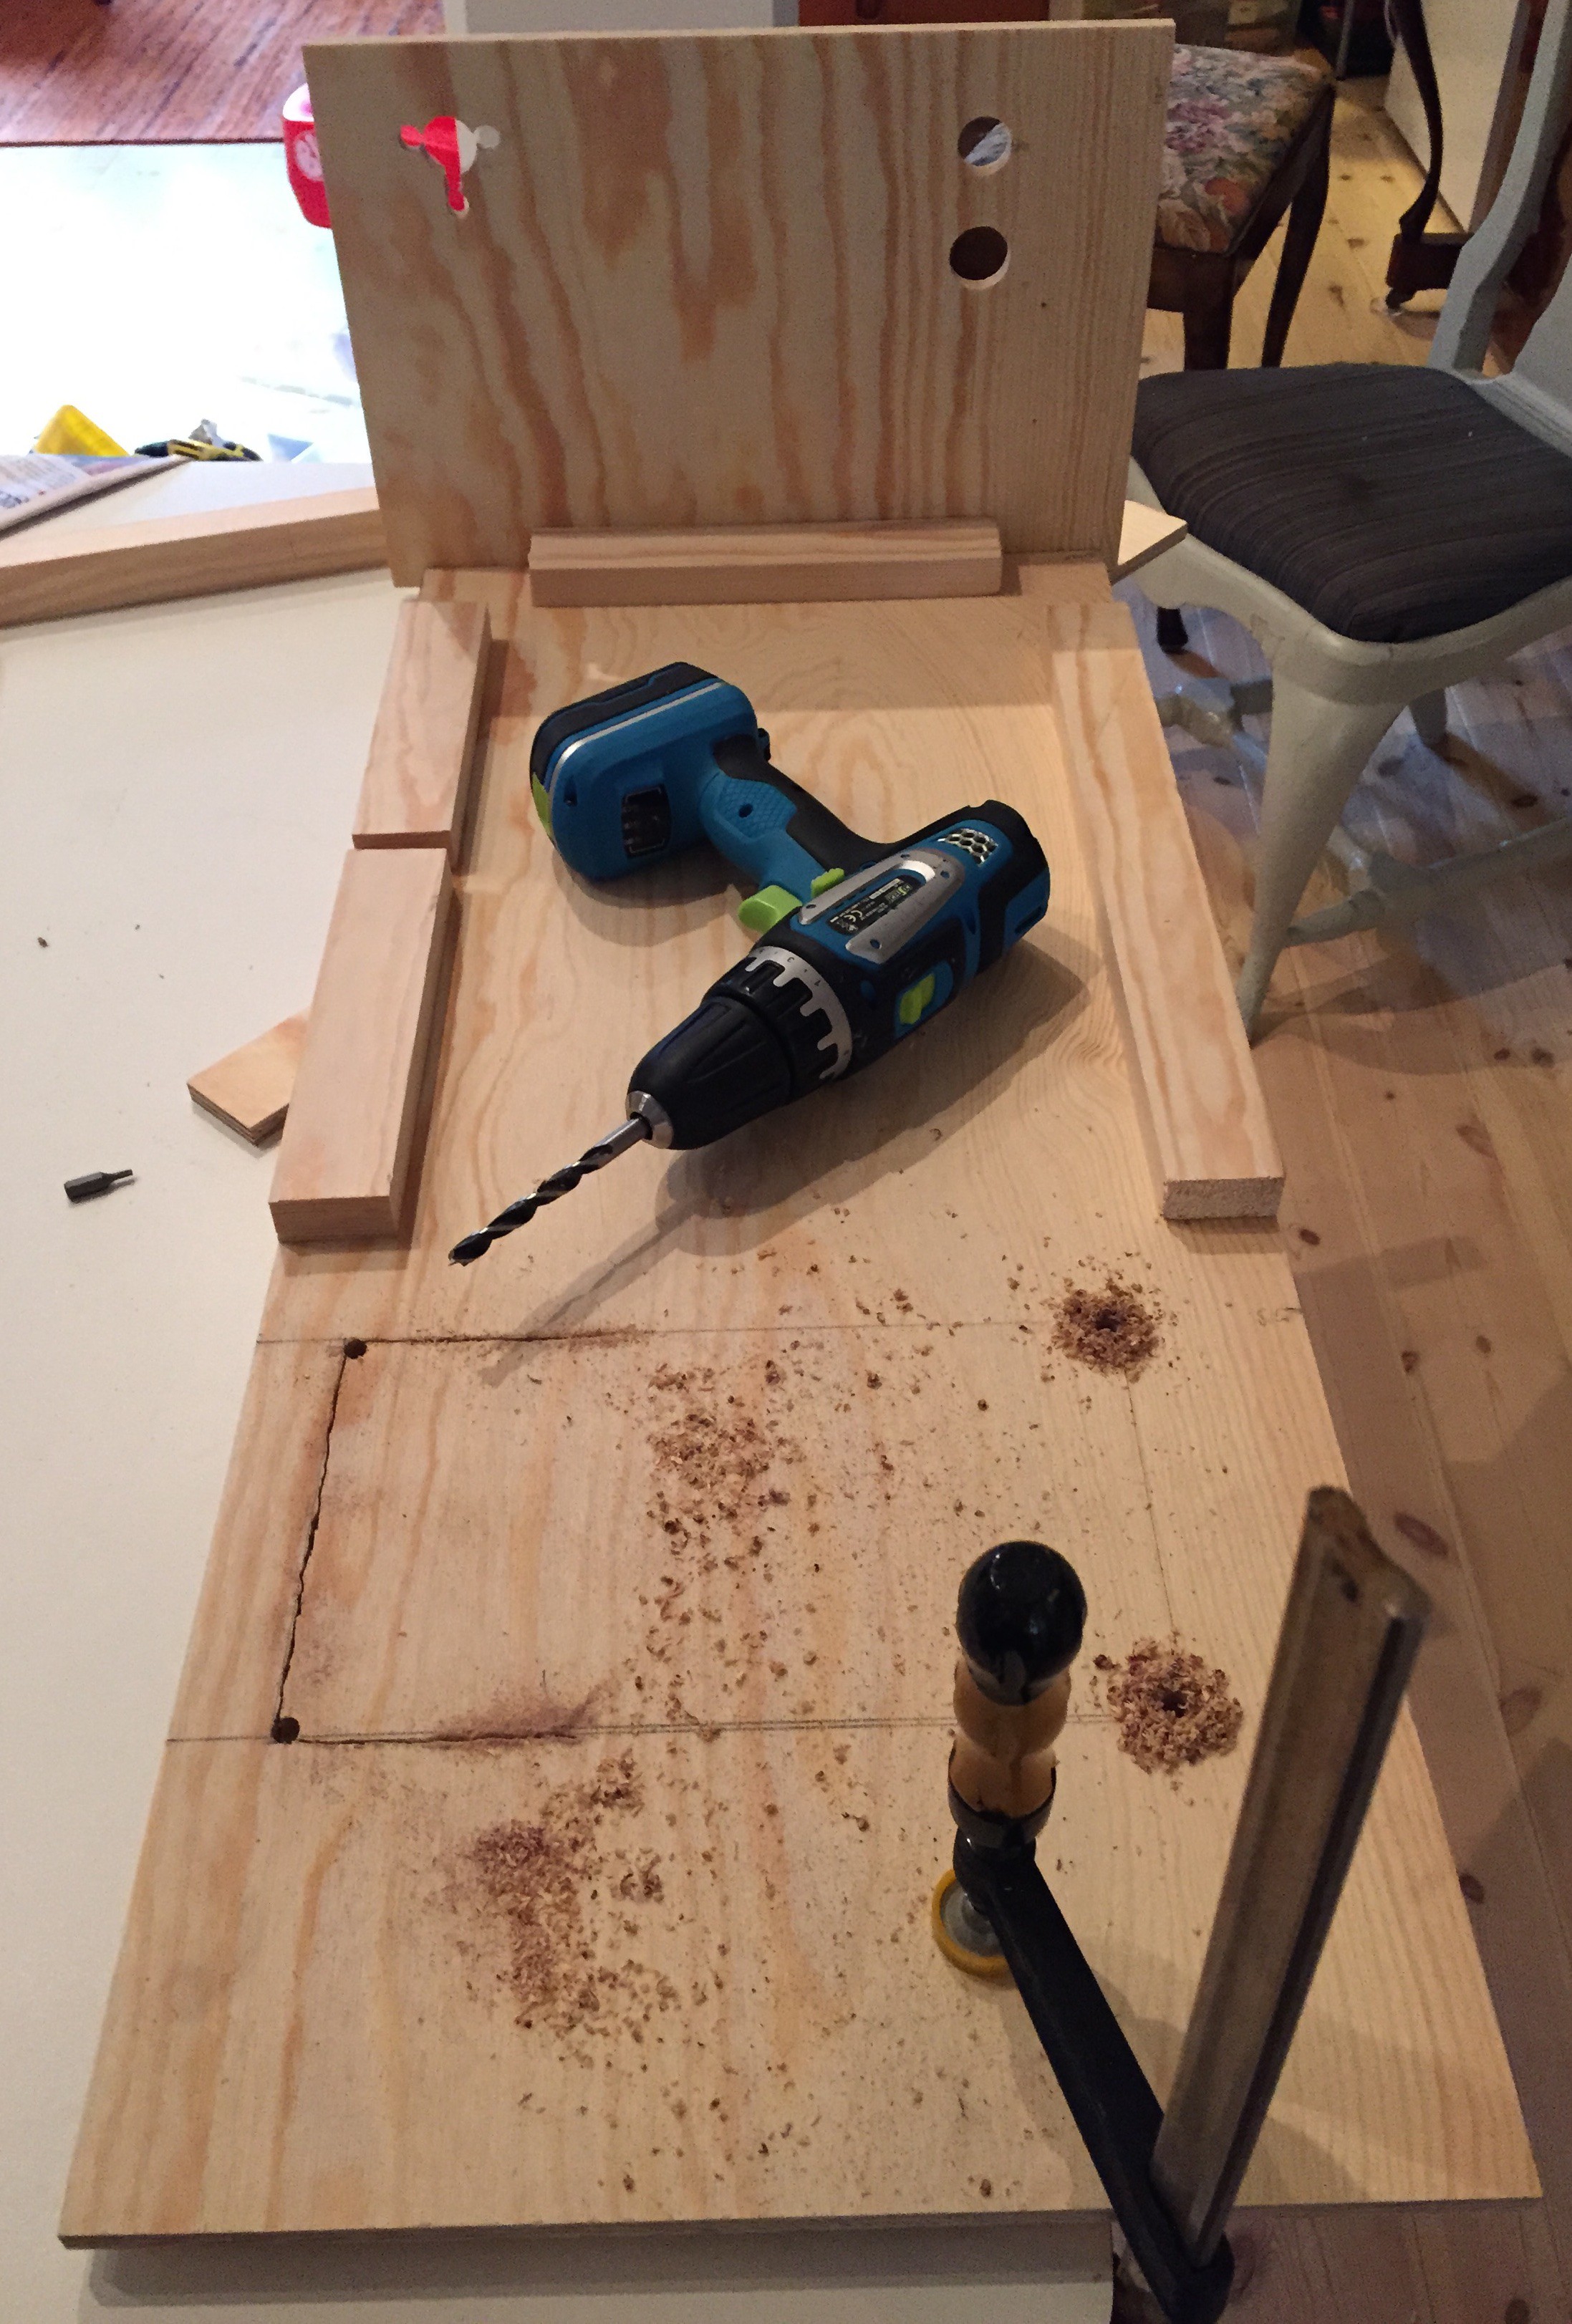
Next, drilling holes for the buttons and plunger:
![]()
![]()
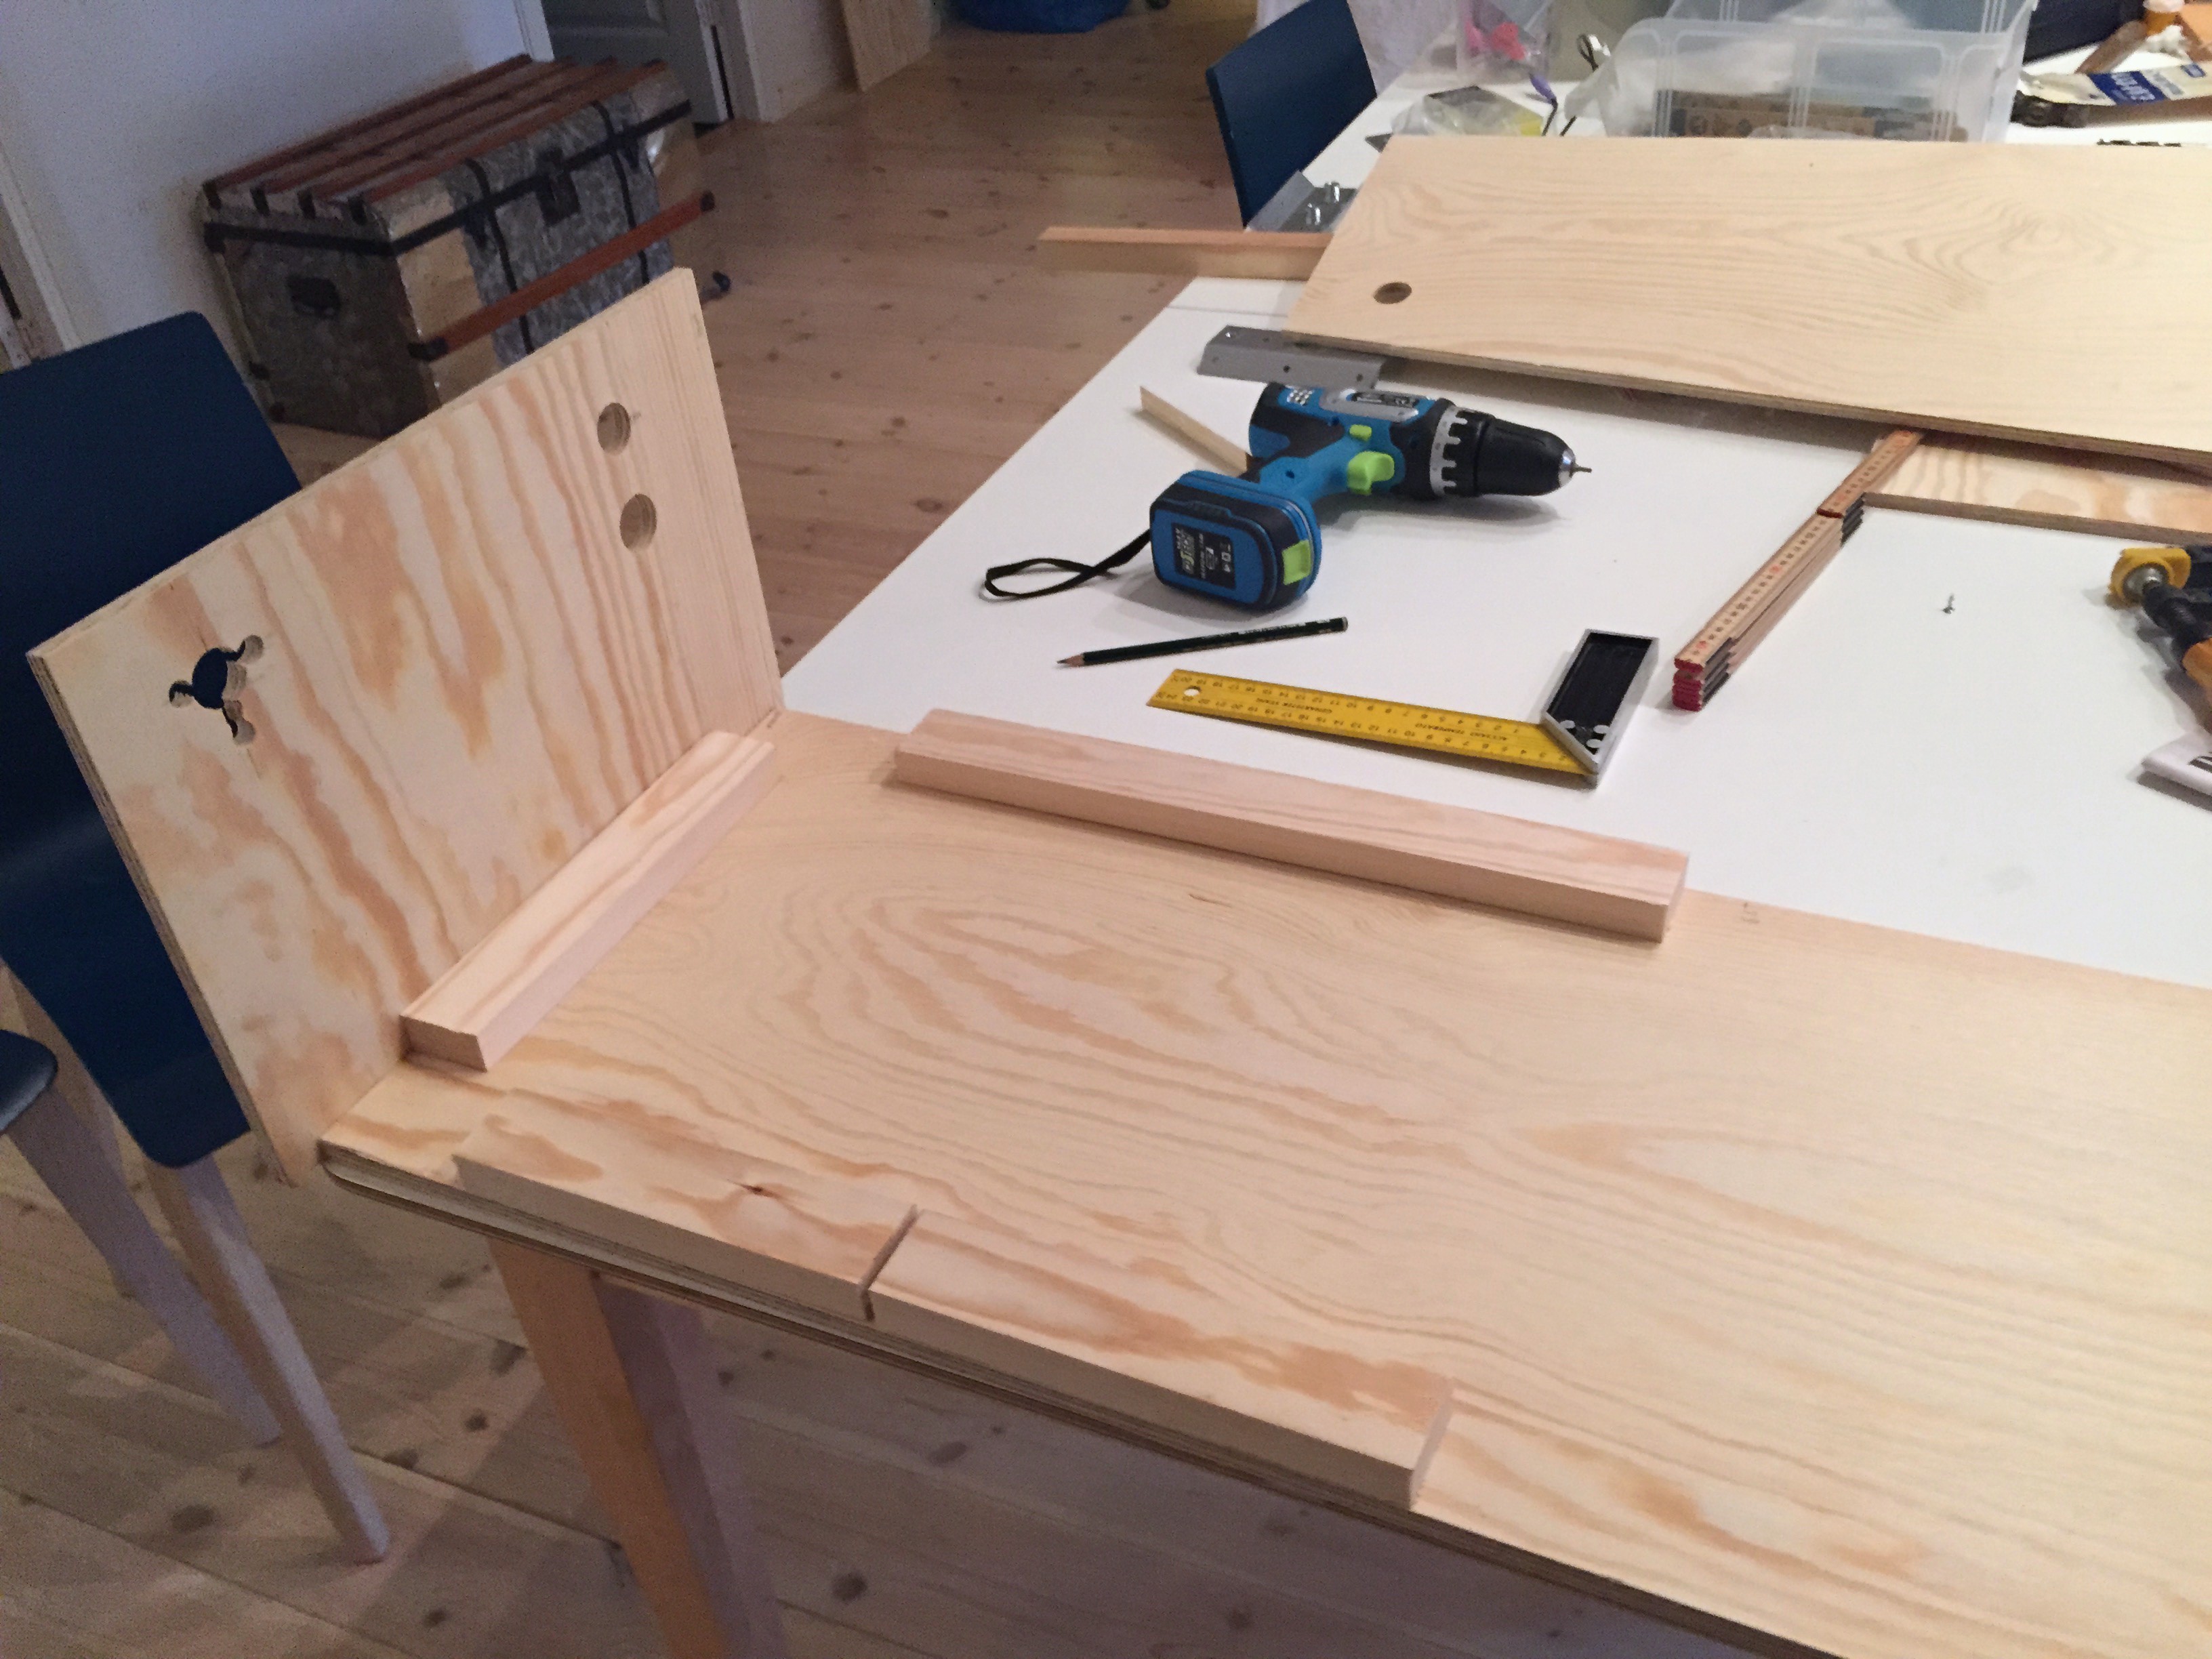
I then screwed on some smaller wood pieces so that I could screw the front and sides onto the base.
![]()
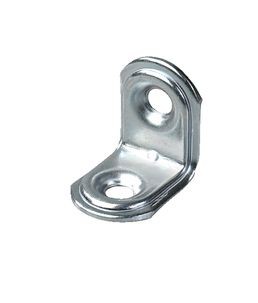
In retrospect I think maybe I should have used iron angles screwed on the inside instead of screwing through the front and sides pieces. This way I would not have had to use filler (spackel) over the screws on the sides, an dI could maybe disassemble the box later without destroying the paint on the sides.
![]()
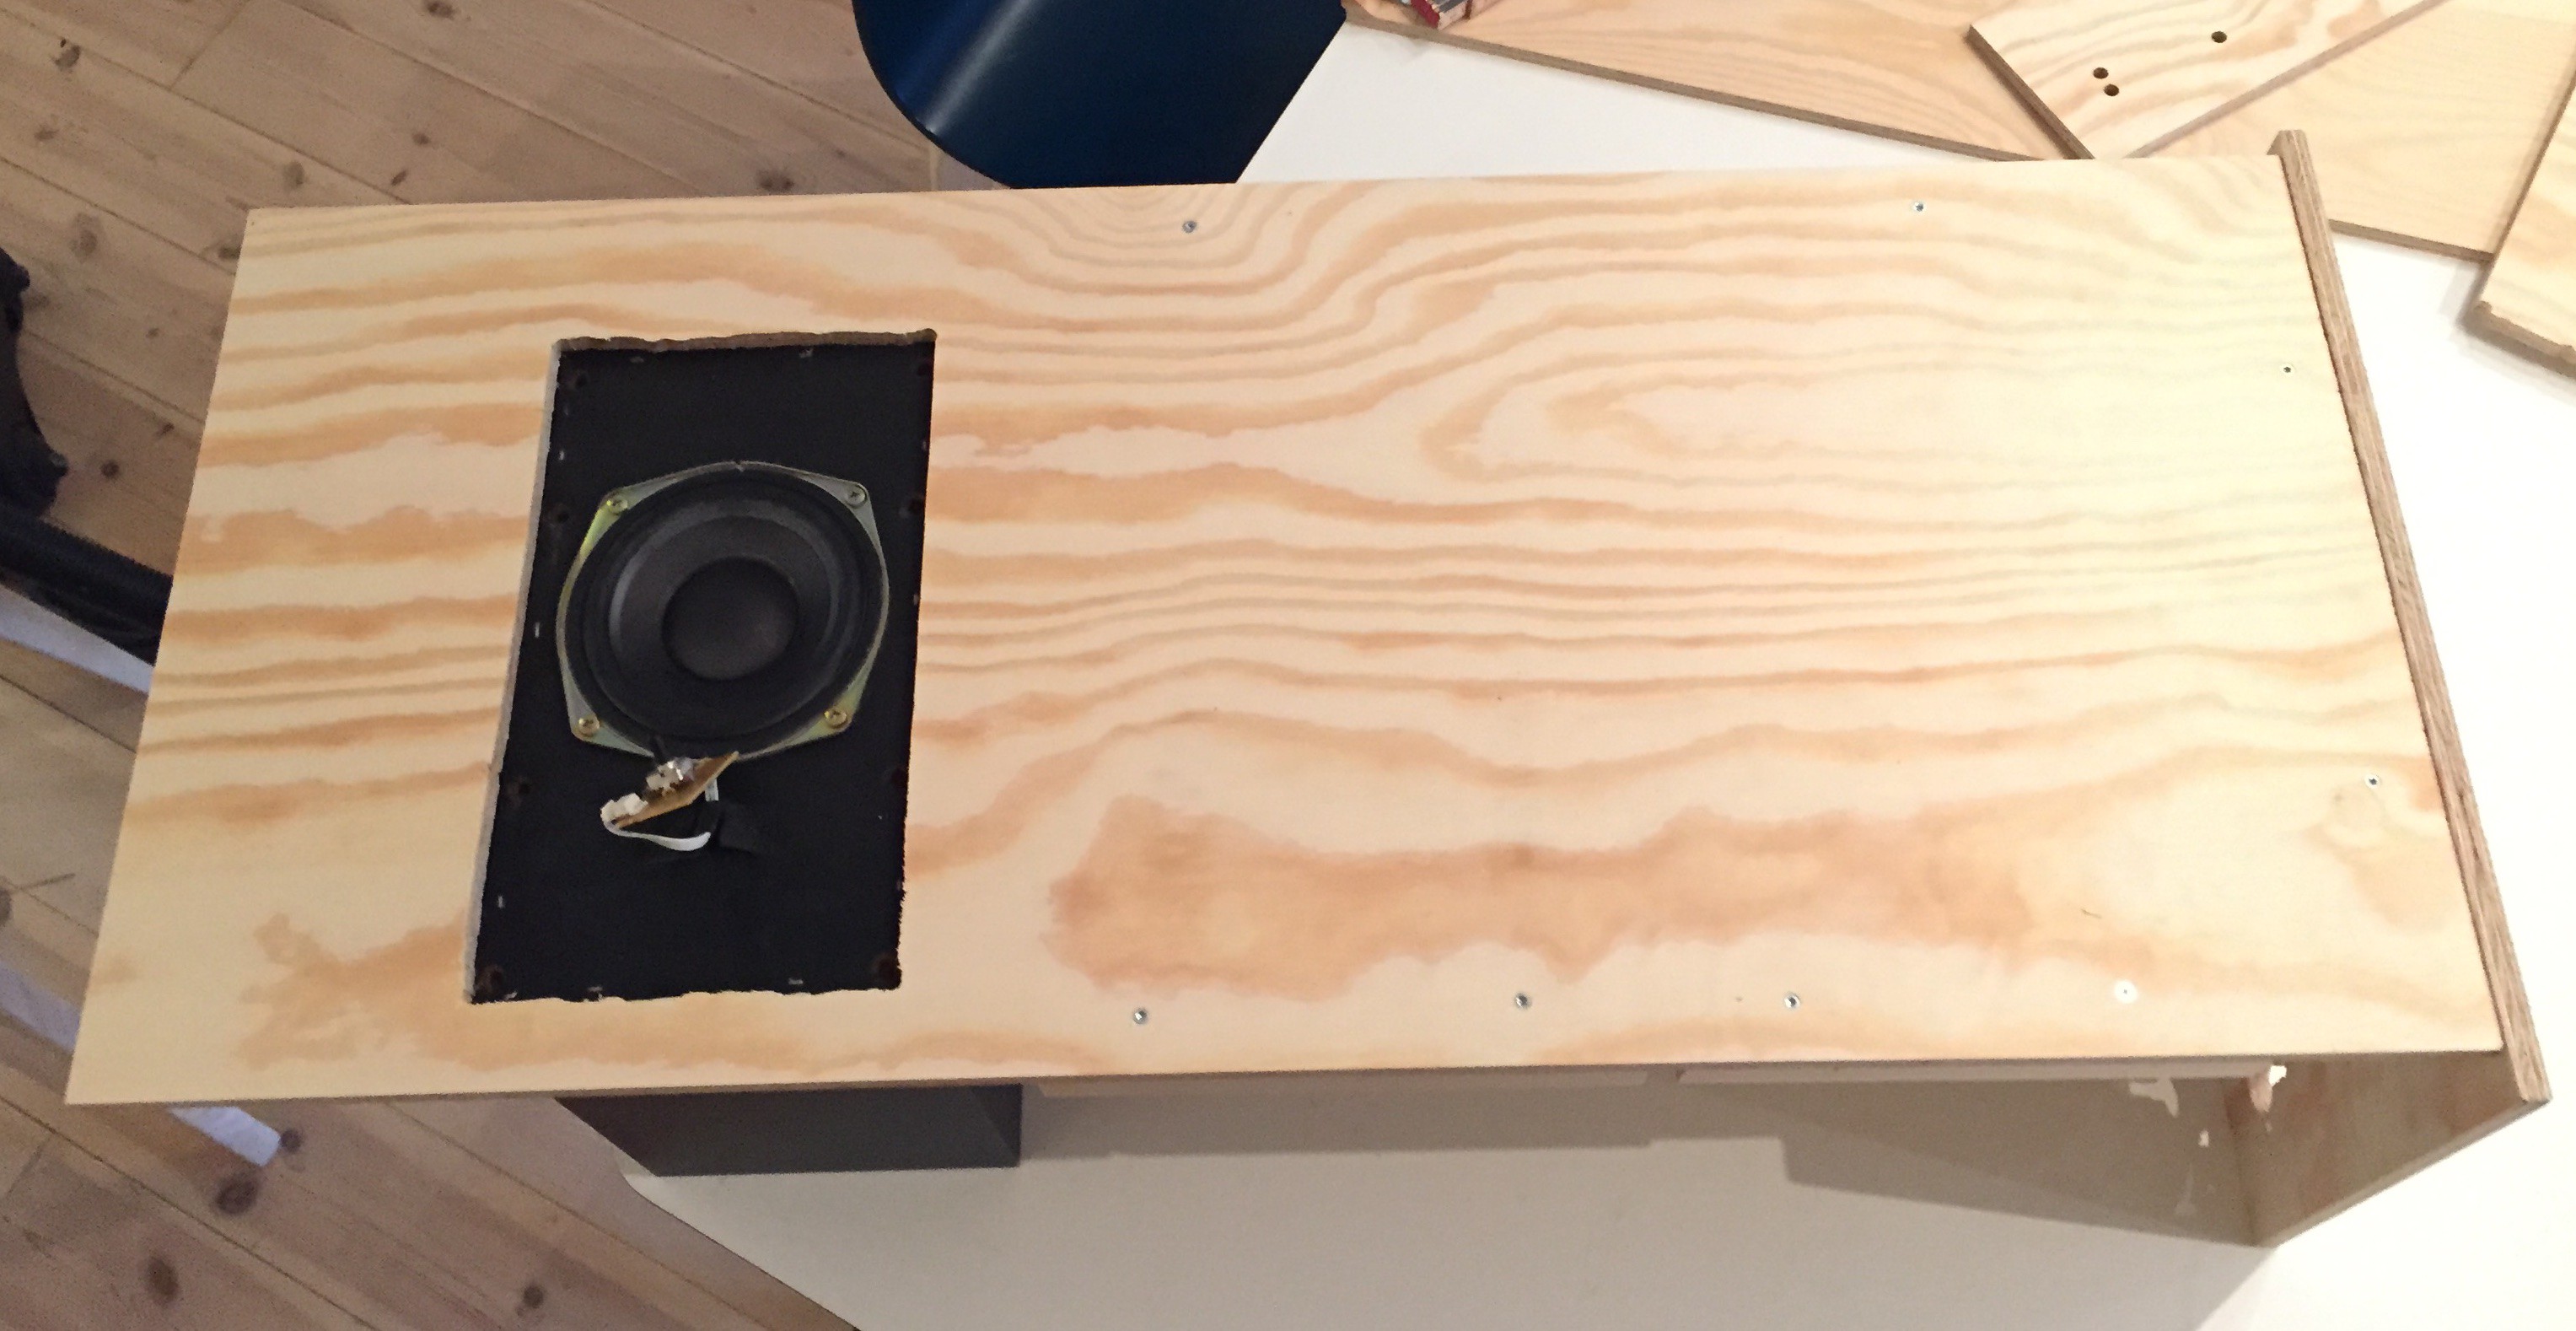
I made the hole in the base for the subwoofer by drilling out parts and then sawing it out. I was a bit afraid that the cabinet would be weakened by the big subwoofer hole (and the subwoofer is one of the heaviest components of the cabinet). But that turned out not to be a problem.
![]()
Checking the fit:
![]()
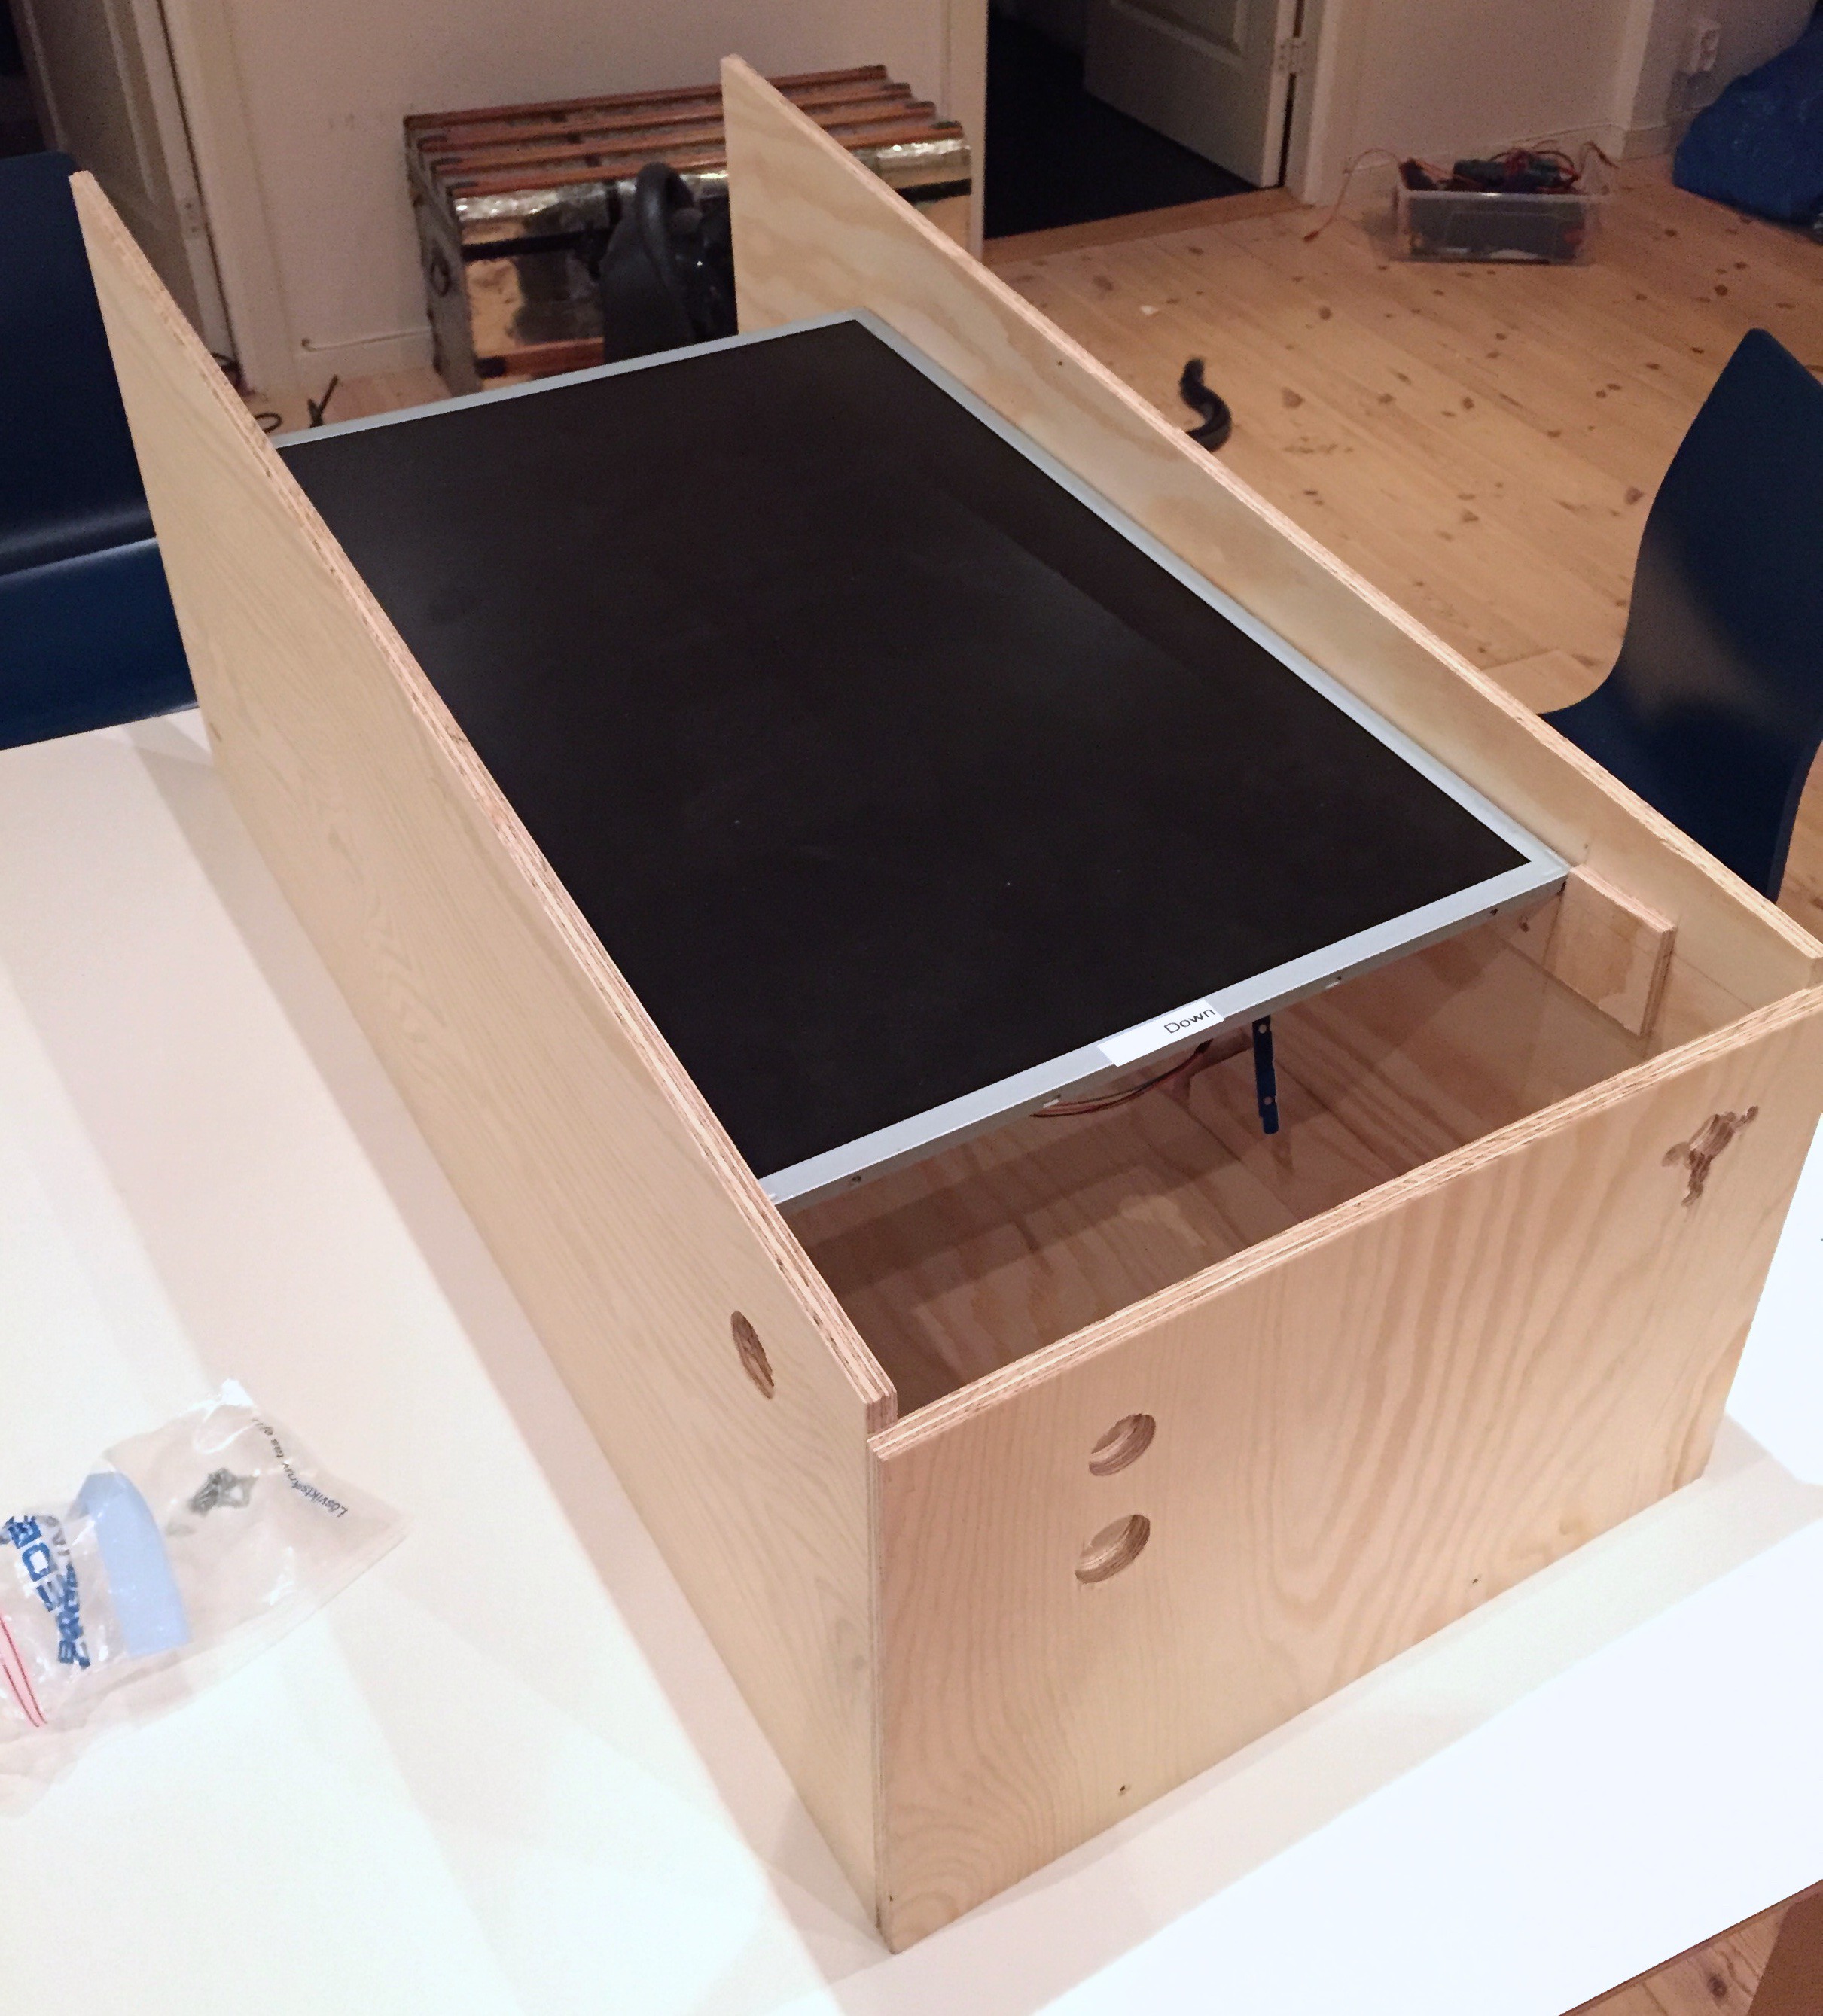
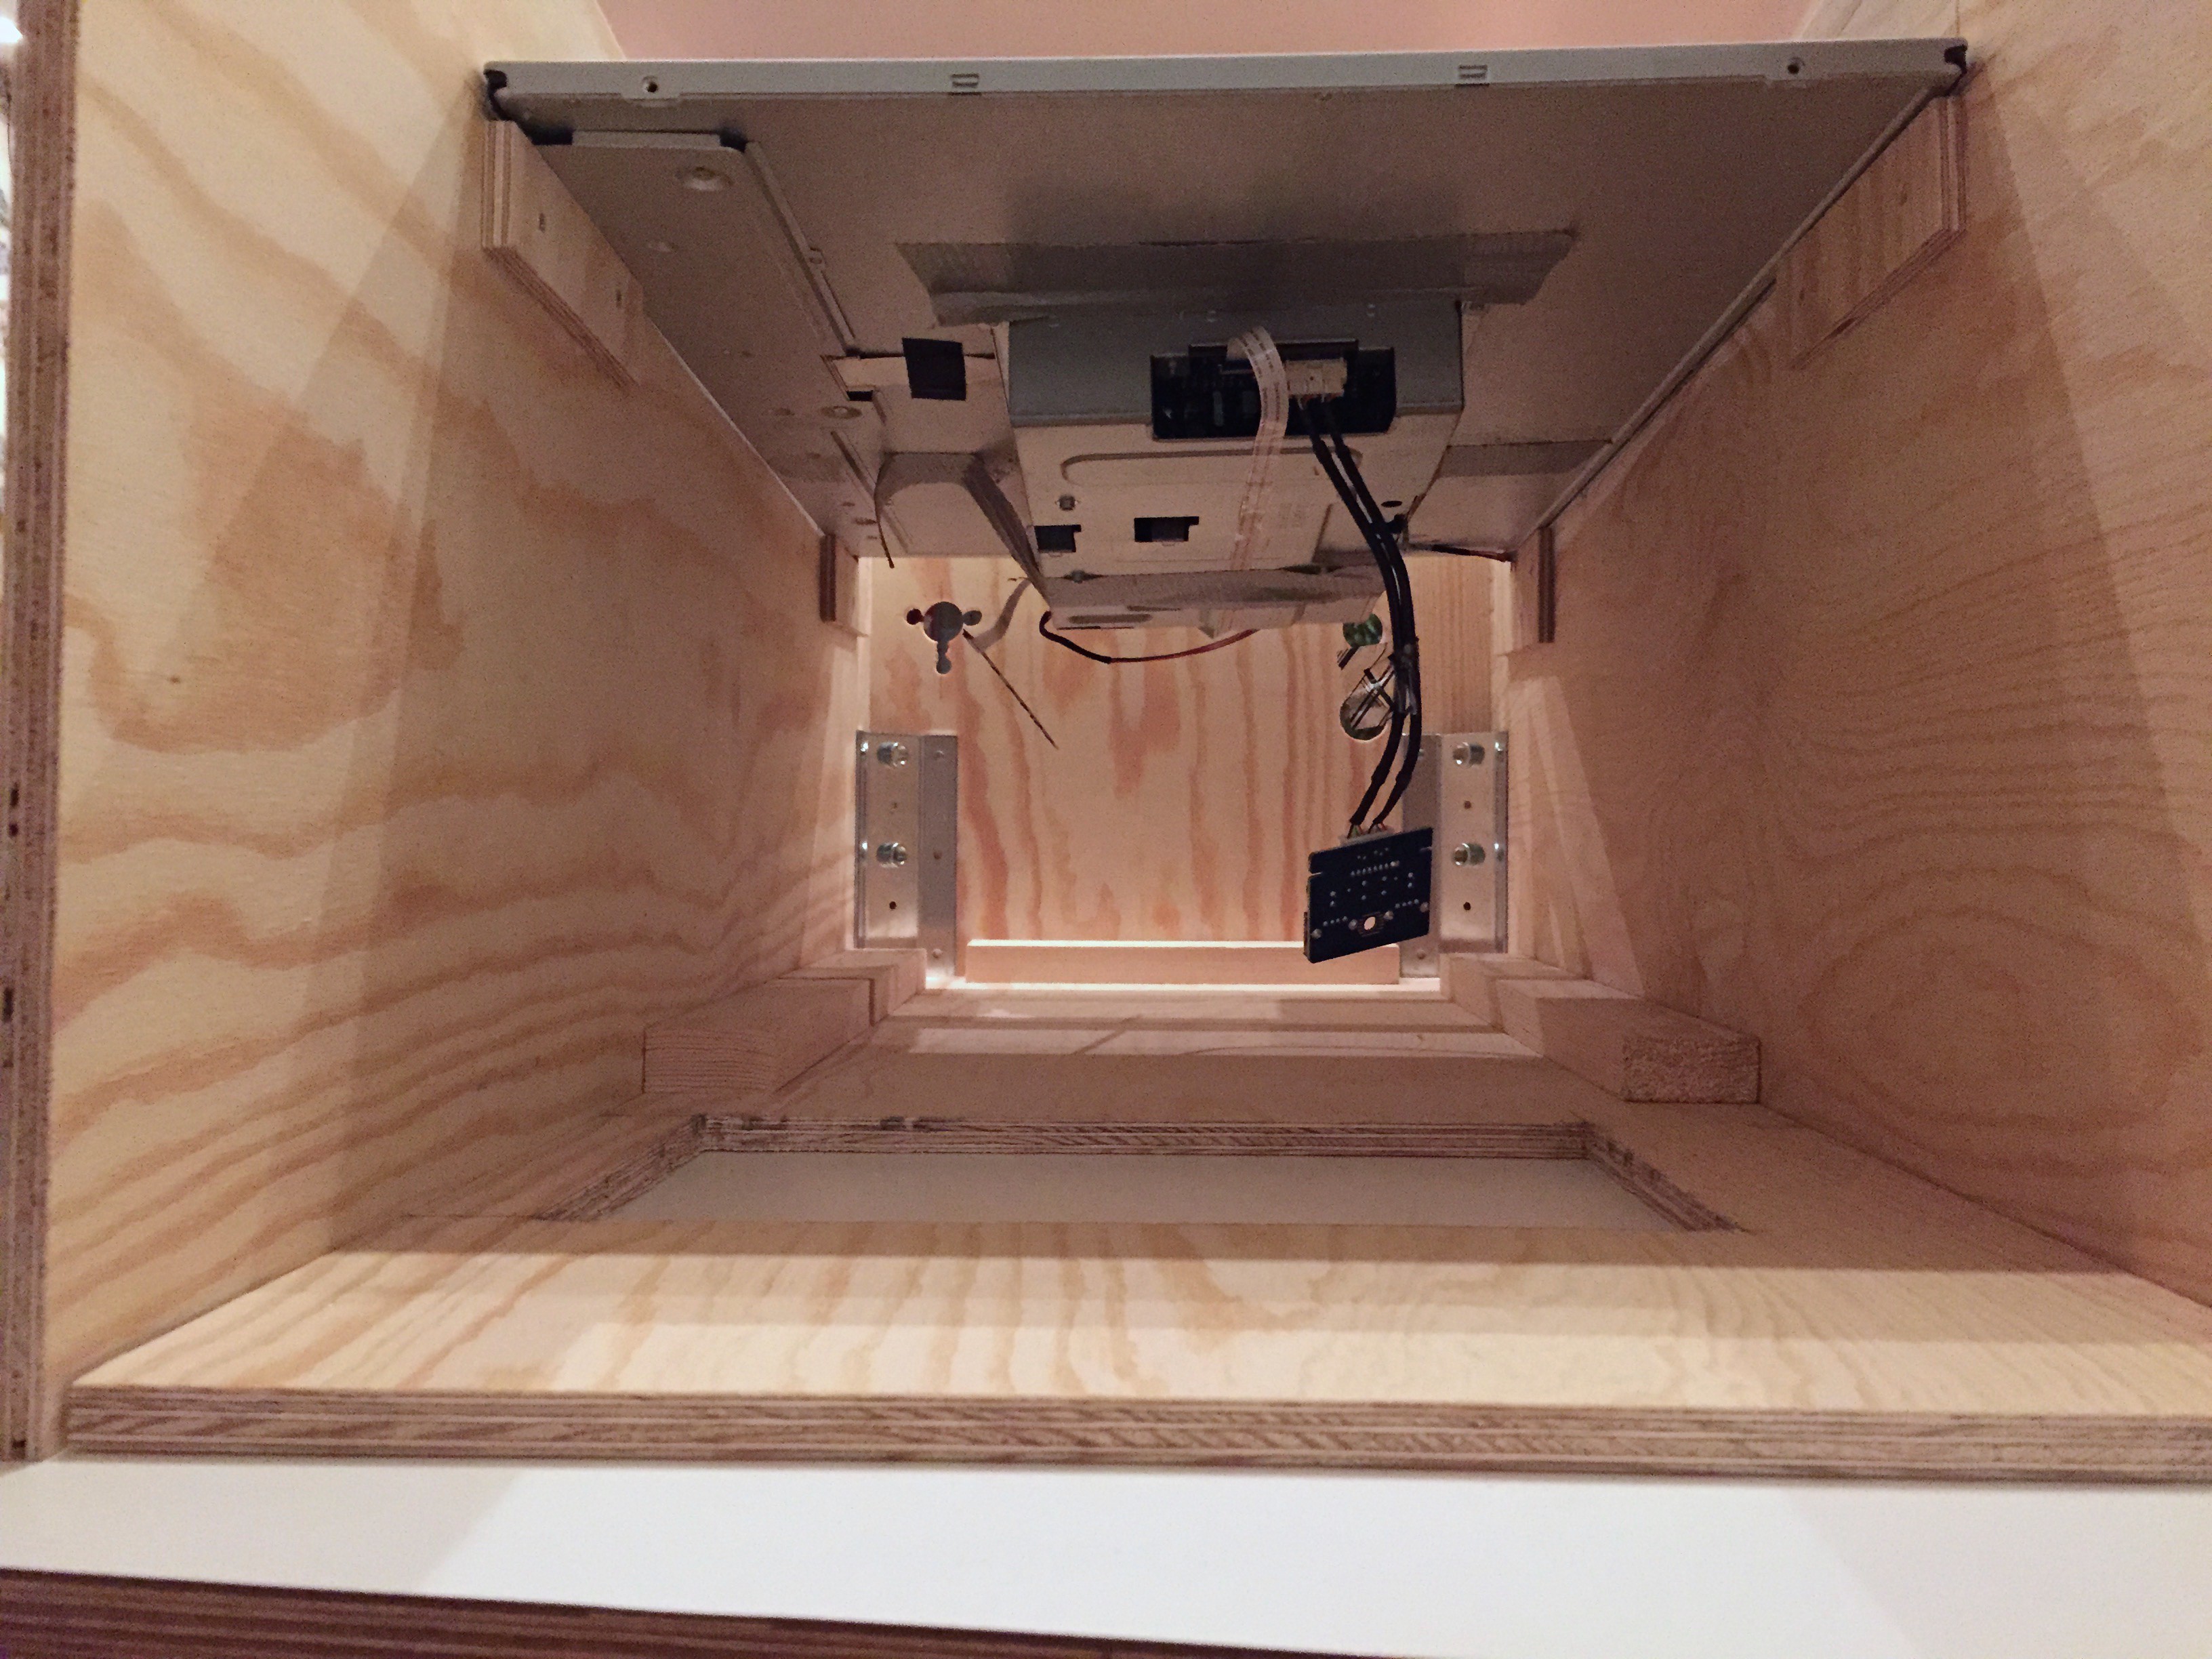
I screwed some small pieces onto the sides to support the playfield monitor.
The corners are held by the leg brackets. The back brackets are turned upside down so that the front legs are attached higher on the cabinet than the rear legs. This makes them shorter, and the entire cabinet tilted a bit towards the player.
I glued in triangular wooden pieces behind the leg brackets to make it easier to drill the holes for the leg bolts later. They are not visible in these photos.
![]()
I hoped that I had calculated the dimensions properly, and I had!
![]()
This is what the cabinet looked like from the back:
![]()
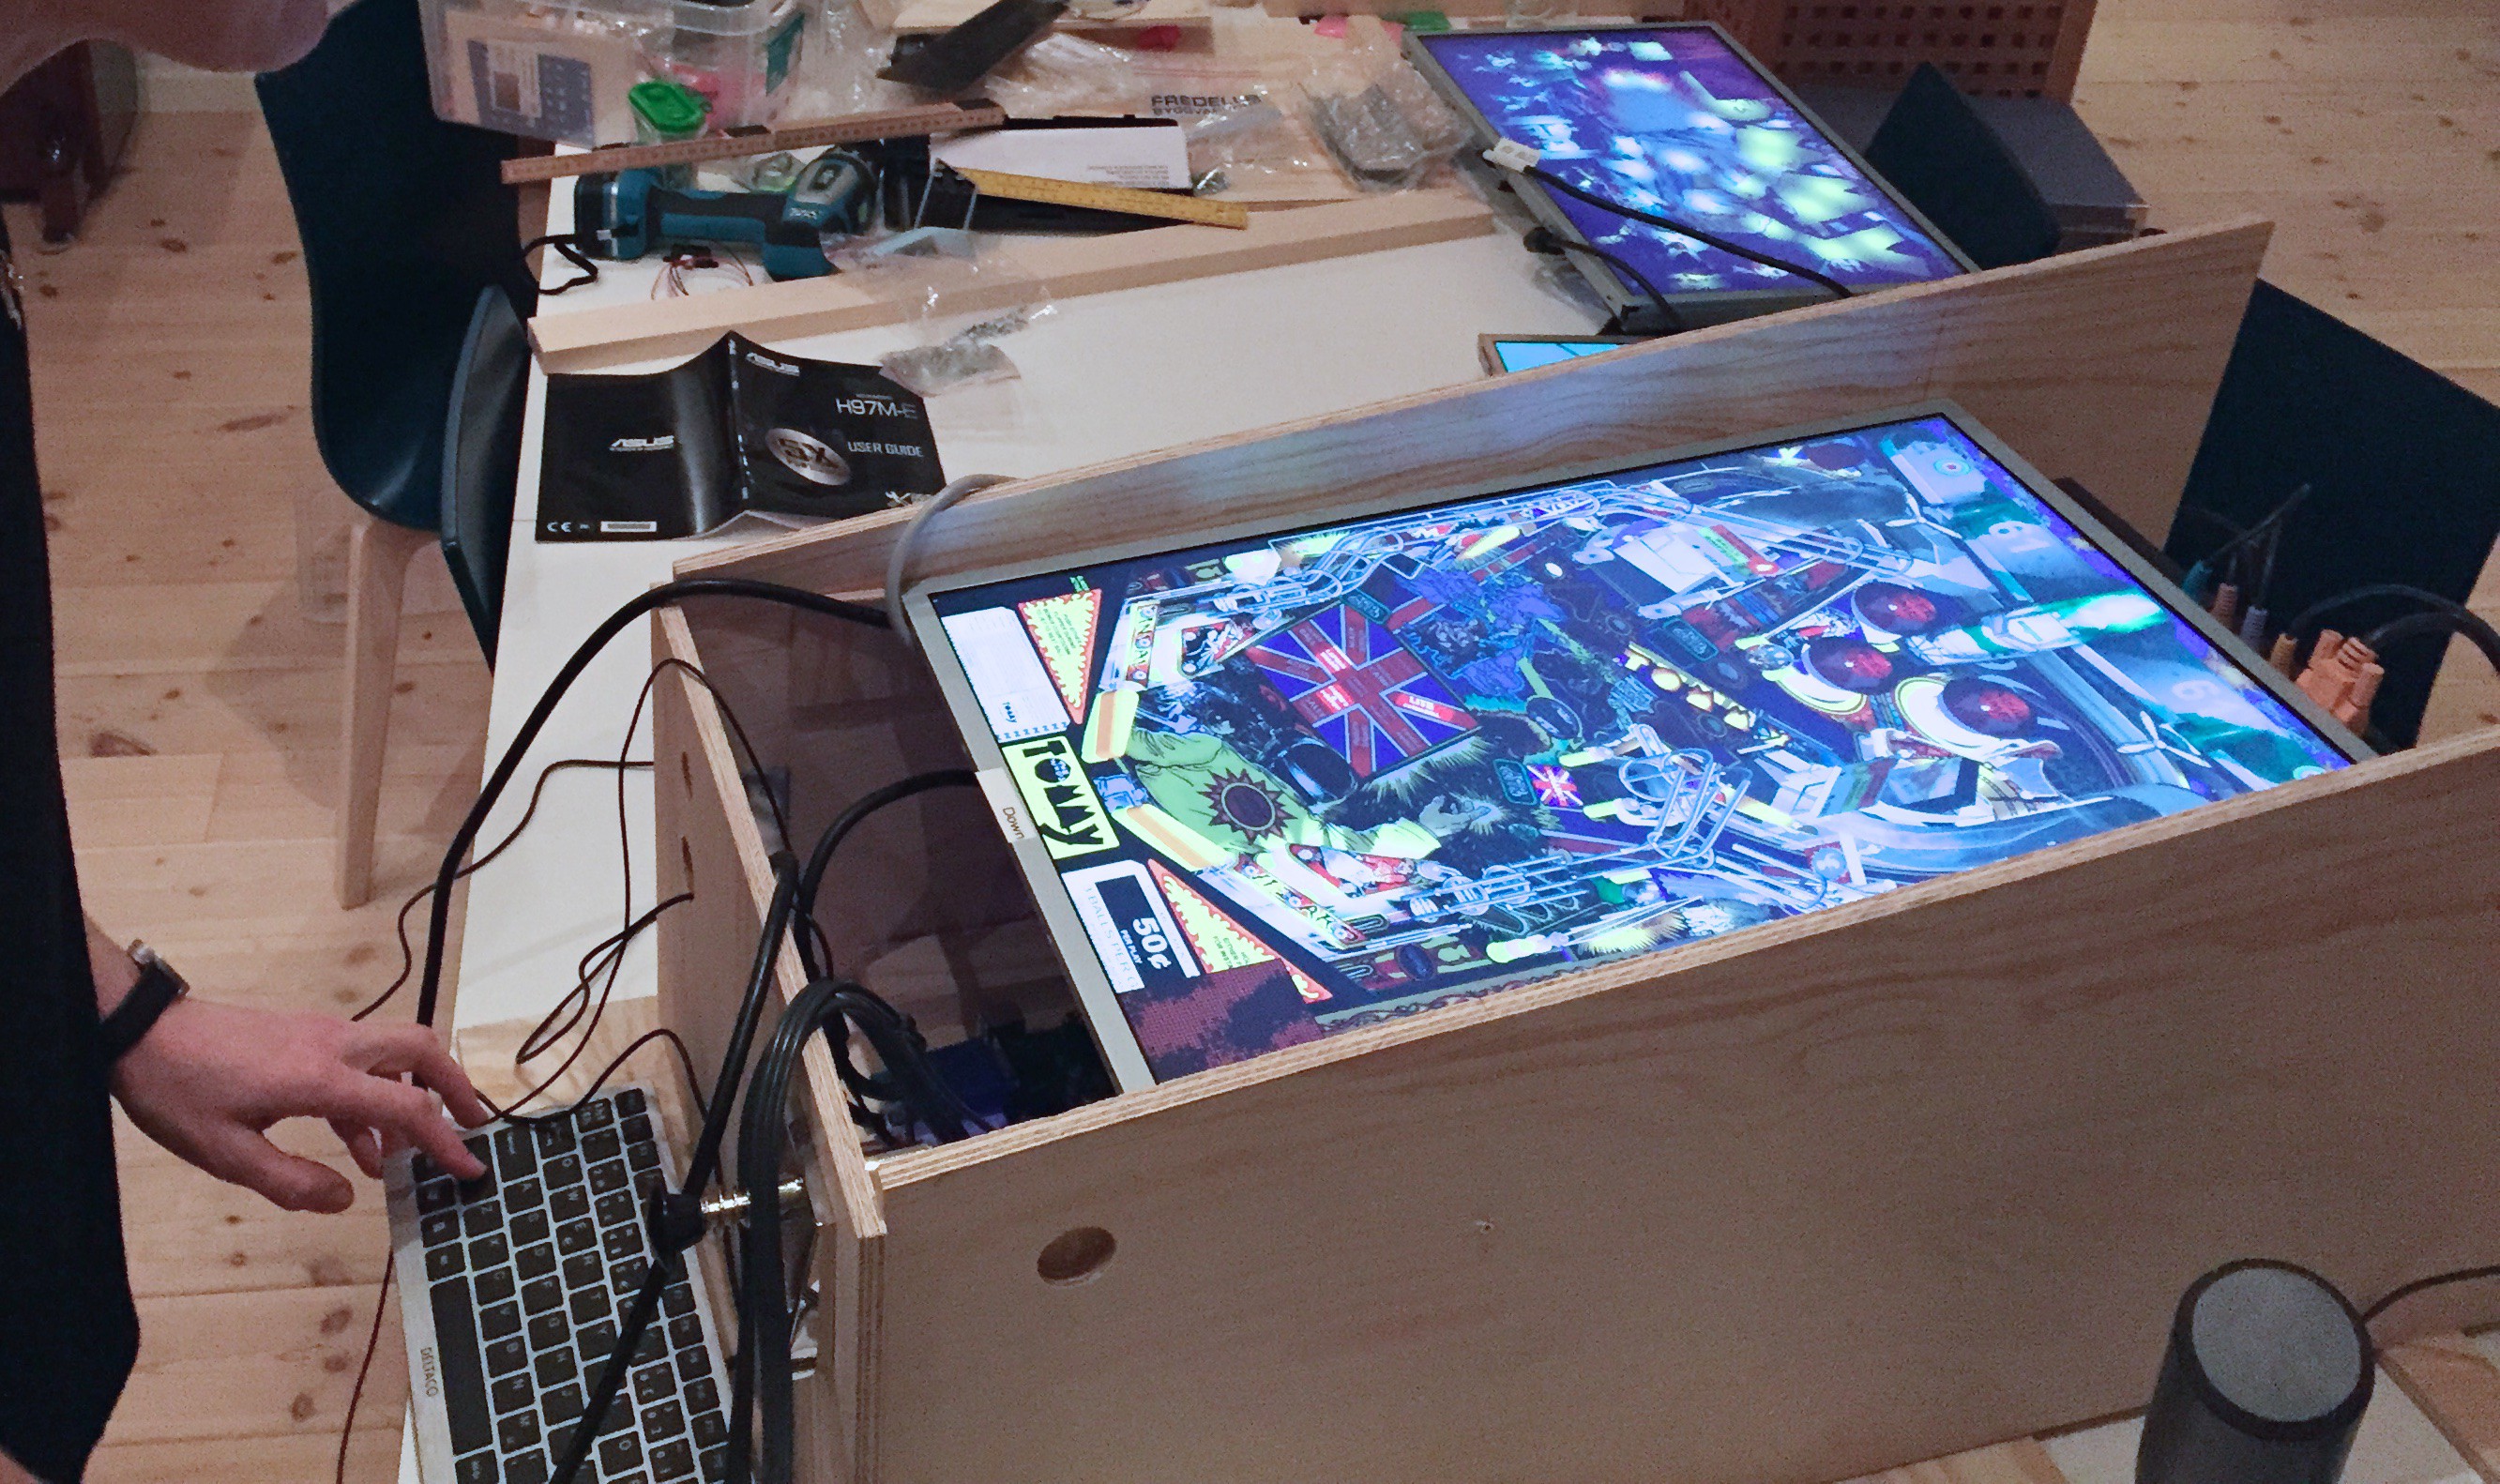
I had to give it the first test run in the cabinet:
![]()
This assembly only took two to three days - I had the pieces home on January 17, and did the first test on January 19. It really felt like the project was moving along quickly now, especially after spending a month planning, doing Sketchup work and buying second hand components.

Discussions
Become a Hackaday.io Member
Create an account to leave a comment. Already have an account? Log In.