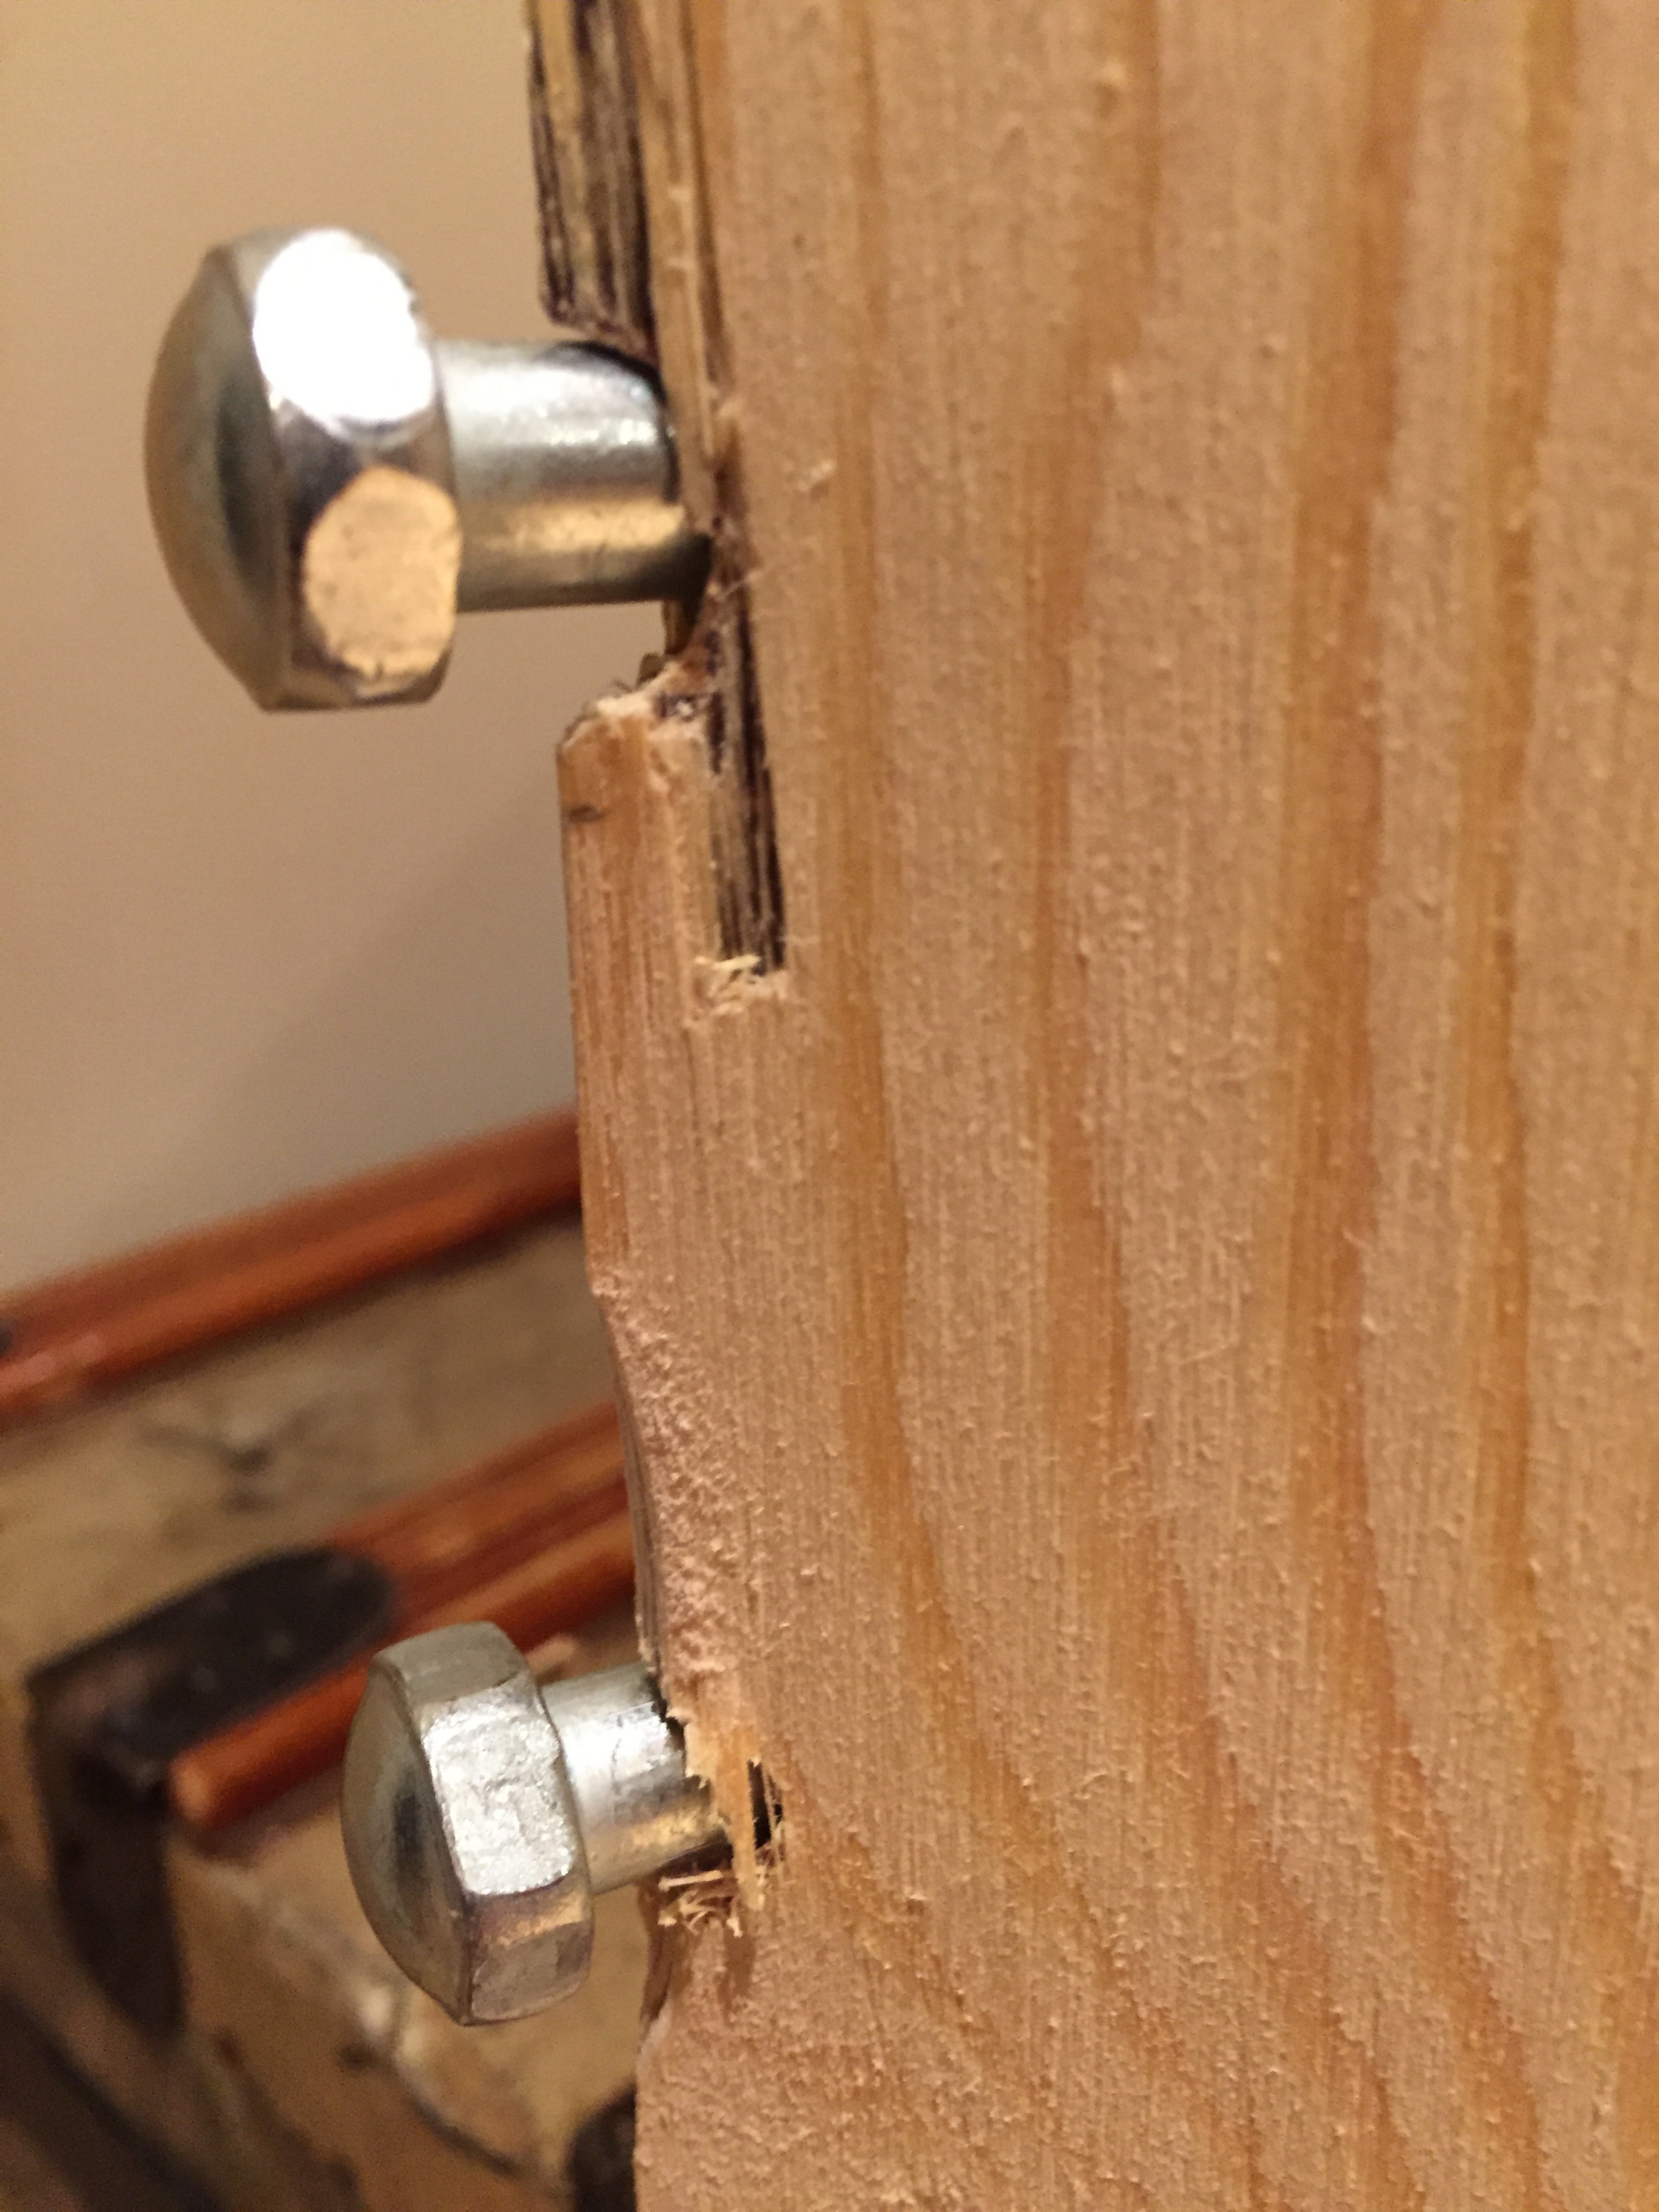
Drilling the holes for the leg bolts was tricky. They had to line up exactly with the threaded holes of the leg brackets, and went out through the corners of the cabinet.
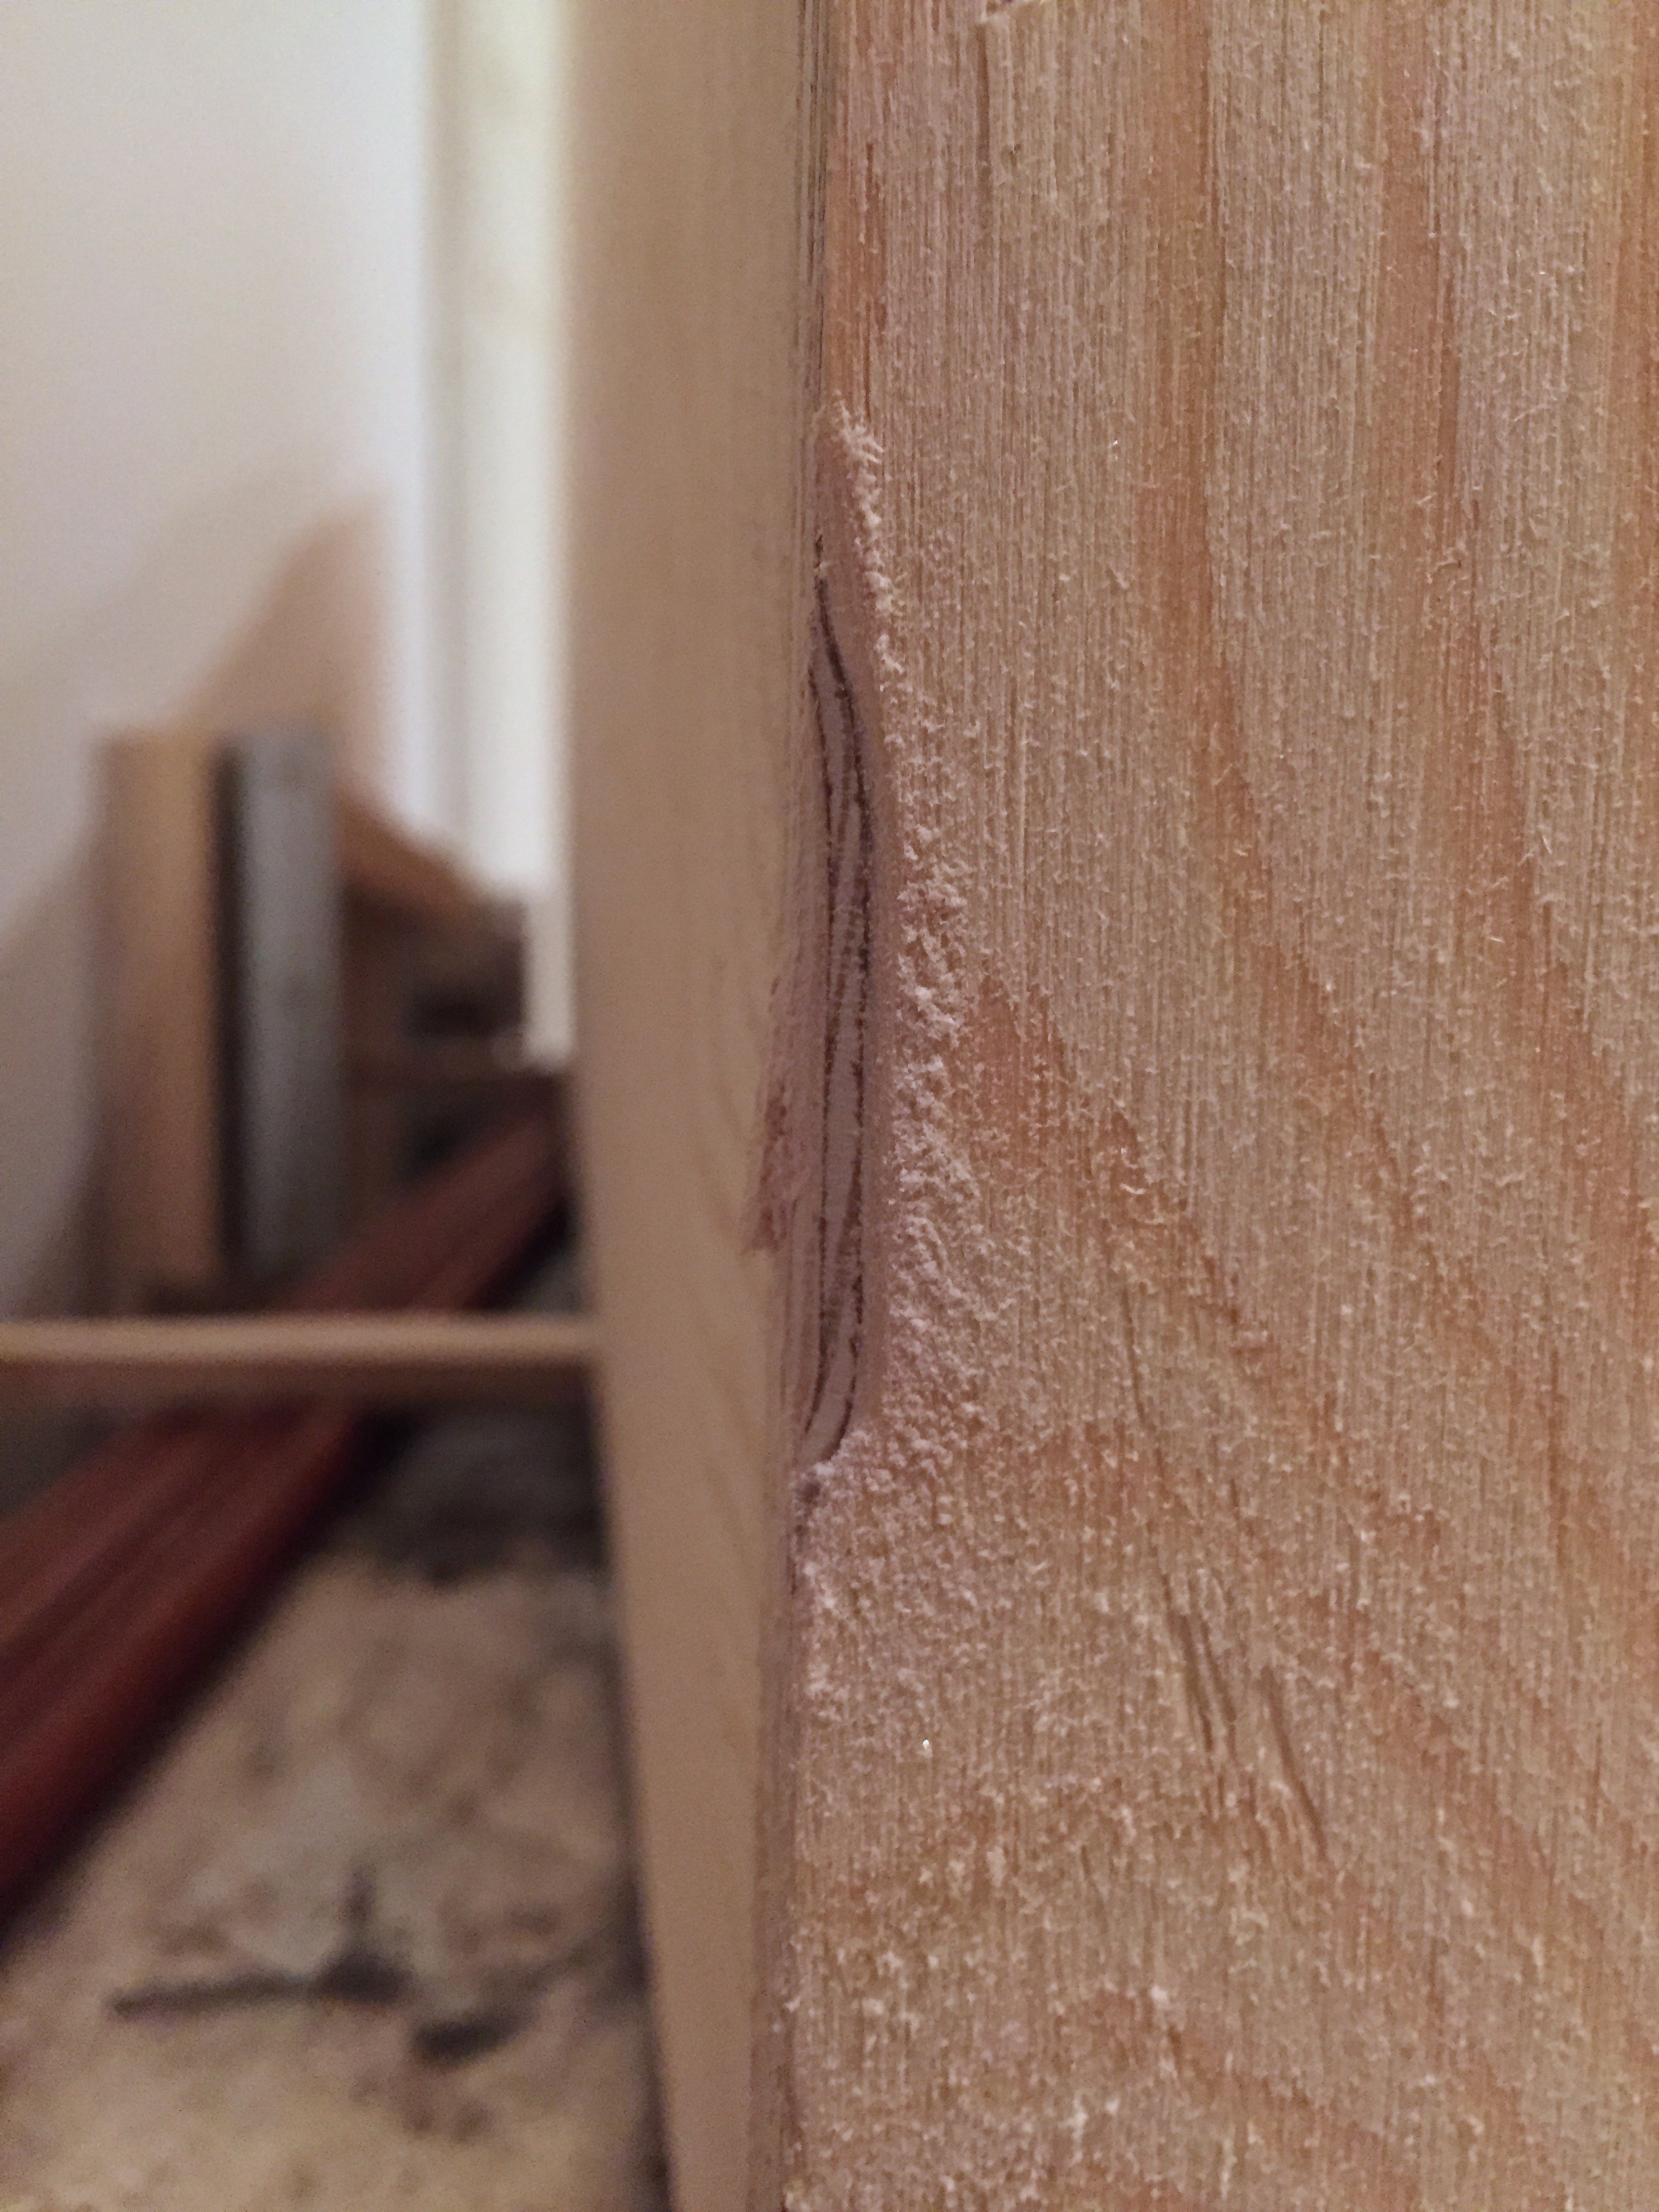
The technique I ended up using was to flatten the outside of the corner, then drill with a small pilot drill from inside the box, through the threaded holes of the brackets, and then out through the corner. I then drilled back in with a bigger drill.
It wasn't very pretty, but the legs themselves cover the areas around the holes, so it's not visible.
Flattened corner:

Ugly leg bolt holes from the outside:

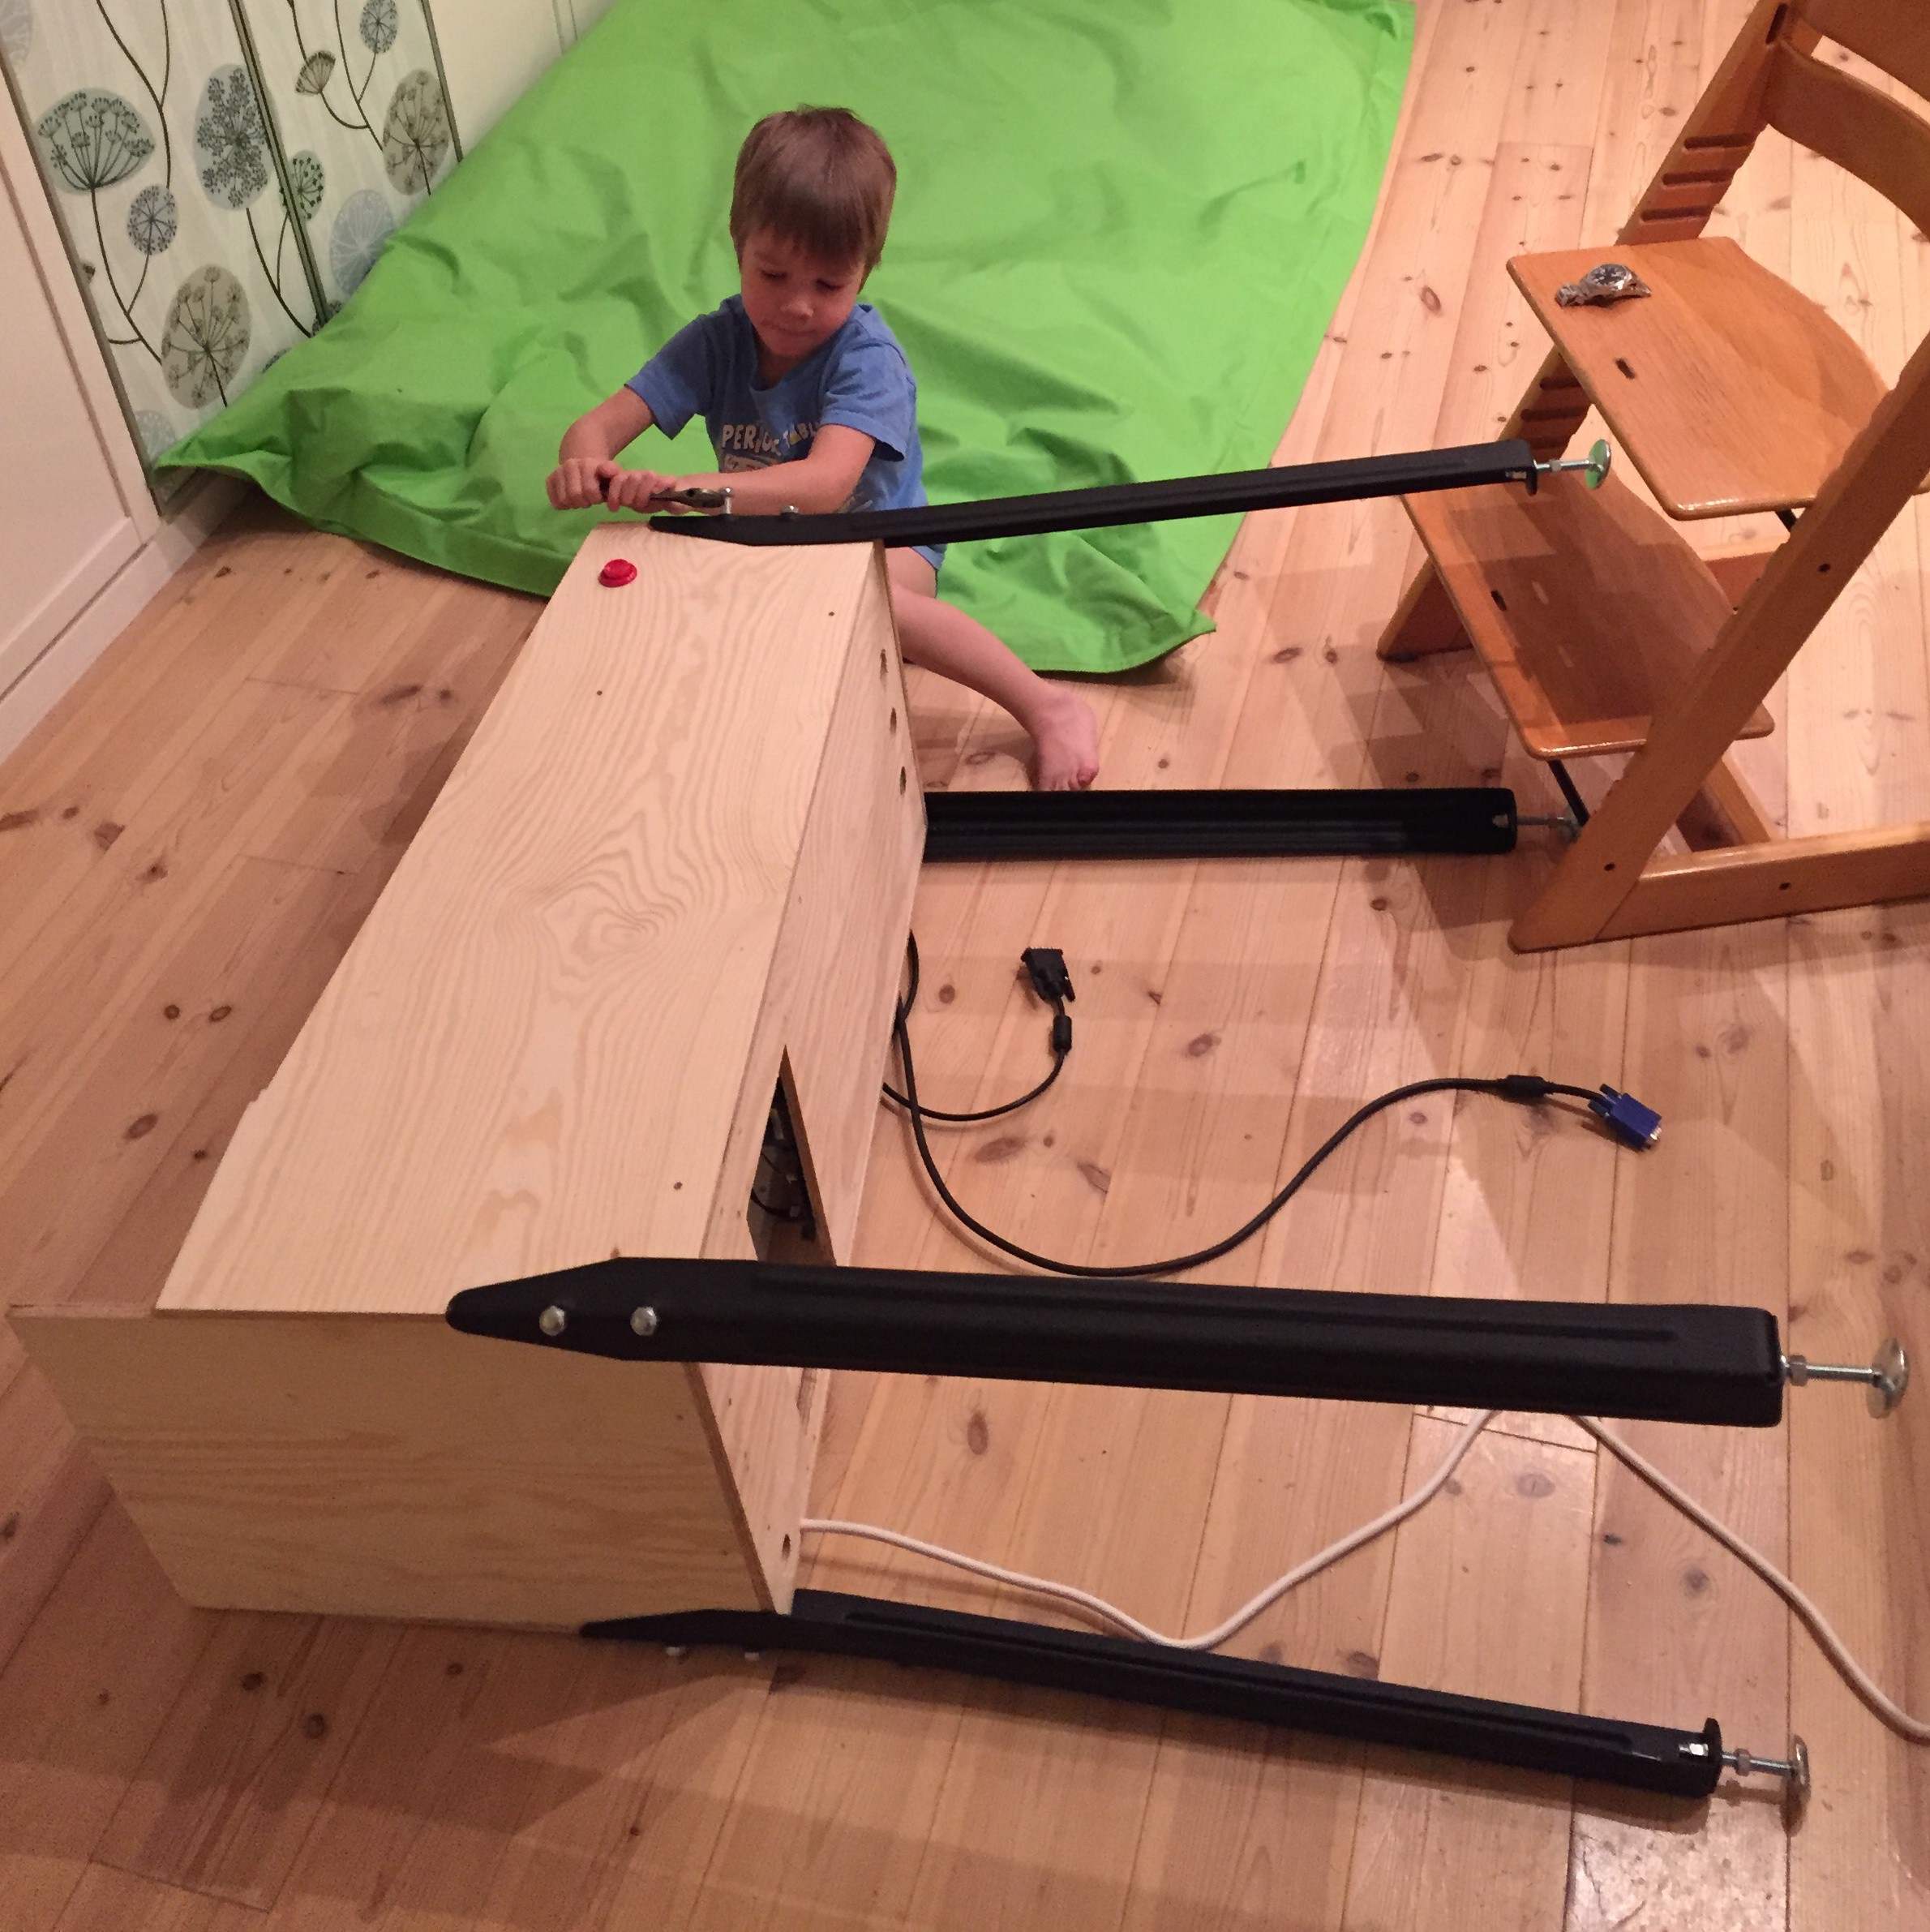
I got some help from my son to tighten mount the legs:

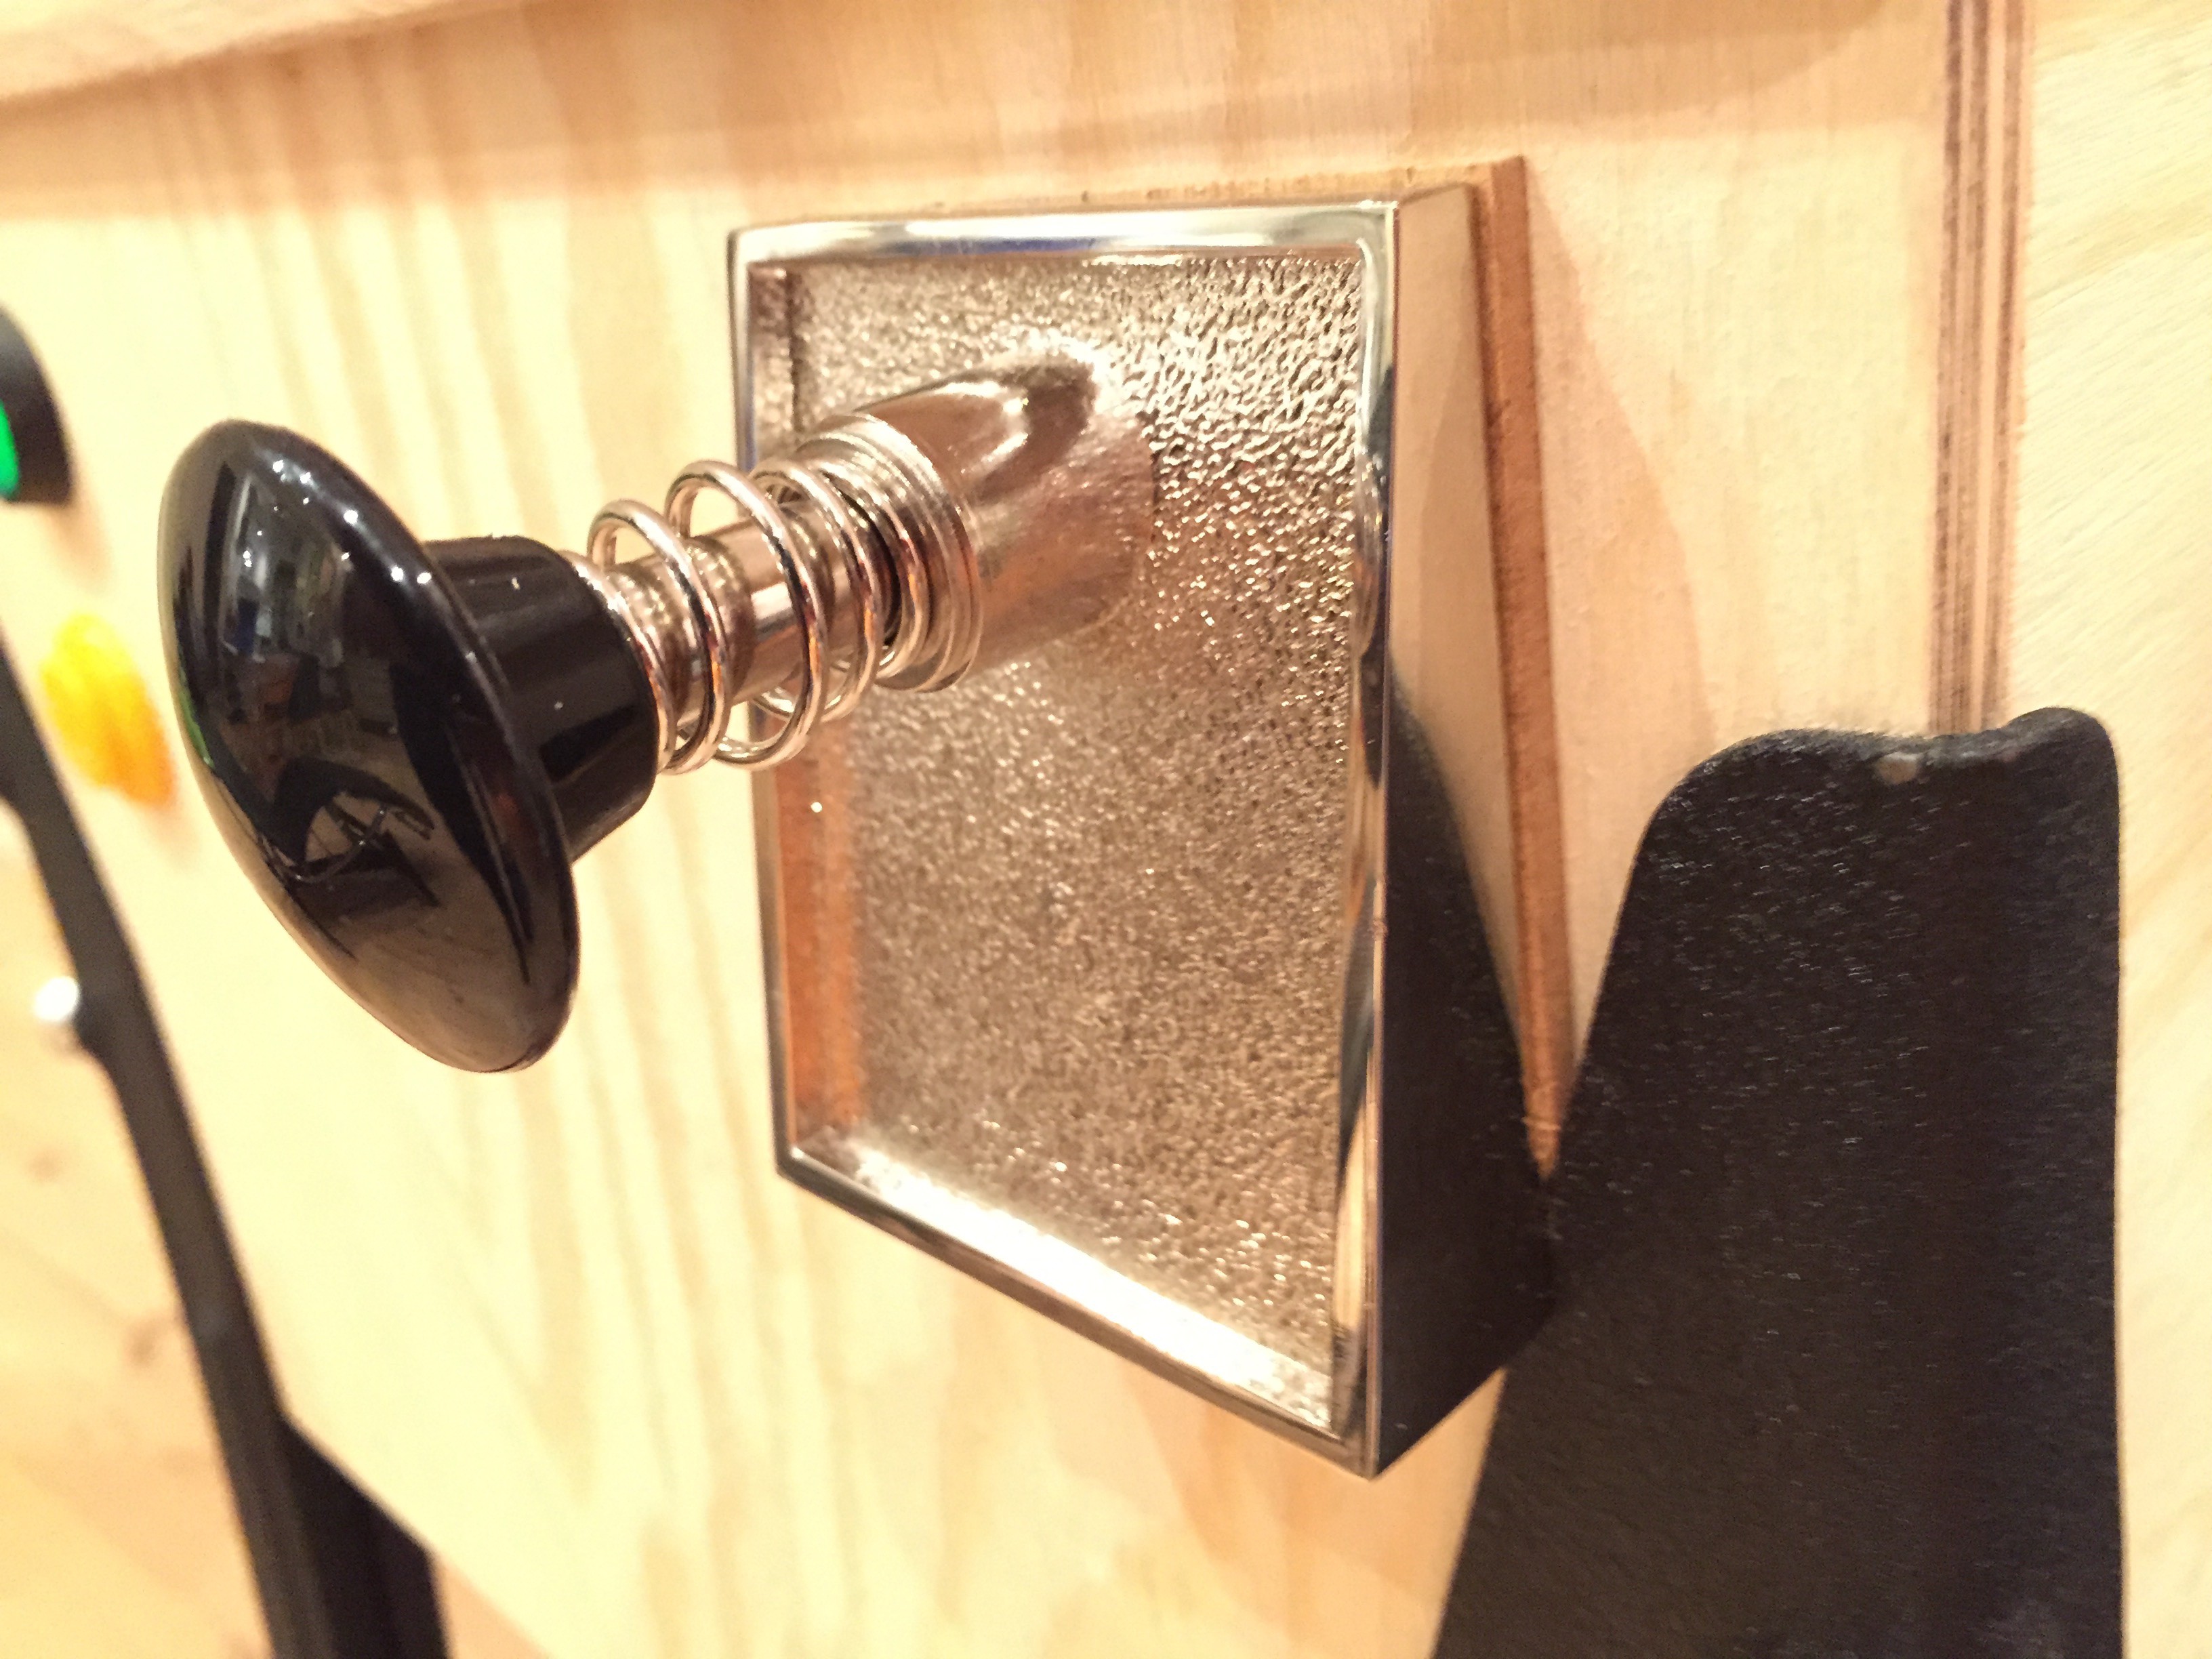
At about this time, I discovered the first mistake the plunger overlapped one of the front legs, so it wouldn't sit flush against the plywood. I fixed it by sawing a 3 mm thick piece of MDF to sit behind the plunger:

Discussions
Become a Hackaday.io Member
Create an account to leave a comment. Already have an account? Log In.