Further modifications:
- We will continue to design and print 3D replacements for our robot, because things always break on our robot.
- We will try to improve our 3D models for the phone support, for the end caps, and for the strain reliefs to provide better functionality.
Things we have learned while designing and printing those repairs:
- You almost never need more than 75% infill on a piece, it only increases the printing time without adding too much strenght.
- Some pieces, like the pieces from the Tetrix kit are very easy to print because you can find them in the virtual kit
- Other pieces, like the end cap or the double end cap for our 20x20 profiles are very easy to design if you have a calliper and a profile next to your computer, because you can get the exact measurements very fast and easy
- We learnt that, even if PLA breaks easier than aluminium or steel, doubling the thickness of some parts like the motor mount or the 3D printed gears can help with the strenght of our pieces (PET-G would have helped also, but our 3D printer cannot print in PET-G)
- Also, all the holes in our robot and in our models are M4, because they are the standard screws in Romania, and Imperial screws are very hard to find and very expensive.
The pieces we have printed/designed:
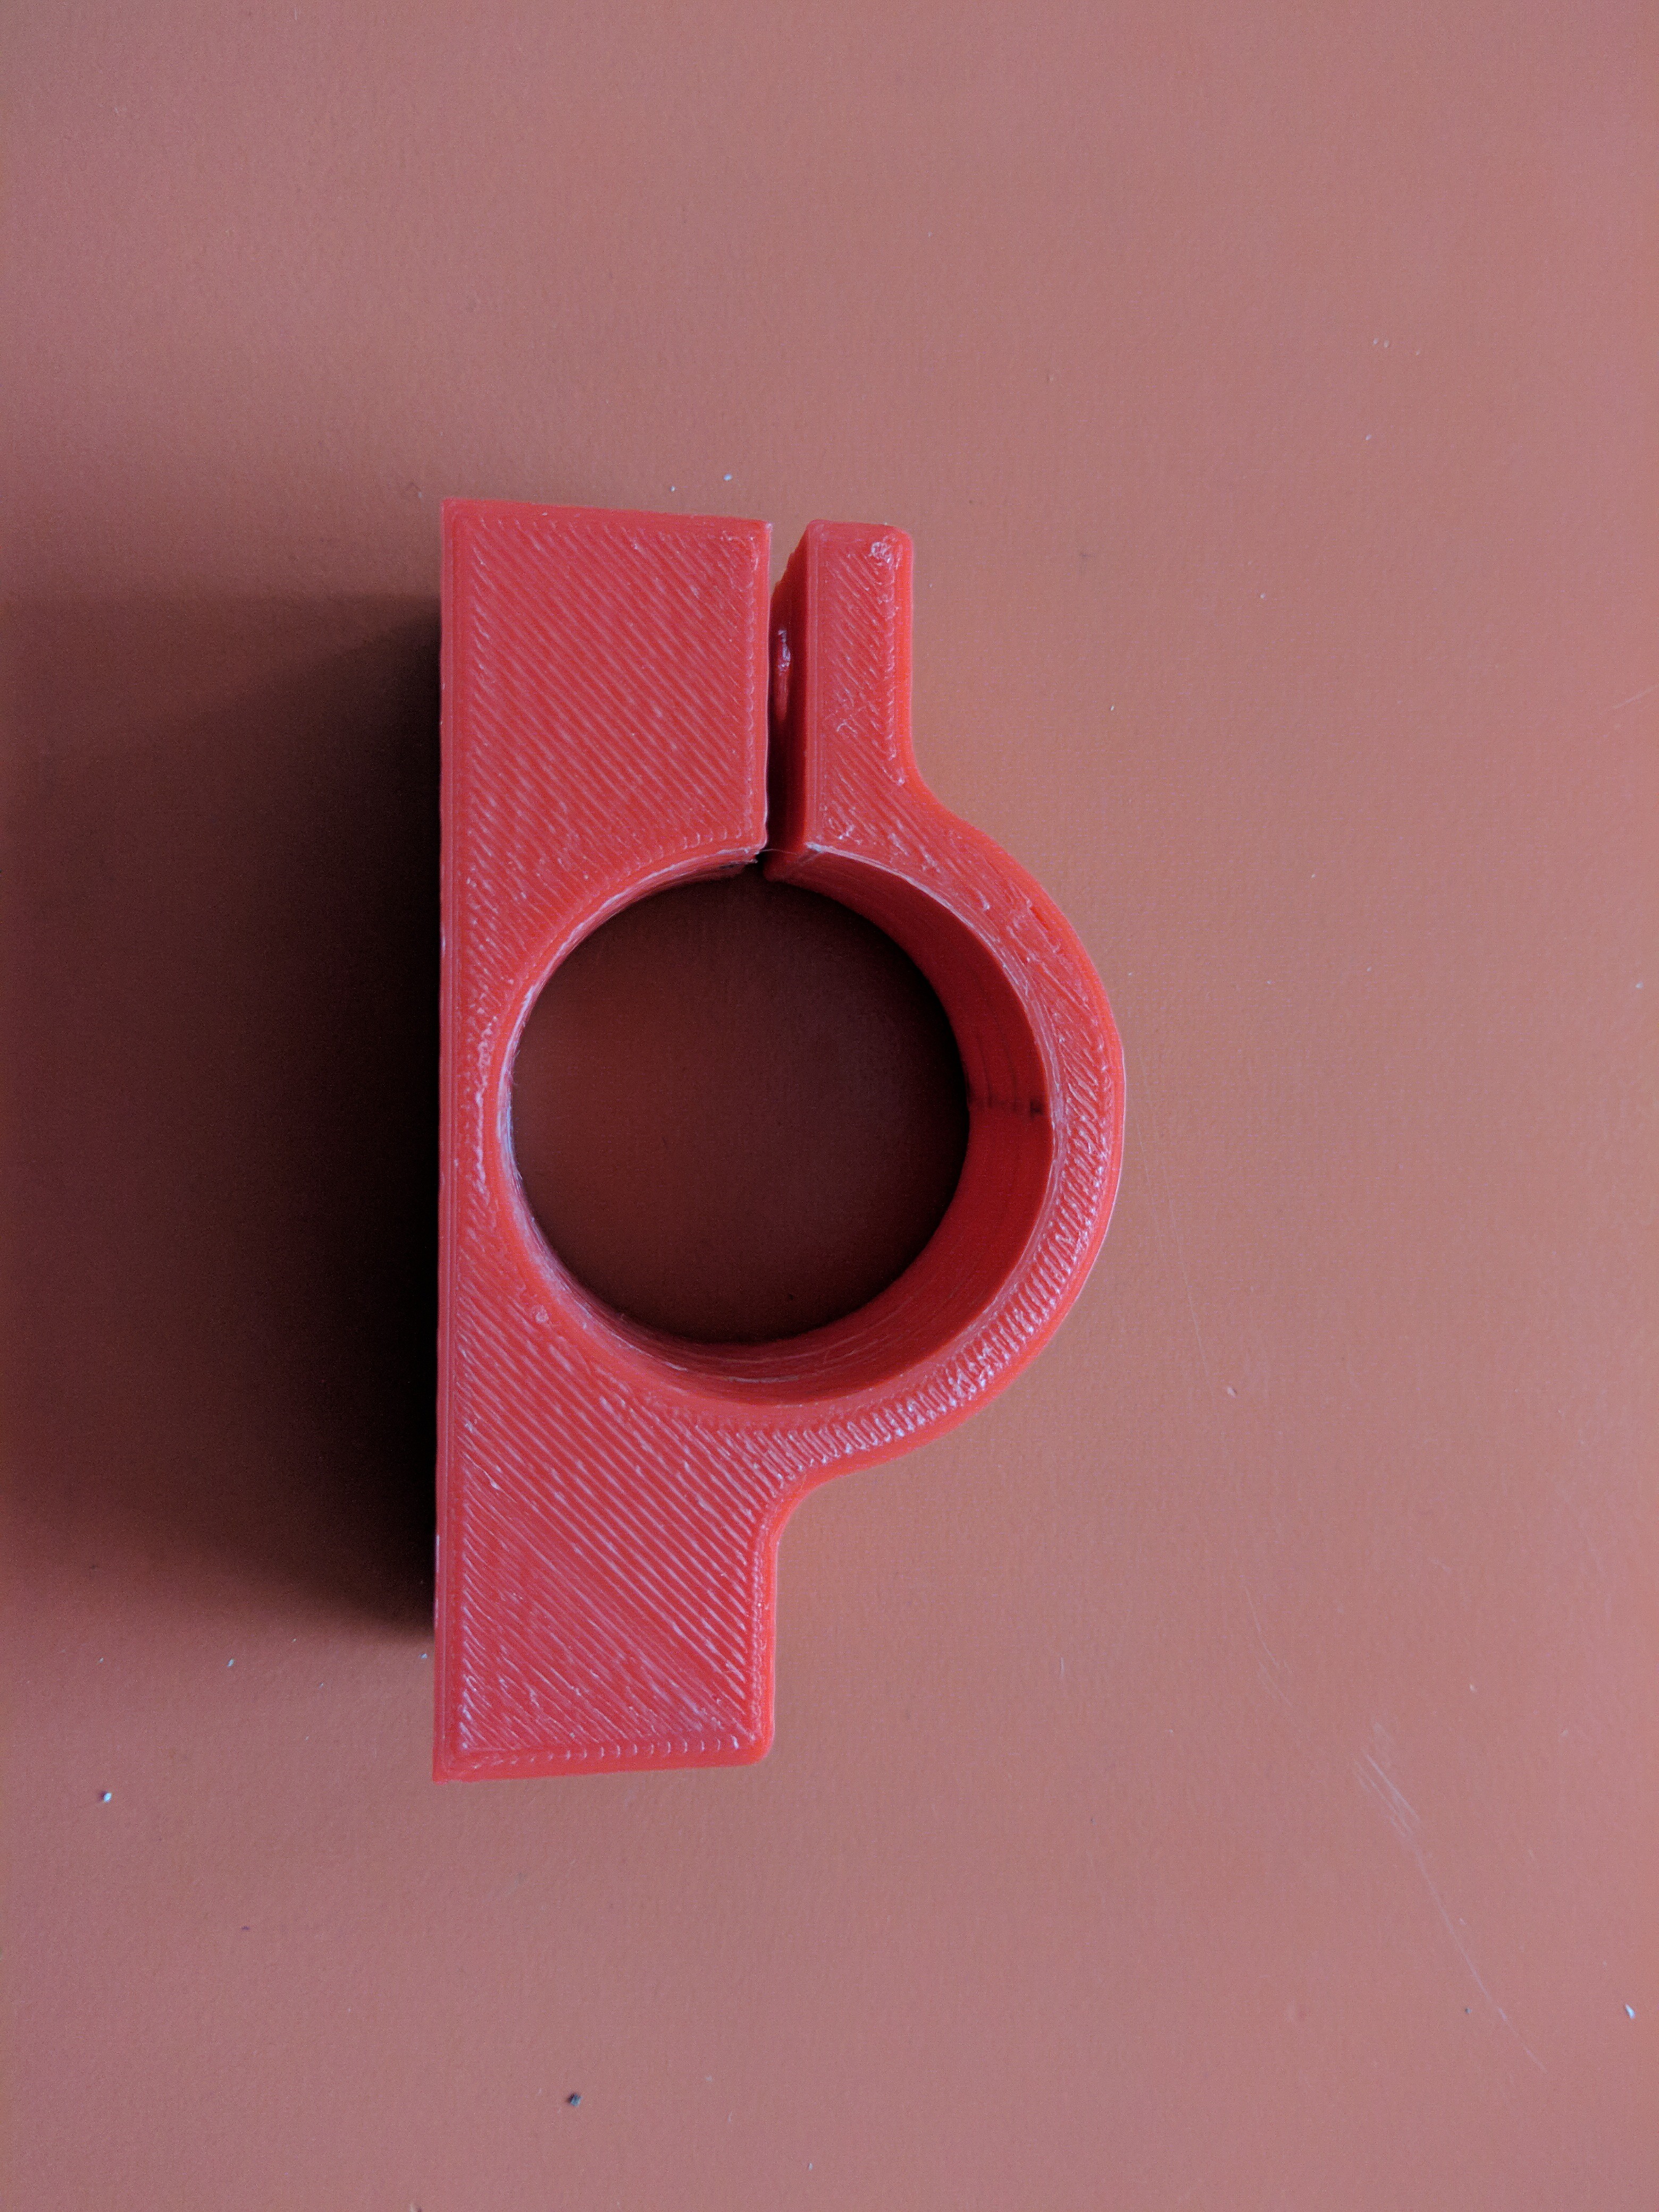
1. The double thickness Motor Mount: last year we wanted to mount an extra motor on the robot for the ball elevator, but we've discovered that we don't have any aluminium motor mounts left. Because we didn't have the option to buy another mount (we were 2 weeks before the deadline, shipping from USA to Romania takes 2-3 months), the 3D design team proposed that we print one, with double thickness. After a couple of failed prints (due to bed adhesion), we have printed the motor mount, and it survived all the shocks until now (it's been almost one year since printing). Here is what the piece looks now:
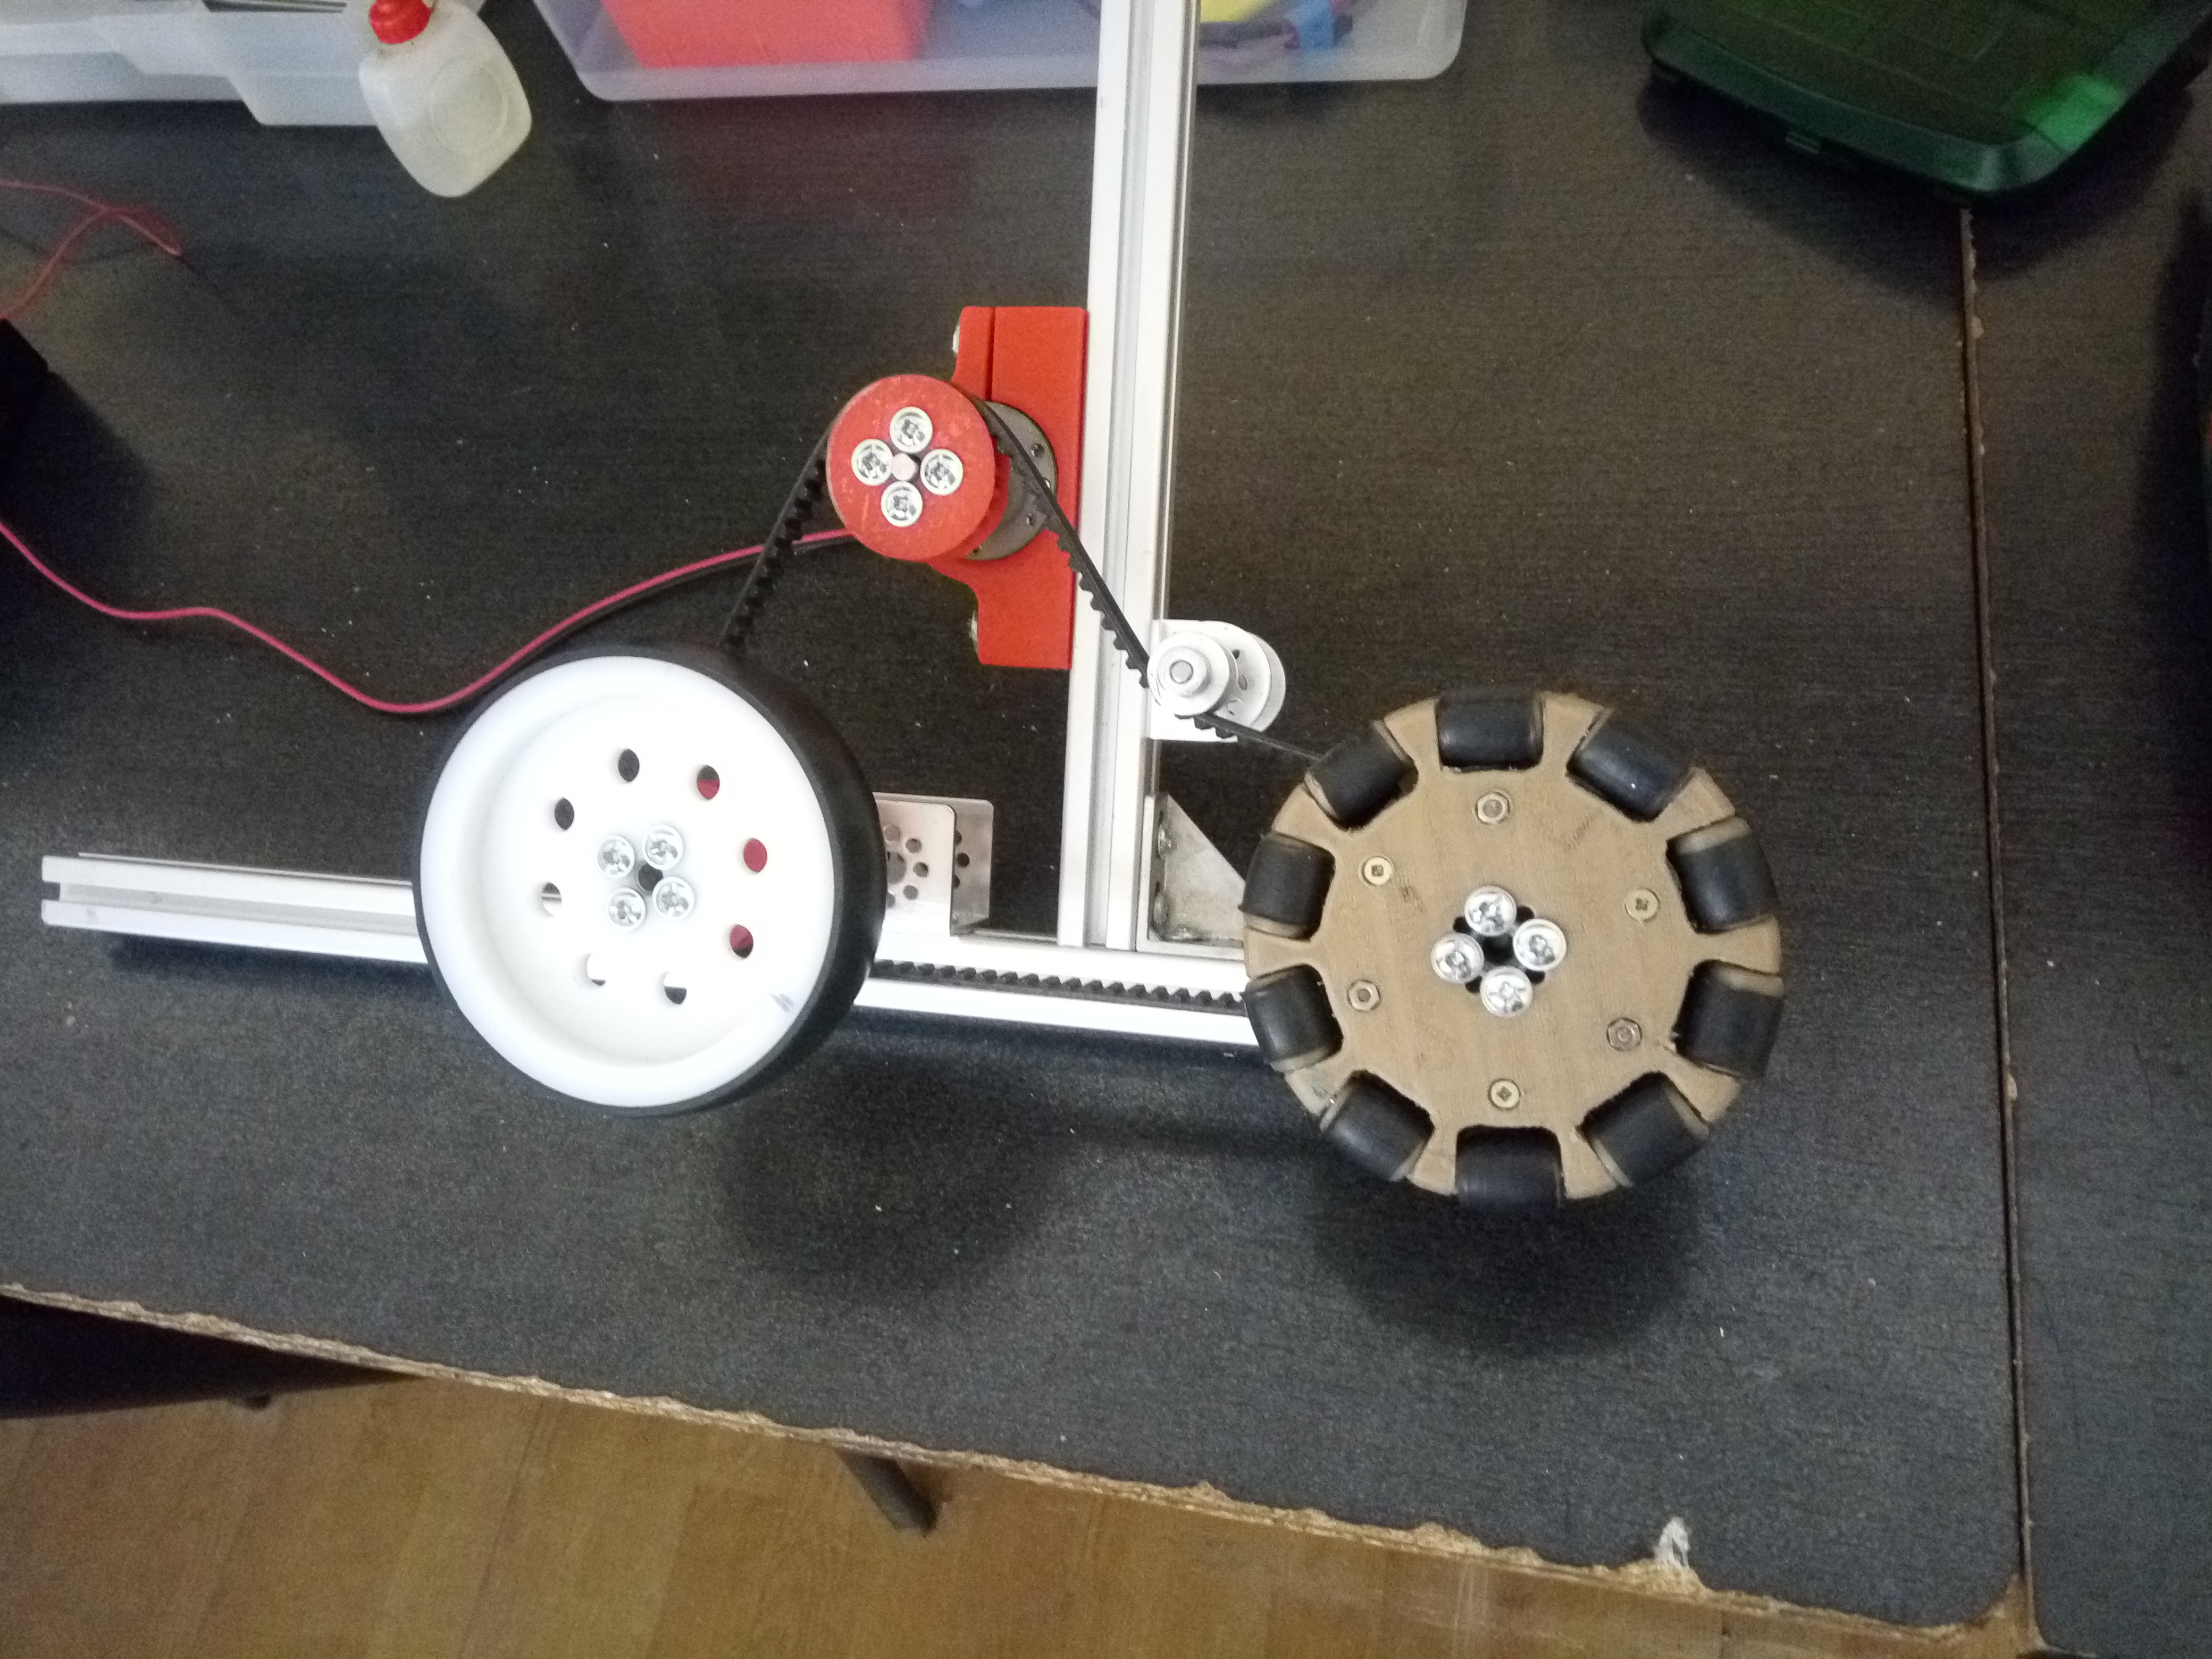
 and here is the Motor Mount mounted on our tank drive that we've built this summer:
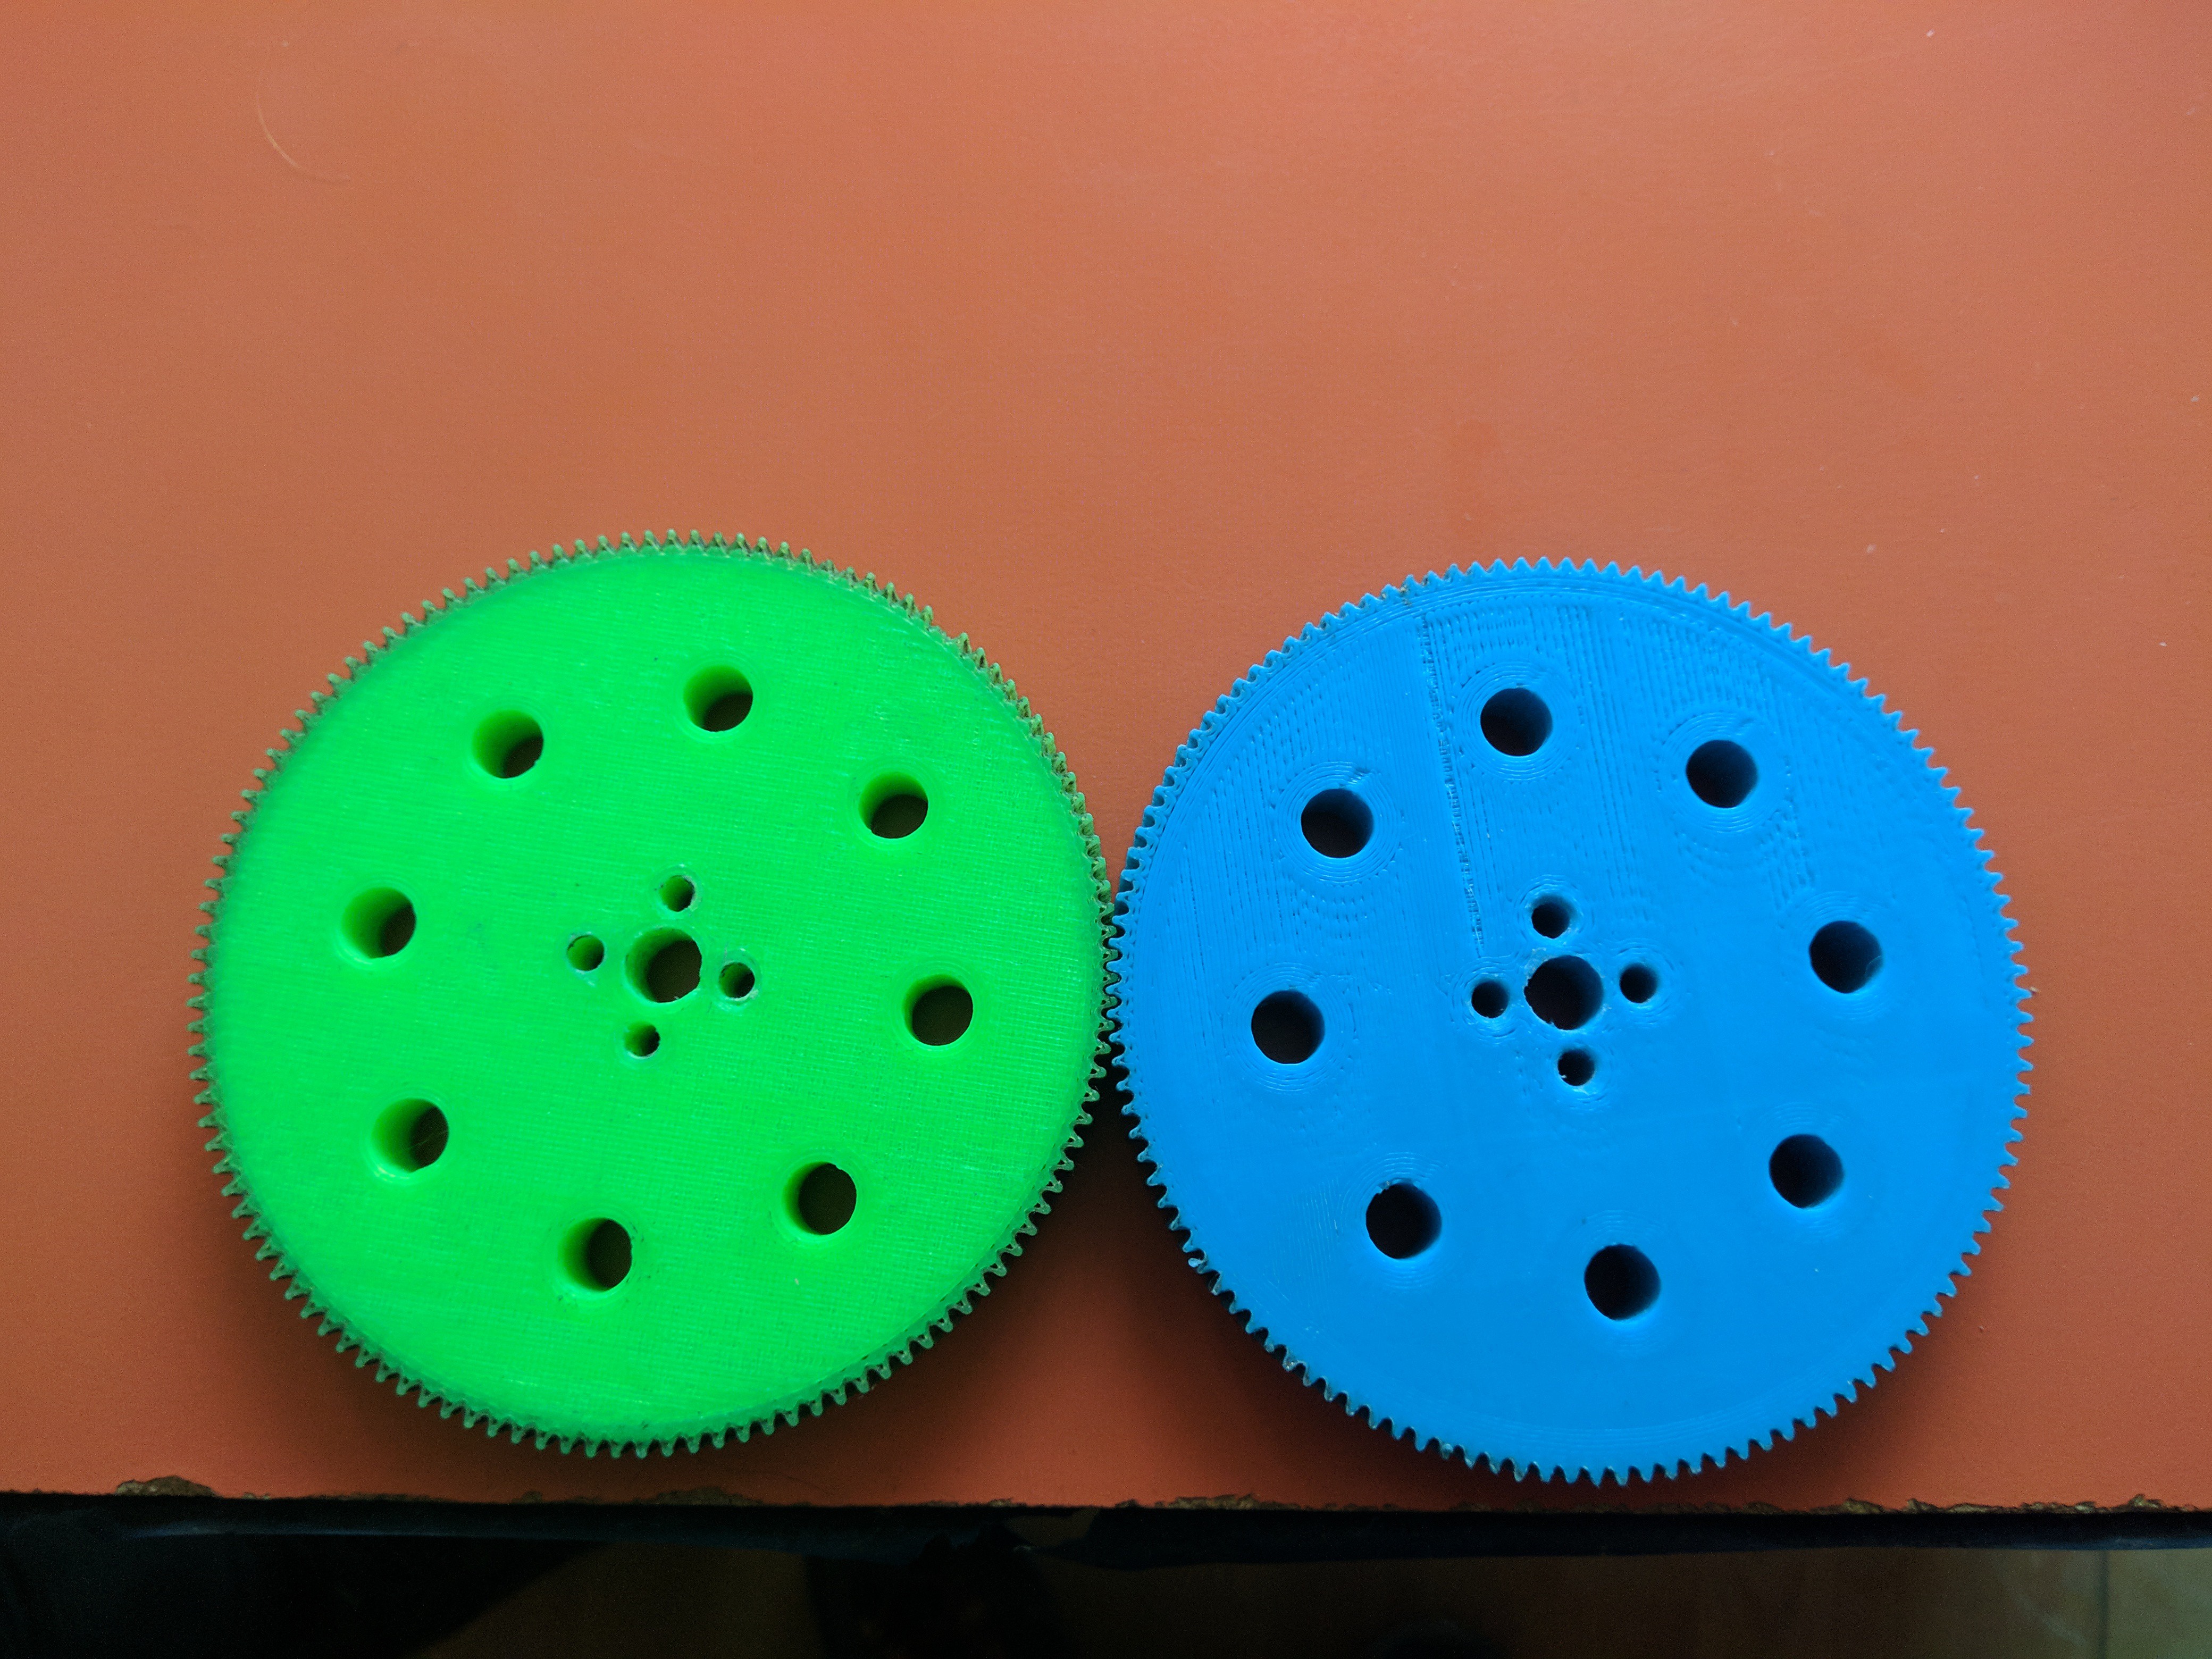
2. The double thickness gears: this summer we decided to make a new tank drive chasis. But we discovered that the gears we had were not enough, and even a new set of gears was not enough for both sides, because we needed 2 big 120 teeth gears, and one set contained only one gear of this type. So we decided to 3D print the double thickness gears. The printing took about 30 hours for 6 double thickness 80 teeth gears and 4 double thickness 120 teeth gears. They survived until this day, despite our abuses. Here are the printed gears:
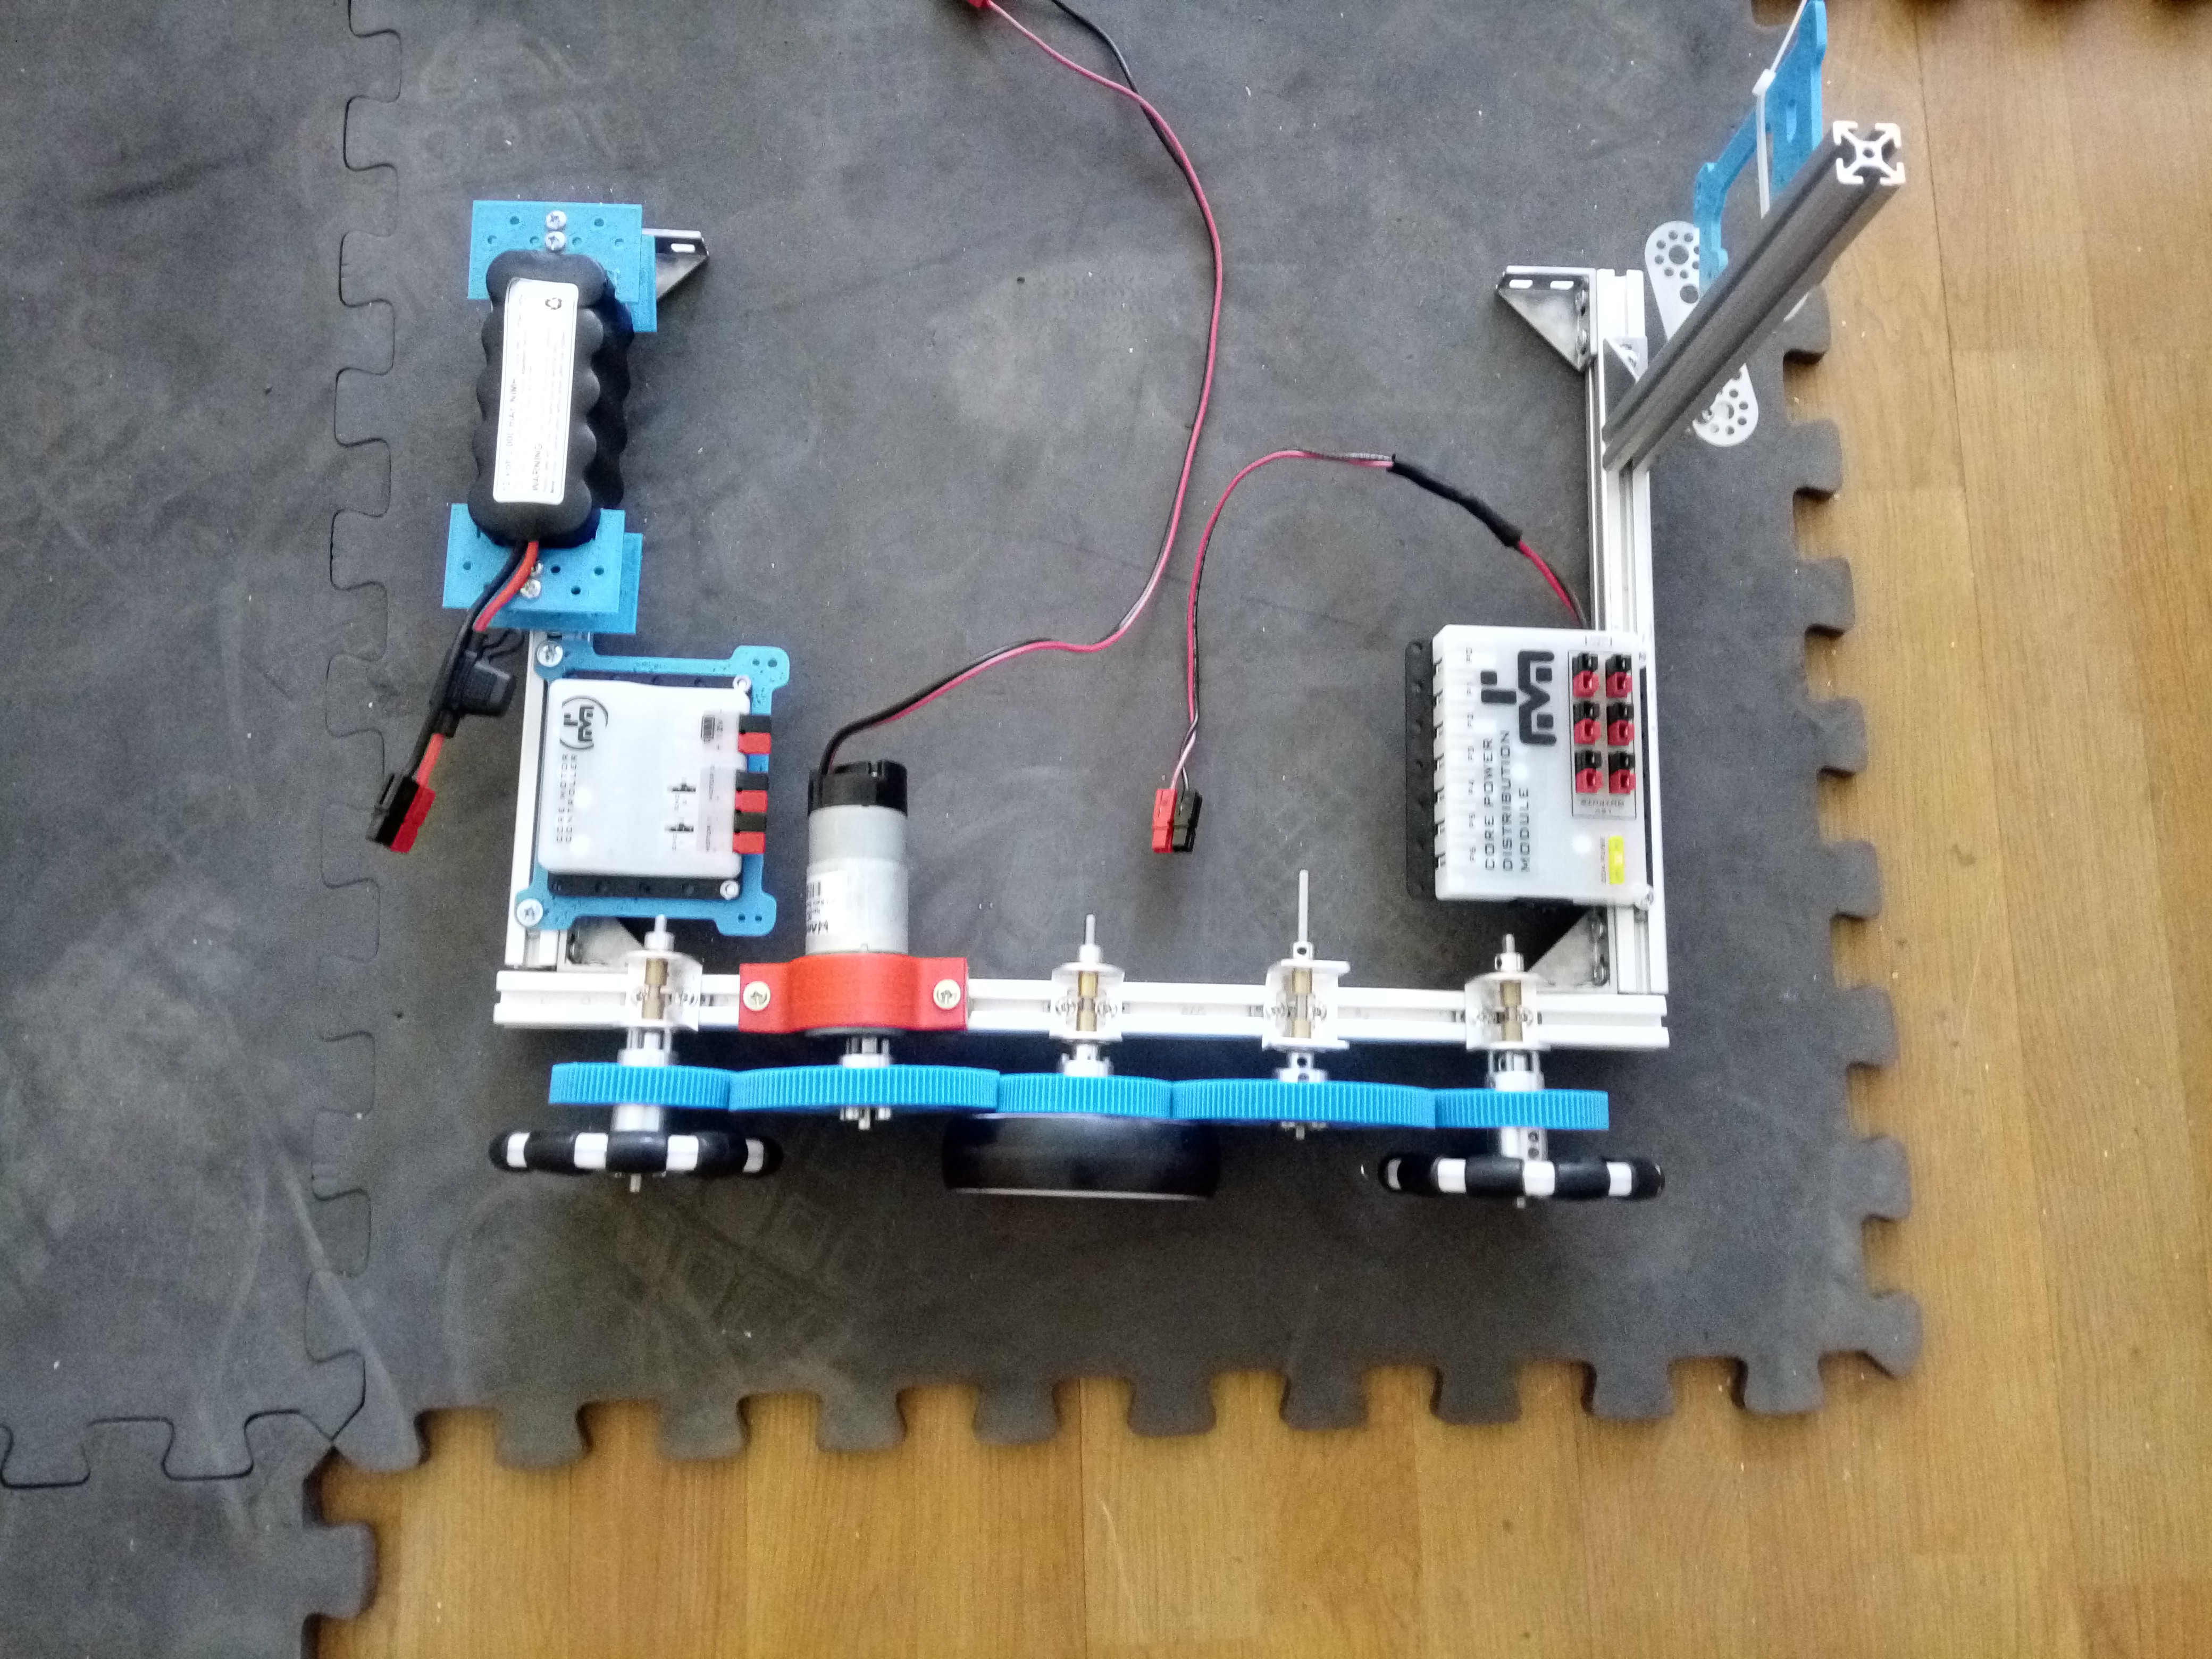
and here is a picture with half of them on the chasis:
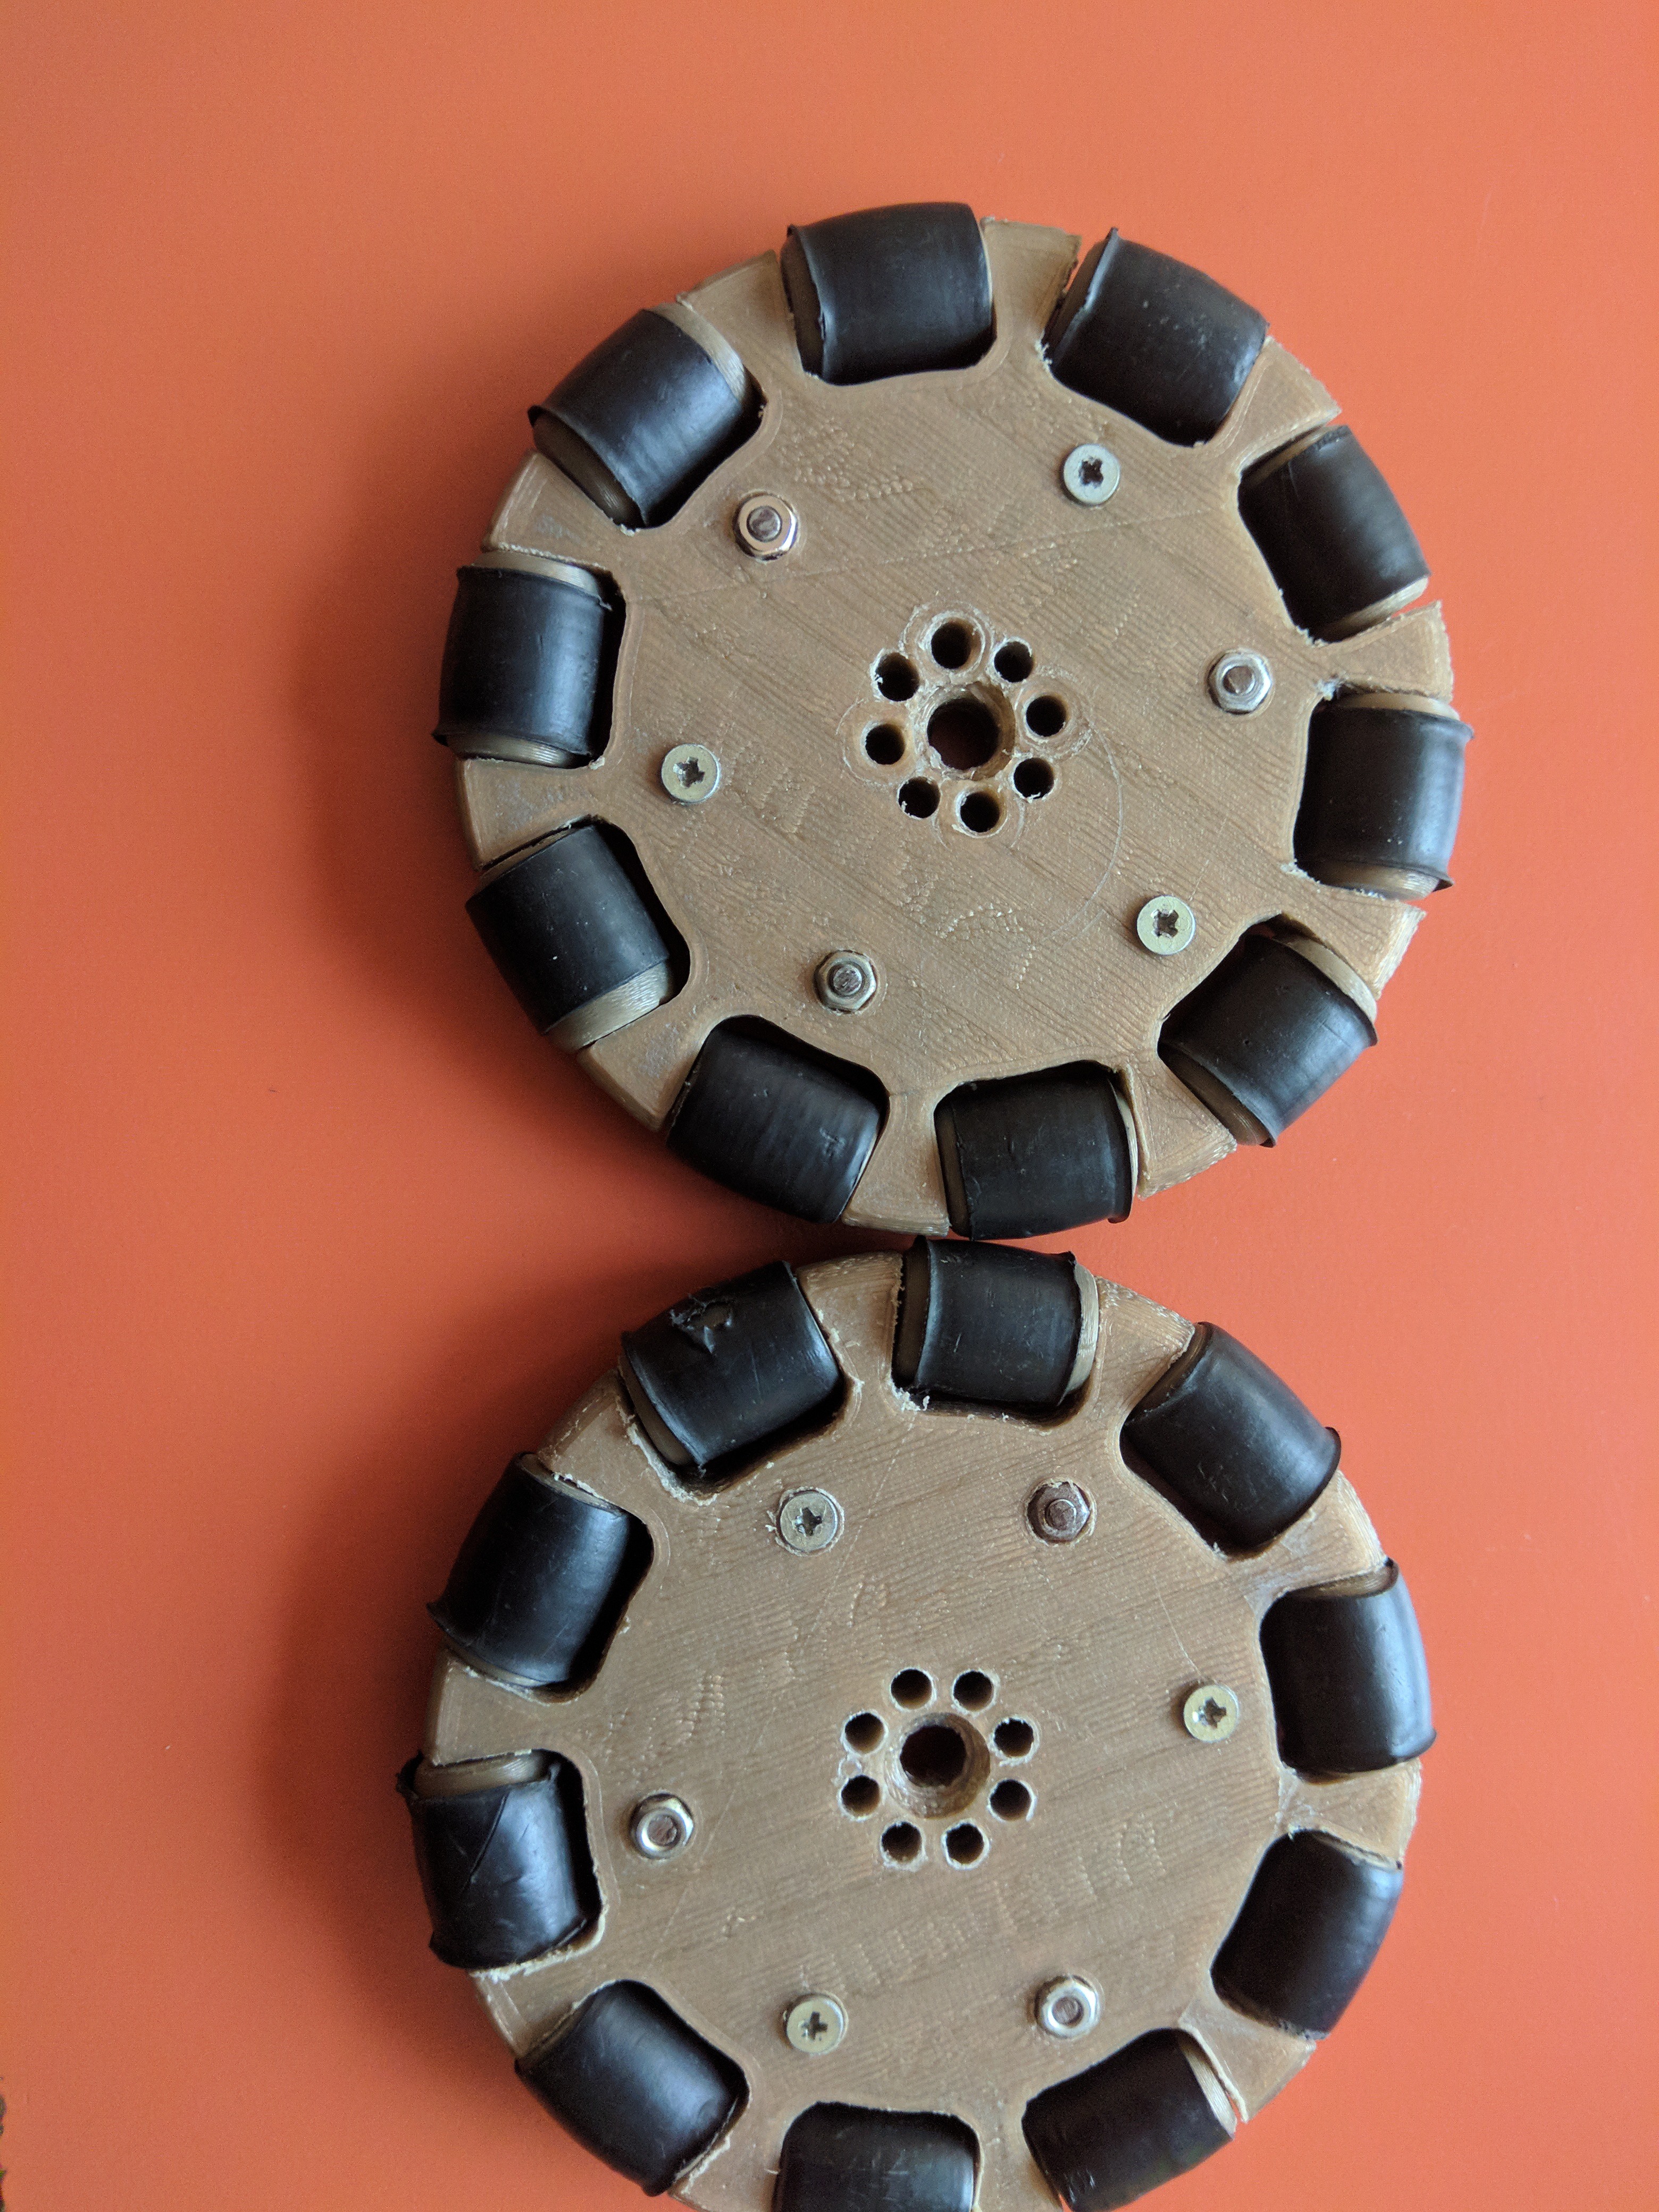
3. The 3D printed omni wheels: this were the objects that took the longest time to print & assemble from our list. One single wheel took about 10 hours of printing and one hour to assemble. After each piece (10 rollers and 2 frames) have been printed, each roller was wrapped in shrink tube, the. But despite the very low cost (actually the antennas were free) materials we have used, the omni wheels did their job and were good enough to help us get on the third place in qualification matches, despite the shrink tube needed to be changed after 3 matches. Here are the omniwheels (after all the matches):
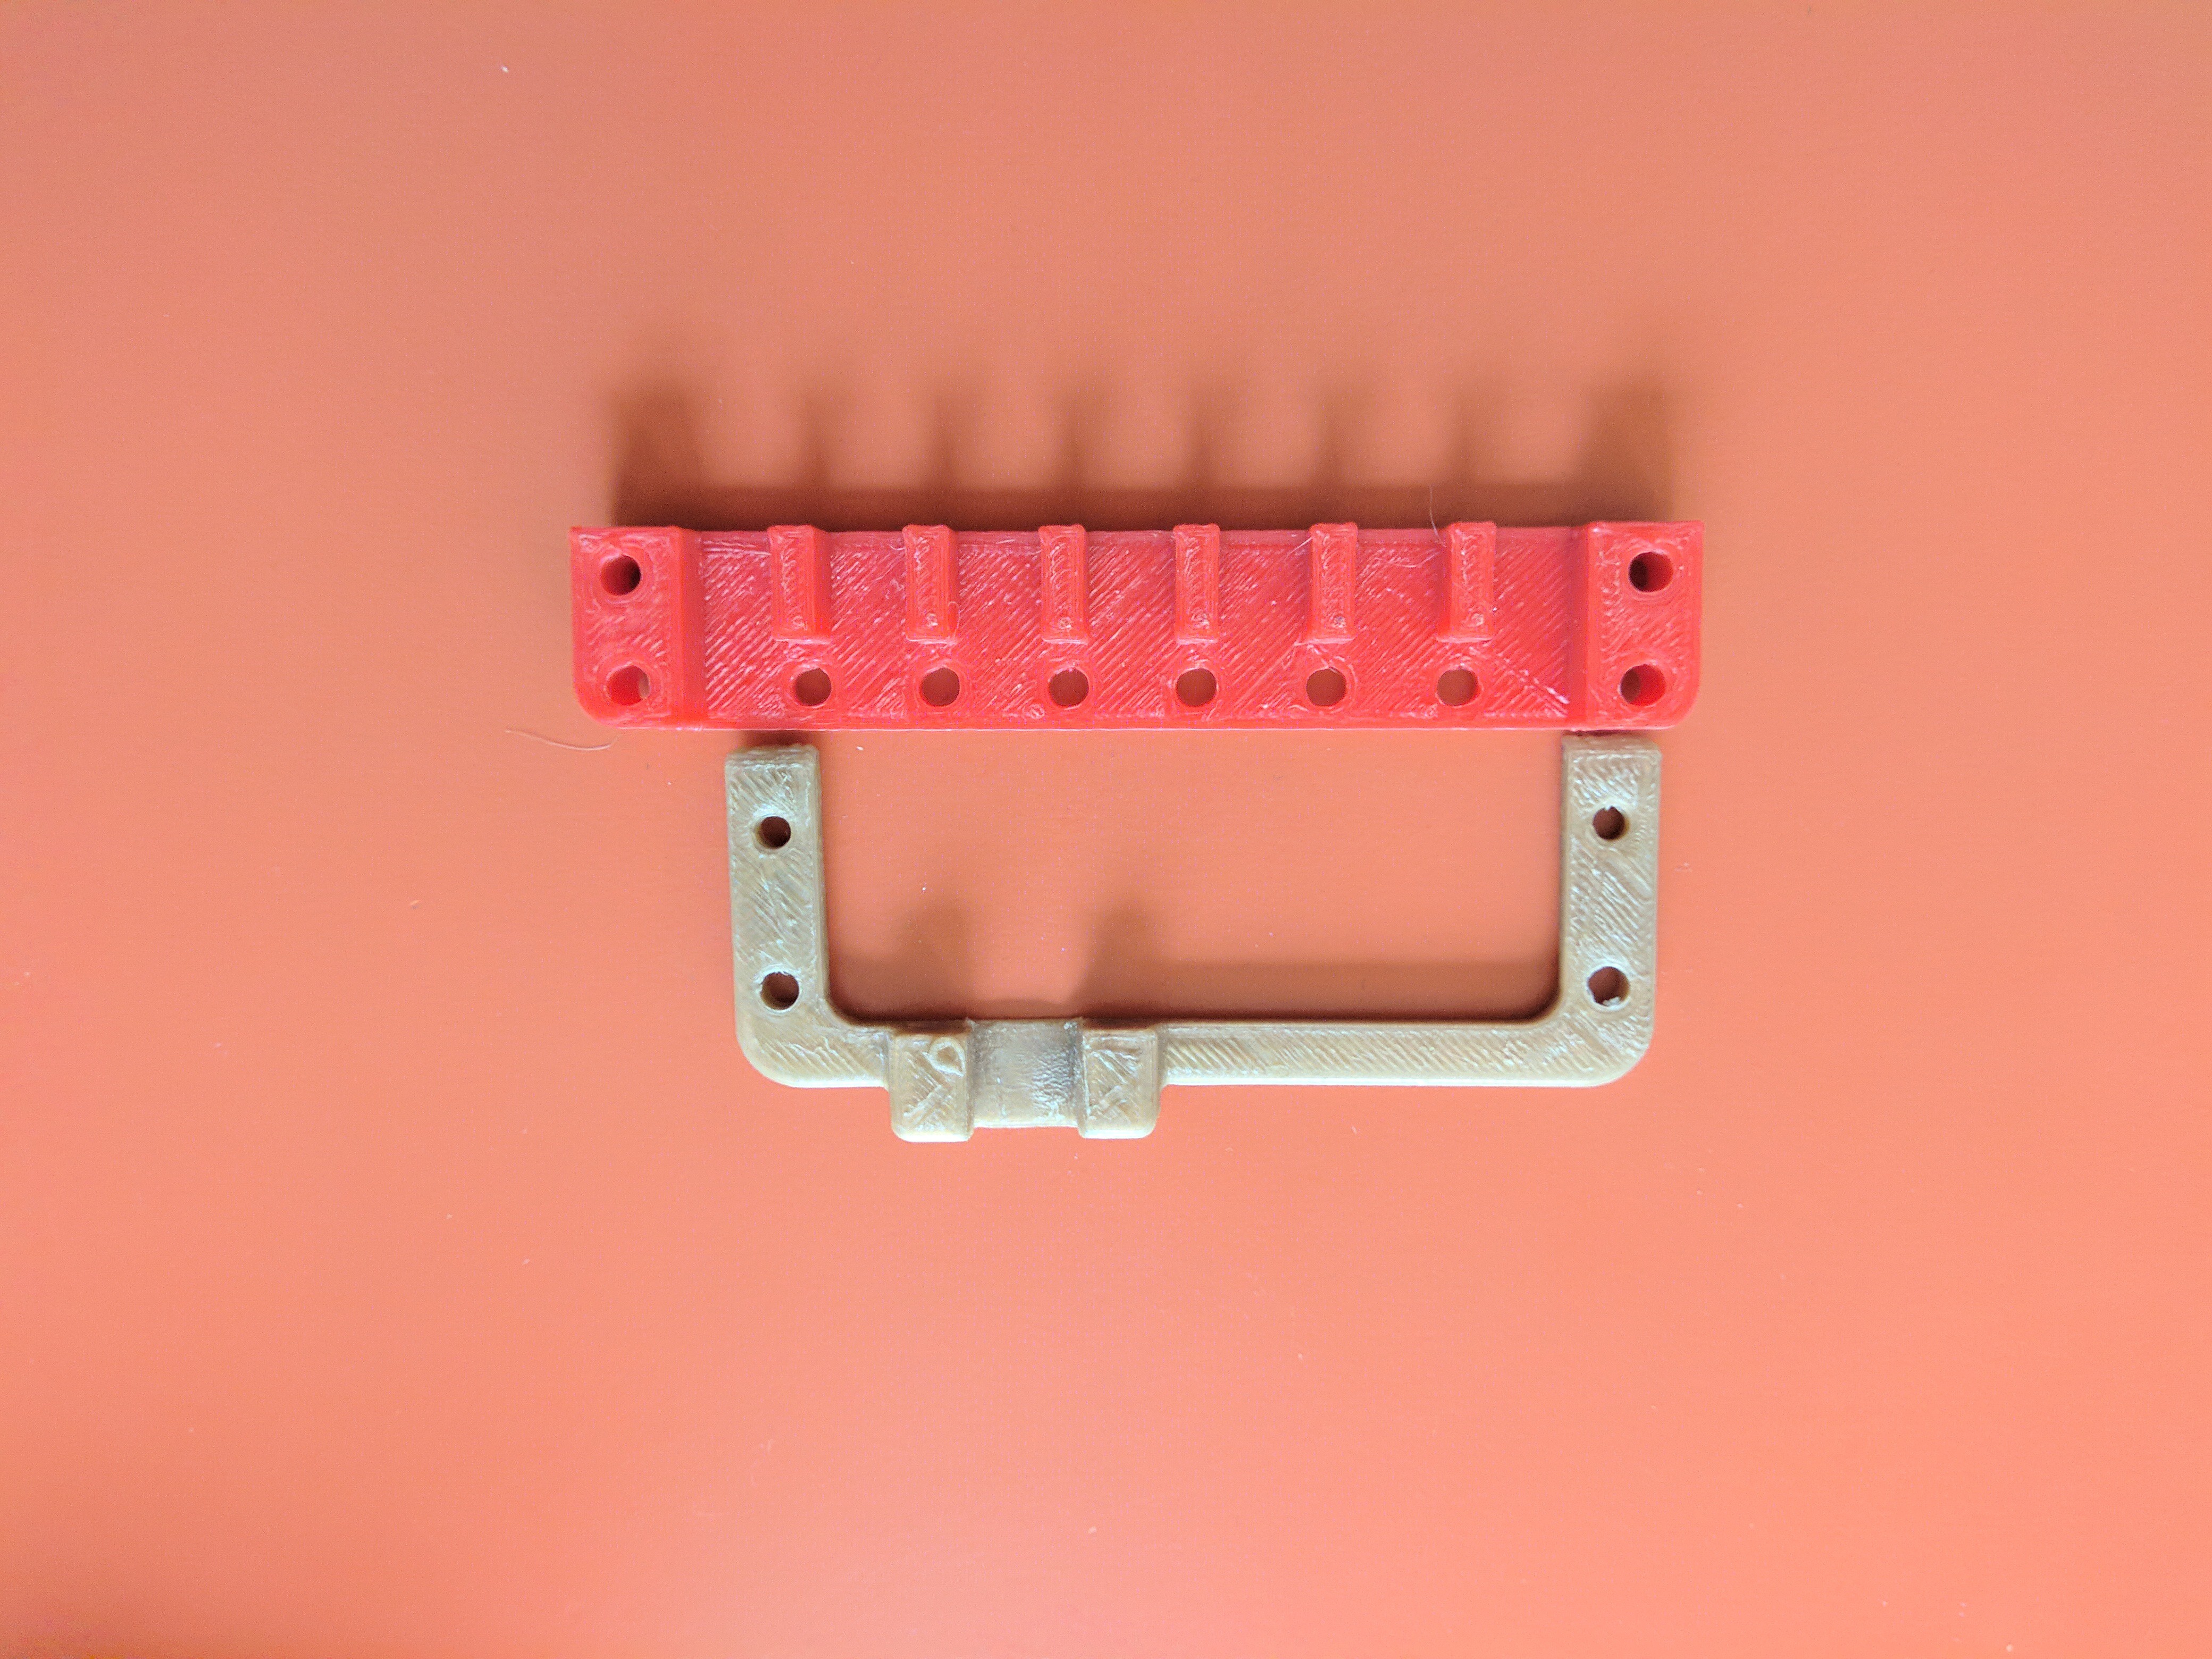
4. 3D printed strain reliefs: those are some strain reliefs we have printed for our electronics modules. They proved somewhat useful, but because our USBs were not losing their connection we decided not to use them. Here are the strain reliefs:
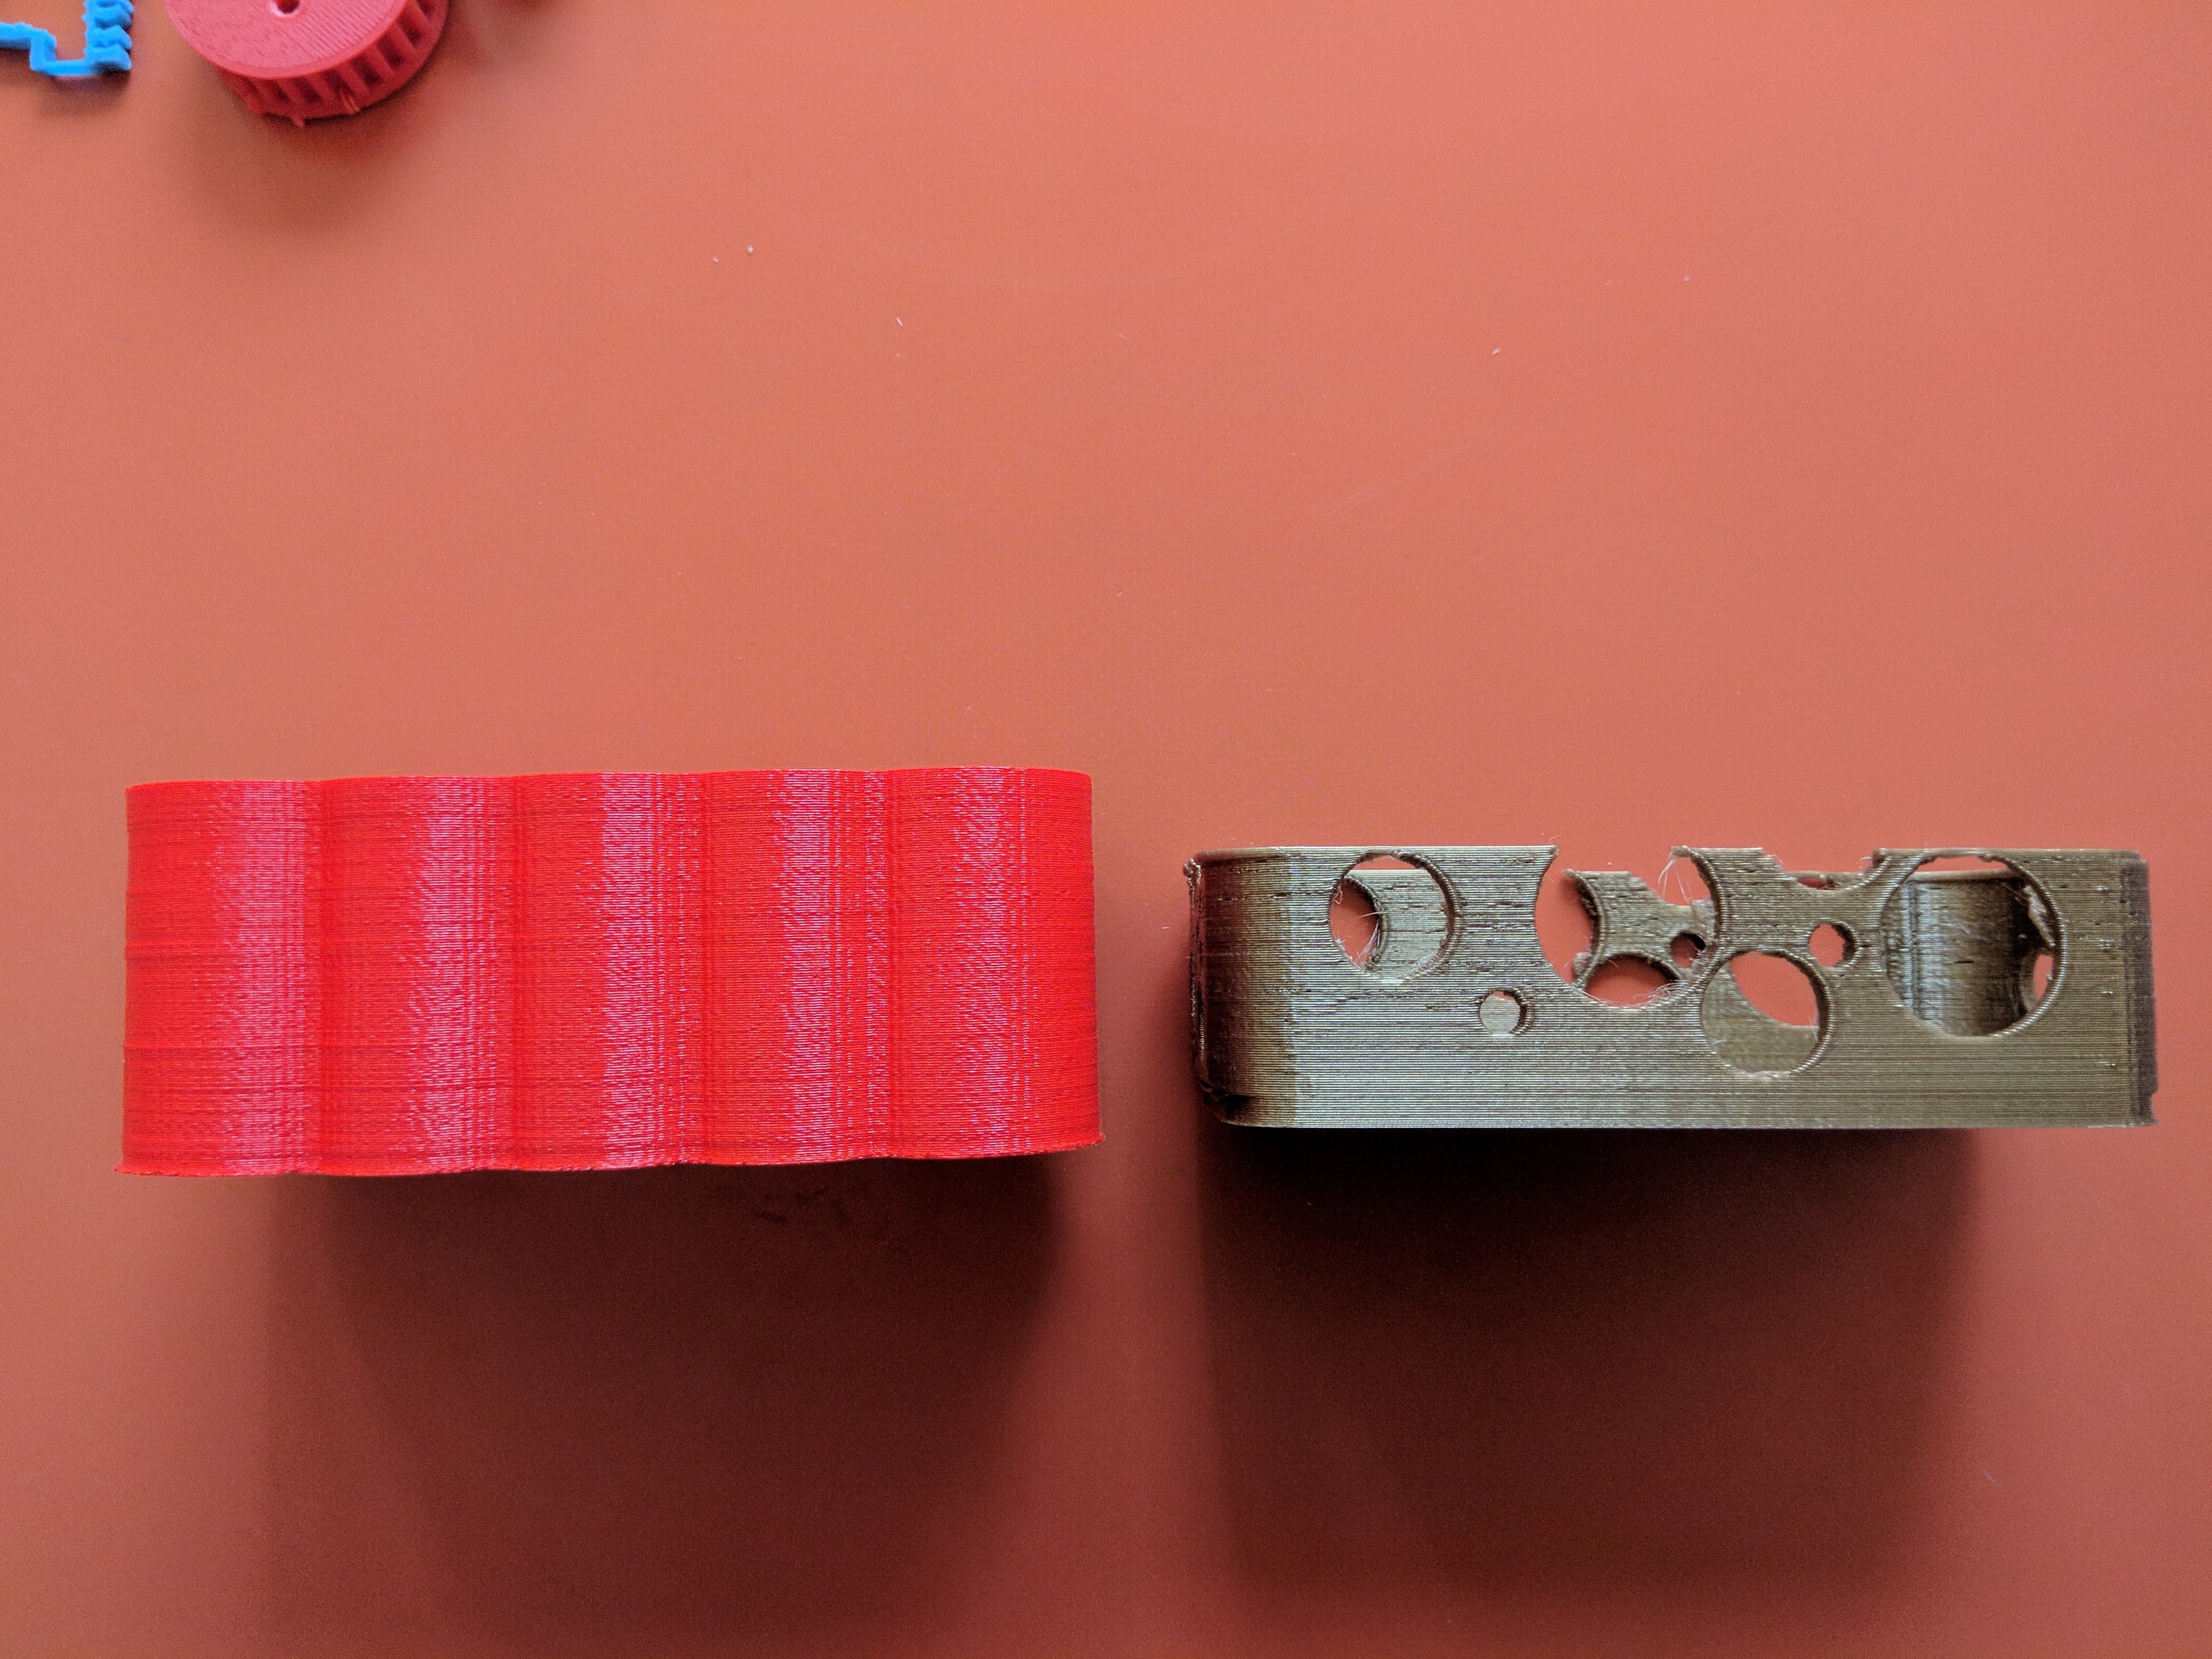
5. 3D printed battery holders: last year, we had a very odd battery holder mount, that used 2 U-shaped pieces. The mount was holding the battery well, but it was hard to change the battery, thing required after 2 matches. So we decided to design and print some models. Here we have the full battery holder, that we use right now on the robot (left) and the more "economic" version of it (right):
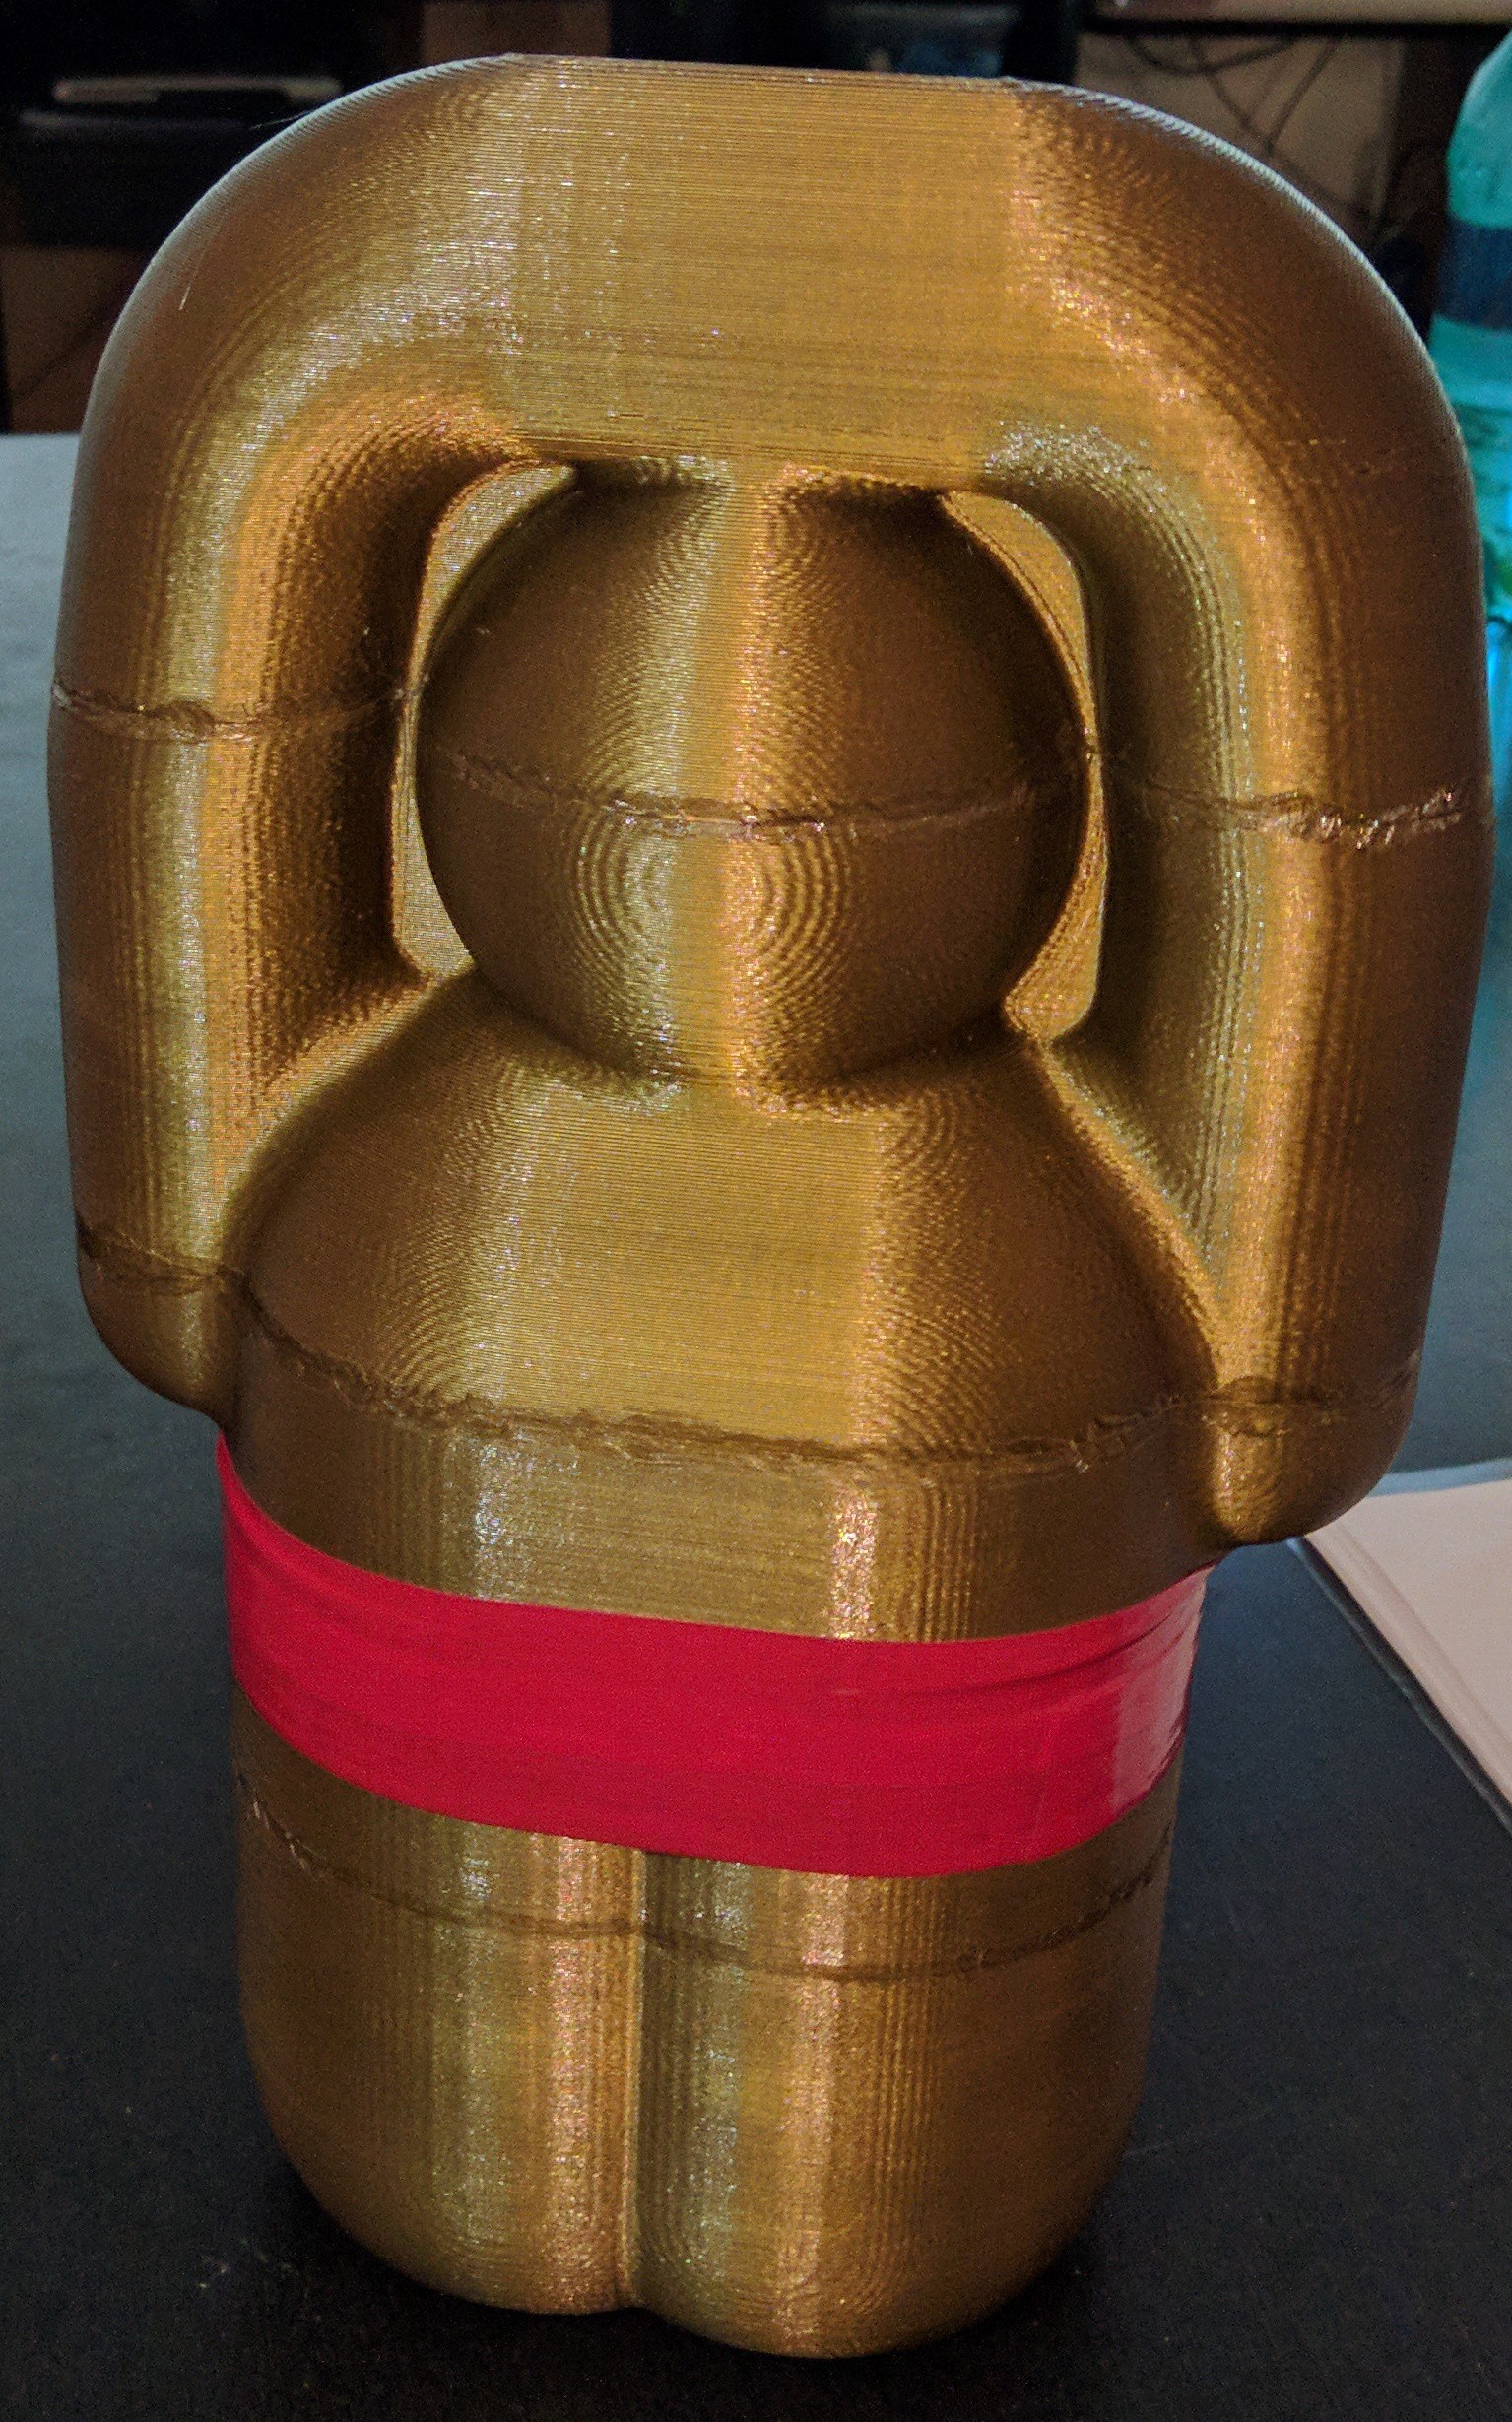
6. 3D printed relic: we did not have the relic when we began working at this year's robot, so we decided to 3D print it in 4 quarters, then fuse them with an soldering iron. The final result was precise both as dimensions, and as weight. The hole piece took about 10 hours to print. Here we have the relic:
7. The 3D printed module rack: last year we thought that we could mount all our electronics on a specially designed rack taken from Thingiverse. But later it turned out to be a bad ideea, because the rack took very much space on our robot and it was very hard to access the wiring from the electronic modules when they were on this module rack. Those are the pieces:
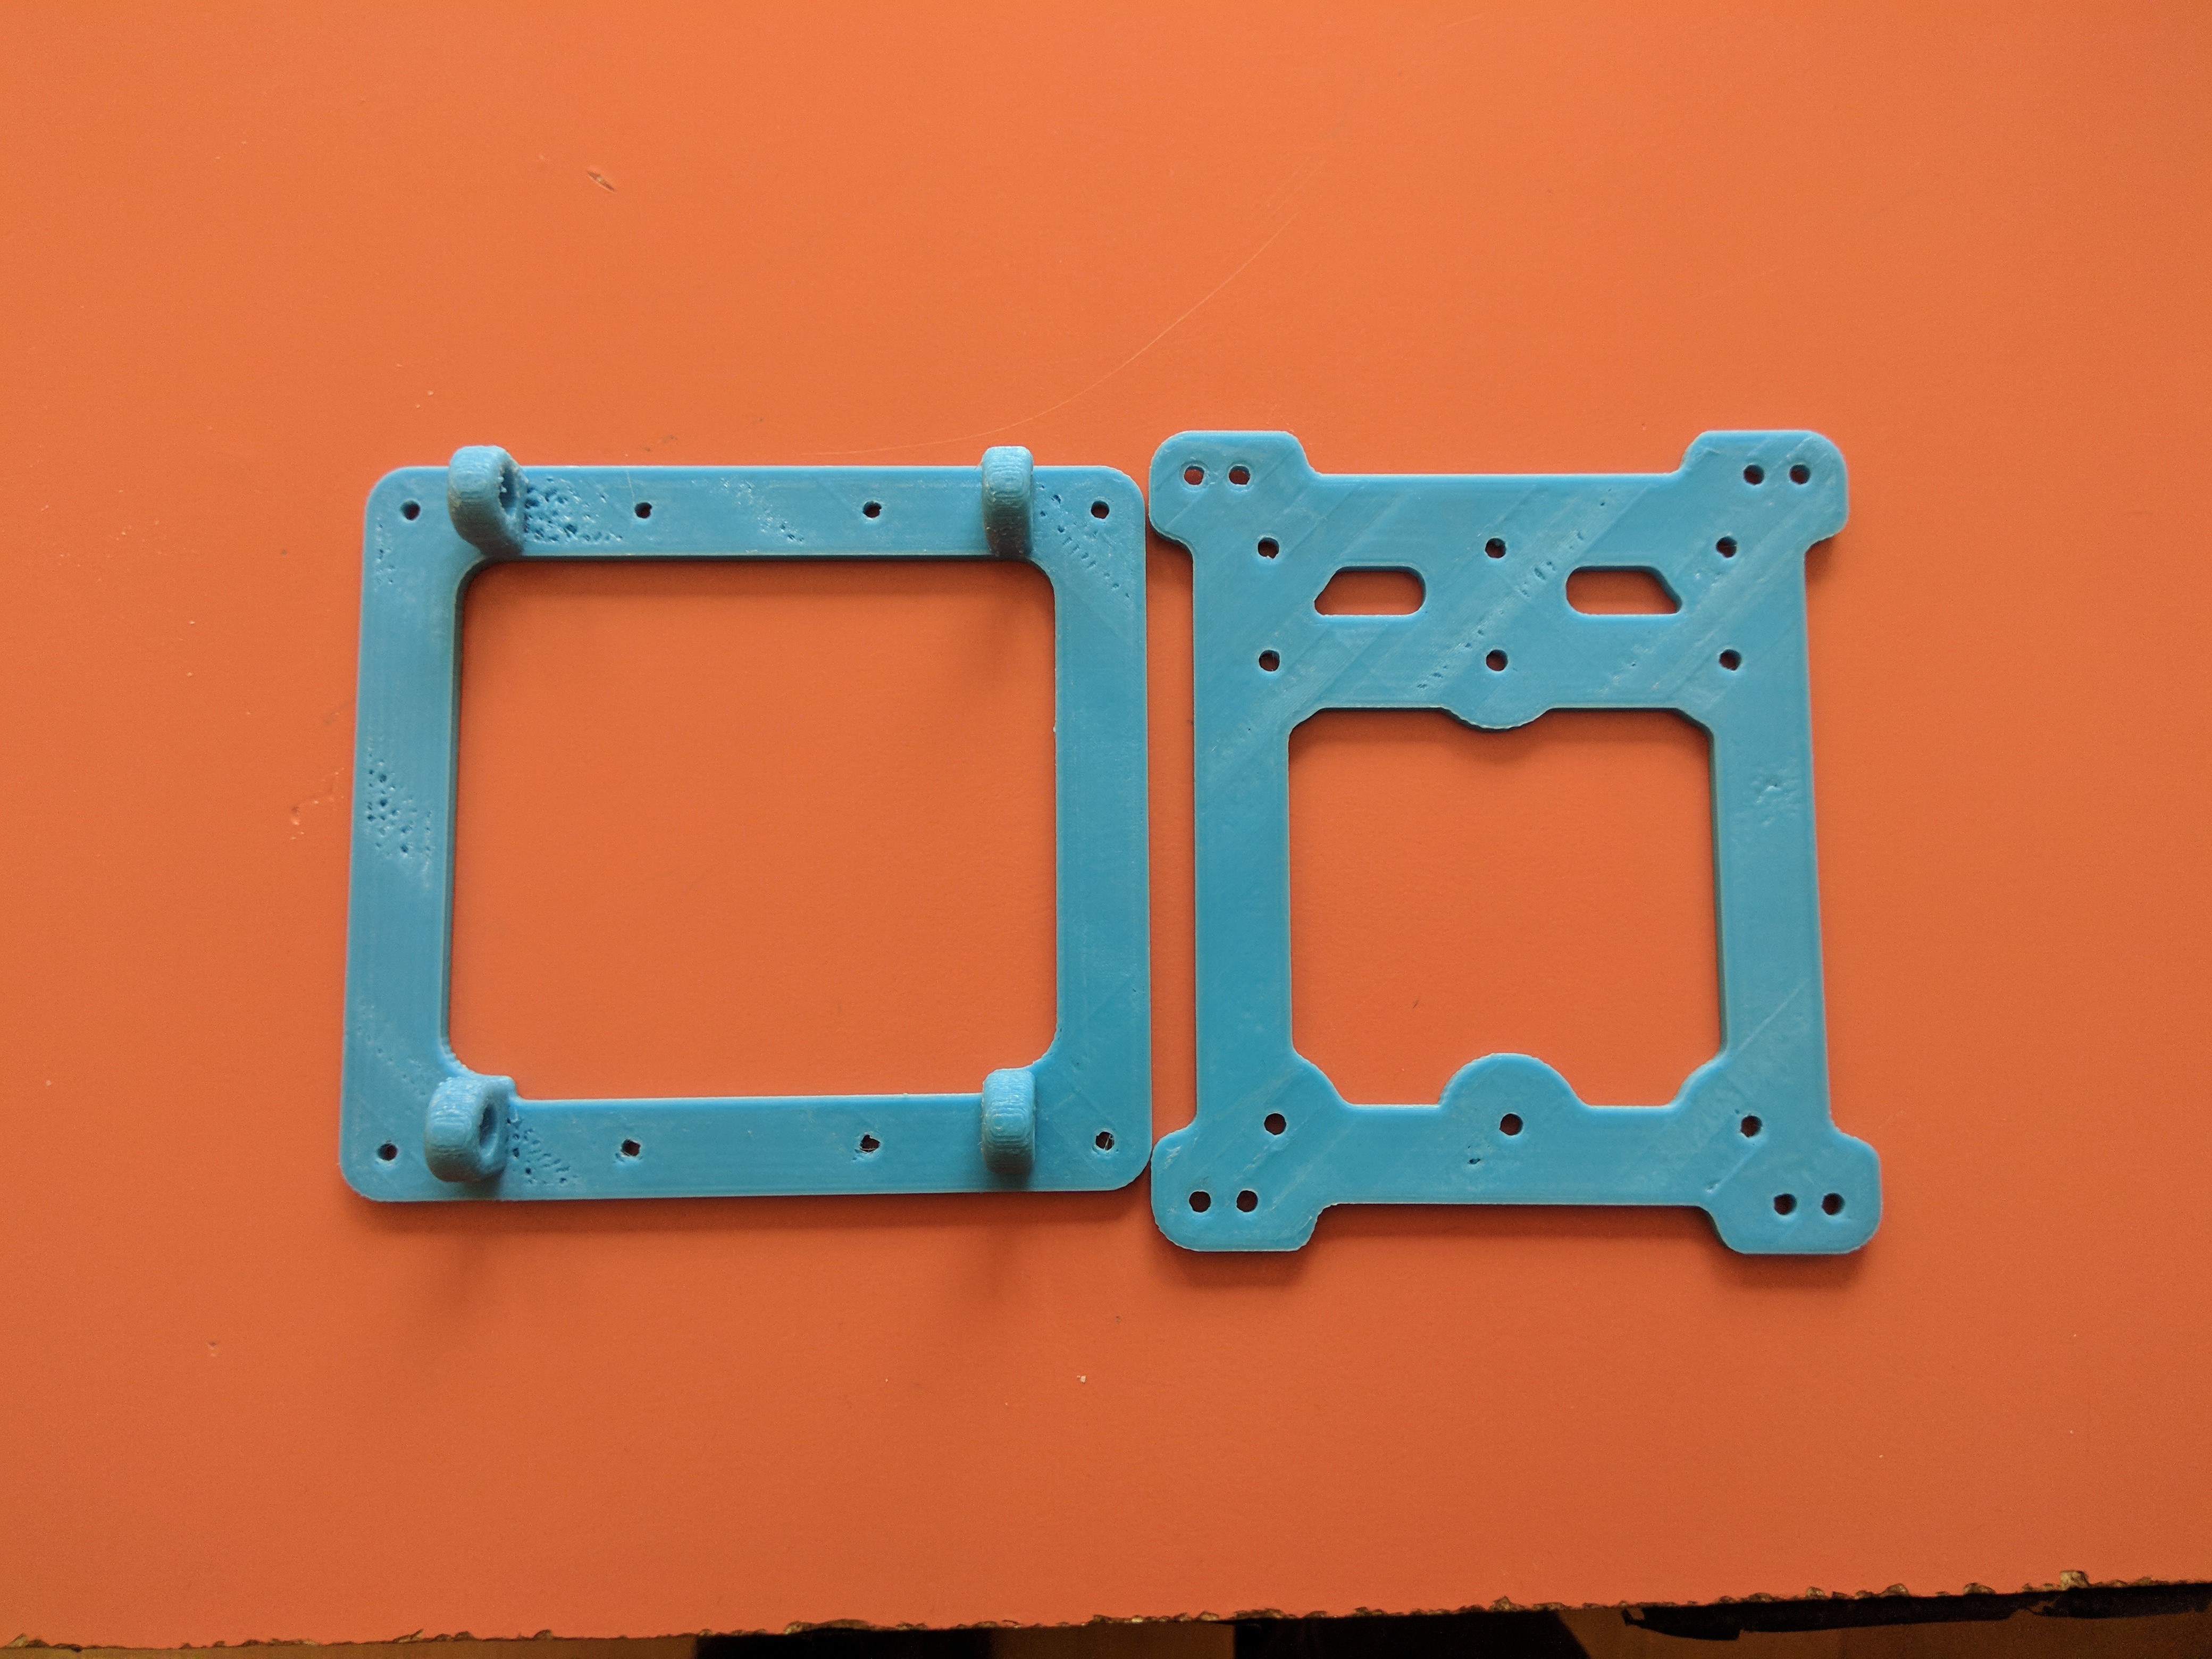
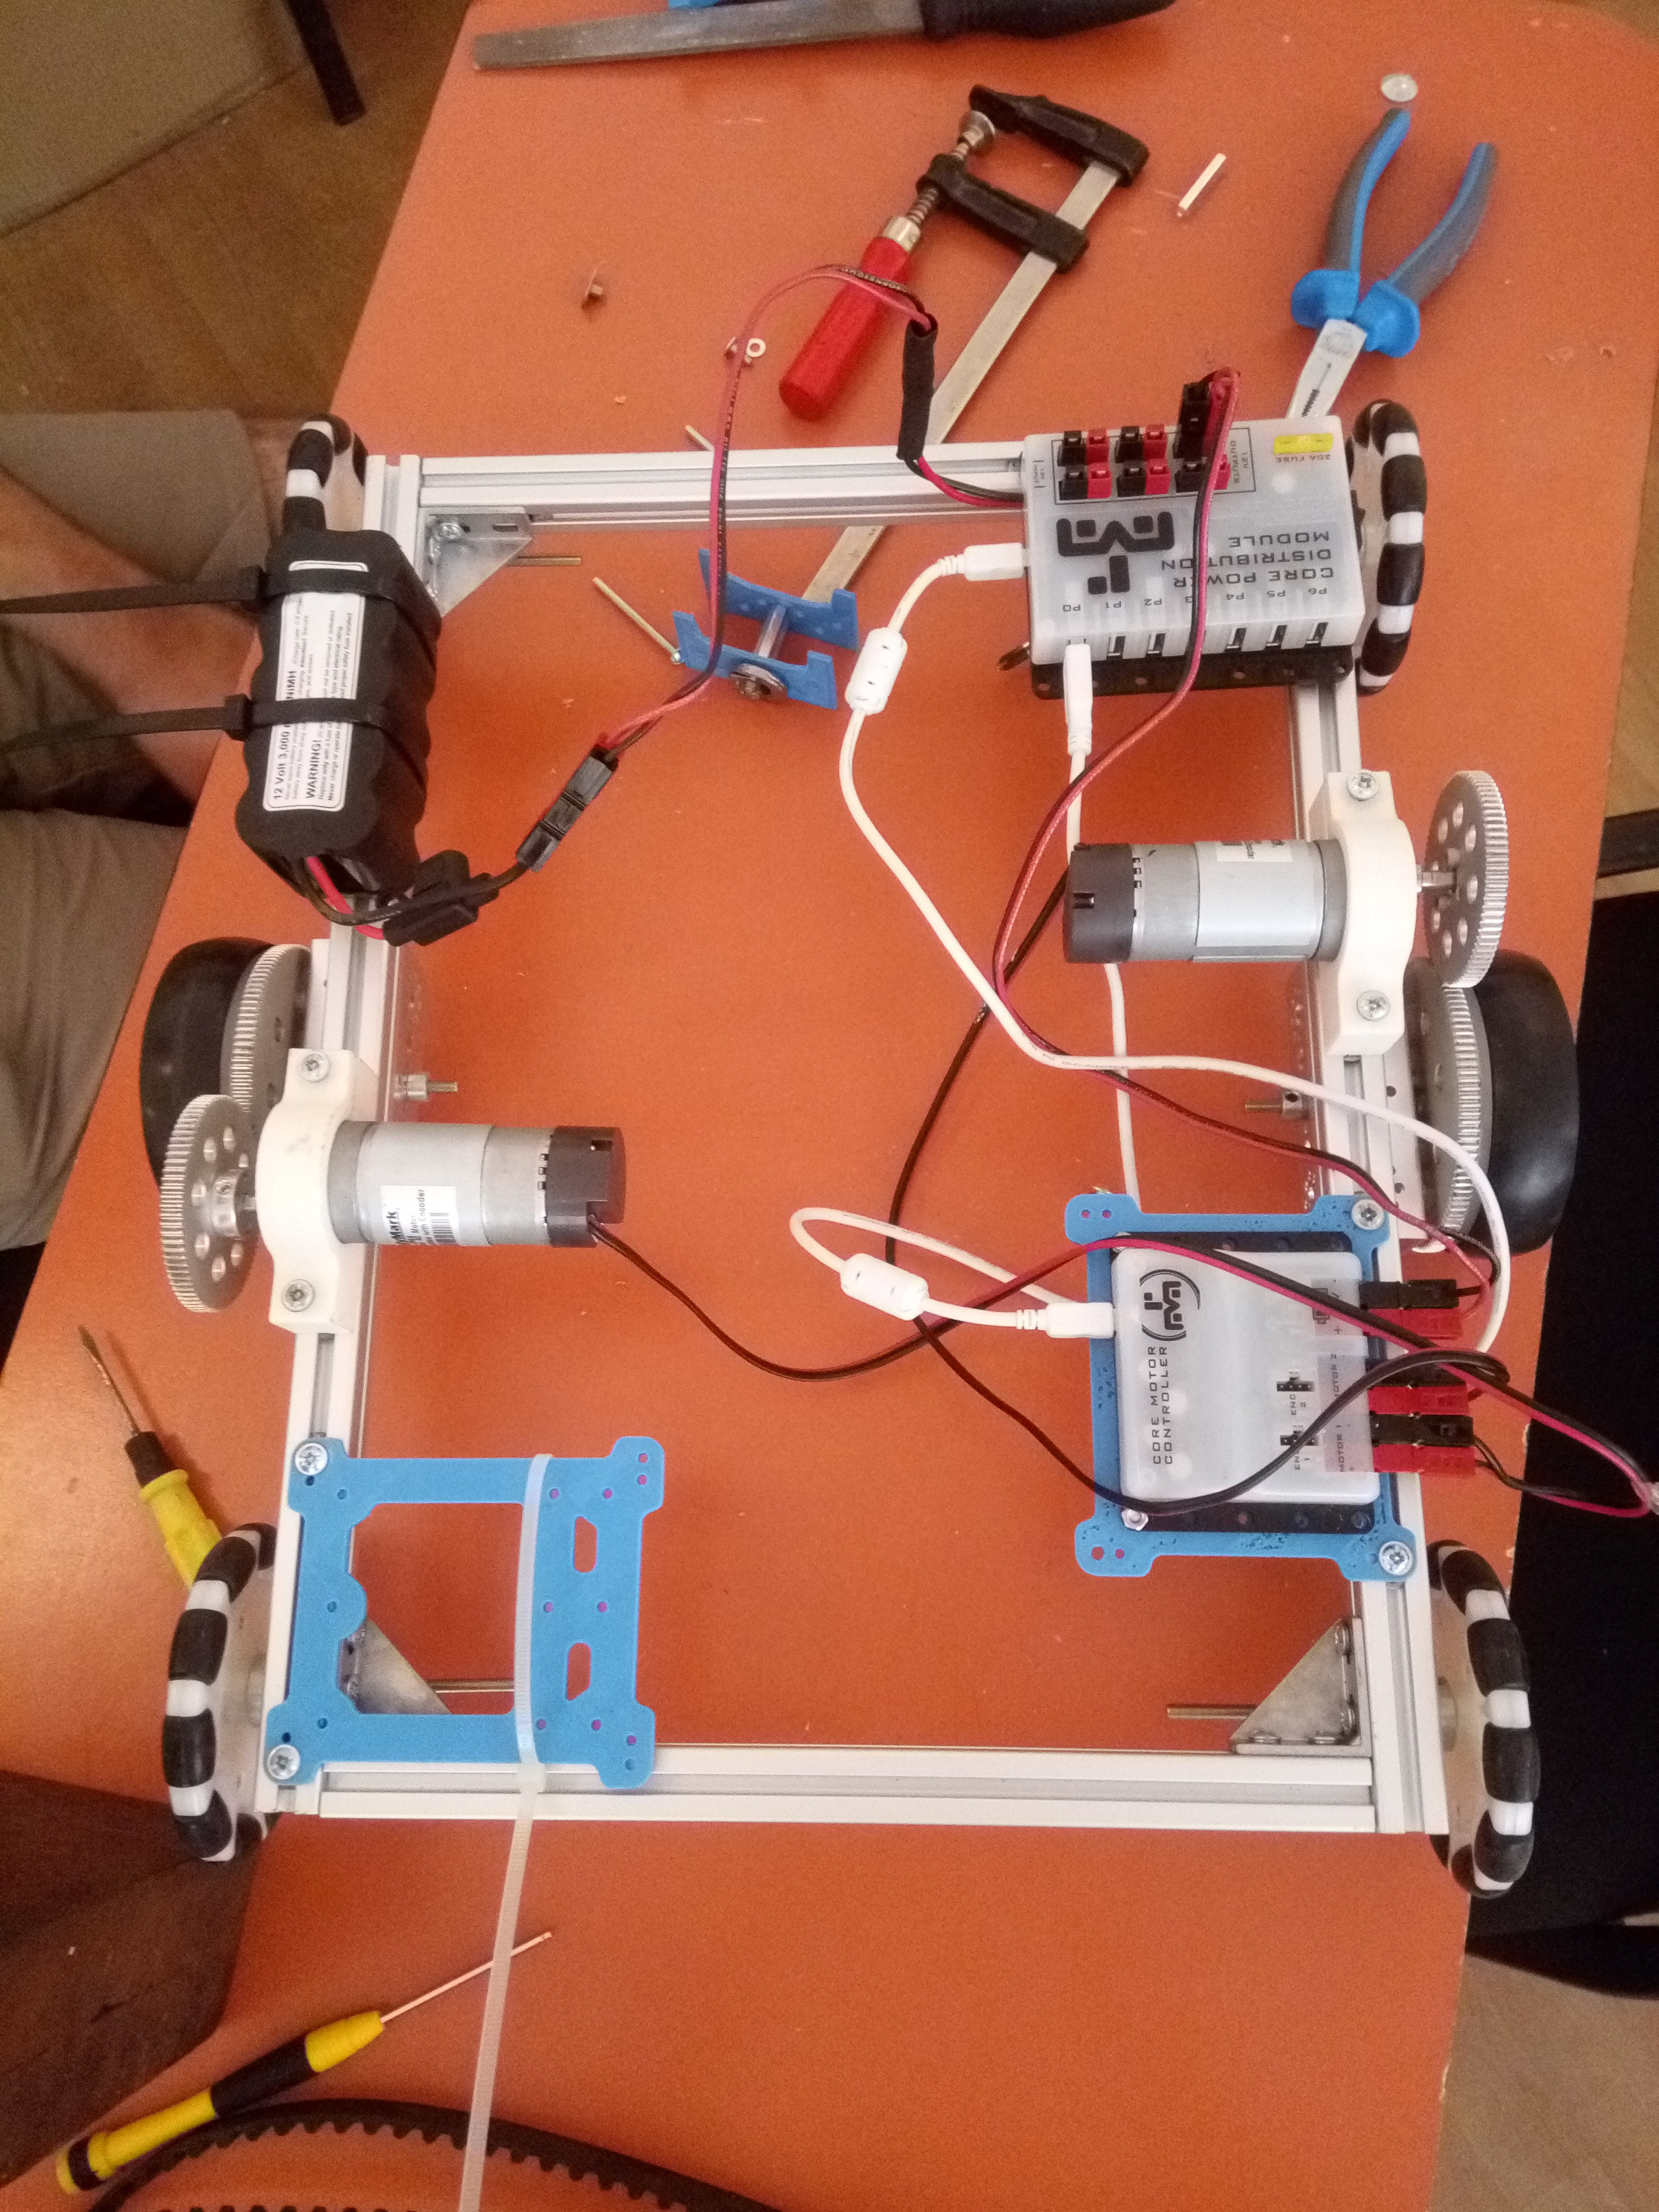
However, they were reused this summer on the new tank drive robot, as you can see in this photo:
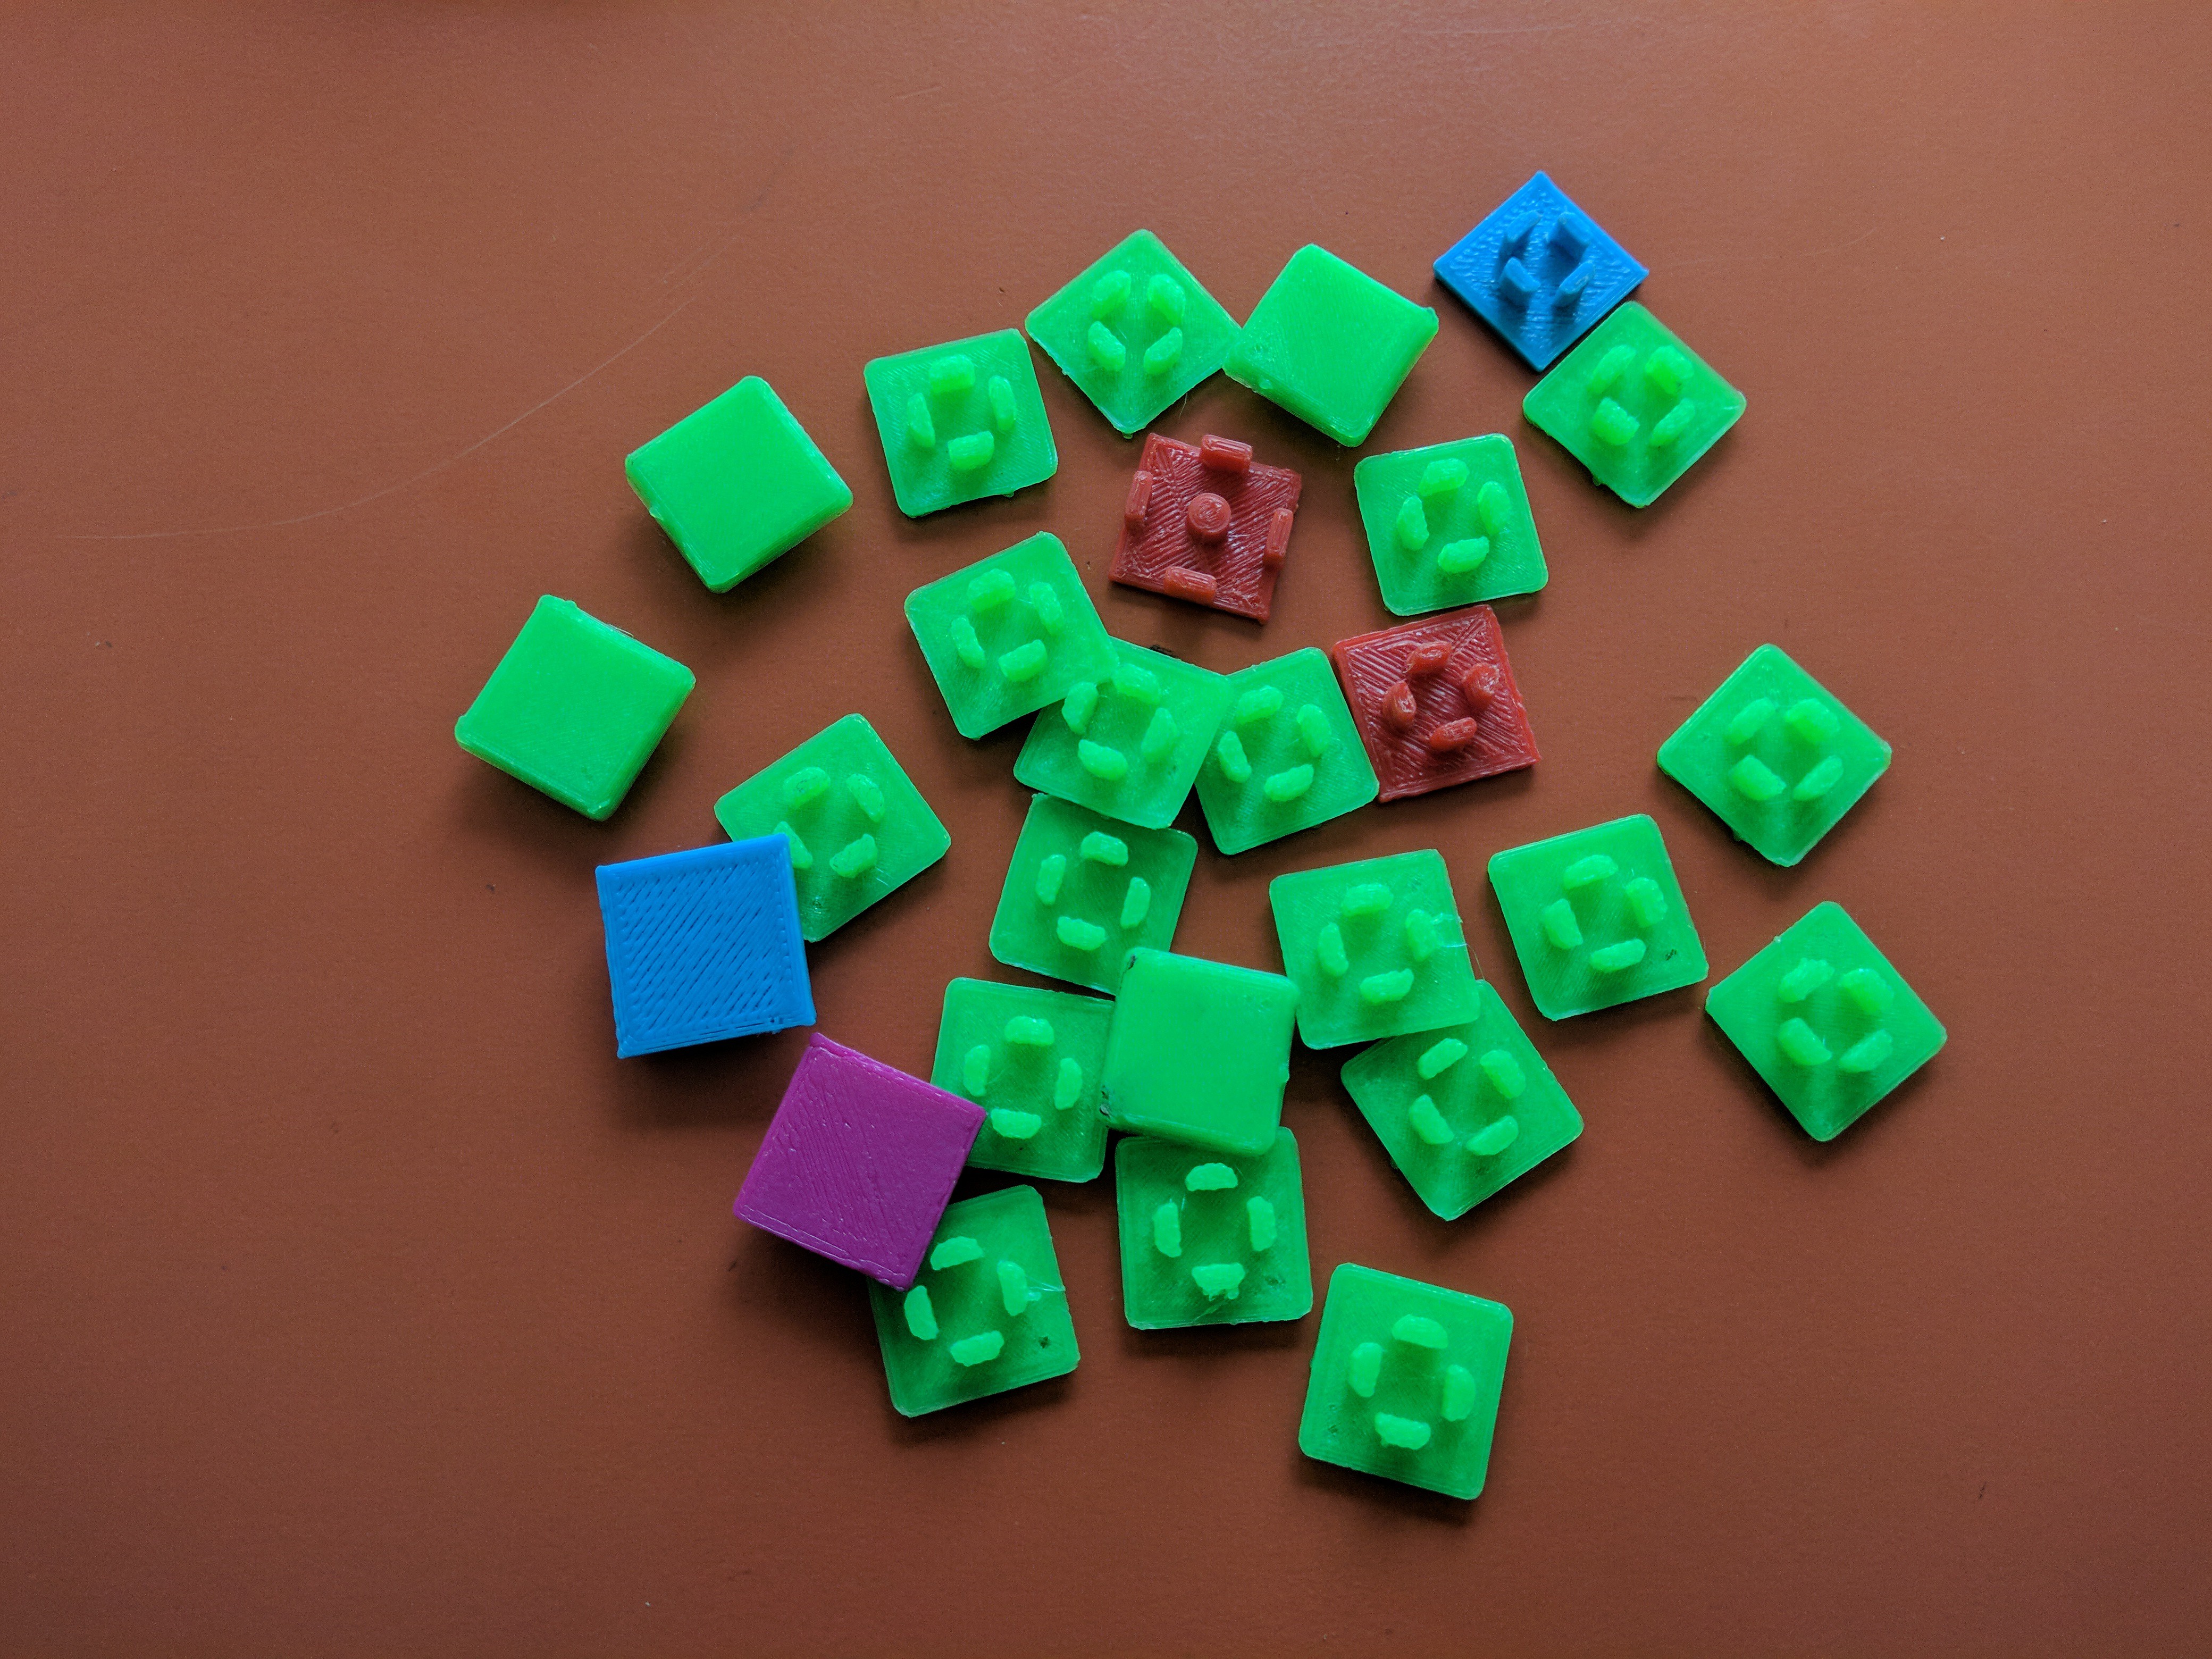
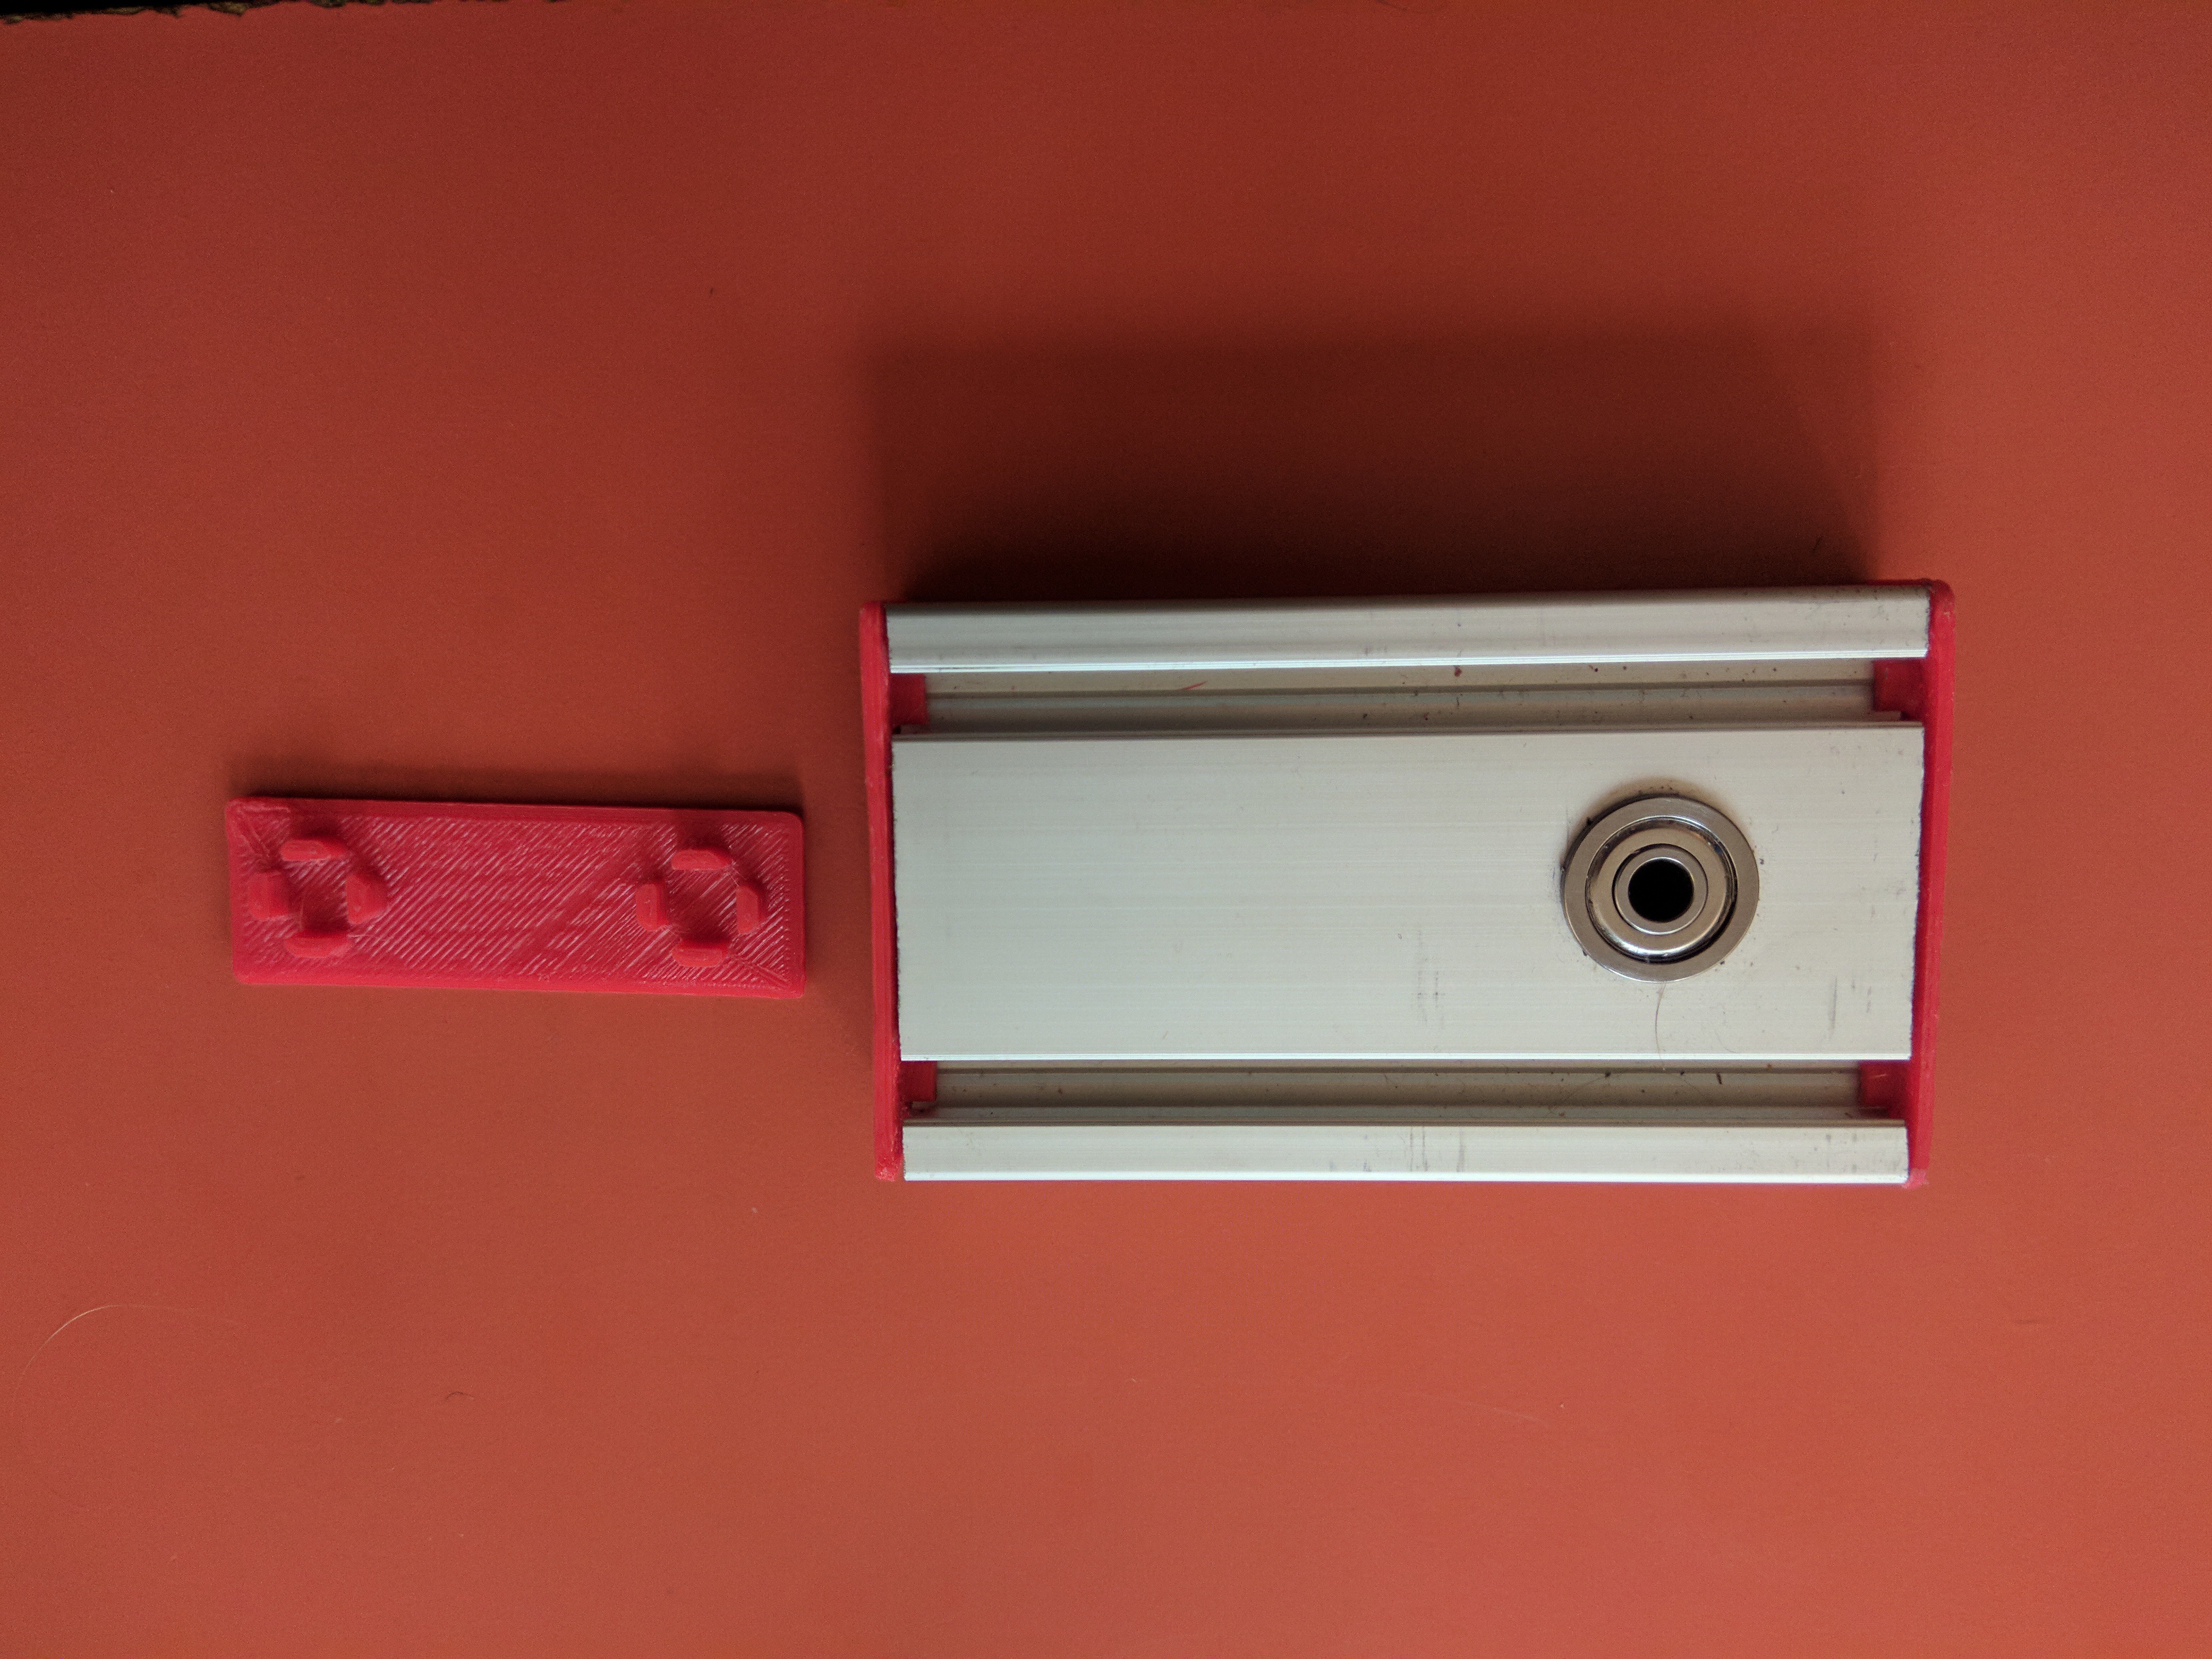
8. 20x20 end cap(s): Those are our 20x20 end caps, made for hiding the sharp edges of the aluminium profile. They are essential because they save us from lots of work and also "repair" the sharp edges. Here are some of them:
and here are the double end caps, made from single end caps joined toghether in creo 4.0:
9. The 3D printed sensor mounts: soon after the first half of the kit arrived (back in 26th of November 2017), we have discovered that we were unable to mount the ModernRobotics sensors on the Tetrix profile, because the holes did not match. We've tried to mount the sensor in one screw but the sensors were moving all over the place, so we decided to go on Thingiverse and look for some adaptors for the sensors. We have found 2 types, both types fit perfectly on the Tetrix profile. Here are the L shaped adaptors and the adaptor for the Range Sensor:
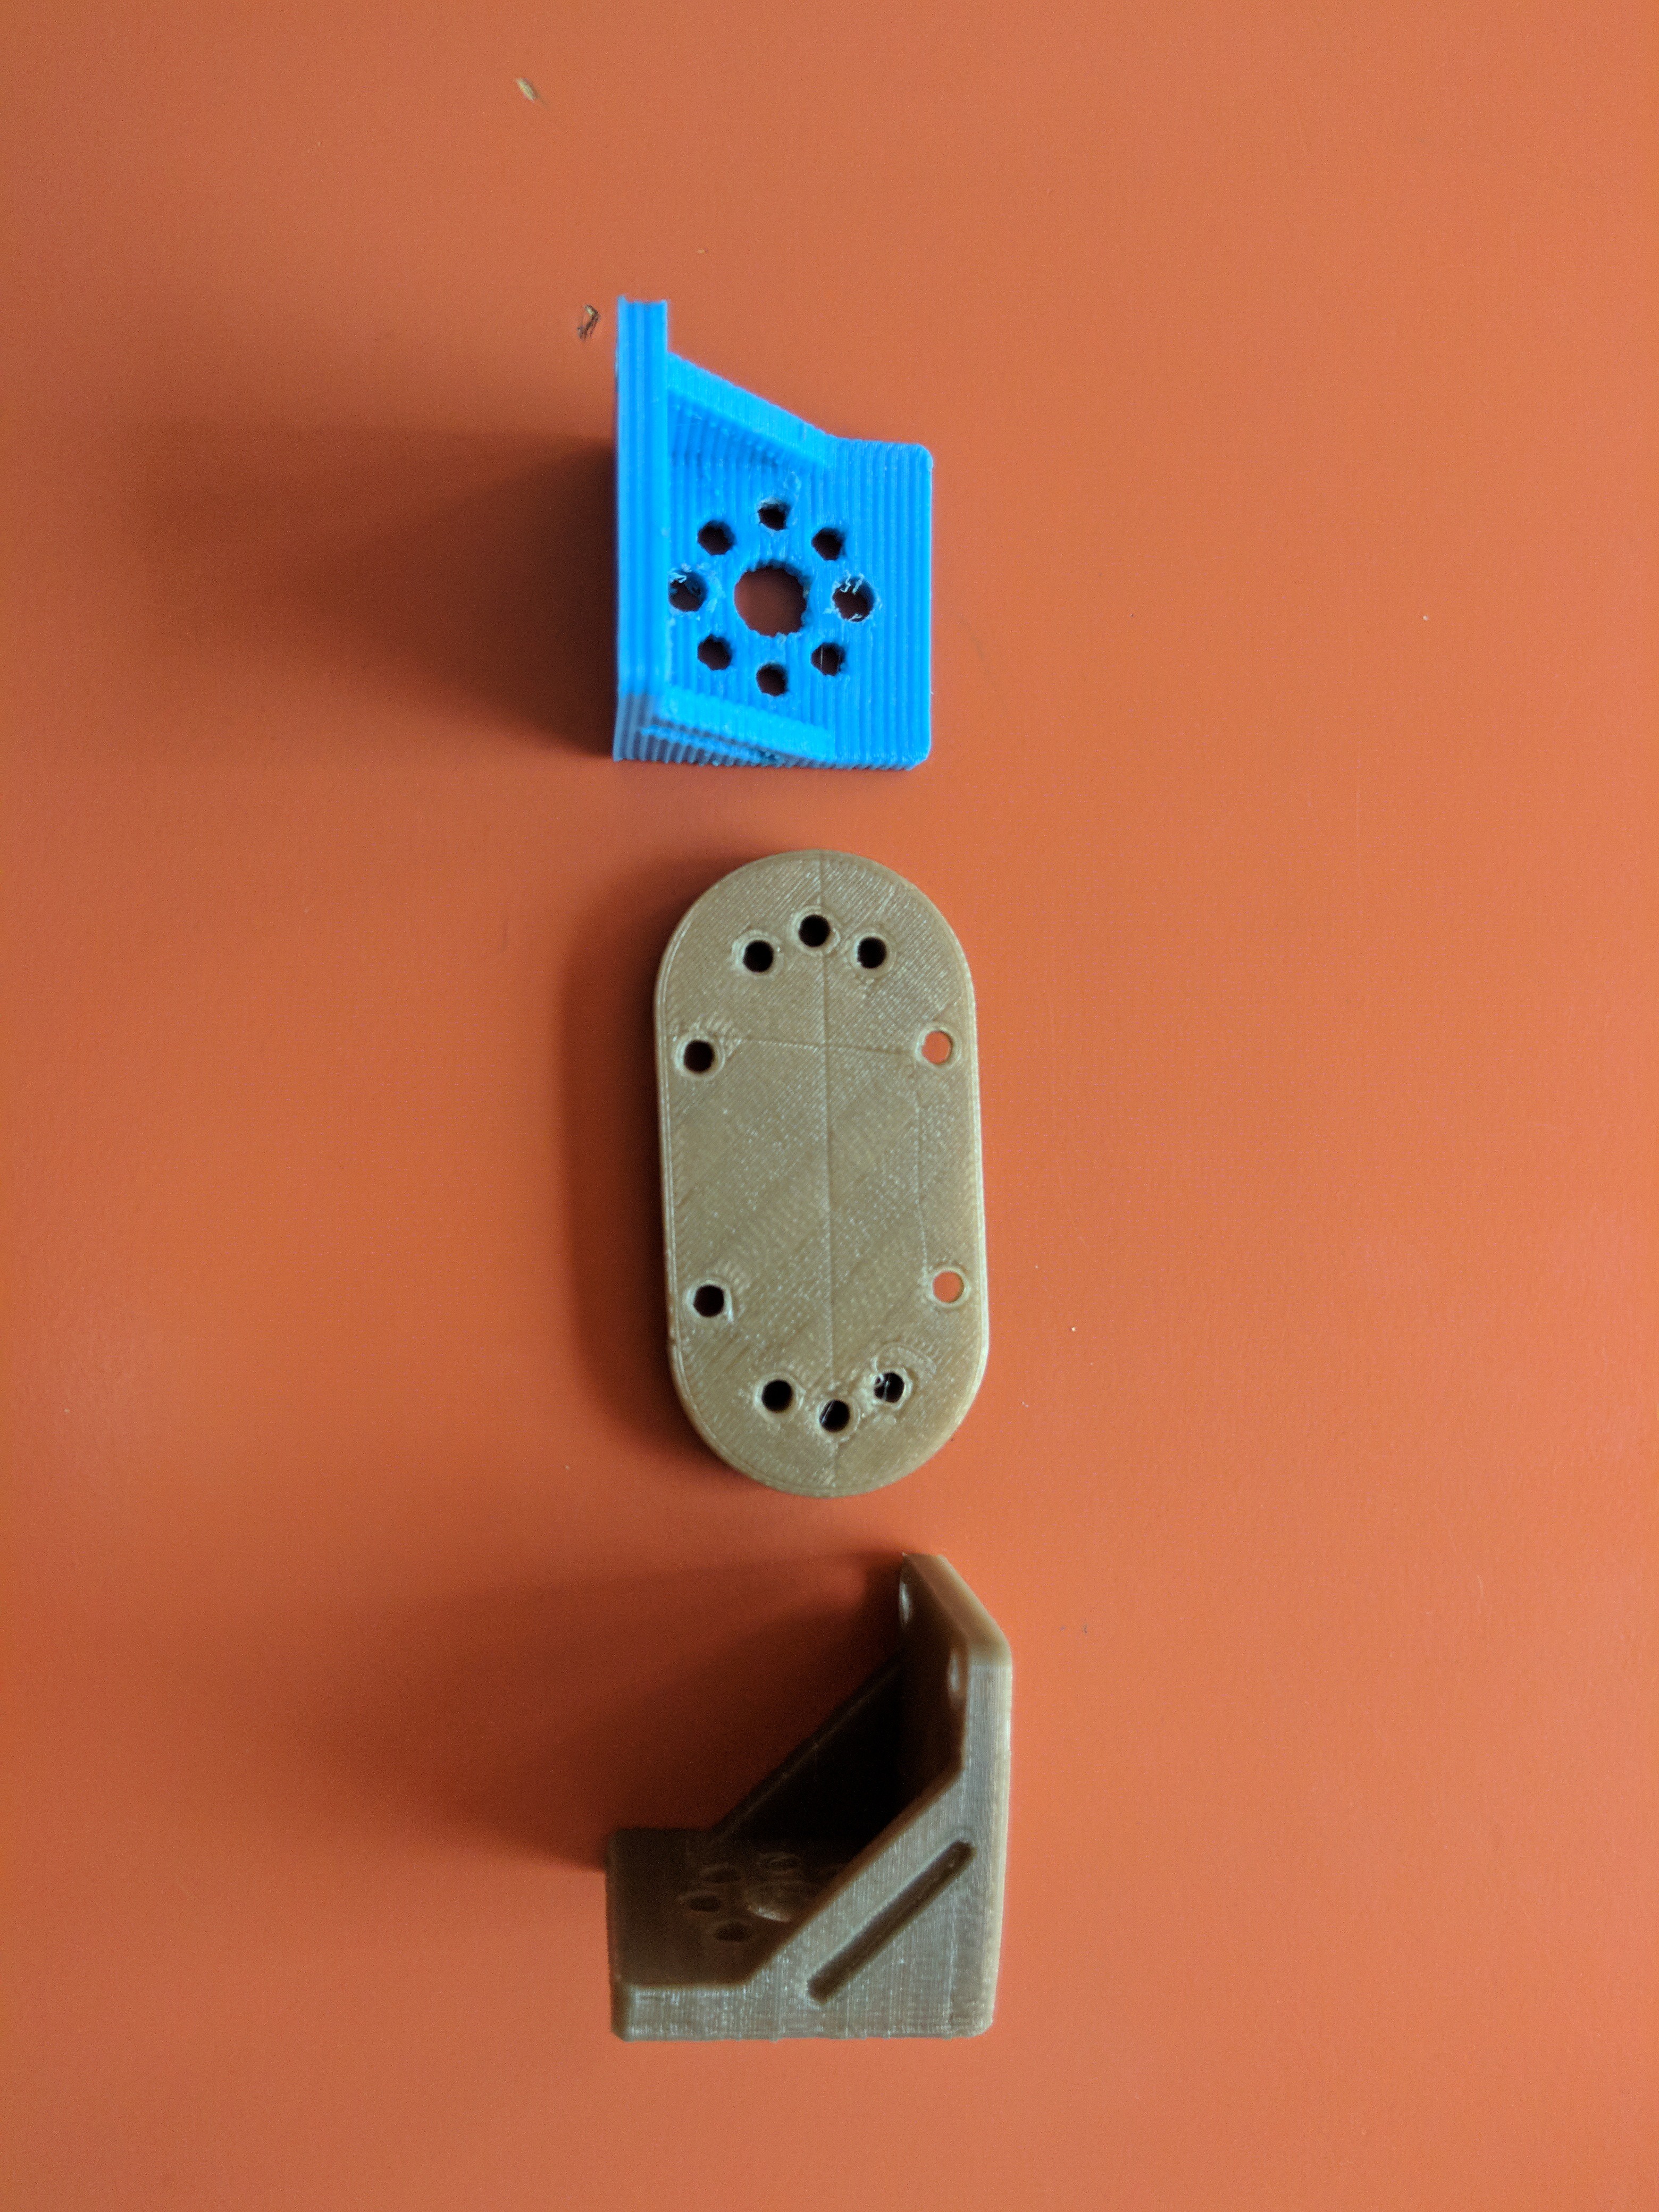
and here are the flat adaptors:
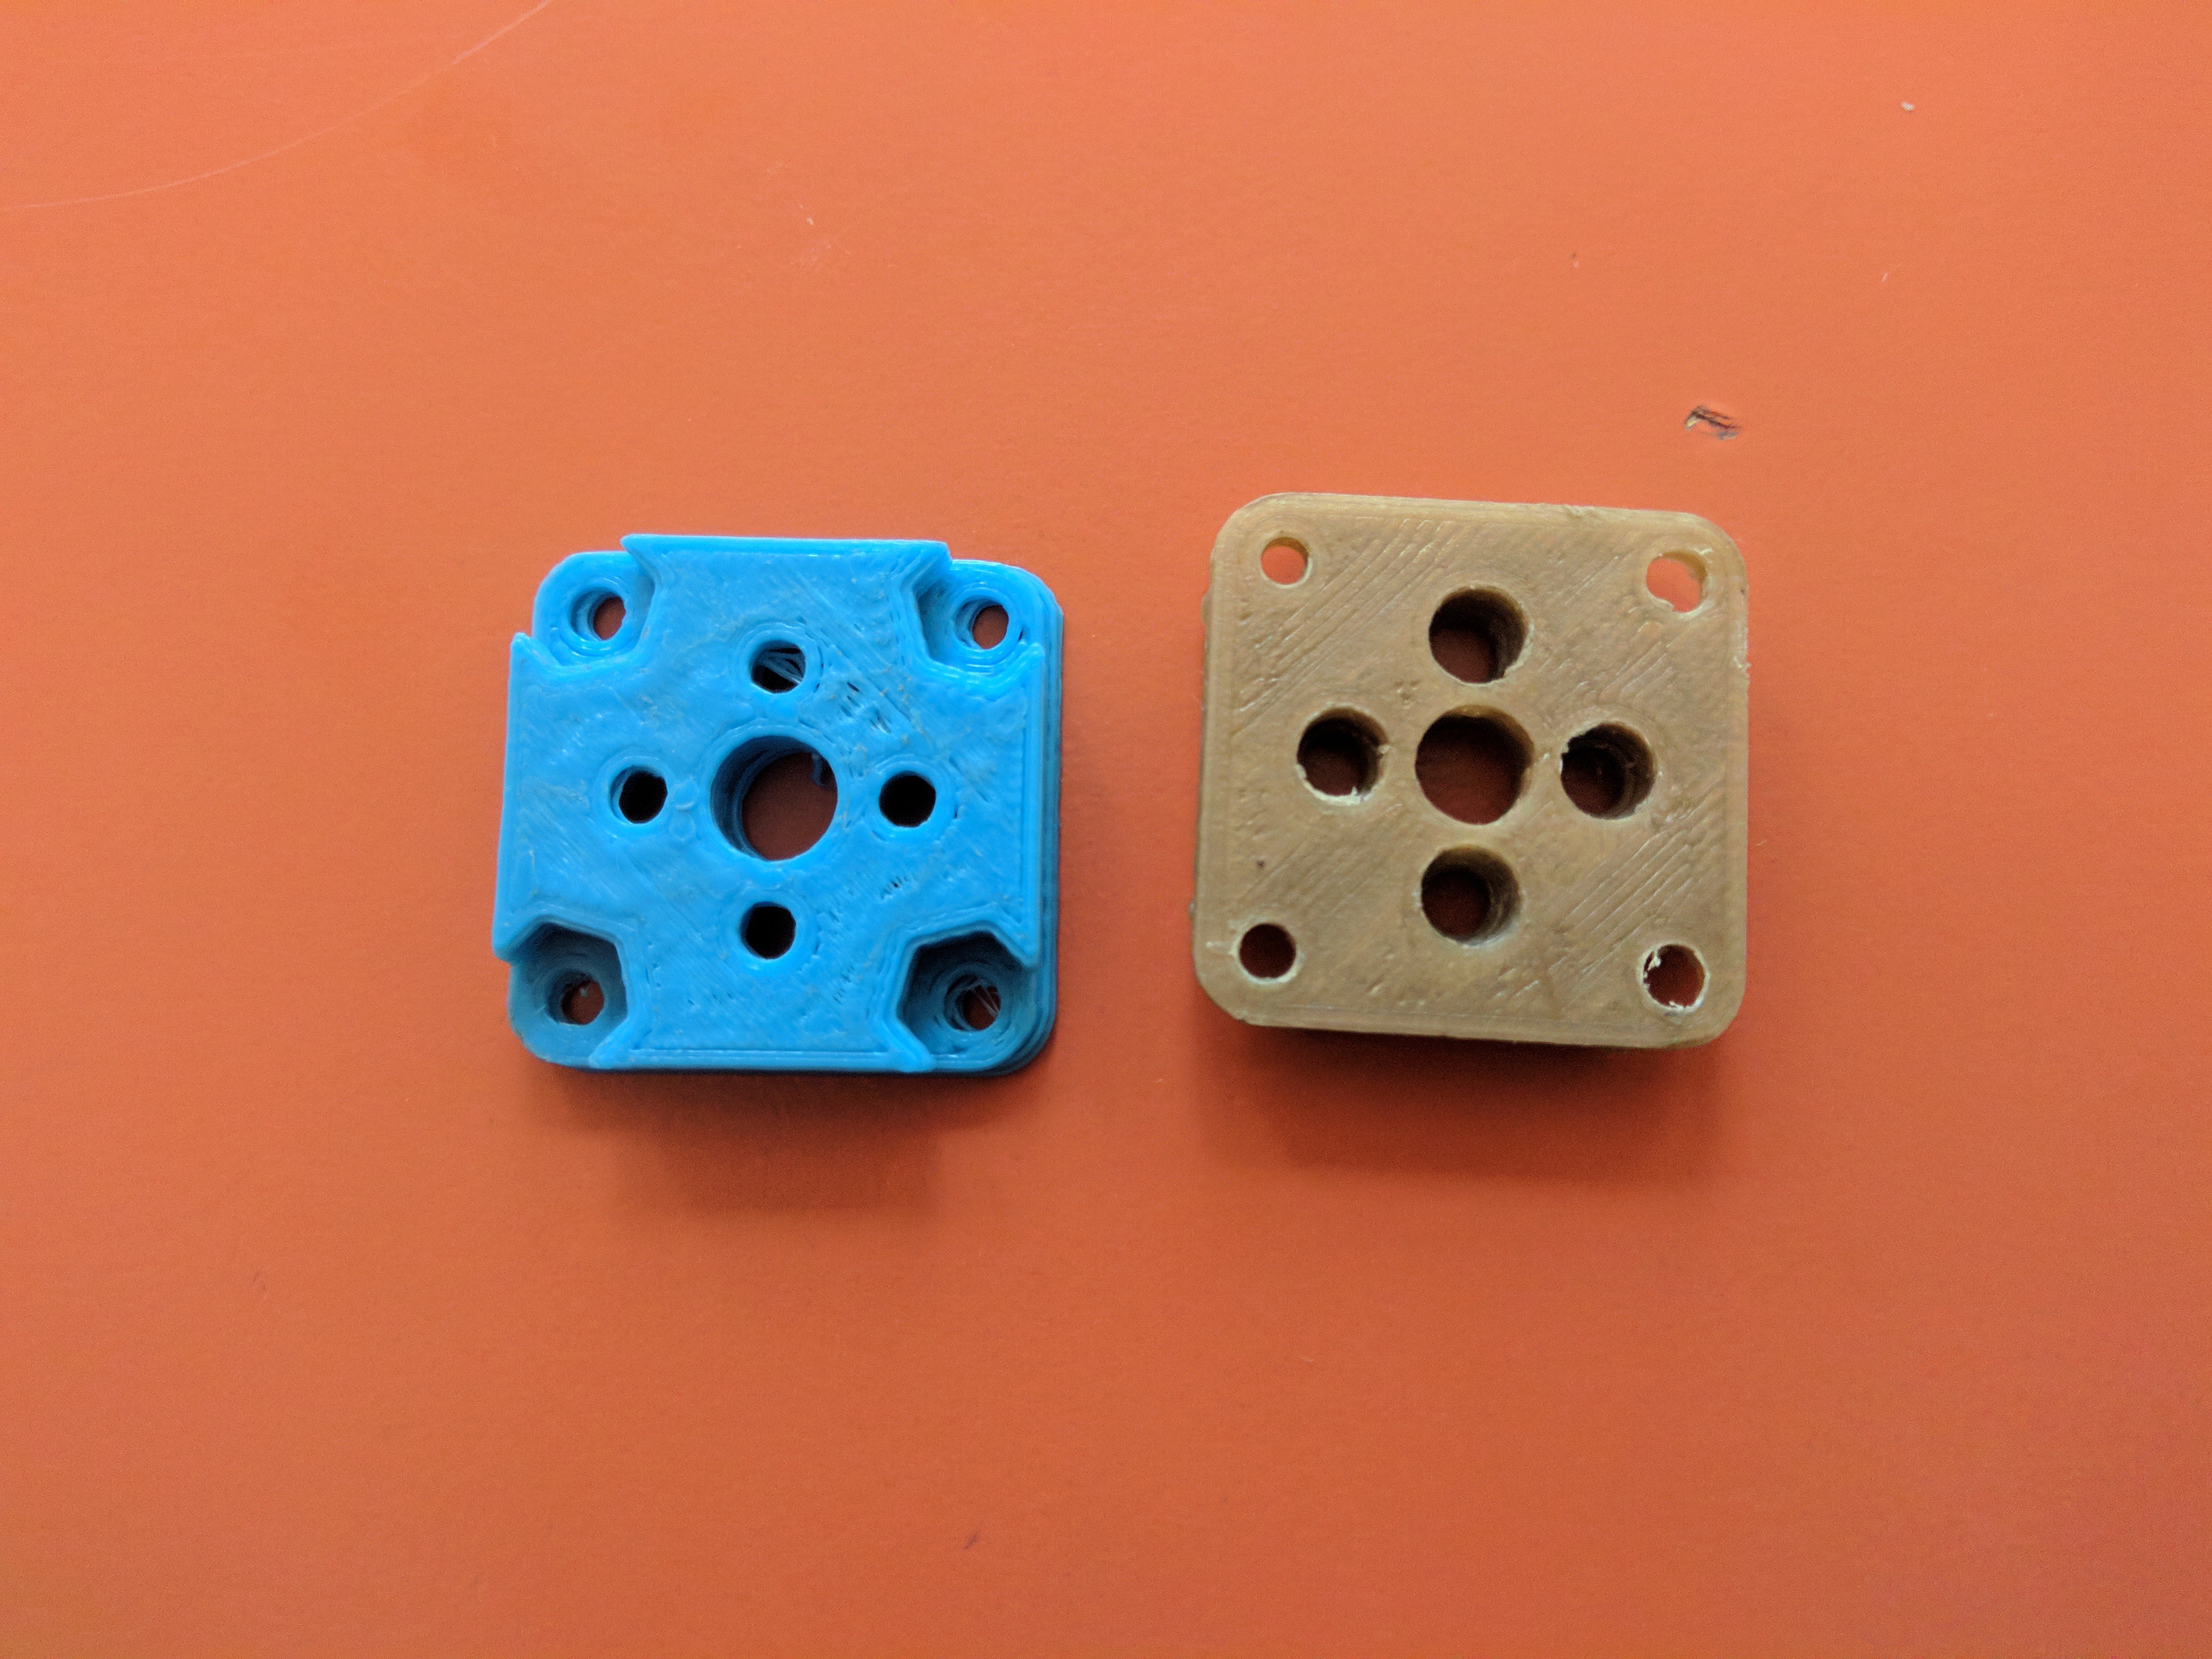 You can notice that the hexagonal holes were made to fit a Kep Nut inside them.
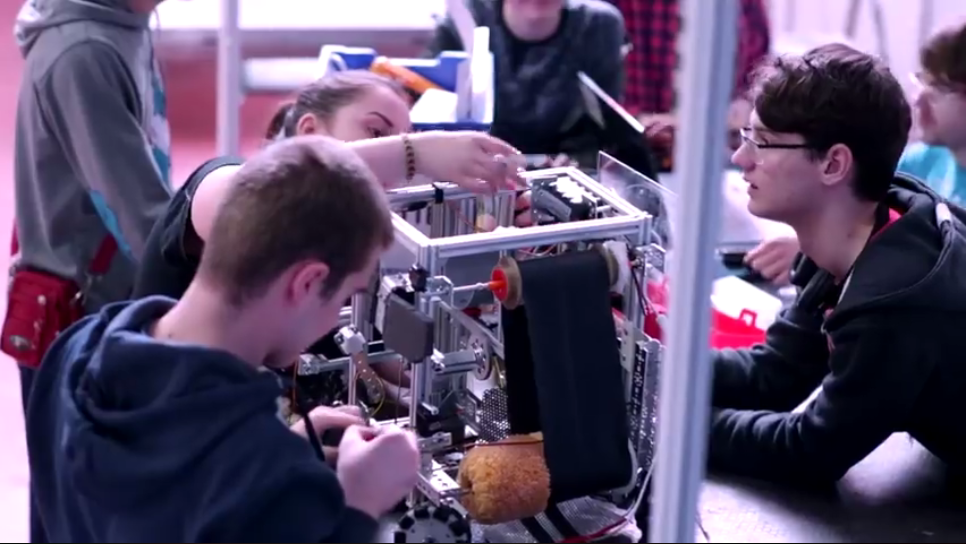
9. The 3D printed Ball Holder and trough holder: last year, the Velocity Vortex game included particles (actually 10 cm plastic balls like this) that we had to collect from the field and throw them into a plastic basket. We have made a particle catapult in the first place, made from a DC motor and a 2mm lexan pallete We have created a ball collector (the one in this picture)
but then we stopped. How to bring the particle from the collector to the catapult? We came up with this solution: a trough like this one in the picture:
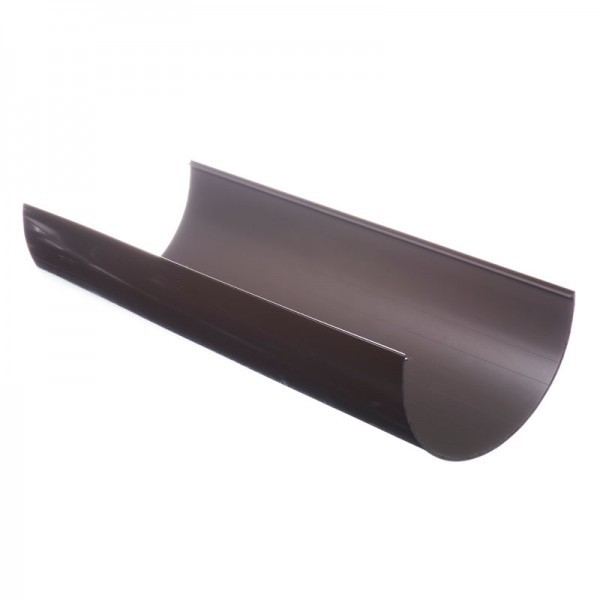
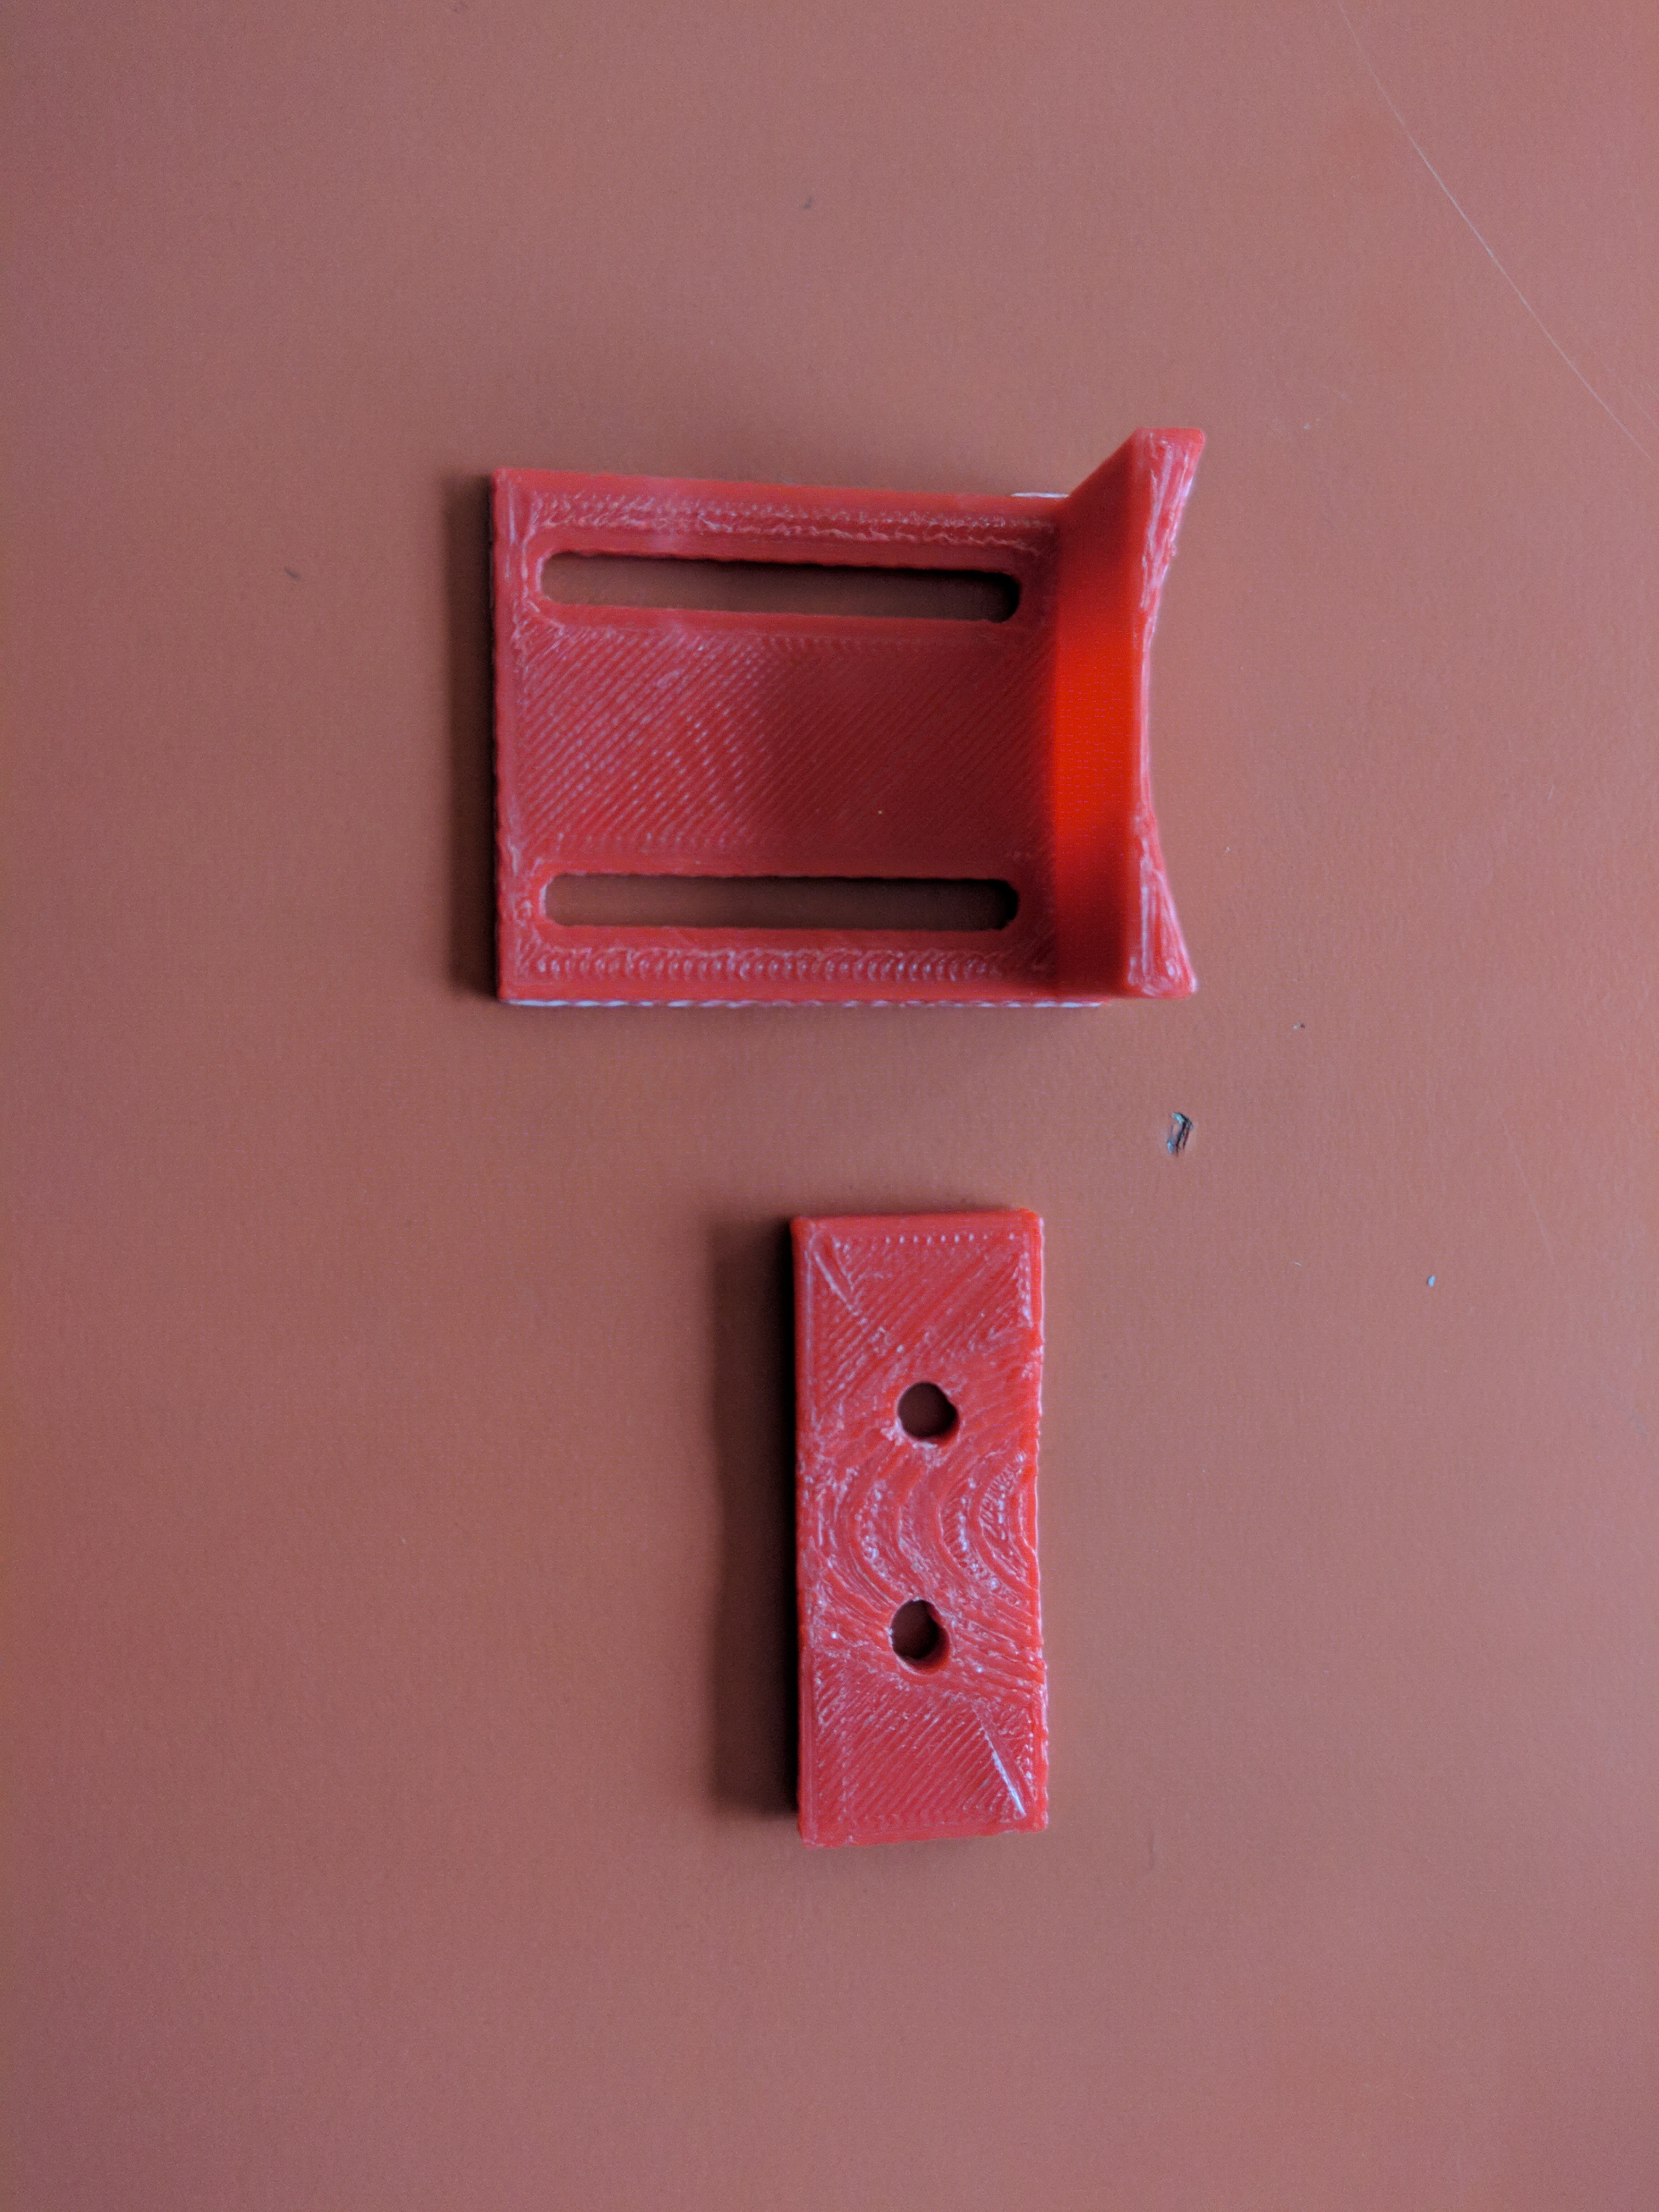
But the ball wouldn't stop where it should, and the trough was not inclined enough. So the 3D printing team designed 2 parts in openSCAD, one to incline the trough, and one to make the particle stop where it should. Here are the 2 parts:
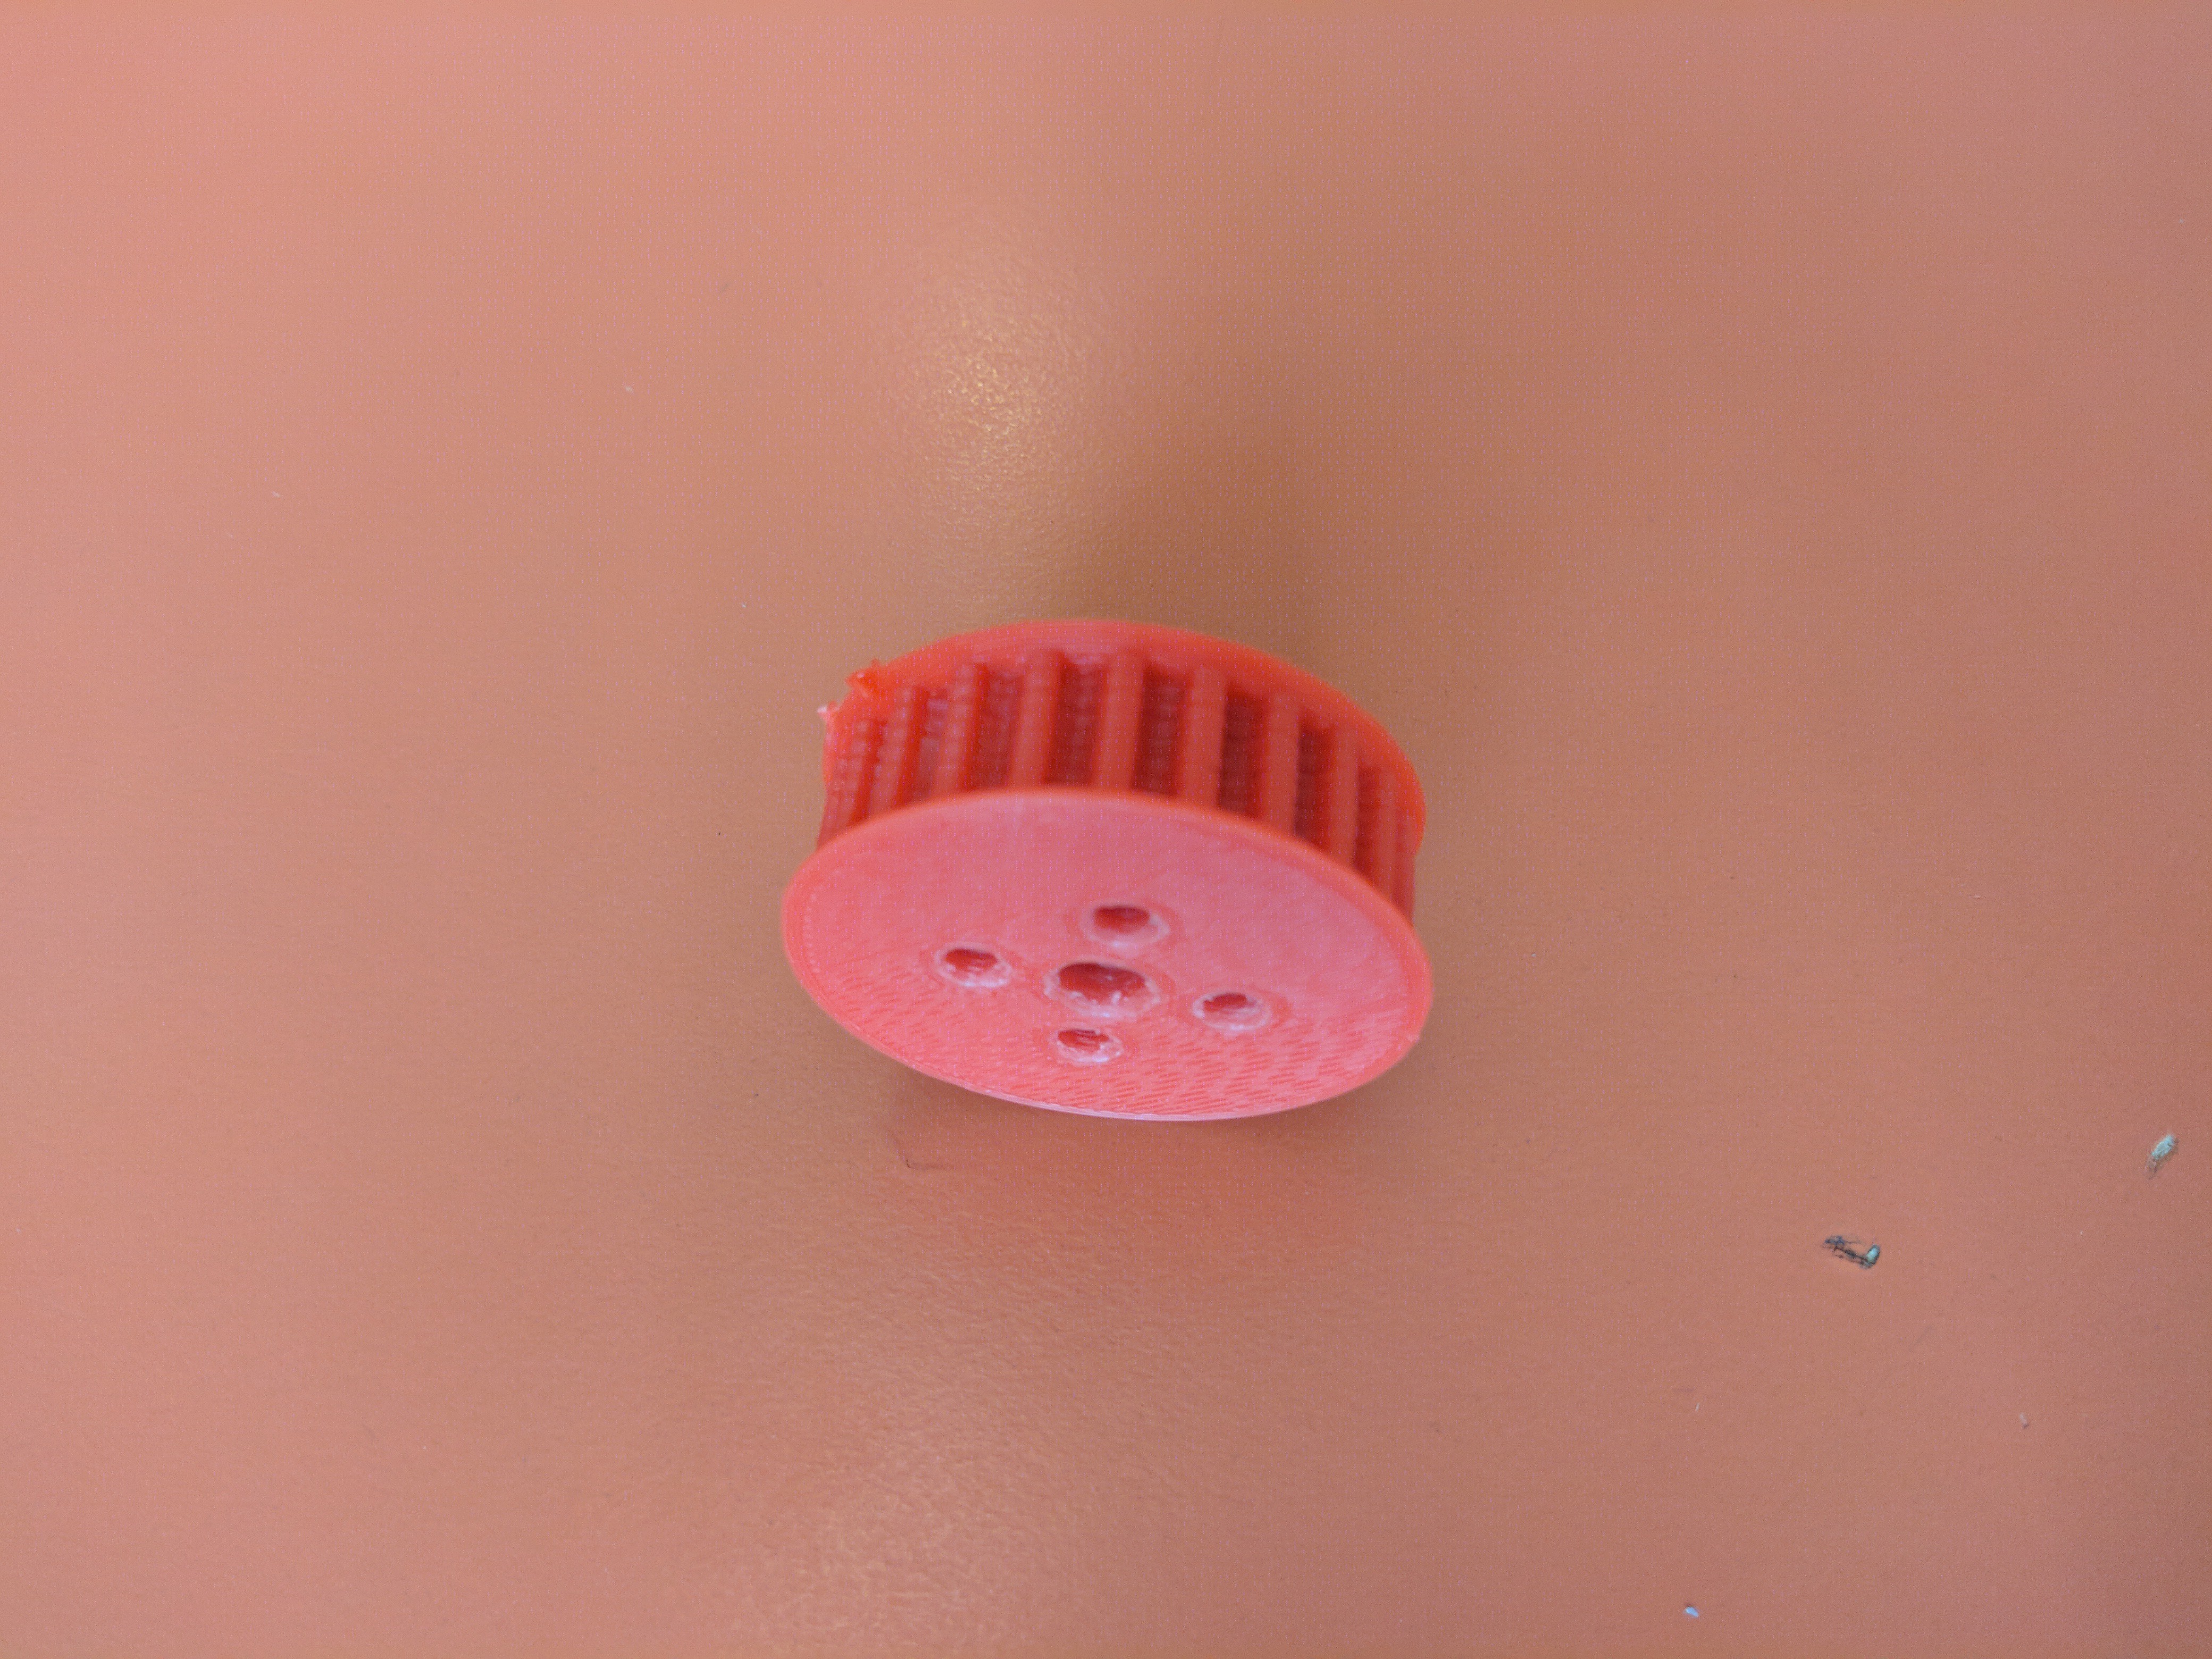
10. 3D printed T5 idler/motor wheel: this summer we made a tank drive. We quicly discovered that metal hears for this type of belt were expensive, and we considered that for a prototype it's not worht it. So instead we 3D printed them from a 3D model found on thingiverse. Here is a photo of the piece:
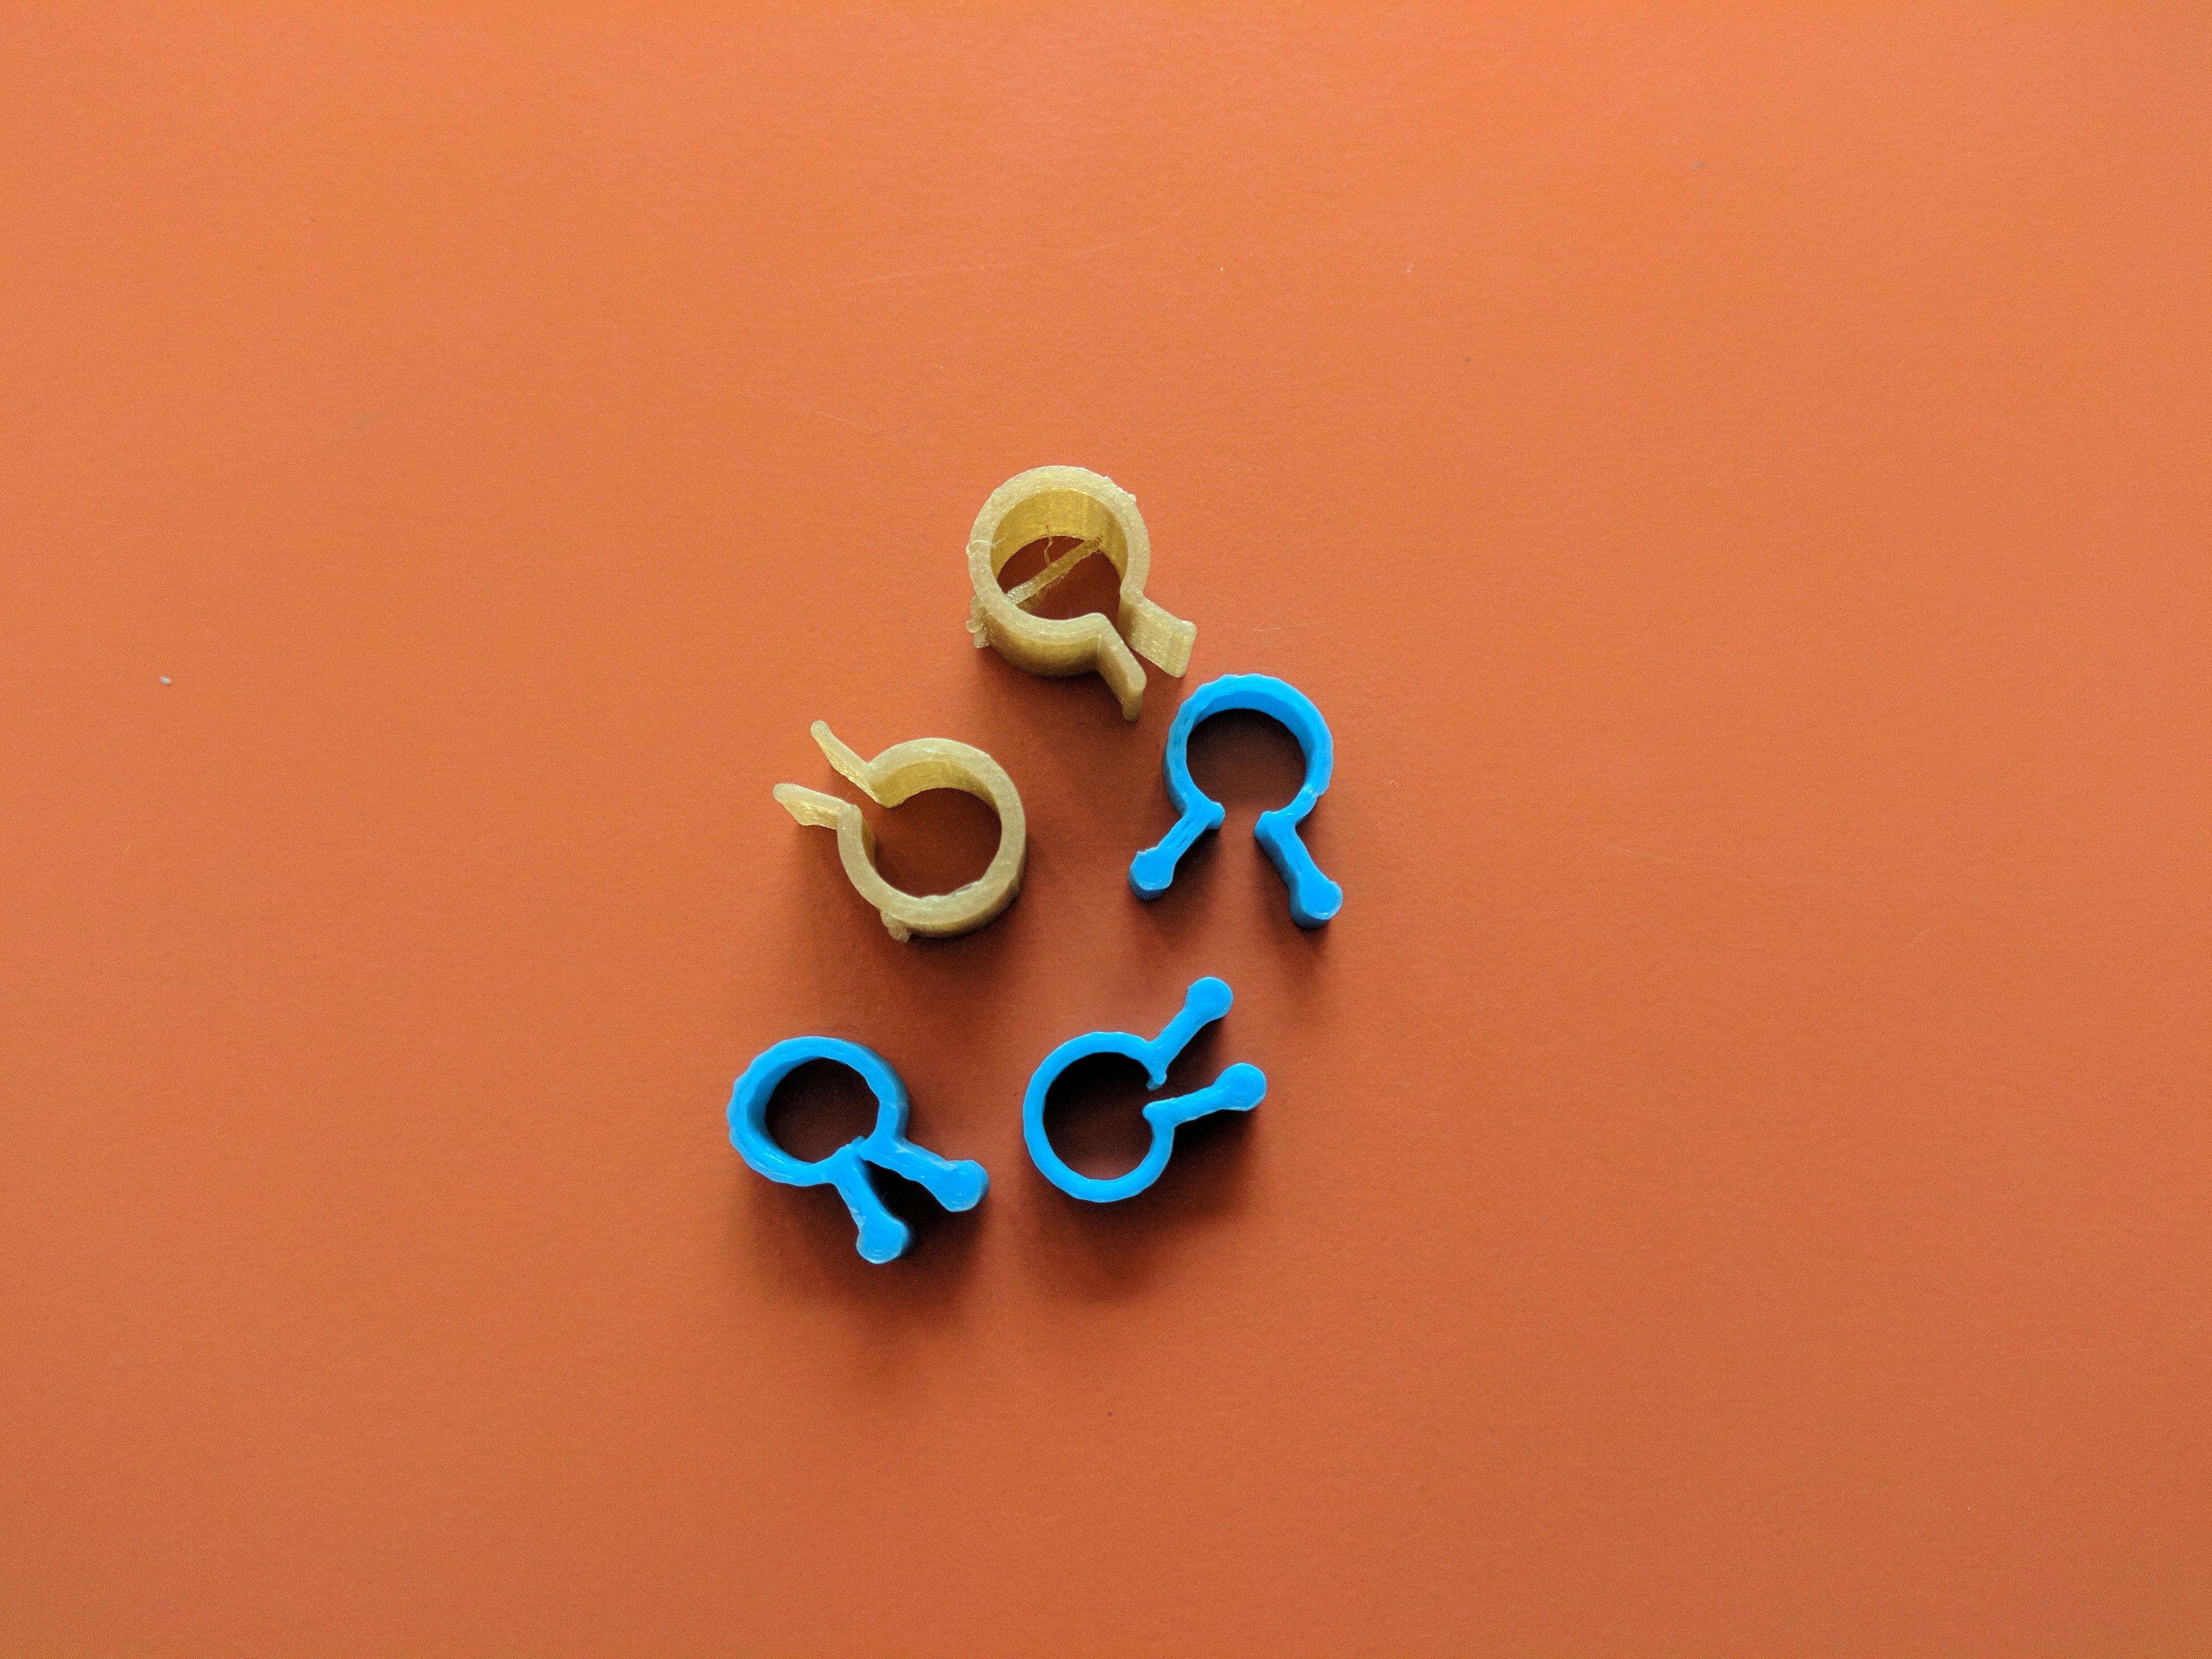
11. 3D printed wire clips: soon after we have started making our first robot, we discovered that cables were always a mess. So we decided to design and print some cable clips. After many failed designs, we came up with this design, that fits perfectly on the channel of the profil. Now we have about 10 clips on our robot. Here are some of the remaining clips:
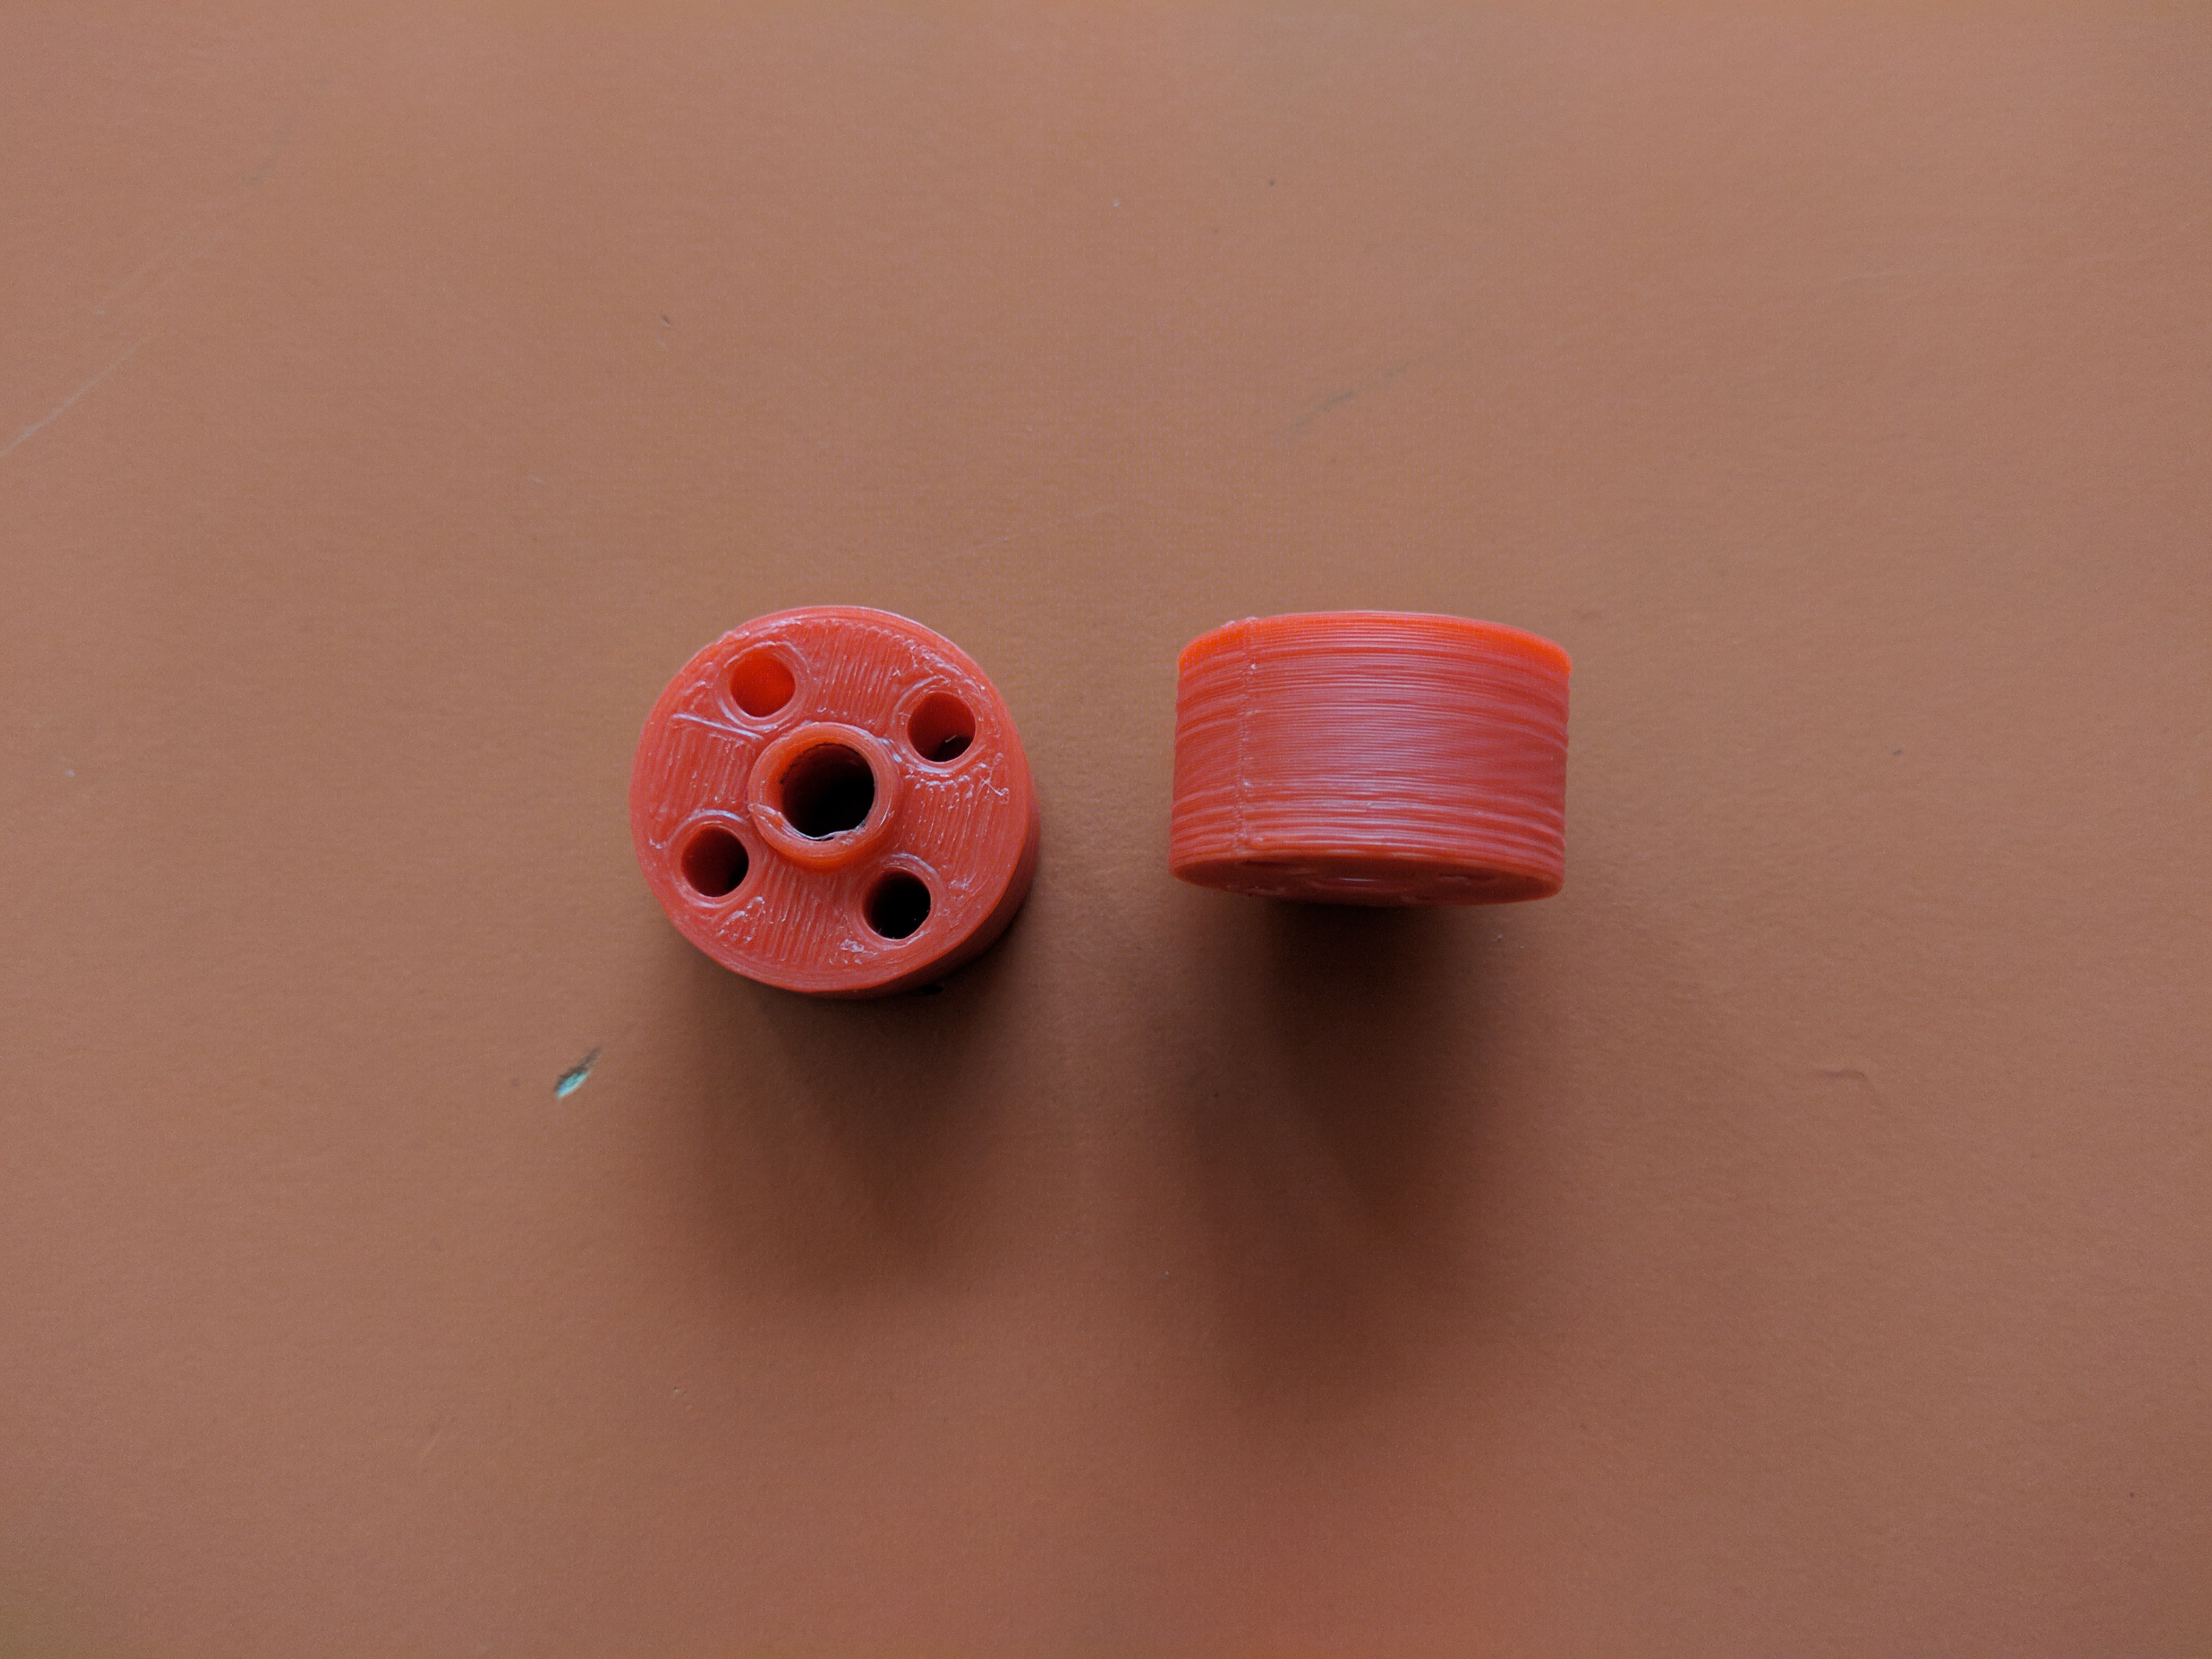
 12. 3D printed motor hubs: last year, a month before the contest, we realised that if we put 2 omniwheels on one motor axis, we will not have enough motor hubs, but we had a bunch of axle hubs. We tried to enlarge the shaft hole, in order to fit the motor shaft, but we enlarged them badly and they became decentered. We (obviously) could not buy them, because shipping takes 2-3 months, so the 3D team came up with the ideea that we print them with ABS plastic at full infill and hope for the best. Fortunately, no hubs broke in the middle of the contest, and the robot came home in one piece :) . Here are the parts:
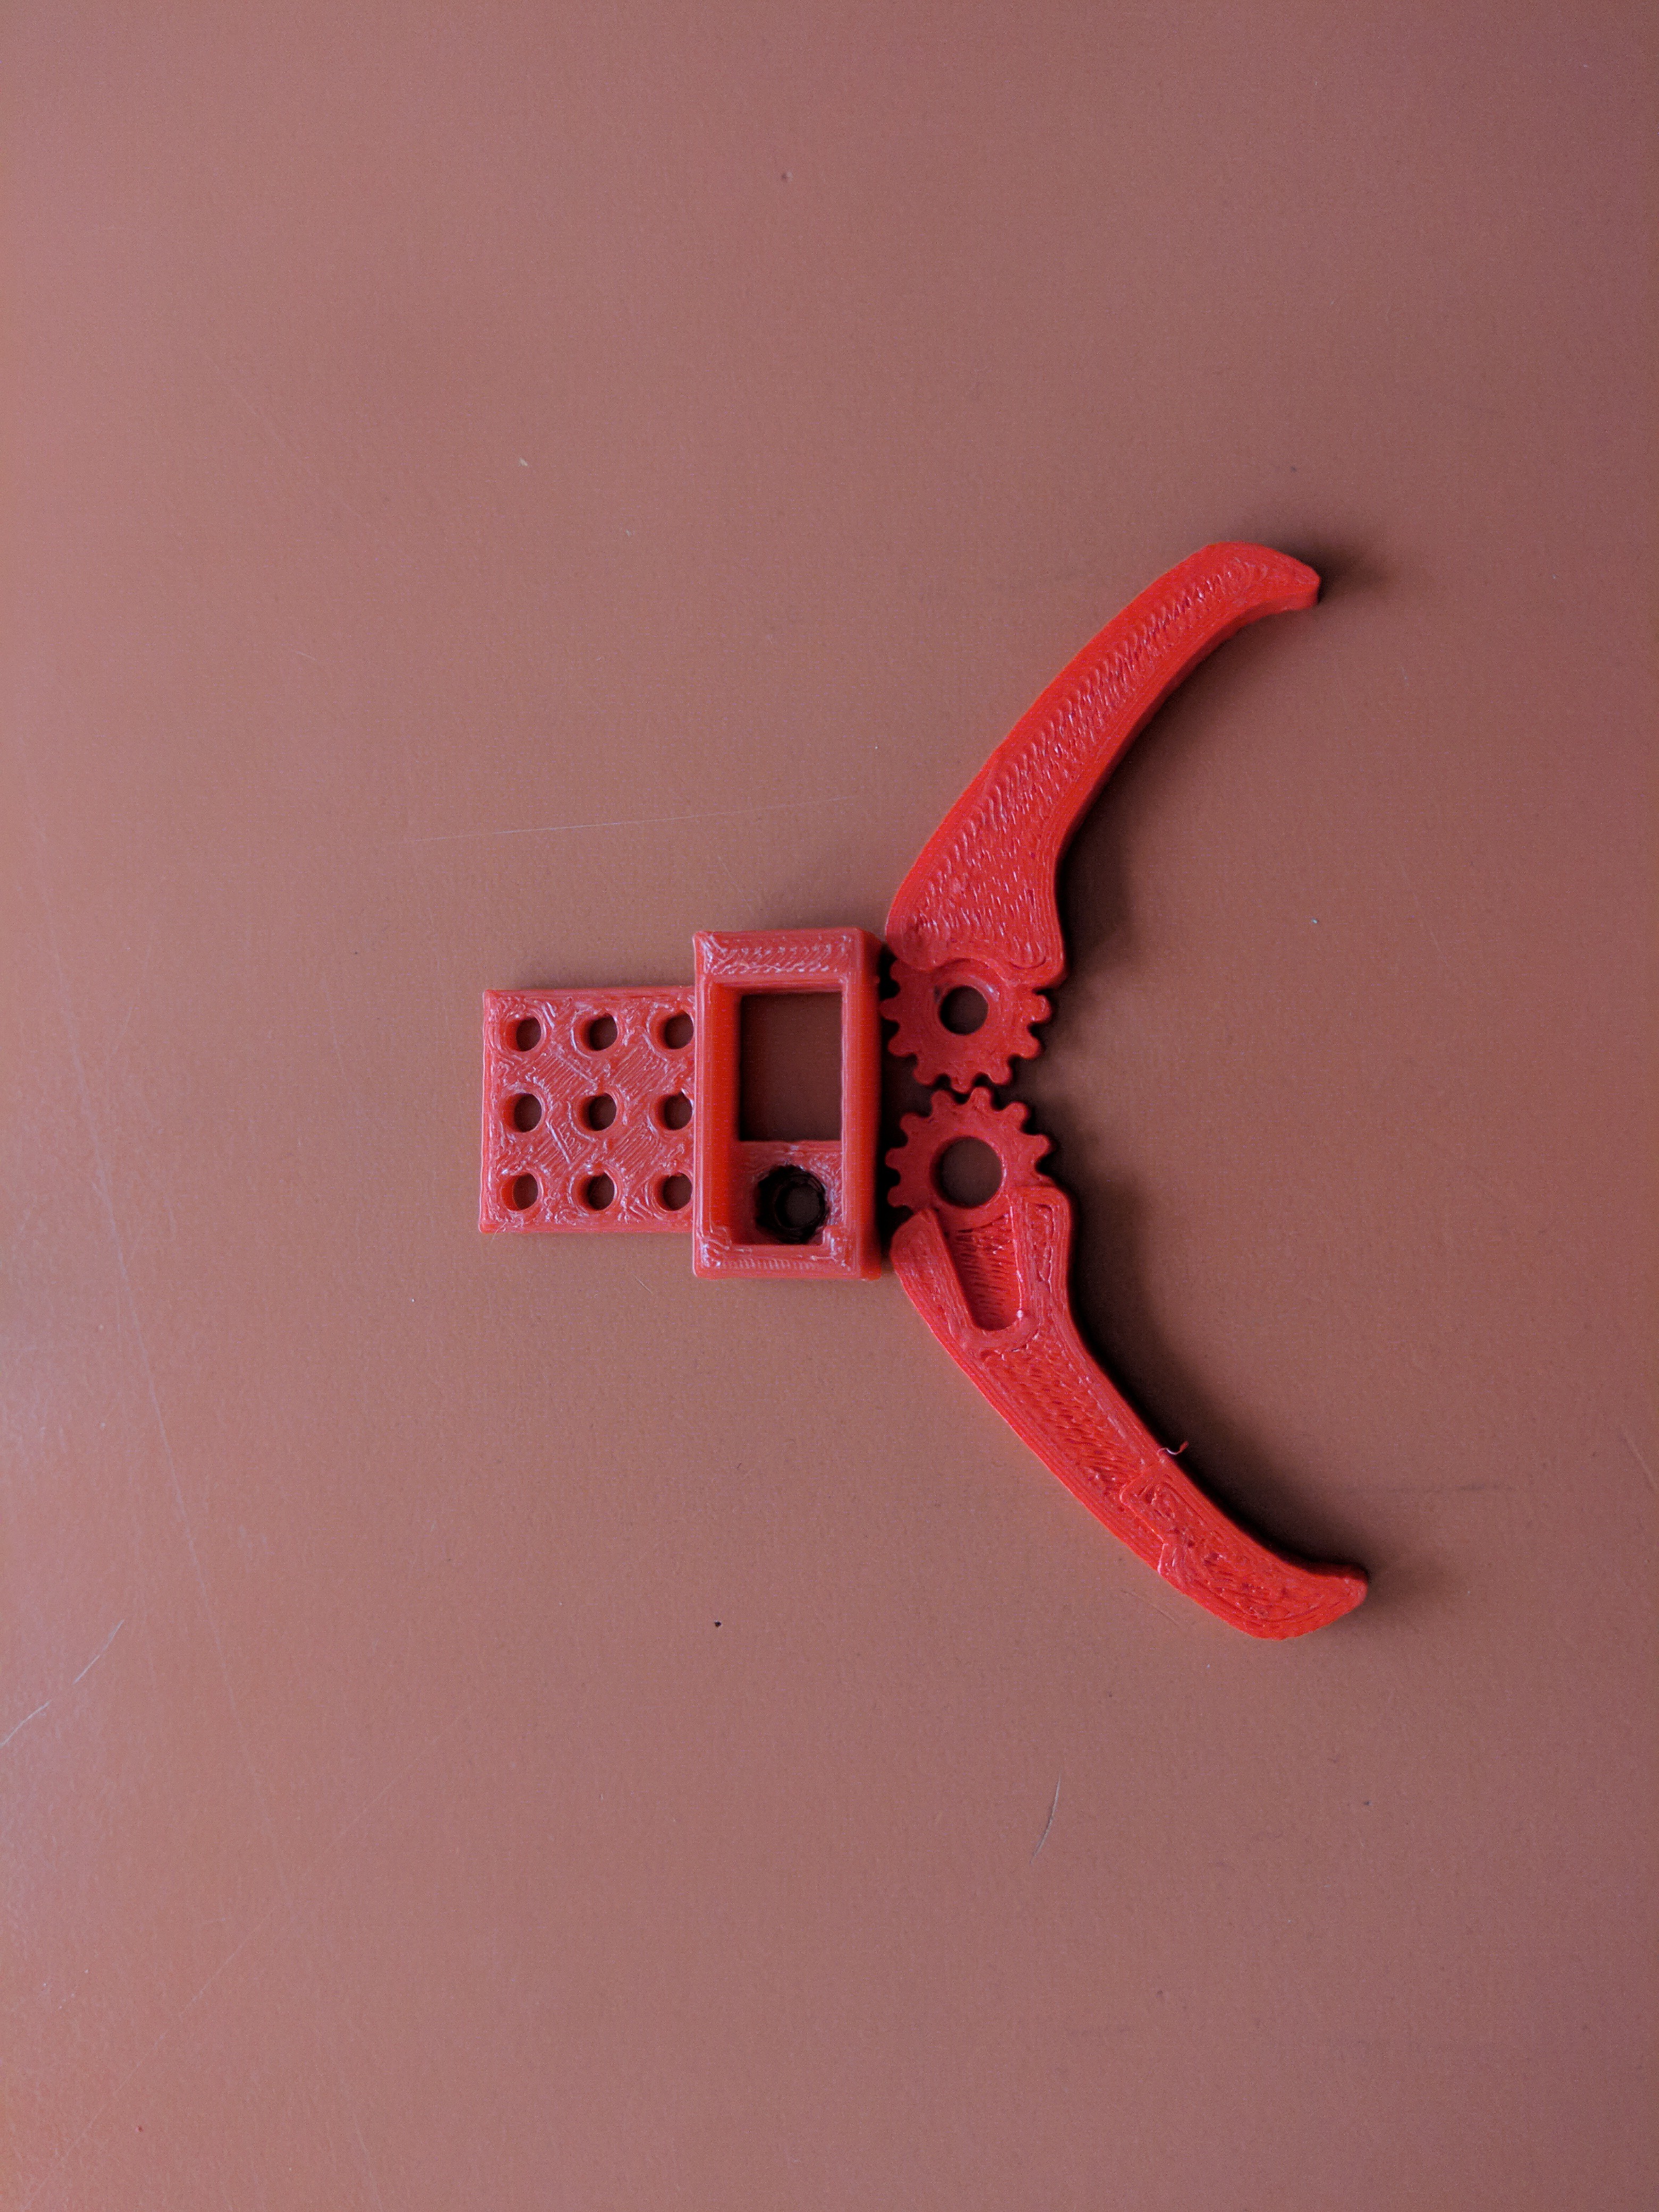
 14. 3D printed claw: this year, the Relic Recovery game includes the catching of a Relic. We have tried countless types of claws for catching the Relic, but every claw had a flaw. This is our last attempt so far, we have printed it from thingiverse and we plan to reinforce the grip with rubber bands. Here is a photo of it:
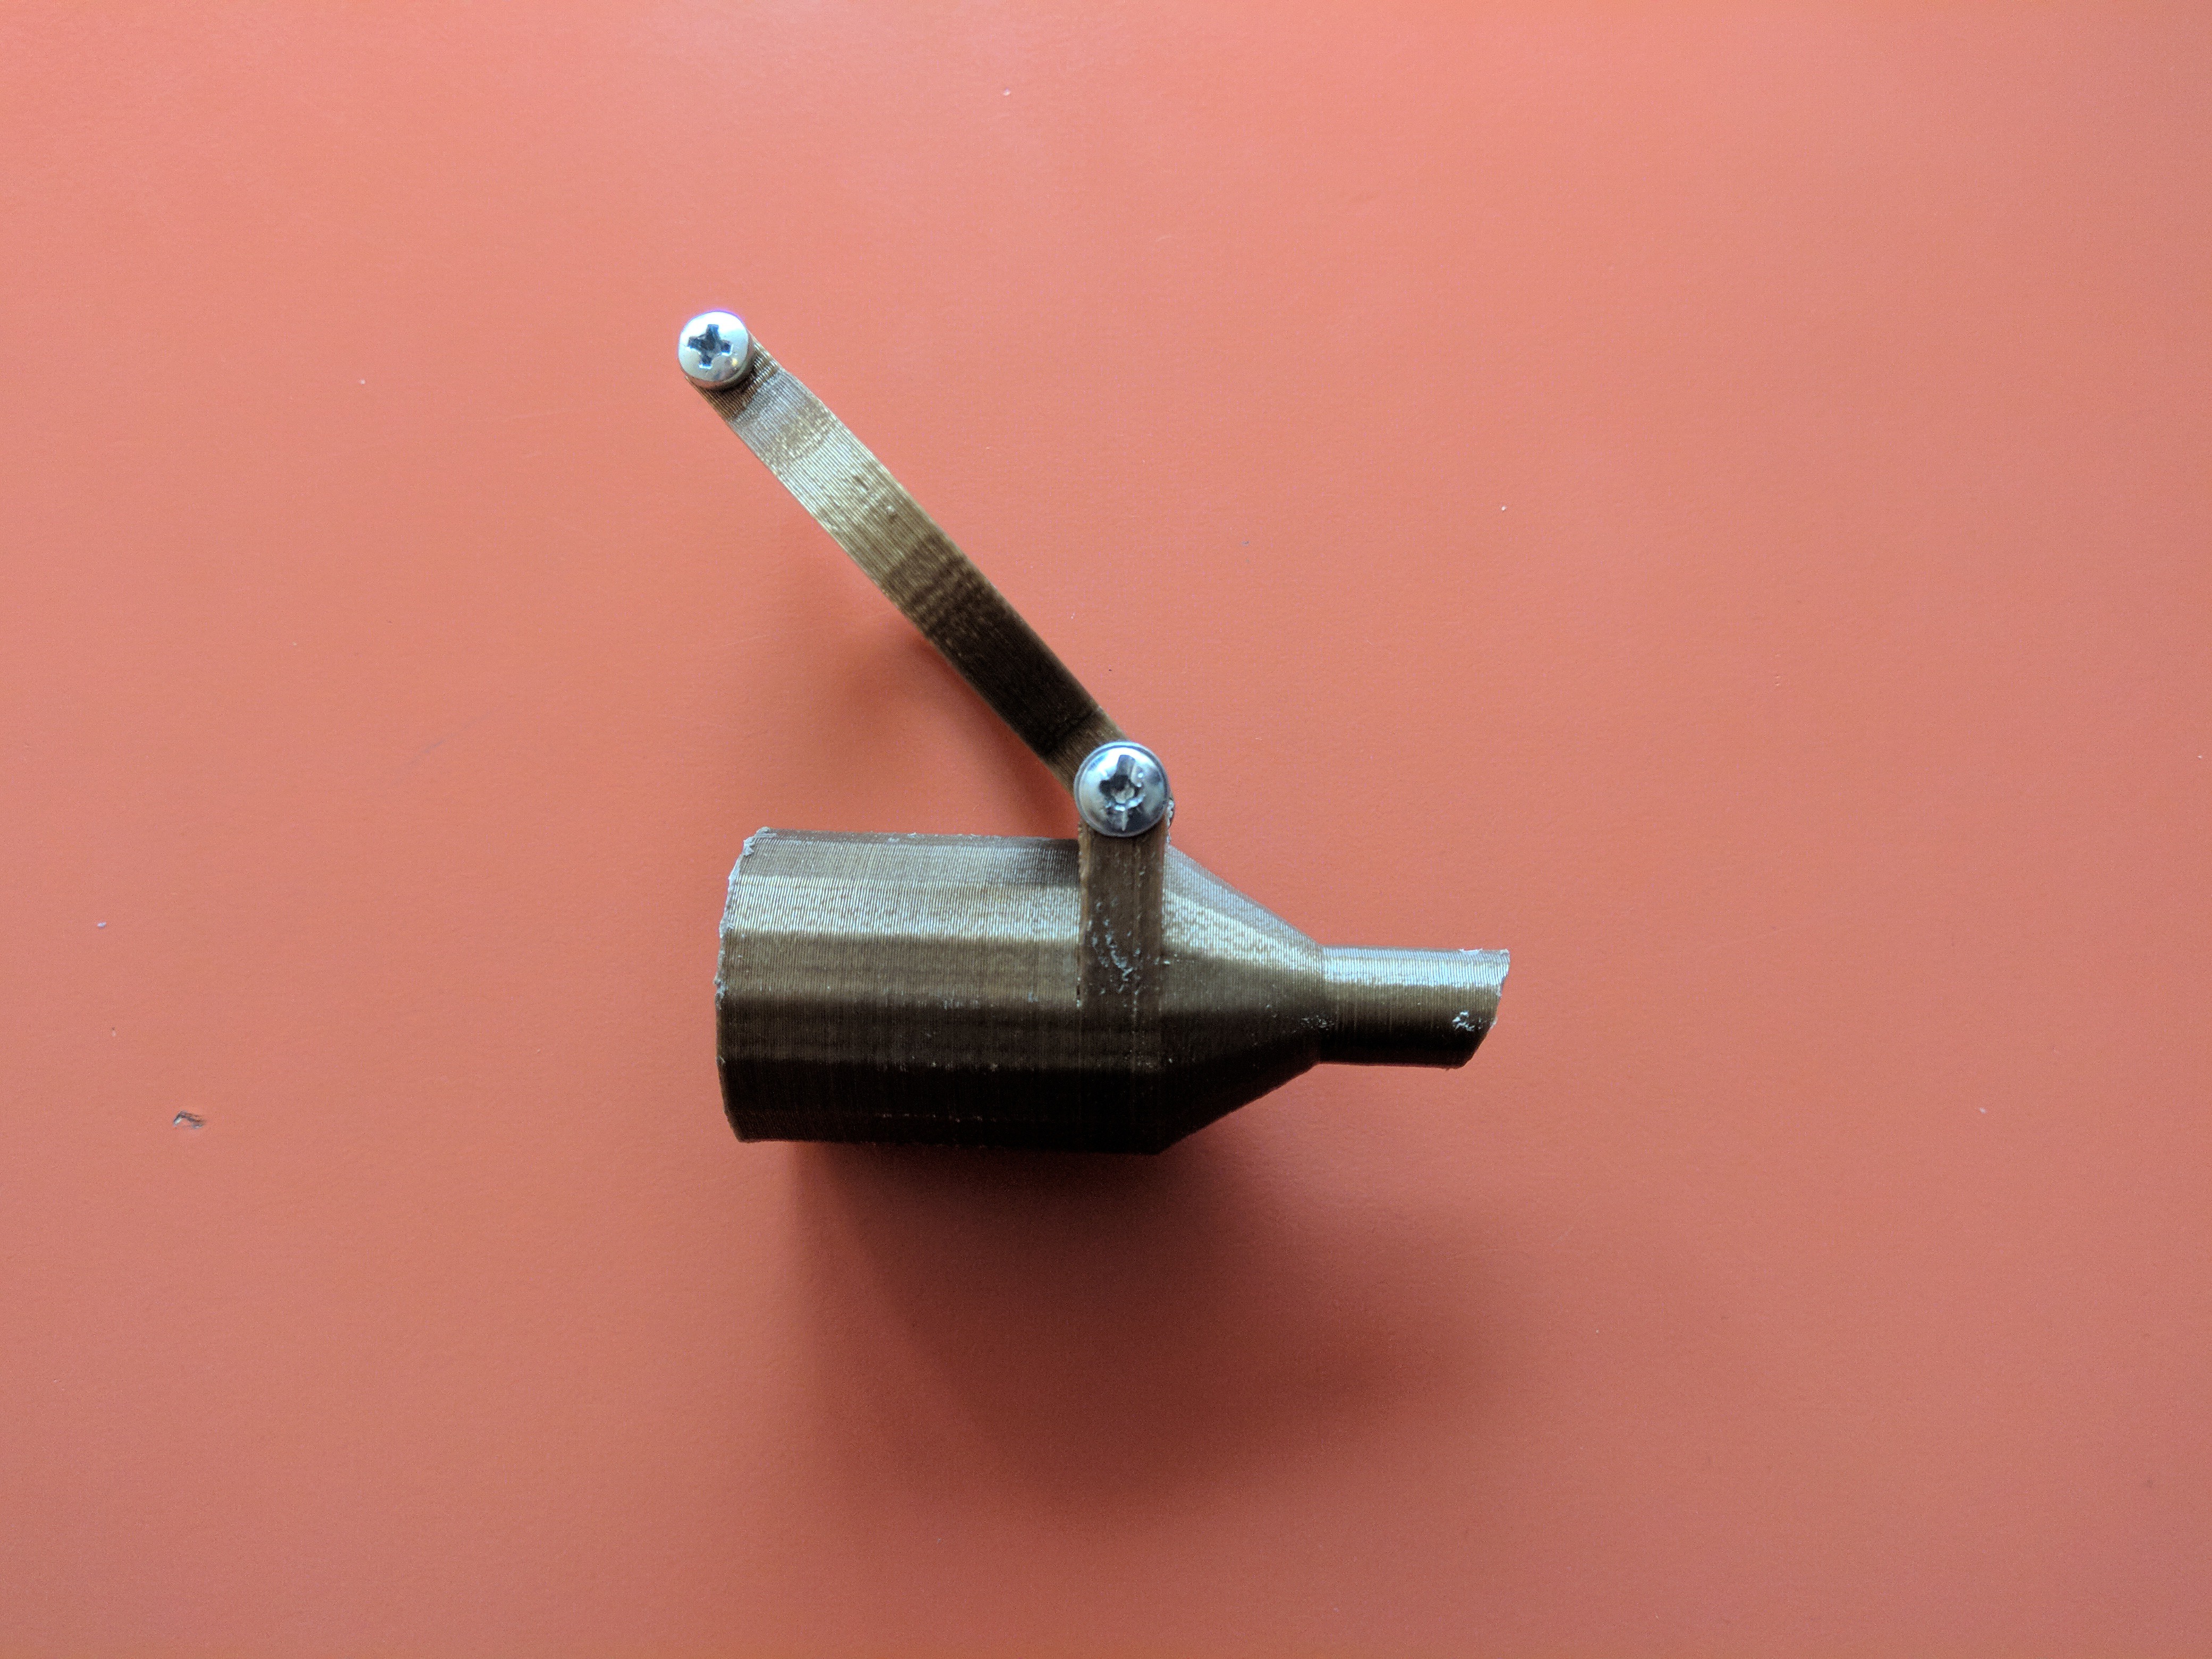
 15. 3D printed CNC vacuum cleaner nozzle: this September, we borrowed a small CNC machine. But after we figured out how to control it (despite we haven't yet bought drills for aluminium, we have drills only for wood so it's not very useful for us), we realised that the drill makes a lot of dust and small particles of wood. So someone from the 3D printing team decided to print a 2-piece adaptor for our vacuum cleaner, so one part will attach to the spindle and the other part will attach to the vacuum cleaner. This is the assembled part: