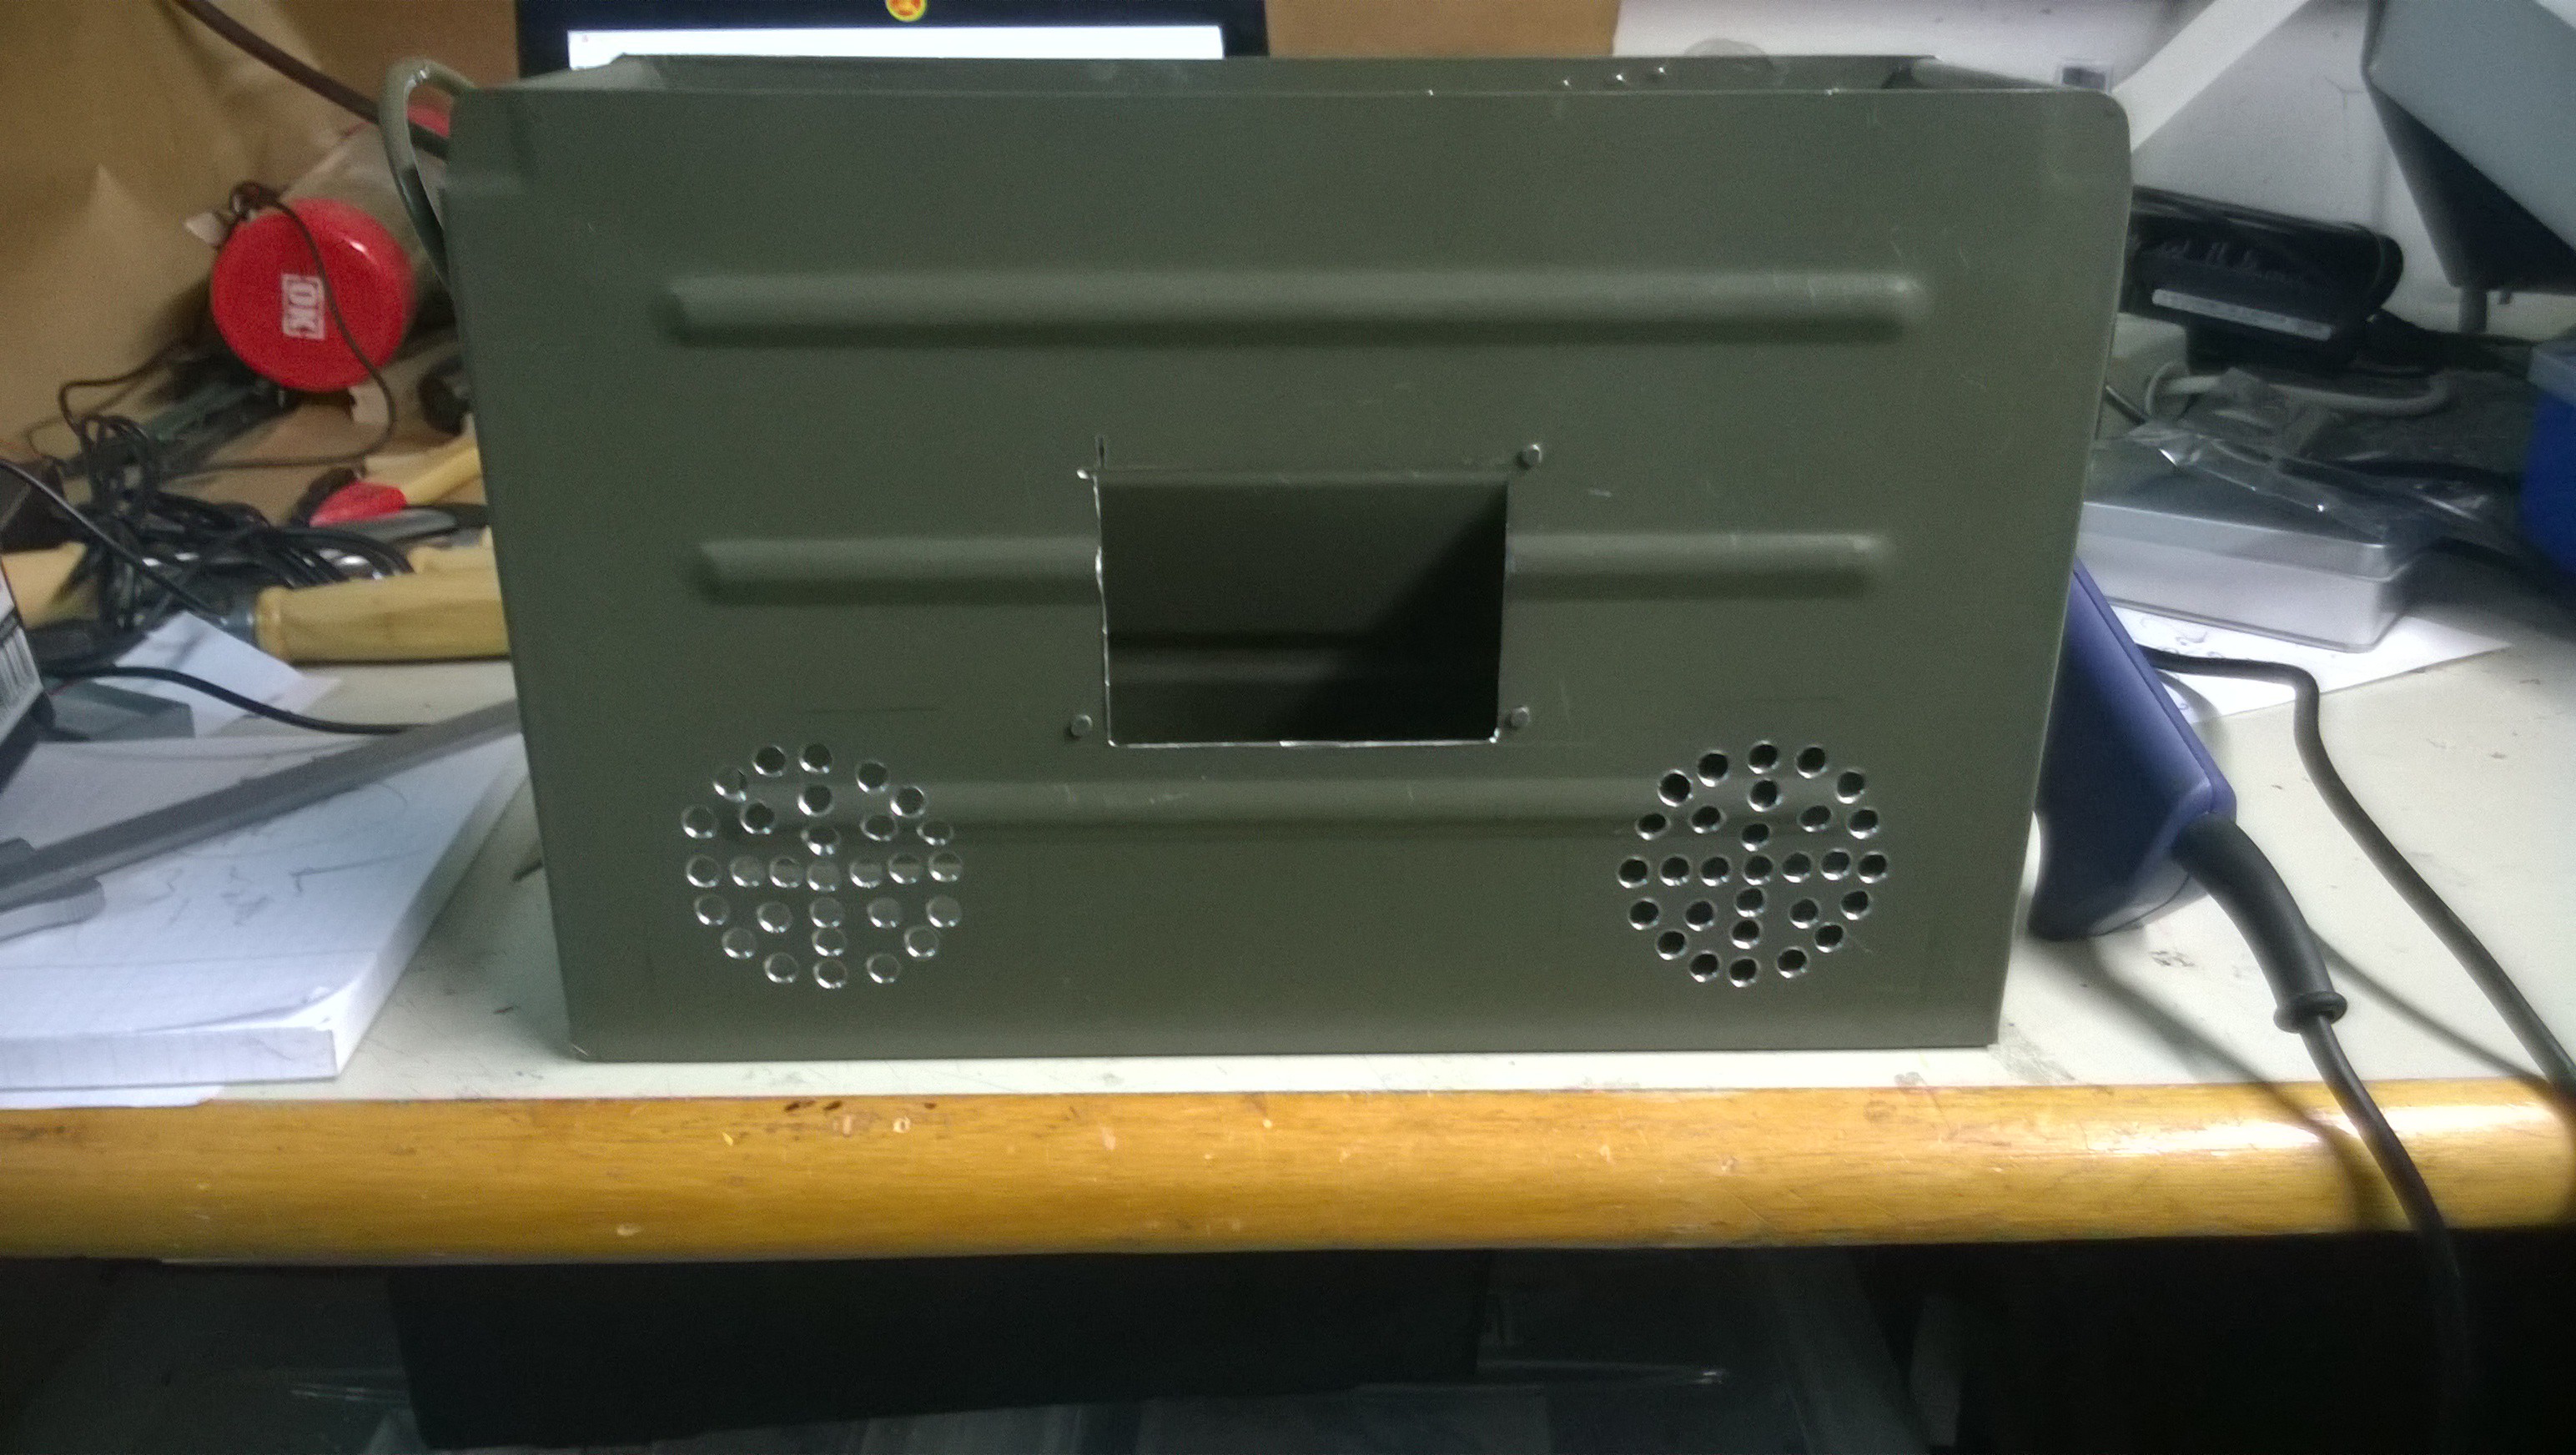
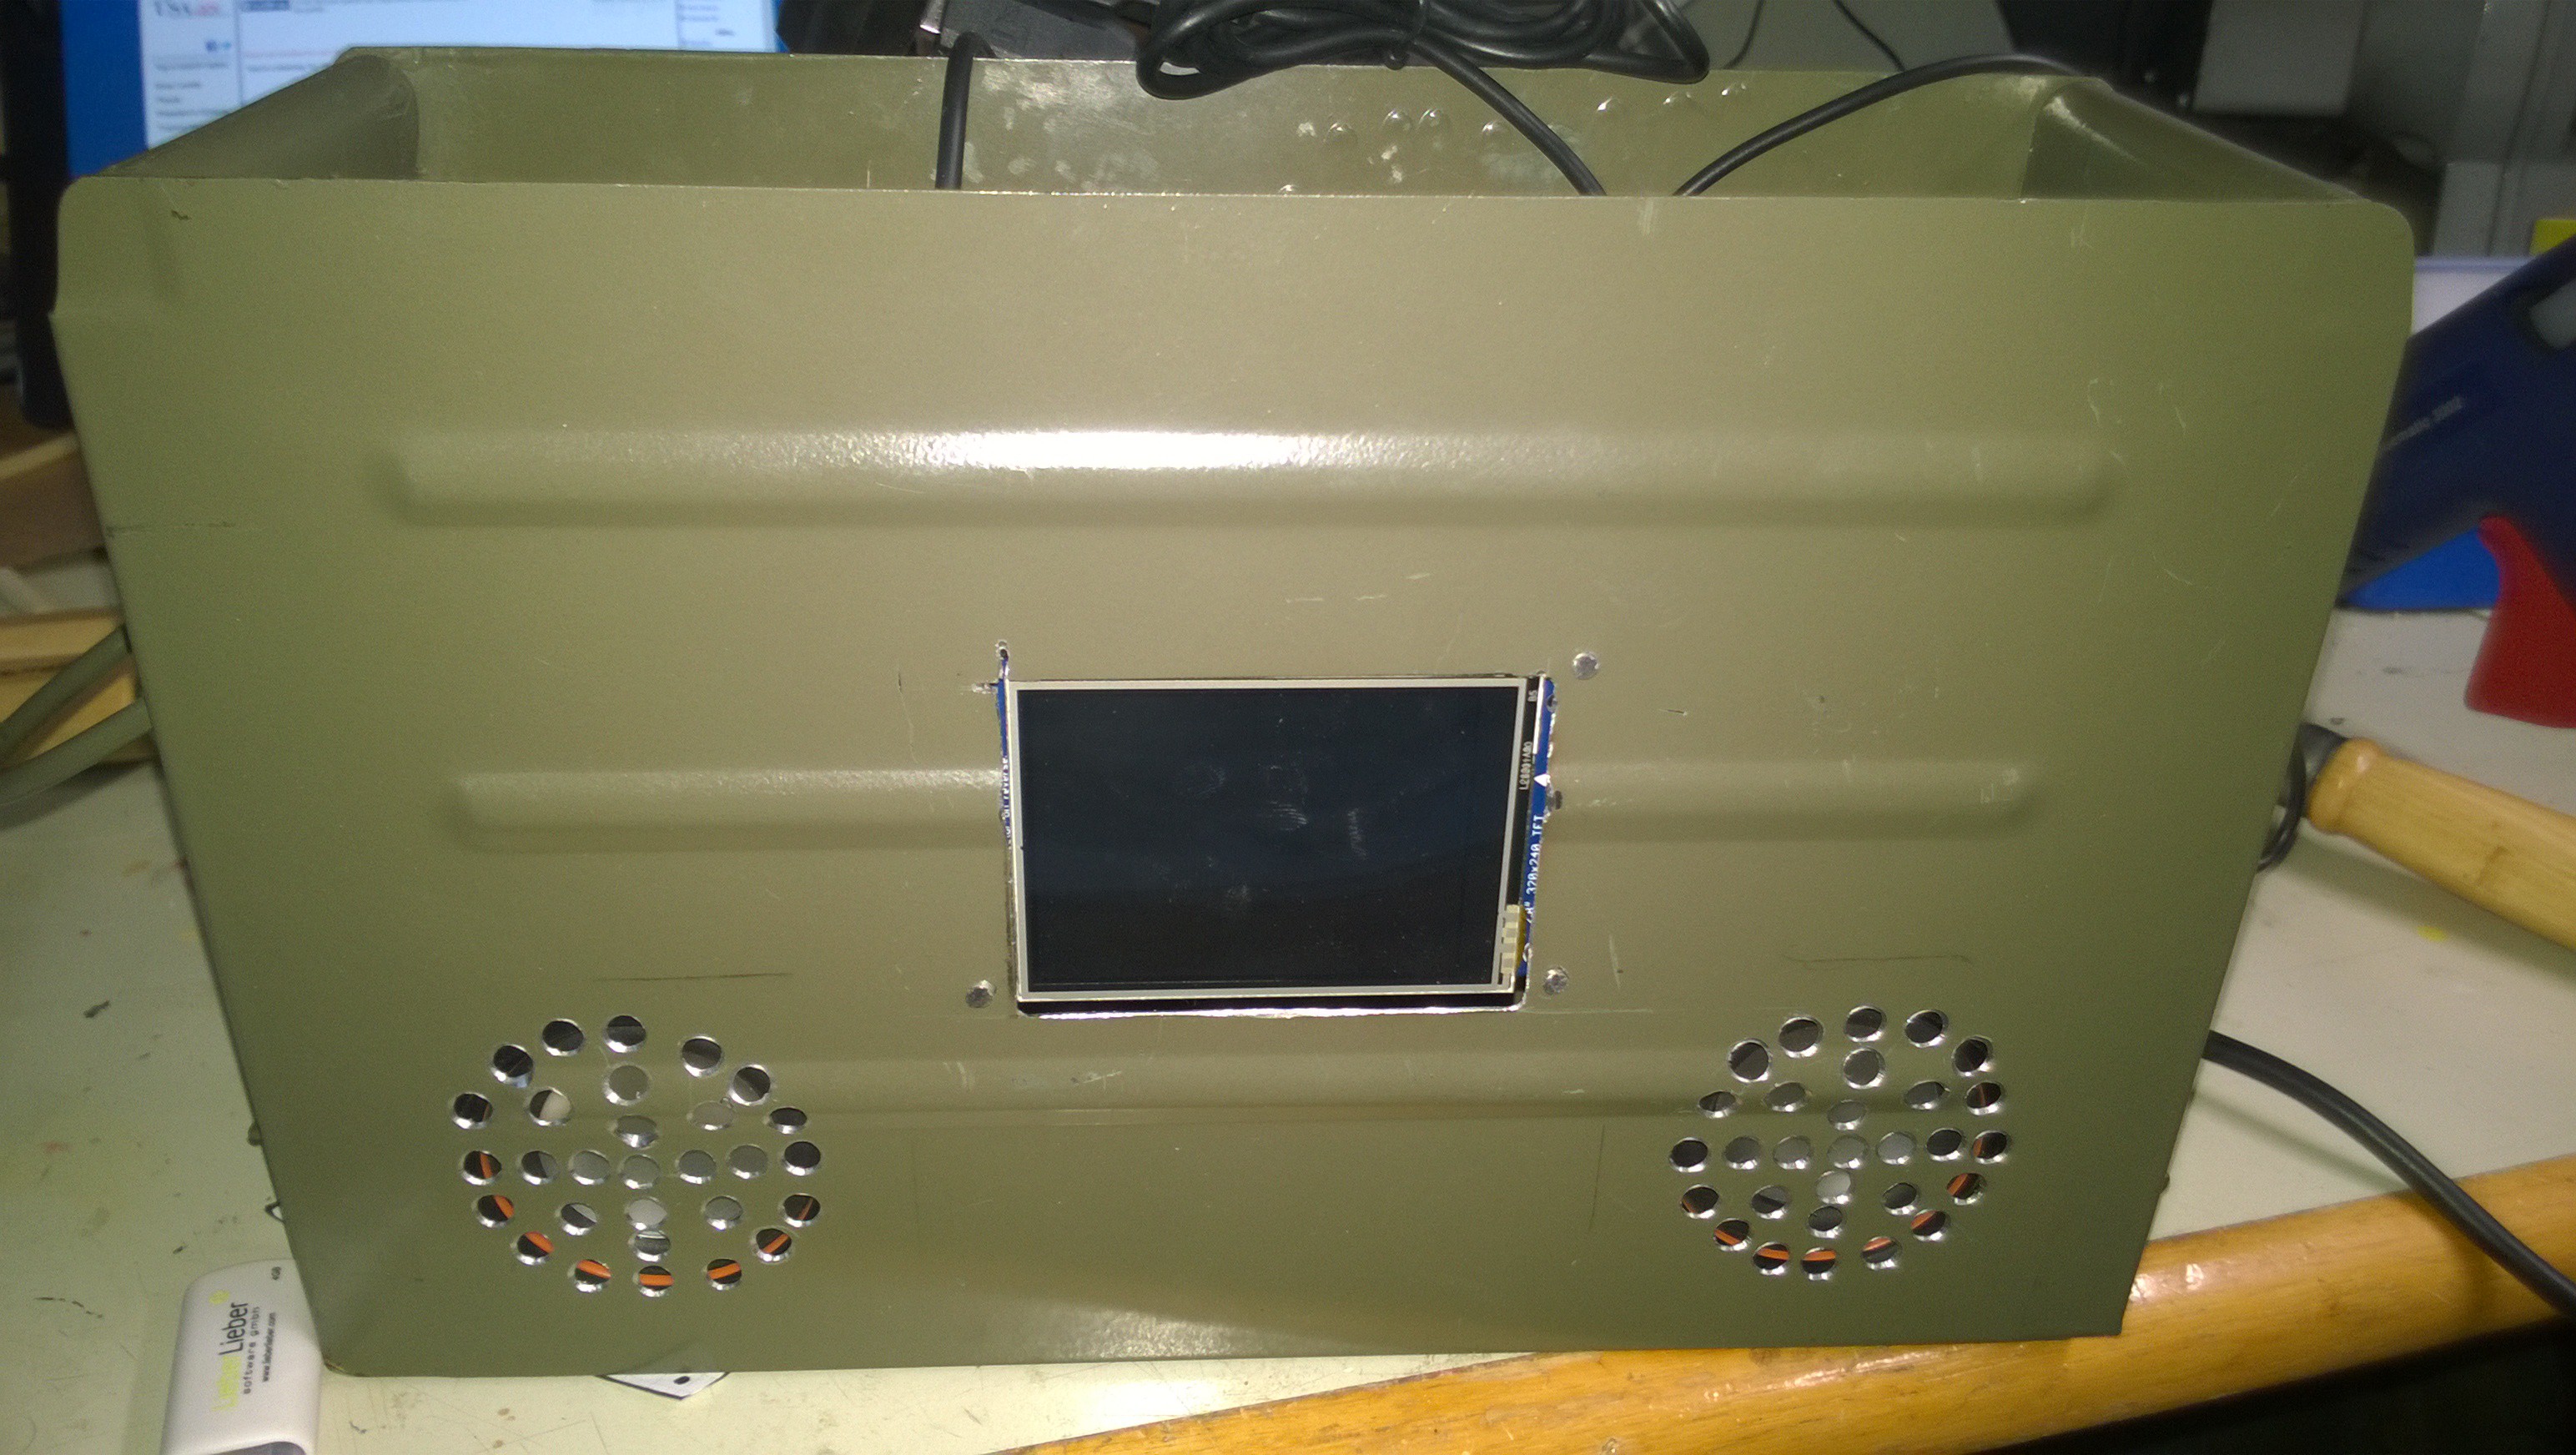
After the testing was done and some fiddling around on how to arrange the speakers, display, Raspberry, USB Hub,.... and so on, I decided to take the first step and cut the ammunition box to hold the display.
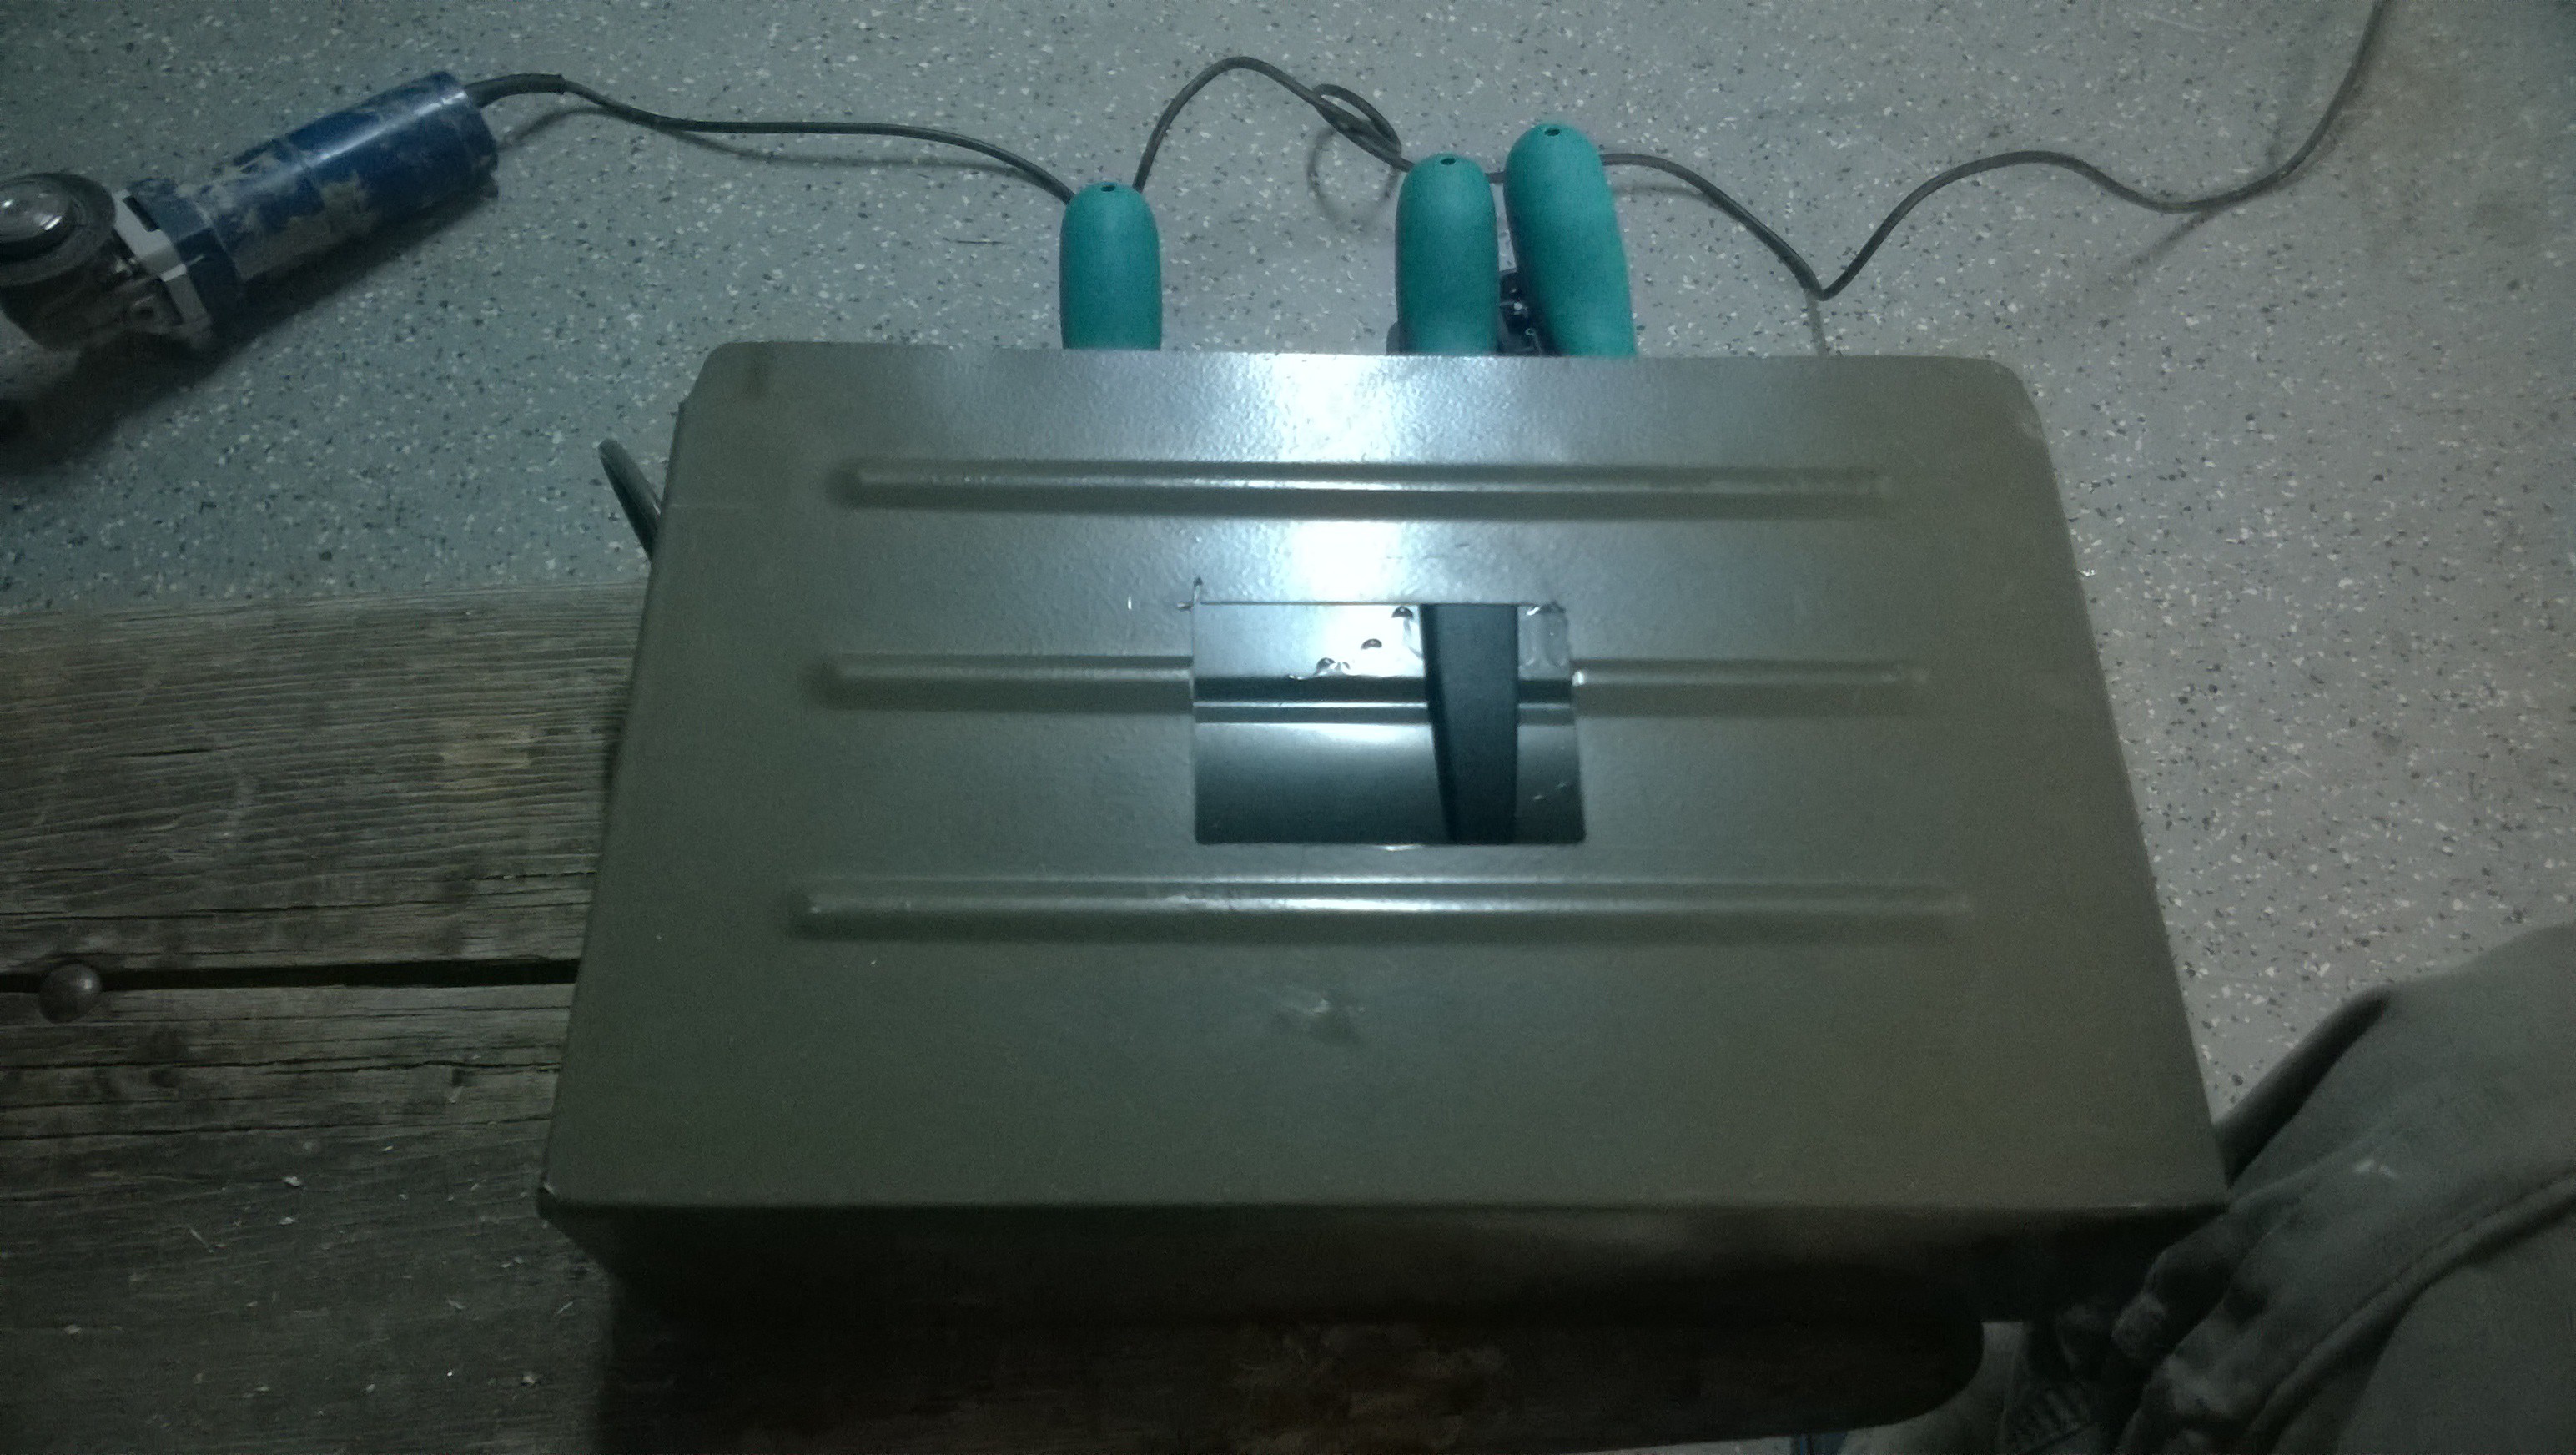 As you can see my cut was a little bit off,... but with an angle grinder you can't expect brain surgery precision (at least not from me).
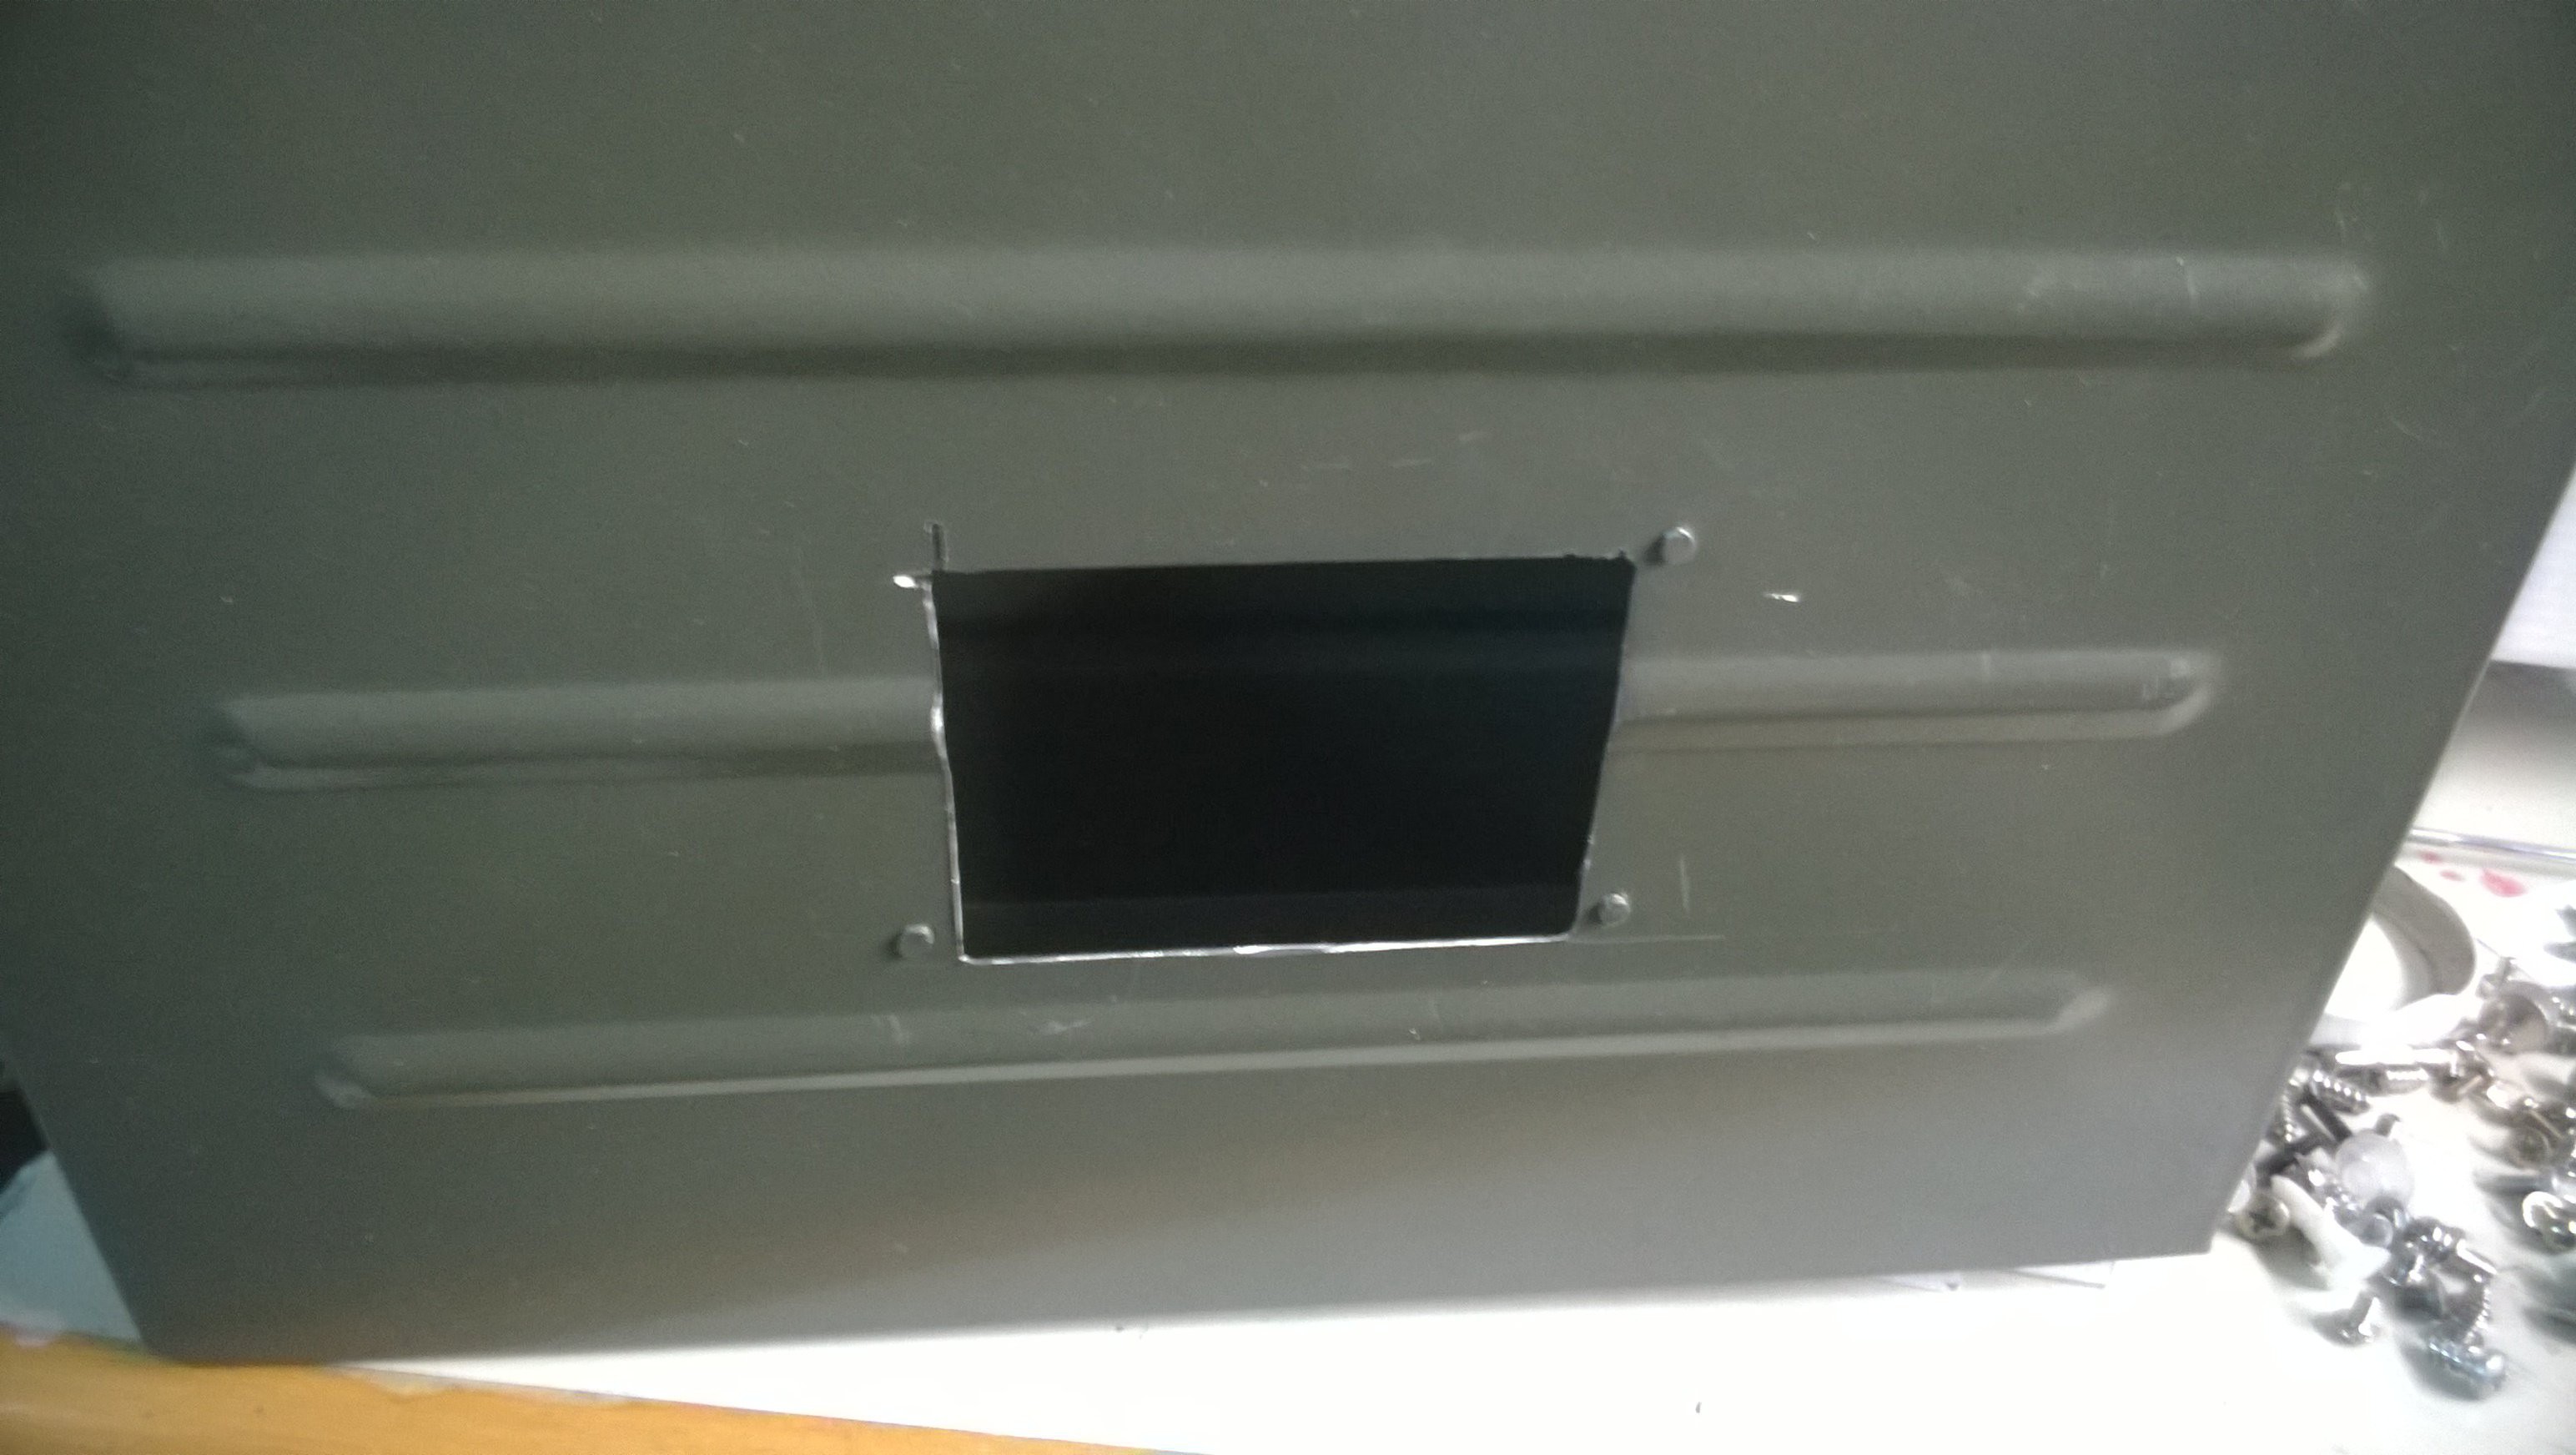
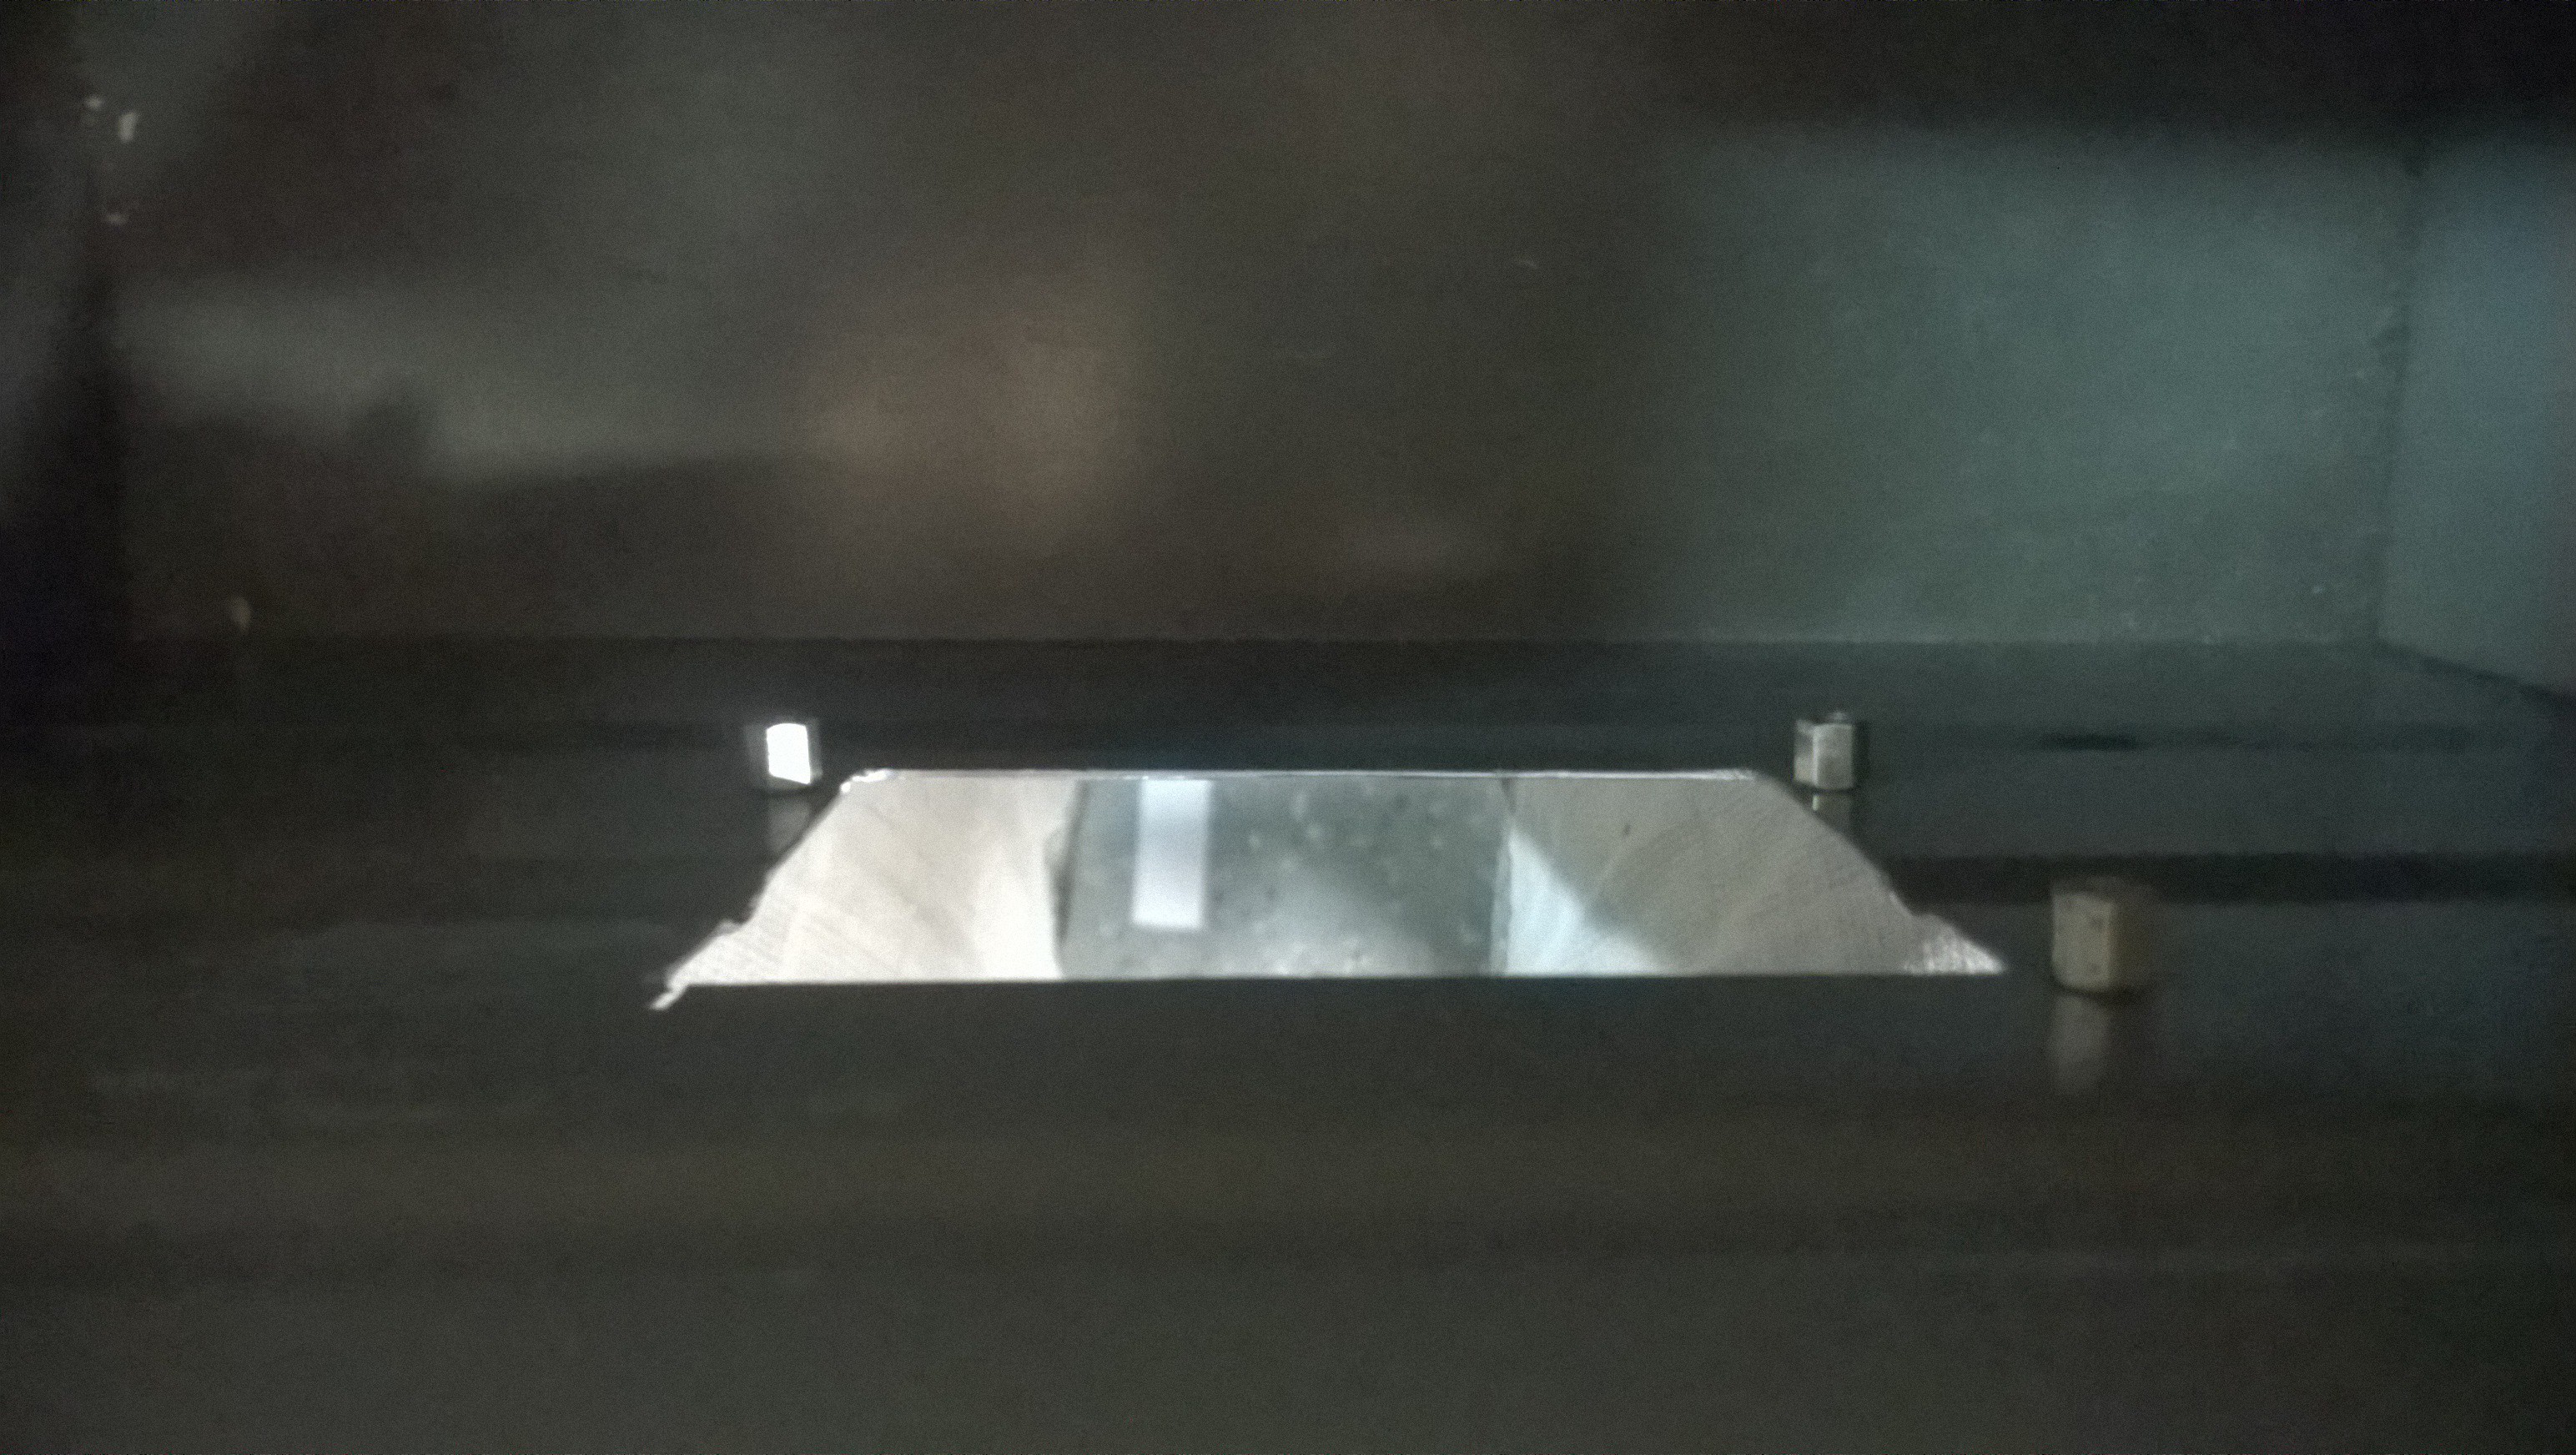
After some tedious drilling and rounding off the edges with a counter sink I secured the speakers with hot glue and display with Raspberry Pi on the back onto the mount screws.
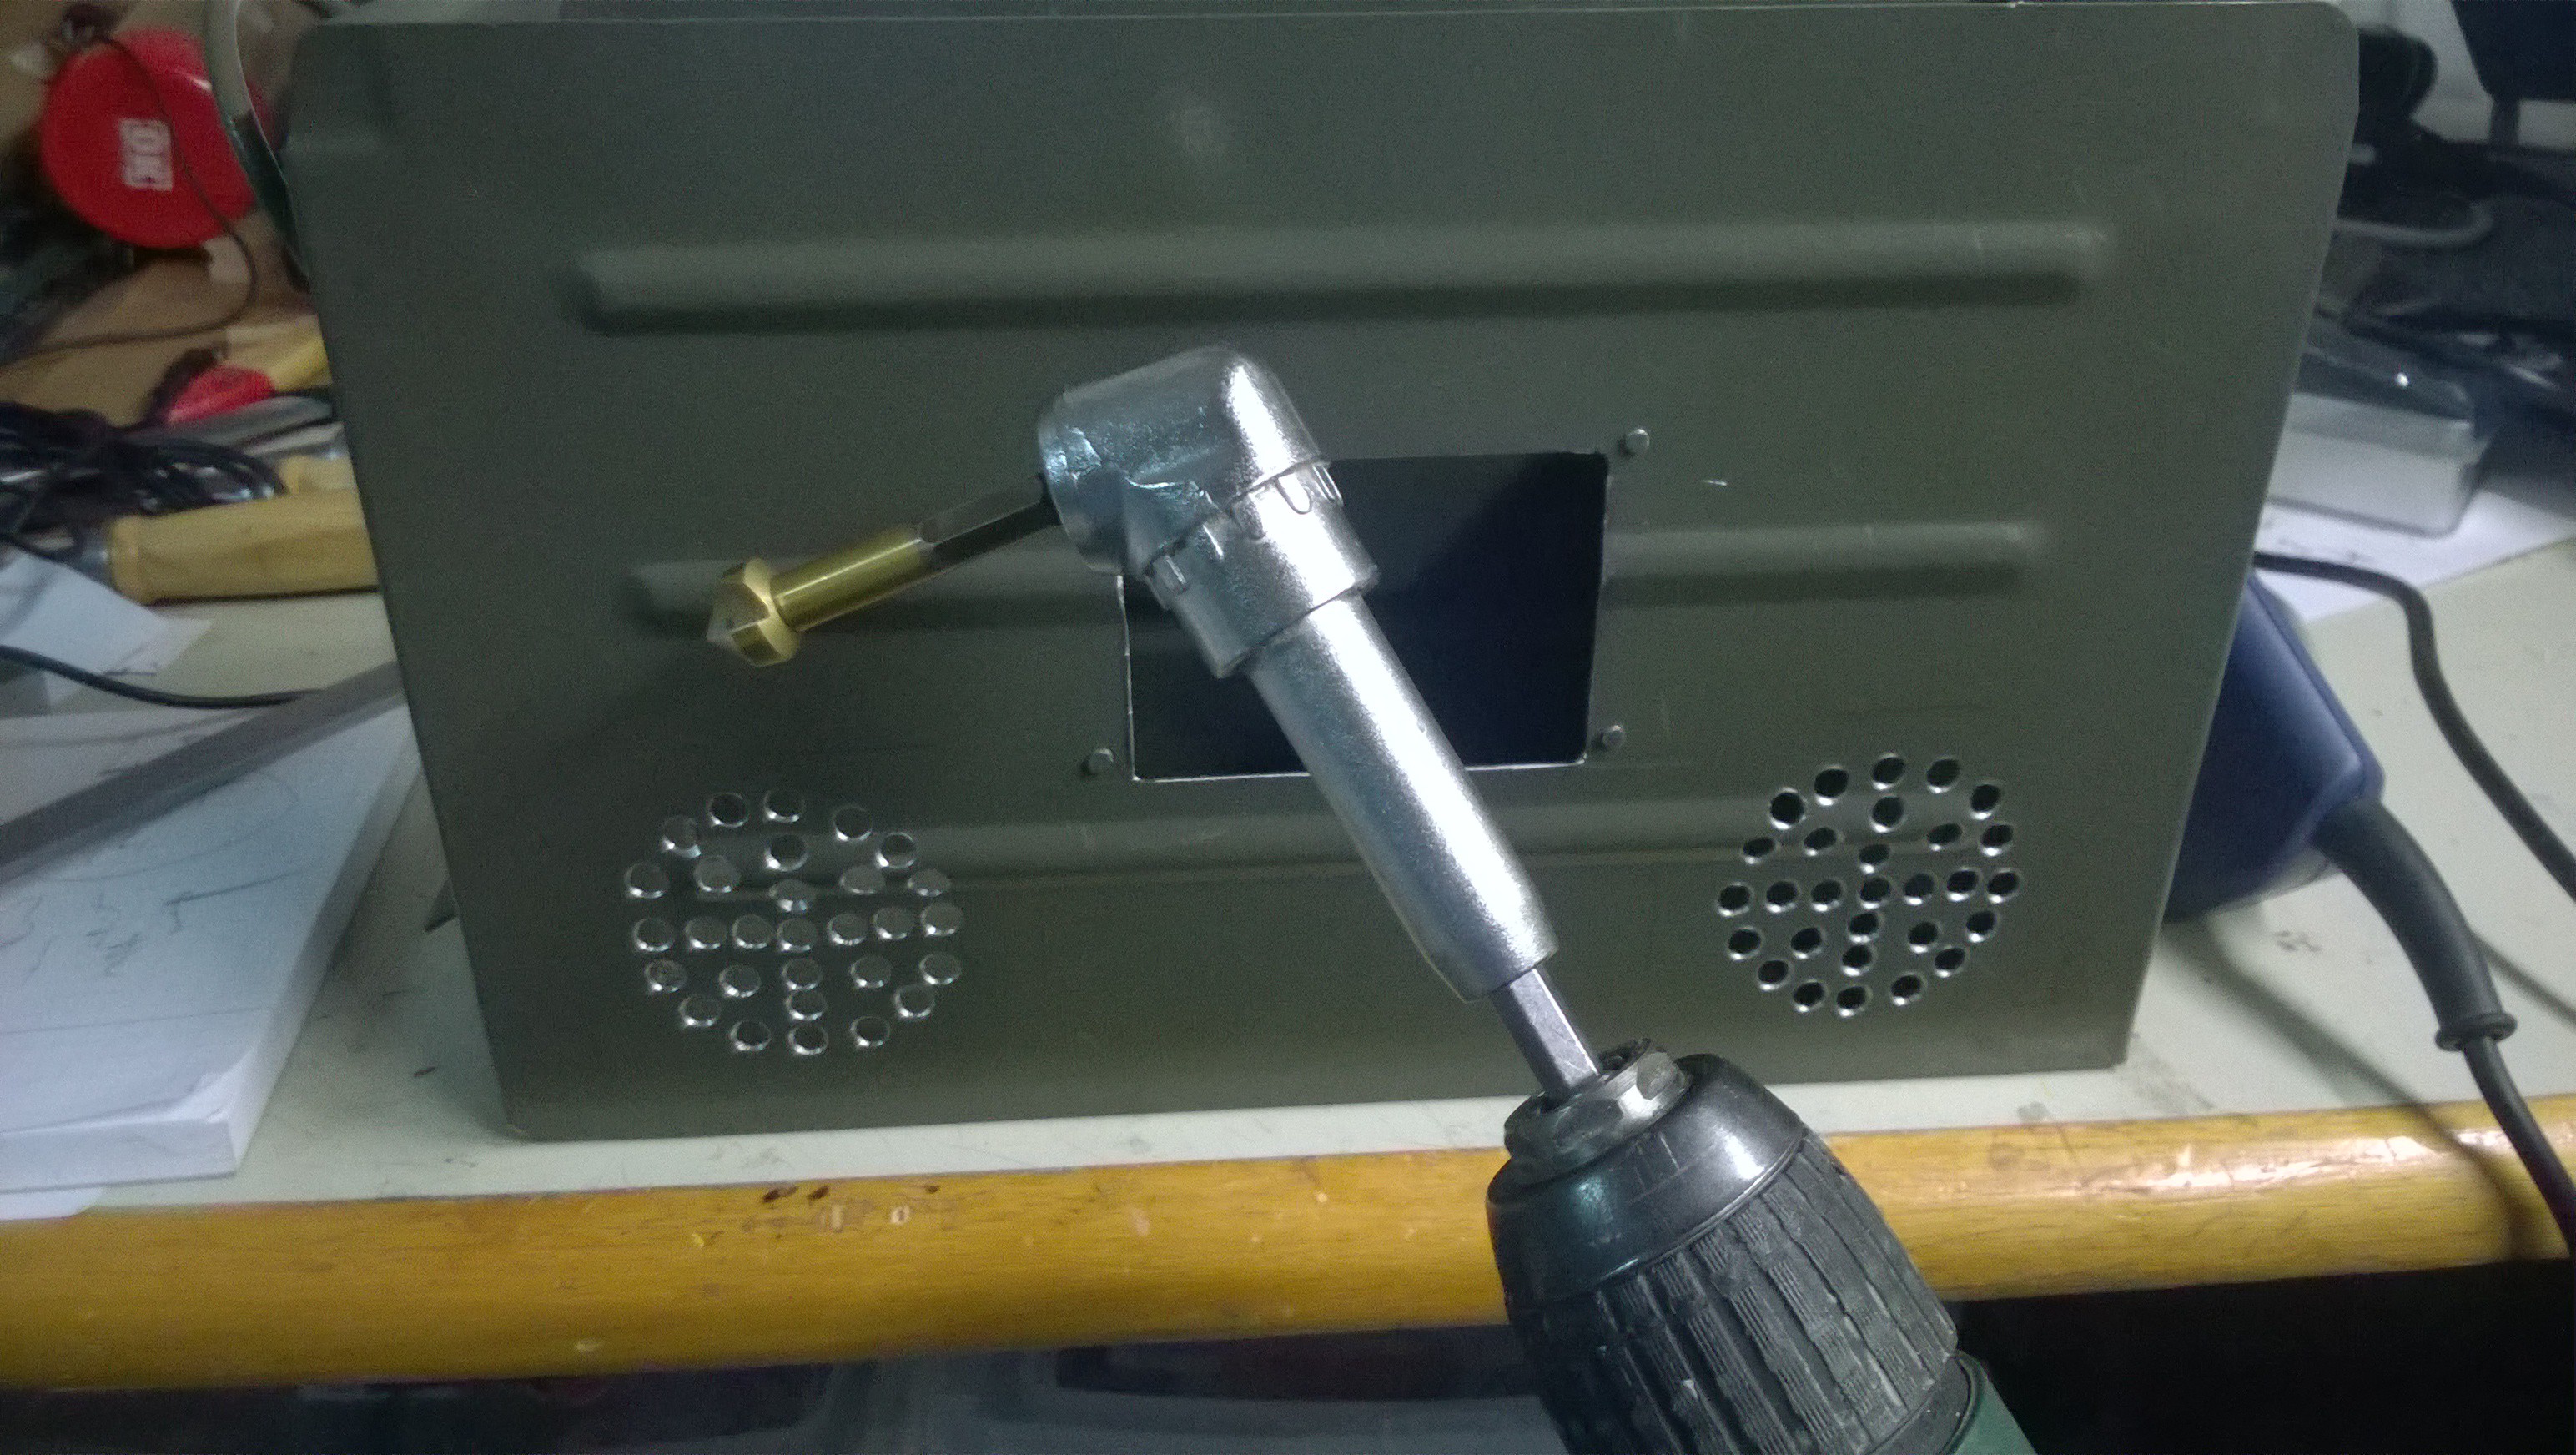
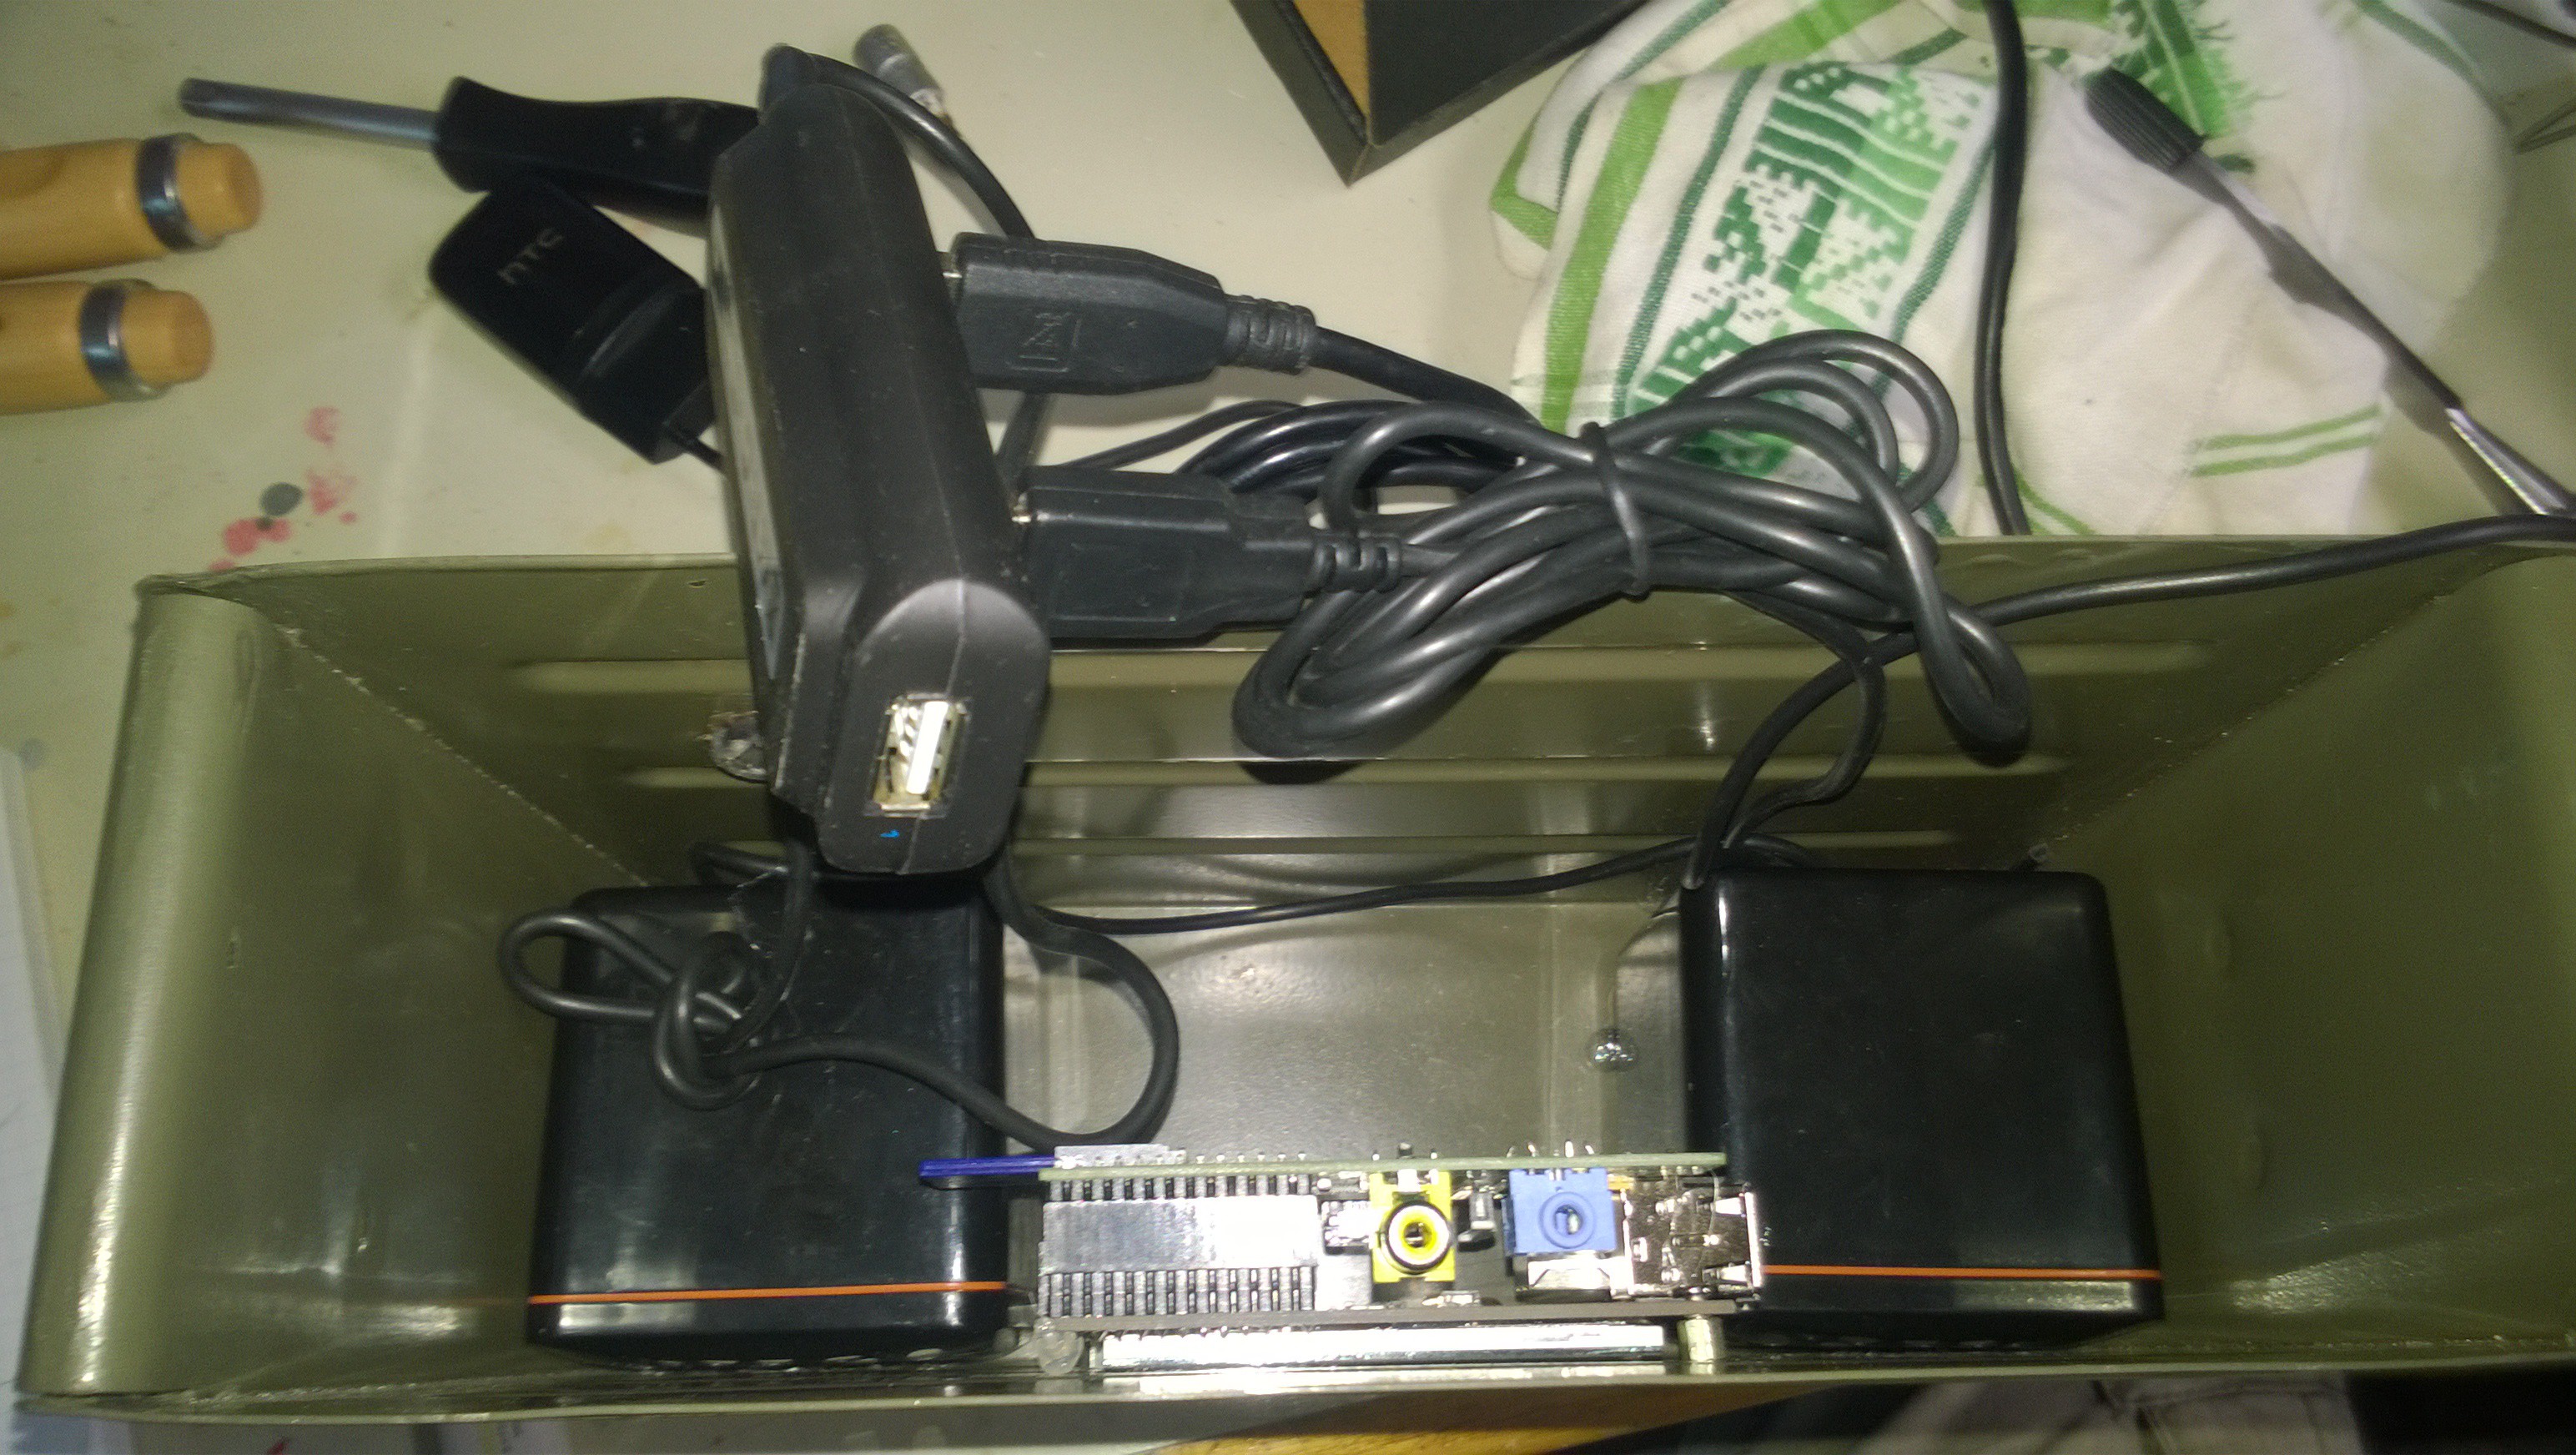
I made another hole in the back to have the option to use an external (USB) power supply instead of the powerbank.
 Richard Deininger
Discussions
Become a Hackaday.io Member
Create an account to leave a comment. Already have an account? Log In.