 Alessia Ianni-Palarchio
I wanted my handle to look just as good as it was functional. Since this is meant to go on a drawer full of shirts, I had the perfect design in mind to use.
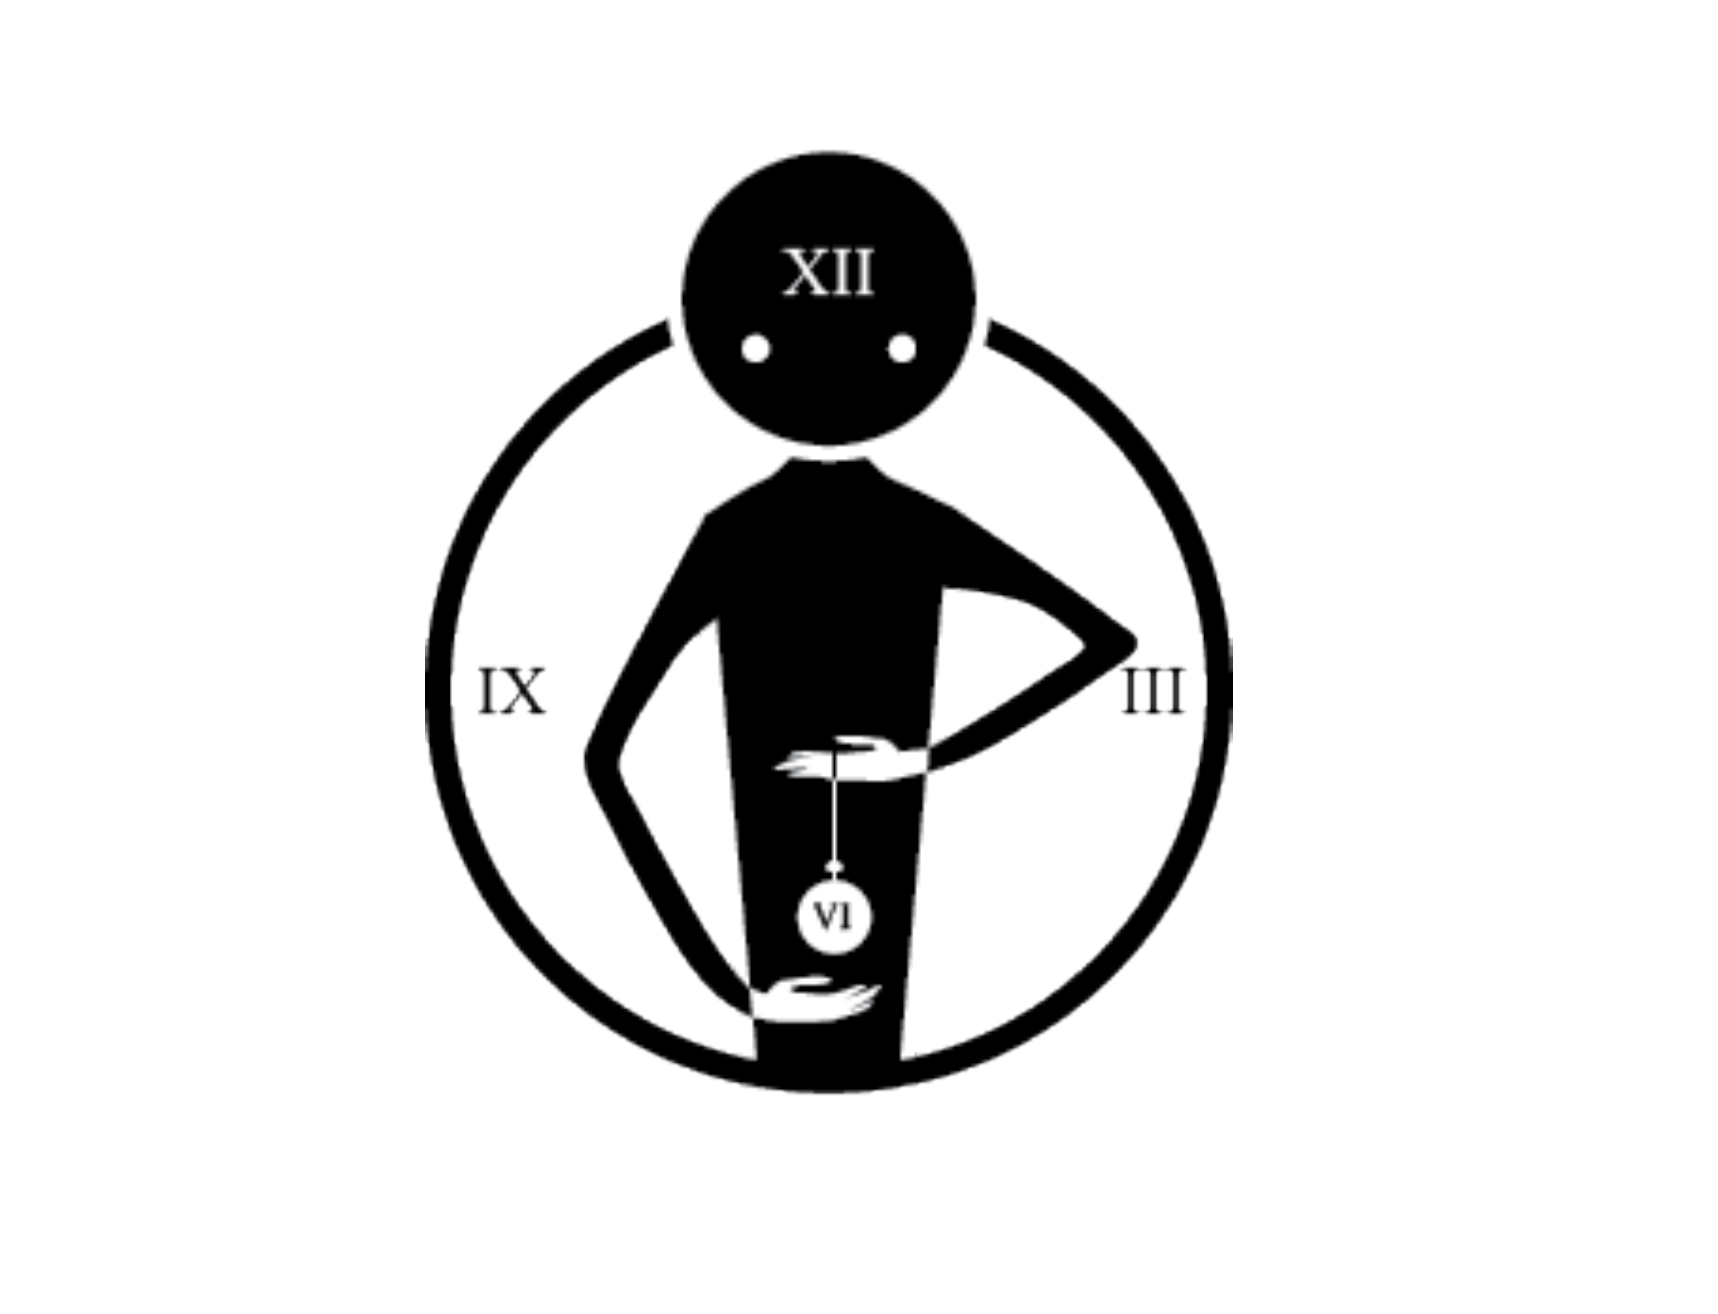
I've done some screen printing in the past - and this was a design I used on one of my shirts! Naturally, it felt very fitting to include on the drawer meant for shirts now that I had the chance.
Taking the PNG, I made an outline vector that would be compatible with Rhino.
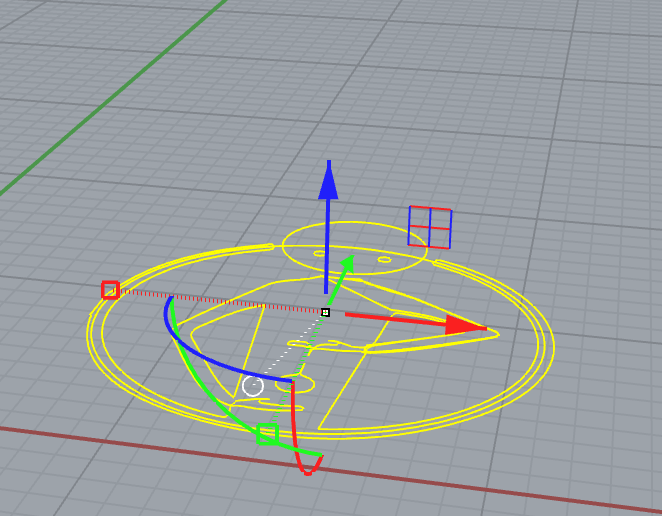
When it imports, it imports just as curves and not solid faces. From here it had to be extruded, and edited from its original form to become a proper, printable 3D model.
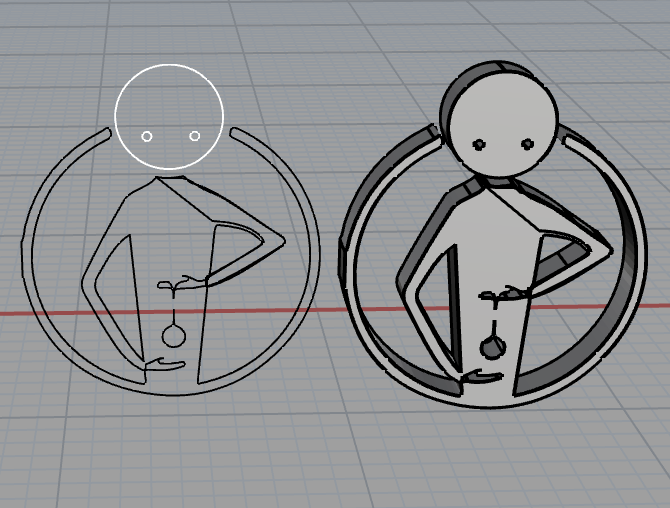
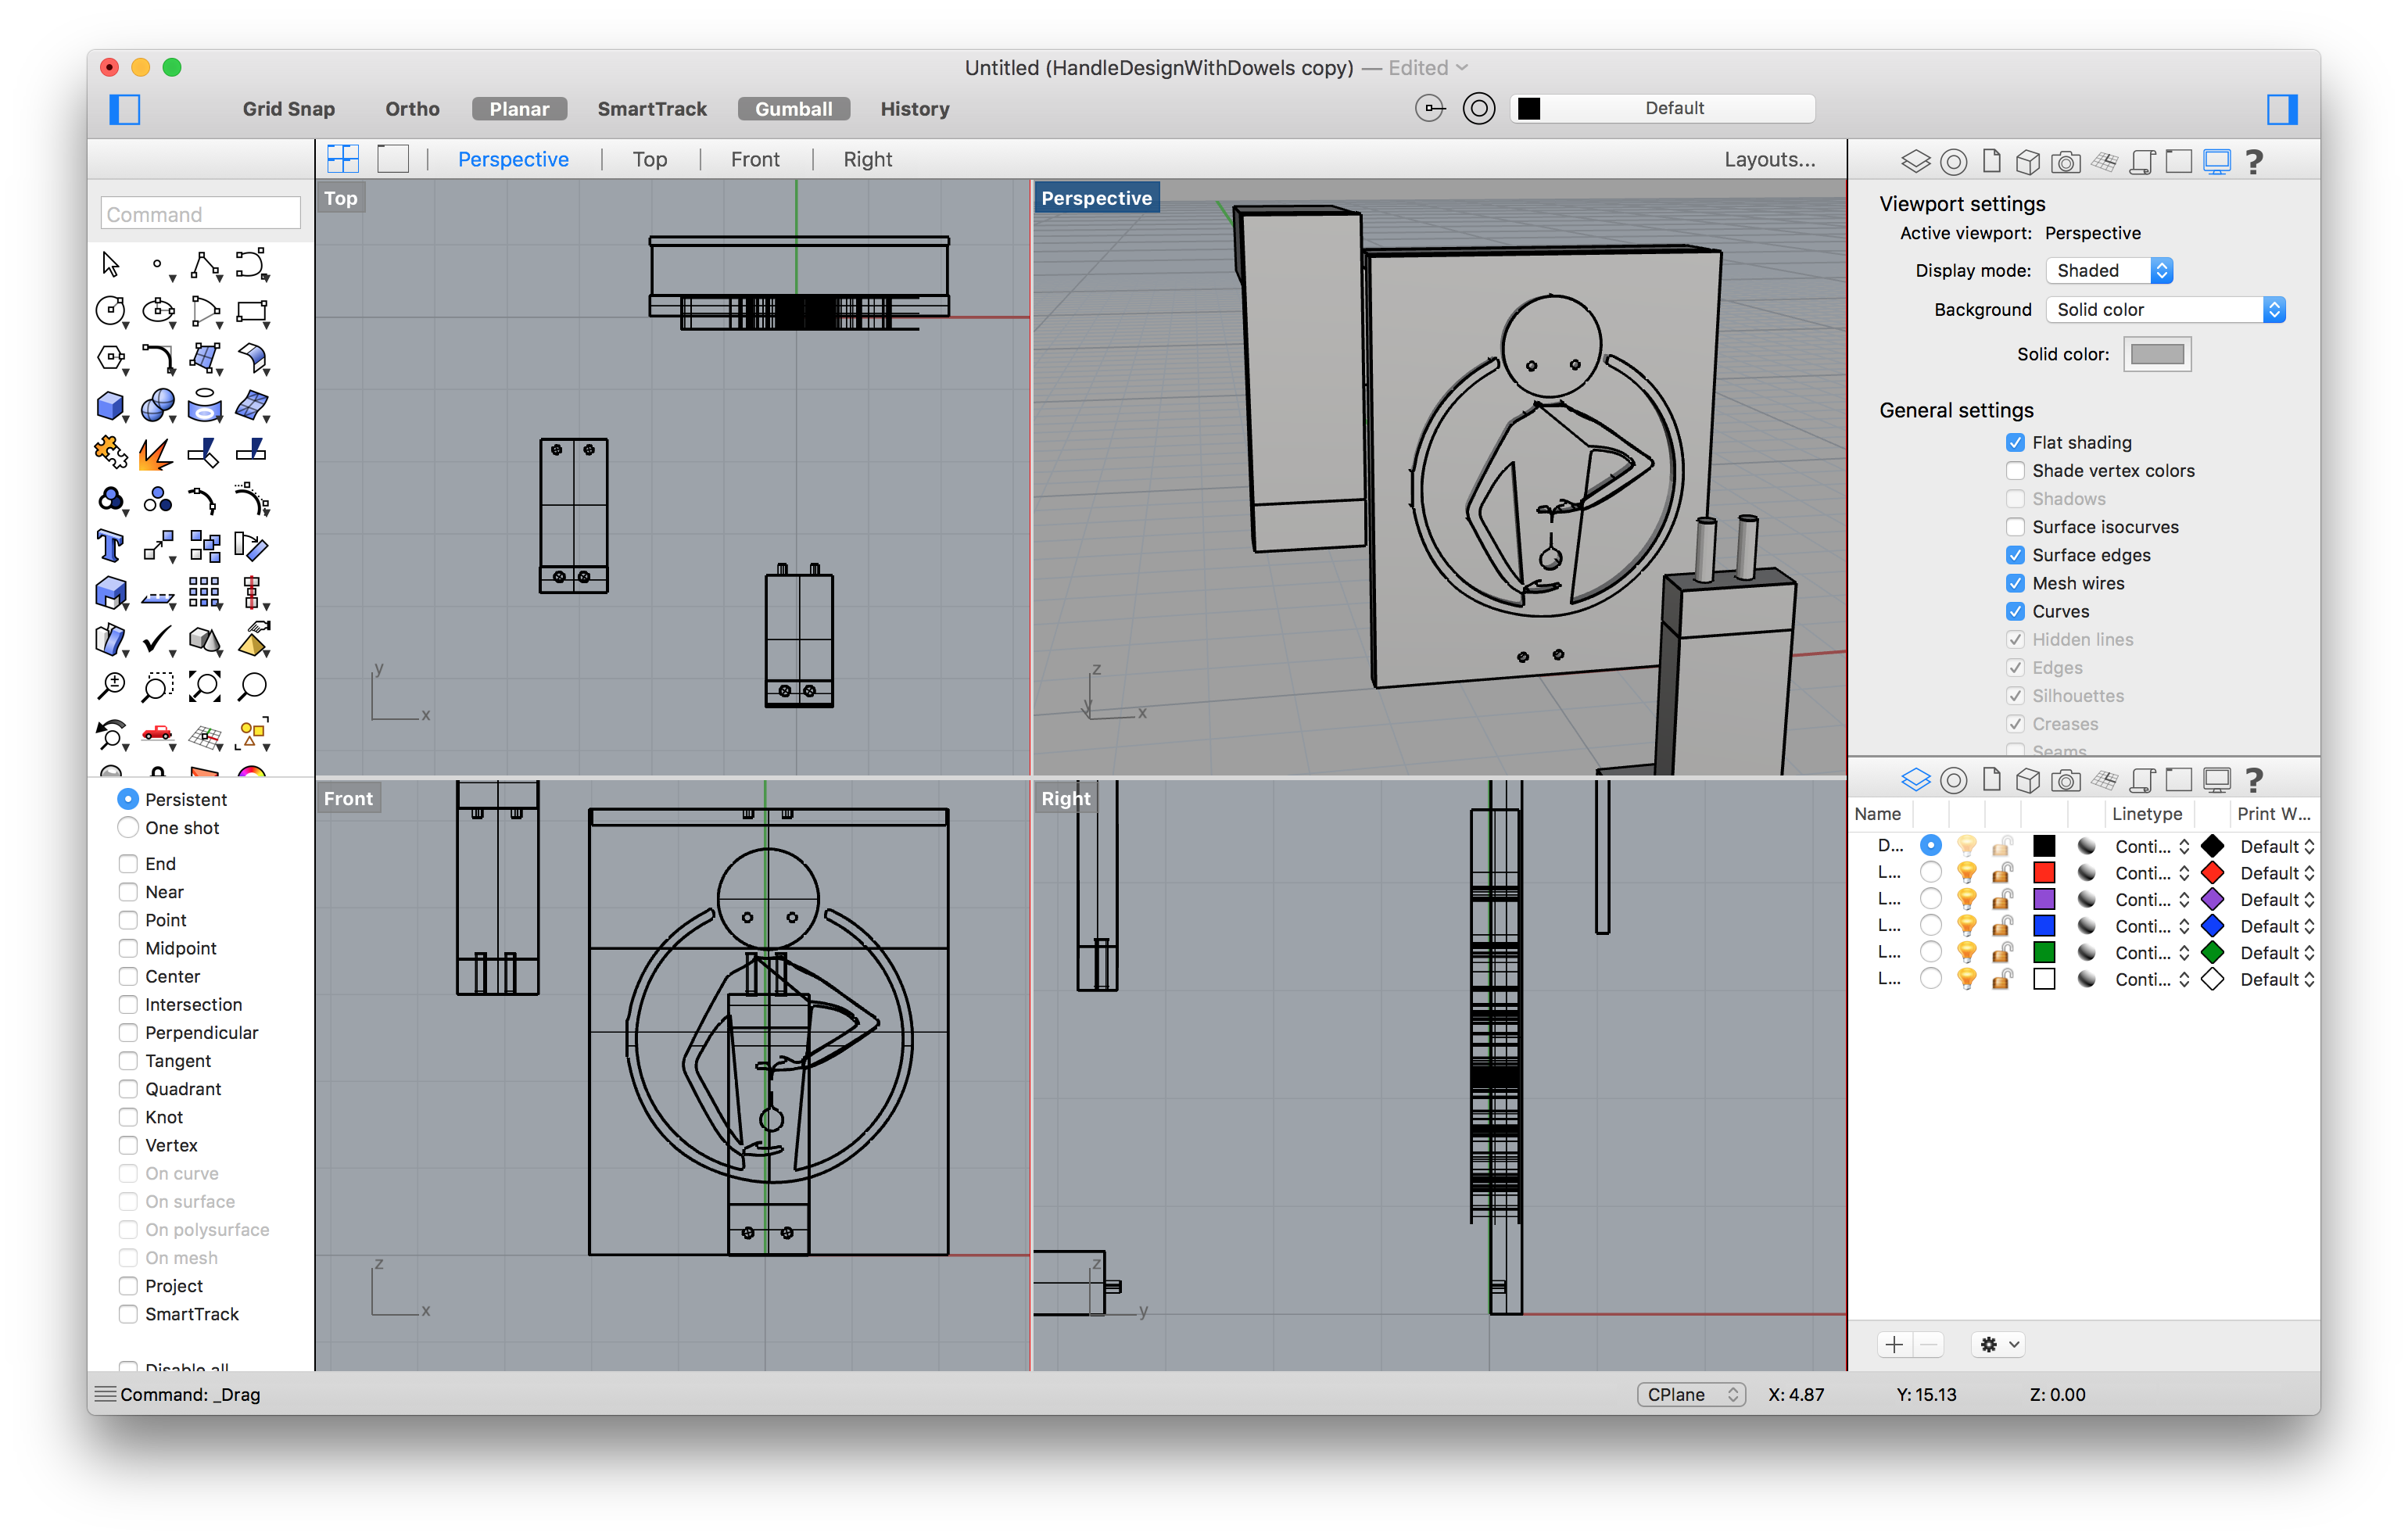
Then I made sure to join it with the base of the handle, double checking that there would still be enough room between the handle itself and the mount for the dresser.
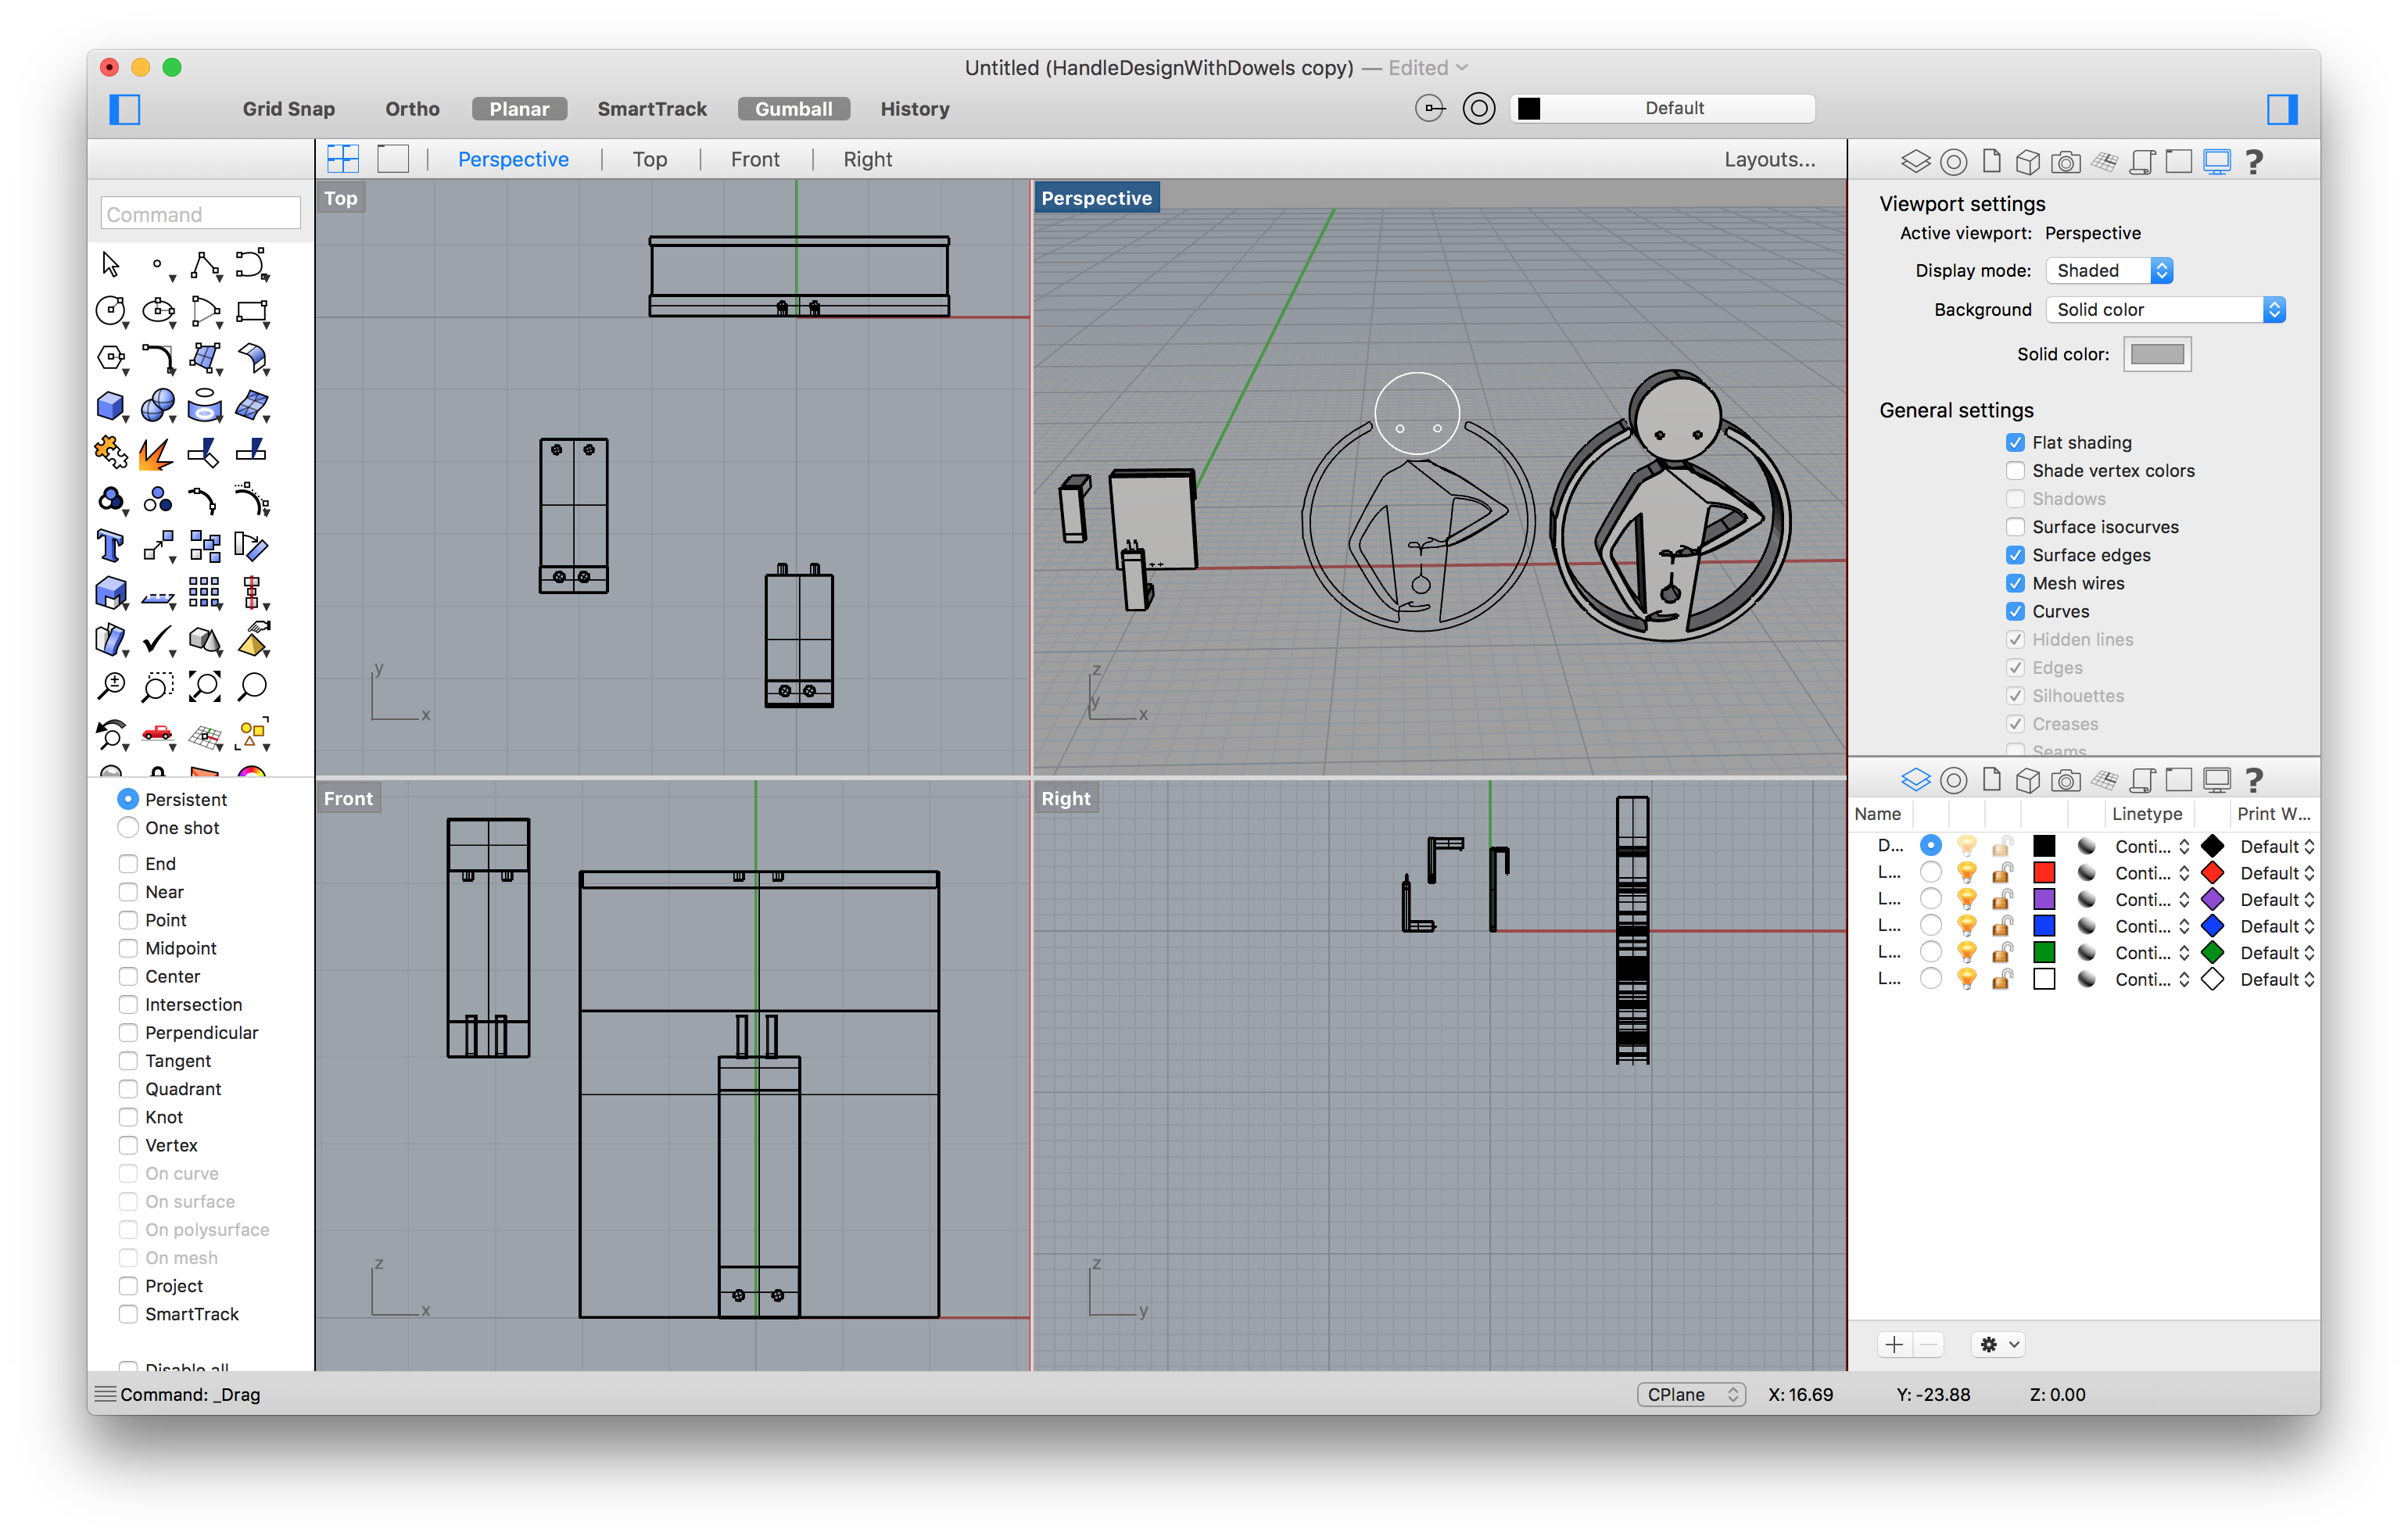
It was now that I realized I wanted to better visualize the final output. Grey's not a fun colour to work with. First, however, I ensured that there were no non-manifold edges (there weren't any). In the process I did discover a few naked edges that had to be fixed before I exported as an OBJ and an STL file.
After these fixes, I brought the model into Blender to get a real idea of how I wanted the final to print. Since it's in multiple pieces, I could print them in multiple colours. I ended up going with green (a favourite colour of mine) and purple (which goes oh so wonderfully with the green!)

Discussions
Become a Hackaday.io Member
Create an account to leave a comment. Already have an account? Log In.