This is a short tutorial on how to deploy the ESP32-IDF platform with the Visual Studio Code with IDE.
If you are using the PlatformIO, you can proceed to the following link: https://hackaday.io/project/43374-esp32-idf-deploying-the-development-platform
Here are the steps you need to do:
1.) Obtain Visual Studio Code (latest)
2.) Obtain Github (latest)
3.) Deploy the msys32: https://dl.espressif.com/doc/esp-idf/latest/get-started/windows-setup.html
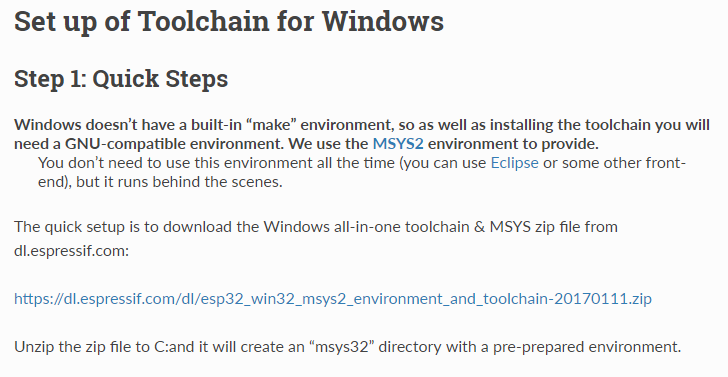
Download the file (the last 8 digits on the file is the date of the release) and extract them all into C:\msys32.
Afterwards:
4.) Download ESP32-IDF:
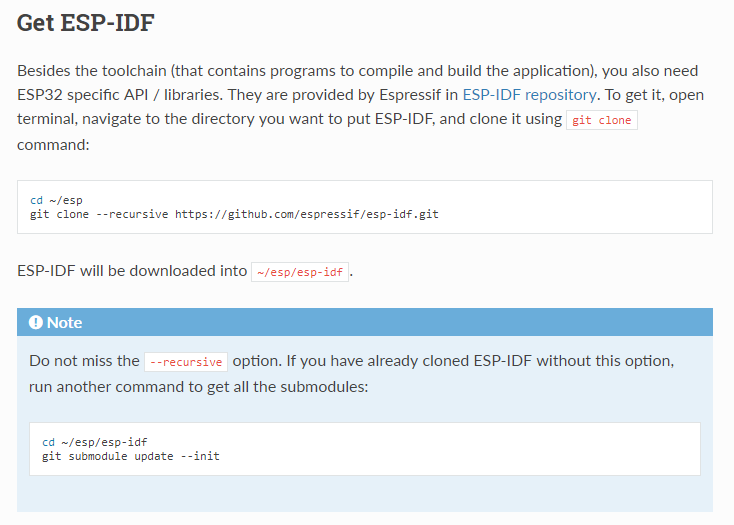
If you have the Git already, I recommend making a folder:
C:\ESP\
and in the command prompt, type this in:
git clone --recursive https://github.com/espressif/esp-idf.git
The ESP32-IDF toolchain are being deployed to your PC on that command.
5.) Once you have done installing the msys32 environment and the toolchain, you need to tell the environment on where are the ESP32-IDF files are. That's simple:
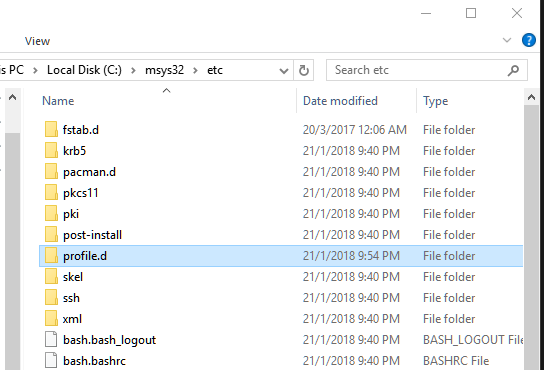
- Create a "profile.d" folder. Location: C:/msys32/etc ->
- Inside the profile.d, create a file named "export_idf_path.sh"
- Paste this into the file and save it:
export IDF_PATH="C:/ESP/ESP-IDF"
6.) For project folder, we can use the "Hello World" example from the ESP-IDF/examples/get-started folder. Copy it.

7.) Paste it into whatever separate folder you have for neatness factor. Rename it so that it is a template for your future works.
8.) Oh, and in order for the Visual Studio Code to recognize the paths for the toolchain and to have easy shortcuts to compile the project, you need to modify the json files:
[Special thanks to the author from http://fanoutsendai-yagiyama.blogspot.my/2017/07/esp32-idfmakelinuxemacszsh-grep.html]
- Tasks.json:
Fill the "tasks.json" with the following code:
{
    "version": "0.1.0",
    "command": "c:/msys32/usr/bin/bash",
    "args": ["--login","-c"],
    "isShellCommand": true,
    "showOutput": "always",
    "suppressTaskName": true,
    "options": {
        "cwd": "${workspaceRoot}",
        "env": {
            "CHERE_INVOKING": "enabled_from_arguments",
            "MSYSTEM": "MINGW32"
        }
    },
    "tasks": [
        {
            "taskName": "build app",
            "args": ["make app"],
            "isBuildCommand": true,
            "problemMatcher": {
                "owner": "cpp",
                "fileLocation": "absolute",
                "pattern": {
                    "regexp": "^(.*):(\\d+):(\\d+):\\s+(warning|error):\\s+(.*)$",
                    "file": 1,
                    "line": 2,
                    "column": 3,
                    "severity": 4,
                    "message": 5
                }
            }
        },
        {
            "taskName": "clean app",
            "args": ["make app-clean"]
        },
        {
            "taskName": "flash app",
            "args": ["make app-flash"]
        },
        {
            "taskName": "monitor",
            "command": "c:/msys32/mingw32",
            "args": ["make","monitor"],
            "isShellCommand": false,
            "showOutput": "never"
        },
        {
            "taskName": "menuconfig",
            "command": "c:/msys32/mingw32",
            "args": ["make","menuconfig"],
            "isShellCommand": false,
            "showOutput": "never"
        }
    ]
}
- c_cpp_properties.json:
Replace the contents in the file with this:
{
    "configurations": [
        {
            "name": "Win32",
            "includePath": [
                "${workspaceRoot}",
                "C:/esp/esp-idf/components"
            ],
            "browse": {
                "limitSymbolsToIncludedHeaders": true,
                "databaseFilename": "",
                "path": [
                    "${workspaceRoot}",
                    "C:/esp/esp-idf/components"
                ]
            },
            "intelliSenseMode": "clang-x64"
        }
    ]
}
Then, save them. You have already created that template.
Yes! You can compile it now. Click on Tasks -> Run Task, and you will be greeted with this drop-down menu:

Click on "build app". While you are at it, go grab some coffee or watch comedy on Youtube. Once it's done, you will see "App built" there:
 8.) Uploading -> Putting the entire binary into it is another story, but it's much shorter!
Now plug in your Nano32 and wait for the Windows to get things sorted out.
Then go to your device manager and see what COM port does the ESP32 connected to:

Here, it is connected to COM7. Yours might be different - so you need to take note of the port that is detected. Obviously it is not COM1 since it is the PC or your laptop's one.
Once you have remembered it, go back to your Visual Studio Code, and start the "menuconfig" in the task list you accessed earlier:

When it is launched, you will see a seperate window. Go to the "Serial Flasher config":
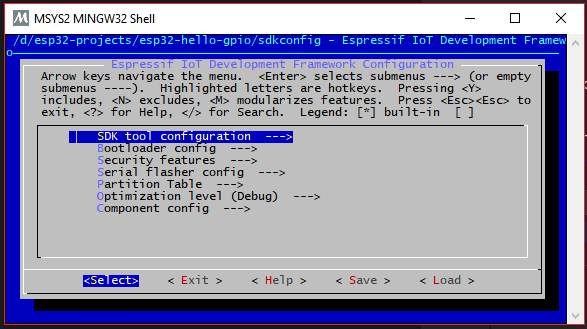
Then, on the "Default Serial Port":
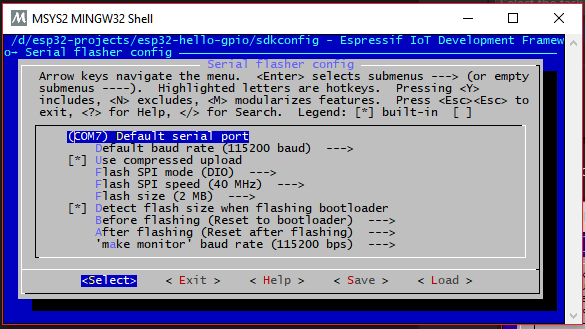
Press Enter, and type in your serial port that you have seen in the Device Manager. Here it is "COM7". Replace "7" with the number you seen on that place.
When all is done, press "TAB" until the "Save" is highlighted. Then, "TAB" until you select "Exit".
Good. Now select "Flash App" from the tasks (CTRL-ALT-T) .

When it is successful, you will see the LED blinking from the GPIO 22, and here are the results:
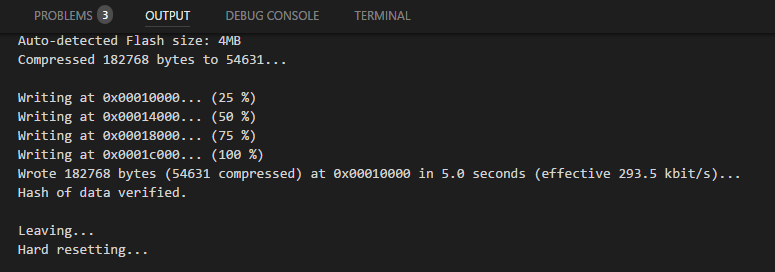
Here it is! You have deployed your first ESP32-IDF project using the toolchain and Visual Studio Code!
