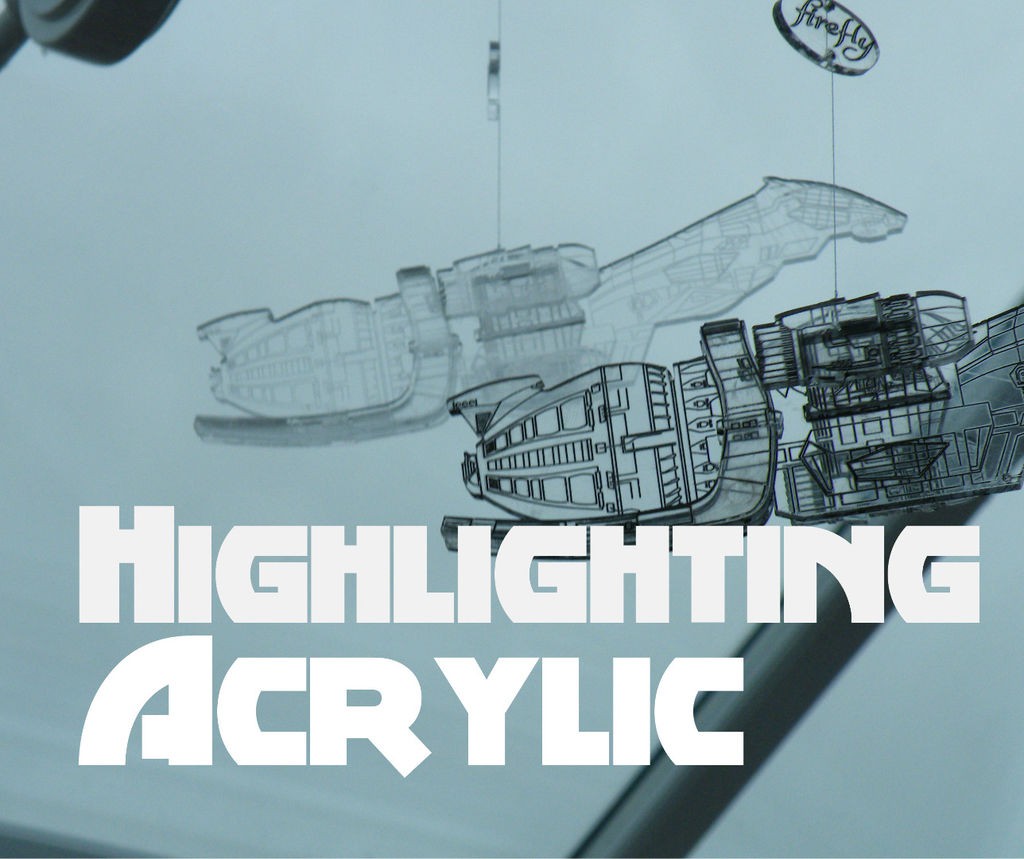
Lasers can "draw" nice, clear lines in many materials. In pale-coloured or clear acrylic, though, the cuts only really stand out in bright sunshine.
I've seen people use crayons, but I was concerned that if you hang an object in a warm area (such as in the sunshine), the wax might melt and drip out. I needed something else.
This is how I made those cut lines stand out, even on a dull and rainy day...
Step 1: Materials
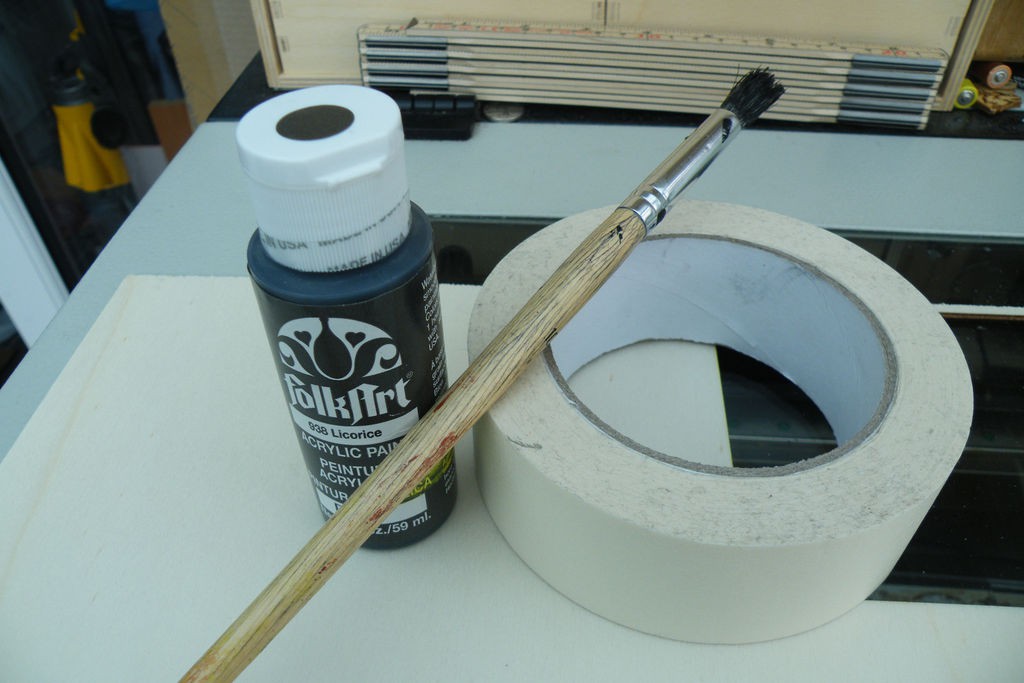
As well as your lasered acrylic, you will need a dark-coloured acrylic paint, a brush and disposable cloths or paper towels.
If you want to try reproducing the exact same model, but can’t do your own laser engraving, I’ve attached a file to this step so you can get your own Suncatcher parts cut, and have a go yourself for about $22 plus postage (assembly instructions here).
Step 2: Daub
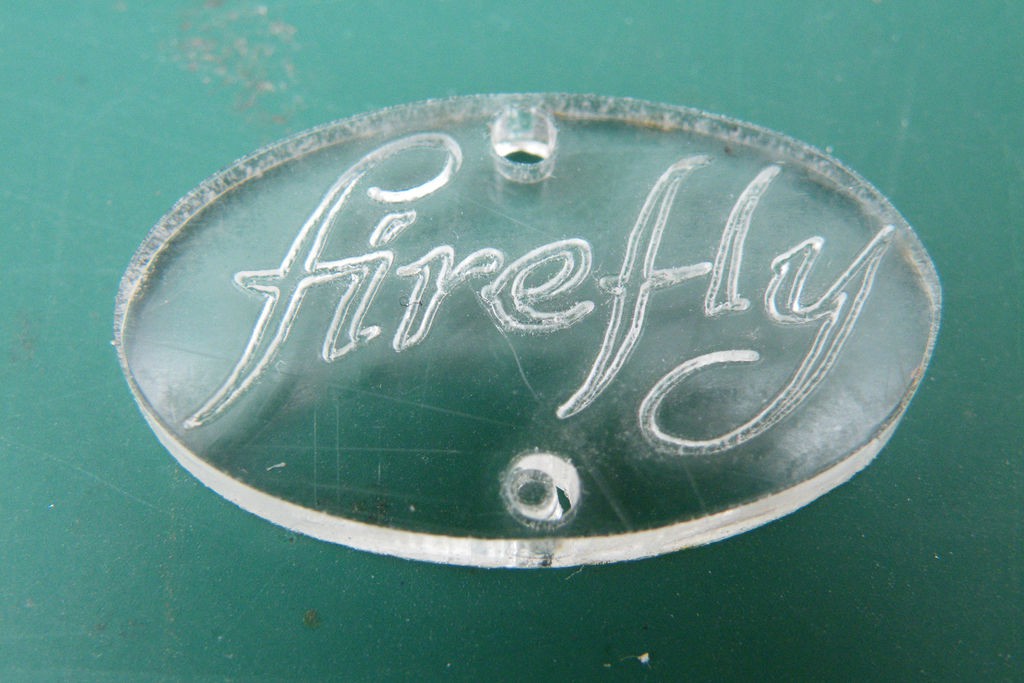
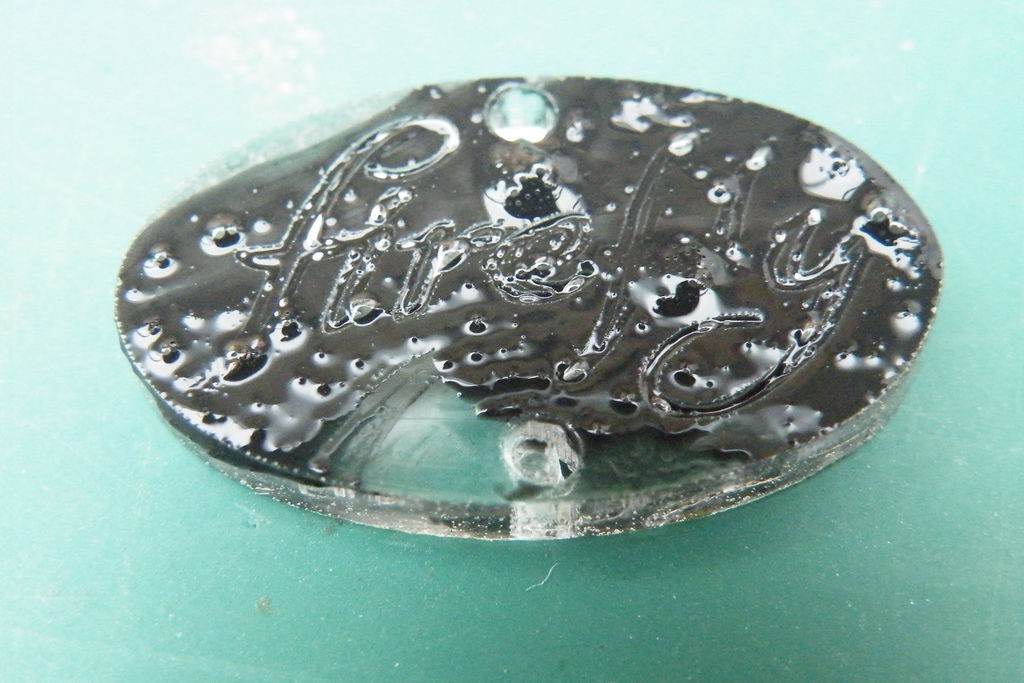
It's very simple - using the brush, daub paint over the area you want to highlight.
You don't need to be very accurate, but you do need to work the paint into all the corners.
Step 3: Wipe and Repeat
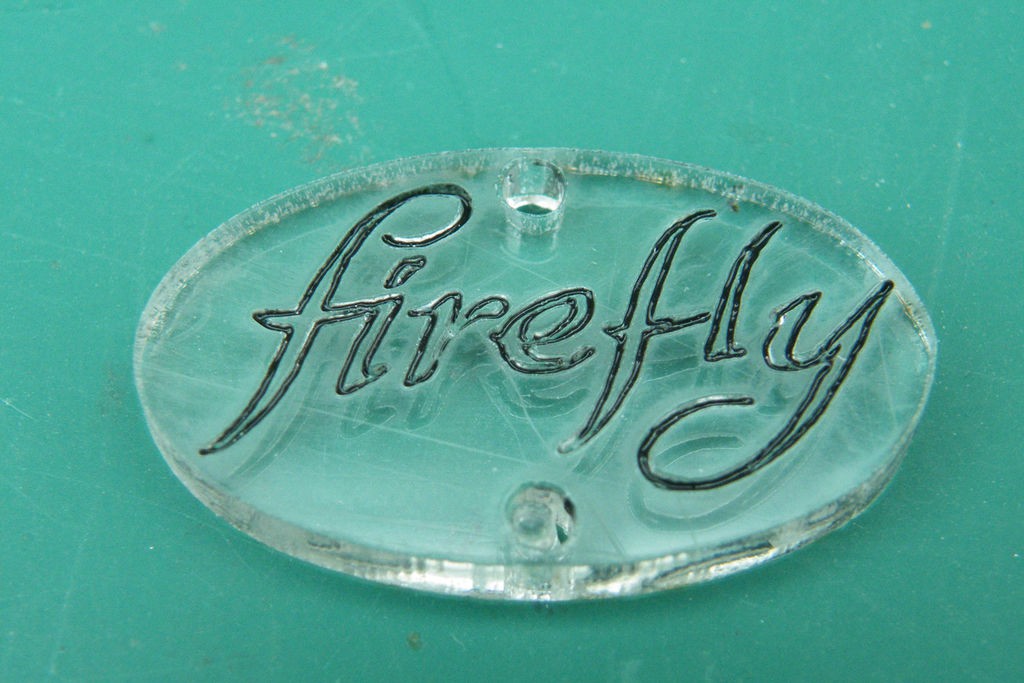
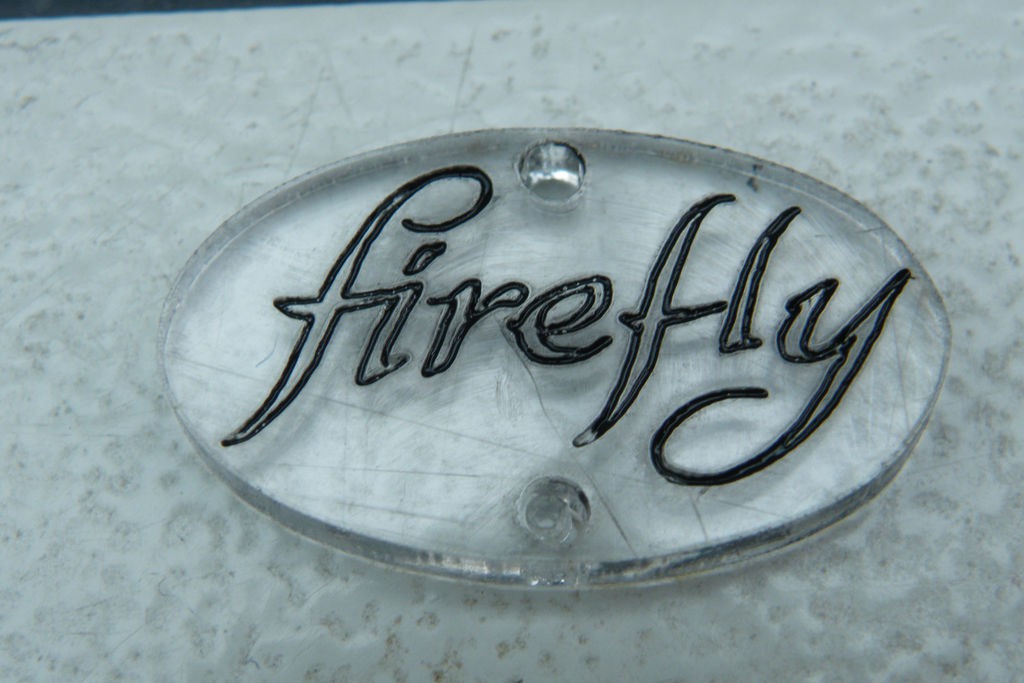
Once the surface is covered, leave it or a couple of minutes, then wipe the surface clean, which will leave paint in the cut lines.
If you wipe to firmly, or didn't get the paint into all the lines, you simply dab some more paint on, and then wipe it off again.
Step 4: Done
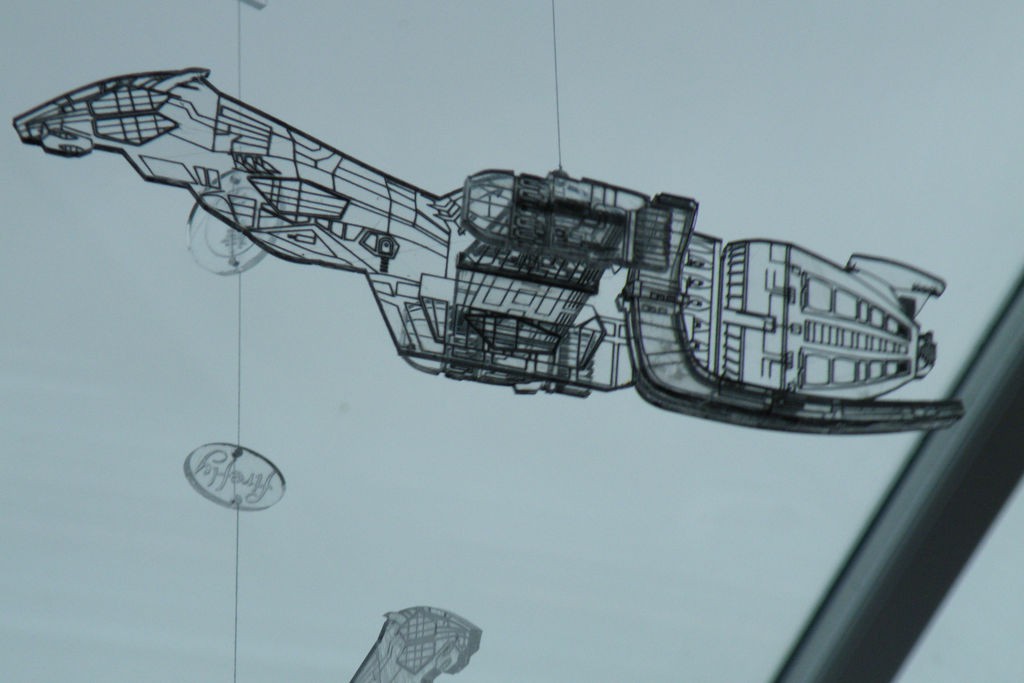
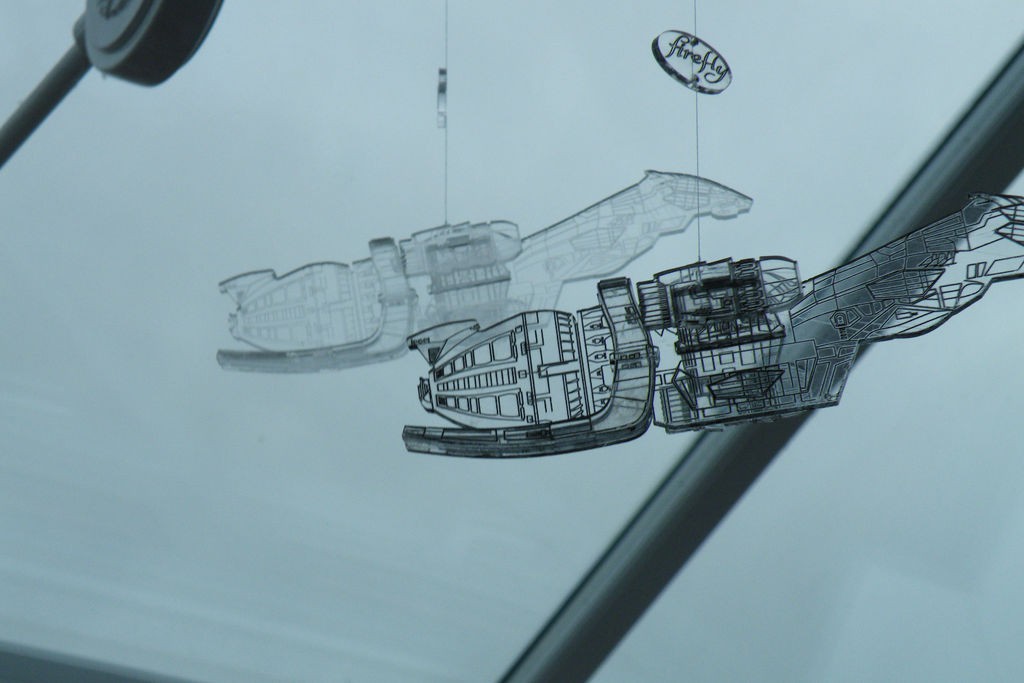
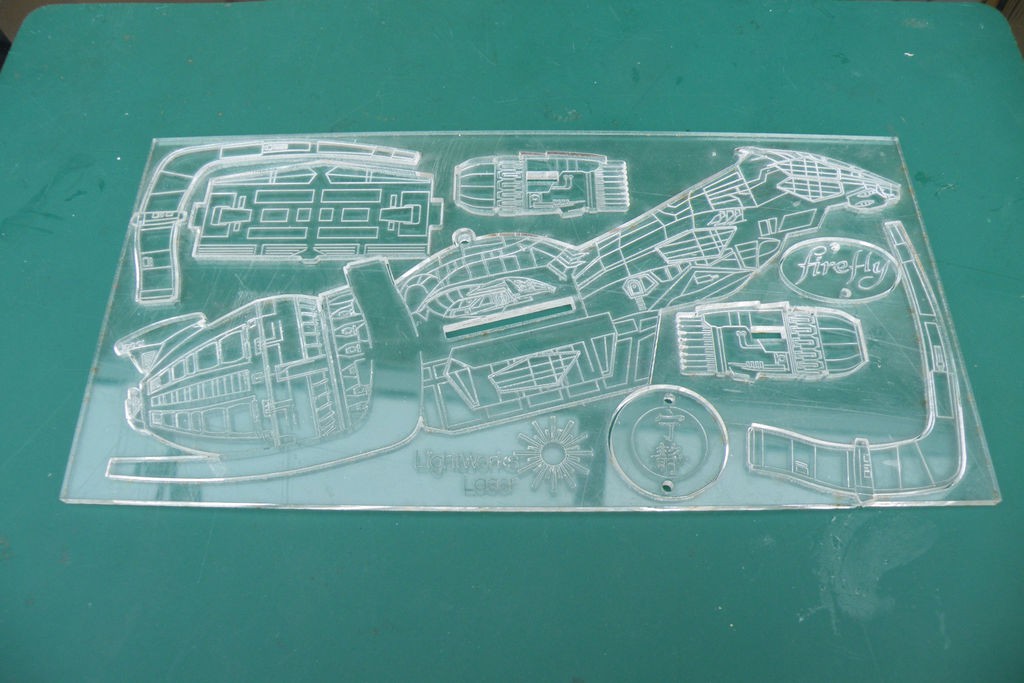
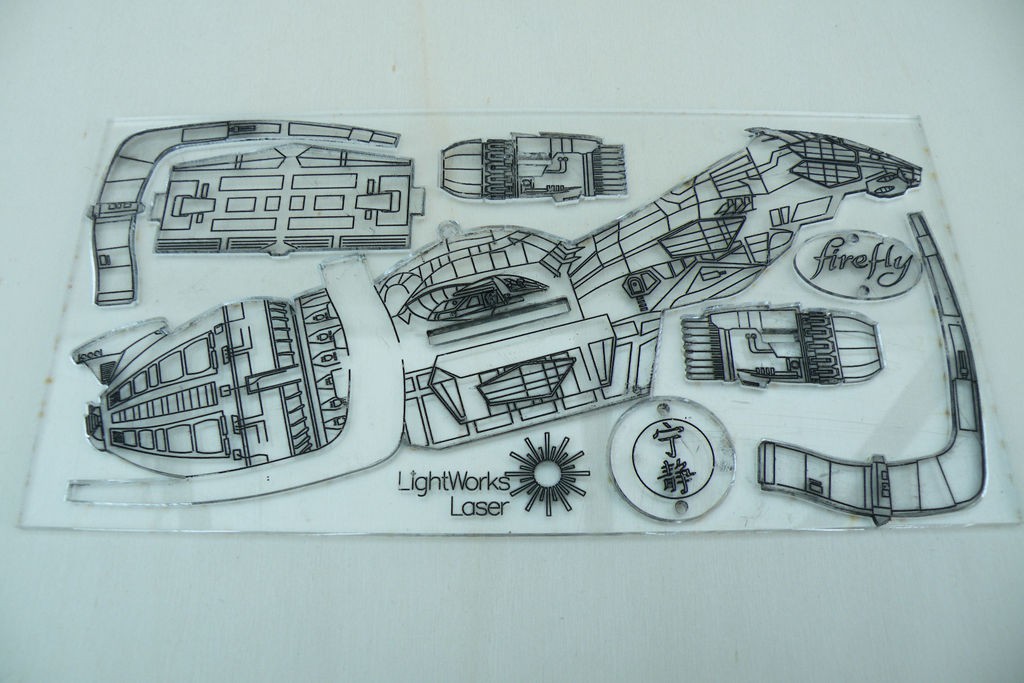
The effectiveness of the technique isn't really obvious until you compare highlighted pieces to non-highlighted.
You can do this on a pale surface, or when the pieces hang side-by-side.
If you try this, let me know how it goes - post some pictures in the comments.
 Mark Langford


Shiny :)