In Day 1, I made both SPI displays to work in clone mode. They could achieve 50fps which is very good, and they seem to be synced (I will have to check this when the helmet is working)
Today, I'm starting to physically build the device.
Here is how both displays are connected :
Common to both displays :
- MOSI (pin 19)
- MISO (pin 21)
- SCLK (pin 23)
- 3.3v
- GND
For each display :
- Raspberry SP0 and SP1, which are SPI cable select (pins 24 and 26), will go to SP0 on each display (pin 24),
- GPIO 24 (pin 18) and GPIO 25 (pin 22) will go to each display's pin 22.
Because I want to reuse displays in other projects in the future, I don't want to alter them. So I will build some adapters, to go from both display's 26 pins connector to the Raspberry Pi's 26 pins connector.
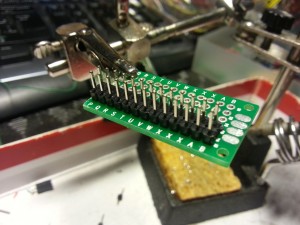 | 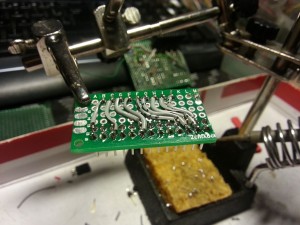 |
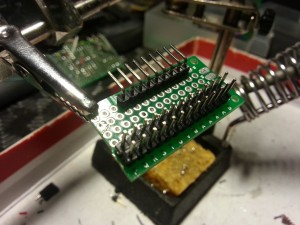 | 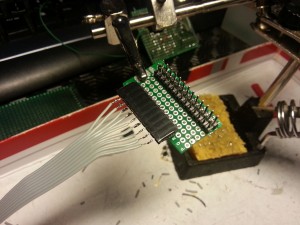 |
Unfortunately, after a quick test in the shell, I notice I can't use the displays horizontally : they are too far away from each other to fit the lenses. So, I will use them vertically.
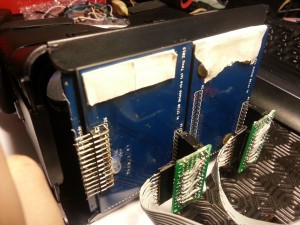
When used vertically, both display fit perfectly in the ColorCross shell.
I can now test the lenses alignment. Once perfect alignment is found, I will attache both displays to the shell with a little hot glue (sticks well and is easy to remove)
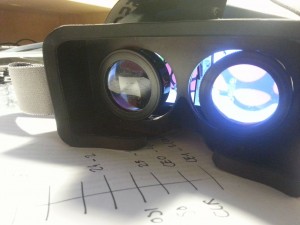 |  |
Displays are rotated in the pictures, but the overlay I linked to in Day 1 corrects this.
Without any surprise, view is pixellated, but it's not really important right now, and I have plans to drastically improve it in a future upgrade.
Good news is : displays are perfectly synced ! So this build is viable, after all !
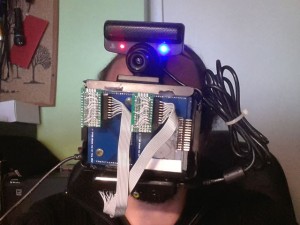 | 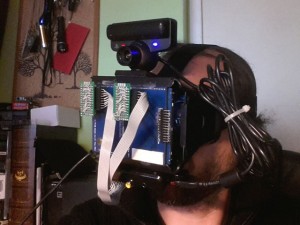 |
PS3 Eye camera and Raspberry Pi have been temporary attached on top and bottom of the shell with velcro.
Very sexy, isn't it ? :D
 Arcadia Labs
Discussions
Become a Hackaday.io Member
Create an account to leave a comment. Already have an account? Log In.