 jupdyke
Current Designs And Why I Don't Like Them
- Not Modular: Most systems use a continuous belt where all the treads are connected together by a belt, or molded as a single rubber belt. This is acceptable for production products, but not very useful for research and development or hackers and hobbyist. Continuous belt systems create the following problems:
- Cost: Because the belts are designed for production products they are very expensive in small quantities.
- Limited number of sizes: There are not many sizes to work with and getting a custom size is cost prohibitive. This becomes even more difficult when scrap or second hand parts are being used.
- Design Limiting: The design is forced to change to accommodate the belt you can find. This creates a design limitation at the beginning of the project, but also makes it more difficult to change the design in the future.
- Impossible to repair: It is not typically possible to replace or repair a damage tread on continuous track. Instead the entire belt must be replaced. This is expensive when new parts are used, and problematic when second hand parts are used. It might not be possible to find another source for the same belt when getting used parts.
- Proprietary drive system: Every single track system I have seen uses a proprietary drive system. This is typically some sort of cog, or hub which meshes with the track to propel it. This is also problematic for hackers and hobbyists.
- Limited availability and sizes: Most systems offer a very small number of drive cogs or hubs. Again the vehicle must be designed around the track system and the design is limited.
- Cost: Proprietary parts means you have to get them from one supplier and they can raise their cost.
- Difficult to repair / replace: Because parts come from a single source it is harder to get a replacement part.
- Some systems are modular.
- The tracks on actual tanks are actually modular. However, these are only for very large projects and availability is difficult
- Some very small track systems are modular. I liked these designs but they were only for very small projects and again still used proprietary drive sprockets.
What to do?
Well design and build a better solution of course. When I started looking into tracked systems I was interested in building an RC lawn mower with tracks. When I couldn't find what I wanted I started looking around for DIY solutions. I found a few designs that looked like they could work, but nothing I was very excited about. None of them met my requirements. So I started designing my own. Initially I was looking at what I could build for myself and after a little bit of work I realized that I could develop a system that could be used on a wide range of projects. My goal was to create an inexpensive, modular system, using easy to source drive components and was easy to repair. This is what I have come up with.I have seen several people use roller chain as the basis of a tracked system. In fact most of them have been featured on hackaday already. Below are a few examples of previous designs that I drew my inspiration from. The simplest system uses conveyor chain or attachment chain. These have special links with a plate that you can attach the tread design to. Another option was to weld a plate onto regular roller chain to connect the treads.
Inspiration 1
Attachment Chain Version Advantages:
- Easily sourced chain
- Standard drive sprockets
- Much more expensive than roller chain
- Less size options than roller chain
- Tread design must be designed around the attachment
Inspiration 2:
Another method is to put a bolt through the roller chain to connect to the treads. This is a cheap and easy solution, but now the roller chain cannot be driven by the standard sprockets. So another method must be used to drive it.Example 1
Advantages:
- Inexpensive and easily sourced
- Easy to assemble
- Requires additional drive method
Inspiration 3:
Another option is to use hollow roller chain. This is very similar to standard roller chain but the pins are hollow. The treads can be connected to the hollow roller chain using the hole through the chain. I really liked this design and thought that it was a smart solution. The tread is easy to connect and the roller chain can still be driven with a standard sprockets. However, I did not like that the tread did not extend above the chain. This causes the vehicle to actually drive on the chain and not the tread. So you get reduced traction on hard surfaces, and wear the drive part of the system. Additionally, hollow roller chain is more expensive than standard roller chain and is not available in as many sizes.Example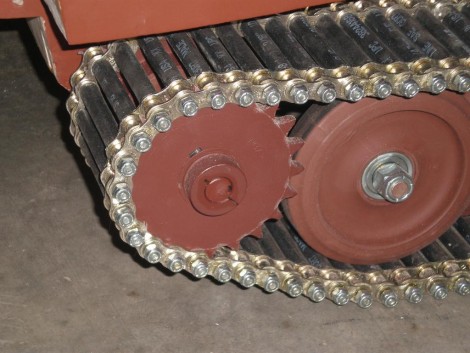
My design
I was inspired by the previous designs. Using roller chain as the foundation of the system offers a lot of great features.
- It is mass produced, which makes it inexpensive and commonly available.
- It is modular in design, with repeating links.
- It is manufactured in a wide range of standard sizes.
- There are hundreds of drive sprockets available, in various sizes and styles, and the sprockets are inexpensive and commonly available.
- It is available in several materials which can be selected for specific applications. Mild steel for typical use, stainless steel for corrosion resistance, and even plastic for lightweight or situation where sparks might be a problem.
I decided that using standard roller chain was better than the using the specialty roller chains, because it was less expensive and offered the most sizes. I wanted to develop a system that could be scaled to use any size of roller chain, but I decided to focus my prototyping on the sizes that would be most useful. For very small tracked applications, tracks less than 1" wide, there were several options and the cost was small enough that using a continuous belt system was an option. On the other side of the spectrum very few people are building full size tank projects or construction vehicles and if you are then you probably have the money or demand to work with currently available solutions. My design will be scalable from the tiny to extremely large, but it makes sense to focus on the middles size.
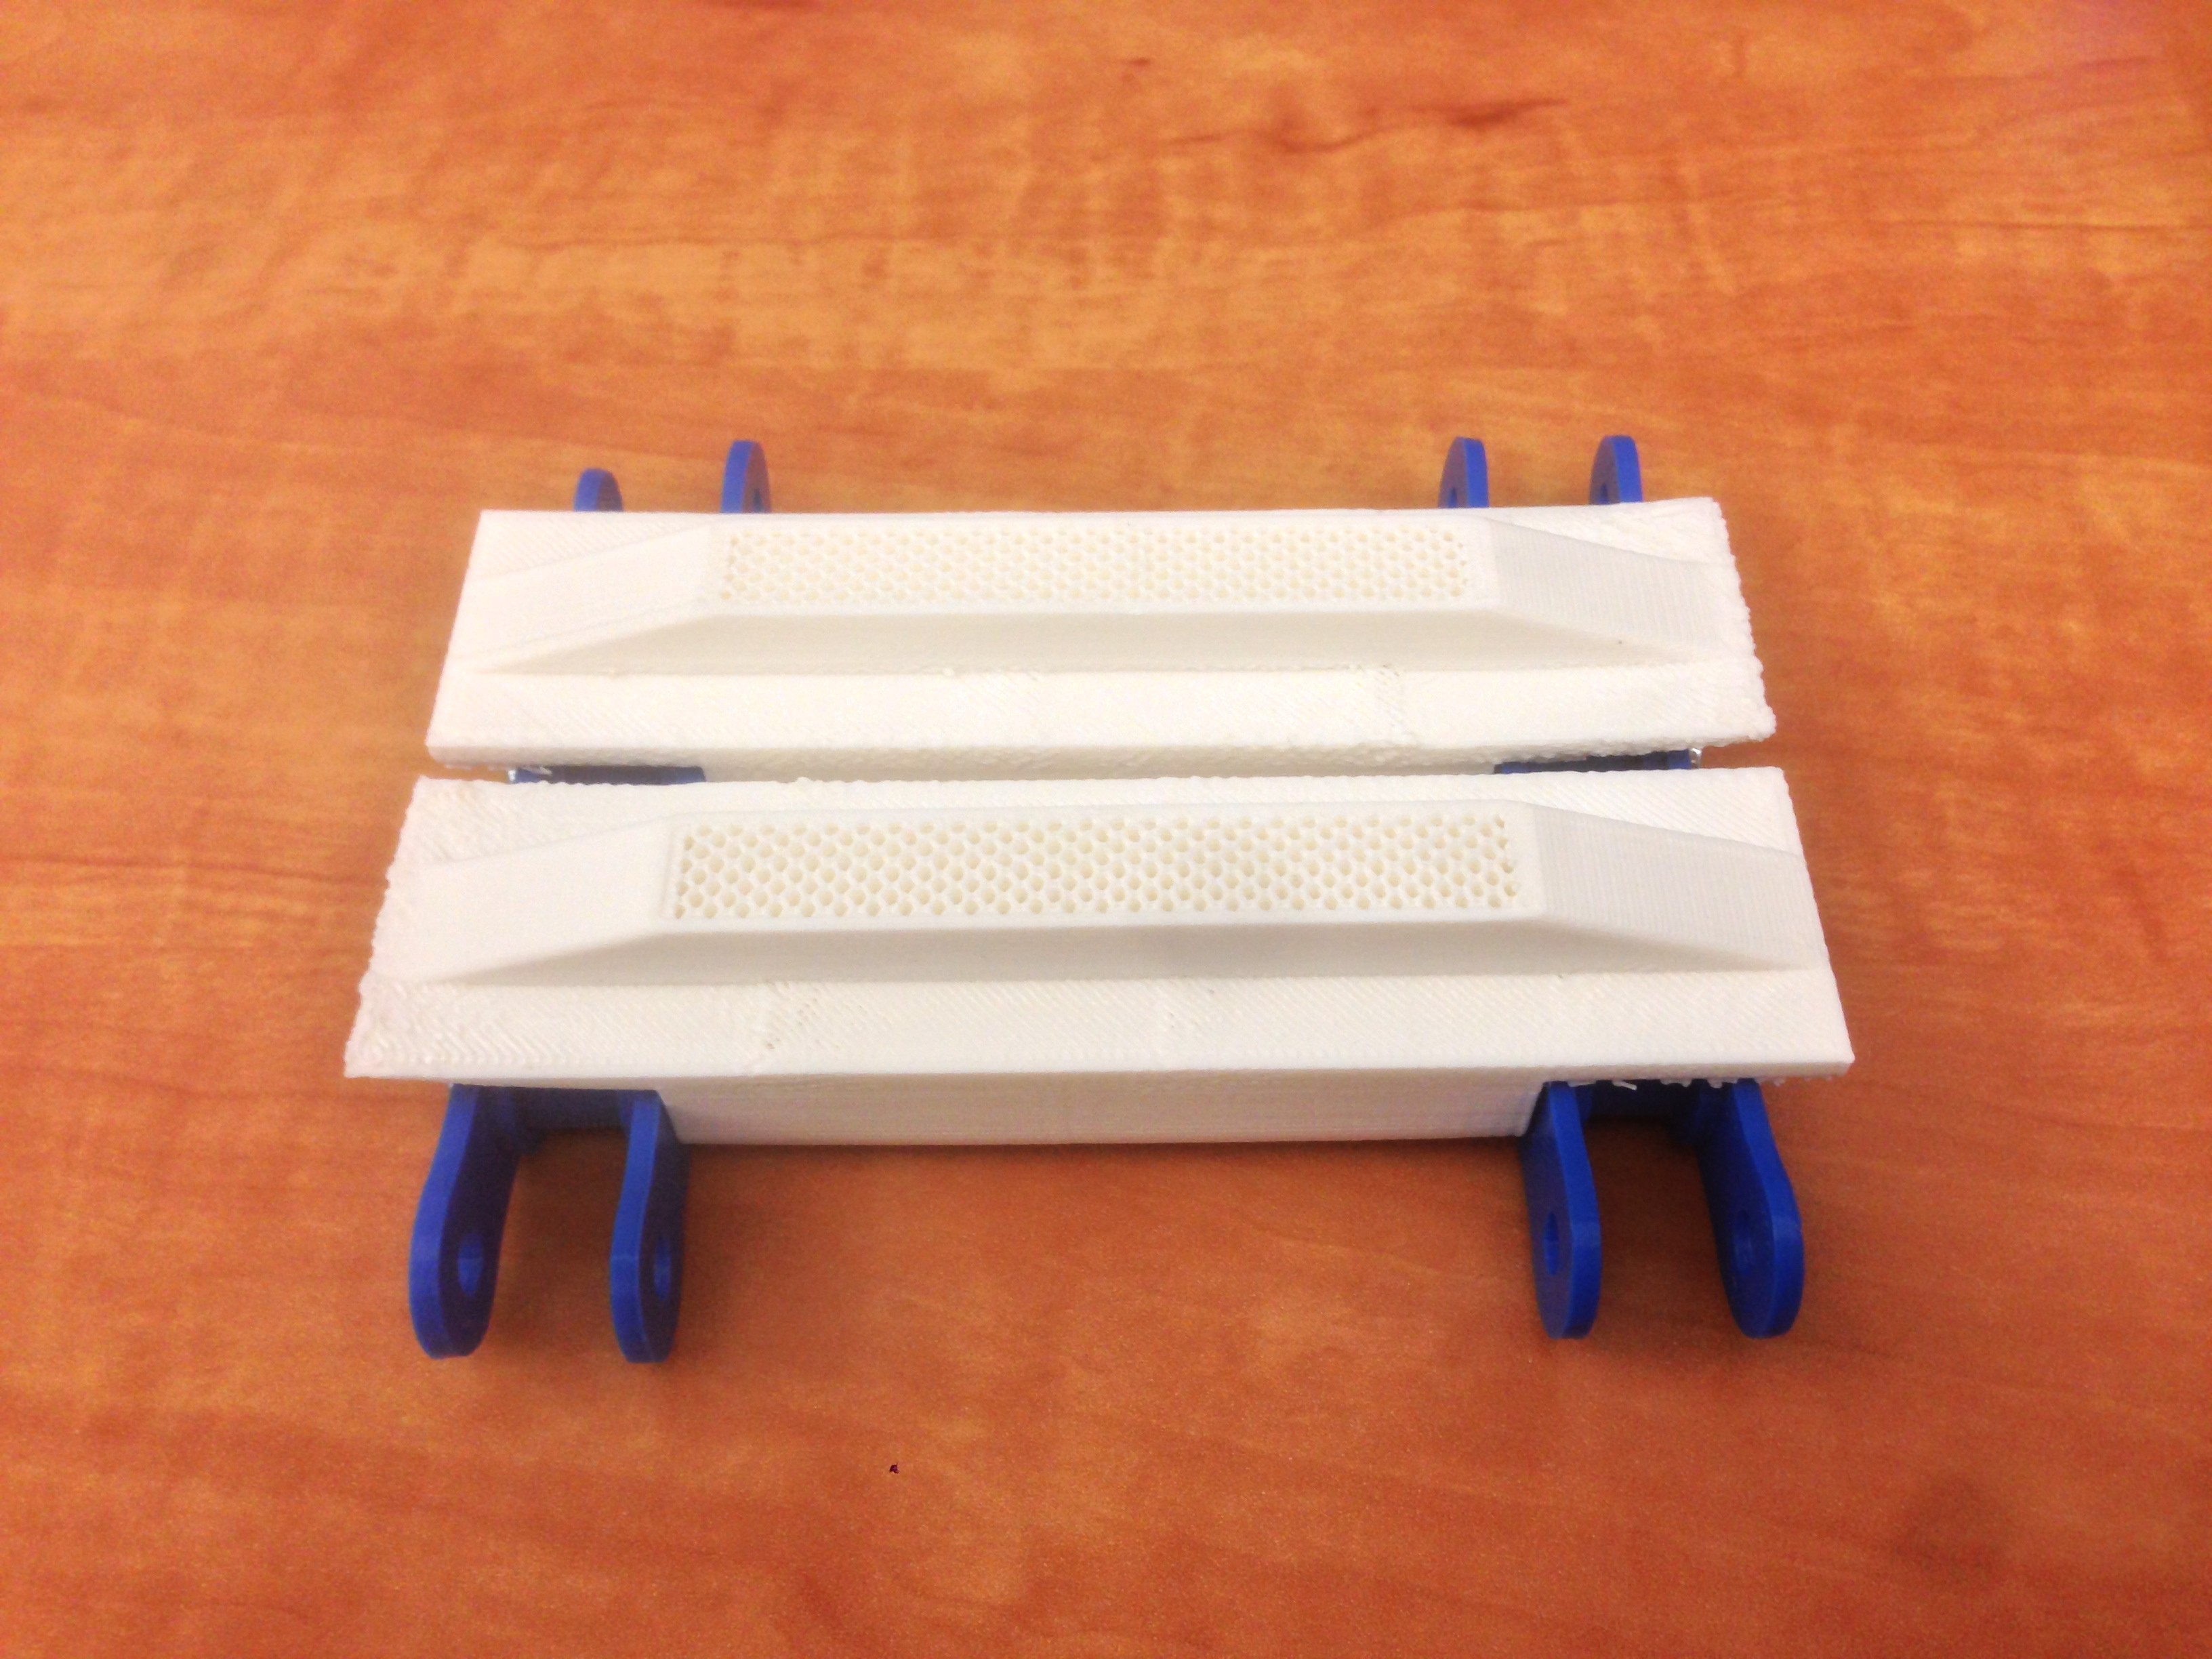
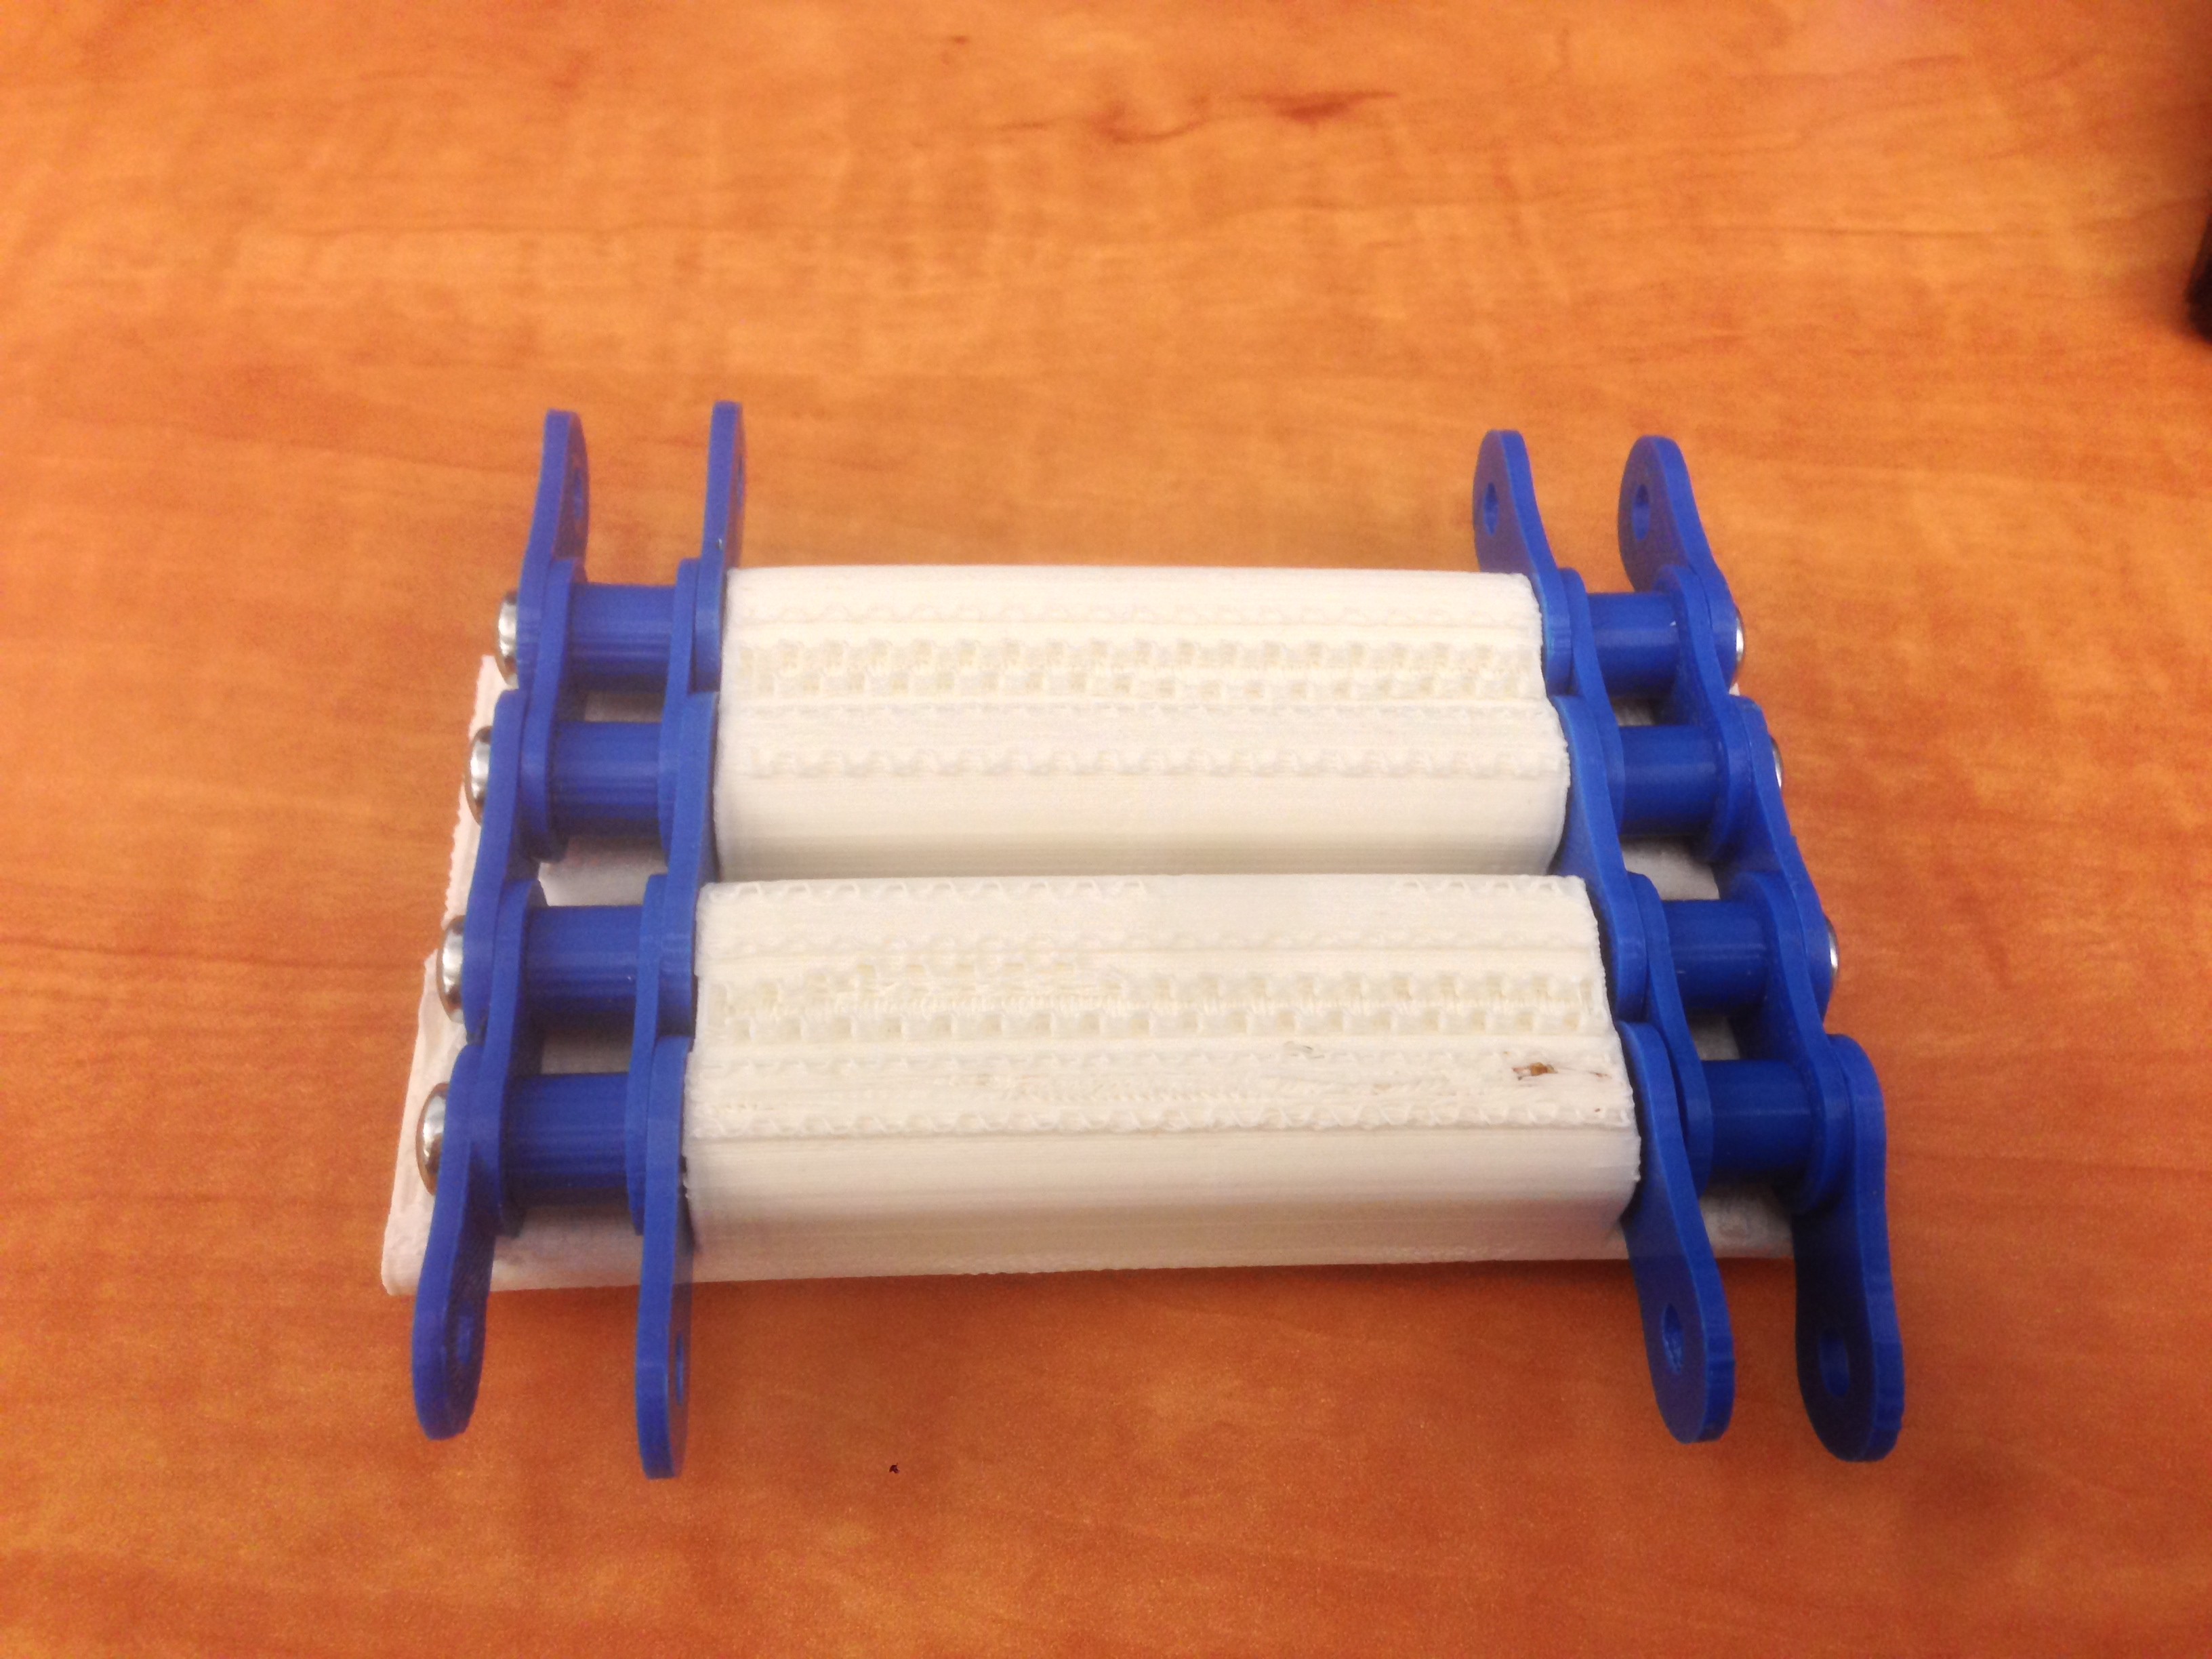
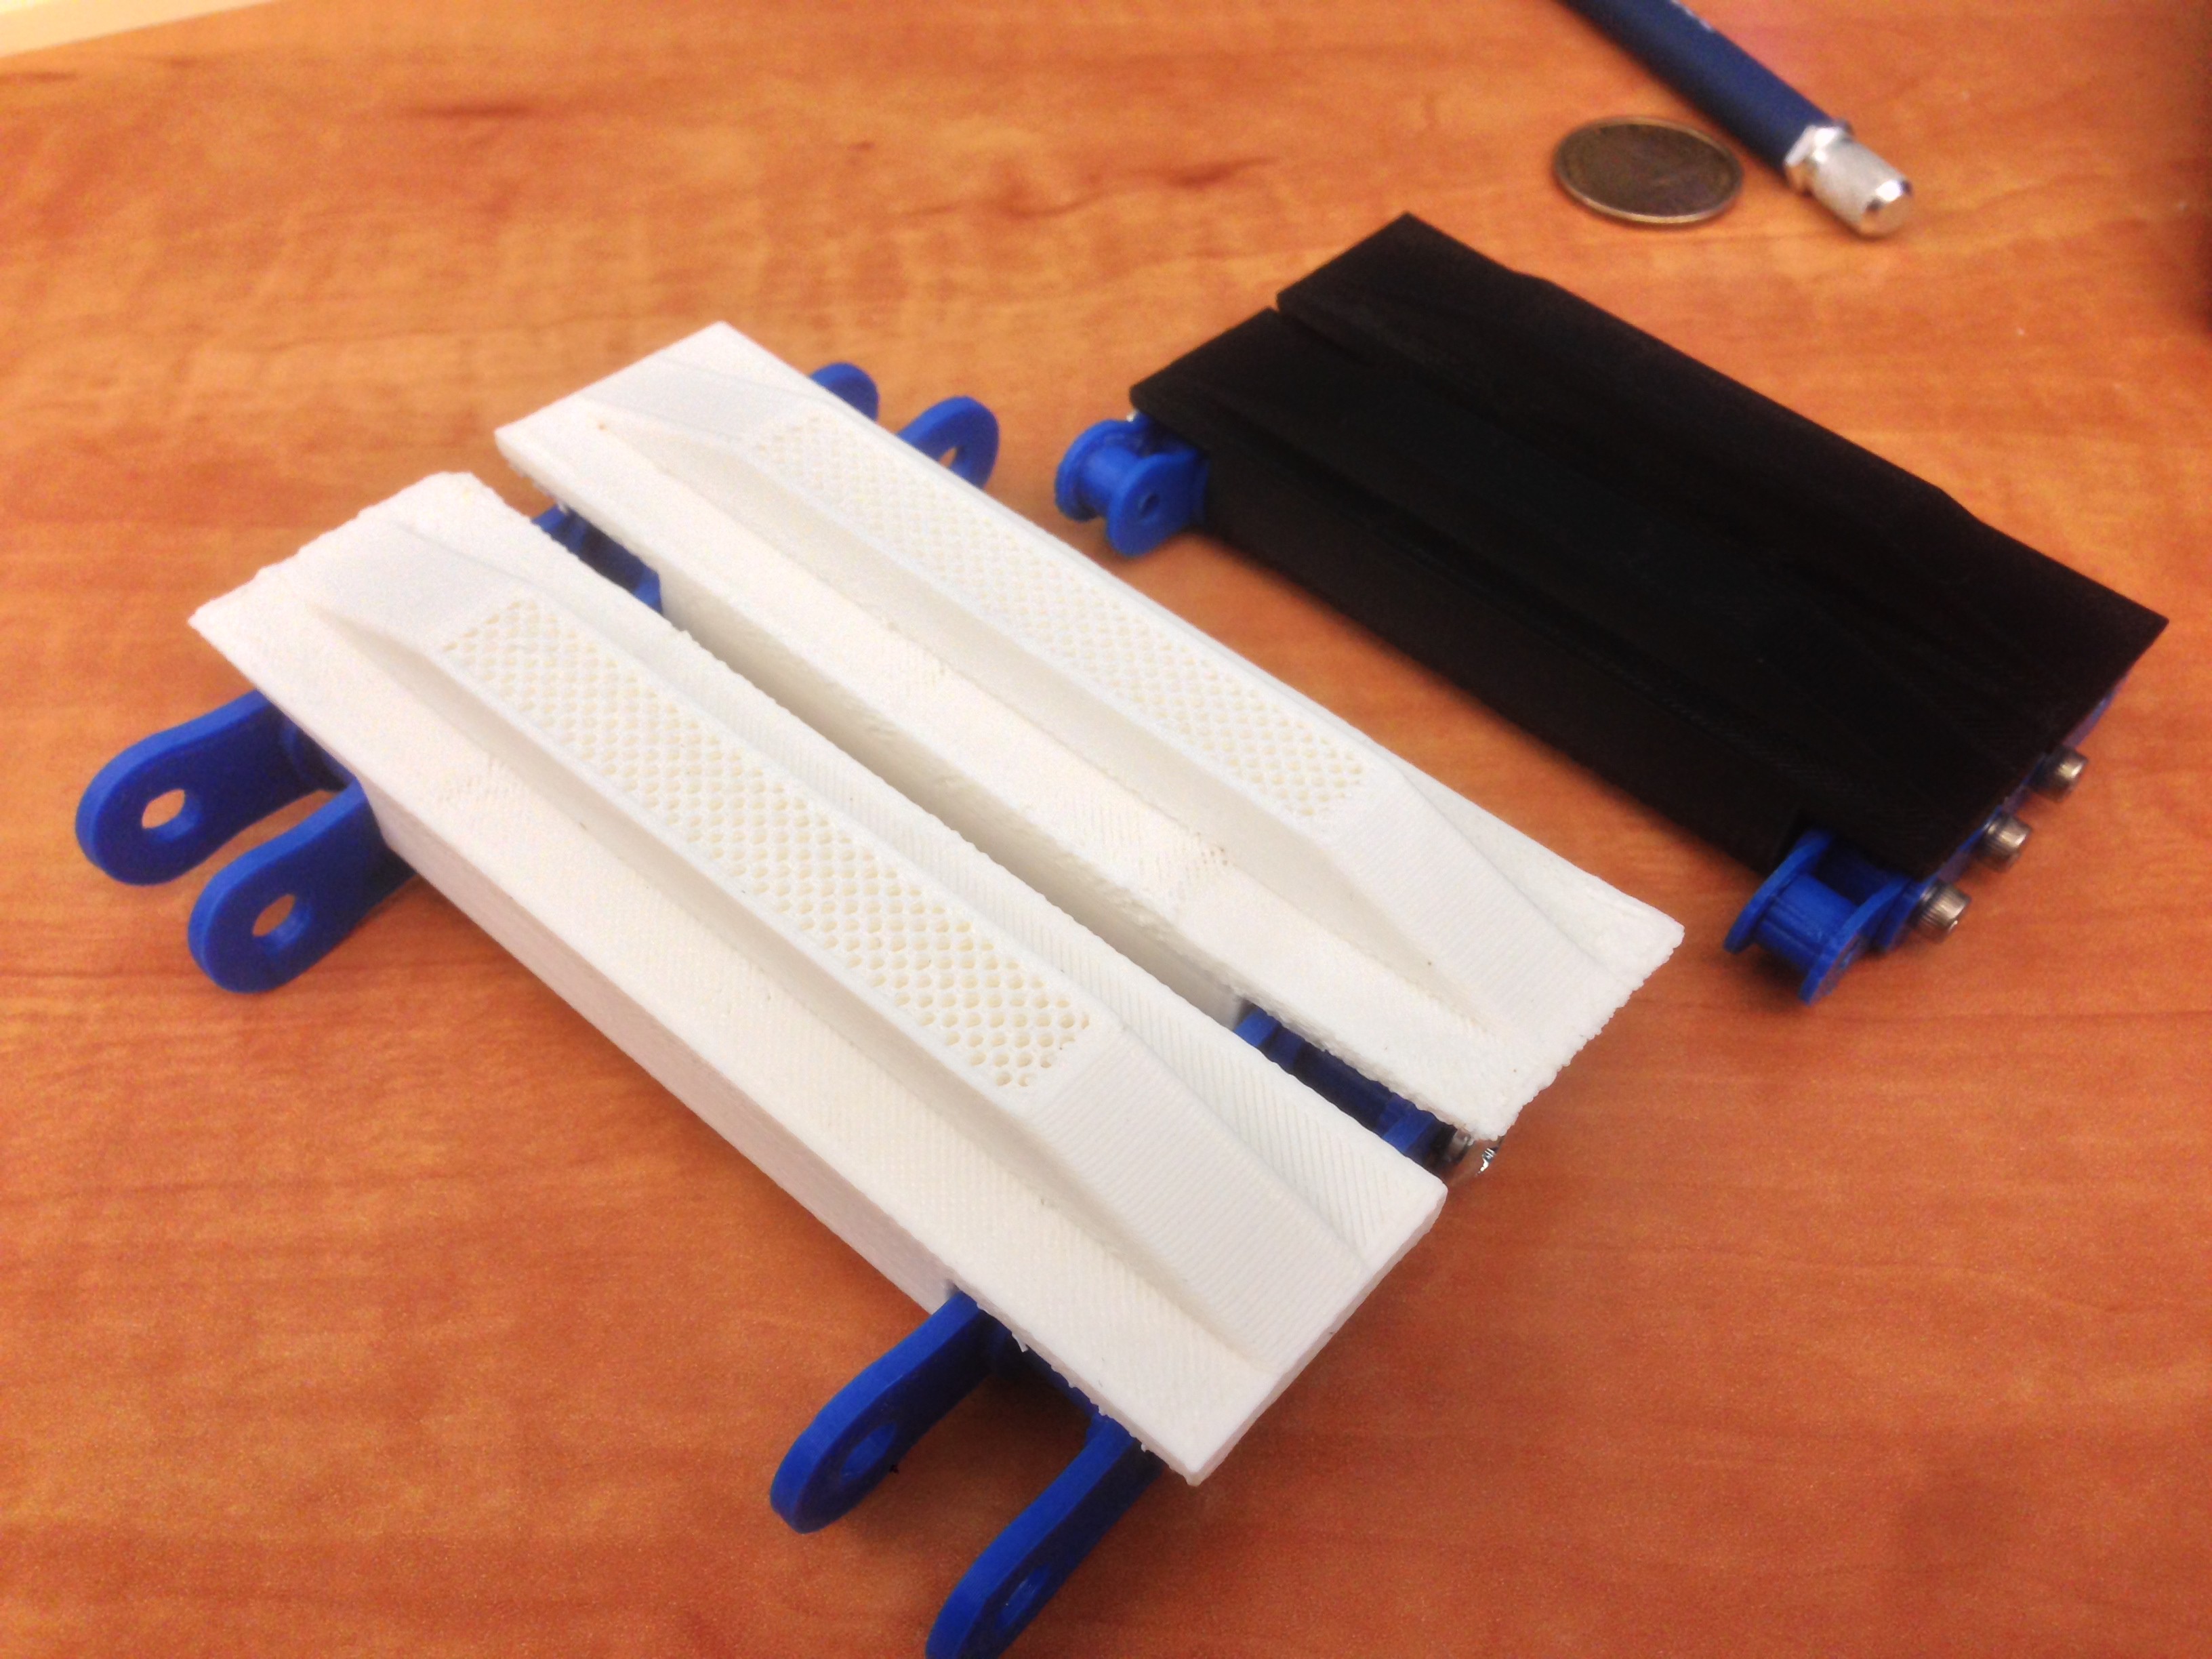
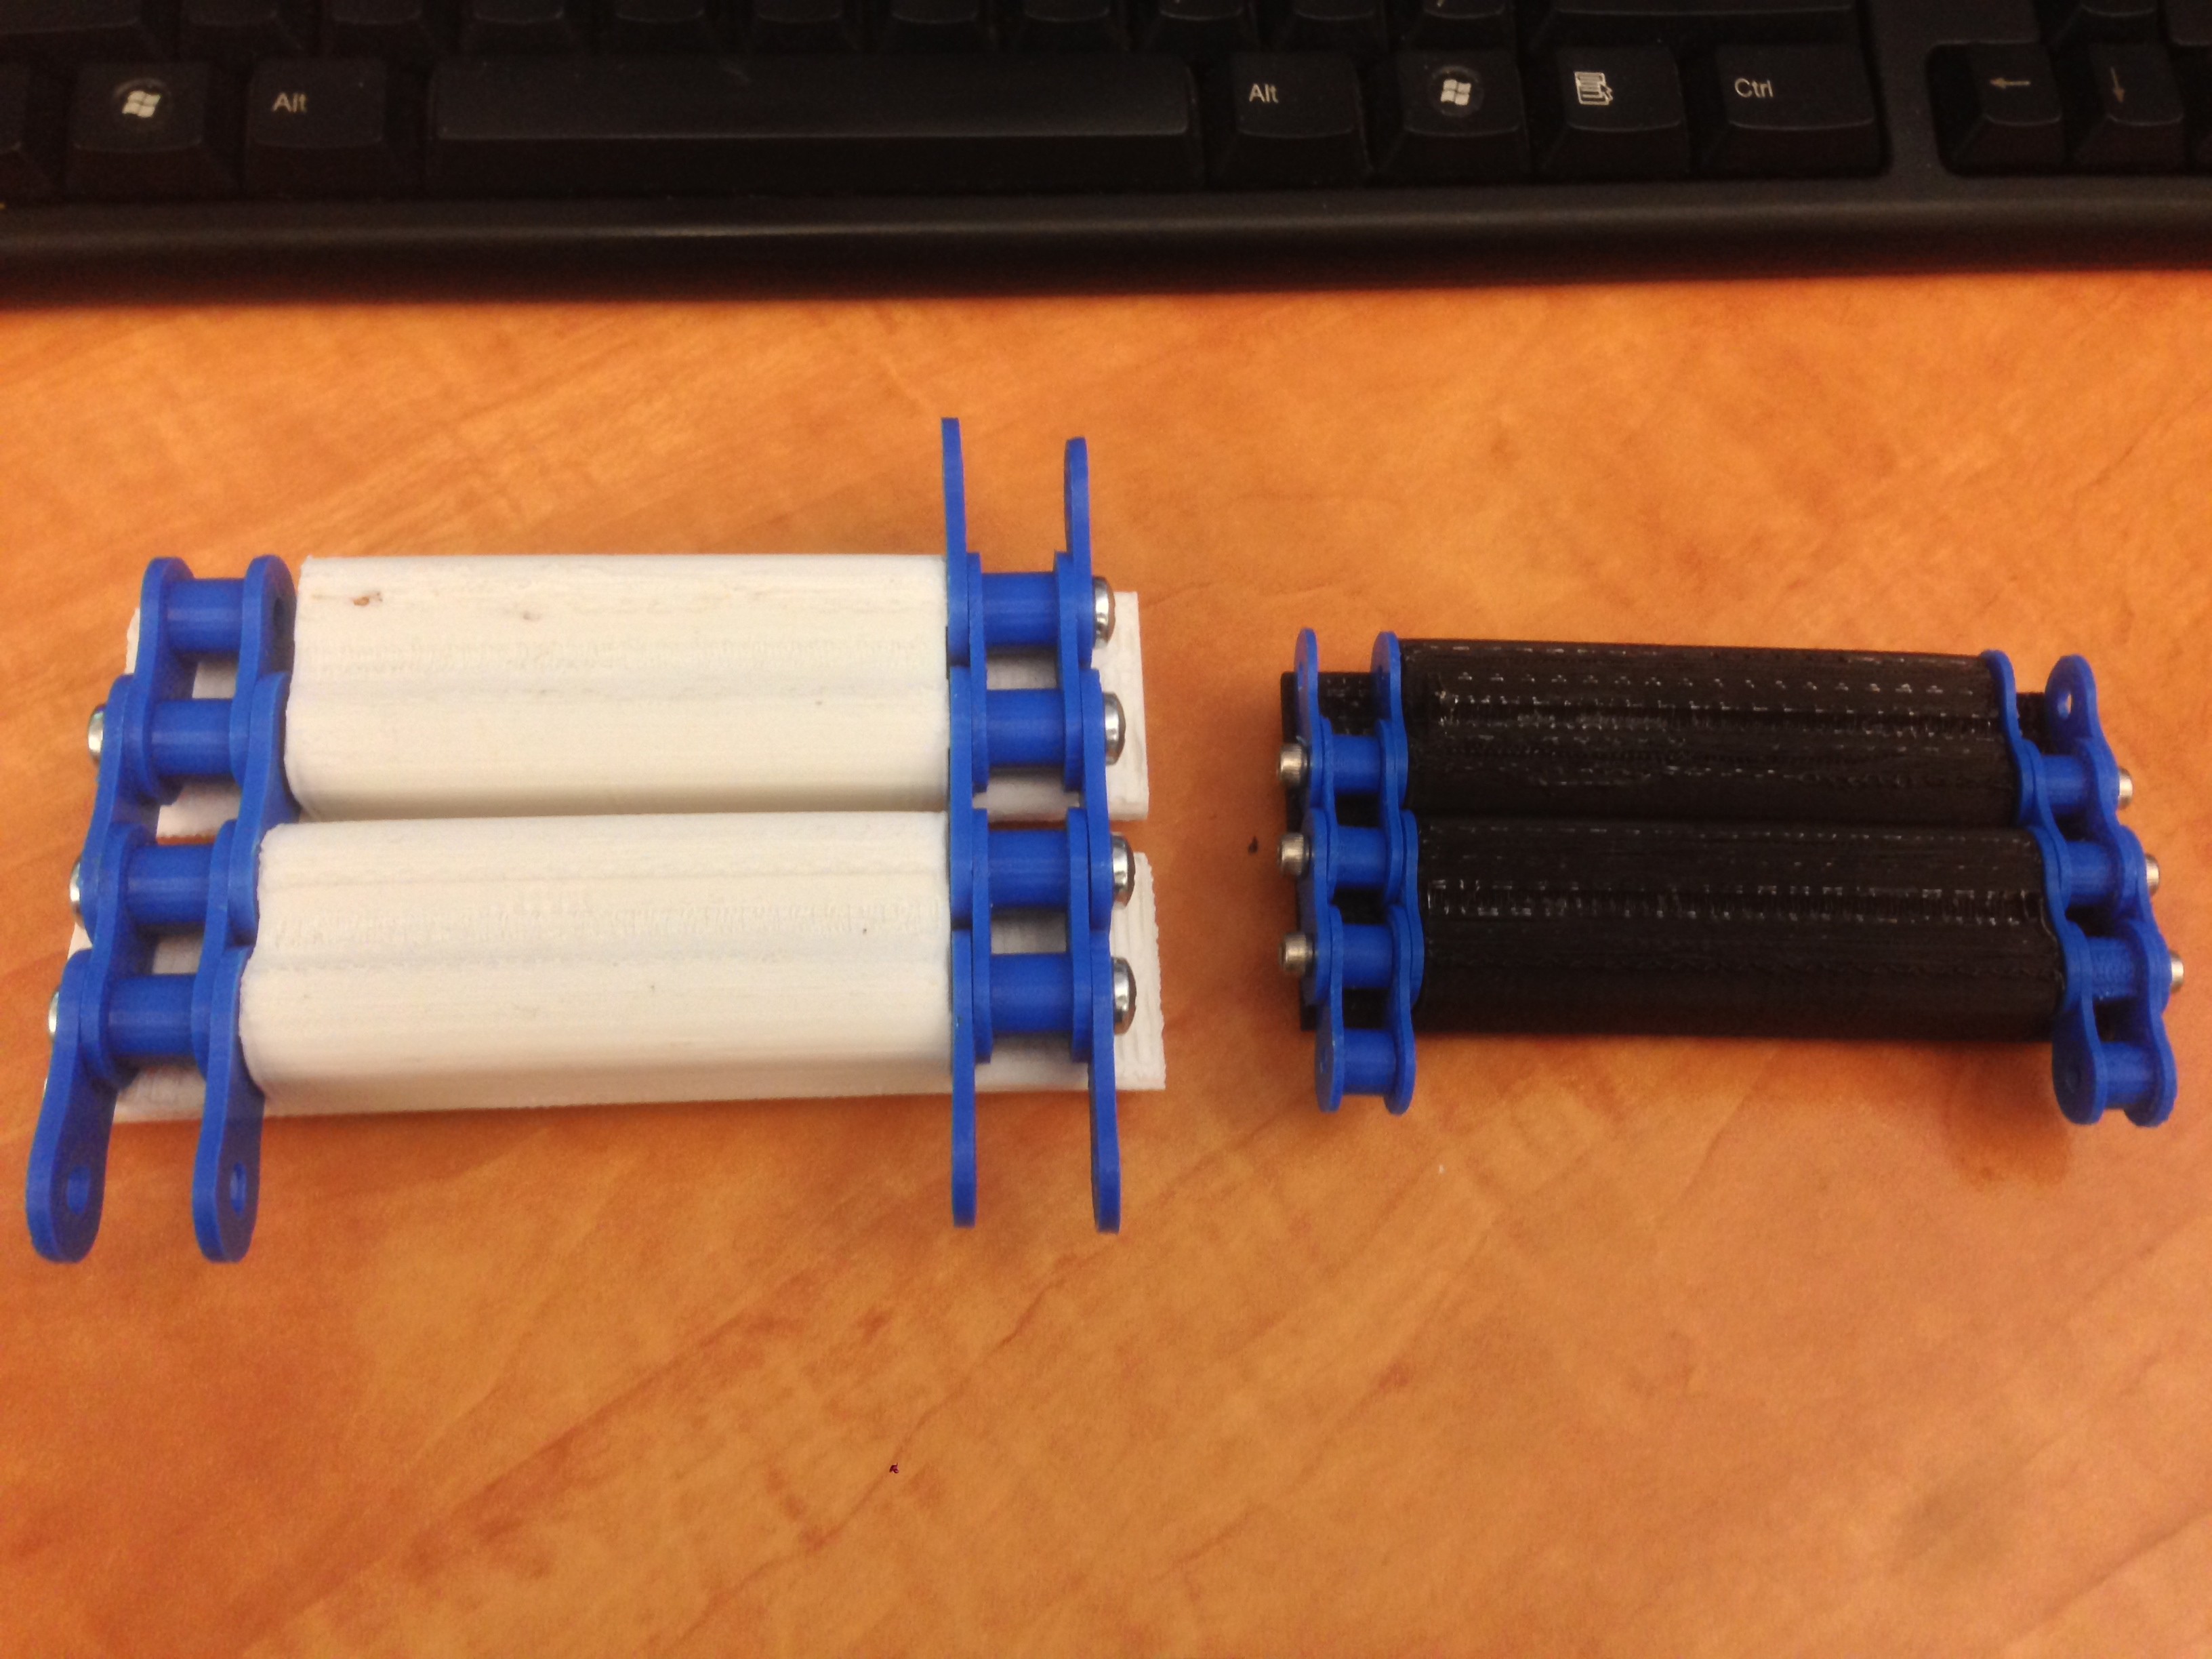
I started by making some 3d models of roller chain and 3d printing the links. I also made a few first designs of a tread link which would connect the roller chain. I was focusing on #35, #40 and #50 roller chain sizes. My idea was to break the roller chain links using a chain breaker and connect the links to the treads with the closest size bolts that would fit.
After 3d printing a few parts I quickly realized the #50 chain resulted in a larger track system than I expected. 3d printing big parts takes longer and uses more plastic, so I narrowed my prototyping to only #35 and #40 chain.
Discussions
Become a Hackaday.io Member
Create an account to leave a comment. Already have an account? Log In.