It has been a little while since my last post. I have been busy working on casting enough treads to build a working robot.
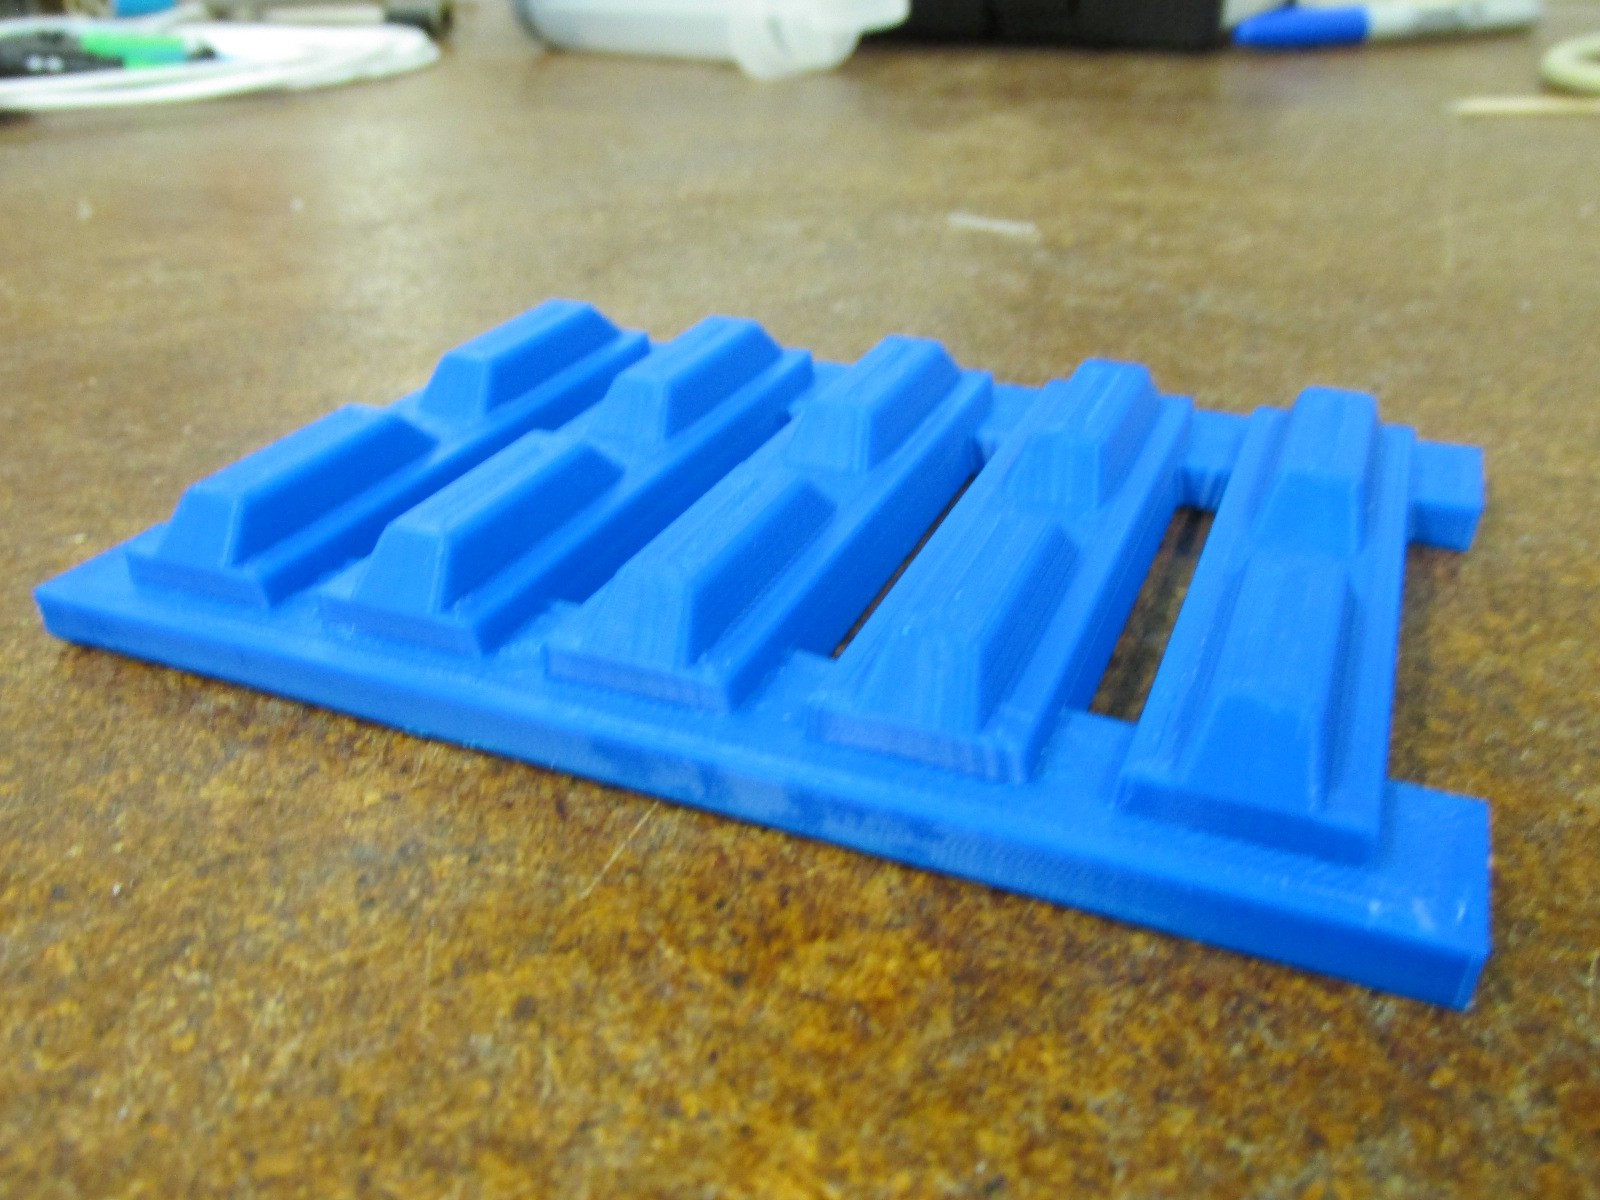
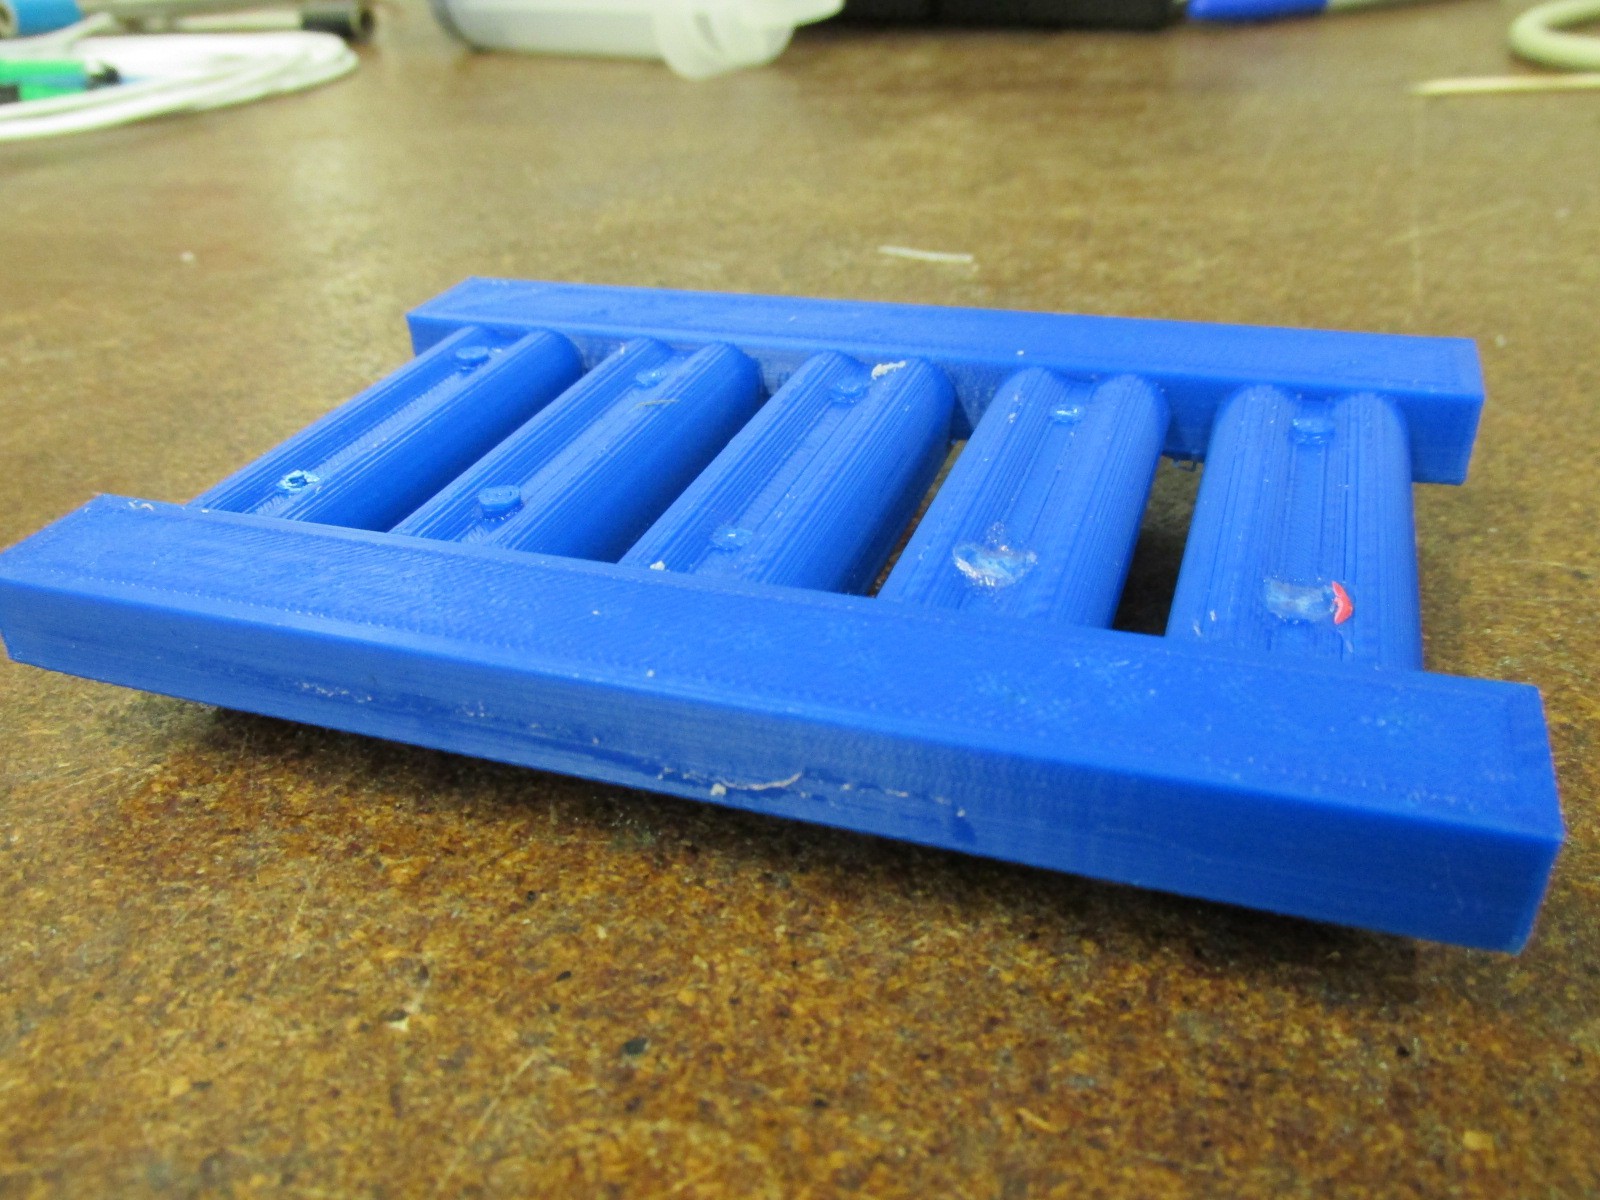
First I 3d printed some new mold masters. I decided to make a mold that would cast 5 parts at a time. My last mold could do two parts at a time and I could get between 4 and 6 parts a day. I needed something I could start mass producing these things. I created my model of the mold master and 3d printed a half version and a full version.
Half Version
Full Version
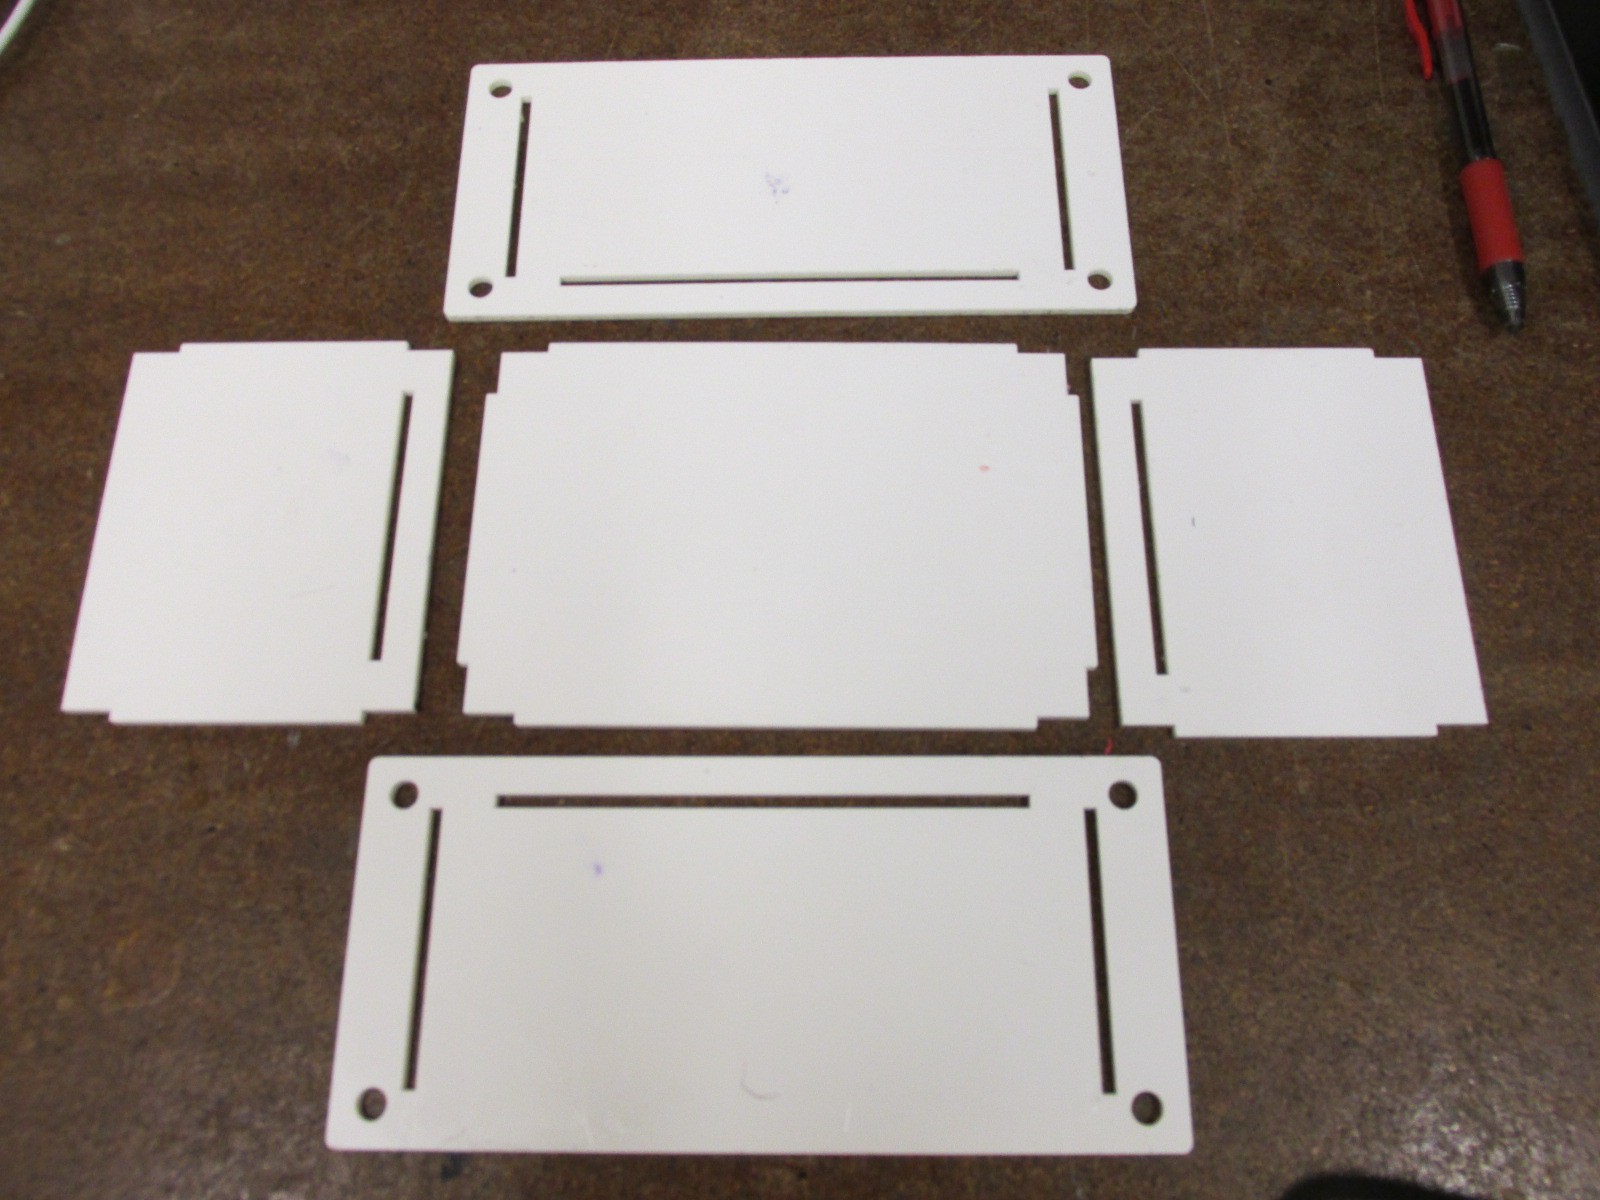
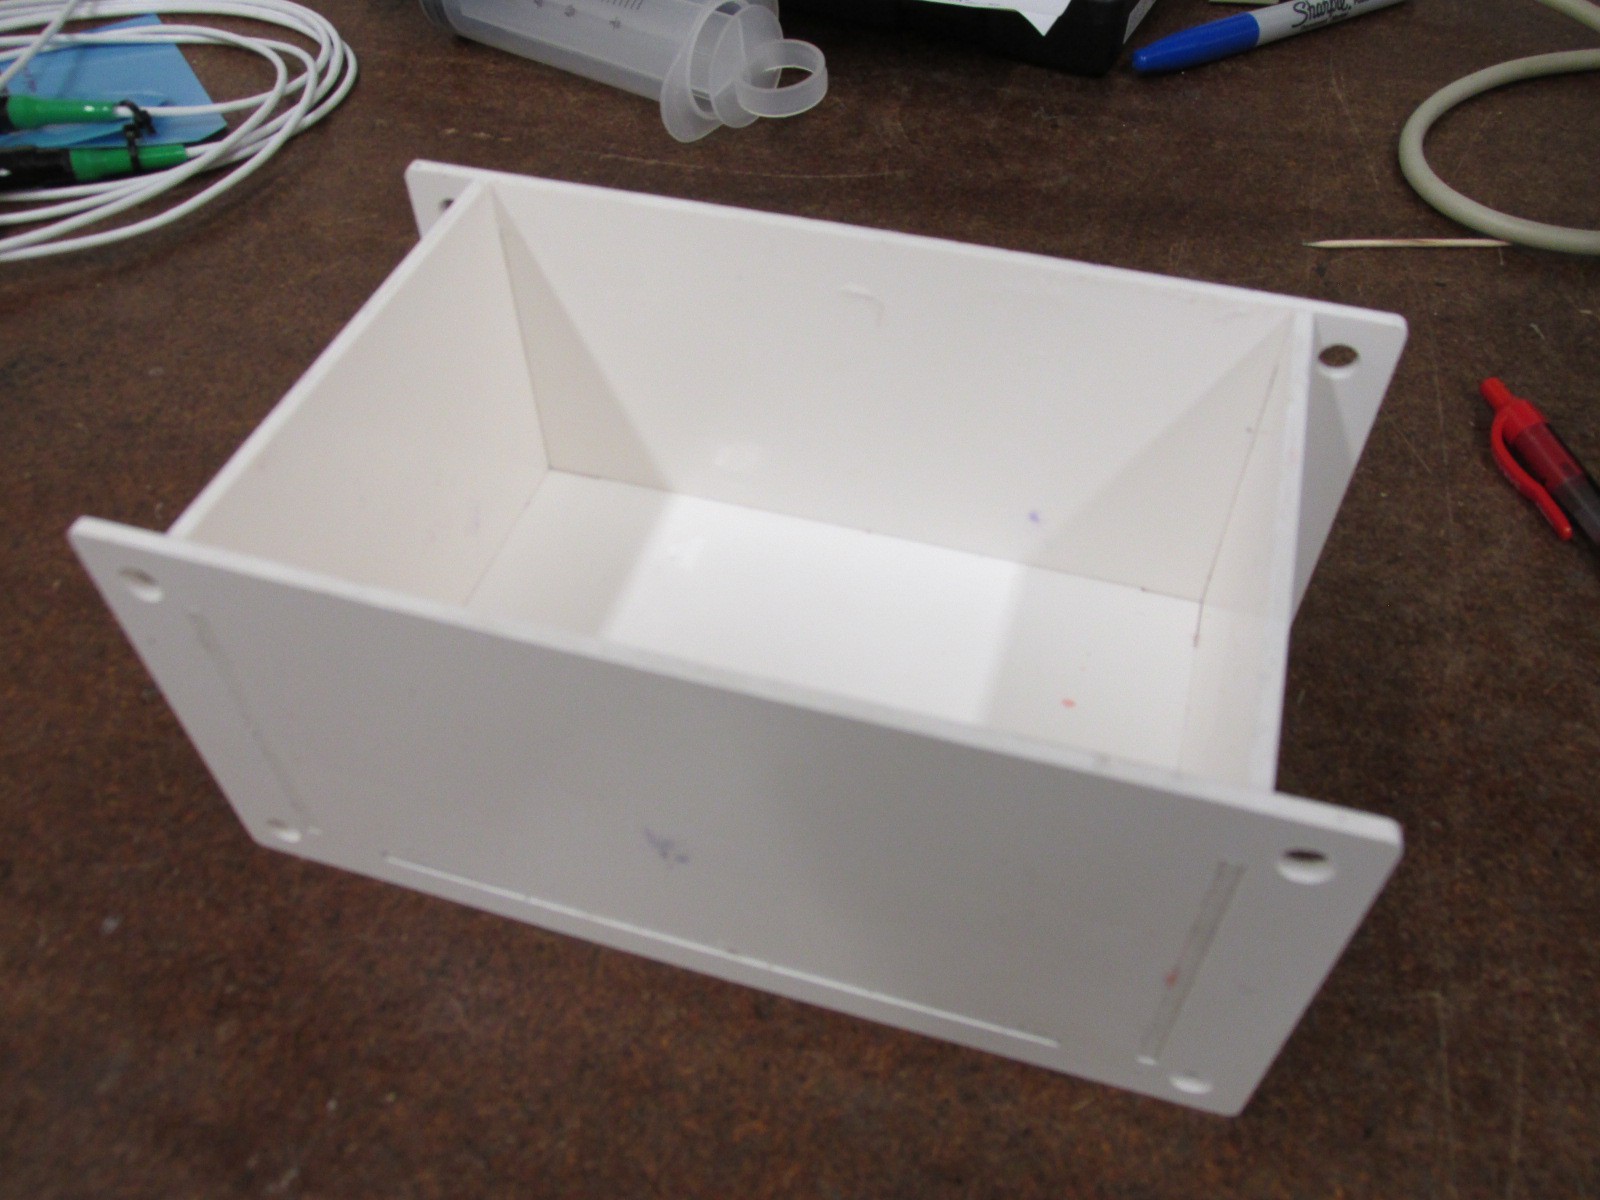
Next I laser cut a new mold box from acrylic. Since this part is bigger I could not use my previous one. These mold boxes work really well, are reusable, and pack away nice and tidy.
They fit tightly and the silicone does not leak out. There are holes for screws to hold it together, but I just used some tape and that was enough. Clamps would work well too. The best part is how easy you can take the box apart to remove your silicone mold.
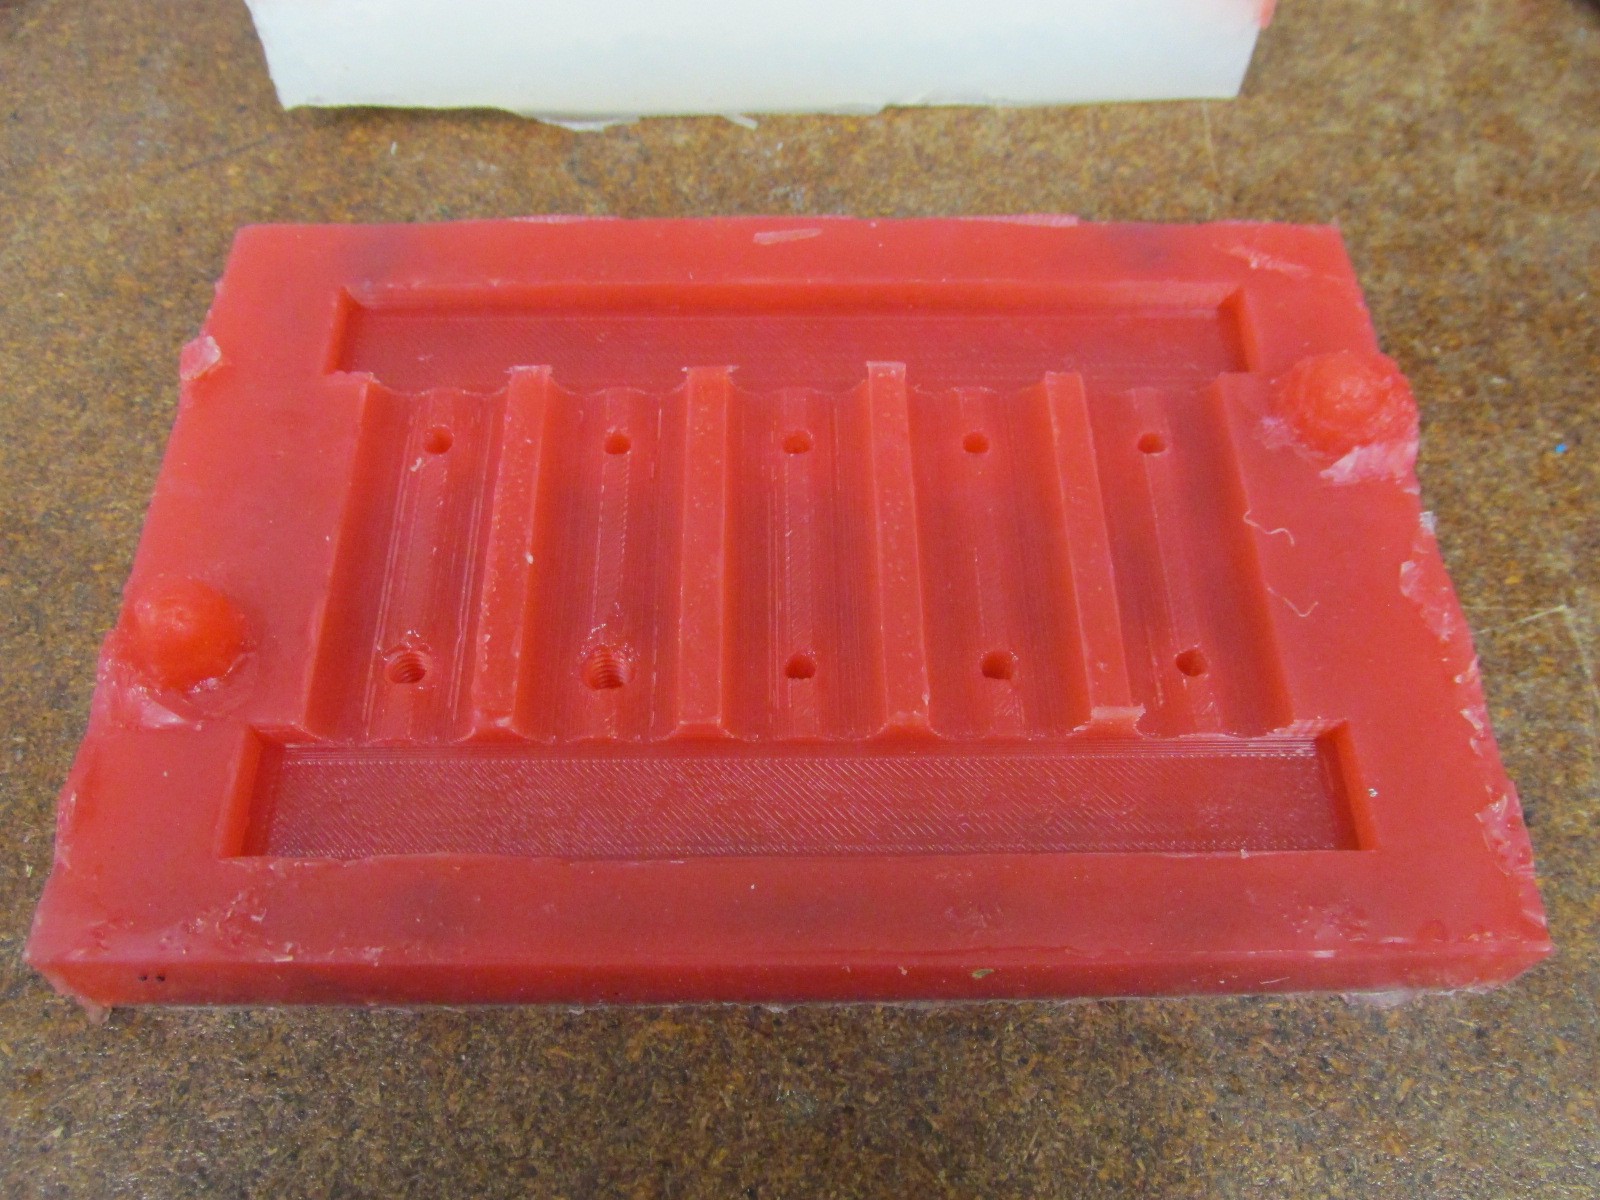
I super glued my half master mold to the bottom and put in a few acorn nuts to create keys. Then I mixed up the silicone and poured it over the mold. This mold box just barely fits into my vacuum degassing chamber, so there was no need to worry about air bubbles.
LESSON LEARNED:
Make sure you look at the pot time on your silicone. Mine only had 6 minutes and I was not paying attention. I took my time and it started to set up while I was degaussing it. The mold came out a little rough on the backside, but totally usable.
Also, while I did not have trouble removing my ABS master, or the acrylic box. I should have coated it all with mold release first.
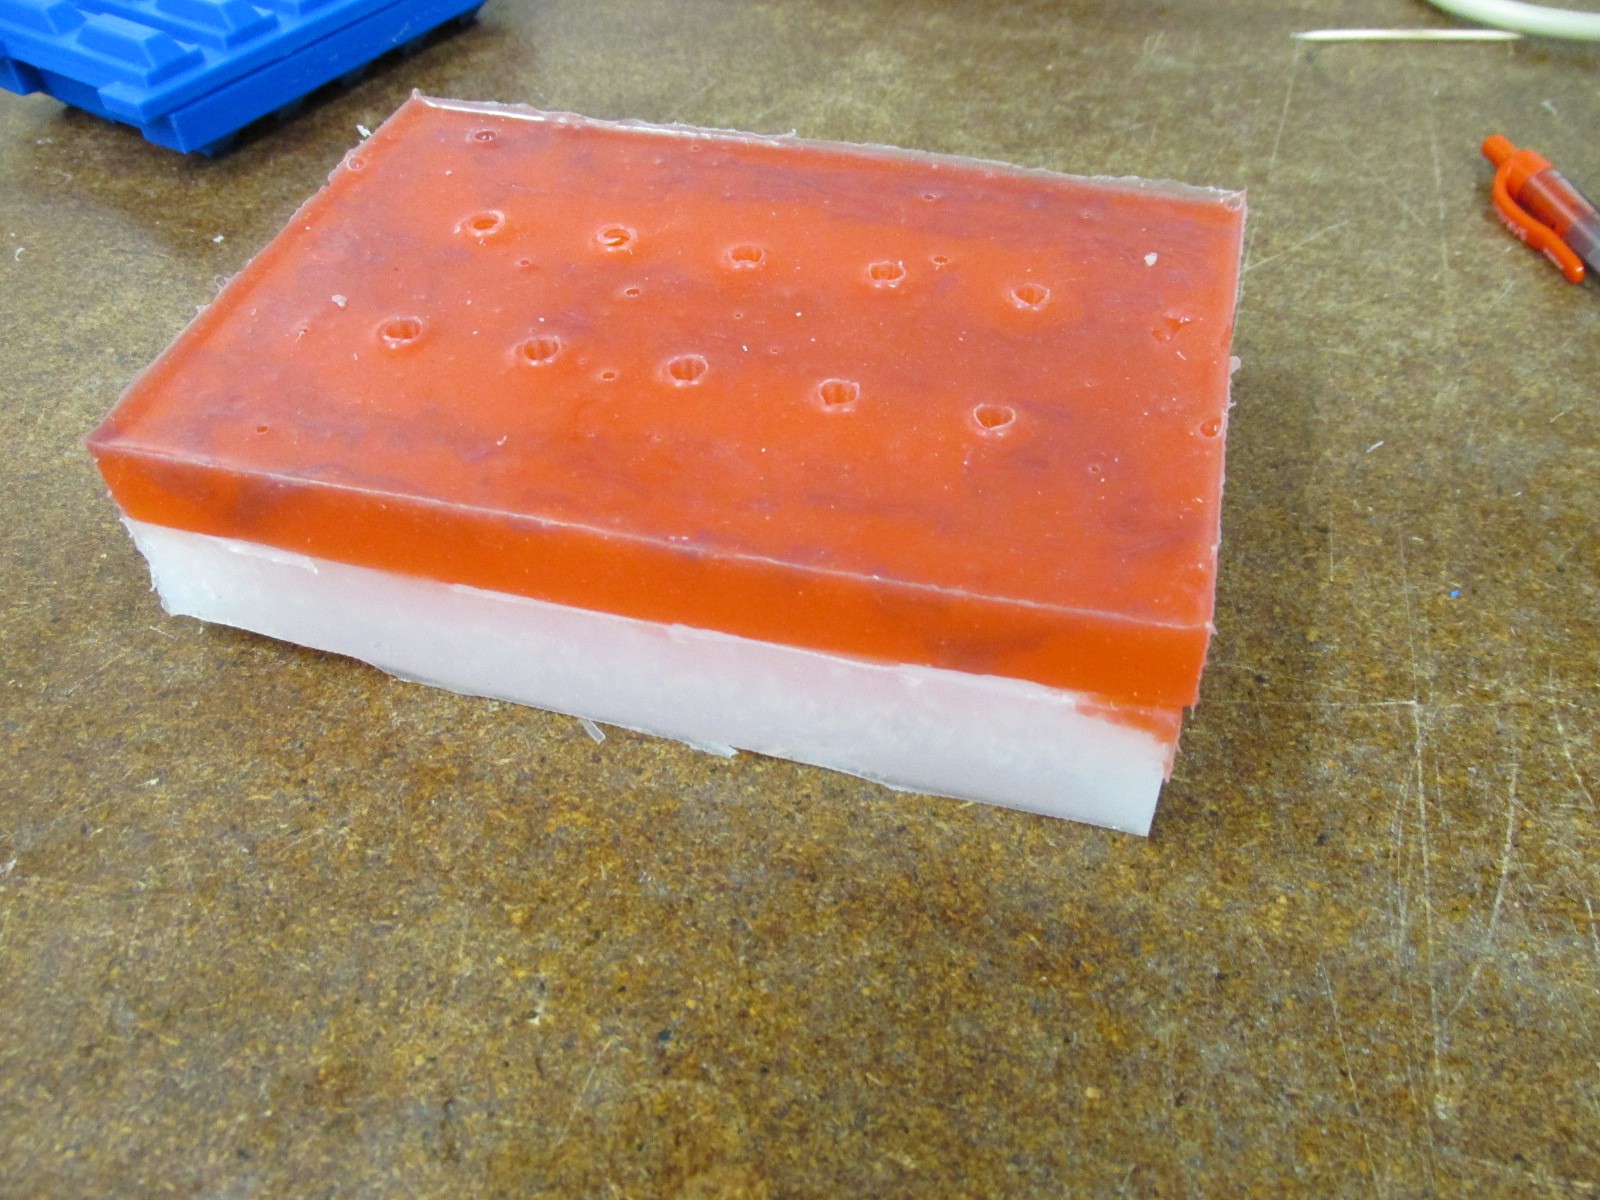
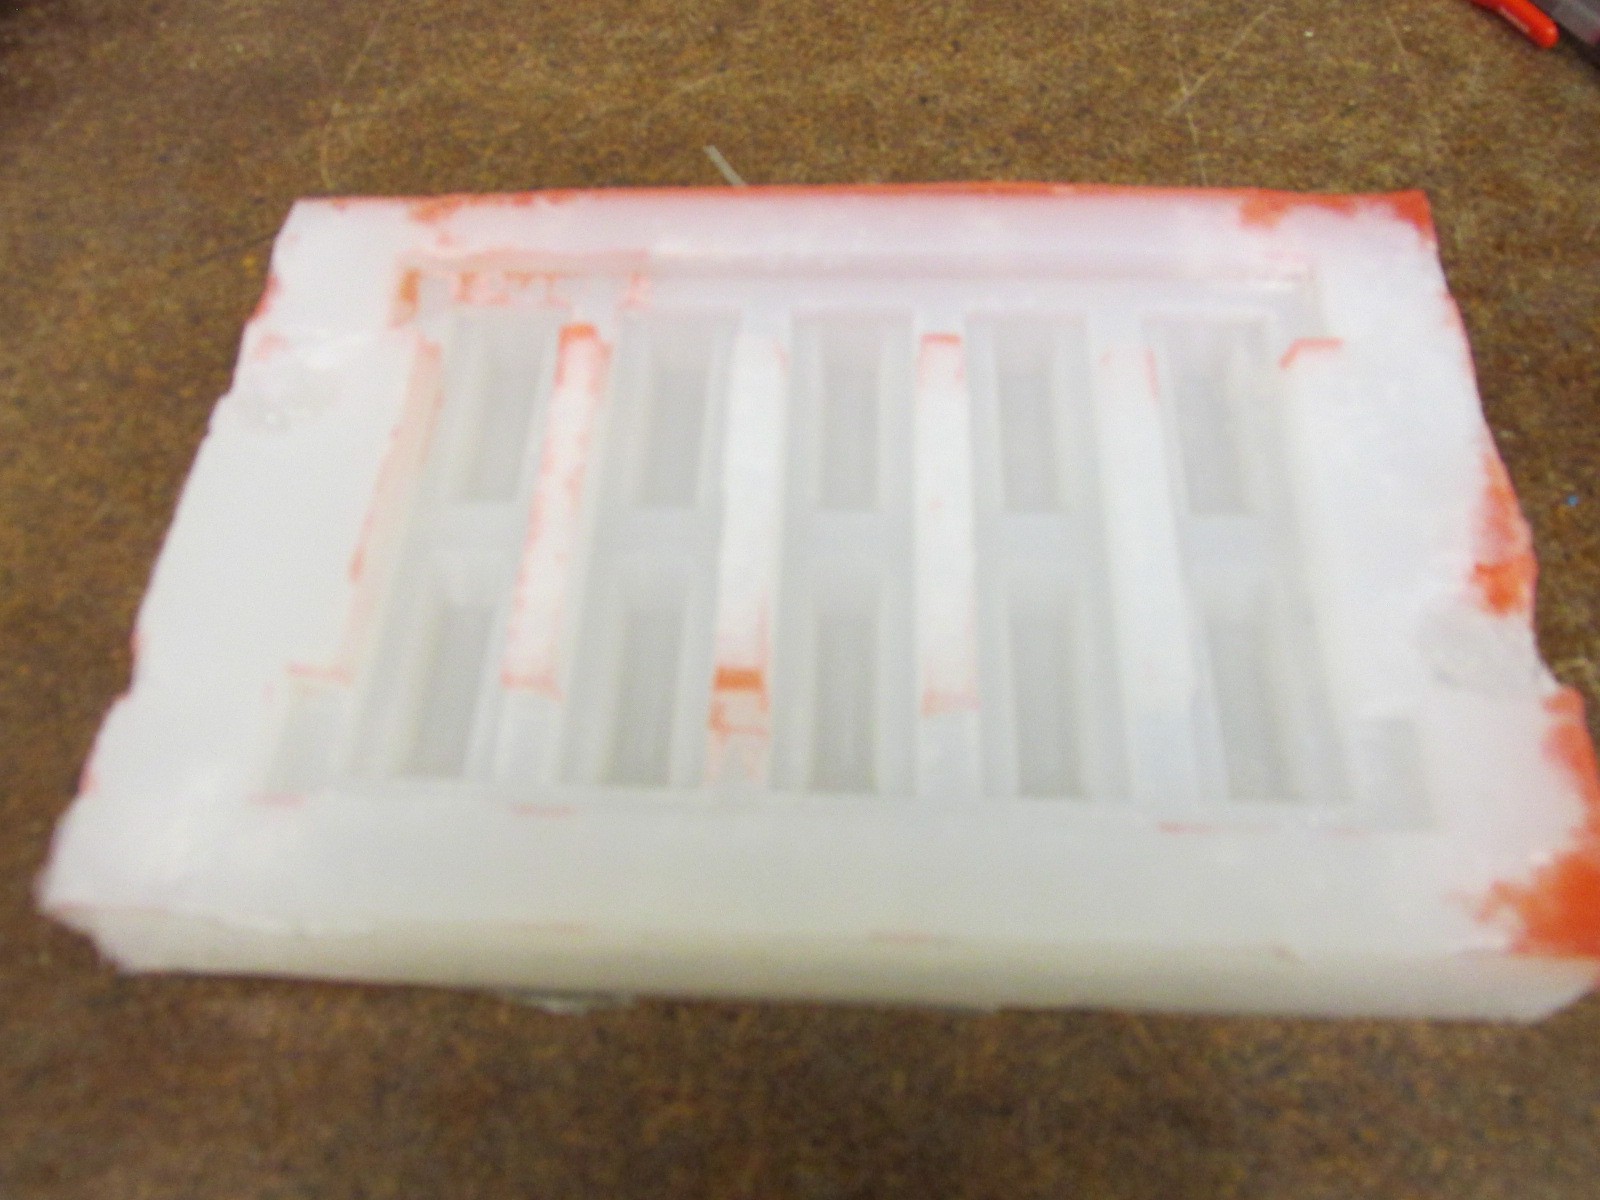
Next I put the full master mold in first half of the mold and repeated the process. I worked much faster this time and added a red dye to the silicone to experiment with it. I sprayed the mold release after everything was assembled in the box. So you can see how the corners did not get coated. :( This caused the silicone to bond and I had to cut it apart. In the end it will not affect the performance of the mold. But something to keep in mind next time.
Here is the mold together.
 jupdyke
Discussions
Become a Hackaday.io Member
Create an account to leave a comment. Already have an account? Log In.
Nice project ! I'm too designing a LawnMower , but didn't think about tracks . There's probably a lot of powering energy lost in friction ? Maybe it could be possible ton use only one line of roller chain parts ?
Are you sure? yes | no