 PK
PKIf you check Github, I just pushed the new drivers which support the widescreen version of VGATonic. To use them, when you load your board's VGATonic ko module, append "widescreen=1" to the end and the code will do the rest. (I put an example of loading it from scratch on the BeagleBone Black r3 at the end.)
I've been playing with it today as we approach the second deadline for the project - and I have to say, since 640x480 is usable, 848x480 is excellent and doesn't feel too cramped. There is also code in there for 424x240 which isn't that bad of a desktop either (screenshots below).
Of course, I'm typing this on a Retina Macbook Pro 15", so I'm a hypocrite - but judge for yourself, then go build a VGATonic! Compare these images to the others scattered on this project page.
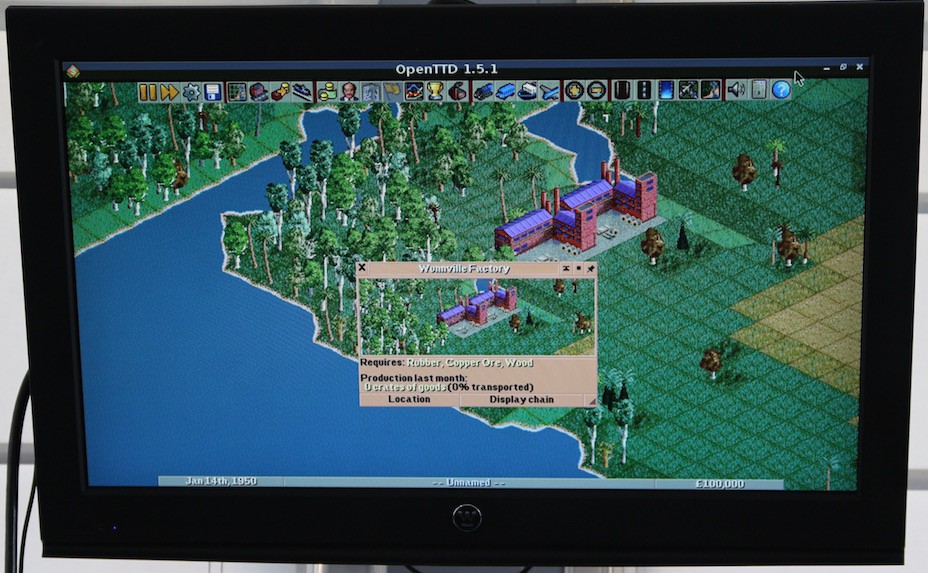
OpenTTD in 848x480 on BeagleBone Black r3 - 14.25 Frames Per Second
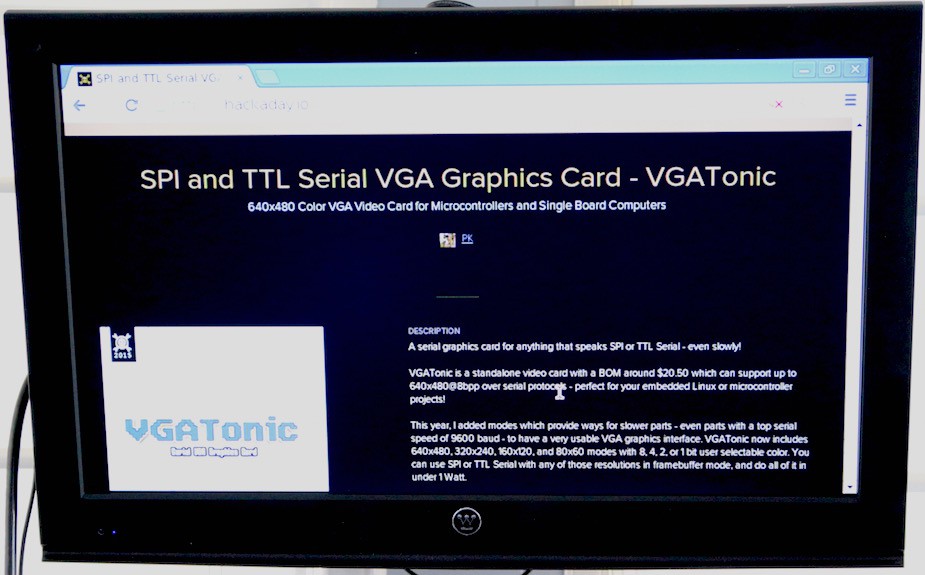
Shot of 848x480 browsing the web... very serviceable!
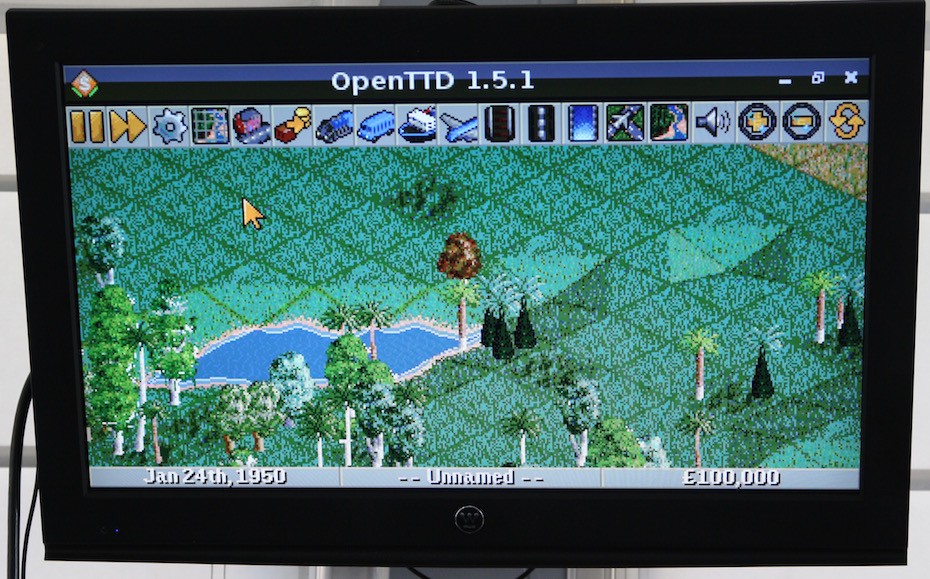
Even 424x240 is relatively comfortable. 320x240 is *marginal* on the desktop, and the 32.5% extra pixels come in handy.
Example for the BeagleBone Black r3
(Similar for the other boards, just don't do the device tree stuff.)
As for starting from scratch, first grab the code off Github. Then navigate to the VGATonic_Linux_Drivers directory. Then:
echo BB-SPI0-01 > /sys/devices/bone_capemgr.*/slots
make clean ; make
sudo insmod vgatonic.ko

# Next one is the key.
# Make sure you have the widescreen firmware installed!
# If you don't, omit widescreen

sudo insmod bbb_r3_vgatonic_spi.ko widescreen=1

# SU to your user account so chromium will work!
su <yourname>
FRAMEBUFFER=/dev/fb1 startx
Discussions
Become a Hackaday.io Member
Create an account to leave a comment. Already have an account? Log In.