Marvin the Paranoid Doorbot
A Hitchiker's Guide-inspired door greeter for our local hackspace
A Hitchiker's Guide-inspired door greeter for our local hackspace
To make the experience fit your profile, pick a username and tell us what interests you.
We found and based on your interests.
Because we all like open source, we made the source open, so you can open the open source sources of our open source project!
Check it out on GitHub!
The rest of the material is to follow soon!
Unfortunately Marvin crashed just as I was about to shoot the video while waiting on a fellow team member to get off of the phone and I also cannot edit the tags for the formal submission.
I'll update this page with everything we've been hacking on over the past few days and also do a post-mortem with lessons learned!
Thanks for keeping up with us guys!
Well, don't let the lack of updates put you off!
In absence of our beloved (and glorious) leader Jarrett Jung Ill, we have been working hard behind the scenes to get Marvin up (see what I did there!) before the deadline! Using the power of the internet, we have even resorted to online scrum boards to get everything done! Admittedly, we've also resorted to get a fourth comrad on board! (Comrad Logan knows enough of just about everything to make us cower in fear.)
In the midst of deciding what to do with Marvin's head, we also did some much needed surgery for his extremities.
Here's Tim.
Remember, kids. Safety first. Gotta protect your eye.
And now we commence with the leg reassignment surgery.
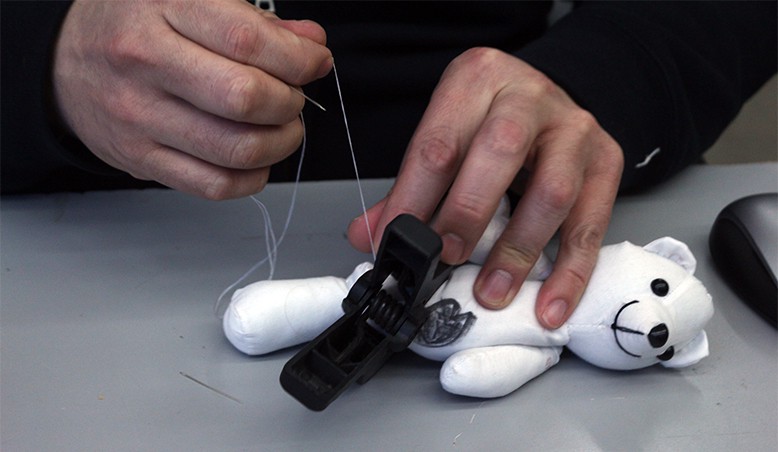
:):
LED controller, Audio Player, and brain required for talking to the ships computer :):
RaspberryPI
Motion sensor detecting opening and closing of Self-Satisfied Door
with mems 3 axis accelerometer LIS302DL
alternative
32F401CDISCOVERY or STM32F3DISCOVERY
with mems magnetic & 3 axis accelerometer LSM303DLHC
with
mems 3 axis gyro L3GD20
wifi RT5370 hostapd
http://linuxcommando.blogspot.ca/2013/10/how-to-connect-to-wpawpa2-wifi-network.html
This can used to determine how many people are trying to talk to Marvin. Marvin can respond, “don't talk to me about life” And when people stop talking, “I'd make a suggestion, but you wouldn't listen.”
Marvin is not on the network, you must talk to him directly. Makes it easier for Marvin, who enjoys “humming ironically because he hated humans so much” :): when no one is around to talk to.
Marvin can stream his audio over wifi, but he has is own speakers, because “no one ever listens” :):
STM32F4DISCOVERY
ChibiOS reads spi accelerometer, detects movement and communicates with the RaspberryPI over usb.
ChibiOS cross complied and deployed / debugged from RaspberryPI.
Tool chain stlink, arm-non-eabi, ddd, vim
RaspberryPi
of course :):
Raspbian
unstable
Software and Configuration be on github next week
Jarrett: So we need a body for Marvin.
Tim: Yeah. I guess I'll see if I can grab a doll that my daughter won't miss too much.
Perfect. One problem. It's an amputee.

It also has a bear head, and we need to replace that with an android head.
Let's start with that. First we prep the bear for surgery.
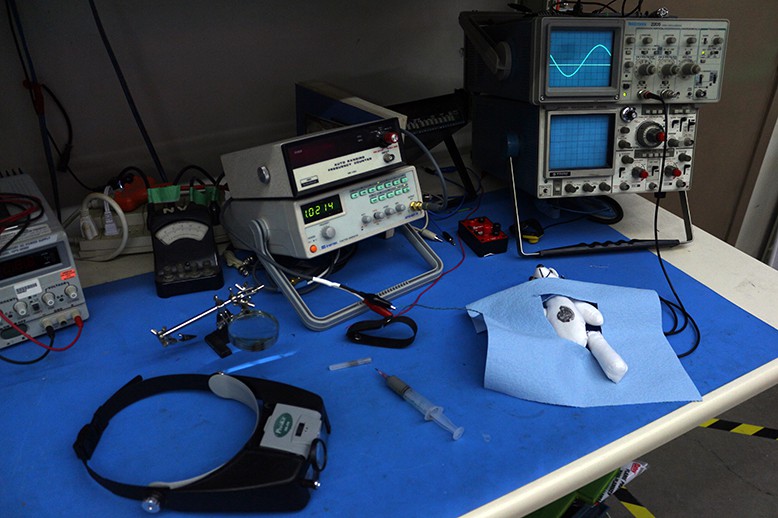

This is Jarrett.
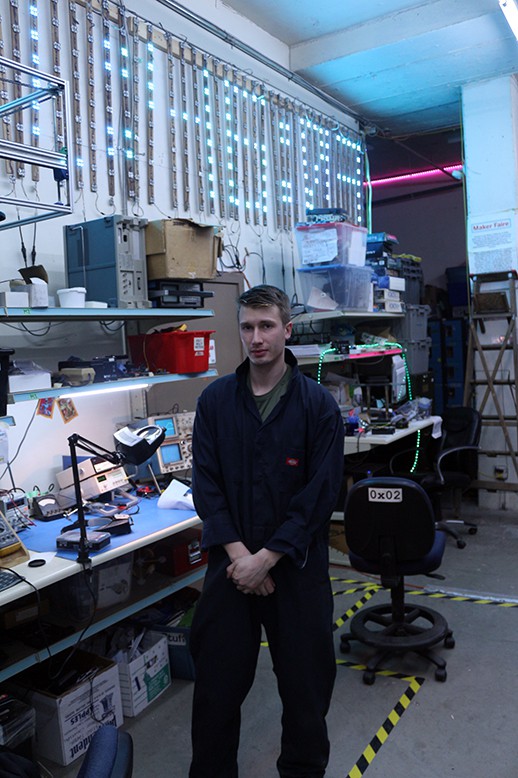
This is Jarrett's lab coat.

Appropriate PPE.
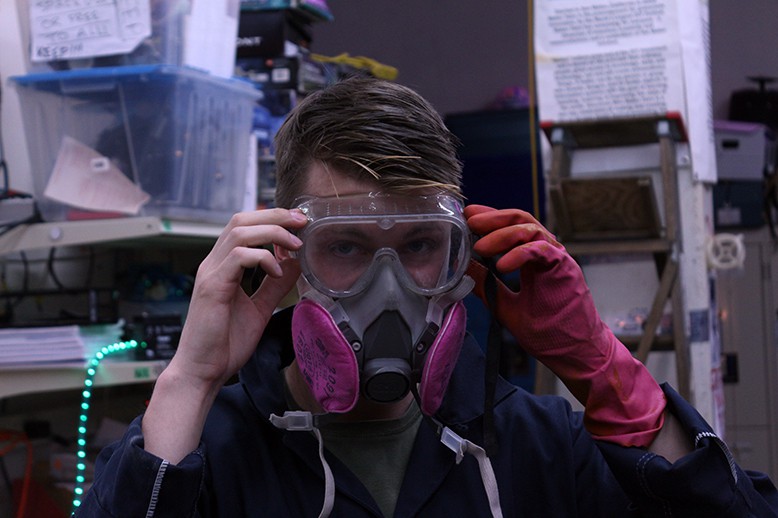
Gotta protect your eyes.

And your face.
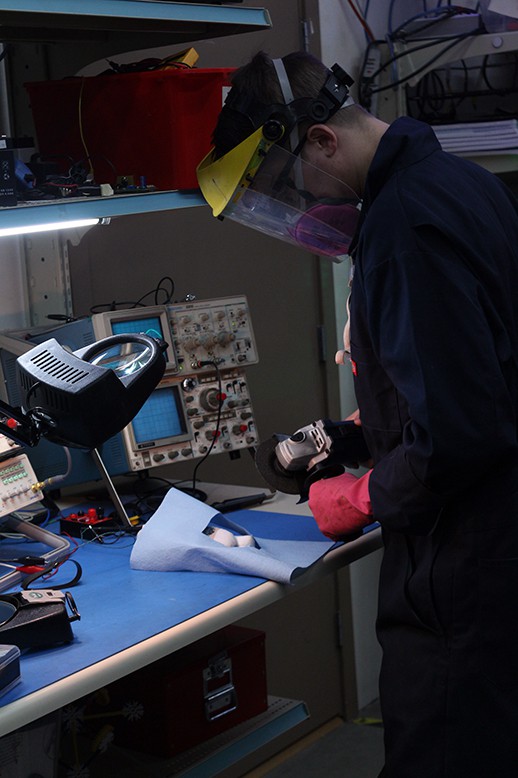
Grab your scalpel.
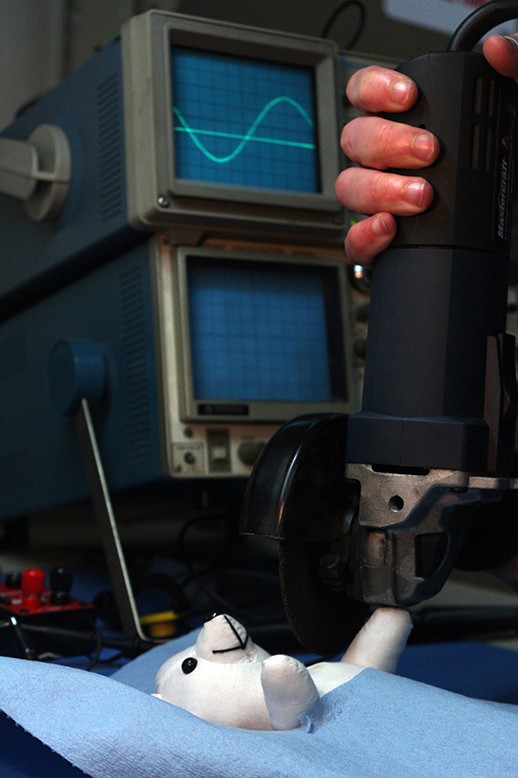
At this point, we realised that we needed something to anchor the body to our geodesic dome head, so the bear's head needed to stay. You've been spared this time, bear.
Of course, we still need to improve a little bit on the audio, but because pictures - or in this case video - say more than words: here are Marvin's first words!
Using the powers of modern technology, I have started to cut up the audio clips.
Tools used:
Obligatory photographic evidence (for science... Of course!):
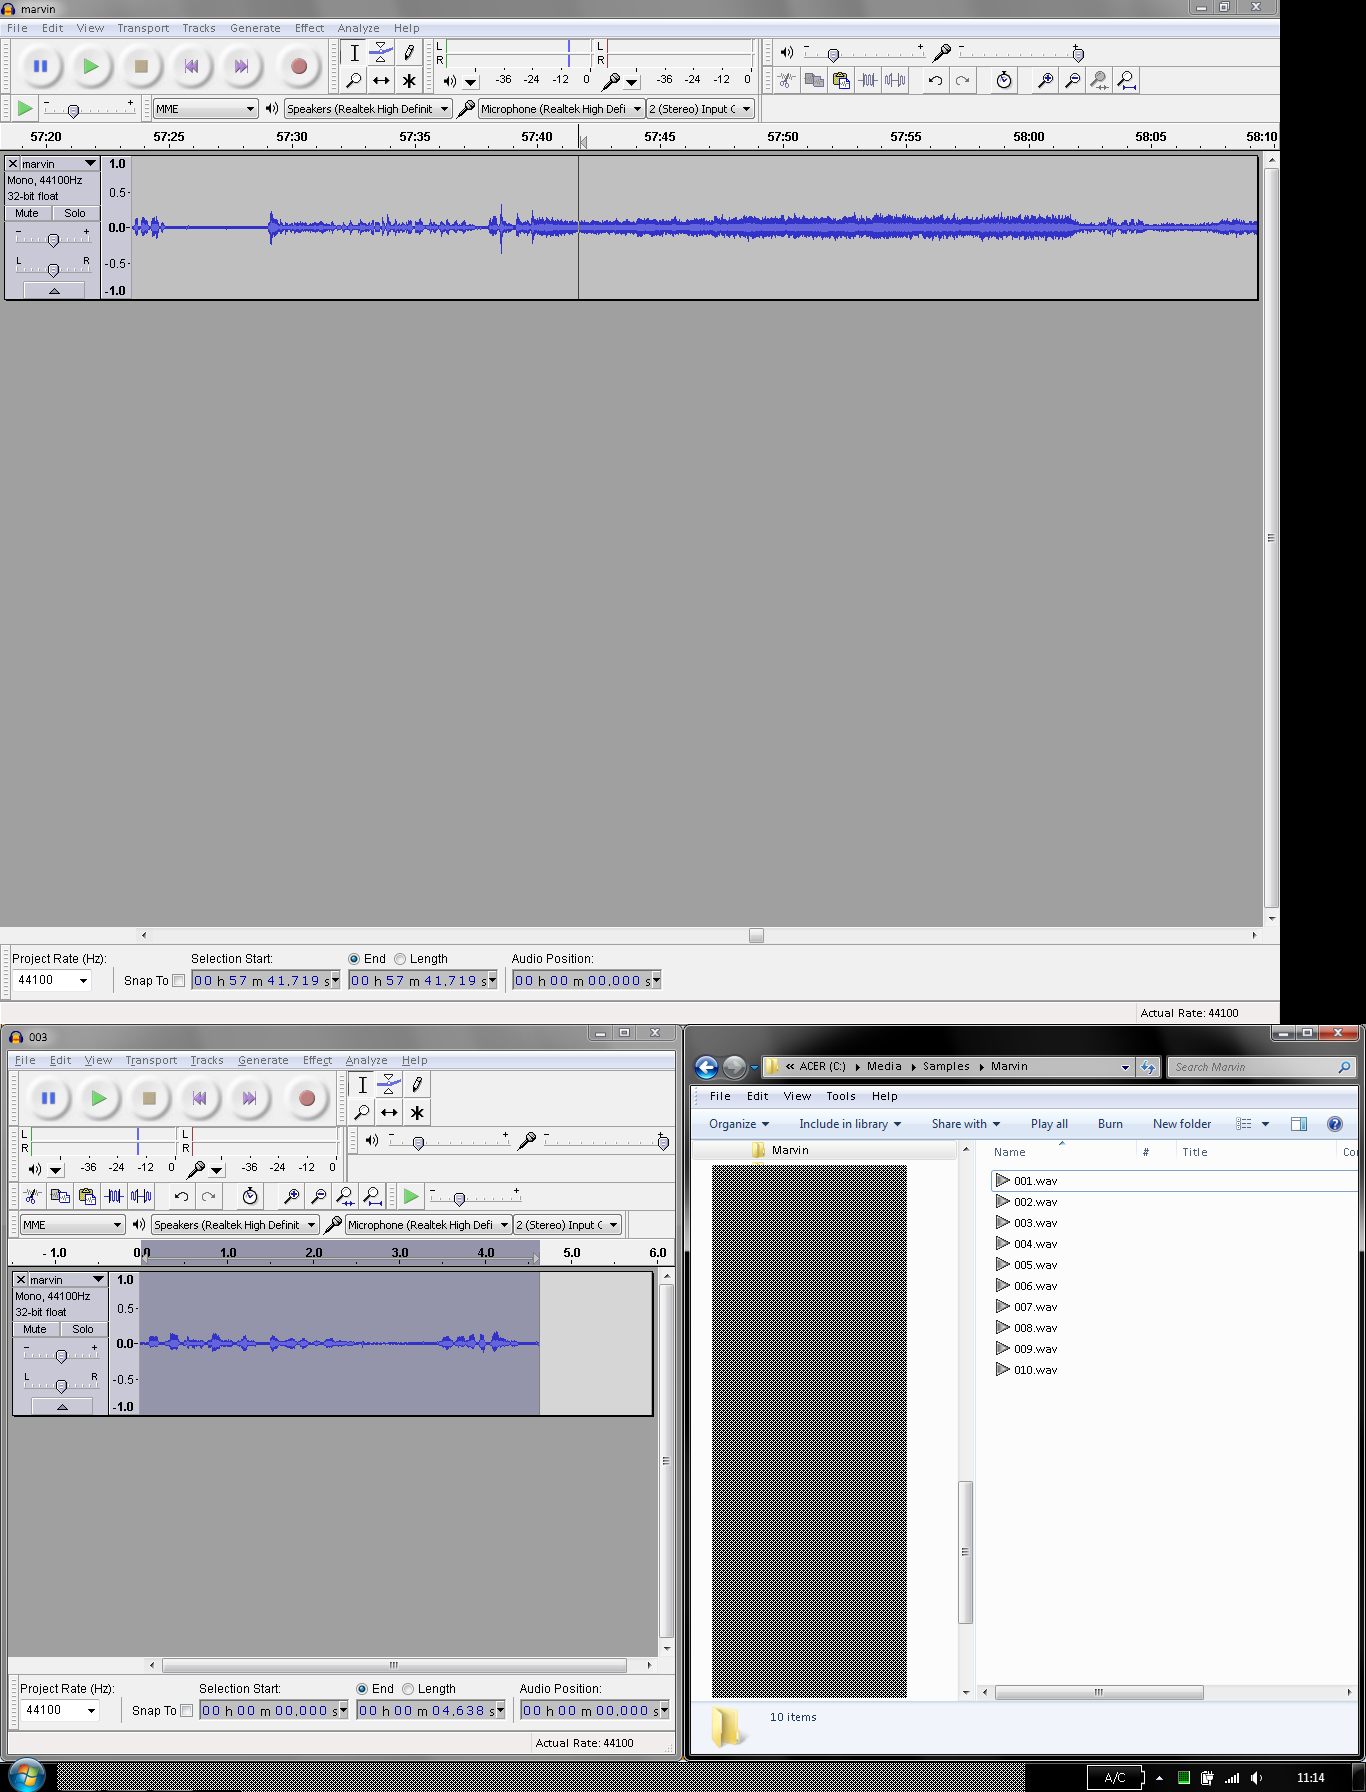
Workflow:
More soon!
I took some time out to wire up a quick audio amp.
Sound quality isn't really a huge concern here, so I just grabbed a LM1875 and used an example circuit from the datasheet.

I left National Semiconductor's name in the footer please don't sue me
I wanted to get this portion done as quickly as possible, so I found a perfboard kicking around the hackspace and deadbug soldered all of the components directly to each other. I have so much affection for this method, look at this fucked up board! It's like owning a pug that runs into walls.
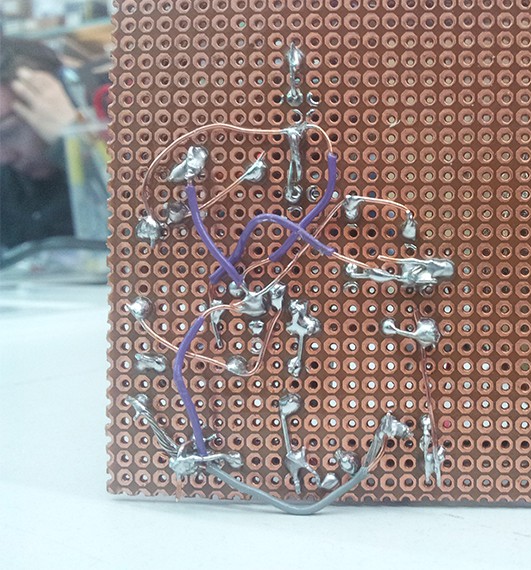 One of the advantages of this method is that it's very very fast. The disadvantages are that it's terrible, it looks terrible, it's very difficult to troubleshoot if something goes wrong, and the weird ground loops are probably causing some audio problems. But you know what? That all adds character. This project is going to have a lot of character.
Fun story: I wired this up in an hour or so, then went over to our power station to test it out. It's rated for up to 60v, but I was pretty sure that'd be a little much. So I set the power supply to 12v, grabbed a function generator, and set it to 1kHz.
I touched it to the input, and it nearly blew me across the room. It's pretty loud.
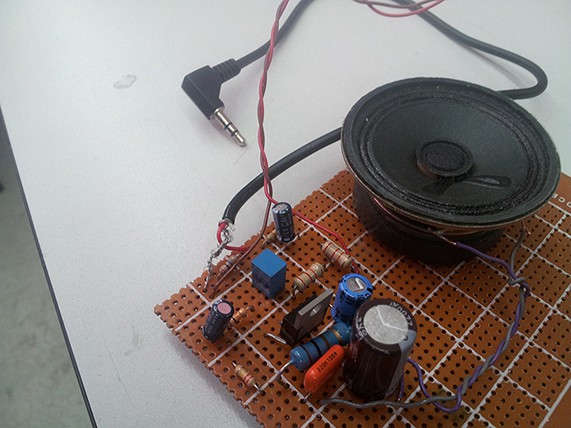
So here's where we're at for the amplifier. I just attached the speaker with some double-sided tape.
Next step for me is to design the power supply.
Create an account to leave a comment. Already have an account? Log In.
Become a member to follow this project and never miss any updates

 Mark B Jones
 DainBramage
 Matt
Matt