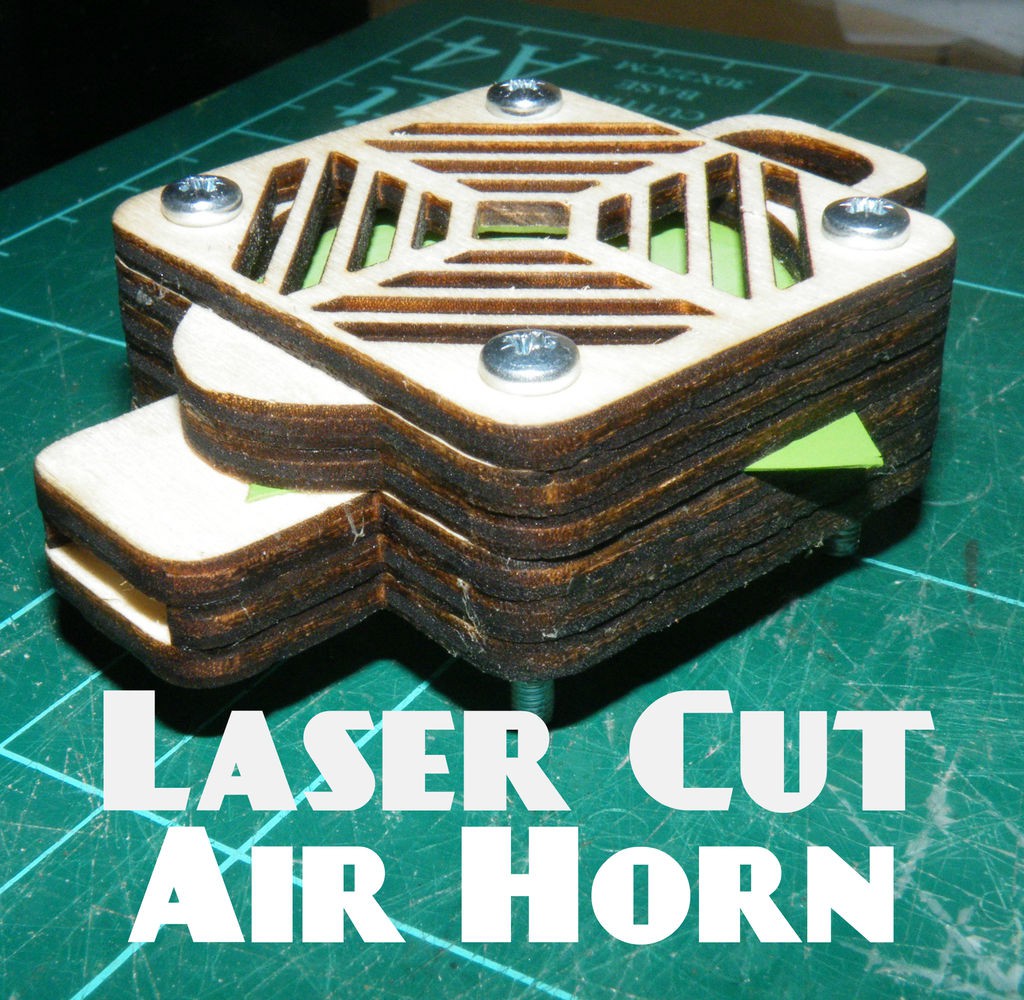
Way back in 2006, I published this air-horn project.
It was a nice, simple project that I recreated many times for myself, or with students, until film cannisters became a rarity.
I recently discovered that Martin Raynsford had produced a laser-cut version of the air-horn, so I decided that I really ought to make my own.
Step 1: Needful Things
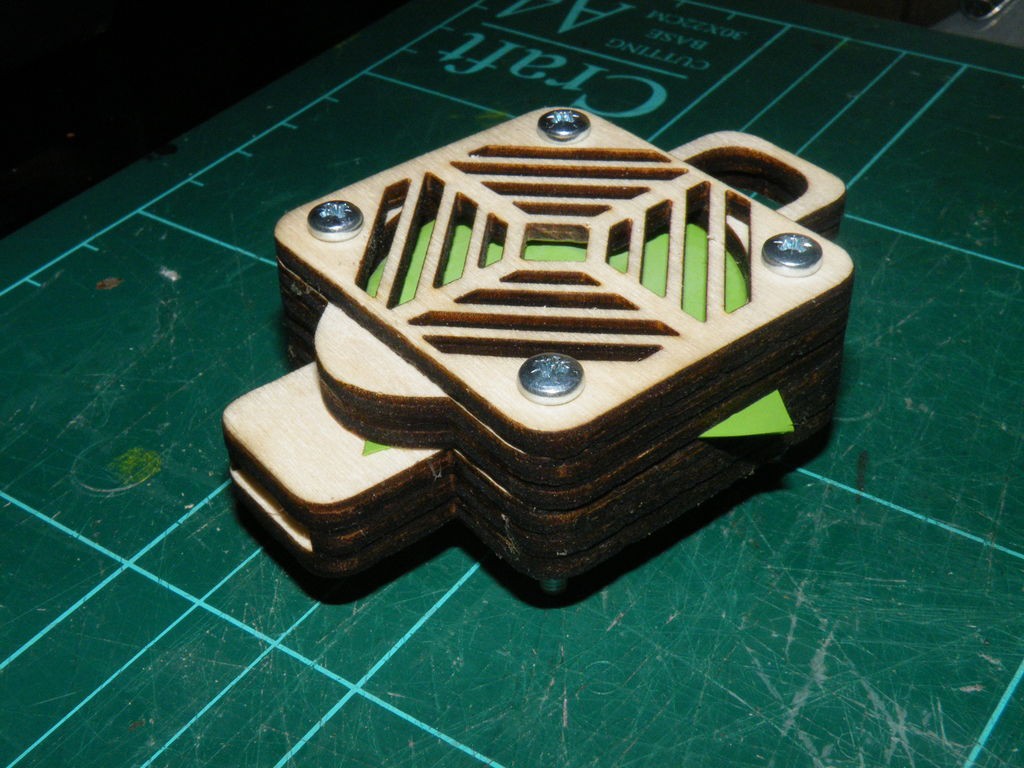
As well as a laser cutter and the files attached, you will need...
- Sheet material - I used 3mm plywood for this instructable, but almost any sold sheet material will work. The design is not dependent on sheet thickness, just remember that you will be putting 3 thickness of the material between your lips.
- Nuts and bolts - the holes in my design are sized for "M3" bolts - if you are using 3mm material, and adding all 5 layers, your bolts will been to be at least 18mm long.
- Glue to suit your sheet material.
- An elastic membrane - I used a rubber party balloon, but any stretchy sheet material (such as a disposable glove) will work.
- Tools to tighten your nuts and bolts.
- Scissors cut the membrane.
- A needle file, or a flat-sided disposable file.
- A marker might be useful.
- If your membrane material is very thick (such as a dead whoopie cushion), a curved file might be useful.
If you can’t laser cut parts for yourself, you can always get them done online. If you use the first file attached to this step, you can get the parts cut from a P1 sheet of 3mm plywood or acrylic for about $15.
Download AirHorn P1 3mm.svg
Download AirHorn.dxf
Download AirHorn.ecp
Download AirHorn.pdf
Download AirHorn.svg
Download AirHornFinal.dxf
Download AirHornFinal.ecp
Download AirHornFinal.pdf
Download AirHornFinal.svg
Step 2: Cutting
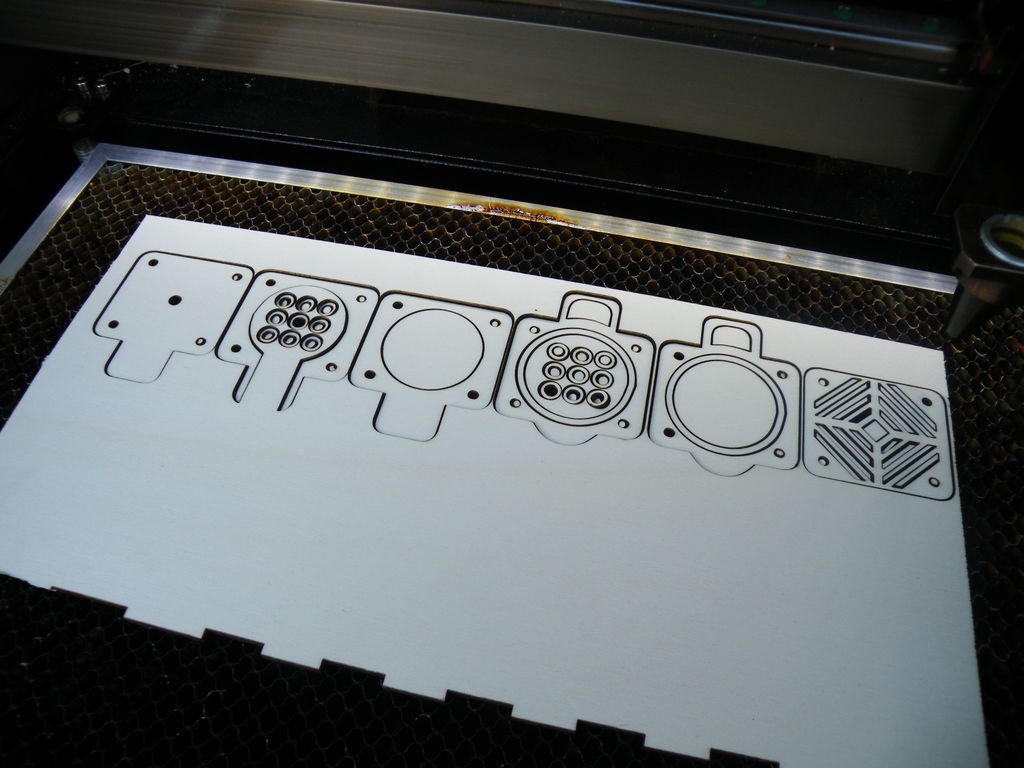
The whole thing cuts in one go - there are even spares of the smallest parts that could get lost or broken.
Step 3: Gluing the Layers
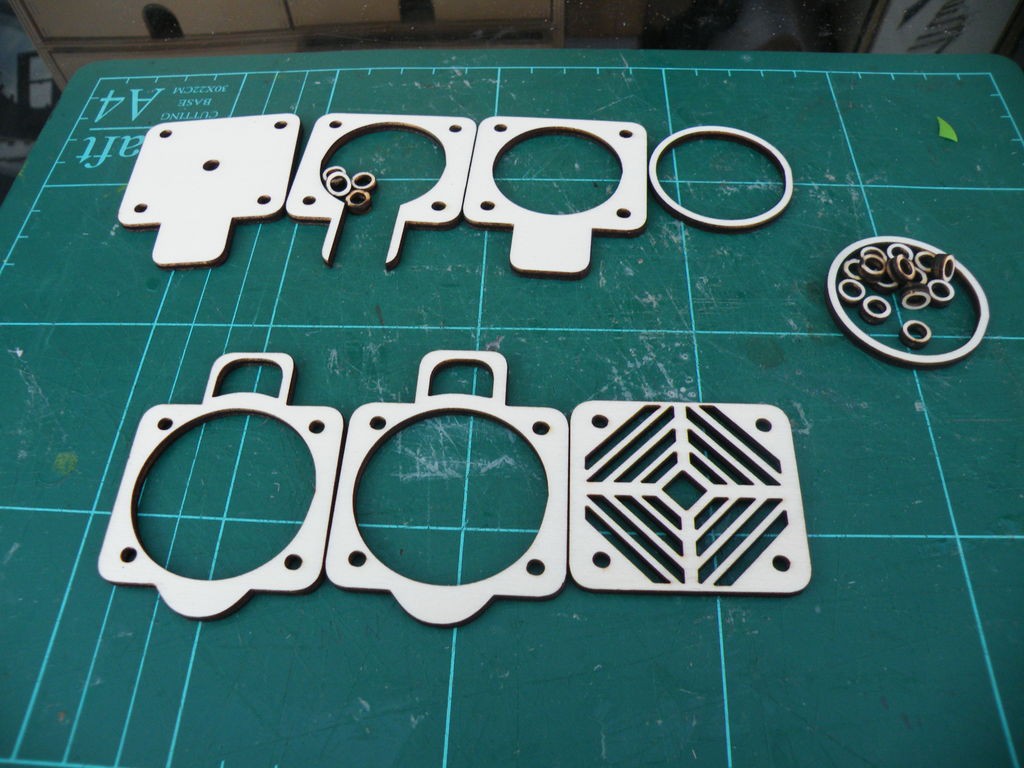
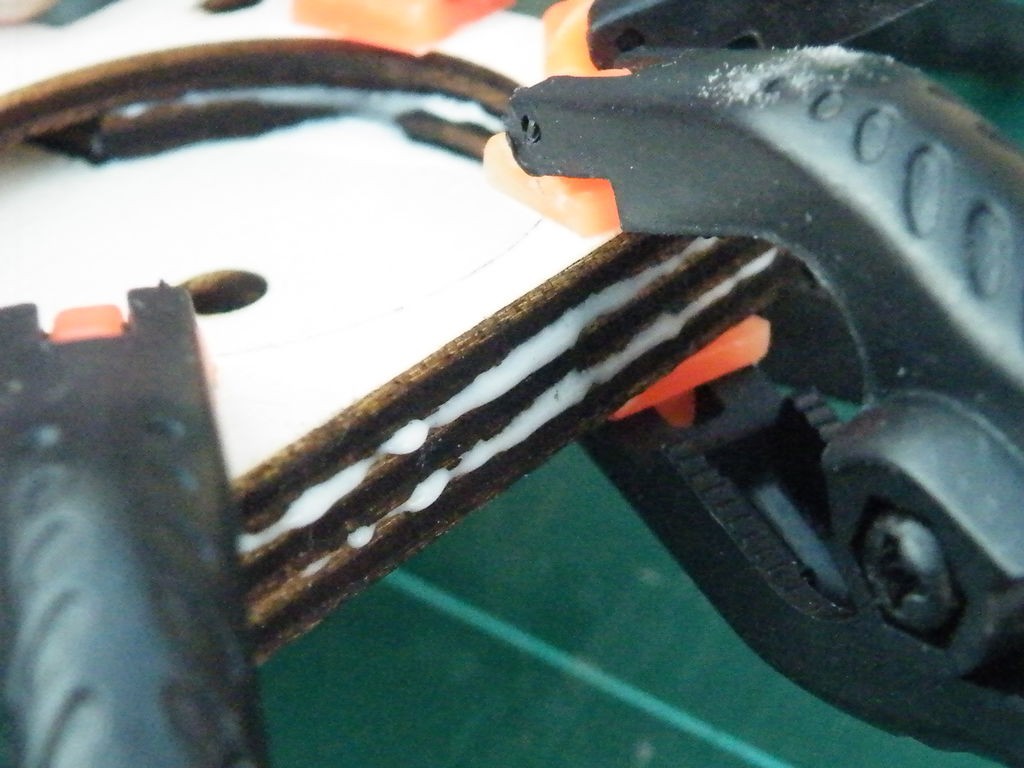
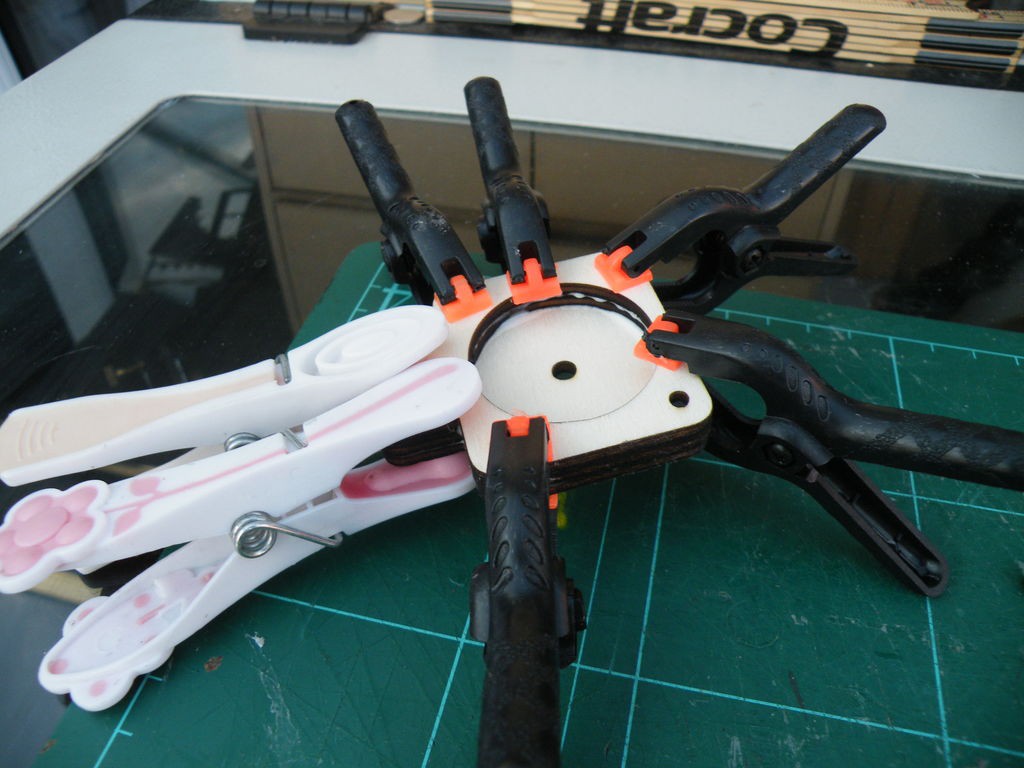
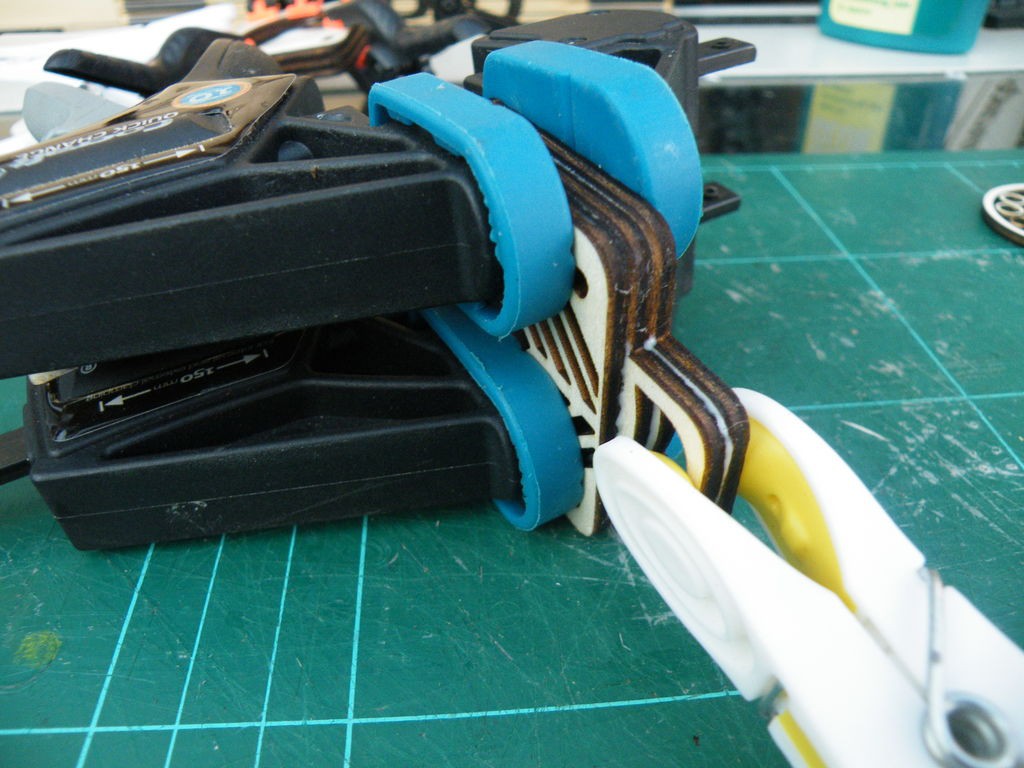
The finished air-horn has two main parts - the bottom and the top.
The layers need to be carefully lined up so that the bolt-holes all line up.
Glue and clamp the bottom three layers together, and the top three layers. Use plenty of glue, and clamp tightly, to reduce the chance of air leakage.
Leave the parts to dry.
Step 4: Gluing the Inner Parts.
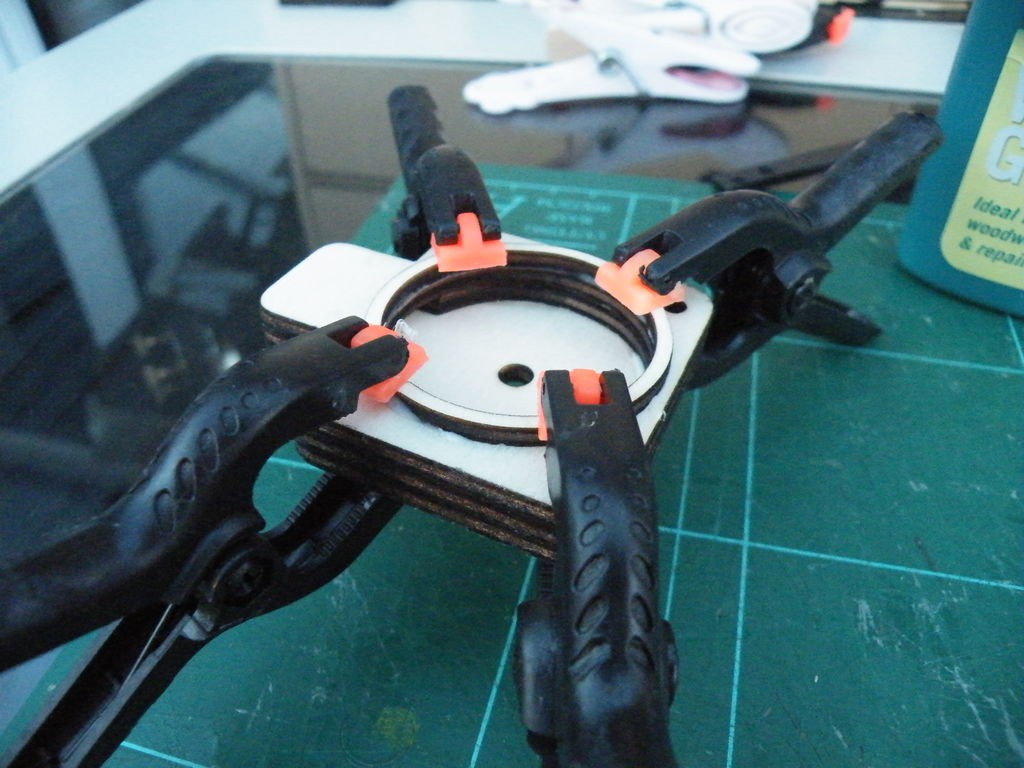
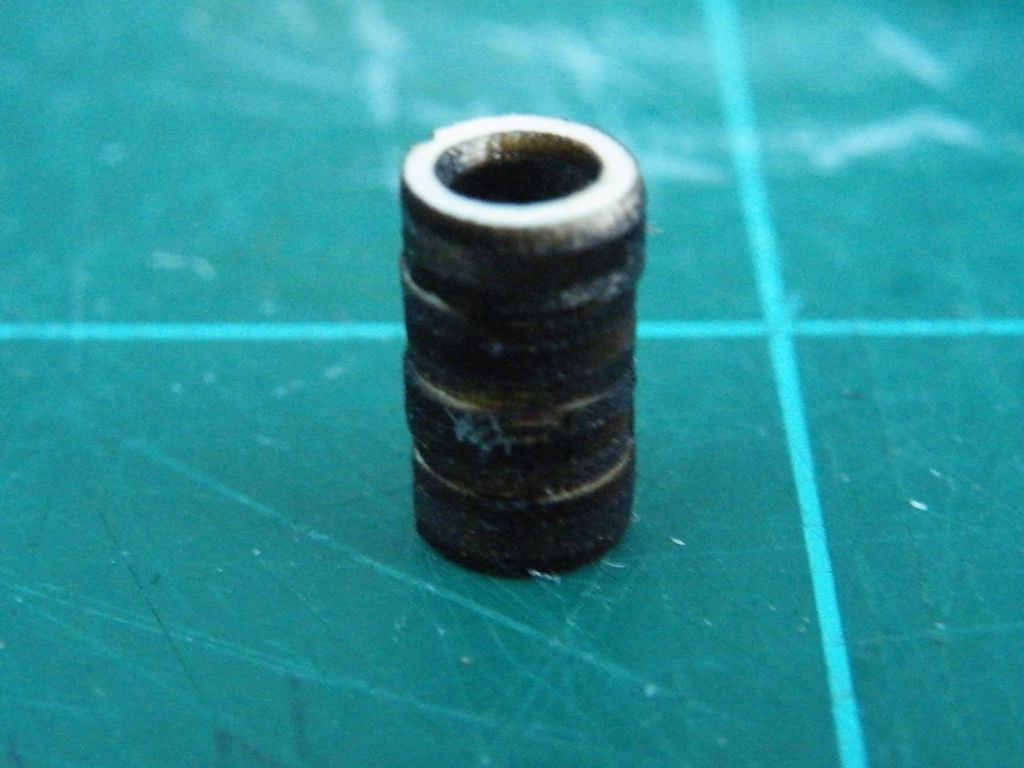
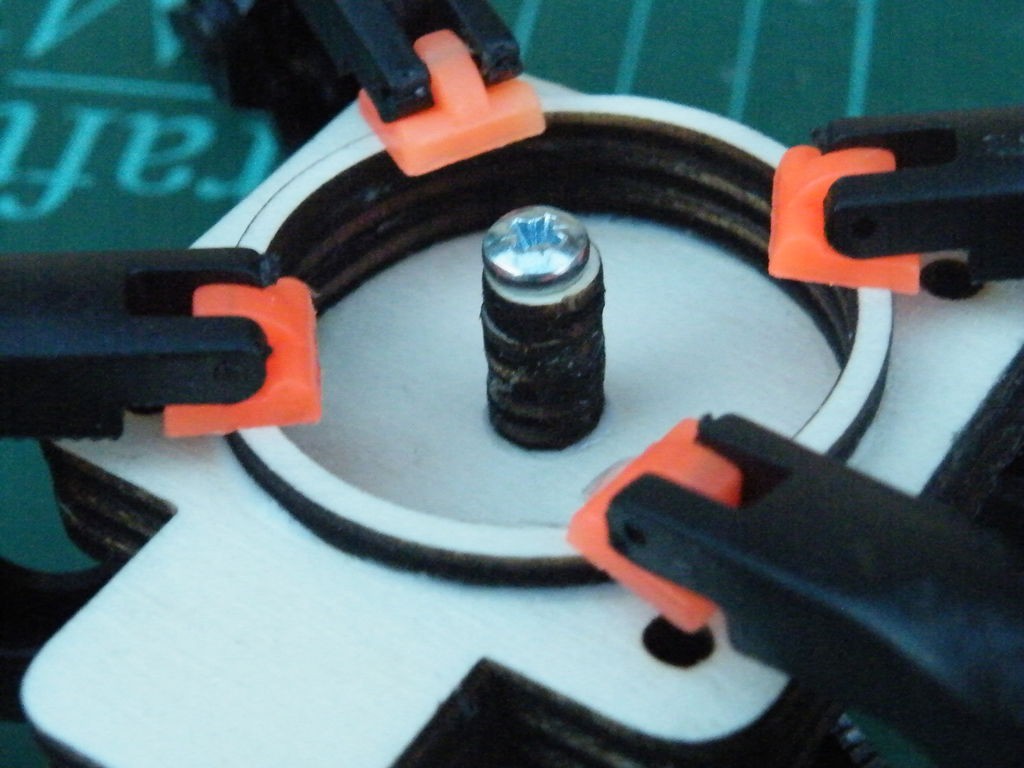
The file cuts two larger rings. One is a spare, the other needs to be glued & clamped to the bottom layer.
There are also a whole pile of smaller rings - you only need four, but cutting the spares doesn't create any extra waste.
Glue a stack of four together, then glue the stack over the hole in the bottom of the air-horn. The stack can be tricky to clamp, but you can put one of your bolts through the stack, and tighten the nut on the outside.
Give everything time to dry properly.
Step 5: Tweaking
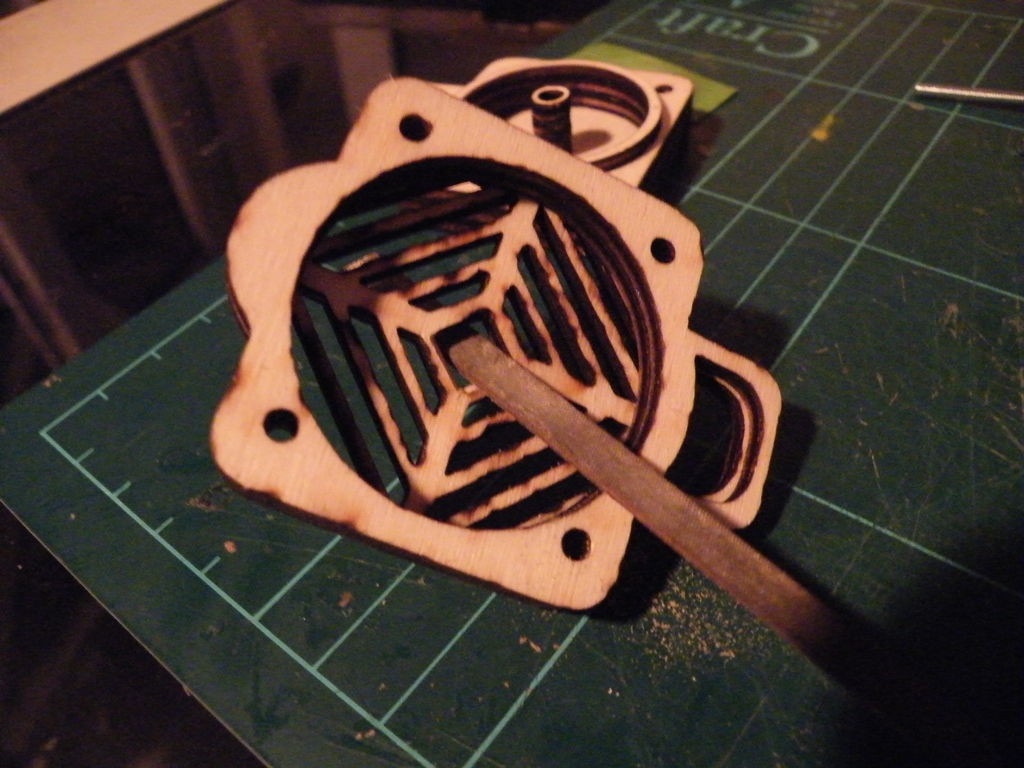
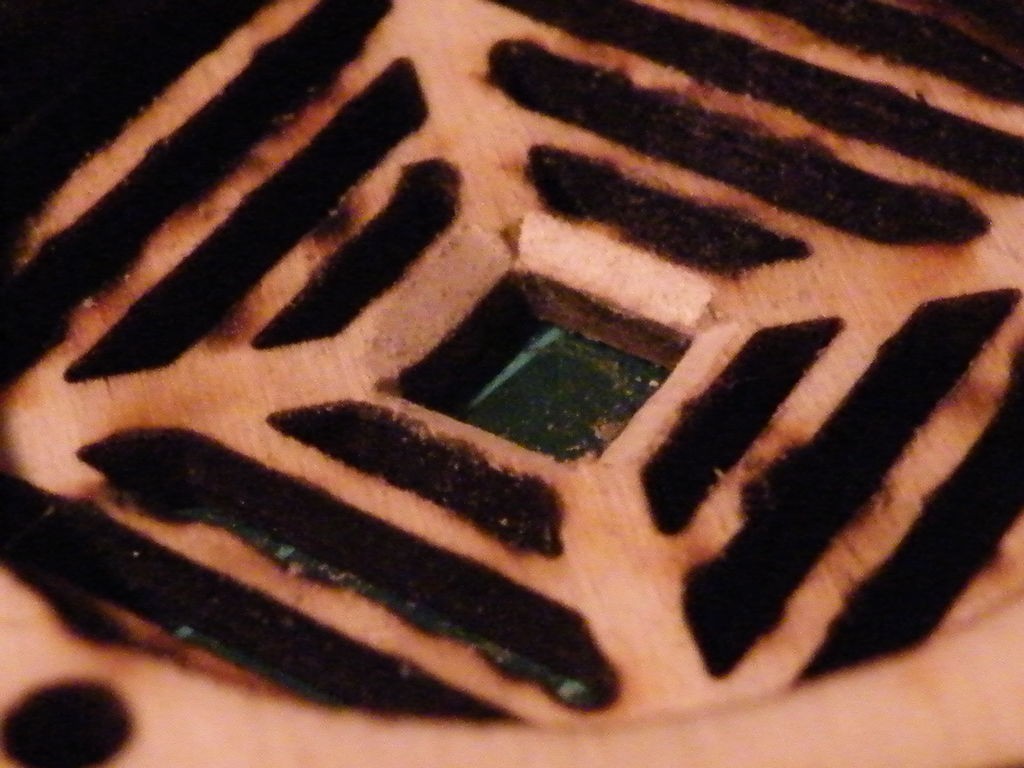
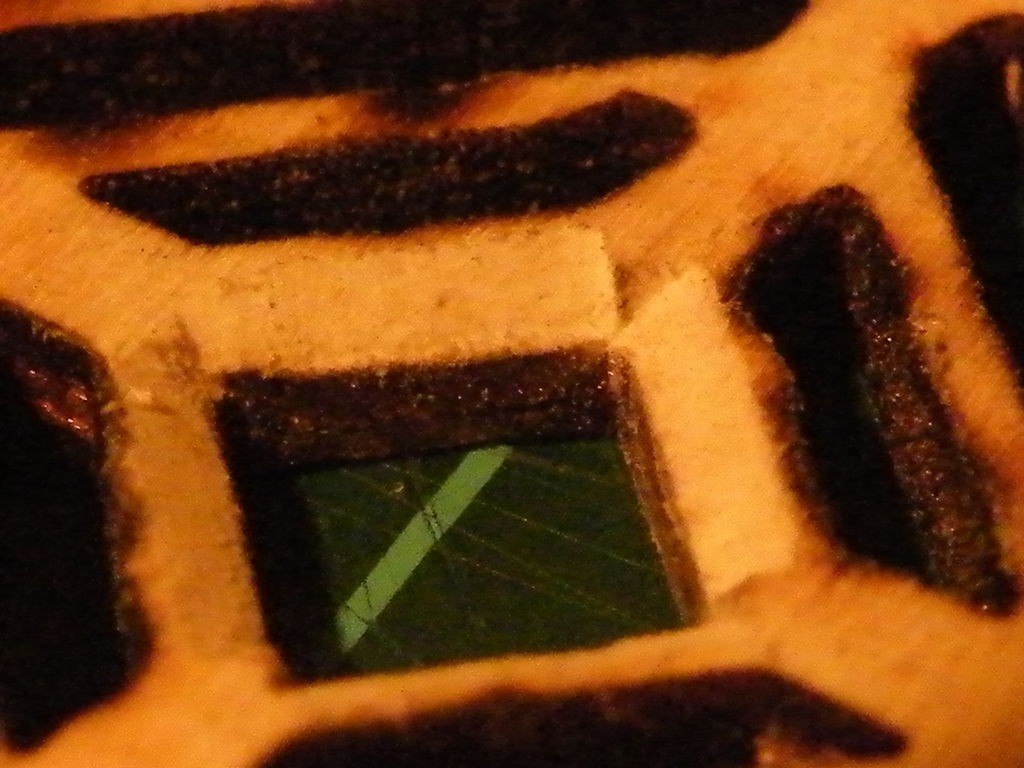
The prototype of the air horn had an exposed membrane, so I decided to add a protective grating.
I go the impression that there was a little interference between the membrane and the grating, so I used a flat "needle" file to chamfer off the inside of the central square of the grating, giving a little more freedom for the membrane to vibrate.
Depending on how much your membrane moves, or how thick it is, you may need to completely remove the middle square, or maybe even simply not bother with the grating.
Step 6: Adding the Membrane
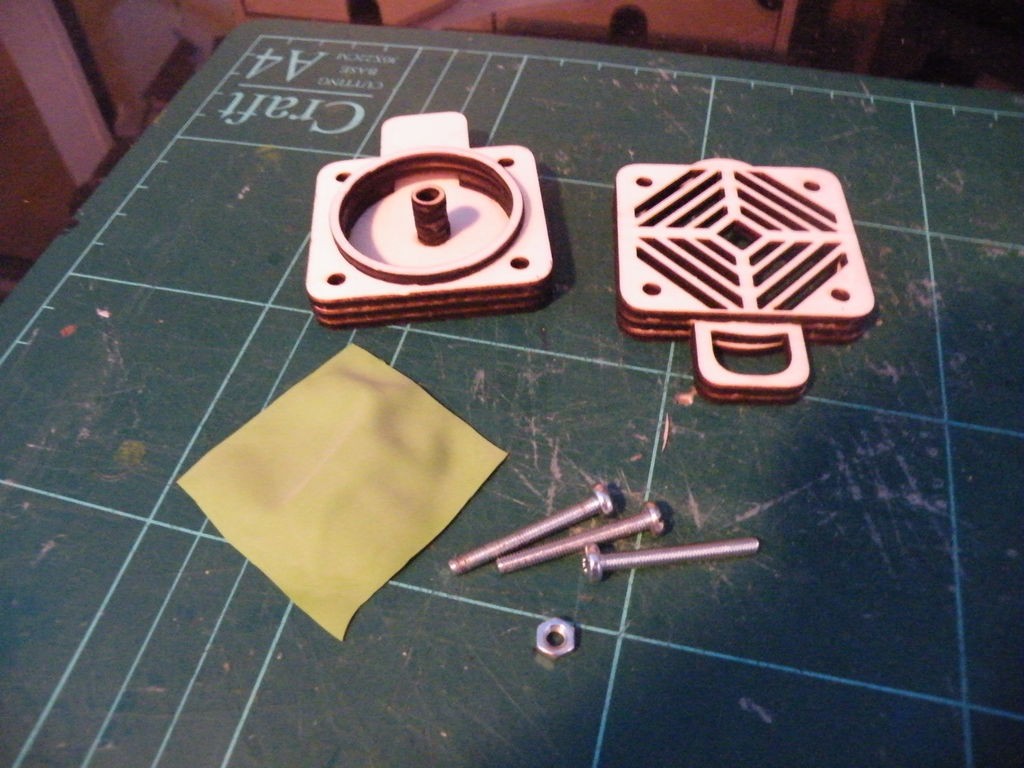
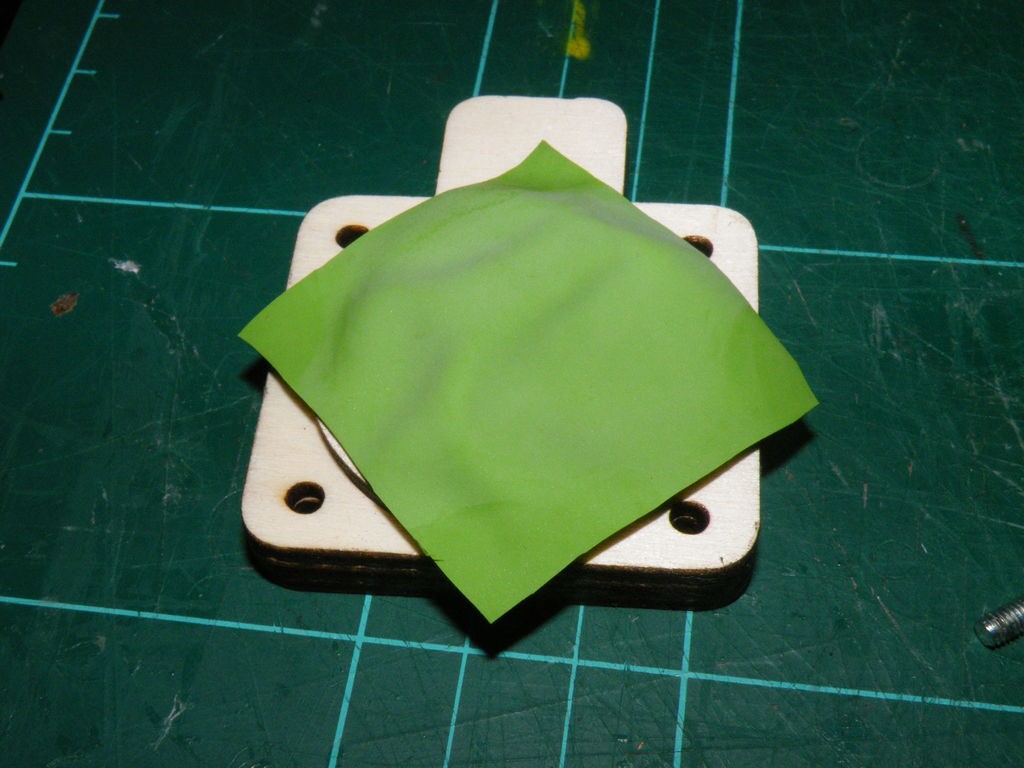
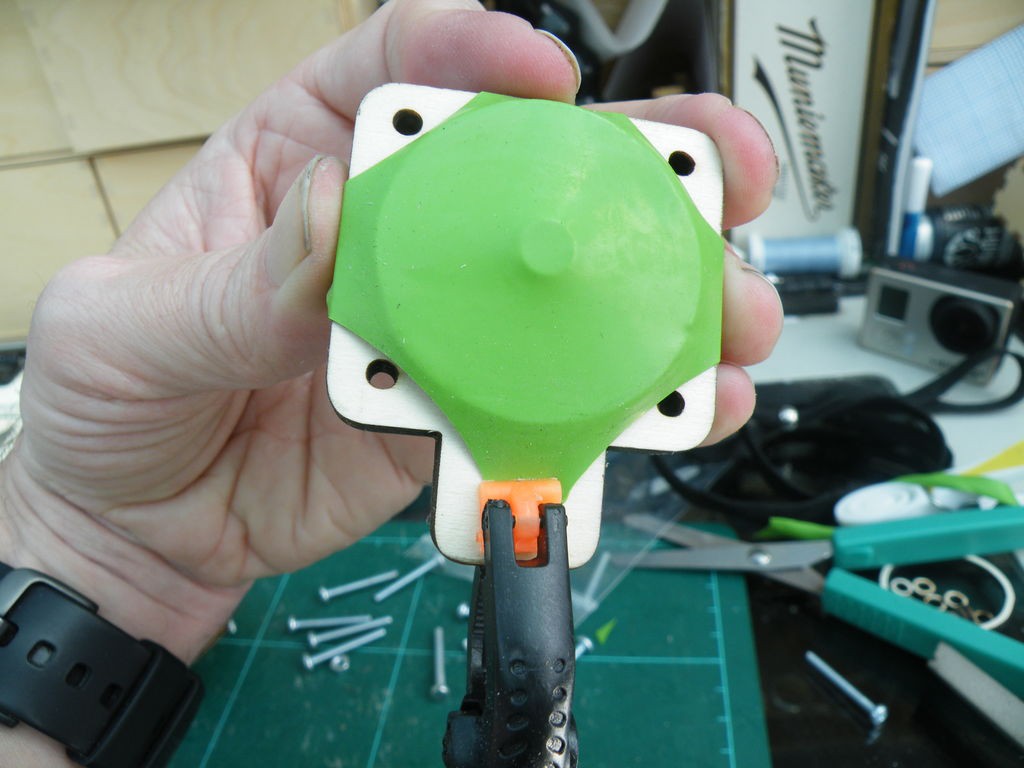
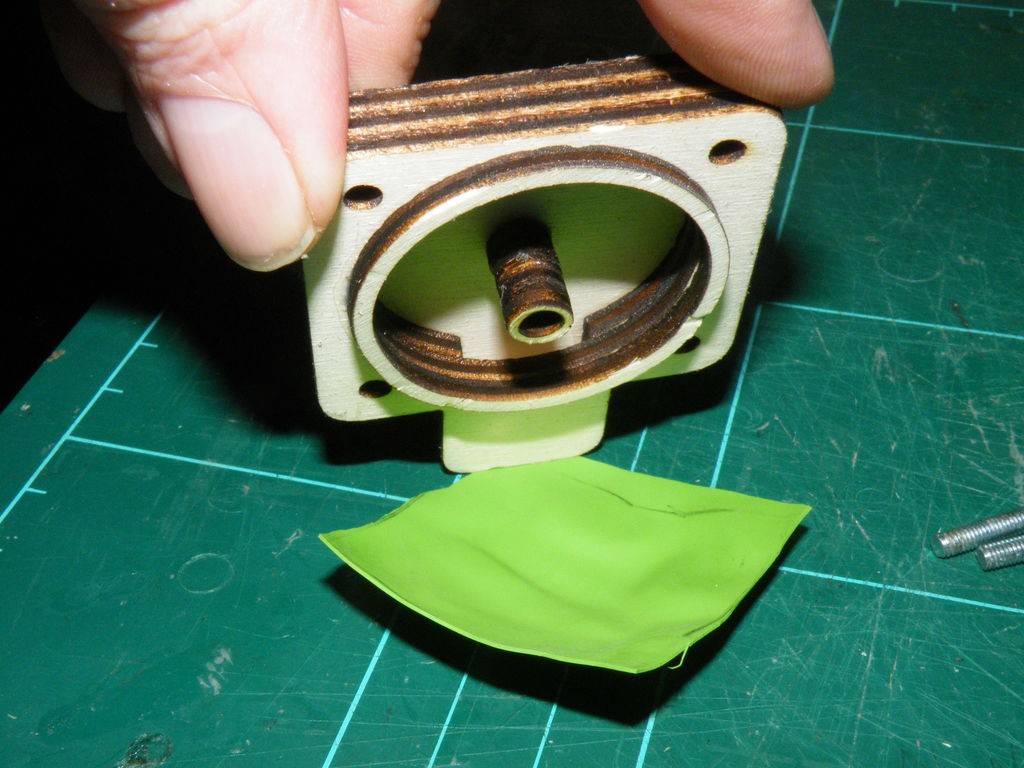
From your membrane material, cut a rough square.
The exact size depends on how stretchy the membrane is.
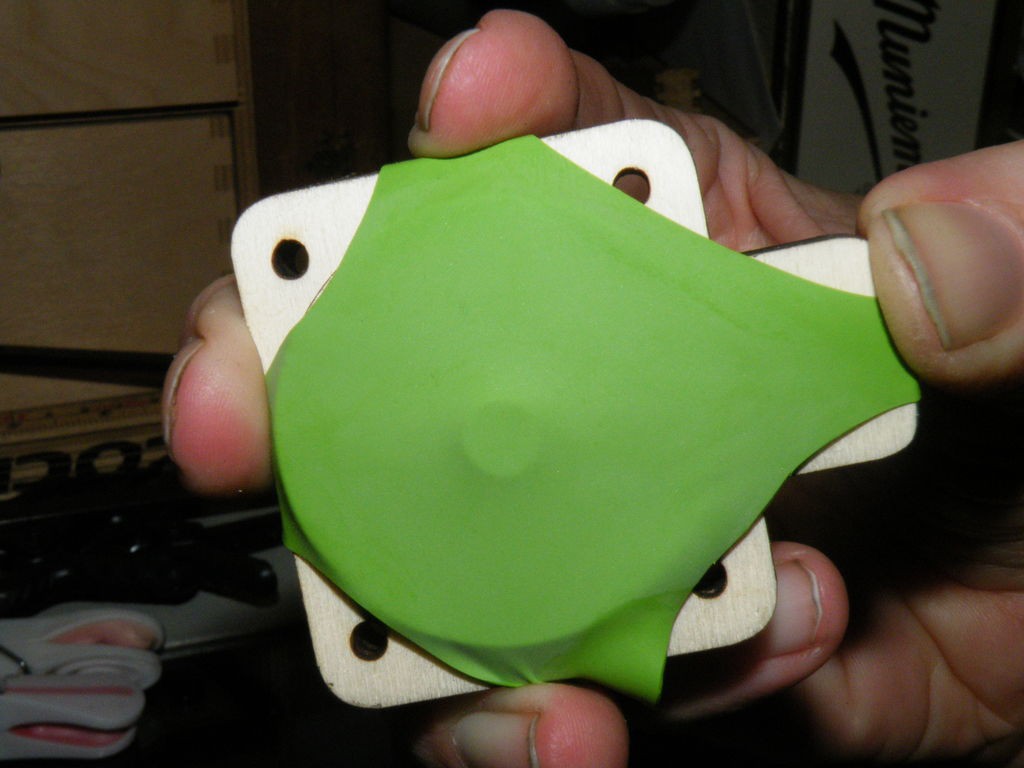
Turn the piece 45 degree to the horn, and stretch it to cover the raised ring of the bottom half of the horn, without covering the bolt-holes.
This is very fiddly until you get the hang of it, and will require patience, and possibly the help of a passing octopus.
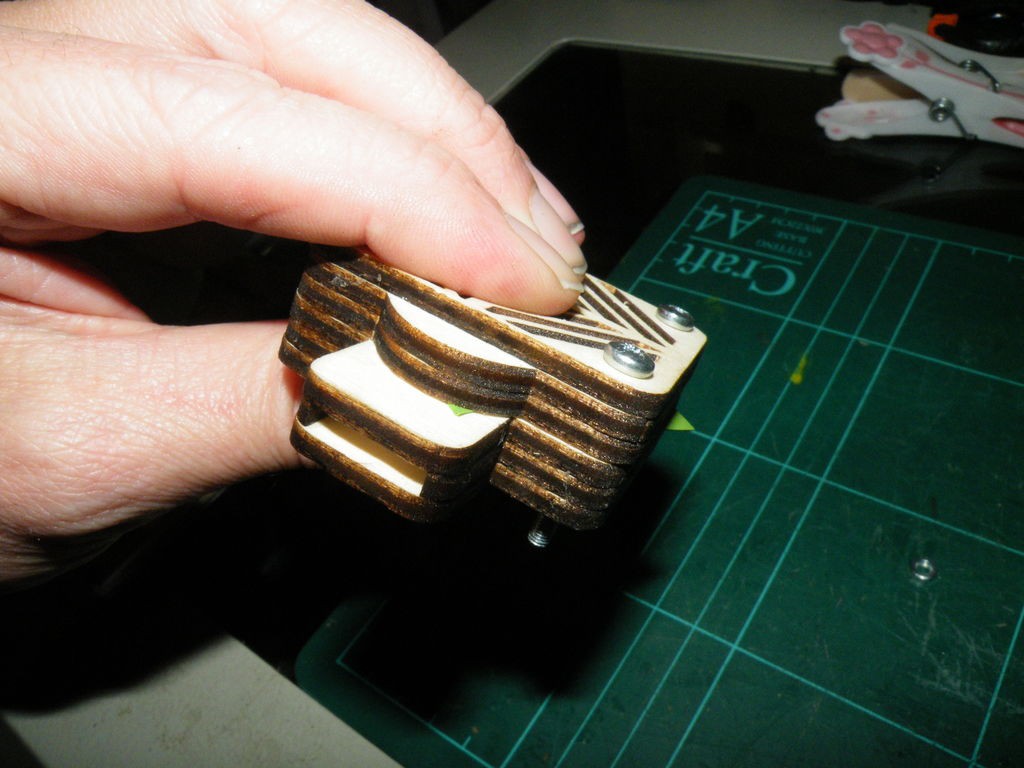
One trick that I found helped was to use a small clamp to hold one corner of the membrane, or you could trap a corner of the membrane under the mouthpiece of the air horn.
When you have got it stretched, quickly press the top half of the air horn into place.
This will trap the membrane, and allow you to test the horn for the first time.
Step 7: Trouble-shooting
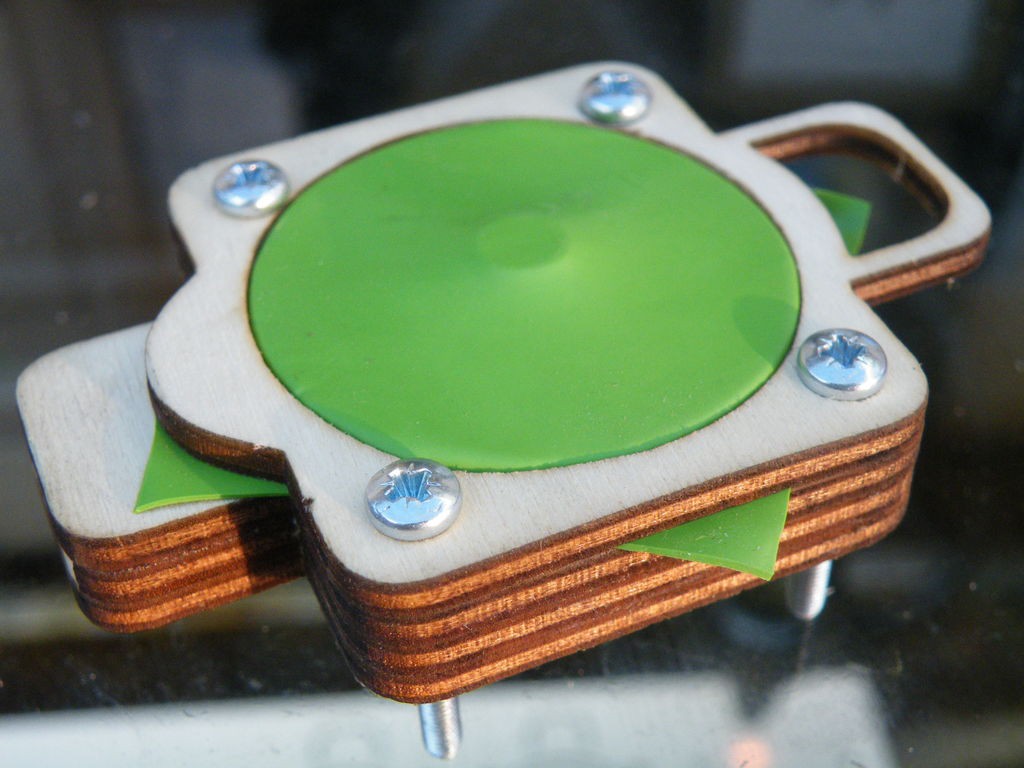
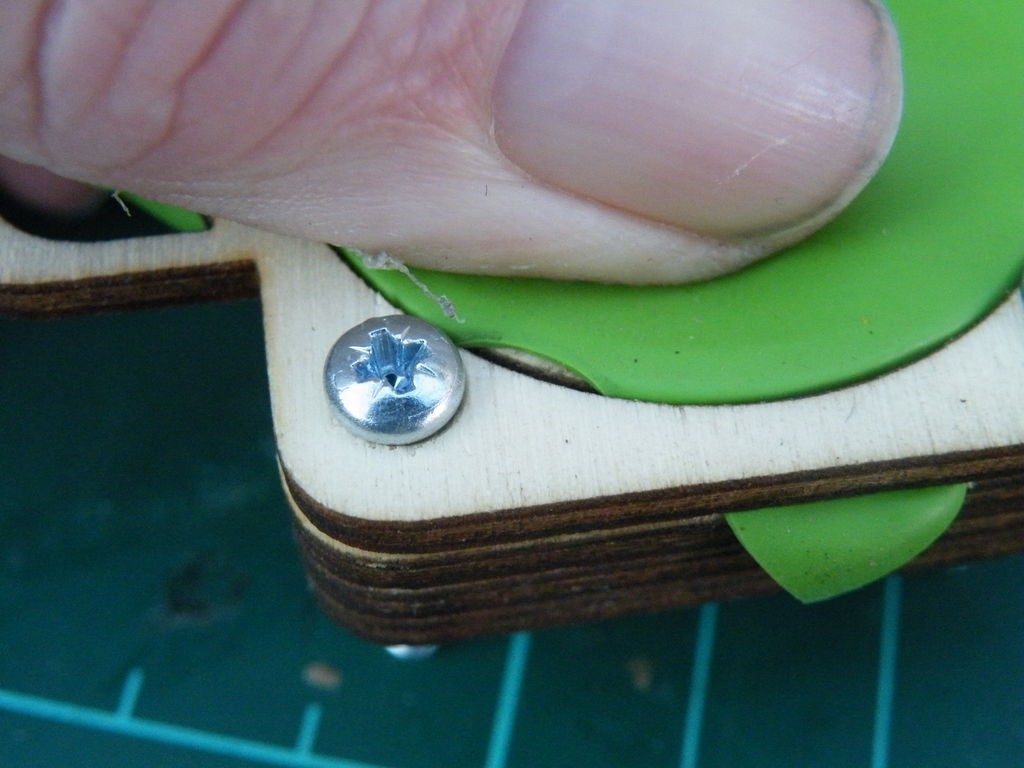
If you blow the horn, and all you get for your trouble is a hiss of air, either your membrane is too loose, or you did not get it over-lapping the raised ring all the way round.
The photos on this step are of various stages of prototyping.
The first shows how tight the membrane needs to be - it must press firmly to make a complete seal around the central tube when you are not blowing.
The second photo shows an example of a poor overlap - the horn still made a reasonably decent noise, but pressing my finger on this small gap improved it immensely. If you are using the protective grid, you won't be able to cover gaps with your fingers.
Whichever the reason for the hissing, the solution is to open up the horn and have another go at stretching the membrane into place.
-----------------------
If you blow, but you get a squeak or small duck-quack, followed by the hiss, then you are blowing too hard -moderate your huffing to find the right balance.
Step 8: Bolts
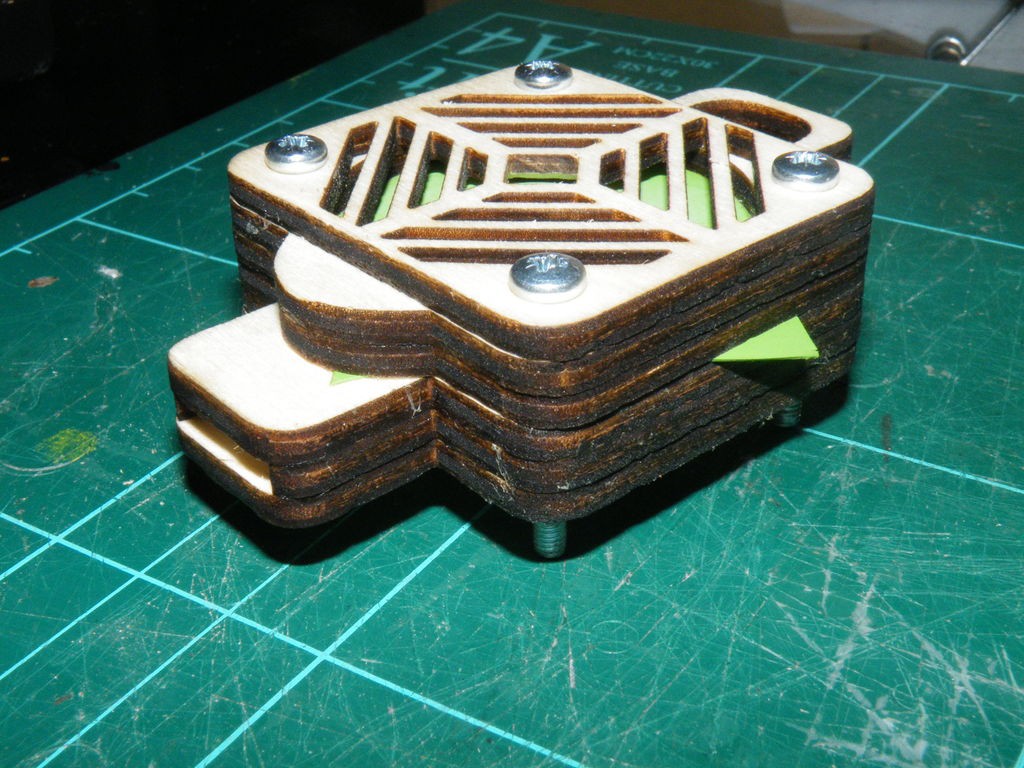
Once you are happy with the membrane, slip the bolts into place, and tighten the nuts.
The holes in the design are just right for M3 bolts - oozings of glue into the holes, or tiny misalignments, might force you to screw the bolts through to the other side.
Tighten the nuts as much as you can with your finger tips, then finish them off with a couple of turns of the appropriate spanner or screwdriver (depending on your bolt head design).
You are clamping the membrane in place, but don't tighten the nuts so tight that they crack or split your materials.
Step 9: Playing
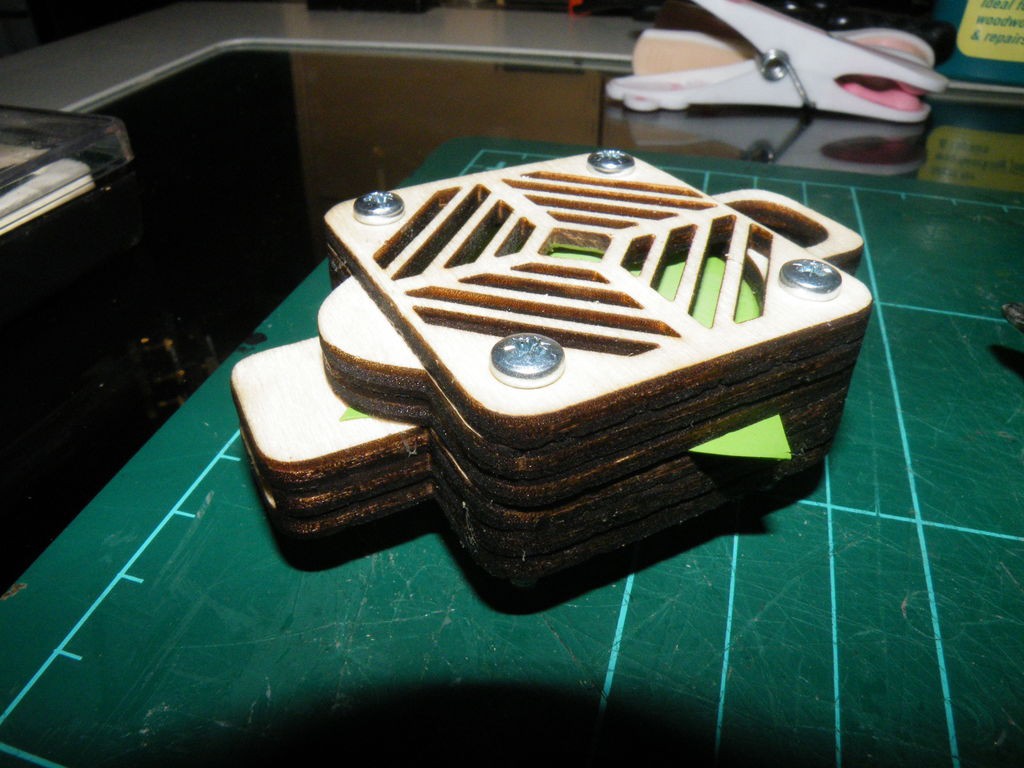
All that's left to do is play it!
It would be very cool to see (hear!) your horns - post photos and videos in the comments.
Step 10: How It Works
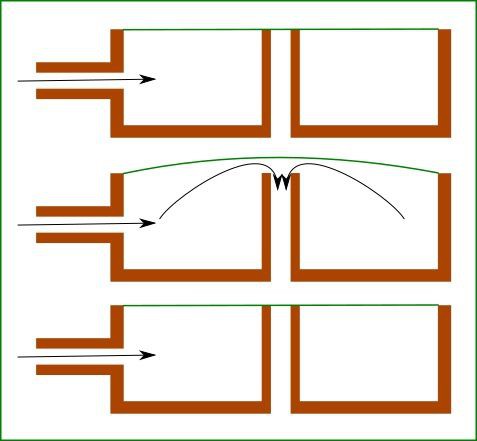
You can use the air-horn mechanism in a bunch of ways, you don't have to stick with a laser-cut device, or even with a "manually" blown air supply.
All you need is a flexible membrane that blocks the exit from a chamber that you are blowing air into.
As you blow, pressure builds up until the membrane lifts off the exit.
As soon as it lifts, the pressurised air escapes and the membrane drops.
This repeats rapidly as you blow, and the membrane vibrates, causing the noise you hear.
Step 11: An Update!
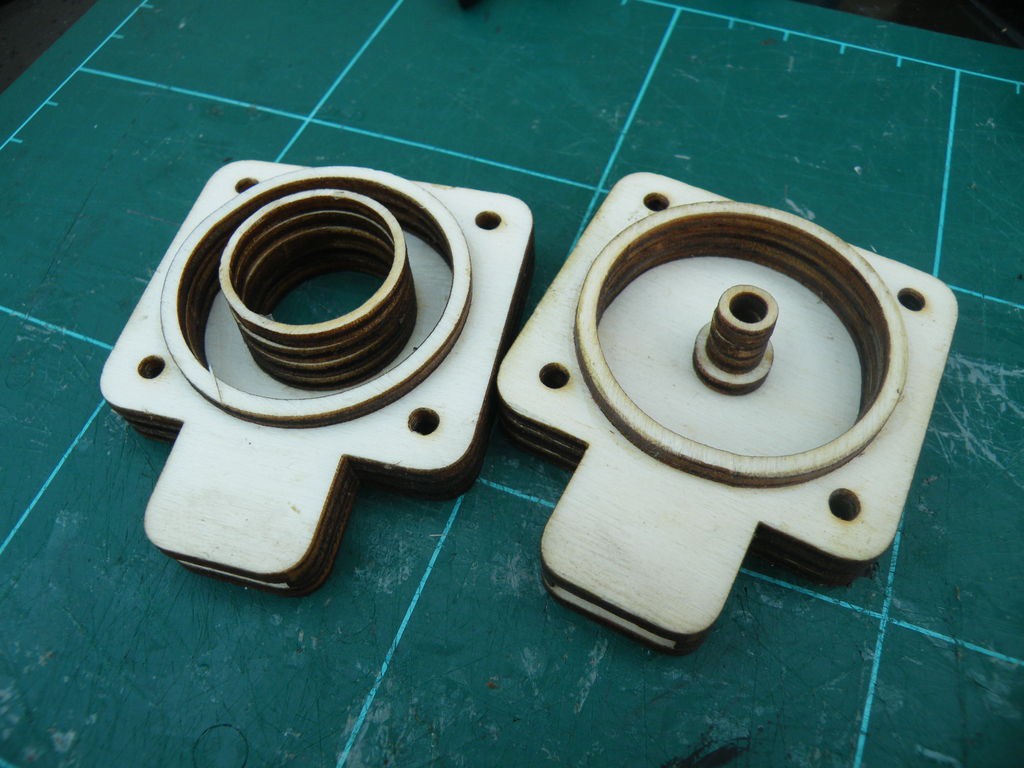
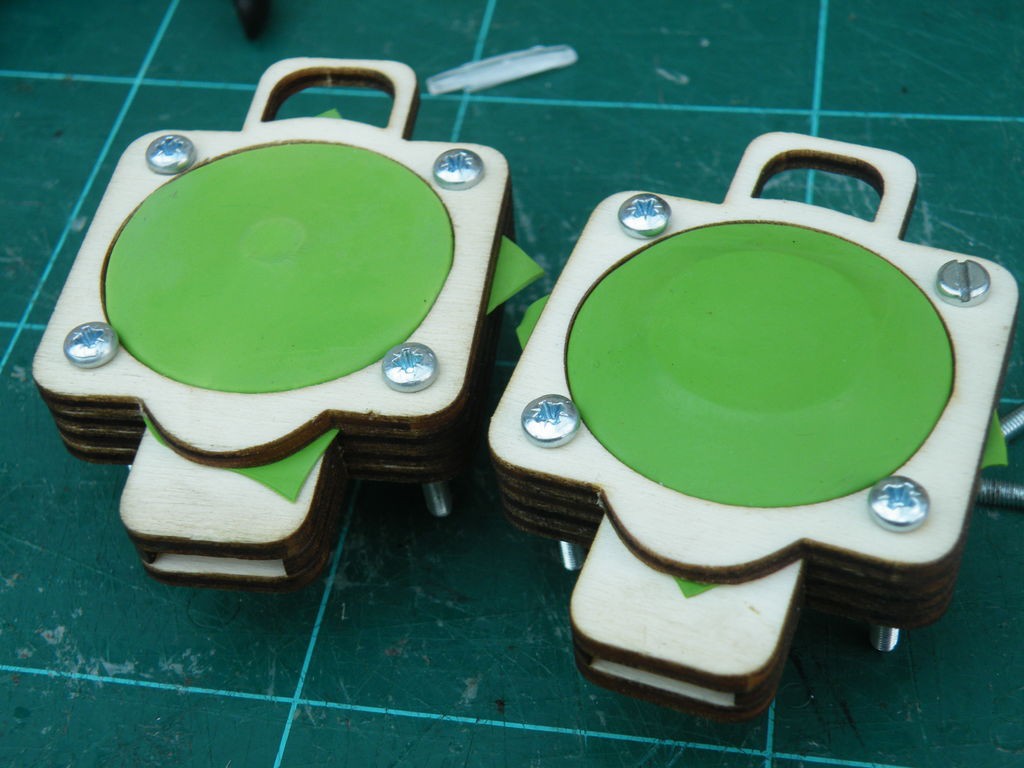
Martin strikes again!
After seeing I had published this, msraynsford pointed out that his version had a larger hole. I'm pretty sure he was giving feedback, rather than bragging...
To be honest, the size of my first laser-cut version was entirely because my original version was based on a straw, but, what the heck, I thought I'd give it a go. I increased the diameter of the hole from just over 3mm to 20mm;
In the video, both versions sound very similar in volume, but I suspect that is entirely due to the limitations of the microphone on a camera that is supposed to be for taking still images. To my ears, the modified version is not just more annoying, it is significantly louder and more piercing. The quality of the sound on the newer version also seems to be much more sensitive to the tension of the membrane - pull it too tight, you'll have to blow ear-poppingly hard, only to get a noise like you kicked an injured bagpipe.
The files on this step don't have the fancy grid over the top, but you can easily add them if you want. If you stick with the thinner version, you'll only need 15mm bolts.
Download AirHornBigHole.pdf
Download AirHornBigHole.ecp
Download AirHornBigHole.dxf
Download AirHornBigHole.svg
 Mark Langford