Close
0%
0%

Compost Shredder Upgrade

Motorizing and increasing the capacity of a 3D-printed compost shredder

Similar projects worth following
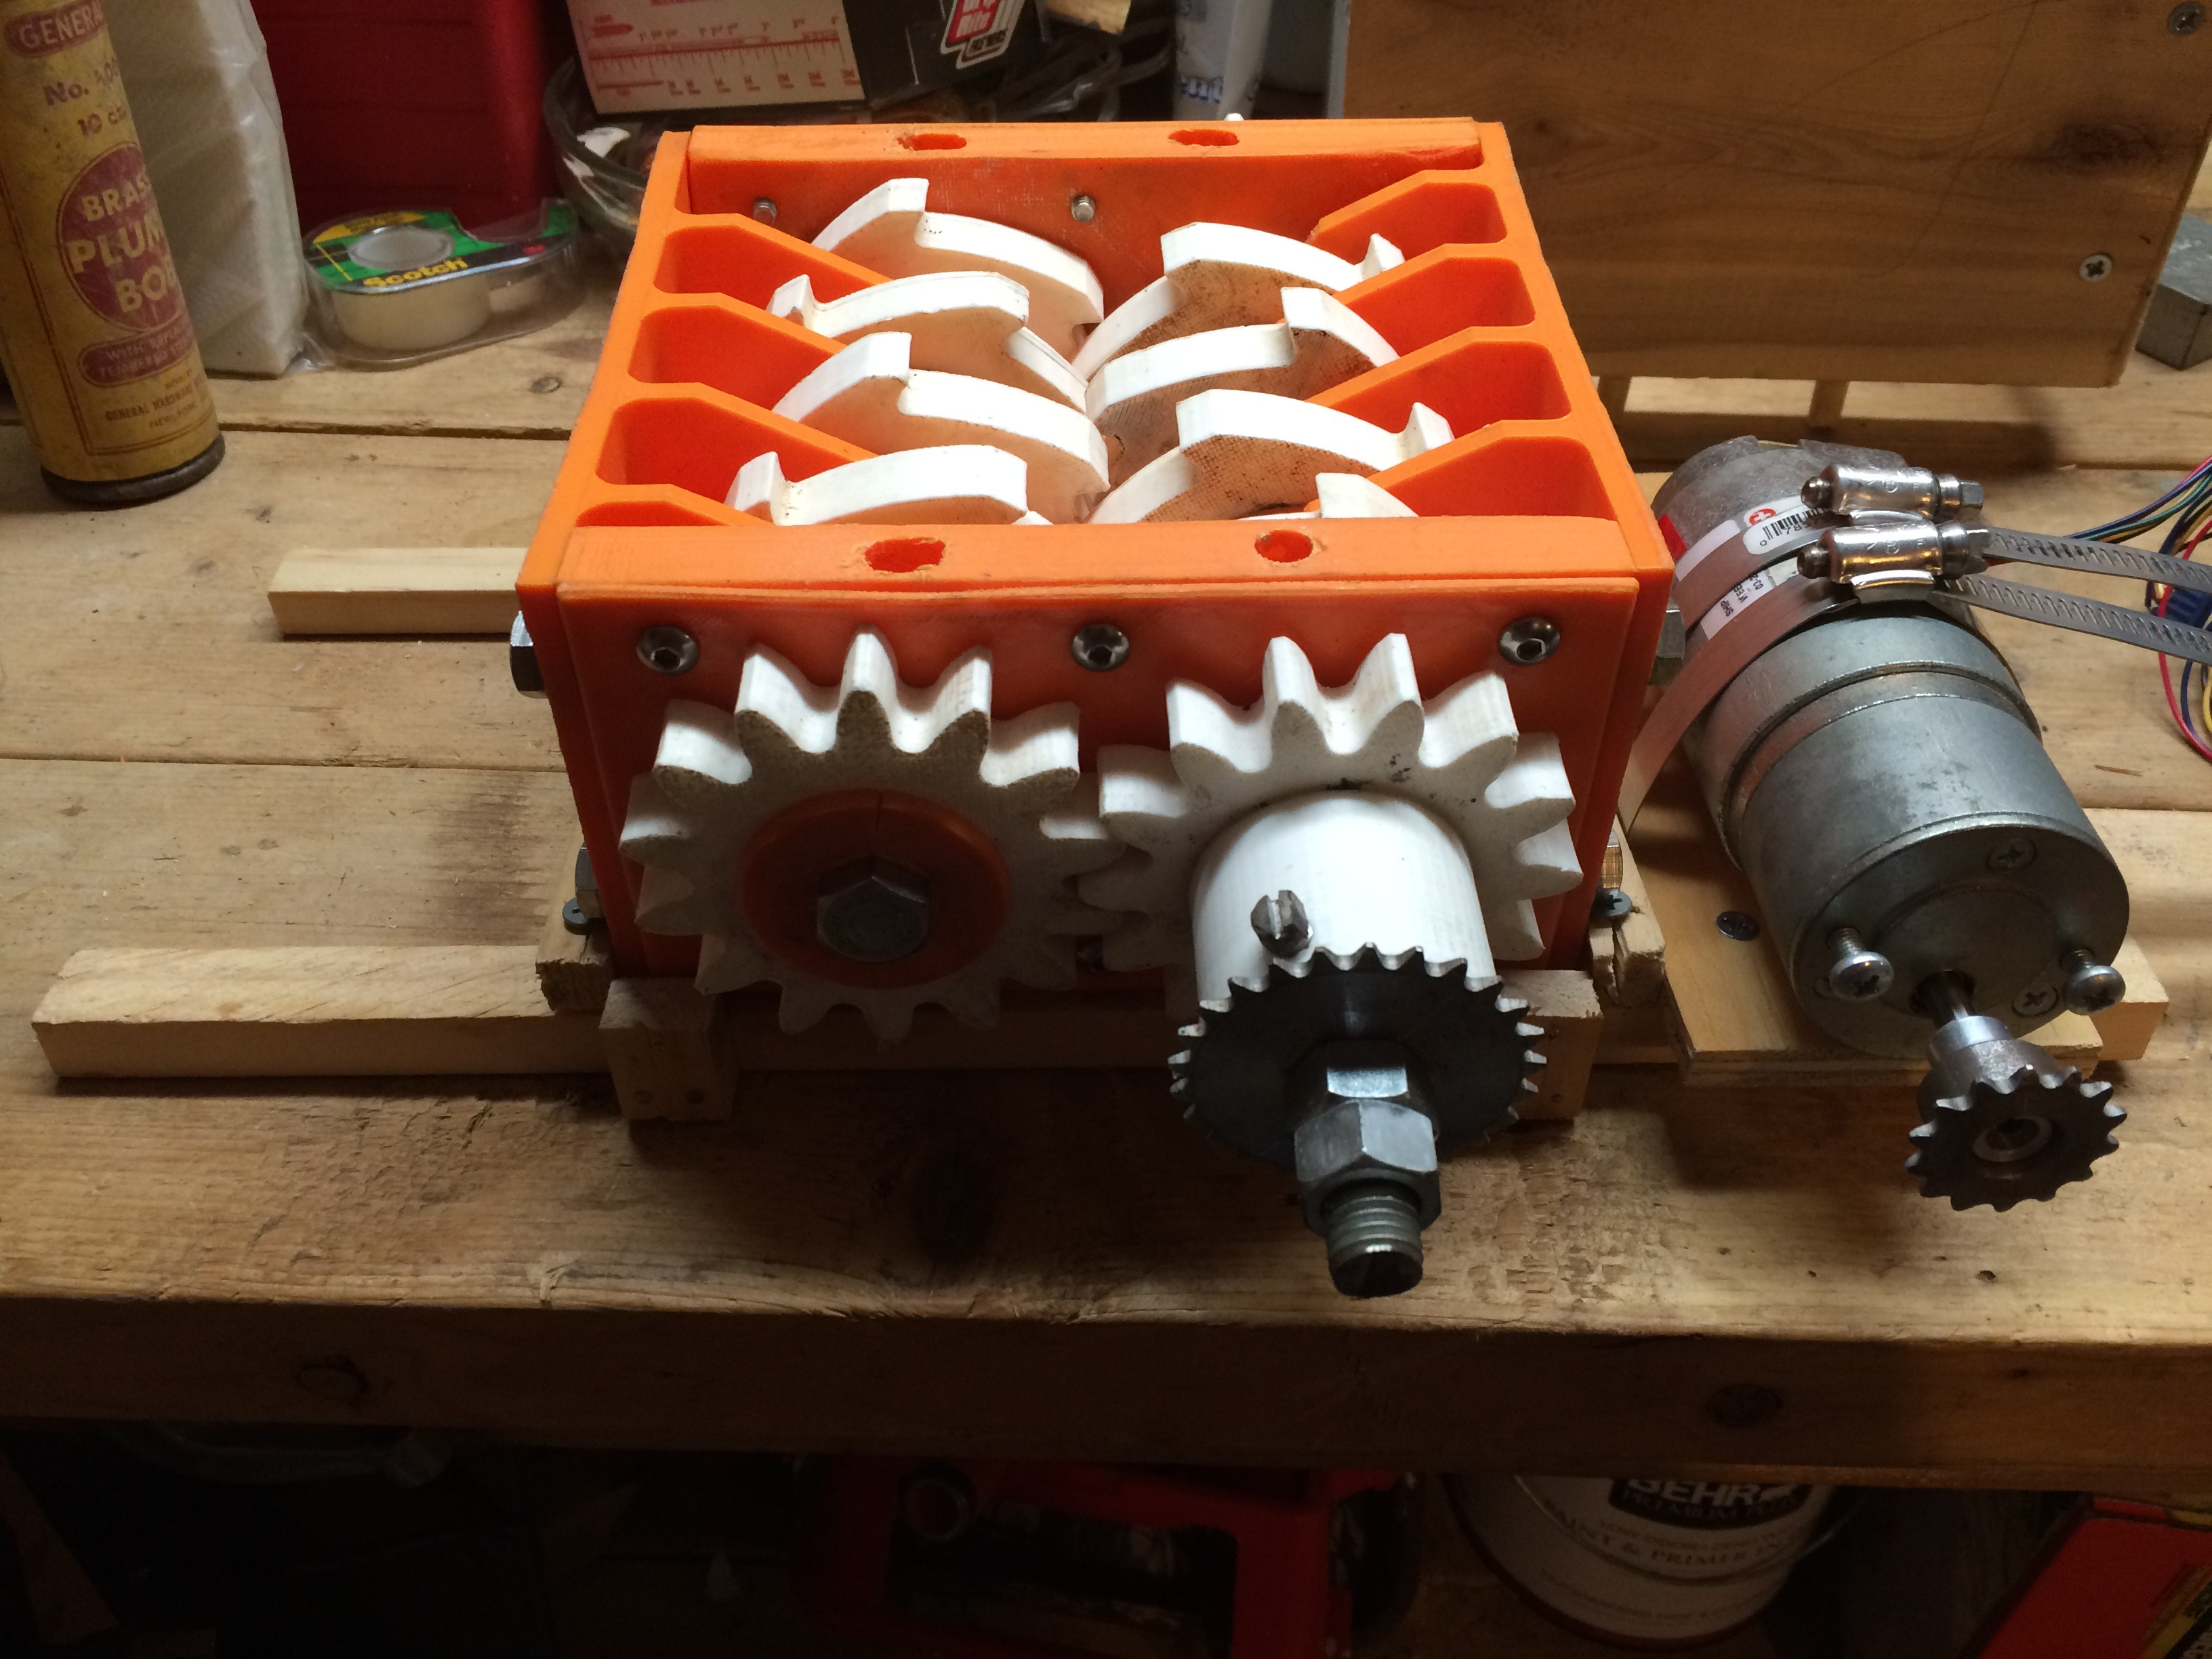
About a year ago, I finished printing and assembling a compost shredder designed by Thymark over on thingiverse. It's served me well since then, but the time has come to give it some much-needed upgrades. This project will document my progress, and provide access to the plans and part files I create during the process. This machine will become a part of a larger automated composting system that I'm working on.

Abstract:

While traditional composting is undoubtedly a highly effective way to recycle nutrients into a garden, several factors limit its usefulness in some situations. Primarily, those are the high volume of food waste that goes into a pile, the space require to contain such a volume, and the relatively long breakdown time of large pieces of food. A compost shredder addresses these issues, since smaller food scraps allow you to compost higher quantities in a smaller area. The higher surface area of shredded waste also improves contact with soil microbes and accelerates the composting process.

Overview:

My shredder is more or less bare bones. It did not come with a handle at the time, and there was no lip around the top to prevent food from spilling over the sides. Additionally, a family of four produces a lot of compost, and using the shredder has become a frustrating time-sink. A stop at my local makerspace hooked me up with some components for automating the system.

  • 1 × 3D printed Compost Shredder Full BOM and .stl file kit availabe here: http://www.thingiverse.com/thing:356580
  • 1 × 1/2 inch threaded lag bolt Although any 1/2 inch rod will do.
  • 2 × 1/2 inch nuts locking nut
  • 1 × 24v DC motor with 65.5:1 gearbox and 500 CPR encoder.
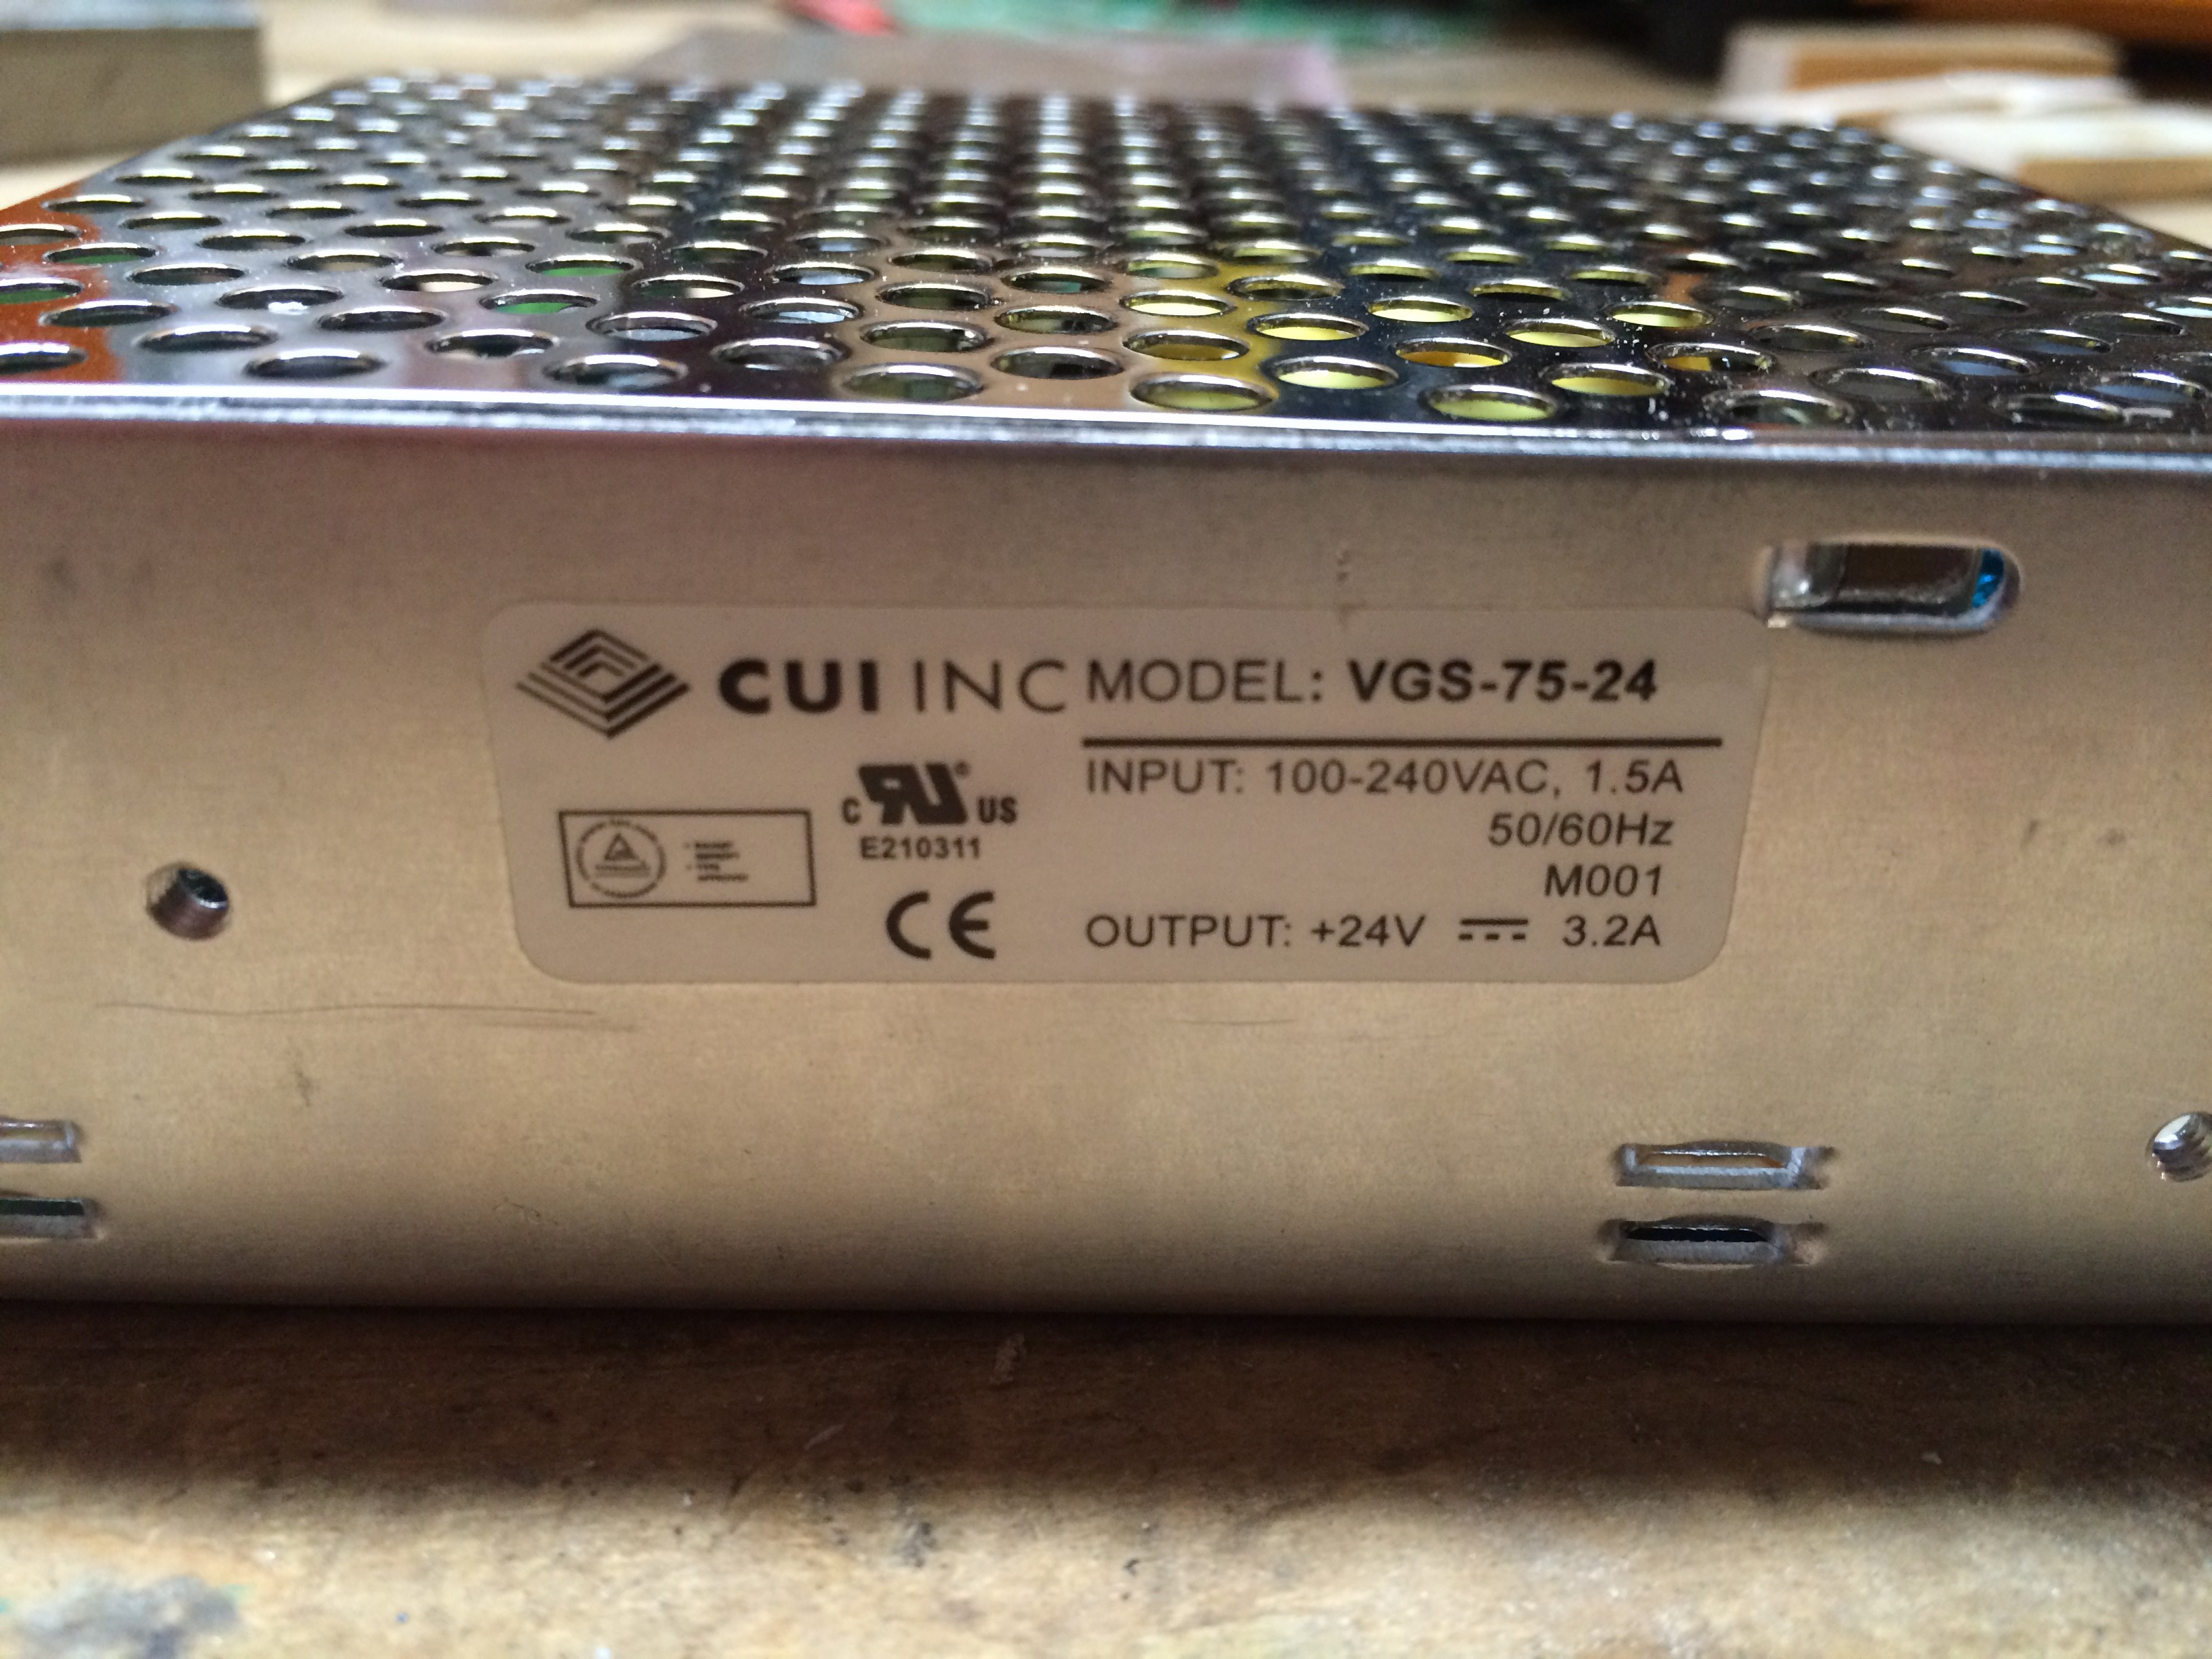
  • 1 × 24v PSU

View all 9 components

  • It's Alive!!

    Will F.11/02/2015 at 02:02 0 comments

    Well, I sprinted through the week and got the shredder working!

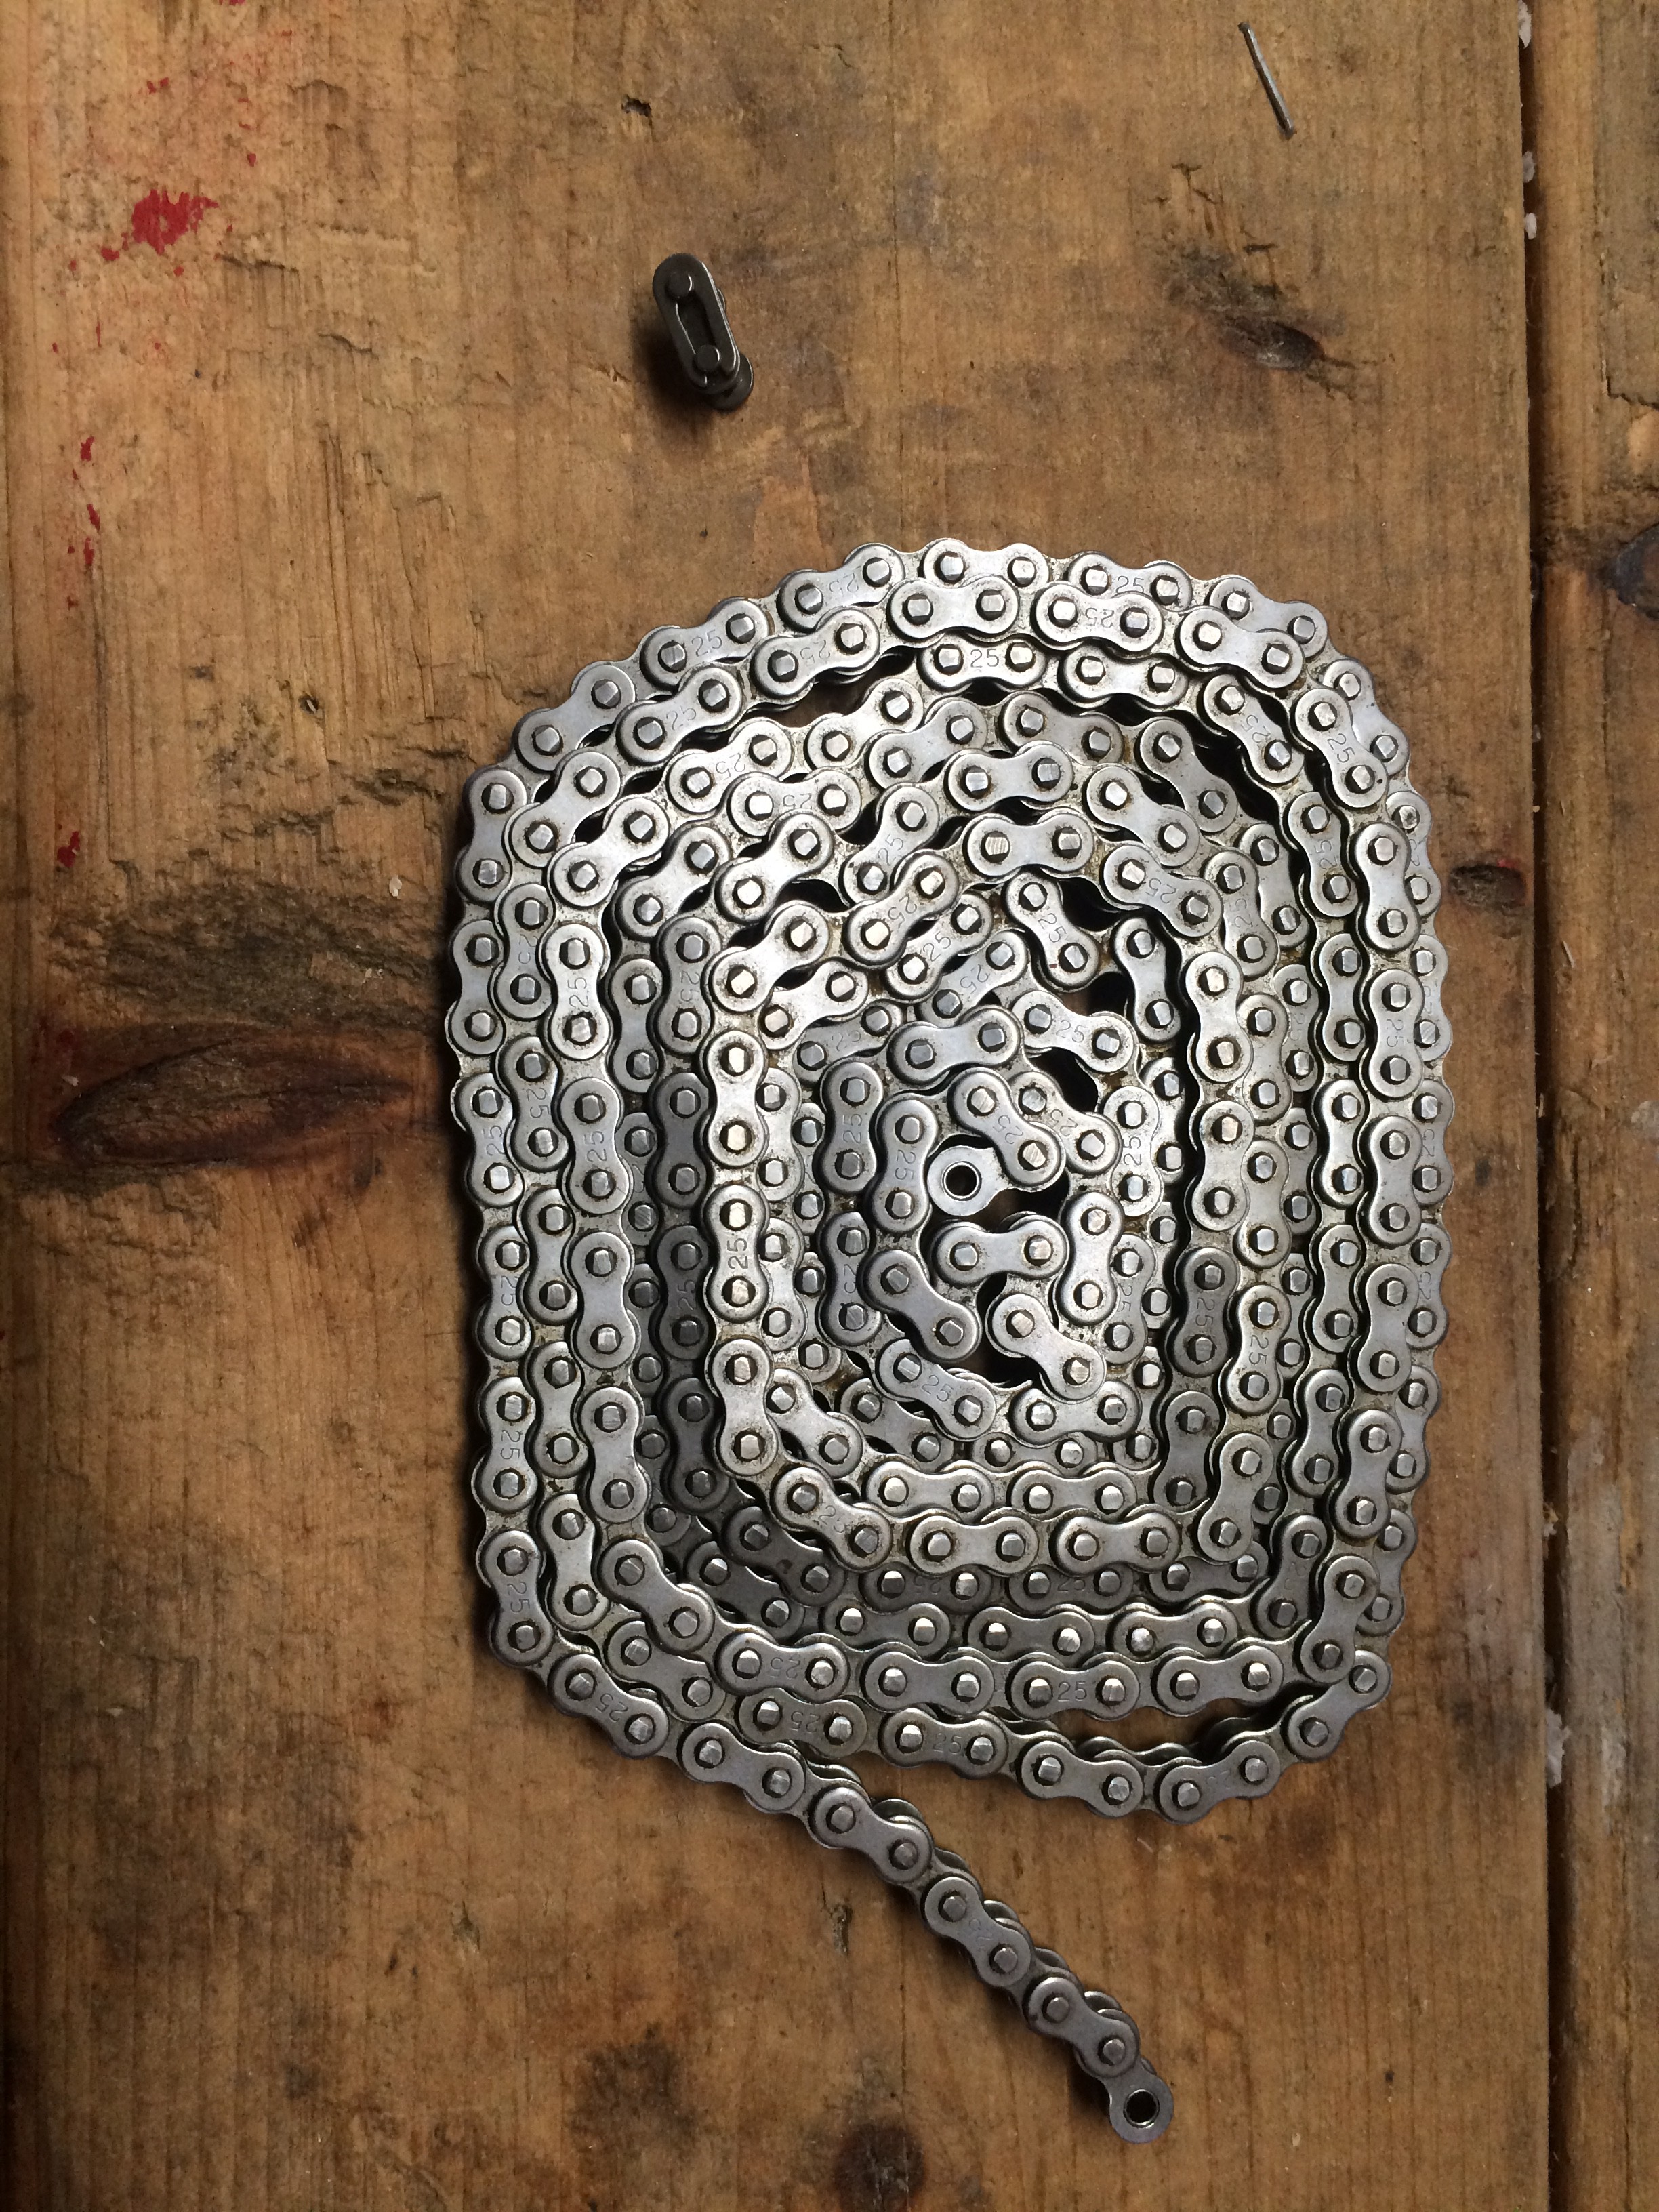
    Found the master link I needed to close the chain.

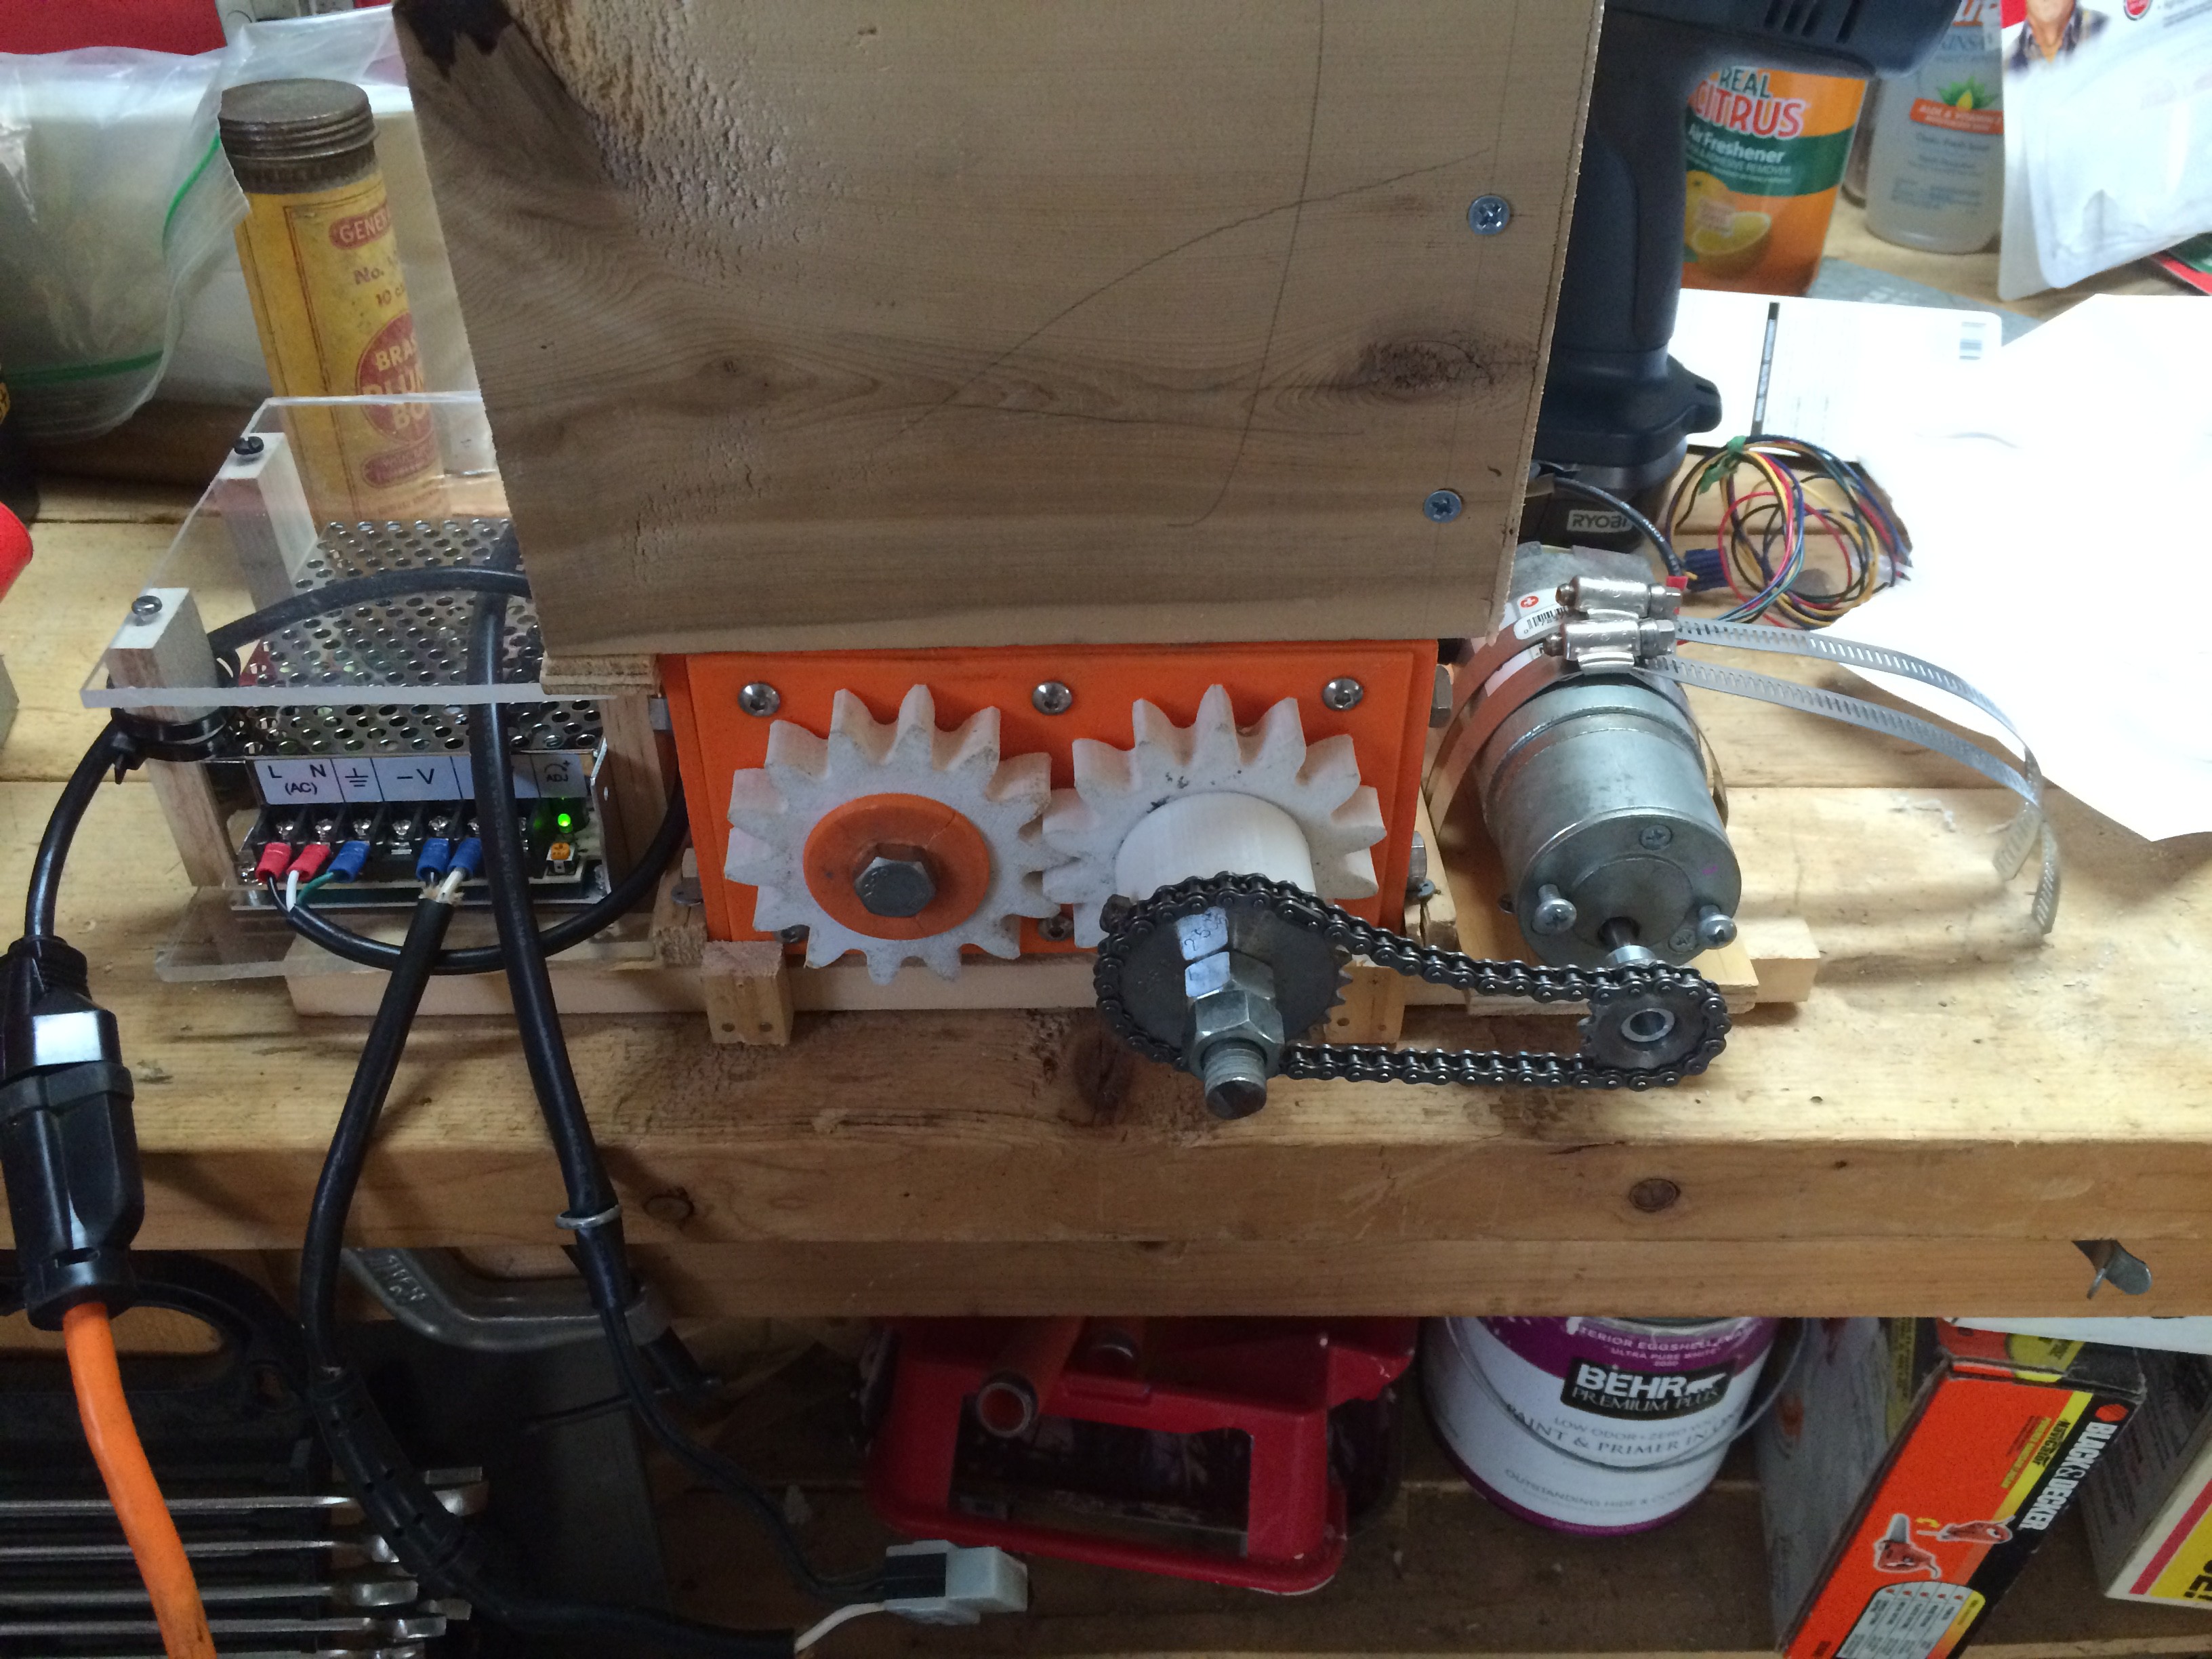
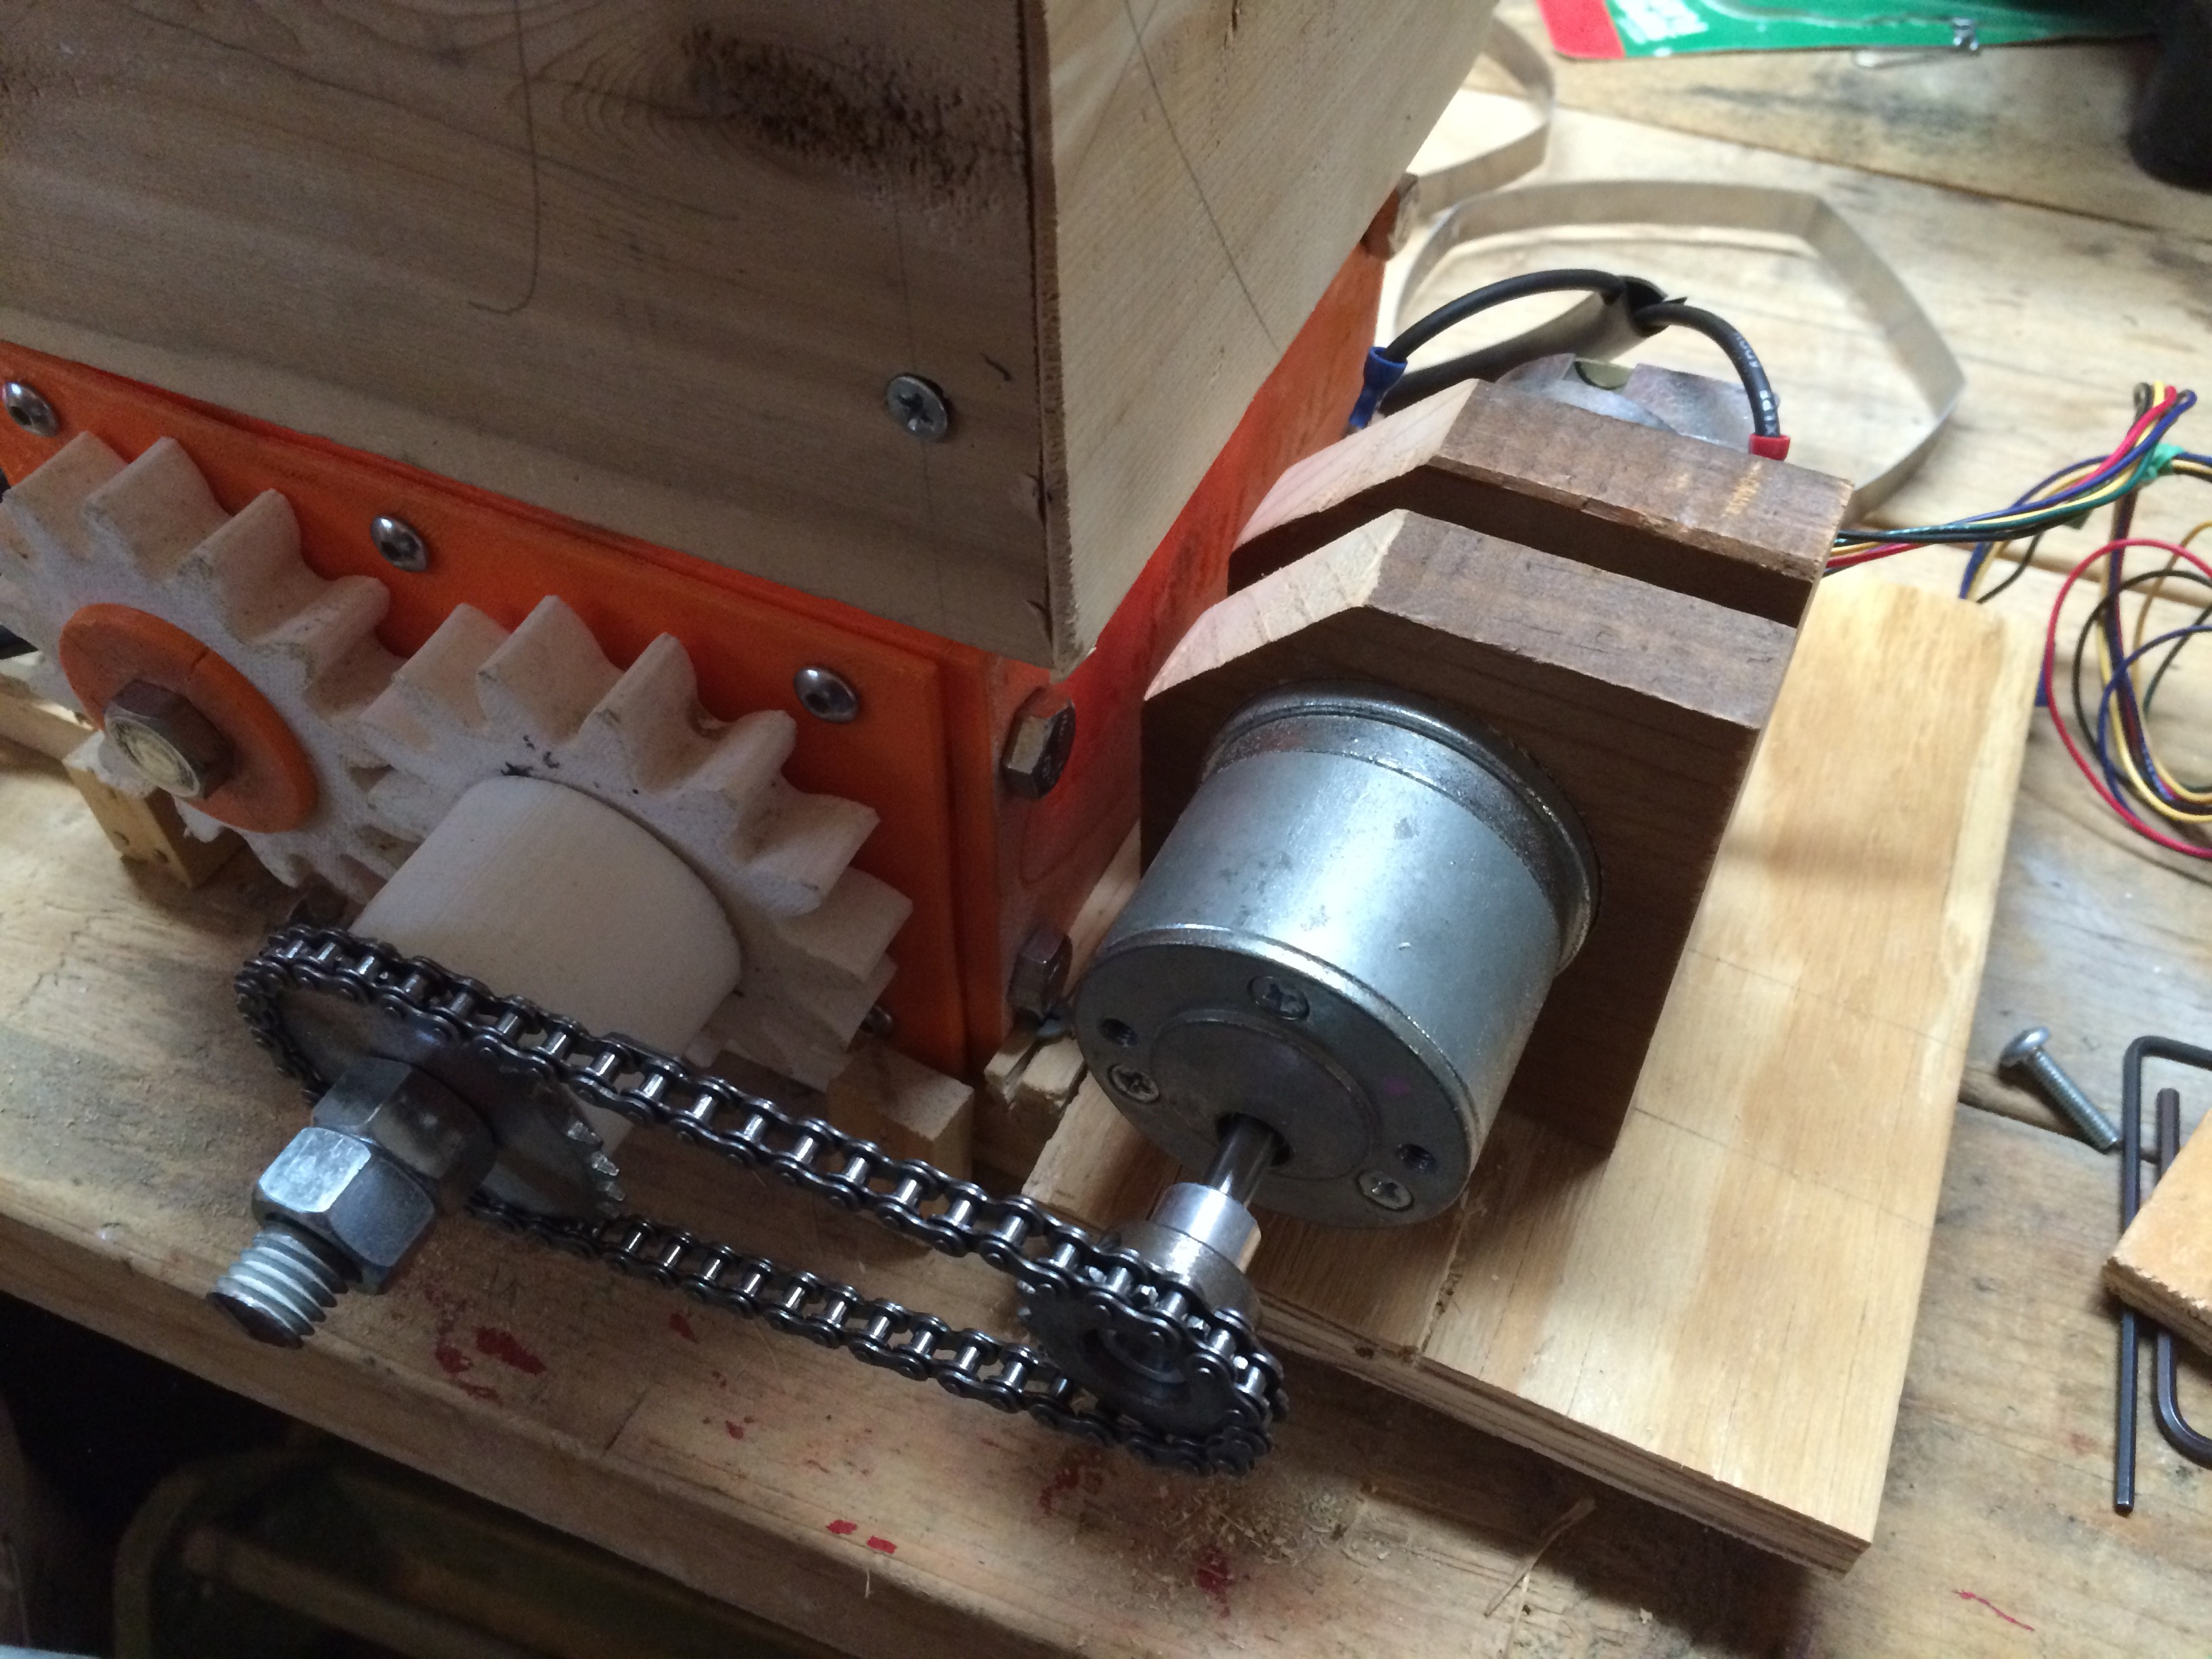
    split the chain to the length I needed, and hooked it up to the sprockets.

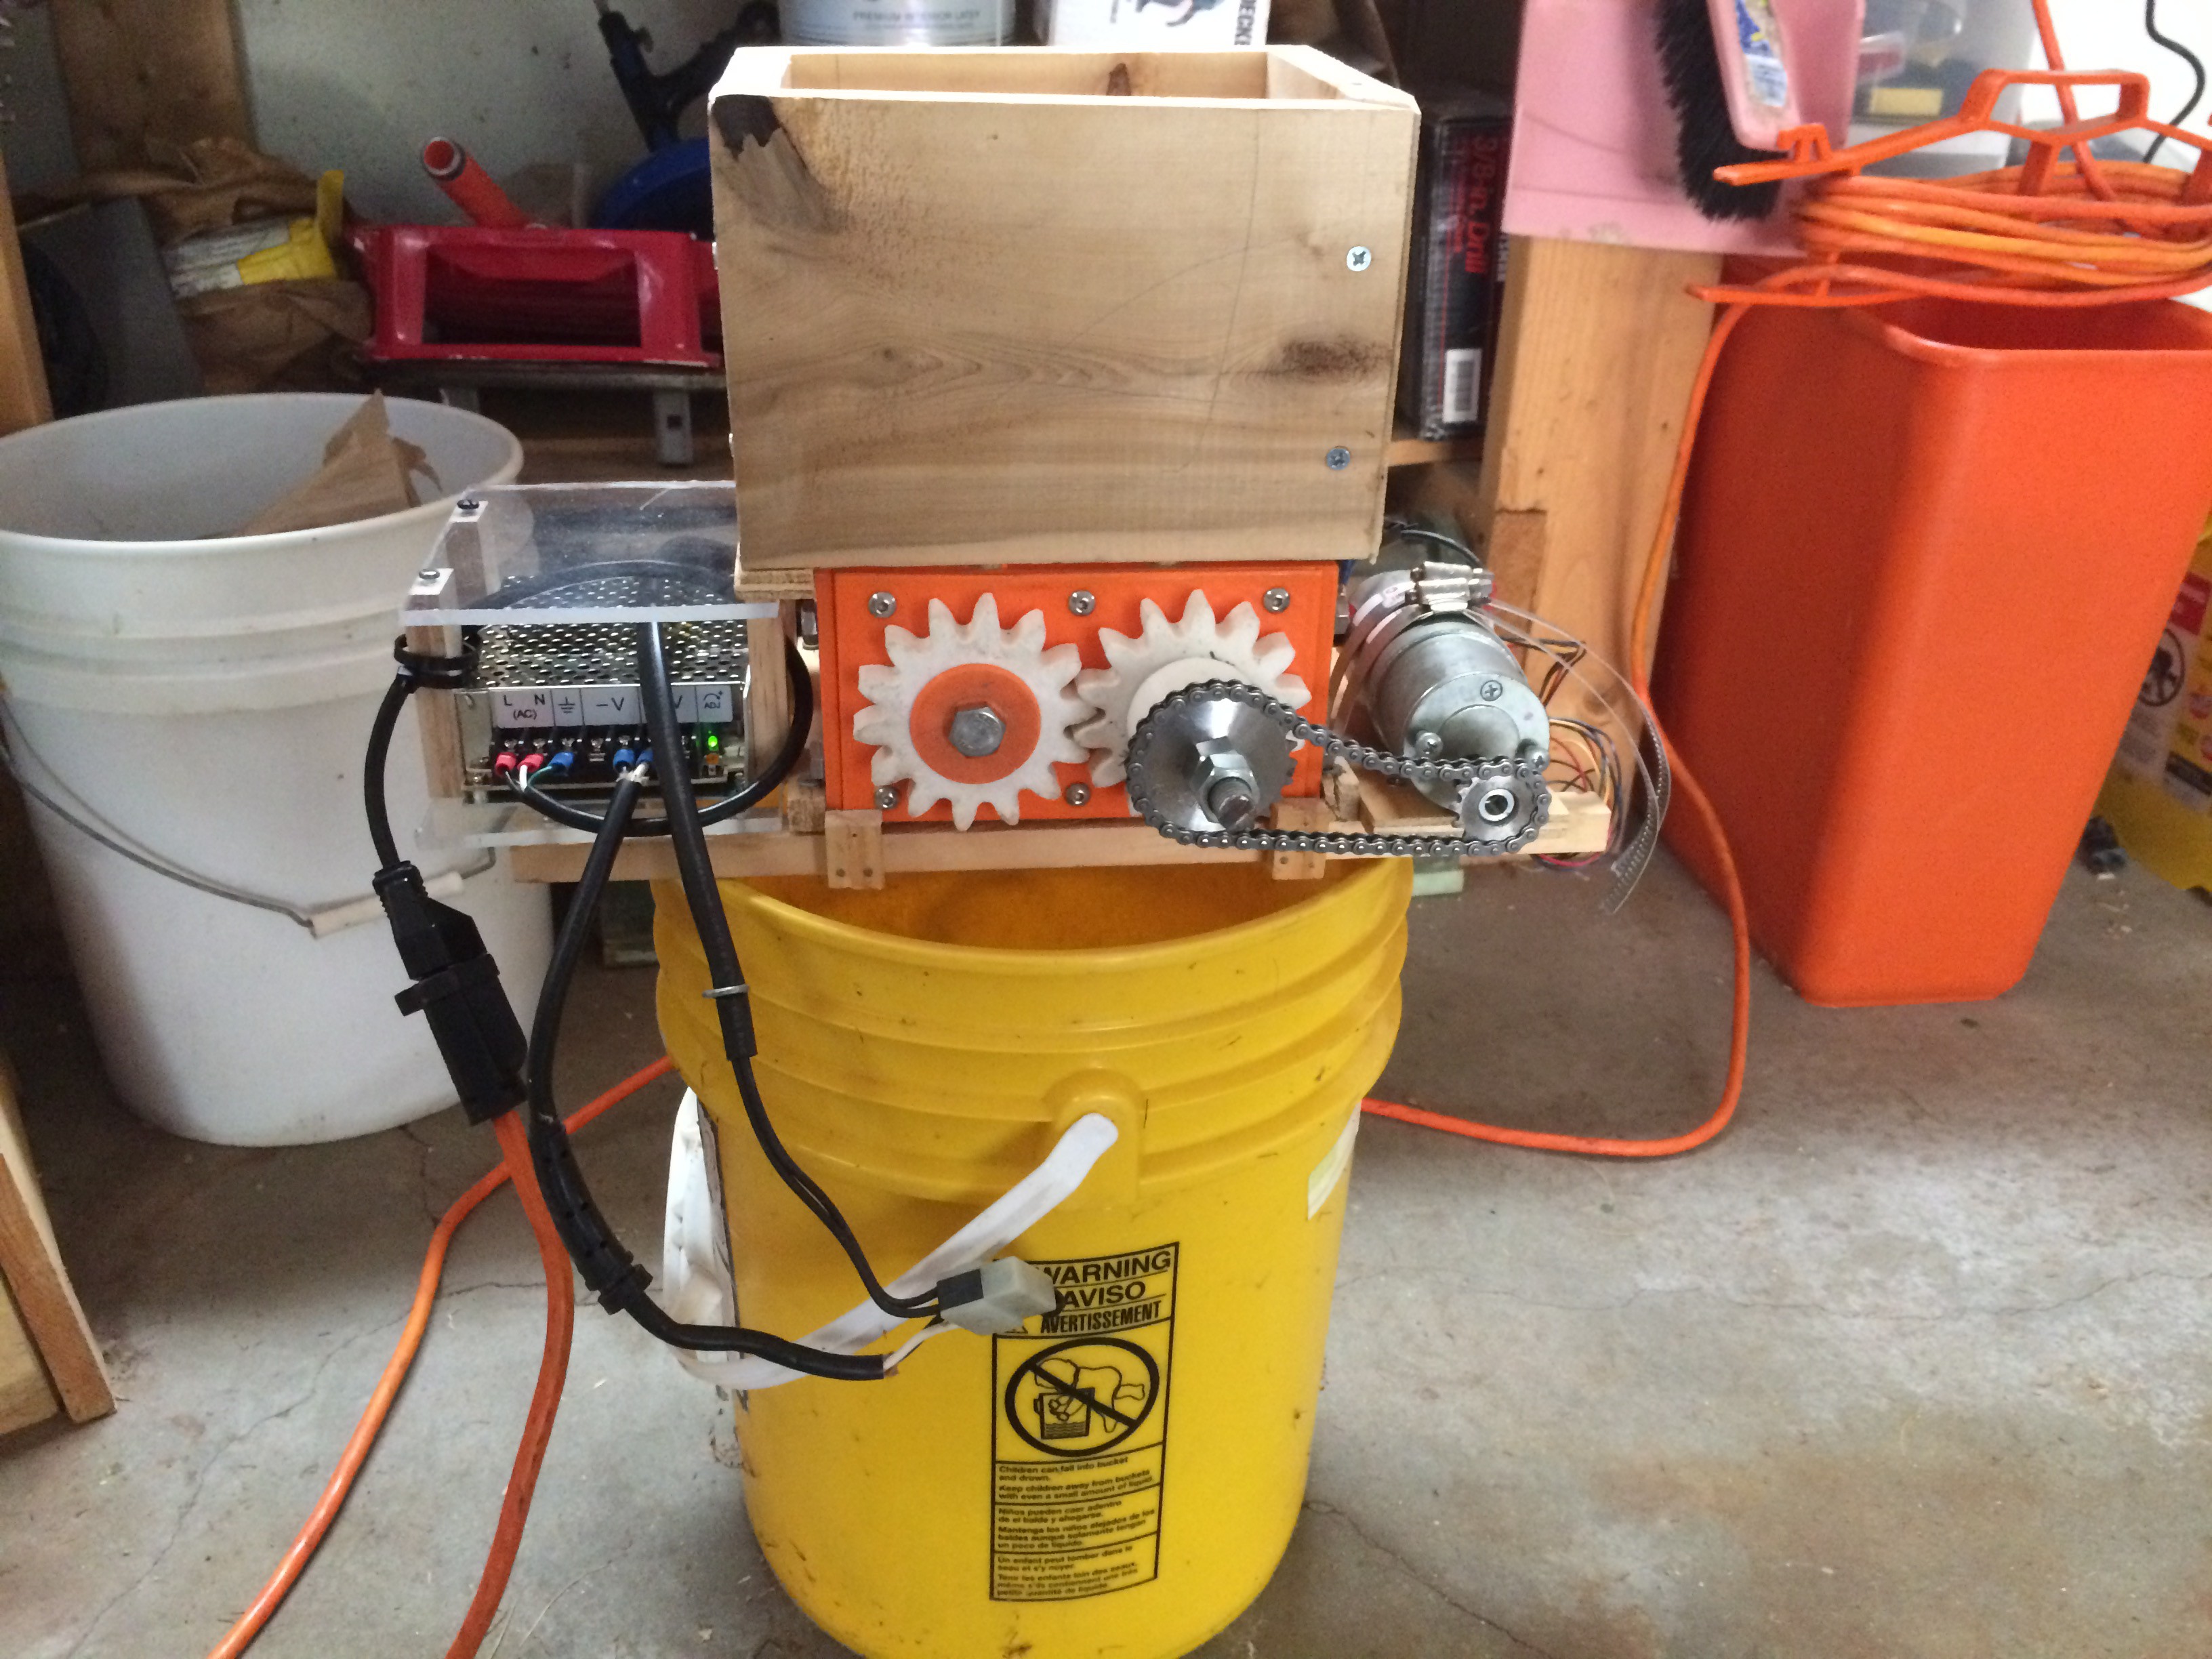
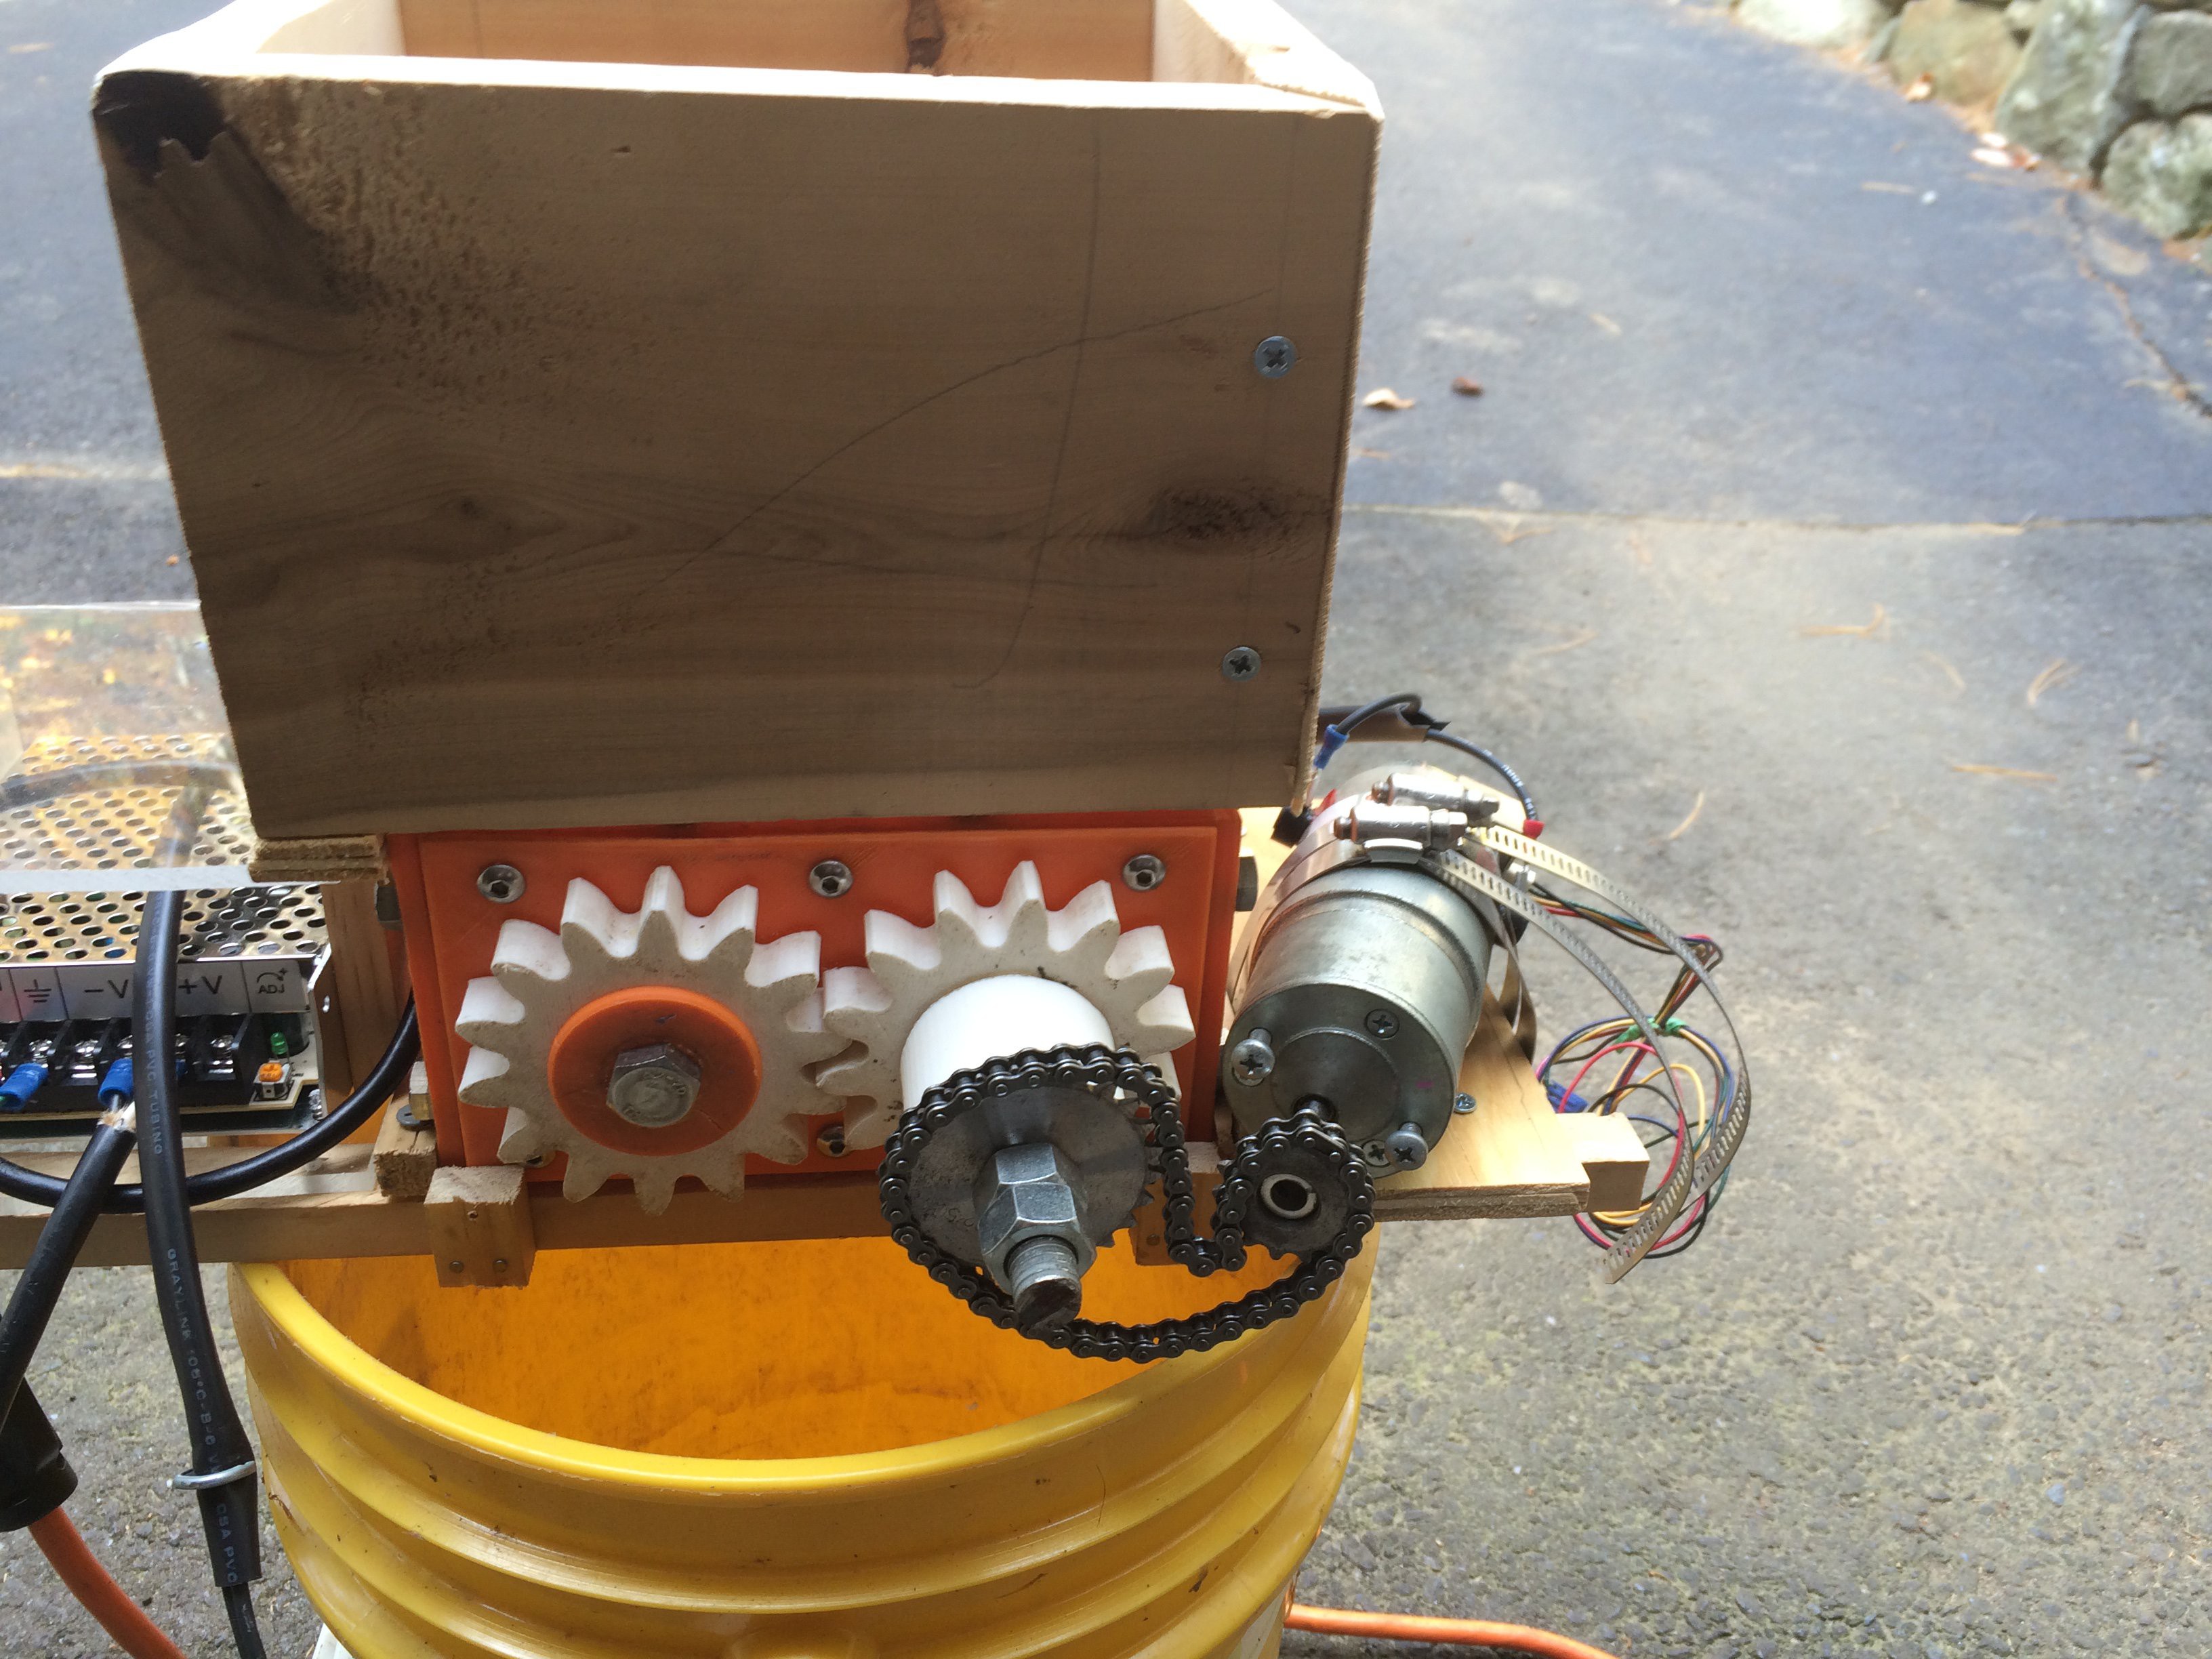
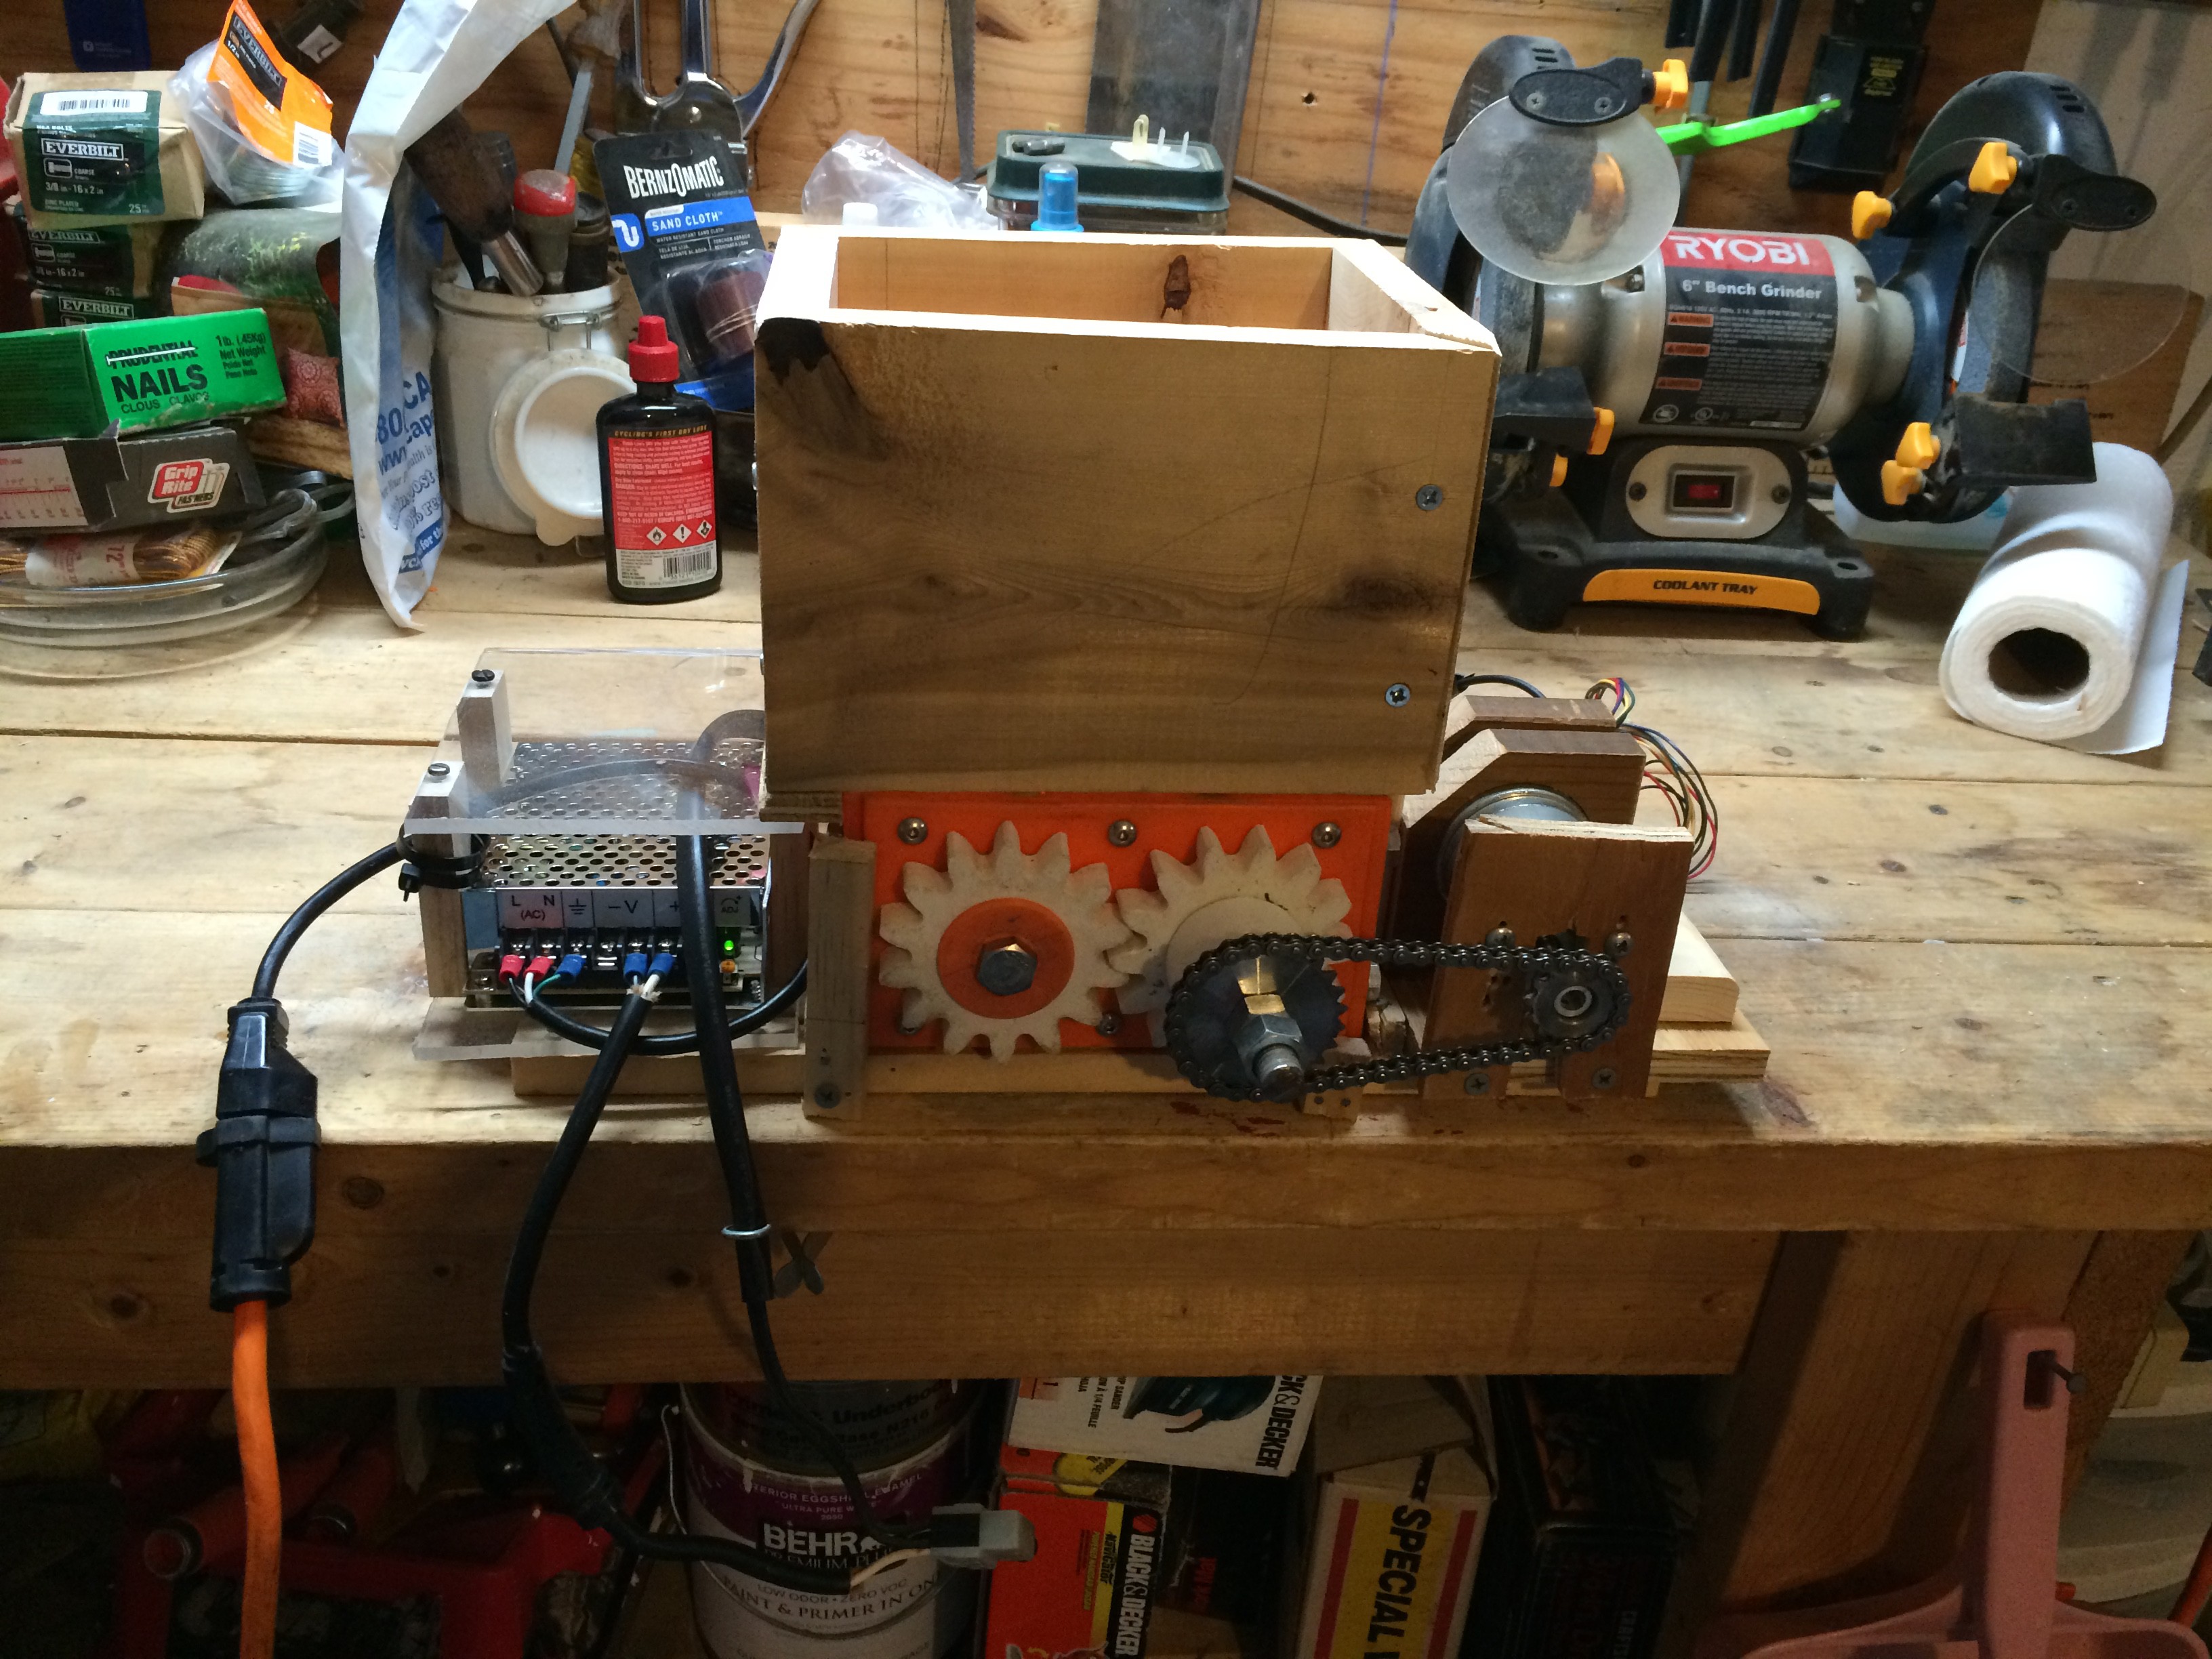
    I'm very pleased that it fits nicely over a bucket. I don't have to lug it out to the bin any more!

    Everything plugs in and is running smoothly with no load. Of course, it has to be tested properly.

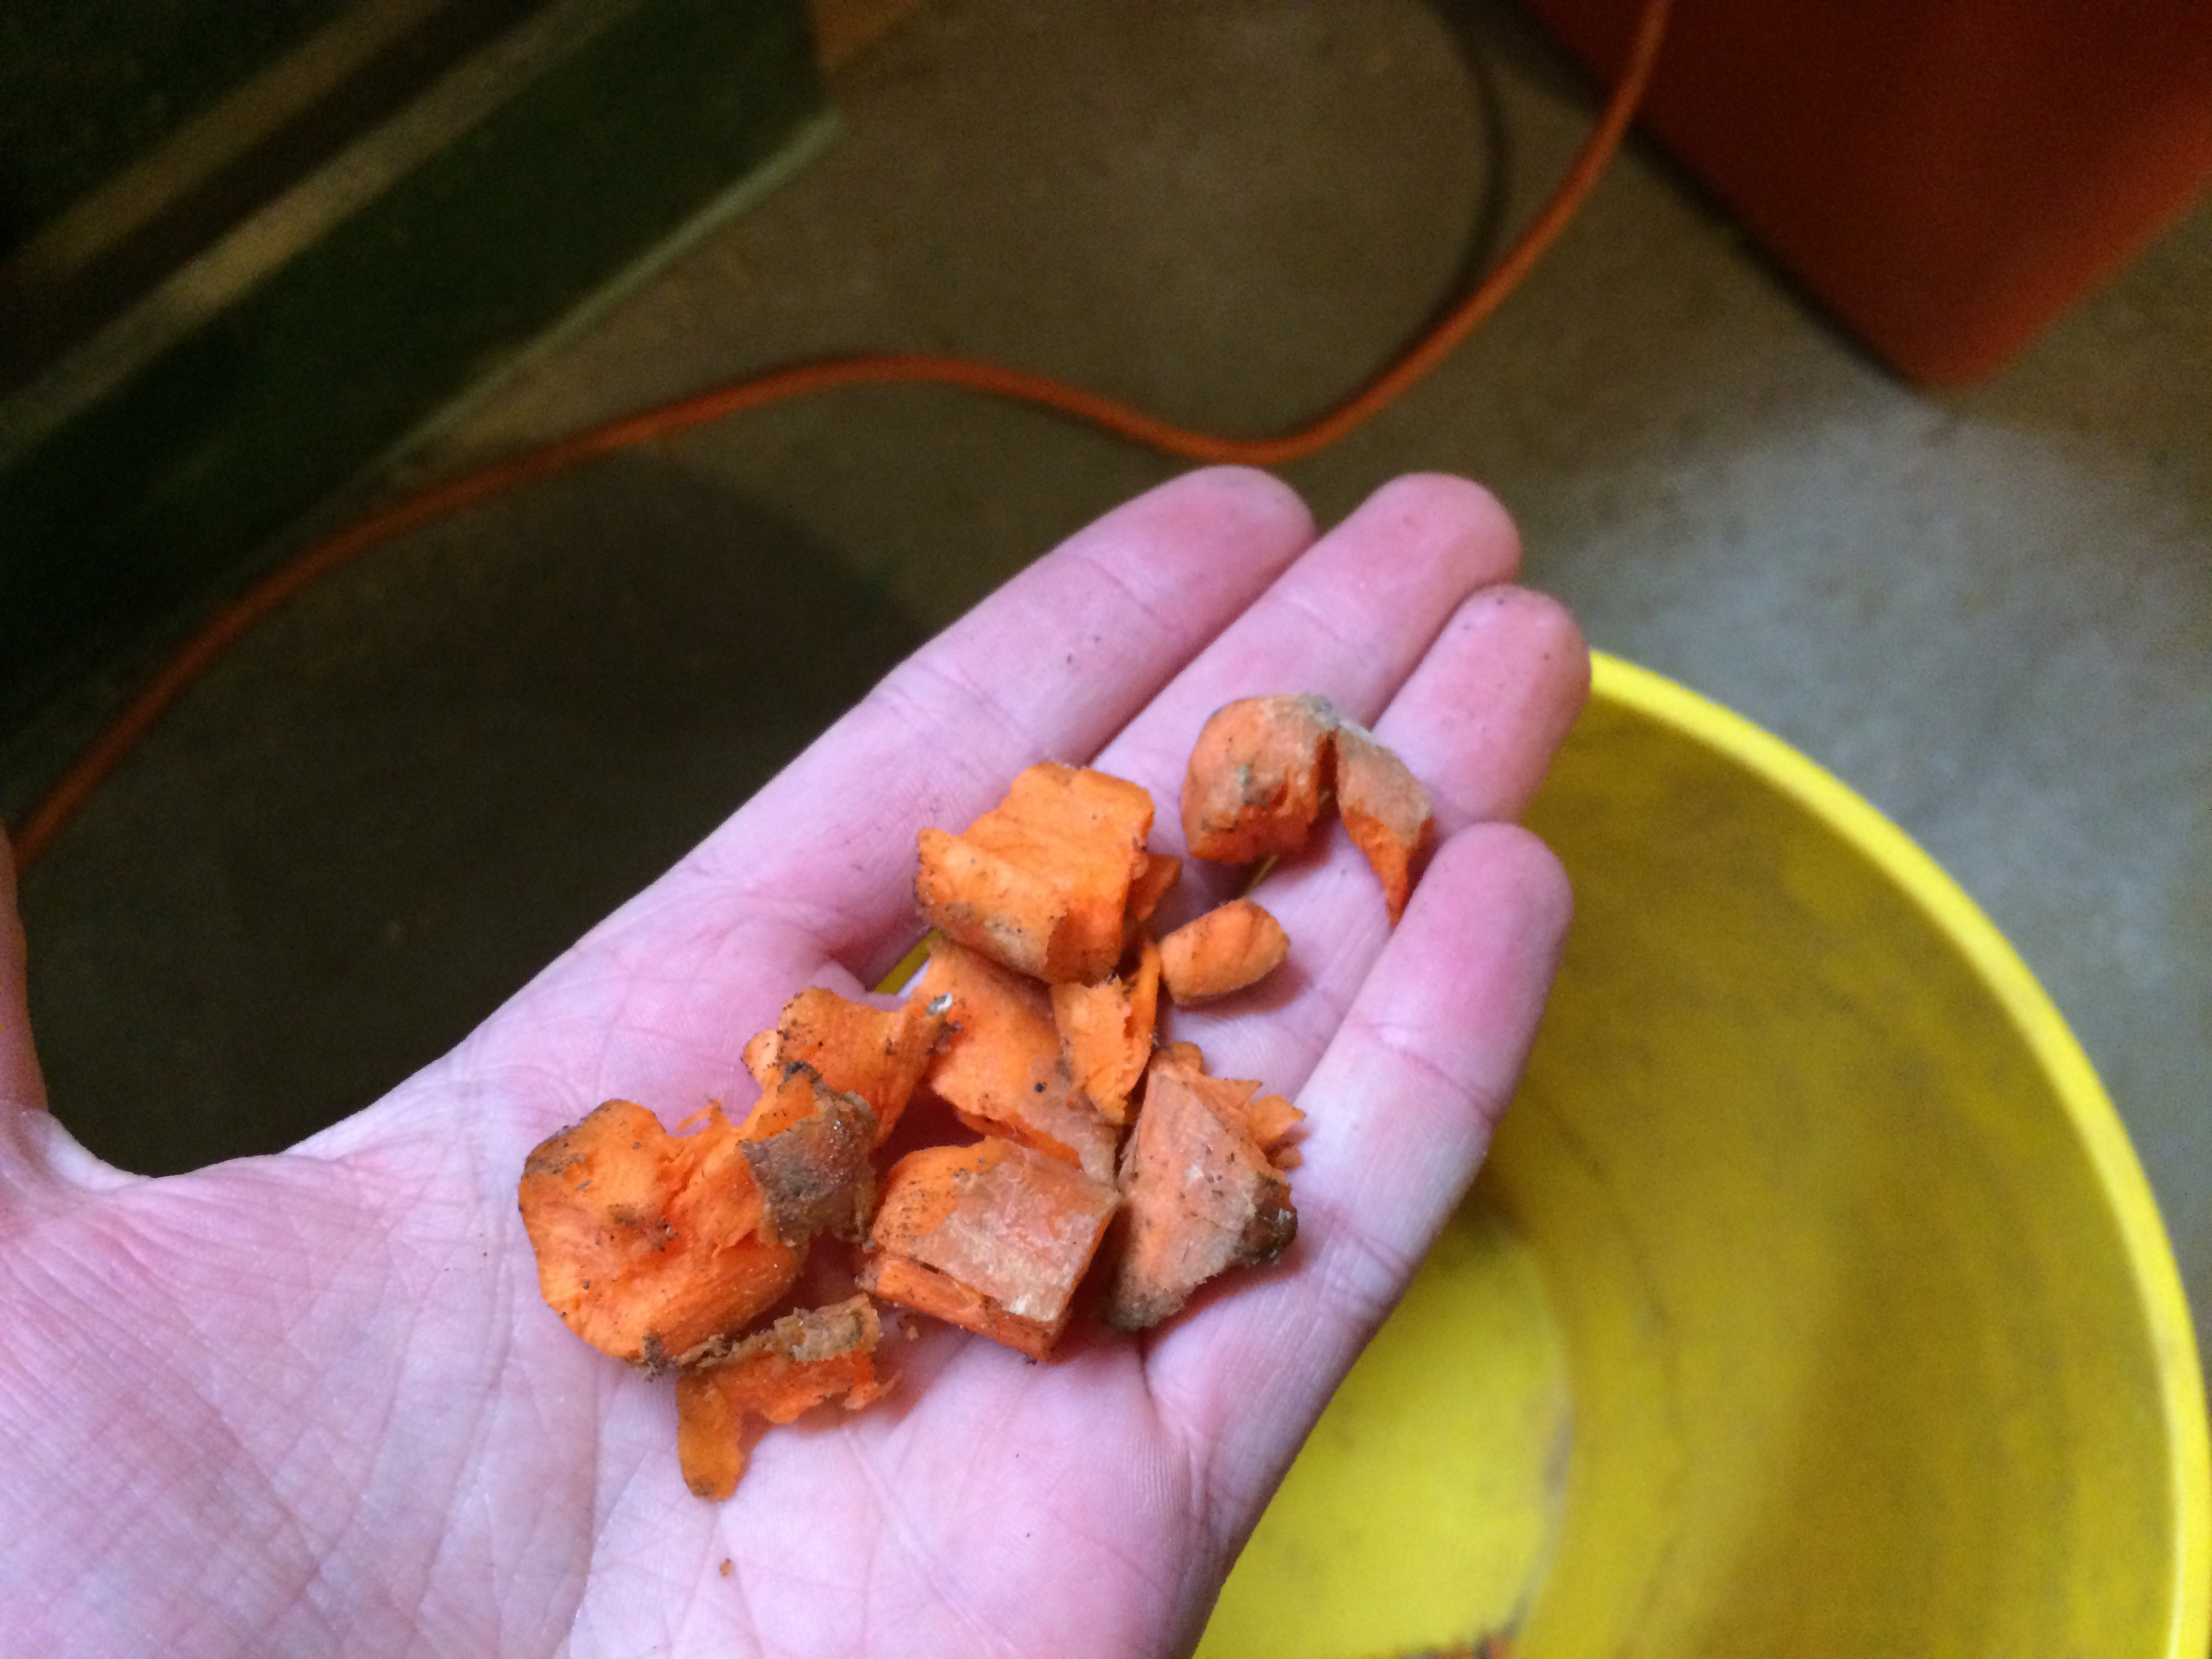
    I went full-force with all tests and used large carrots. they are the toughest pieces of food that I know the 3D-printed teeth can handle. that meant that any issues would be due to the upgrades.

    The first test was a complete failure. As I suspected, the hose clamps did nothing to restrain the tremendous torque this motor is capable of putting out. The chain was also a bit too loose and liked to skip teeth.

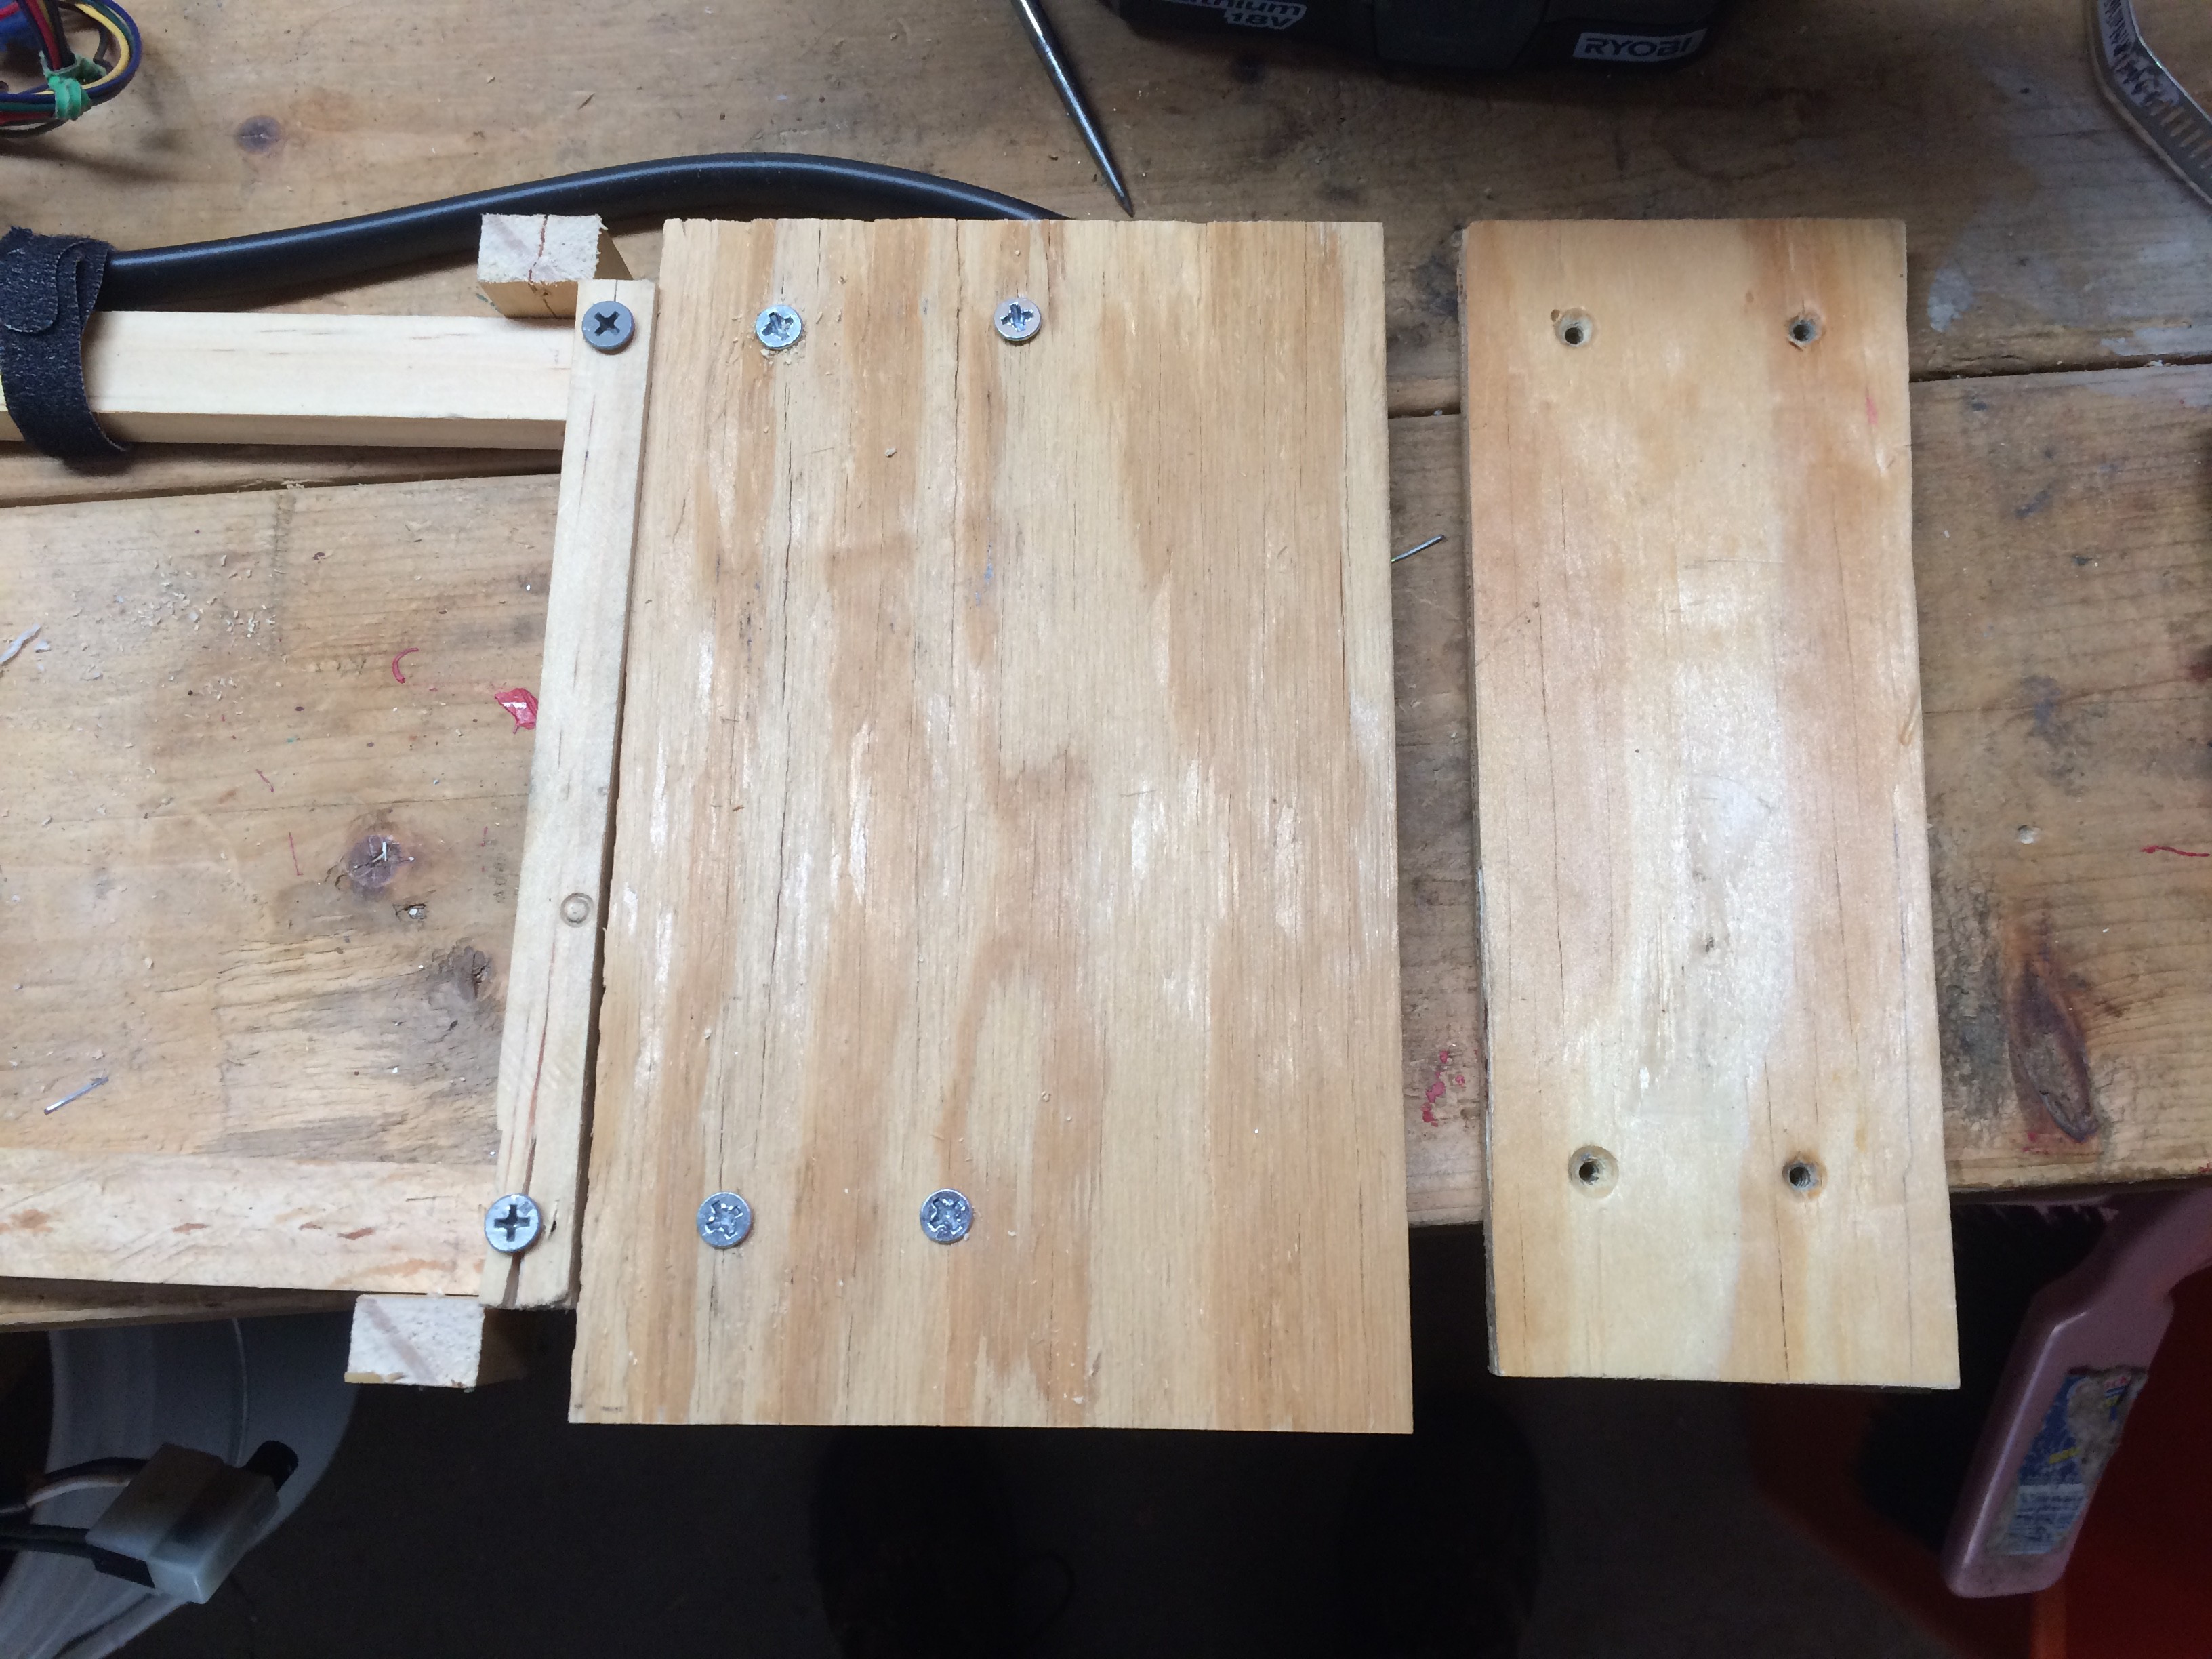
    Back to the drawing board. First I increased the size of the motor mounting plane

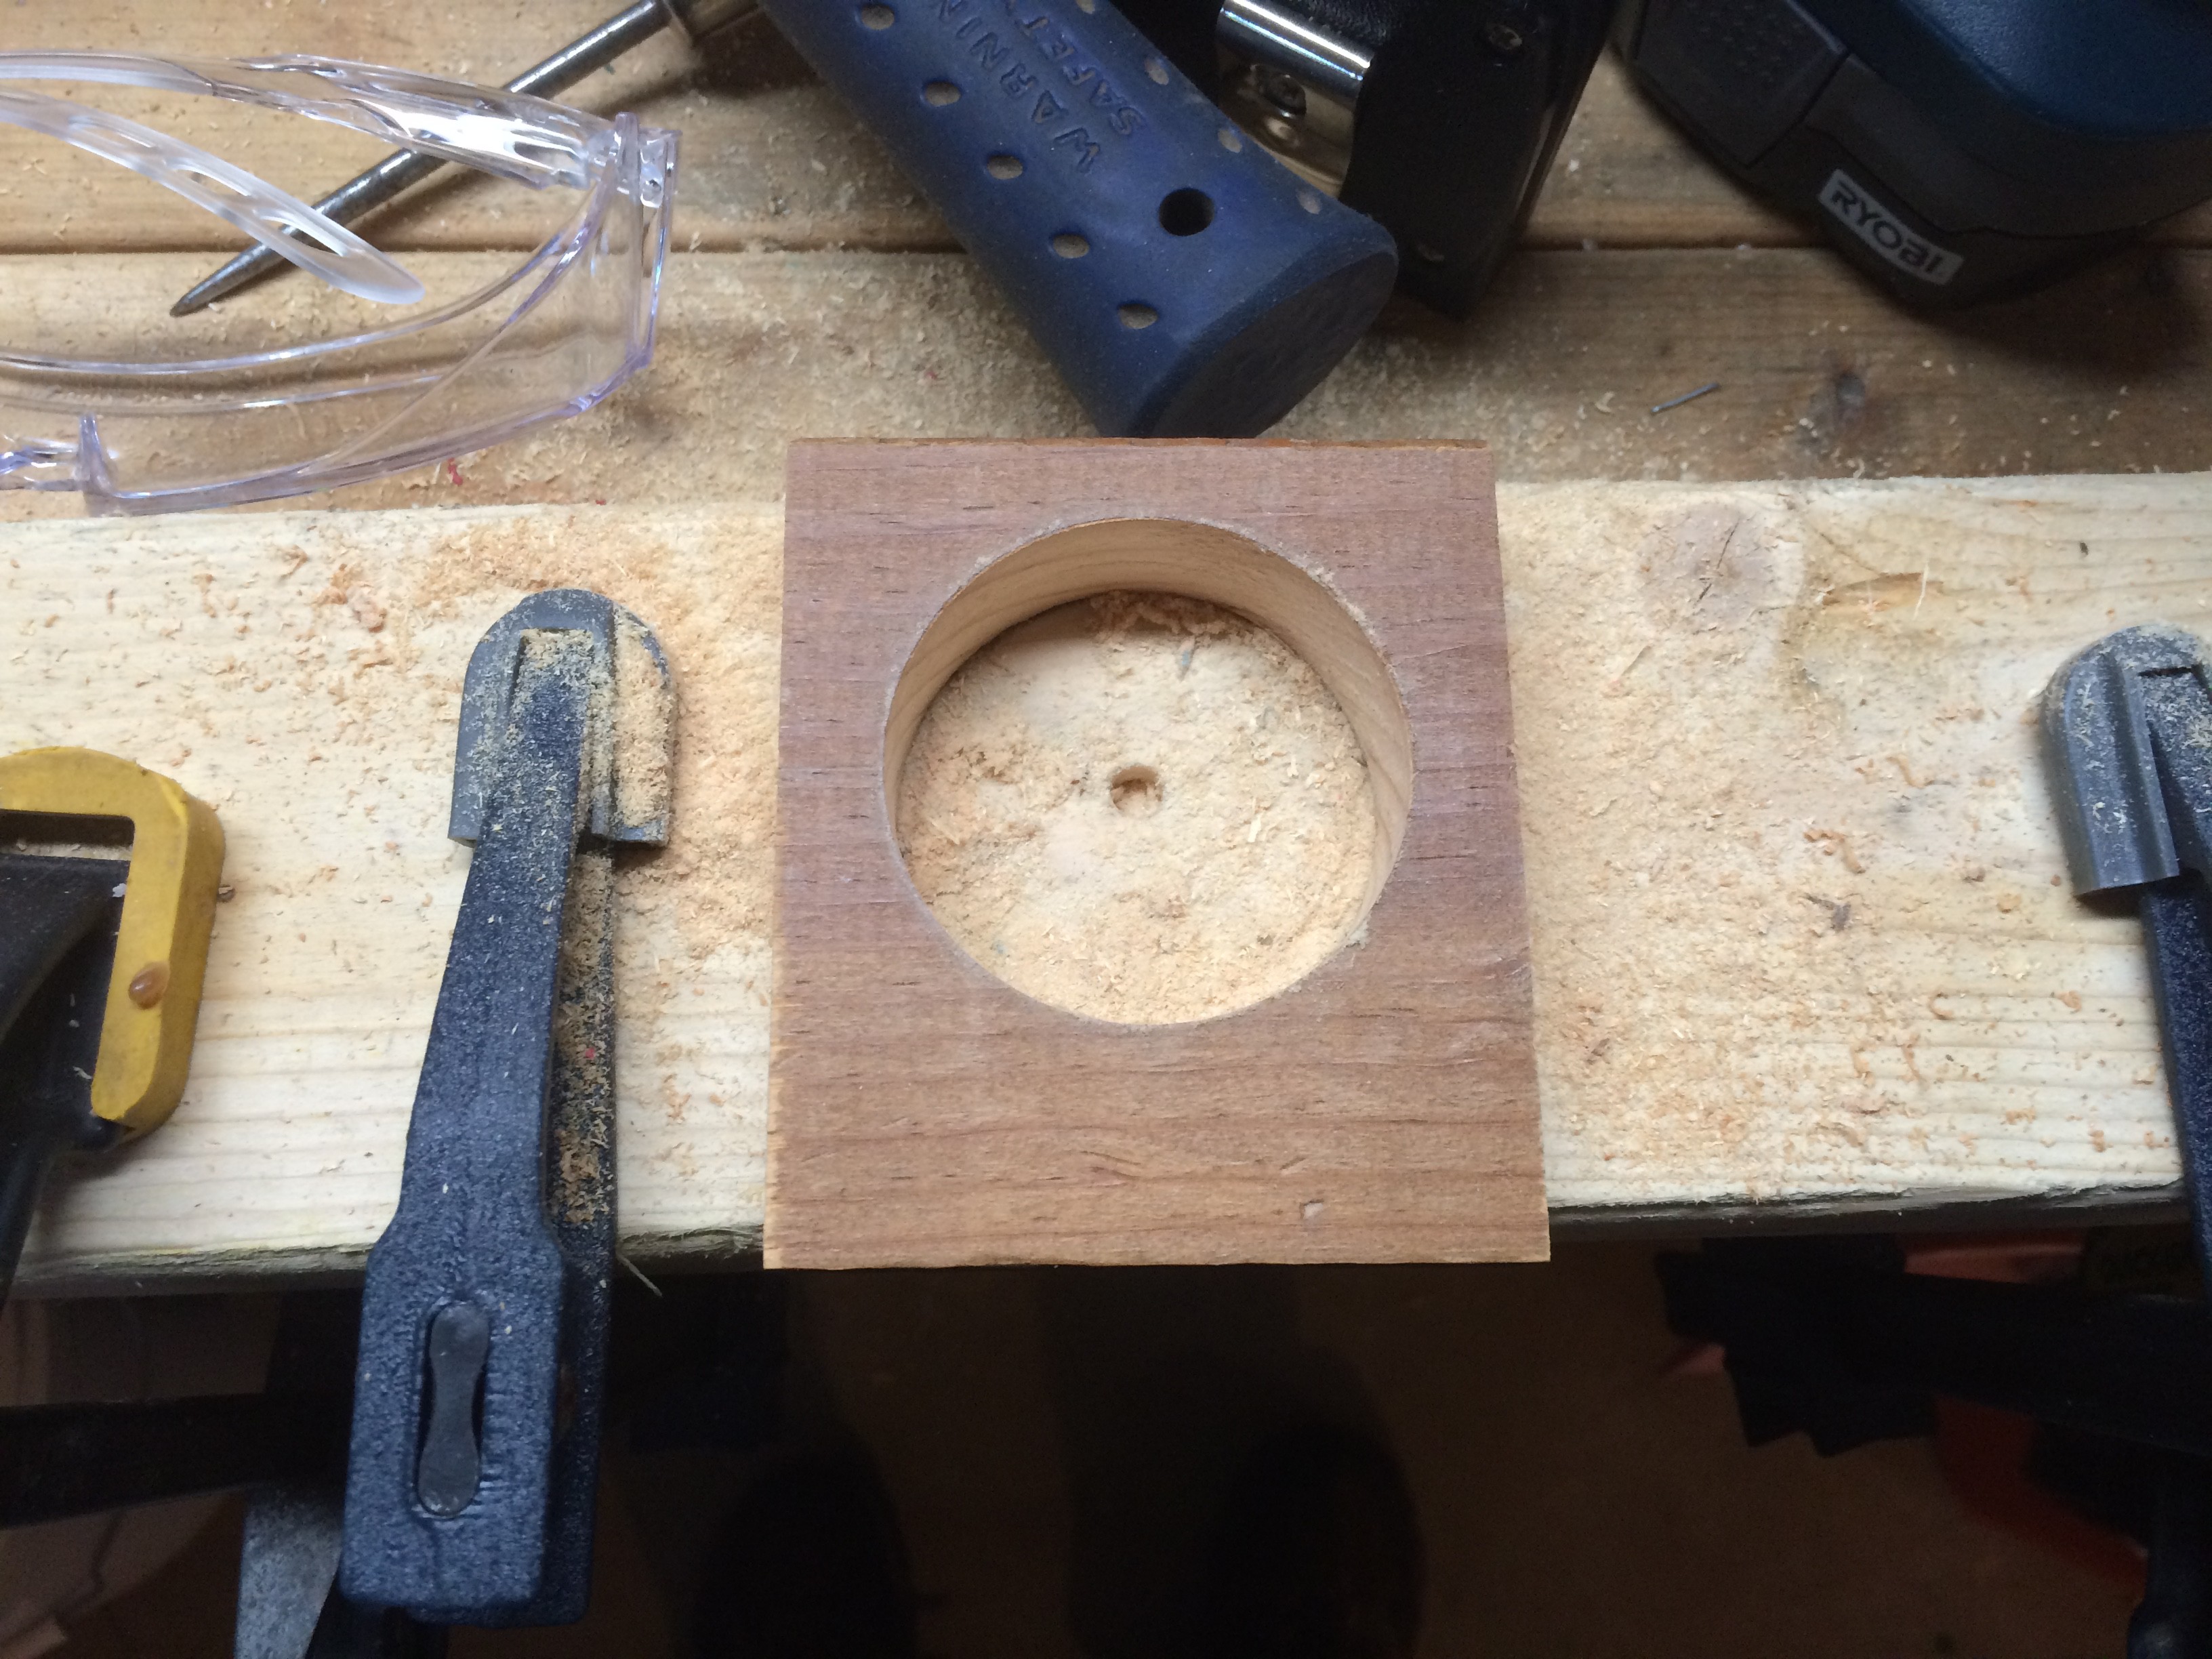
    The new mounts are also made from scrap wood. I found a 2 1/8" hole saw fits the motor perfectly. The mount is 3"x3 1/2", and the hole is 1" up from the bottom and centered horizontally.

    At this point I was wishing I had a drill press to get the hole to be perfectly straight, but this turned out to have a slight benefit. the small amount of skew between the two mounts jams the motor in place with a lot of force. I was glad of this since the hole was not in itself a secure press fit.

    Finally I located the motor in place and secured the mounts to the base with screws. I cut the corners off to clear the hopper.

    Also made a (somewhat halfhearted) front plate to make use of the mounting screws that came with the motor. it does its job!

    and bam! she chews up carrots without complaint.

    Further updates will include some field use notes and probably some small-scale tweaks to the chain alignment to get rid of that crunching noise in the video. I'm very excited to have this working as intended, and can't wait to get back to composting on my regular schedule.

    Thank you for your interest!

  • Progress Update!

    Will F.10/26/2015 at 01:05 0 comments

    Thought I abandoned this project didn't you? Fear not, faithful hackers, I am back with some progress!

    I've made some good strides in the past few days. Did I mention before that I'm trying to spend as little money as possible doing this project? I guess I should make that clear. Anyway..on to the details!

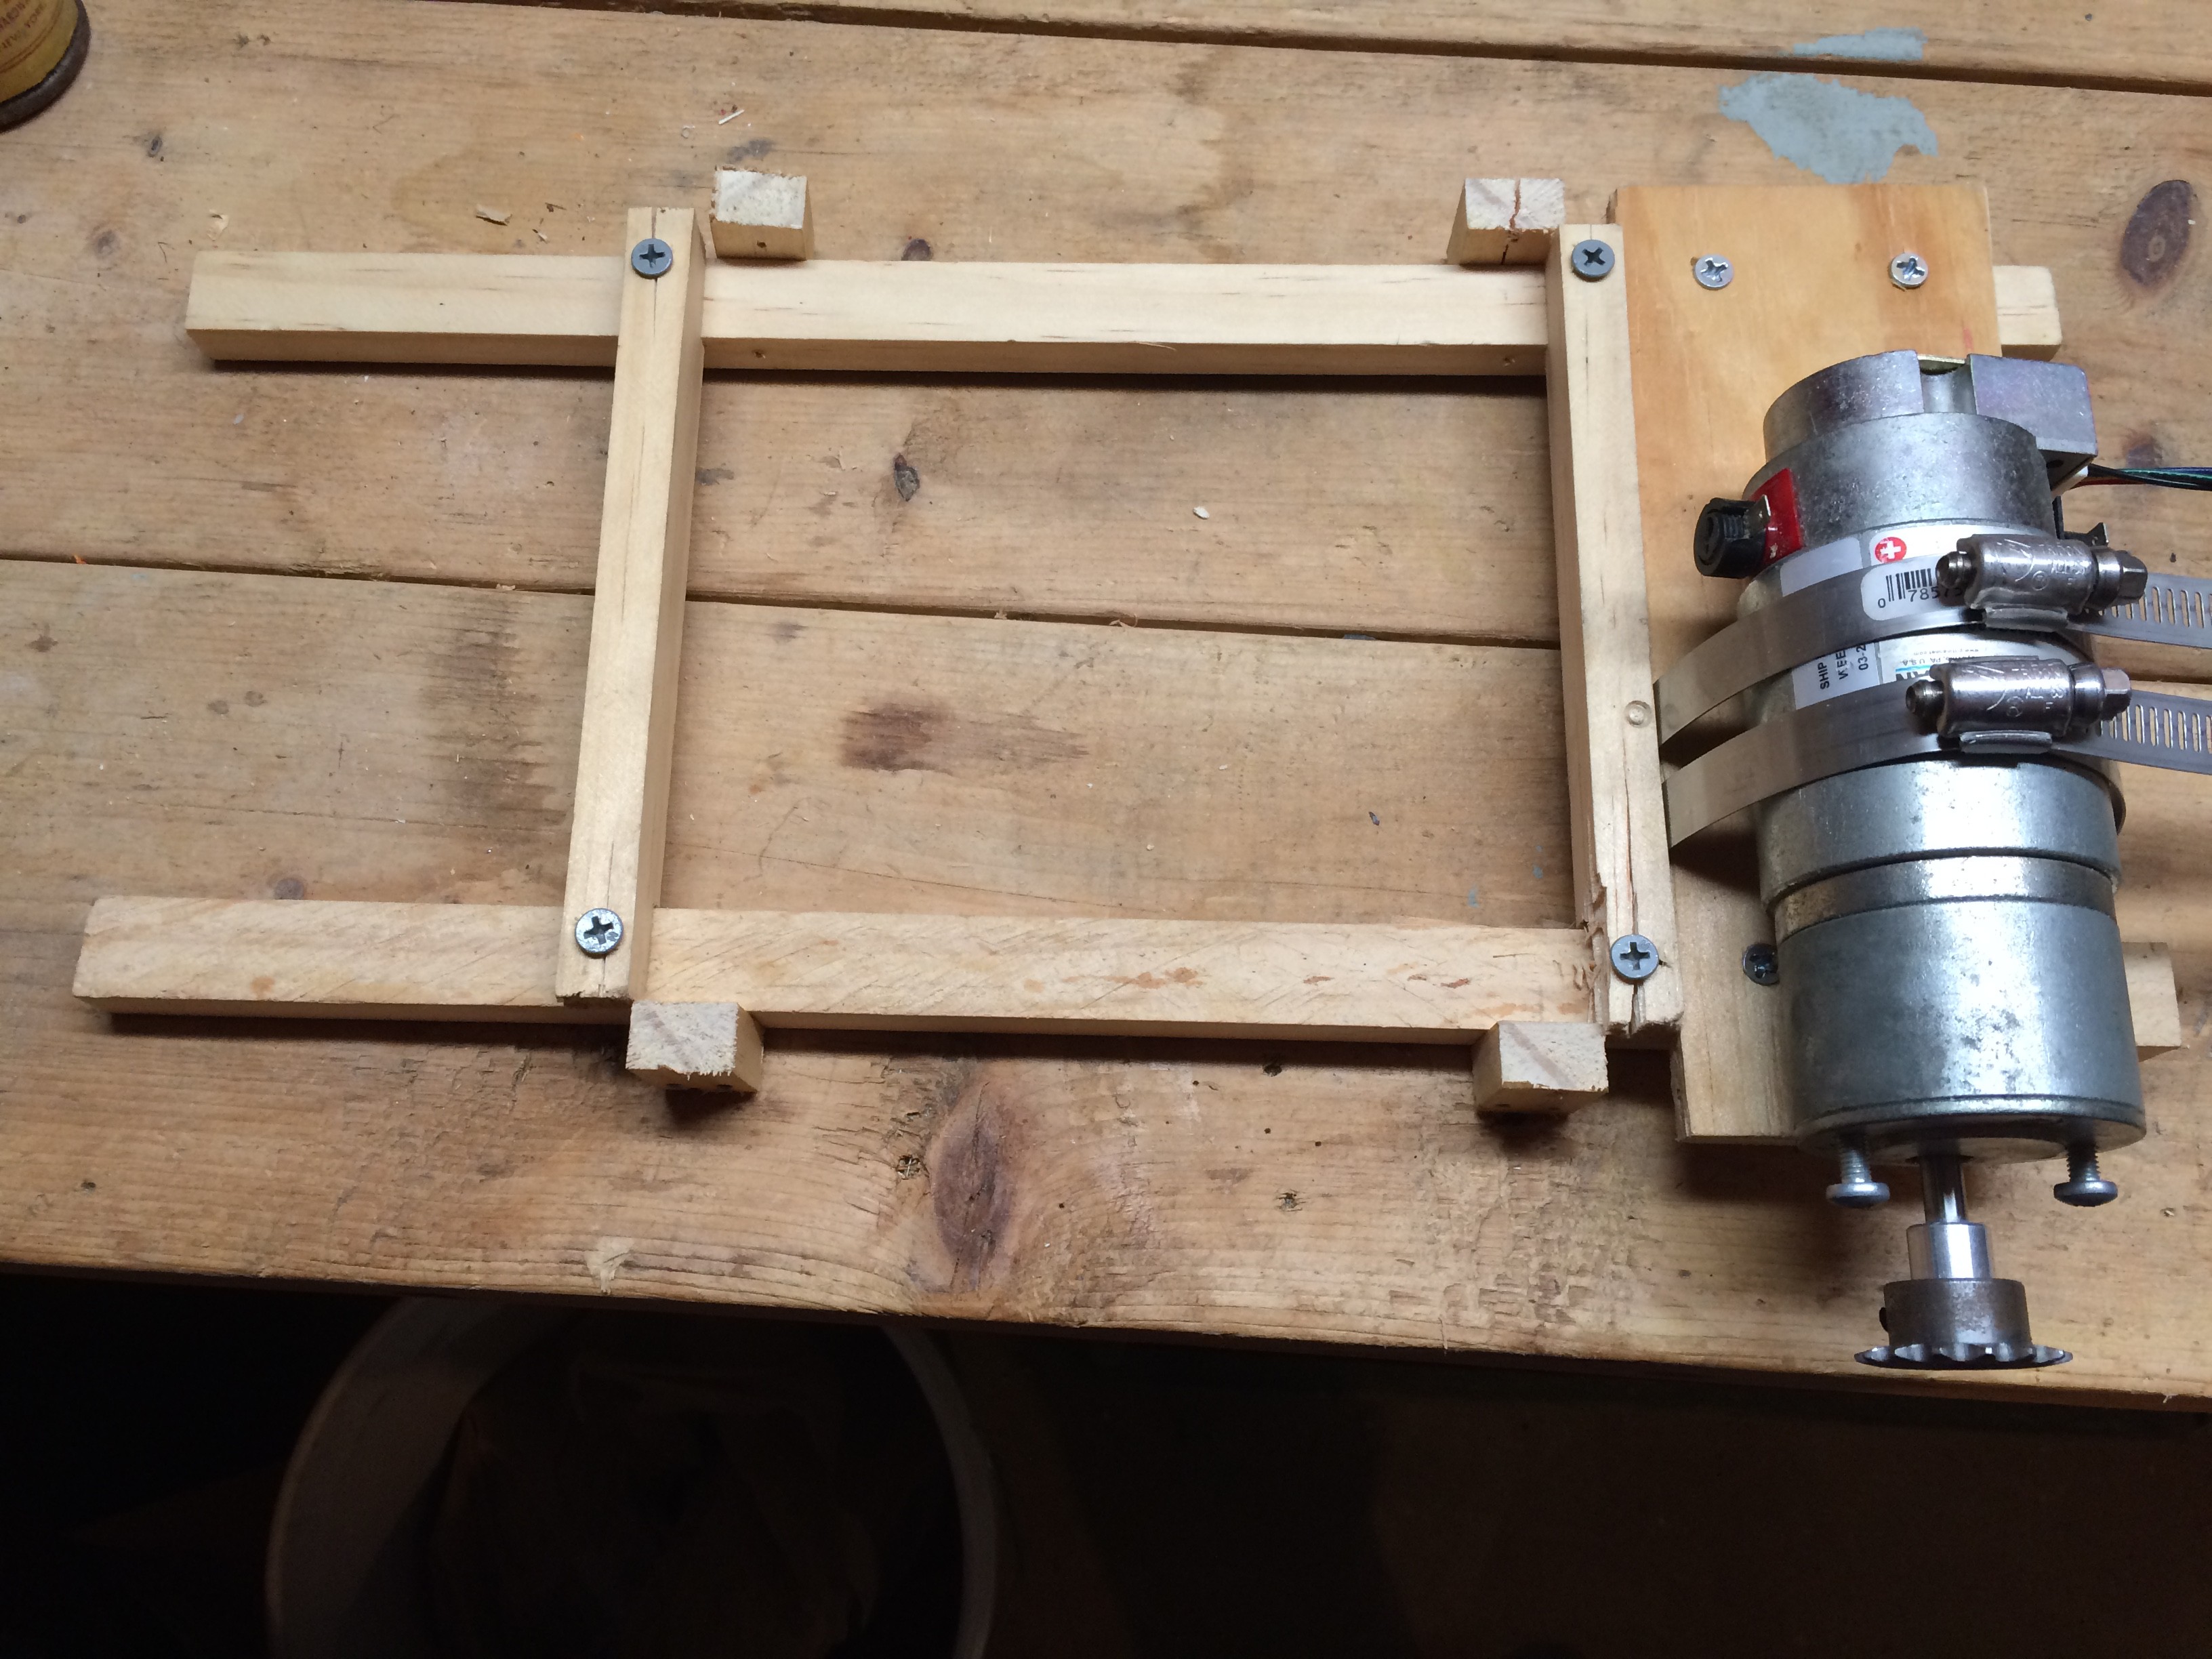
    I started out by building a bottom support frame. This is the platform that will hold the shredder, motor, and power supply in one convenient spot. It will also let me attach some larger boards so that I can suspend the shredder in the middle of the compost bin.


    I made sure the long pieces are thinner than the sidewalls of the shredder so that they don't get gunk on them. The shredder also lifts out for easy cleaning. I know using hose clamps as motor mounting hardware is extremely janky, I'll put a more purpose-built housing on it once I get the wiring figured out. Or, y'know, If the hose clamps don't actually work. Keep It Simple, Stupid.

    Coming along quite well!

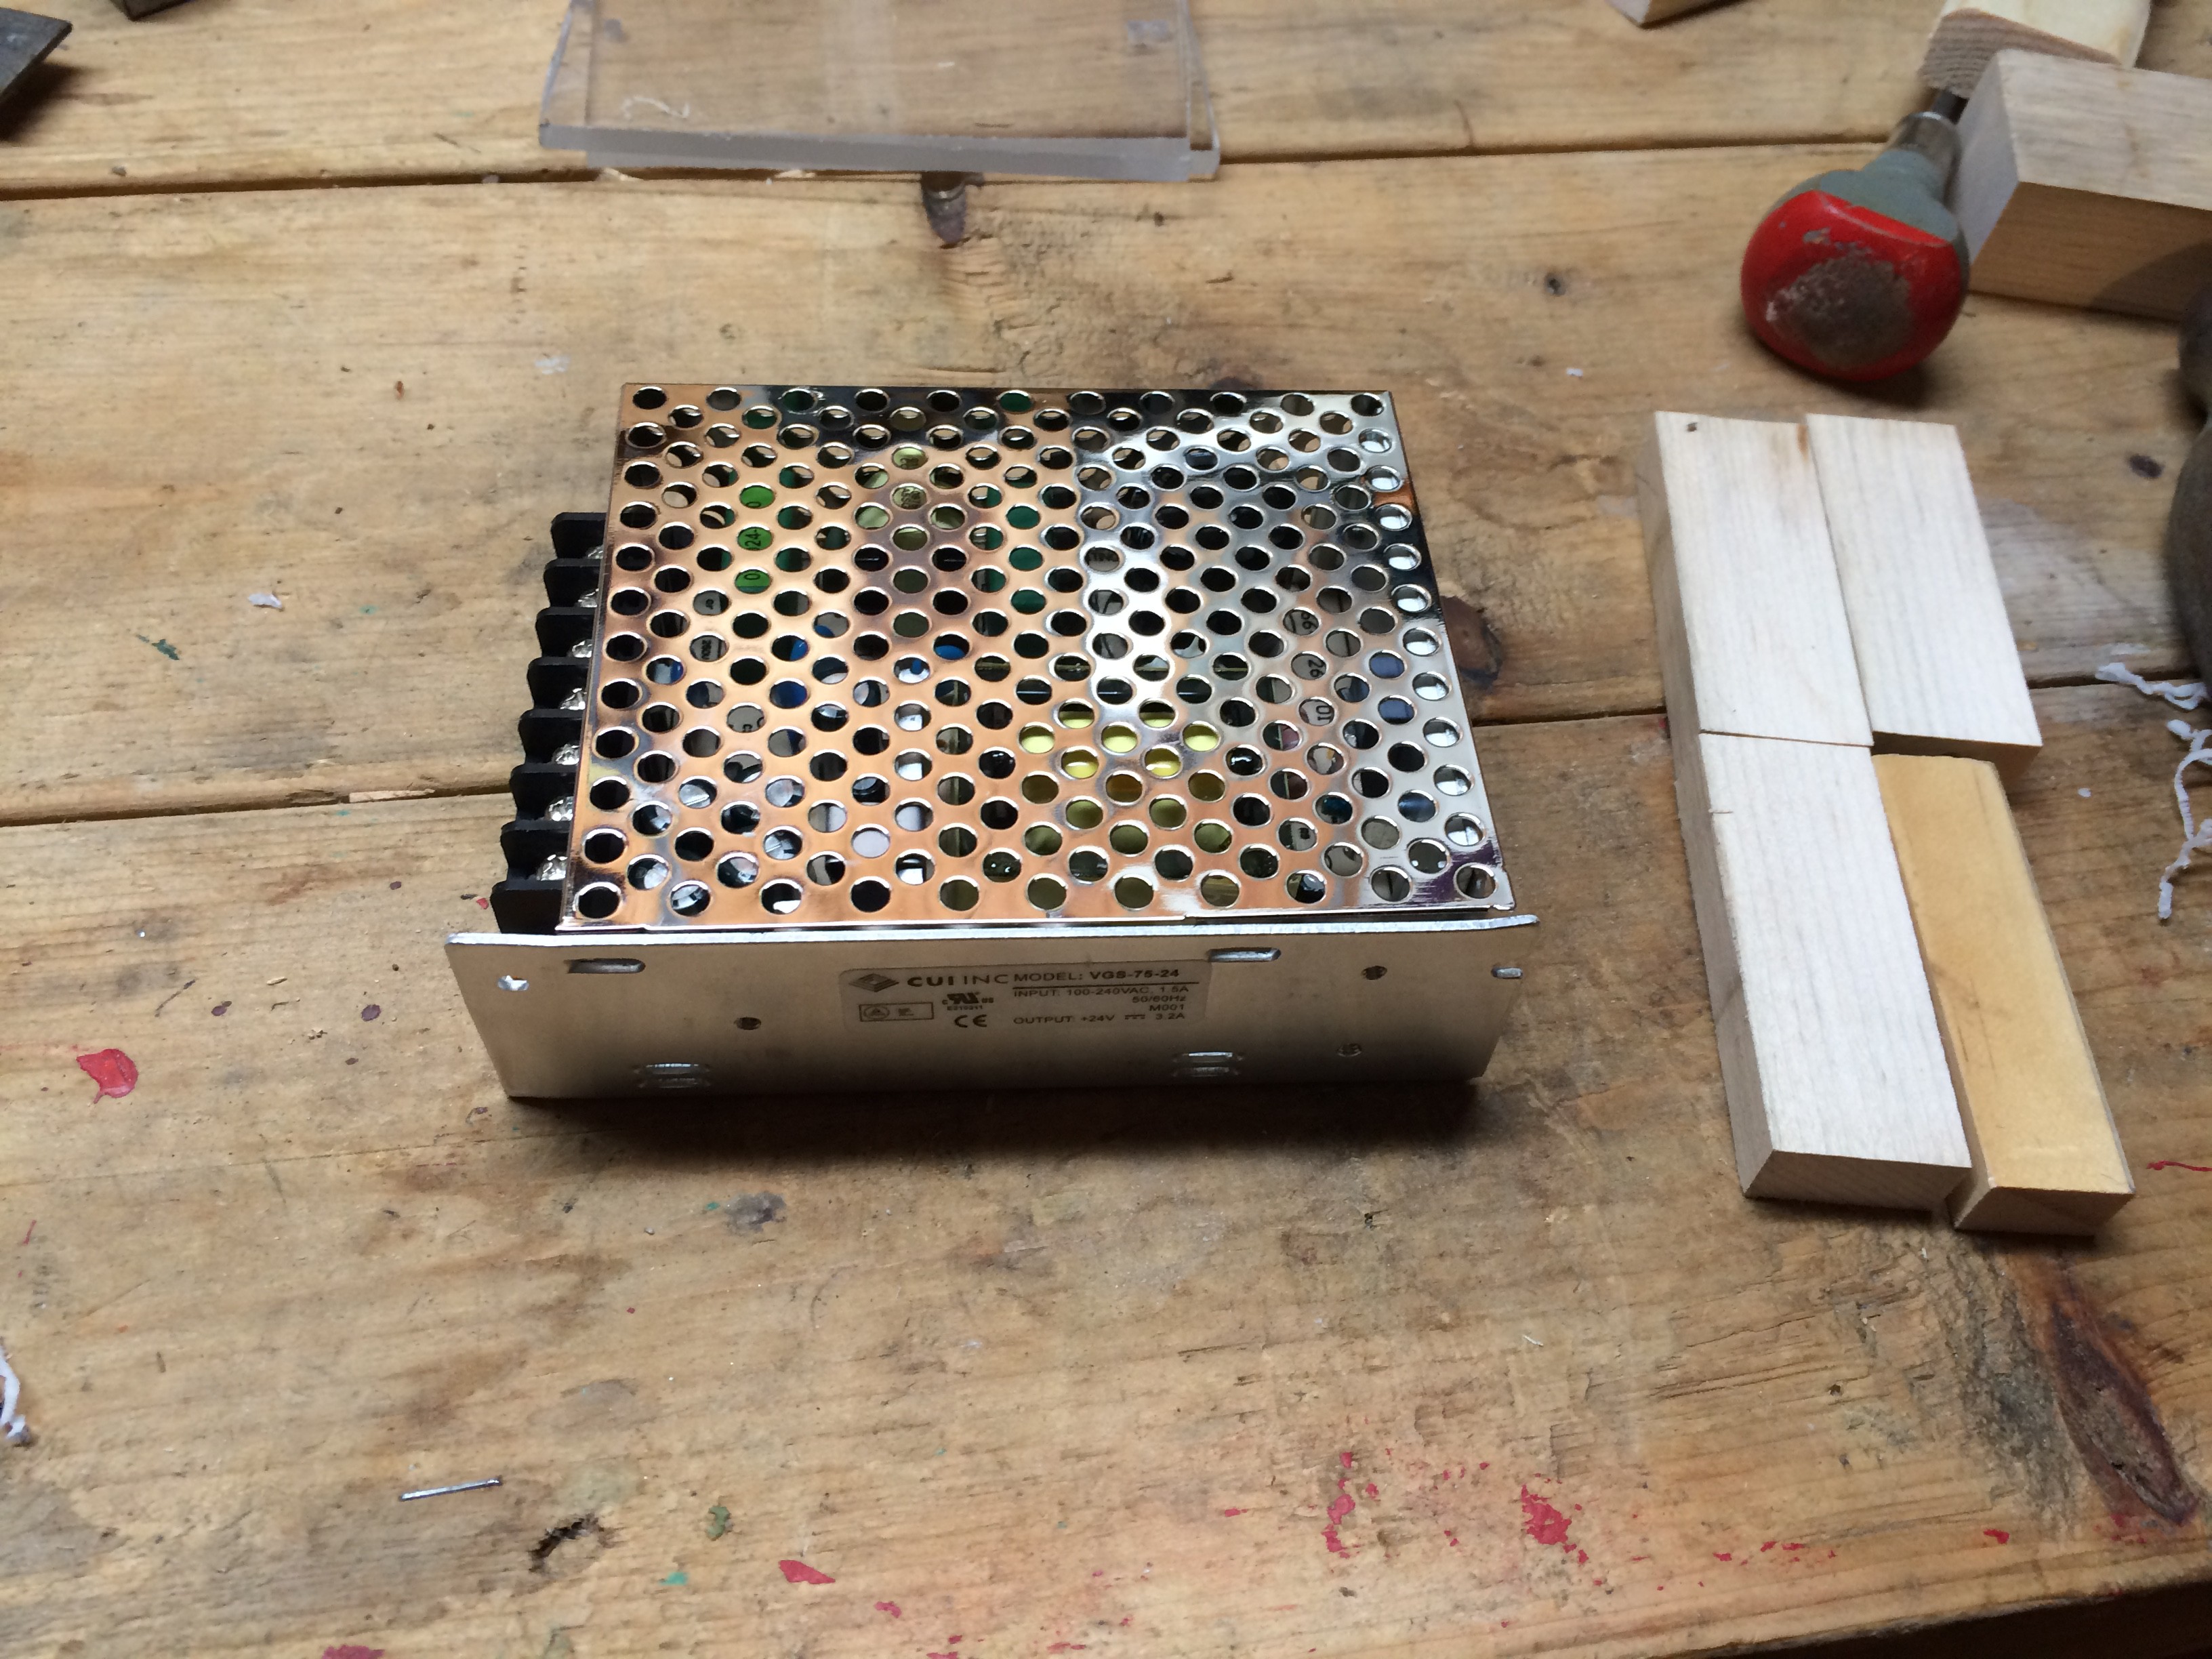
    I picked up a free psu from my local makerspace part bin. 24v output should be everything I need.

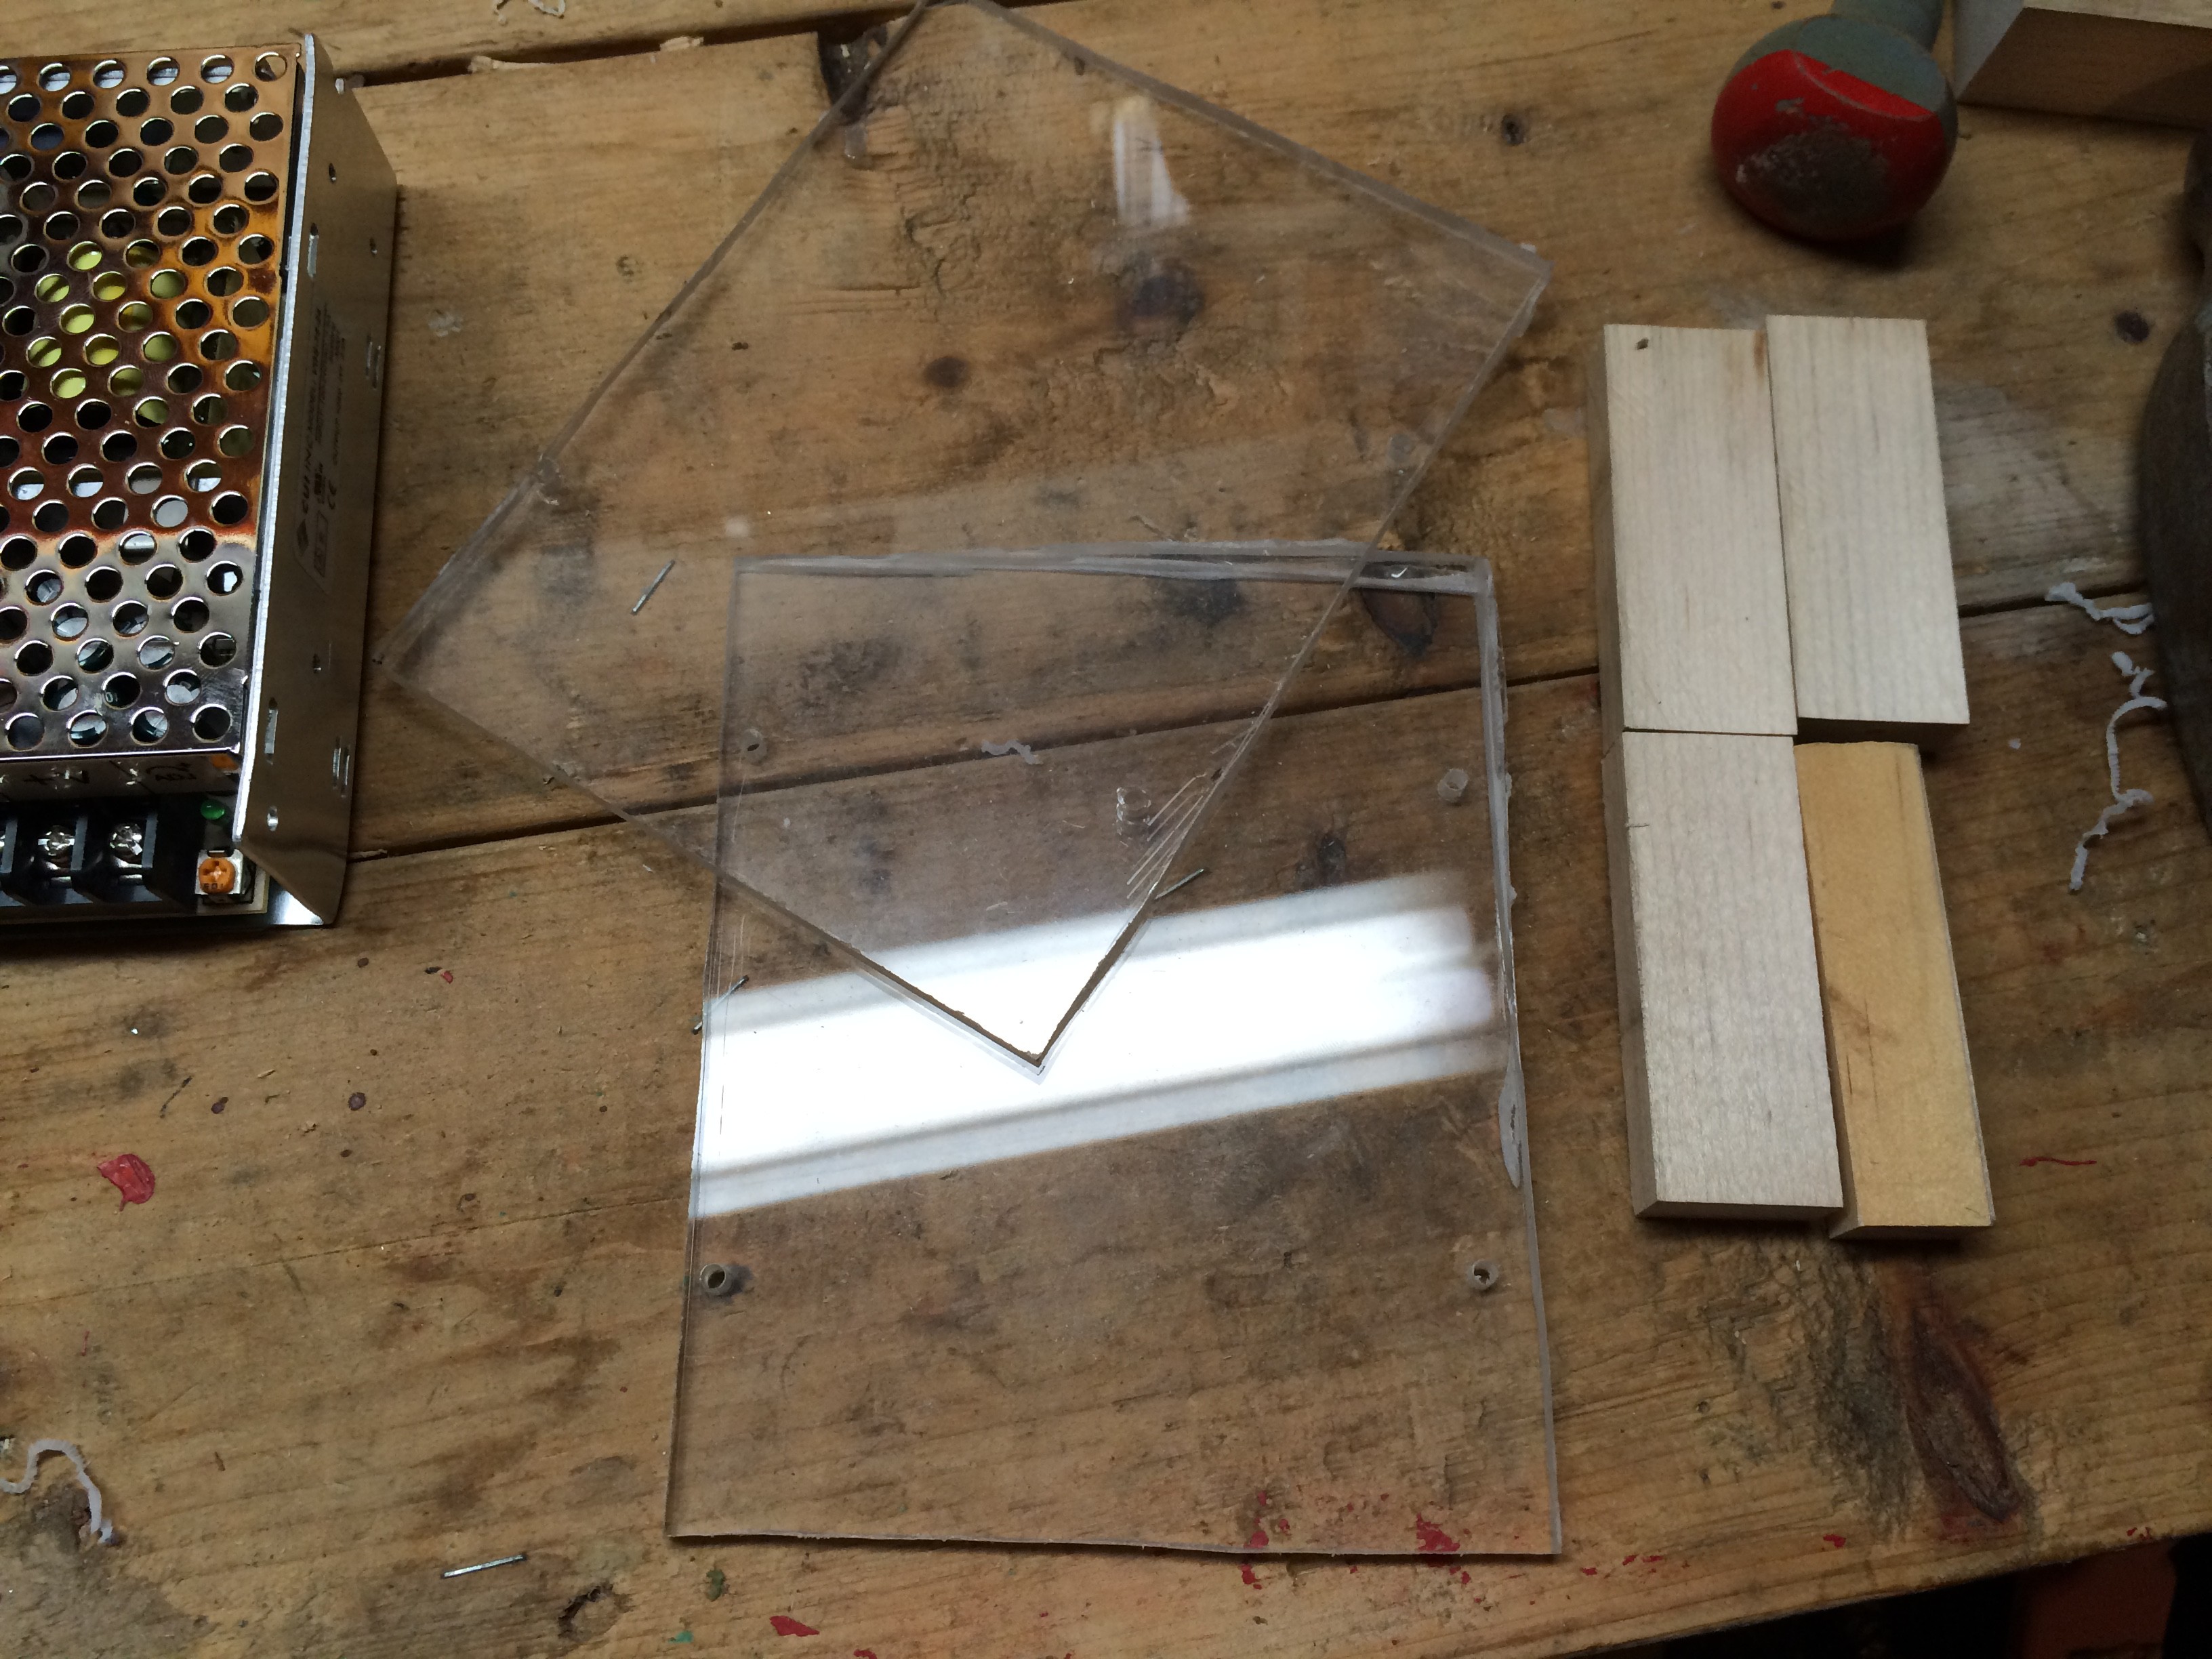
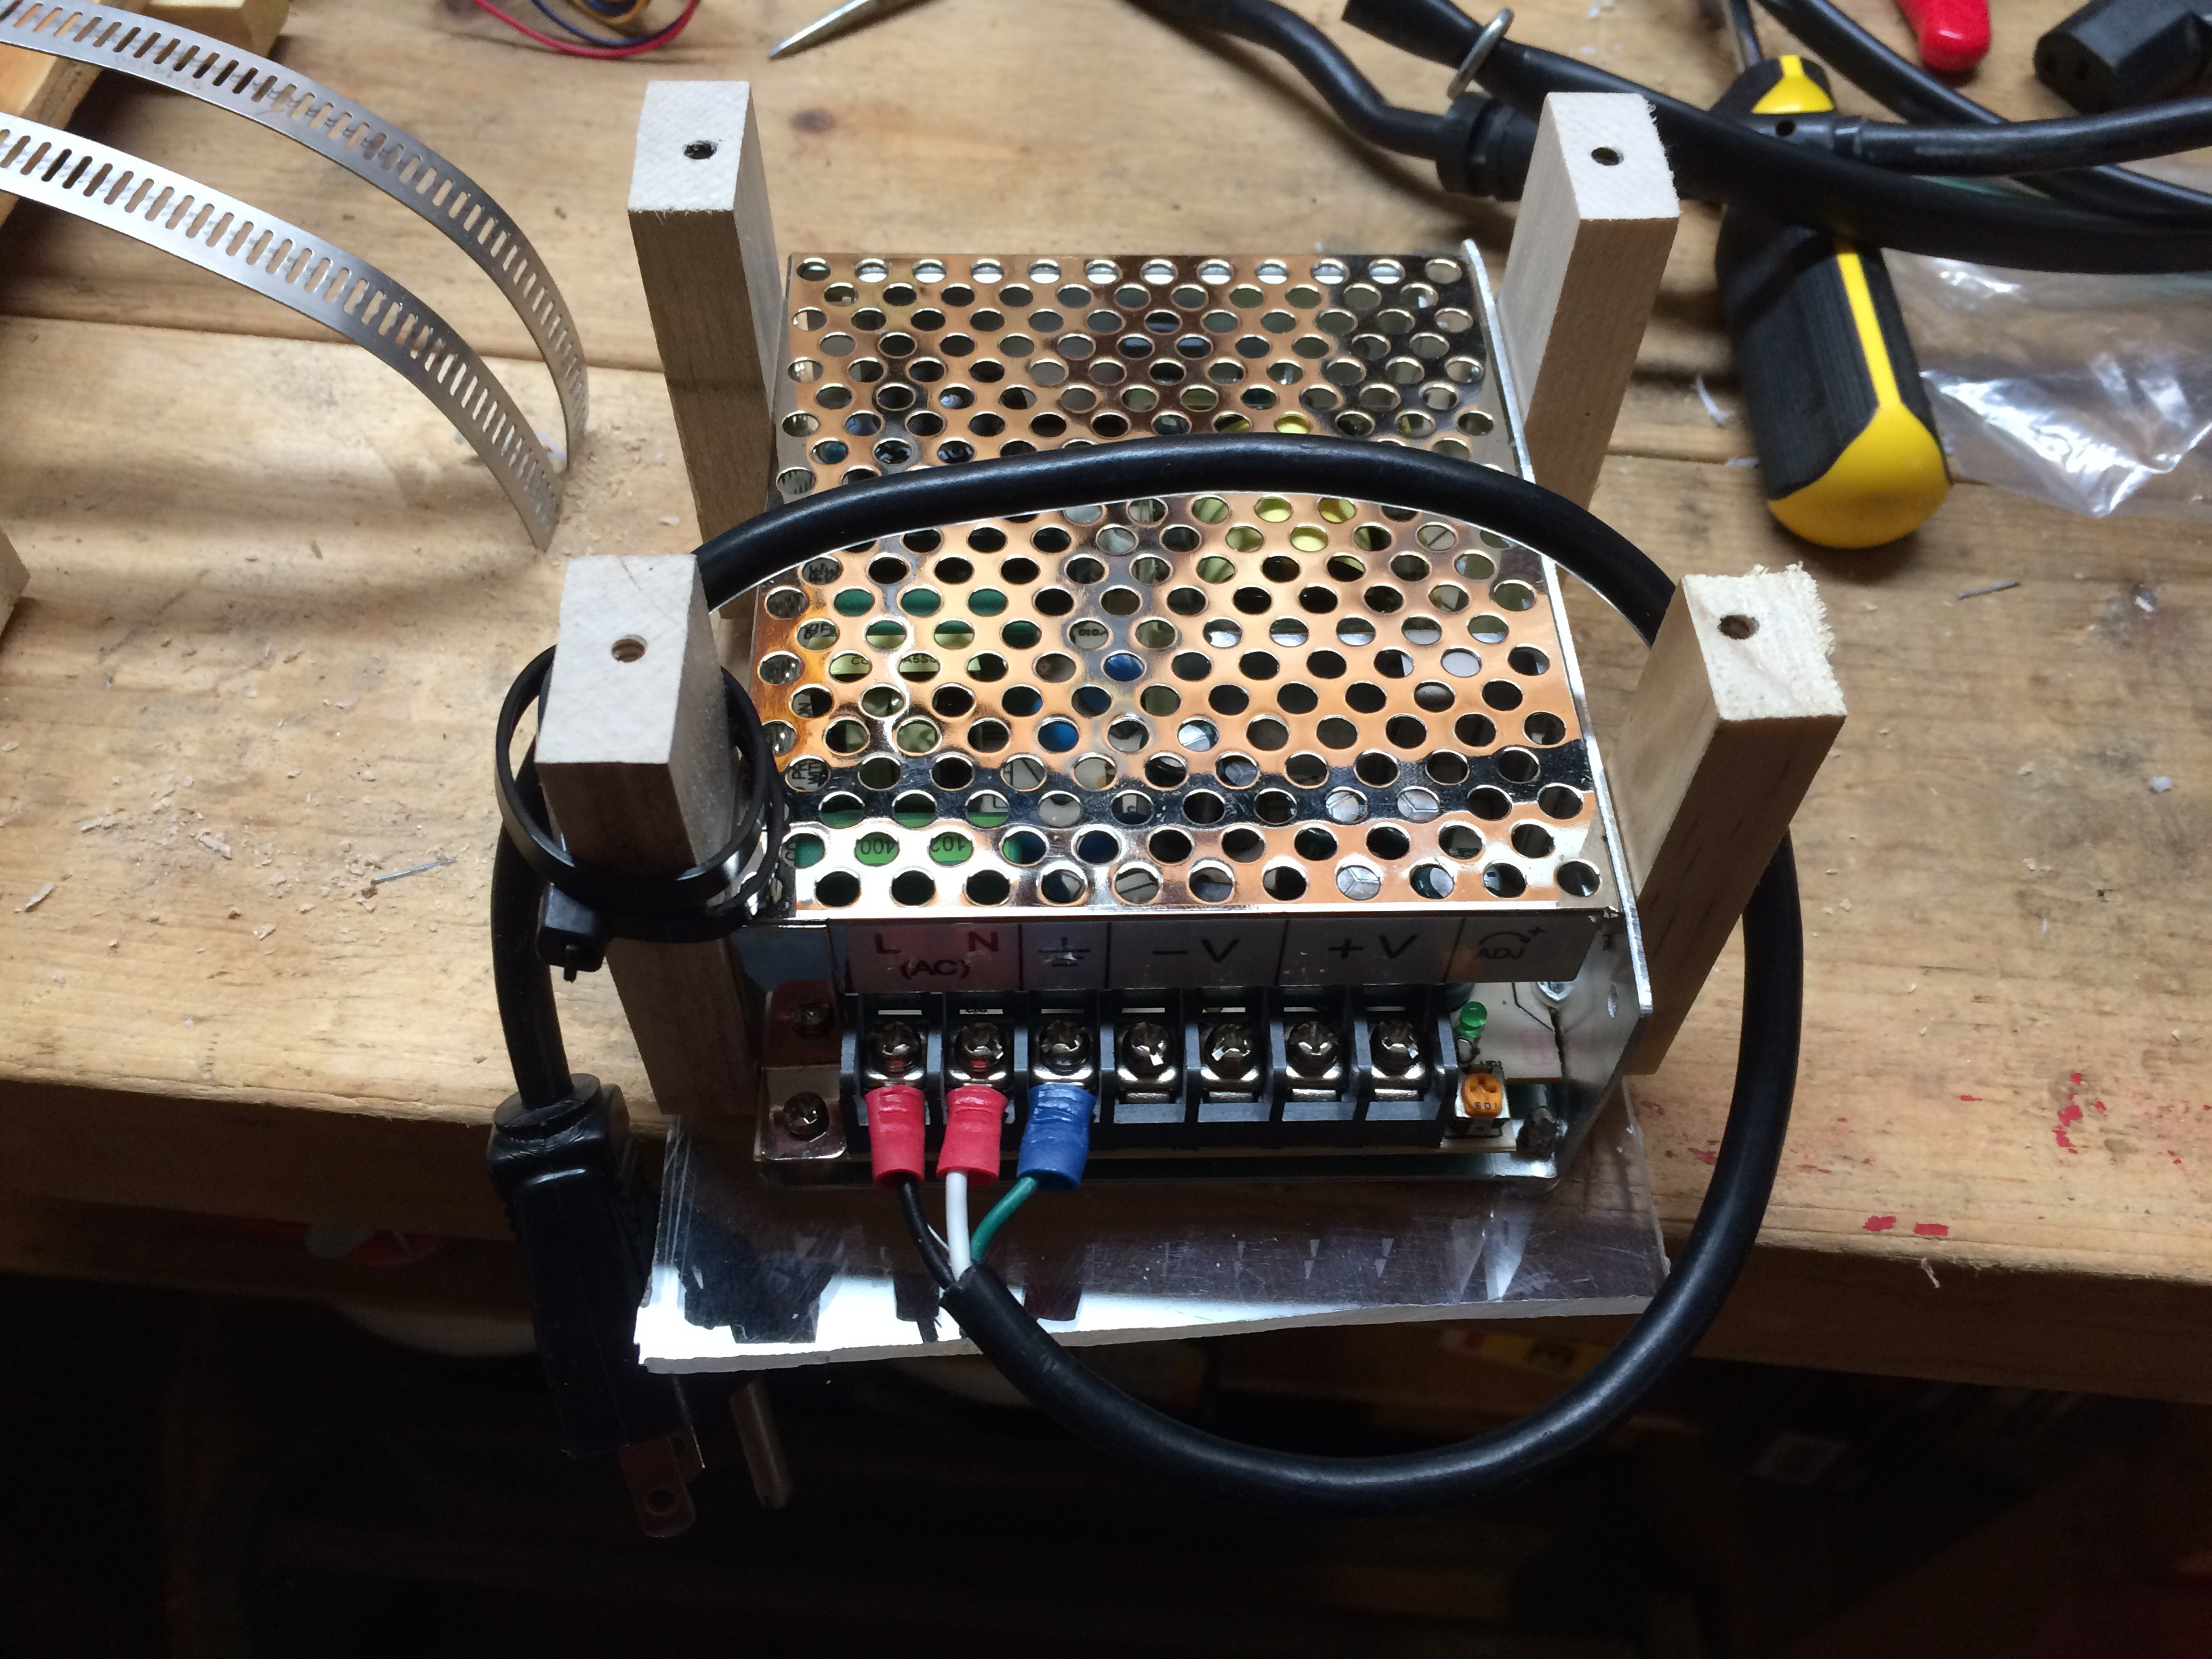
    using some scrap acrylic from a previous project, and leftover wood from the support frame, I made a very simple housing for the PSU. It should provide enough protection from whatever might escape the chute, and I can always beef it up later.

    Symmetry and exact dimensions are for squares!

    Using some salvaged cable from a laptop power brick, I connected a male plug to the PSU. That way I can plug it in to an extension cord and use it wherever.

    Not pictured: the top plate.

    I'm currently in the middle of securing the PSU to the stand, and wiring up the PSU to the motor. In the next update, expect more wiring, putting the chain on the two sprockets, and maybe the first test videos!

  • Catching up

    Will F.07/12/2015 at 16:22 0 comments

    This a catch-all update for the progress I made before making this project post. I constructed a hopper using scrap wood I had around my garage. Most of it is cedar to prevent rot over time. the white section is PVC because I ran out of cedar... anyway there are two 8" pieces and two 6" pieces mitered to 45 degrees and joined with screws. It connects to the shredder with four 1/4 inch dowels. I drilled holes in the shredder frame to fit the dowels, and fused the plastic infill together with a soldering iron and filament. This was kind of a hack job. My joinery skills are less than stellar and I had to re-drill the holes for the dowels so they'd actually fit. Having said that, I'm not exactly going for style points here. I just want something that works and will last a while.

    I also printed a custom part to connect the printed hex shaft on the shredder to the 25 tooth sprocket. After this thing is up and running I will do some testing to determine whether this design is good enough to handle the load it will be exposed to. Ideally I'd machine a direct connection into the sprocket itself, but I don't have reliable access to a milling machine.

View all 3 project logs

Enjoy this project?

Share

Discussions

Jamie wrote 10/30/2016 at 14:30 point

Wow I love this!  For a long time I was always shopping my food waste into tiny pieces now when I turn it with a shovel I just break things up which are usually softened by the head of the compost. This would go well with my automated composting system though because it turns and waters automatically so the food is not being broken up. I love it. I am assuming it has limitations? Like avocado seeds are probably too hard? 

  Are you sure? yes | no

Similar Projects

Does this project spark your interest?

Become a member to follow this project and never miss any updates