The Big One
-
And still no PCBs...
09/30/2015 at 16:17 • 0 commentsThe PCBs are still not here. If they have still not arrived by the end of the week, I think I will have to contact Dirty PCBs to get another batch. I don't want to do that, as I know the problem is with the postal service and not Dirty, but I have no recourse with Canada Post for untracked packages.
Let's just hope that it turns up soon... :-(
-
Still waiting for PCBs...
09/15/2015 at 23:37 • 0 commentsI am still waiting for my PCBs. It has been about a month since they shipped... hopefully they show up this week.
(I am also waiting on 5 items from eBay for other projects, all from different sellers: none of them have arrived yet, even though they were all ordered on July 30th! I get that the Chinese postal system is not always reliable, but this is just garbage! Maybe a container ship with all of my stuff on it has gone through the Bermuda Triangle (yeah its in the wrong ocean, but bear with me here) and has been abducted by aliens.)
I guess this is the price we pay for getting incredibly cheap components from China.
-
What's in a Name?
08/22/2015 at 20:31 • 5 commentsI normally try to name my projects with a non-English name or some variation on an existing word. This is for a few reasons, the least of which is to allow search engines to get better matches.
Drum Master is obviously the exception to this. It was one of my earliest projects (in its original form), and I was young and foolish.
I am now trying to come up with a decent project name, but am hitting brick walls with my train of thought. Does anyone have any suggestions? I'm listening!
Cheers
-
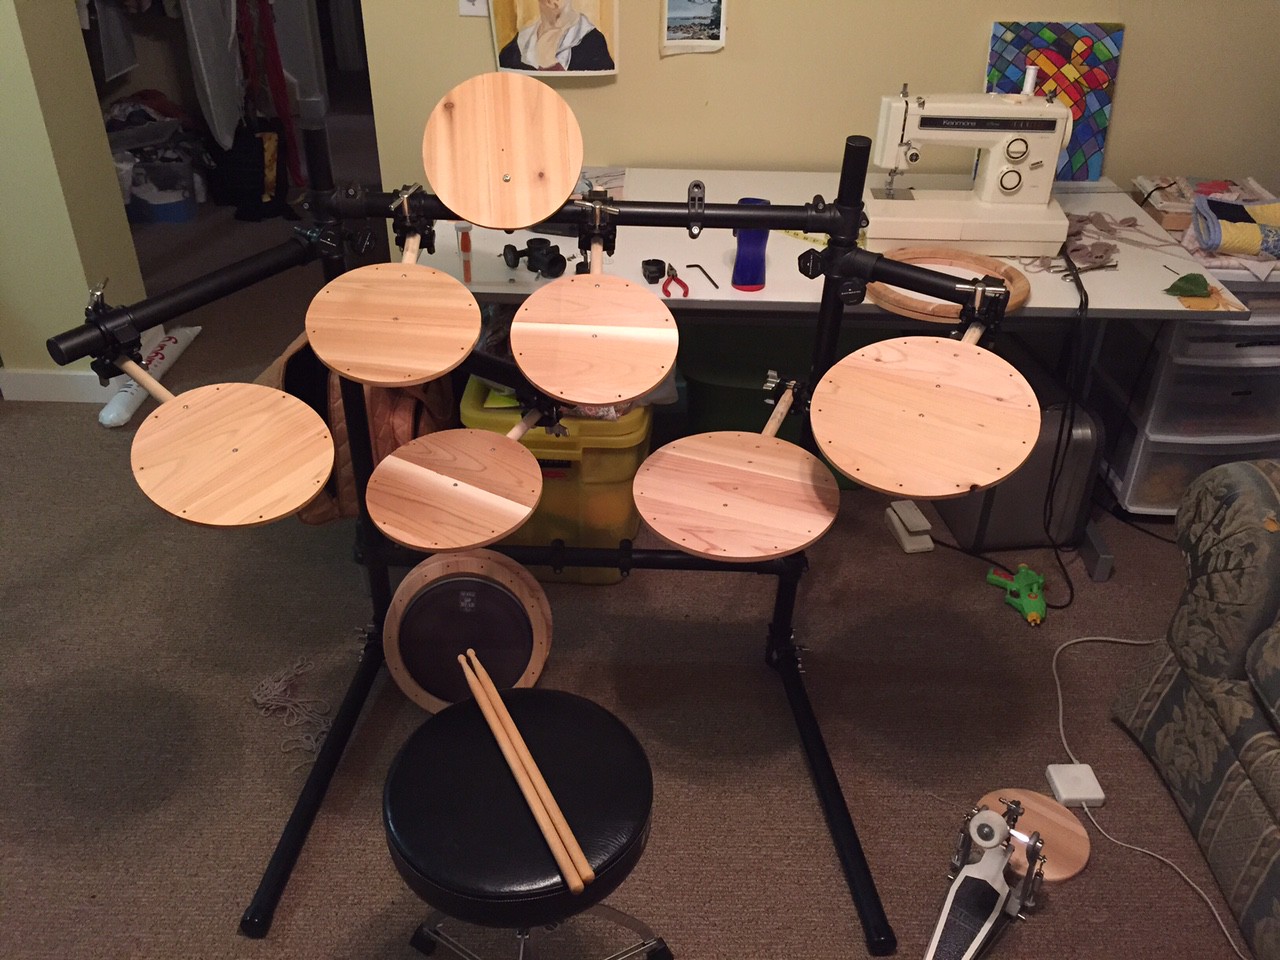
(Most) Drums Finished
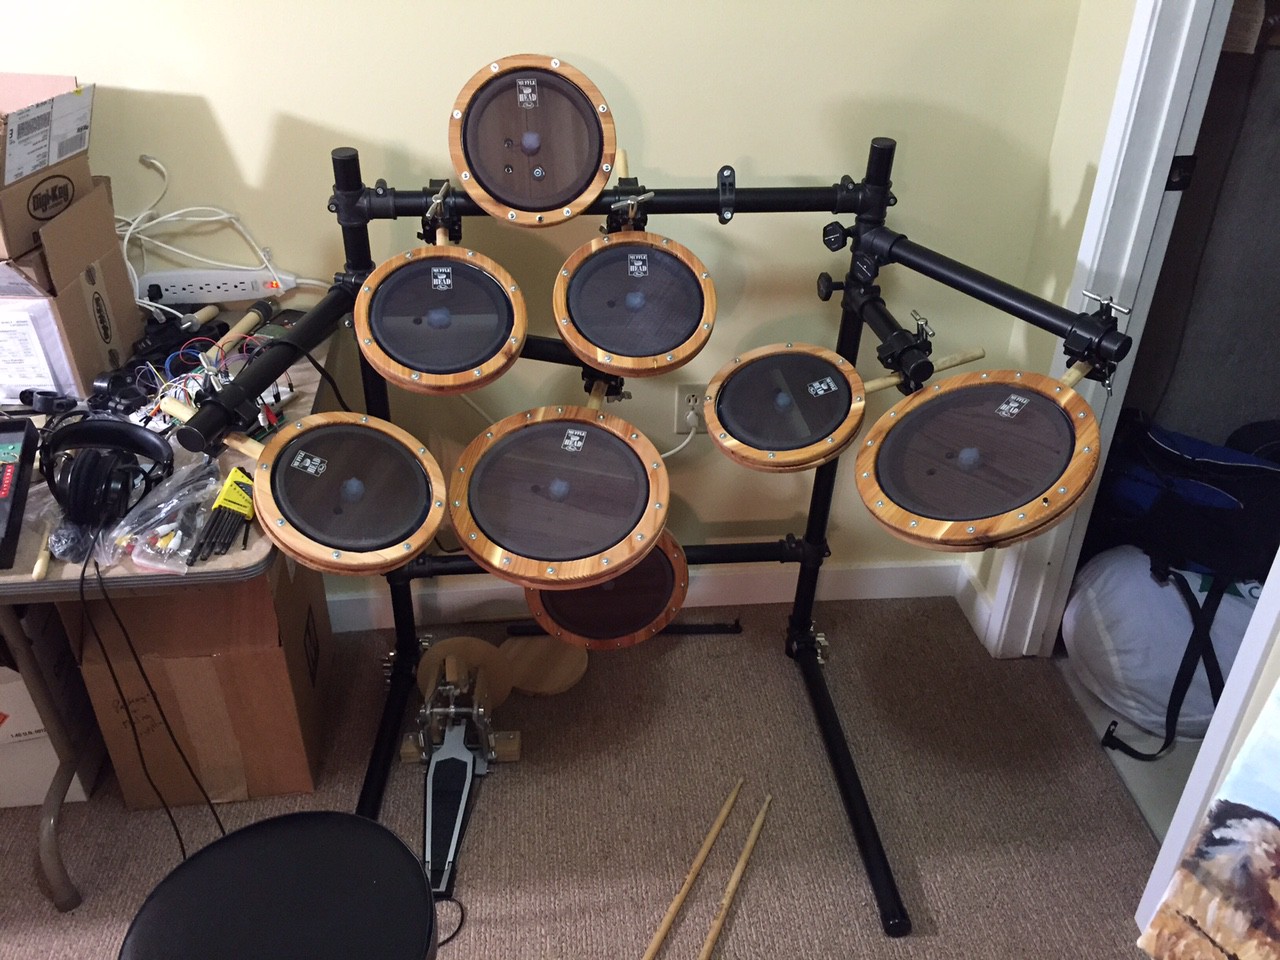
08/22/2015 at 18:50 • 0 commentsAll but one drum is now completed. (I am waiting on a backordered 8" Pearl Mufflehead from my local music store, so can't finish the last one yet).
Outstanding steps remaining:
- Figure out a way to secure the bass drum pedal (either to the drum / frame or to a large enough block of wood on the floor that it stays in place)
- Figure out the hi hat controller (my previous version was a hideous behemoth of MDF that used multiple IR LEDs and a micro switch to detect both fully closed plus various analog levels of openness); the new one must do the same thing, and may well use the same approach, but I need to clean it up and make it look pretty to match the rest of the set.
- Wait for the PCBs, and cross my fingers that they actually work.
- Figure out what I want to do with the faceplates (do I order another batch that actually fit, or do I just cut my losses and make it myself, sans fancy etched labels)
- Re-teach myself how to actually play the drums ;-)
A picture of the set with all the completed pads is below:
![]()
-
Laser cut faceplates arrived (and are bad)
08/21/2015 at 15:29 • 0 commentsThe laser cut faceplates which I had ordered from Ponoko arrived yesterday. Unfortunately, I made a mistake on the design, and the spacing between the holes for the RCA jacks on the back is too small, so they can't fit (or rather, the jacks can fit, but there is not enough room for two cables to be plugged in side by side). :-( And yes, I did measure multiple times before ordering, but I must have overlooked the same issue each time. At least the front plate looks good.
Now I need to figure out what I am going to do about it. I have fixed the design files, so I could of course just order another batch. However given the astronomical shipping cost to Canada (the cutting itself was $8, but the shipping was over $30), I am somewhat reluctant to do that. I may break out my scroll saw and attempt surgery on the existing faceplate; or if nothing else, since the back is the only part with issues, I may be able to just ignore it and make my own (unlabelled) rear faceplate.
Sigh.
-
First Pad Completed
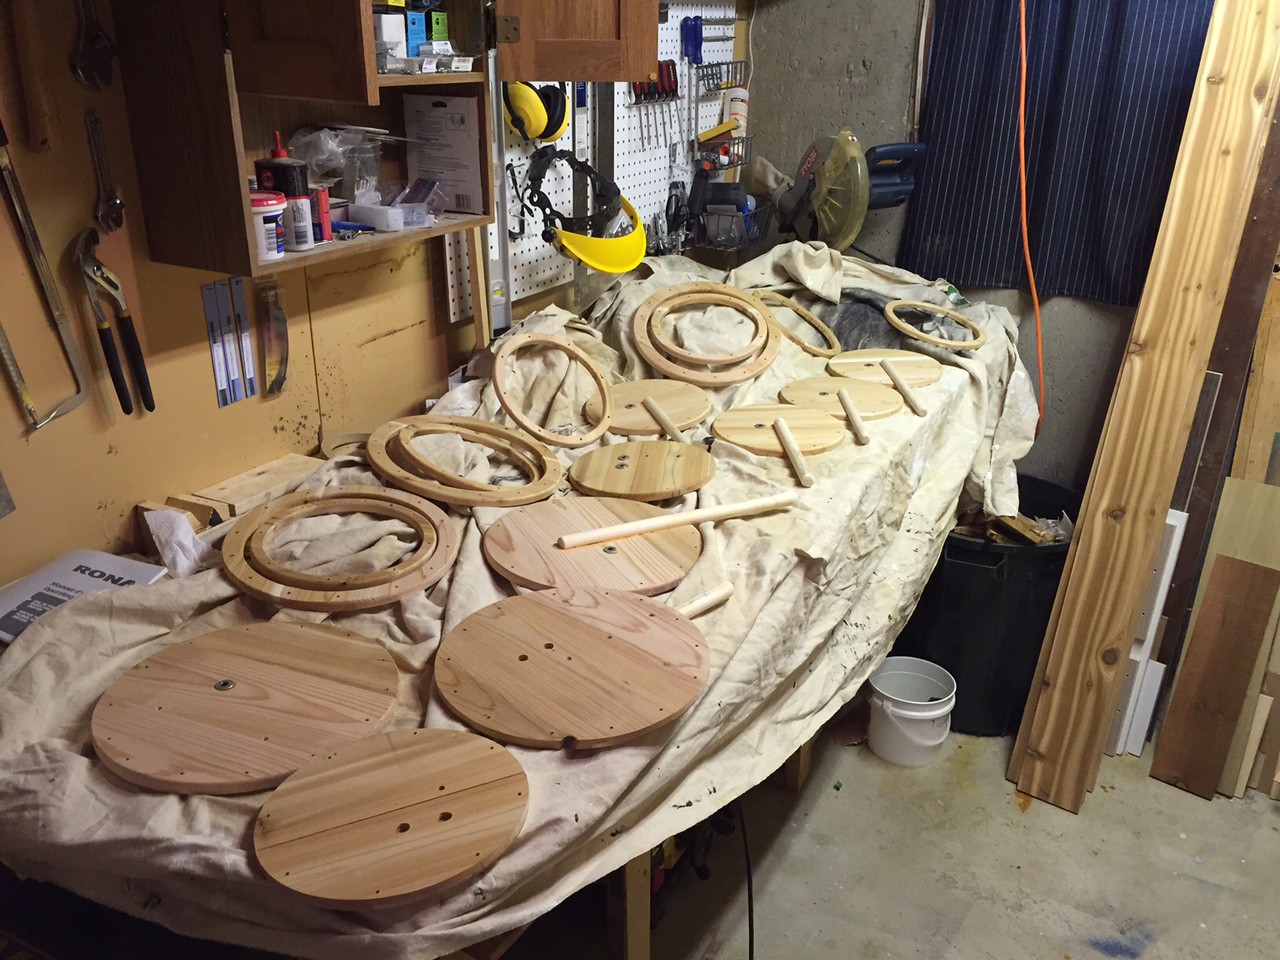
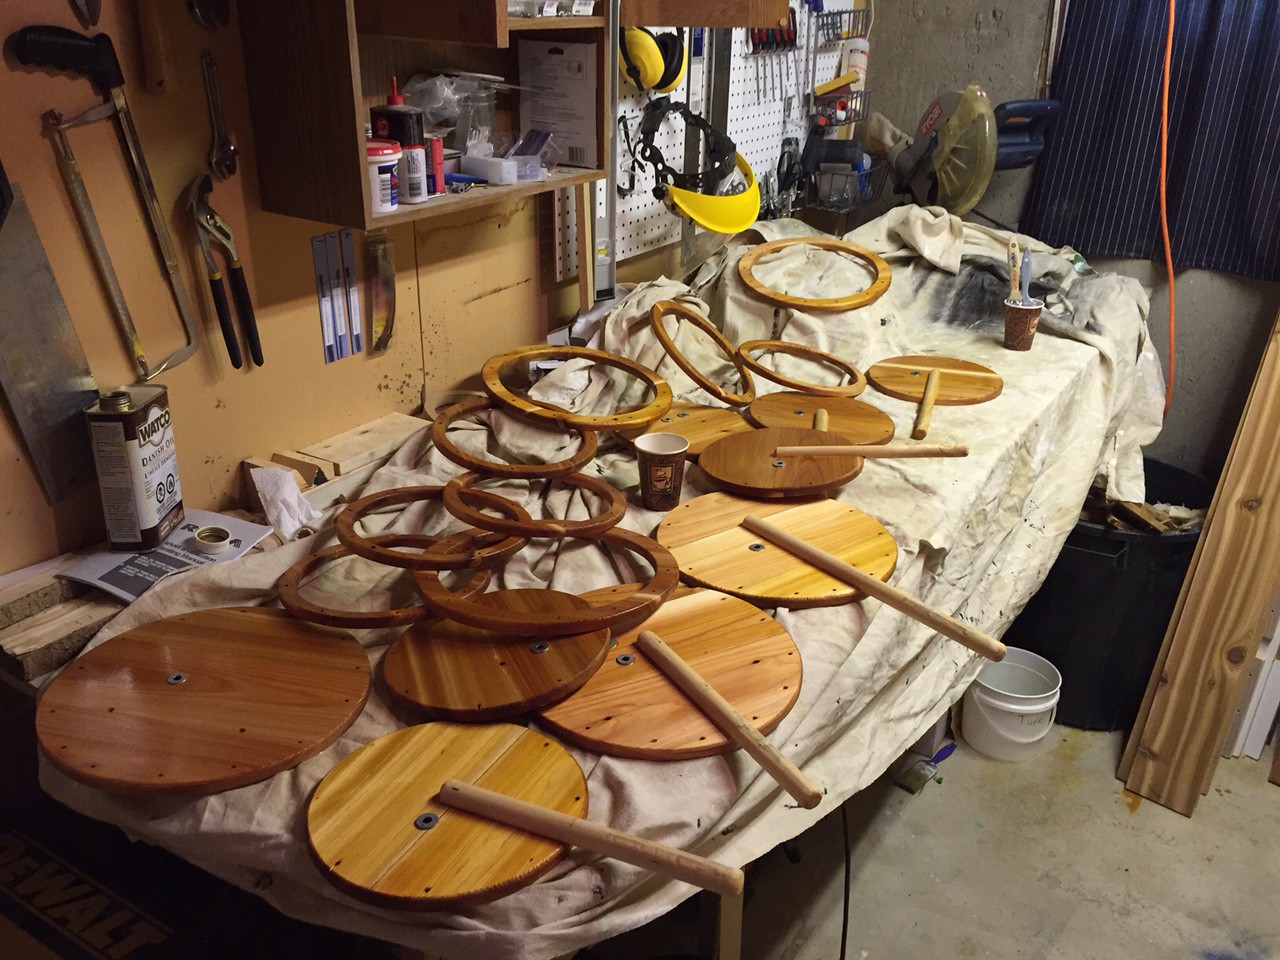
08/17/2015 at 02:32 • 0 commentsThe first two pads are now completed, and all the pads' wood is finished with Danish Oil and are thus ready for assembly. Assembling each pad takes about 10 - 15 minutes from here, so we're getting close.
Some pictures, before and after the coat of Danish Oil:
![]()
![]()
... and, the first assembled + tested pad on the frame:
![]()
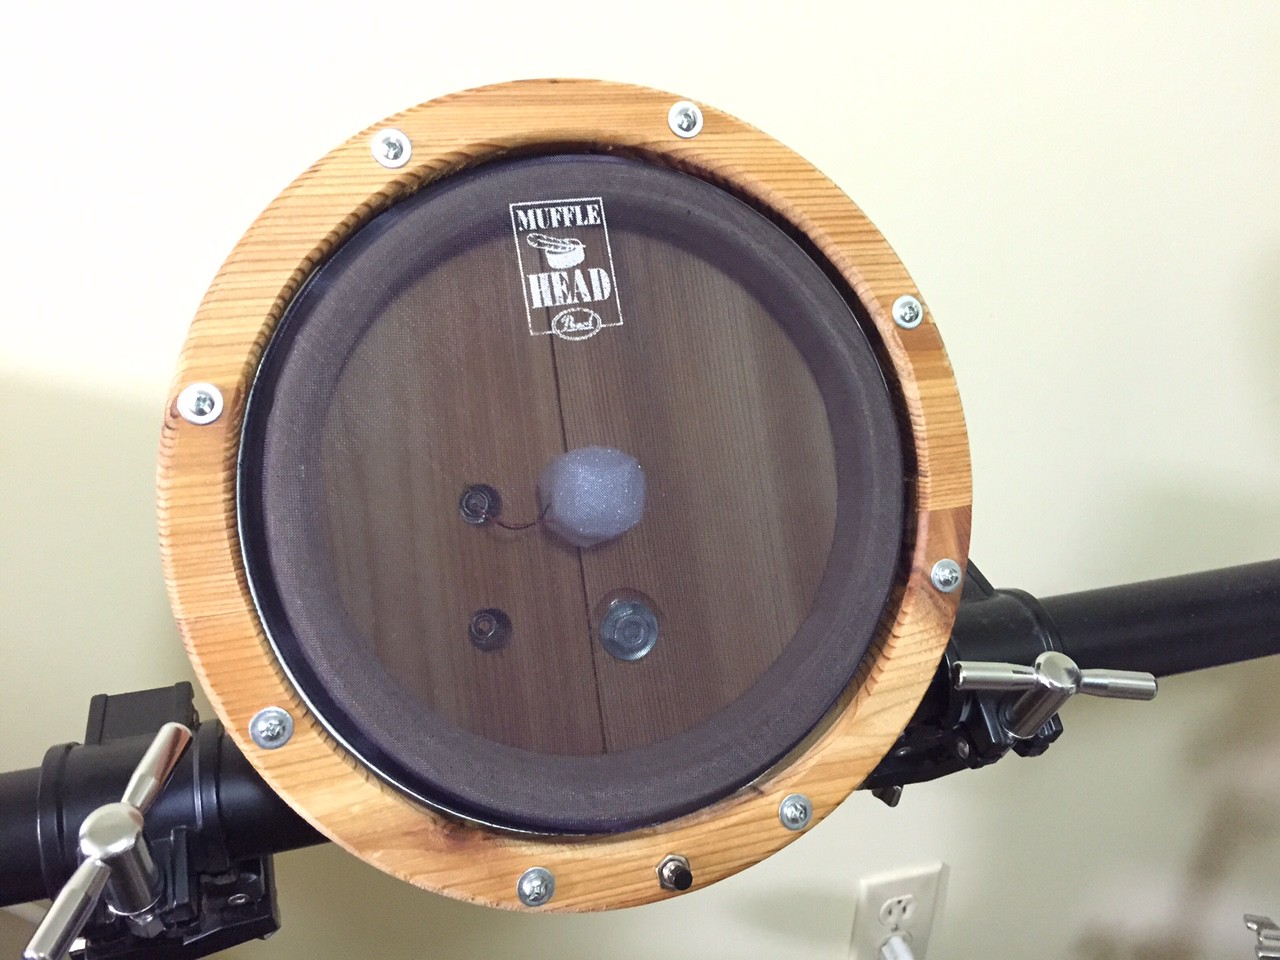
![]()
(This is one of the cymbals, and thus has a mute switch in addition to the pizeo. I had debated with myself over the different options for muting cymbals, and after much thought decided to go with a simple panel mount push button instead of some of the other methods such as touch sensor or some sort of pressure switch.
-
New Frame
08/15/2015 at 02:43 • 0 commentsI assembled the new frame tonight... the previous version was steel conduit pipe, and that stuff was heavy. I had some black aluminum sitting around that was the same size (it originally was from an acoustic drum rack, so it is more than strong enough too), so I used that instead and it is now much lighter. Between the frame and the drums, I expect this version to be less than half the weight of the last one. Yay!
Below is the frame with all but one of the drum pad bases to show positioning. (The splash cymbal is missing; it would be to the right of the crash, which is the top left pad). The bass drum is there, but not in position (you can see the two widgets that it will attach to). The control box / brain will go on top of the left arm.
![]()
After this was taken, I finished drilling the holes in the pads (including the holes for the RCA jacks to connect to). I then epoxied the 1/4" washers in front of the RCA jack holes, for the panel mount RCA jacks to mount onto. Once dried, I will finish the pads with Danish Oil and will be ready to assemble them with the piezos and drum heads.
On the electrical side of things, I just got an email from Dirty PCBs today that the board has been submitted to the fab house for production. I am hopeful that the boards will be here by the middle of September.
More updates to follow...
Cheers
-
Design Review, Ordering Faceplates + PCBs
08/12/2015 at 03:46 • 0 commentsI looked over the design this evening, and sure enough found a couple of mistakes.
First, the TSSOP-24 footprints for the MUXs were slightly too narrow (I had used a 3.9mm wide footprint, when I should have used 5.3mm).
Secondly, the Teensy audio shield was colliding with the electrolytic caps. I moved those to be in a better place.
Thirdly (Tertiarily?), I did some minor re-routing to reduce vias on signal traces and hopefully make for a cleaner board overall.
I also ordered the faceplates for the enclosure (front and rear). I am planning on making a wooden enclosure for this project, similar to my other recent ones; however this one will not have an aluminum faceplate (for two reasons: 1, I want a lot of text on it to describe input function, and 2, the RCA jacks that I am using would all have the outer rings shorted together, and the outer rings are not all at the same potential (some are grounded and others are at 3.3v)). Instead of aluminum, I am trying out Ponoko laser cutting / etching for the first time. The price is right (at least until you add shipping to Canada - boo!), and I have a coupon for it from a previous HaD prize win, so it really costs me nothing.
The faceplates can be seen at https://github.com/thebiguno/microcontroller-projects/blob/master/projects/drummaster/rev2/enclosure/ponoko_faceplates.svg (you may want to import it into Inkscape or Gimp to see it better; the colors required for laser cutting / etching do not show up very well in the browser).
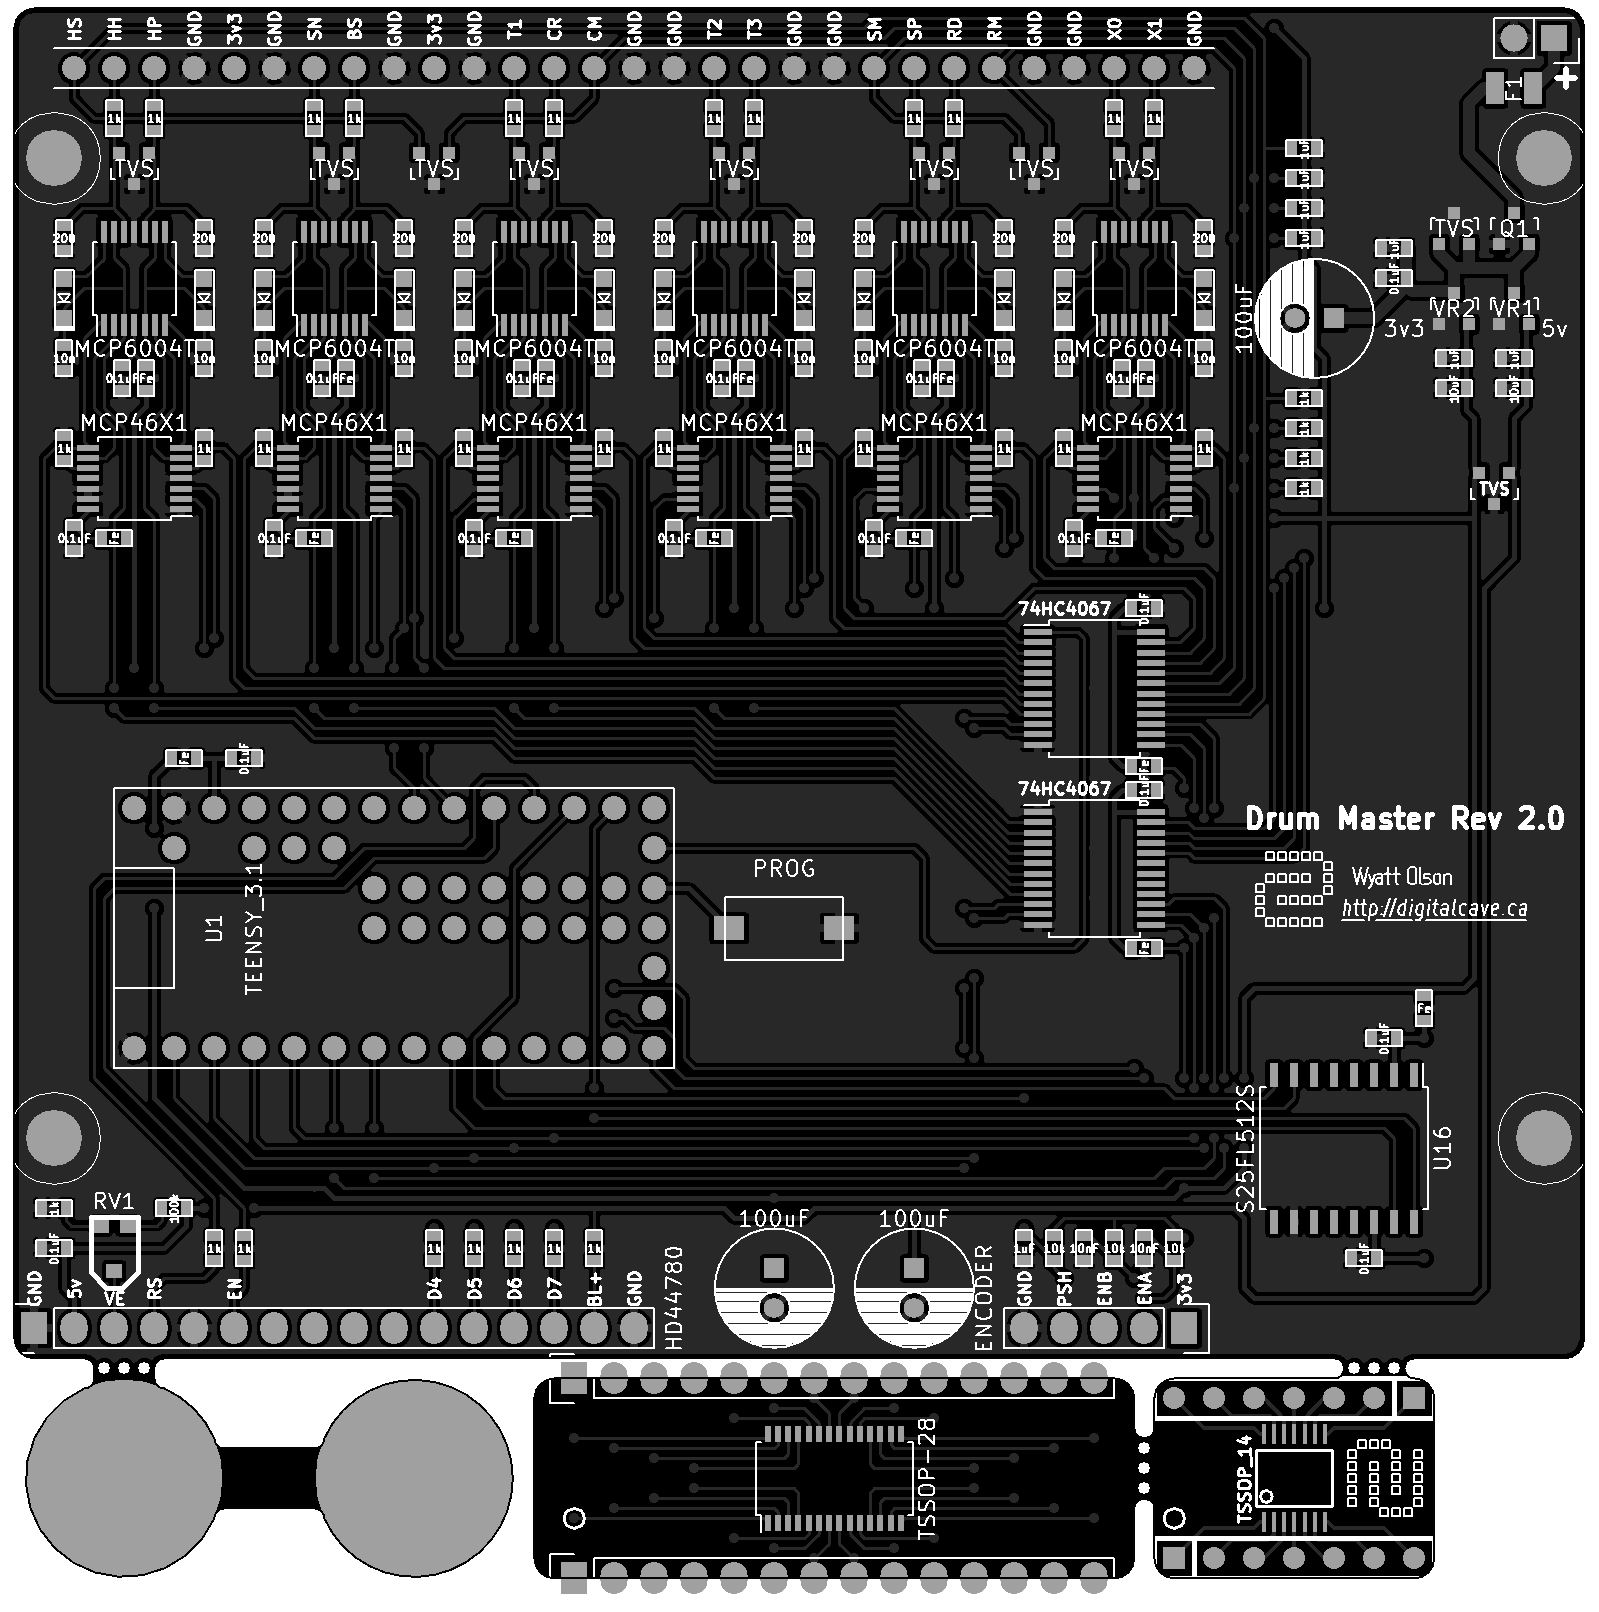
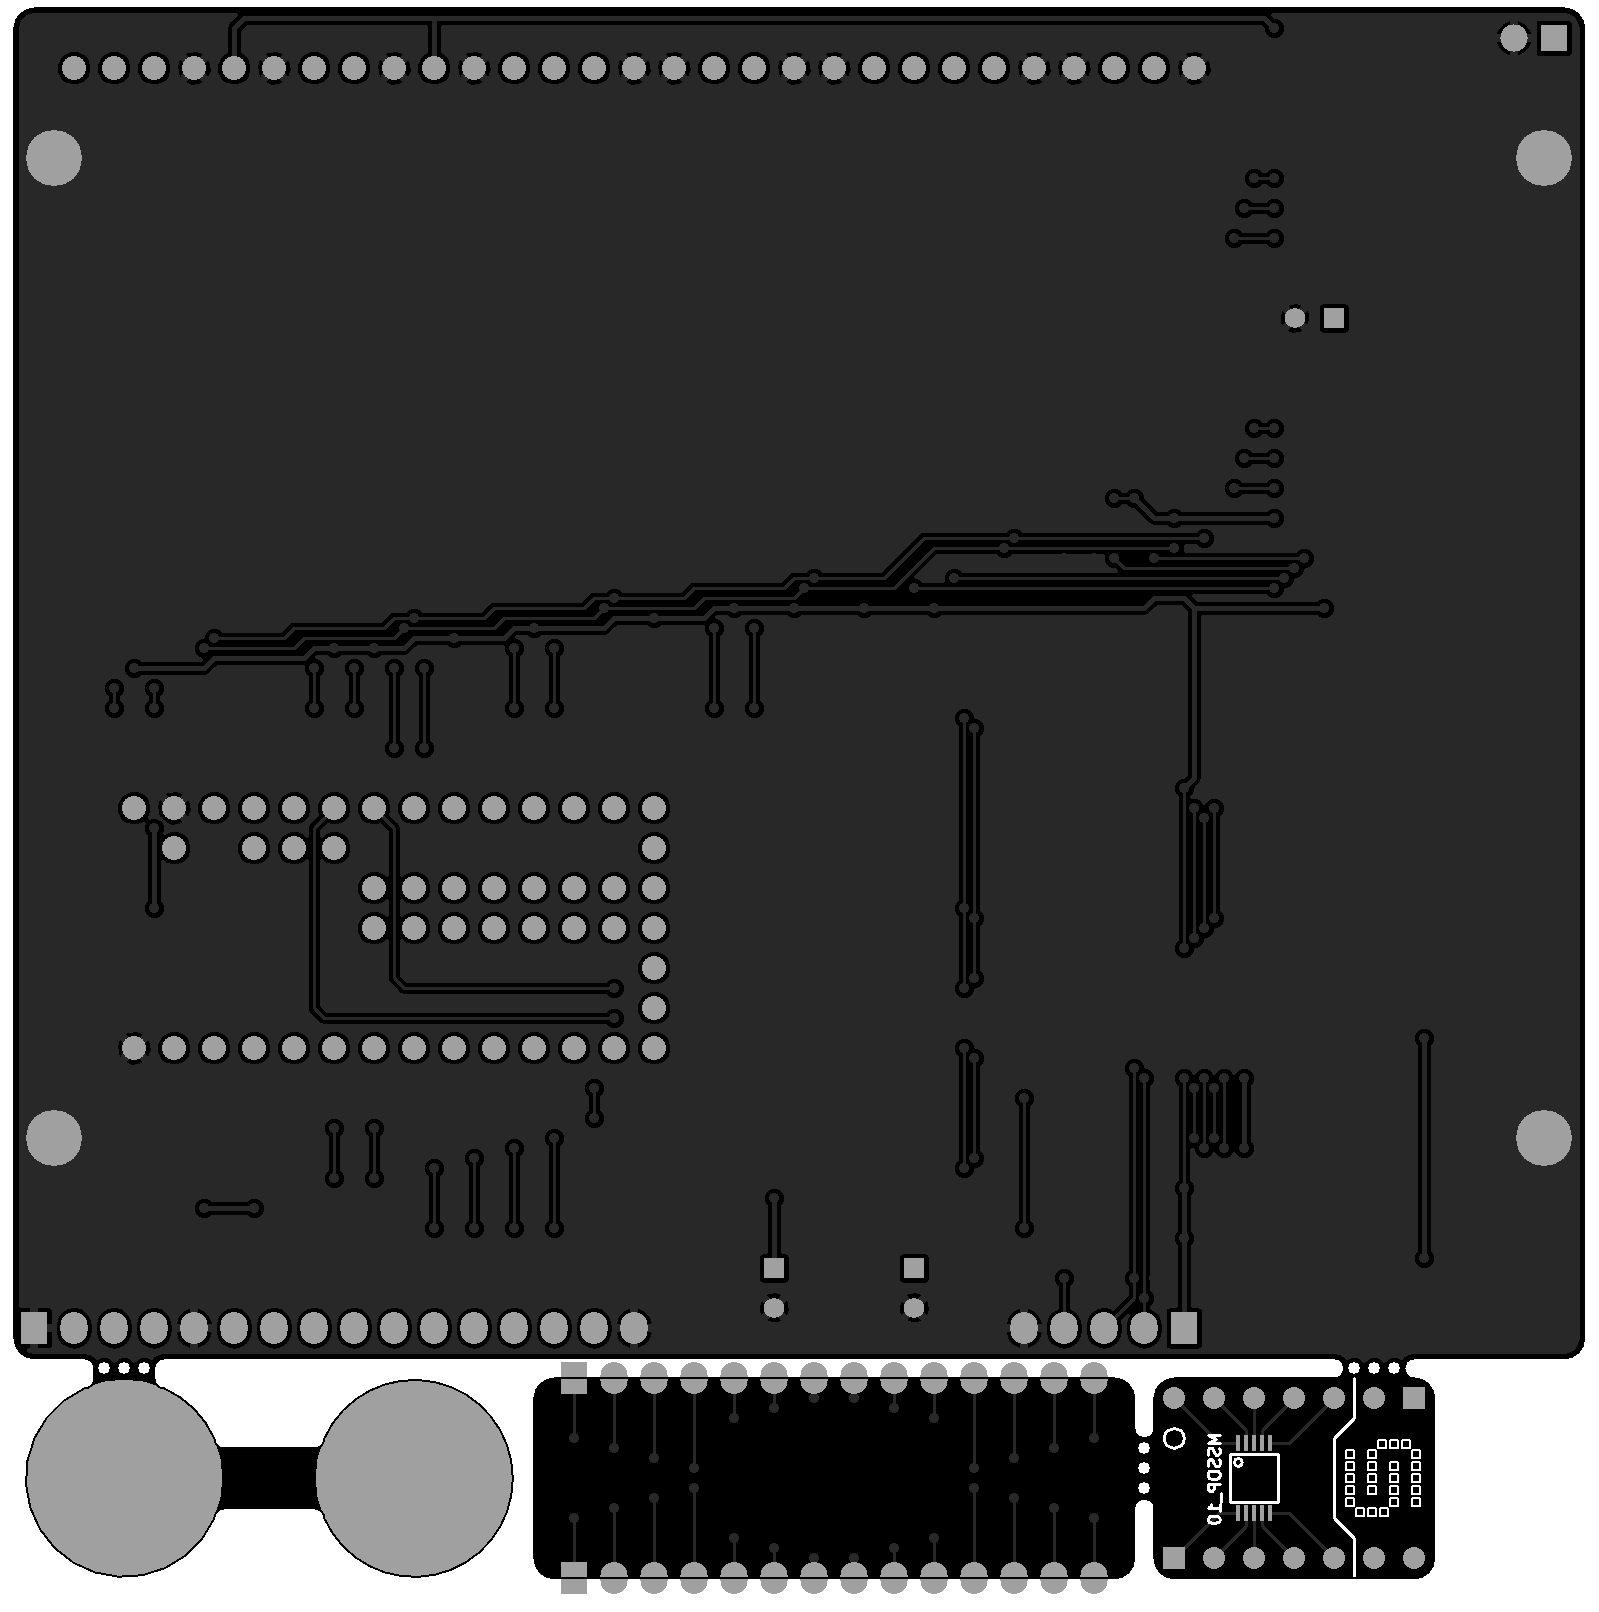
The board order has been placed at Dirty PCBs. You can order your own board in the Dirty PCB store at http://dirtypcbs.com/view.php?share=10126&accesskey=, or you can just look at the pretty pictures below.
![]()
![]()
-
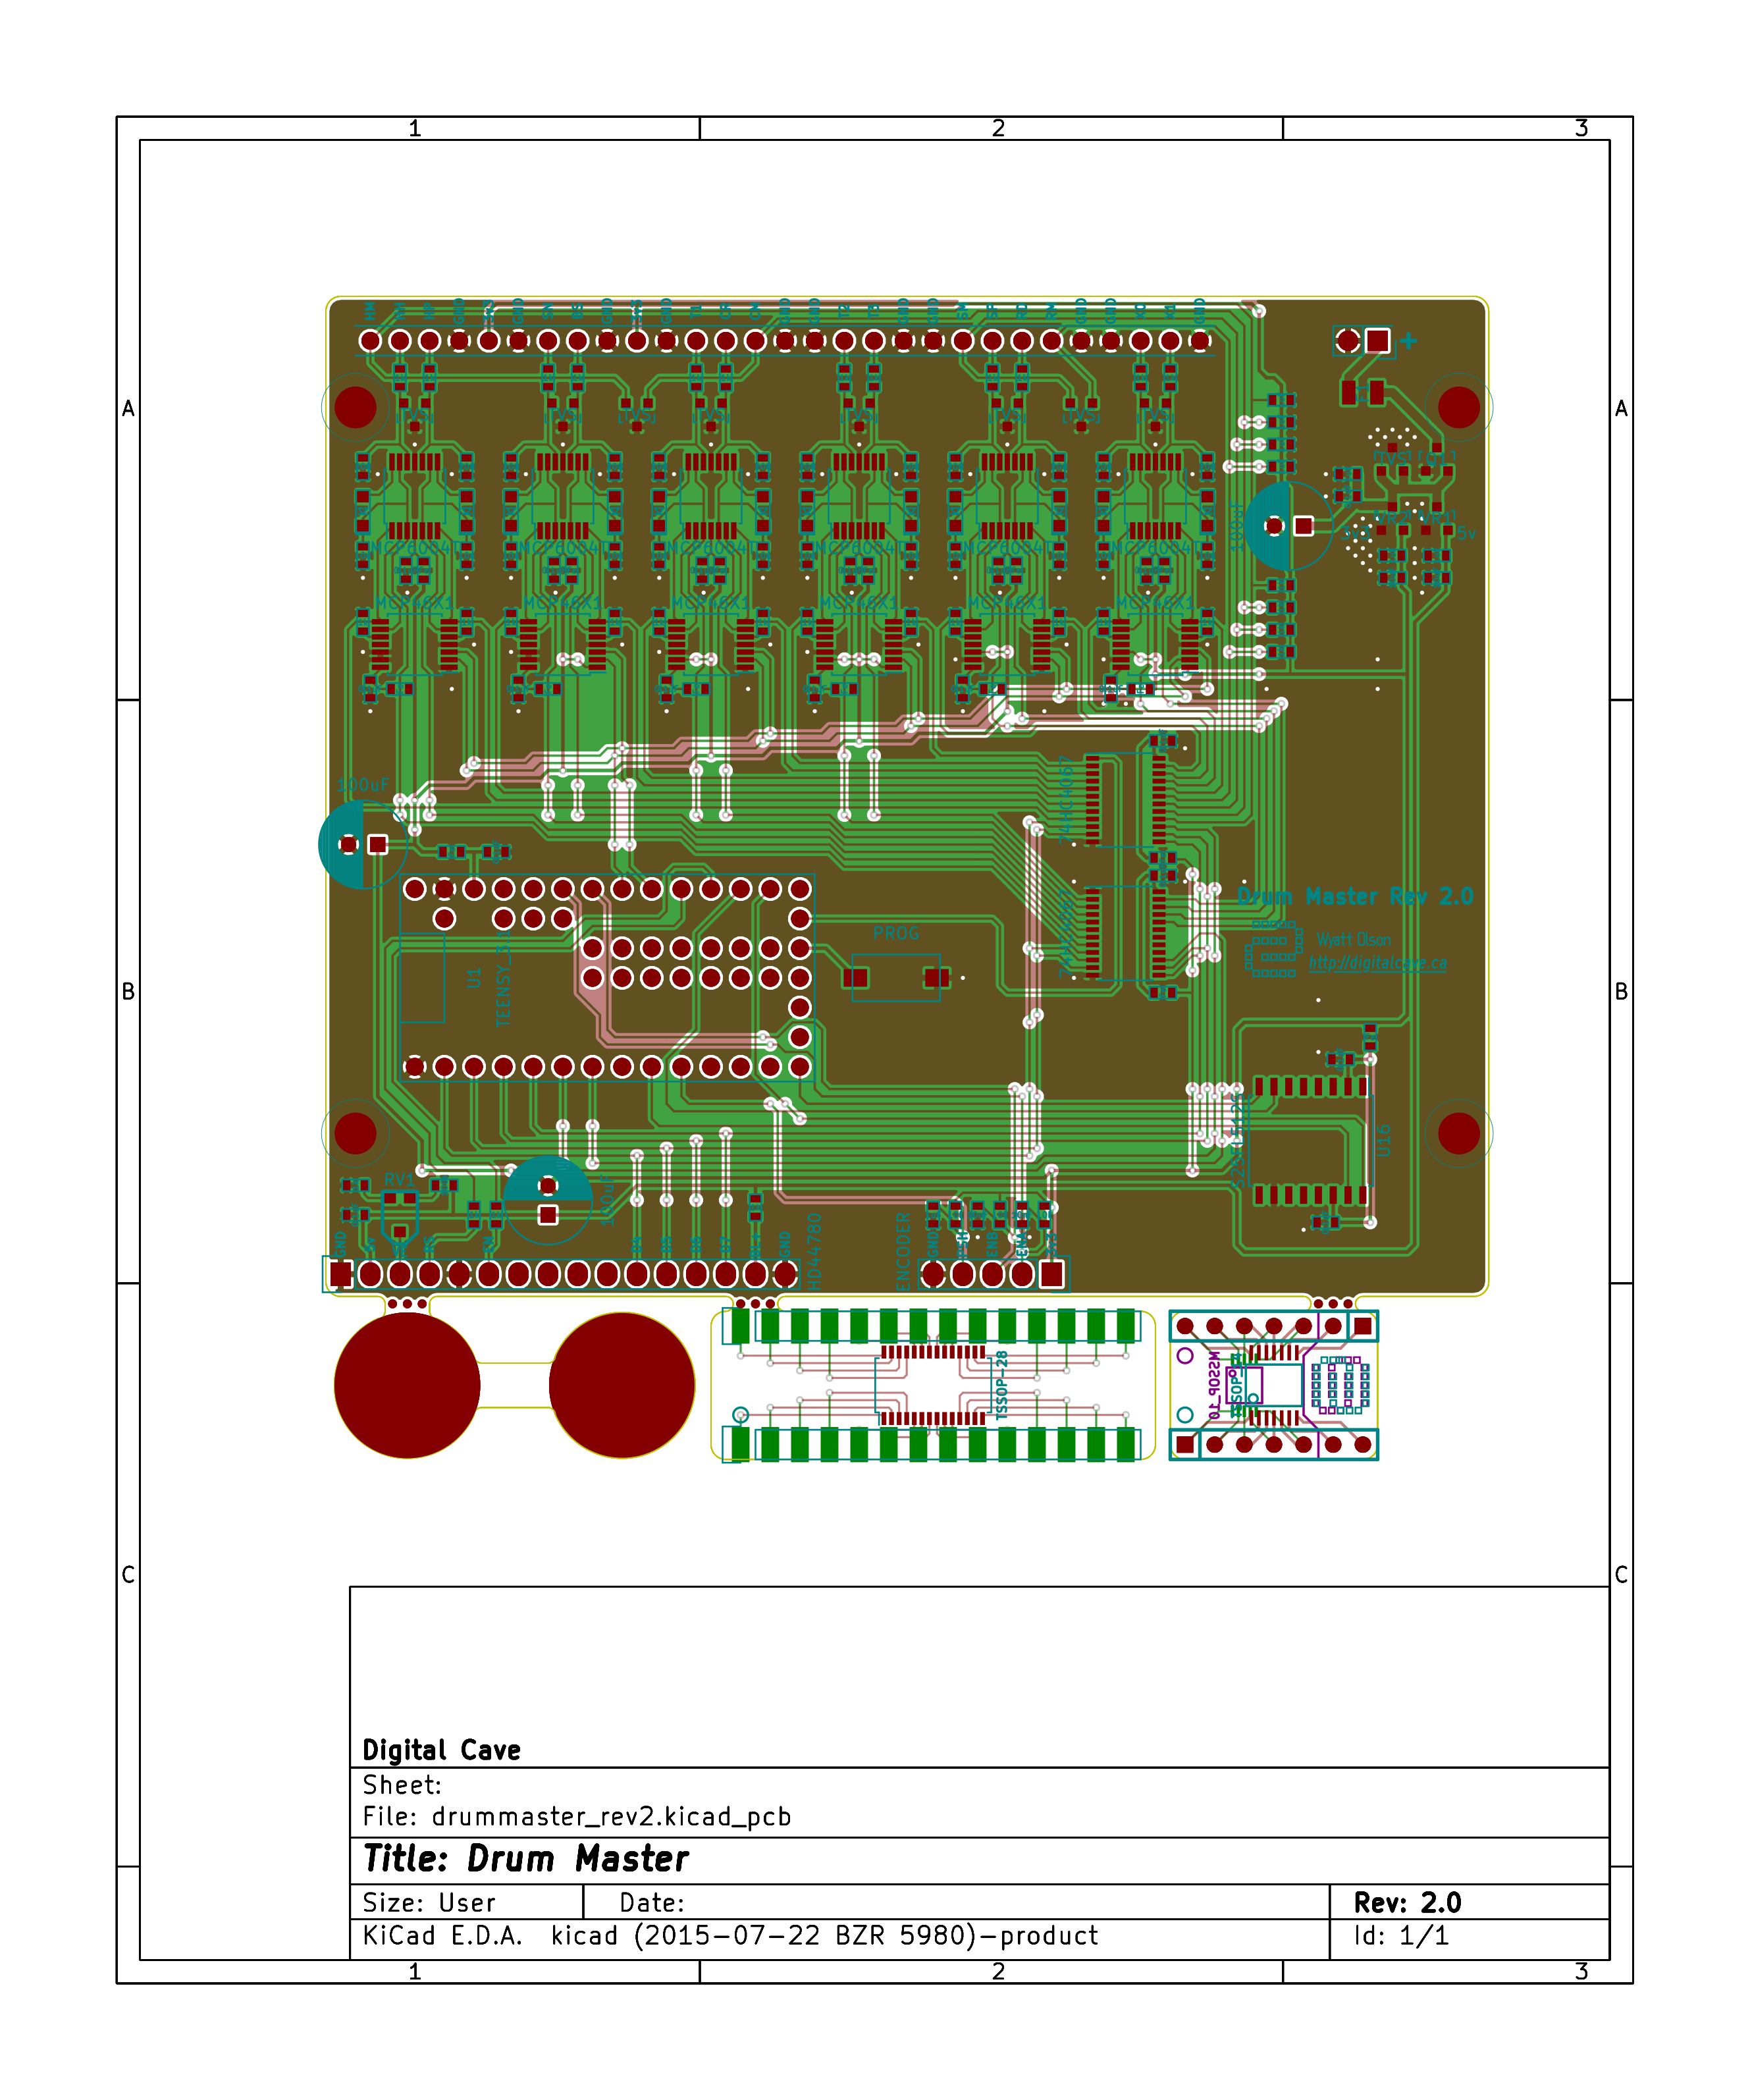
PCB Design
08/11/2015 at 15:57 • 0 commentsBelow is the (almost final) PCB design. The board itself is about 10x8cm, and I have some breakouts and other misc. junk hanging off the bottom (no sense paying for 10x10 when you only need 10x8, right? ;-) )
The plan is to print a copy today and verify component sizes, and then get the order submitted ASAP.
While the board is being manufactured, I will be continuing work on the drum pads and (to a lesser extent) the software. Both lines of development (electronics + frame / pads) look to be converging around the middle of September.
![]()
-
More Progress
08/10/2015 at 19:52 • 0 commentsI have made a lot of progress over the past few weeks, but have been horrible about updating the logs here. This is my attempt to rectify that error. ;-)
The electronic / hardware side is pretty much completed. I have tested everything as much as possible on a breadboard, and have fixed the things that didn't work out properly (i.e. wrong resistor values, windowing of the digital pot, etc.) I have also refined my previous drum pad design, which appears to be working much better in conjunction with my new electronics.
The pad design is quite simple but I feel it deserves its own paragraph, as I have not seen anyone else doing this same approach (I'm sure I am not the first to have done it, but from what I can tell it is not a widely used design). This design uses two drum head sizes: 8" and 10". 8" would be preferable for everything, but I already had some 10" mesh heads so I figured I would save myself a bit of money and re-use them.
It consists of 4 separate layers for the physical drum plus the electronics.
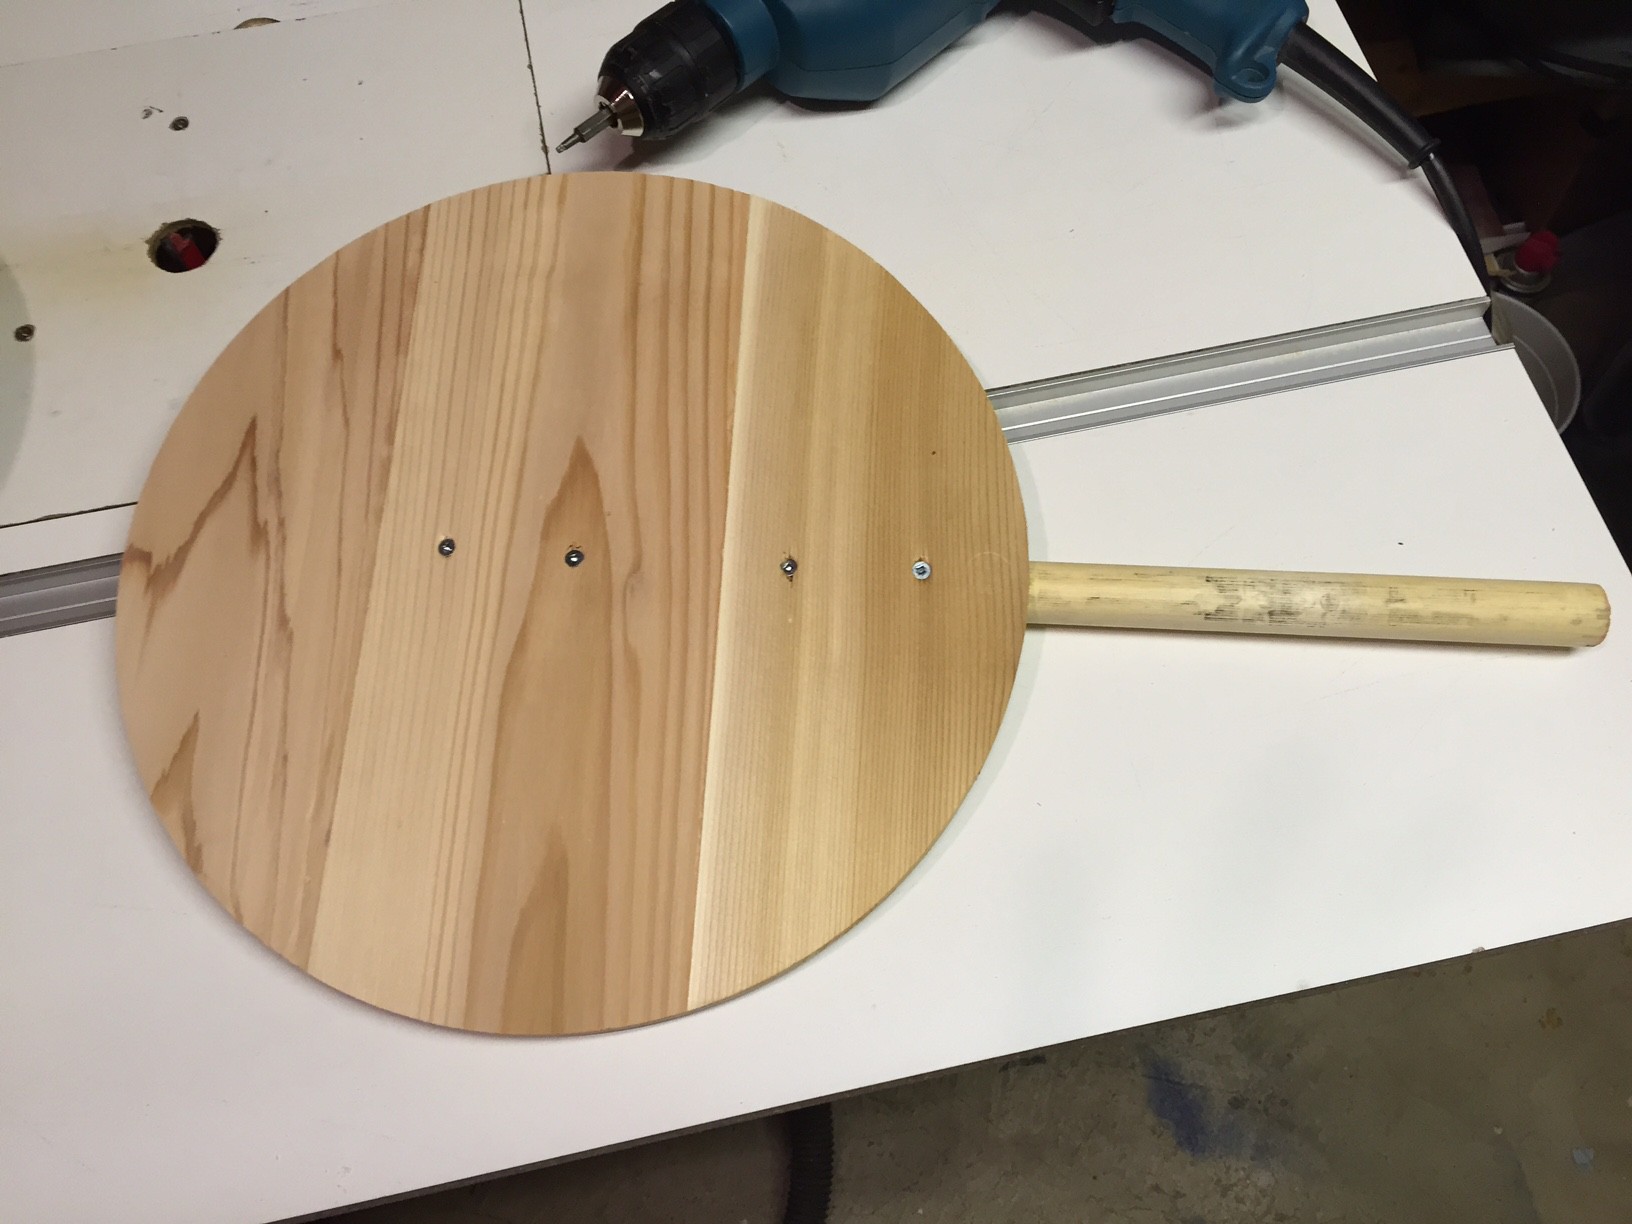
The bottom layer is a solid 1/2" thick circle of wood (I used cedar but most anything should work) with 9.75" diameter.
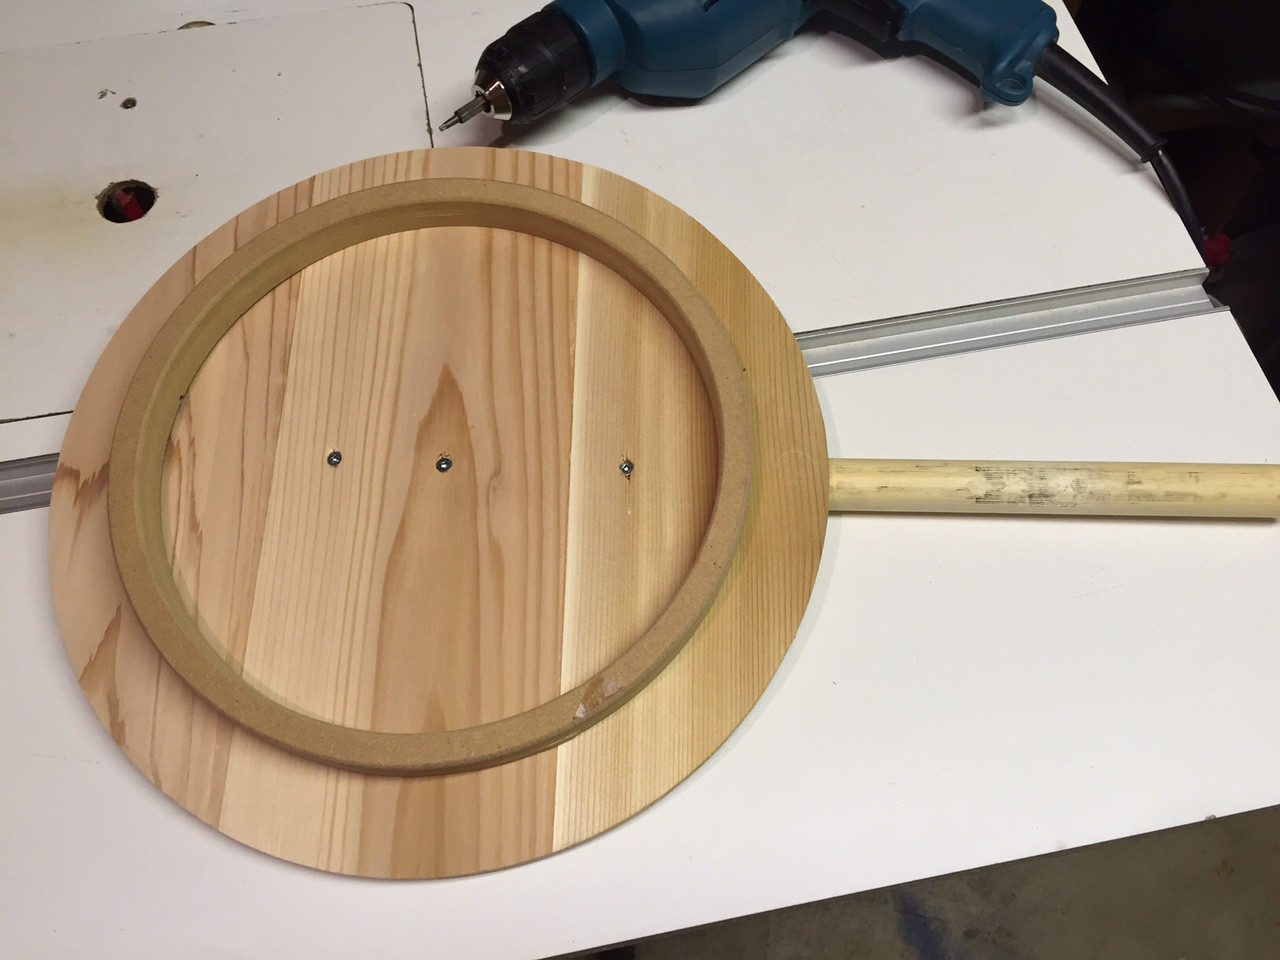
The inner layer is a 3/4" thick ring with inner diameter of 7" and outer diameter of 7.75" (the OD is critical, the inner diameter not so much). I used MDF for this as my cedar was not thick enough (you need at least 3/4"). This ring is not (very) visible in the finished design, so it doesn't matter if it looks ugly.
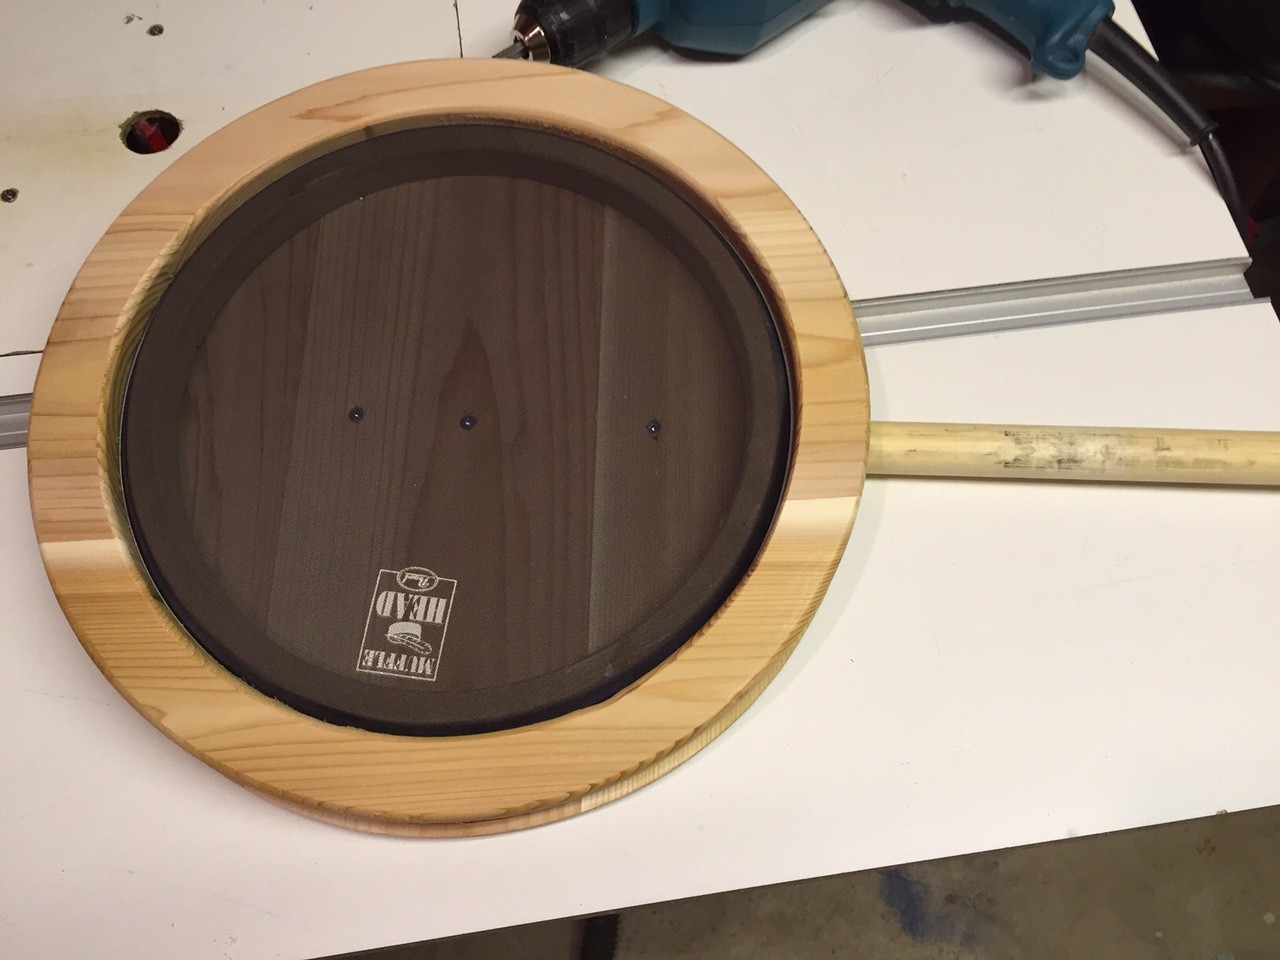
The top layer is a 1/2" thick ring with ID of 8.25" and OD of 9.75".
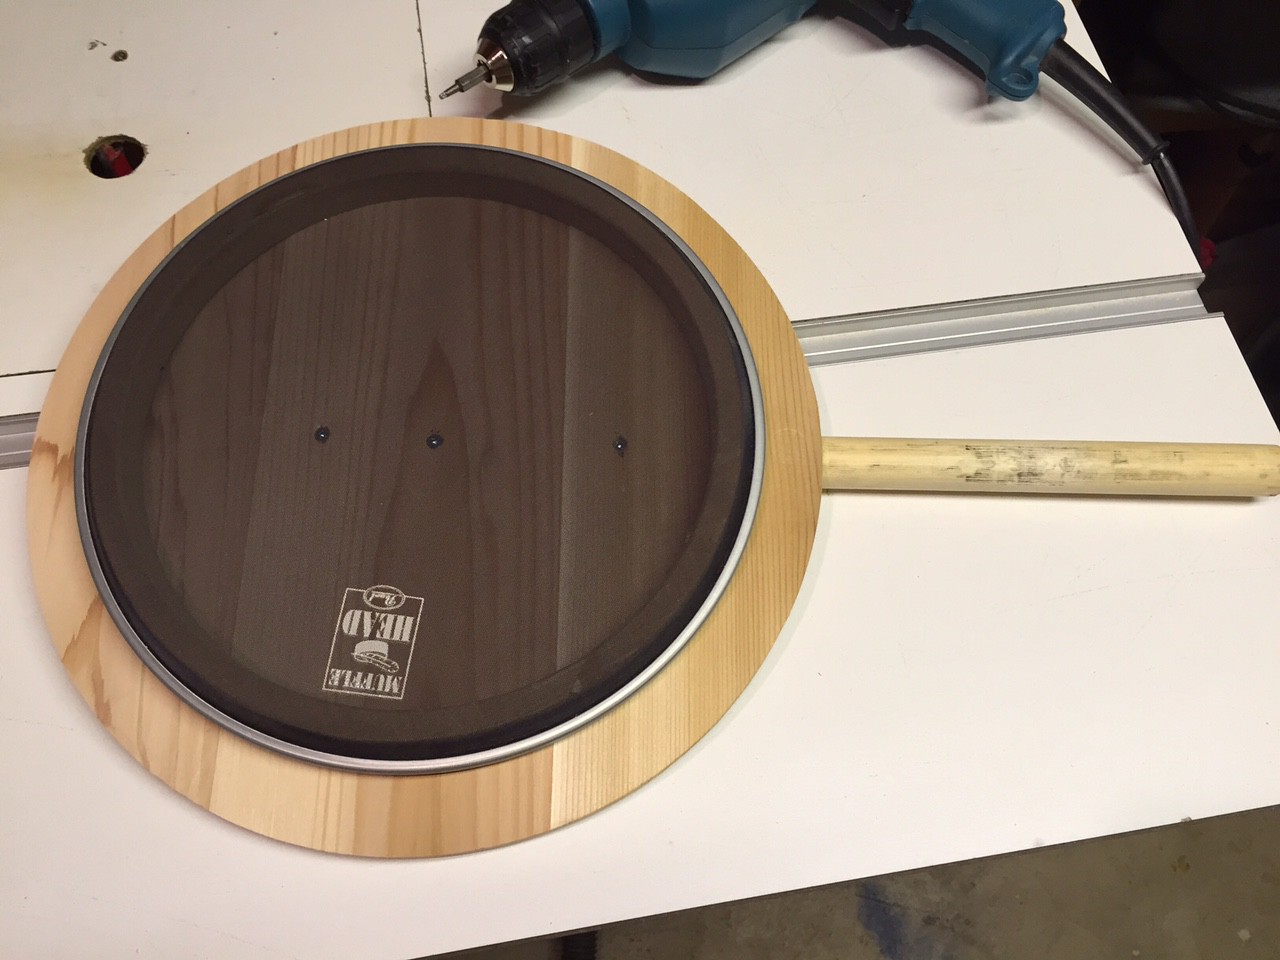
The mesh drum head (I used Pearl Muffle Heads as they are cheap and readily available locally) sits on top of the inner layer ring, and both sit on top of the bottom layer. The top ring then is attached on top of the mesh head and pushes down (you need to drill 8+ holes through the top and bottom layers to fit screws through).
Some pictures of the design (before the screw holes were drilled) are below, showing the layers as they are laid on top of each other.
Bottom layer (with attachment for frame):
![]()
Inner ring:
![]()
Mesh head on top of inner ring:
![]()
Top layer (rim) placed over mesh head. Once the screw holes are drilled, you can tighten the top layer down onto the bottom, tightening the head just as you would with a traditional acoustic drum.
![]()
Next step is to place an order with the PCBs. I hope to do that this week sometime.
Cheers