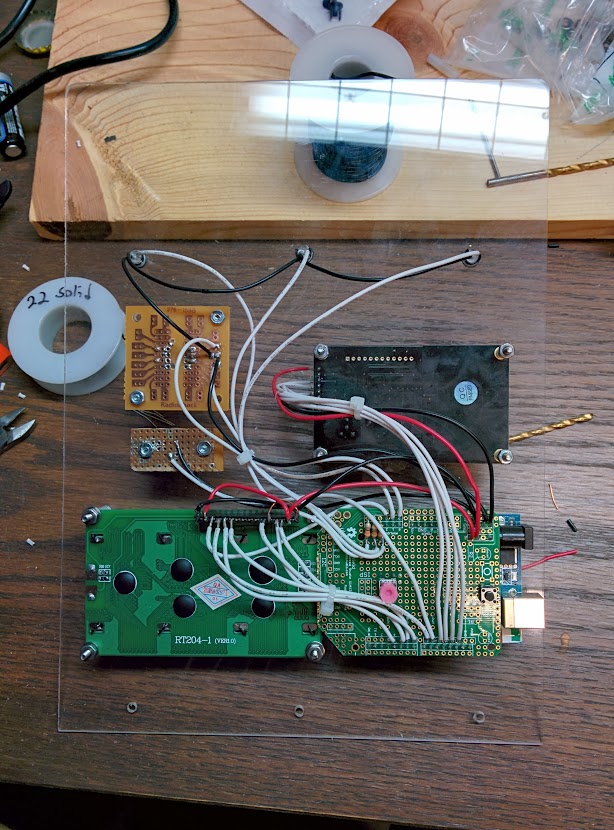
So here's the deal. One of my prejudices against Arduino is that it's an expensive board to leave with a project. But this is kind of a one-time thing so I was happy to find the Seeed Studio protoype shield for like $7.95 at the local Radio Shack. What I didn't bank on is the shield is larger than the Arduino footprint. No worried, I grabbed my tin snips and hacked off the left side of the board (beveled teh corners to get around the LCD mounting hardware).
From there it was just a matter of point-to-point soldering. I did the LCD first since there are mutliple voltage and ground connections for that one. From there it was pretty simple to finish up the rest of the wiring. This did end up taking around two hours. But mostly because I was trying to be nice and neat with my cable routing.
I used the header sockets that came with the prototyping shield as a connector for the LCD and NFC reader. I just bend over the PCB mount tails and soldered the wires directly to them.

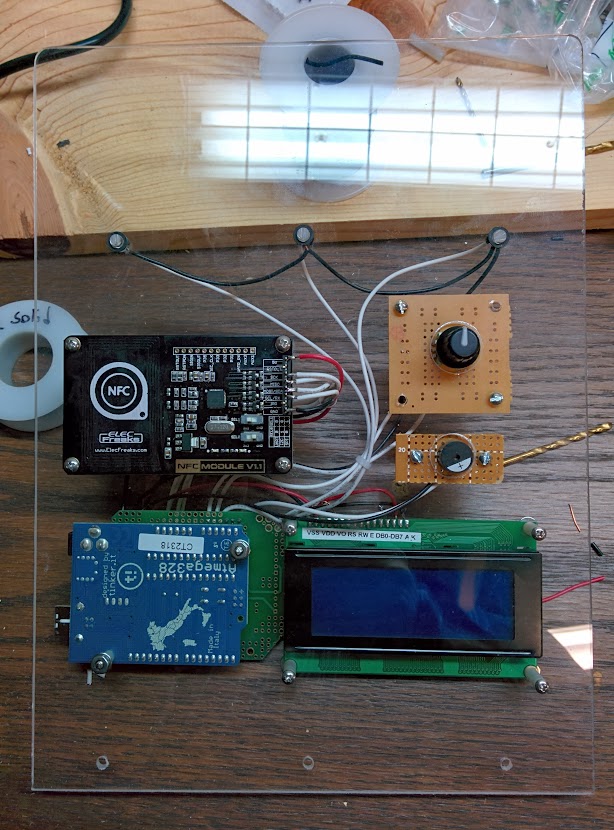
Not bad, of course I forgot to clean the fingerprints off of the LCD screen and underside of the acrylic before I got this far. I can't get a cotton swab in between there so I'll just have to deal with that imperfection.

Here it is attached to the base. I did fire it up after soldering each component just to make sure I didn't hook anything up wrong. I just need to tweak the firmware. The dial adjusts the LEDs reverse of what it should. I'm not certain if this was a mistake in wiring the rotary encoder, or the LEDs, but it's an easy fix.
 Mike Szczys
Discussions
Become a Hackaday.io Member
Create an account to leave a comment. Already have an account? Log In.