Testing the tube ESP in my jury rigged setup showed promising results. It seemed to filter out almost all of the smoke that the fog machine produced. I then tried it by attaching the vacuum motor to get a higher air flow, I could see a little bit of smoke getting sucked out which was disappointing but it was much less smoke than if the ESP was turned off.
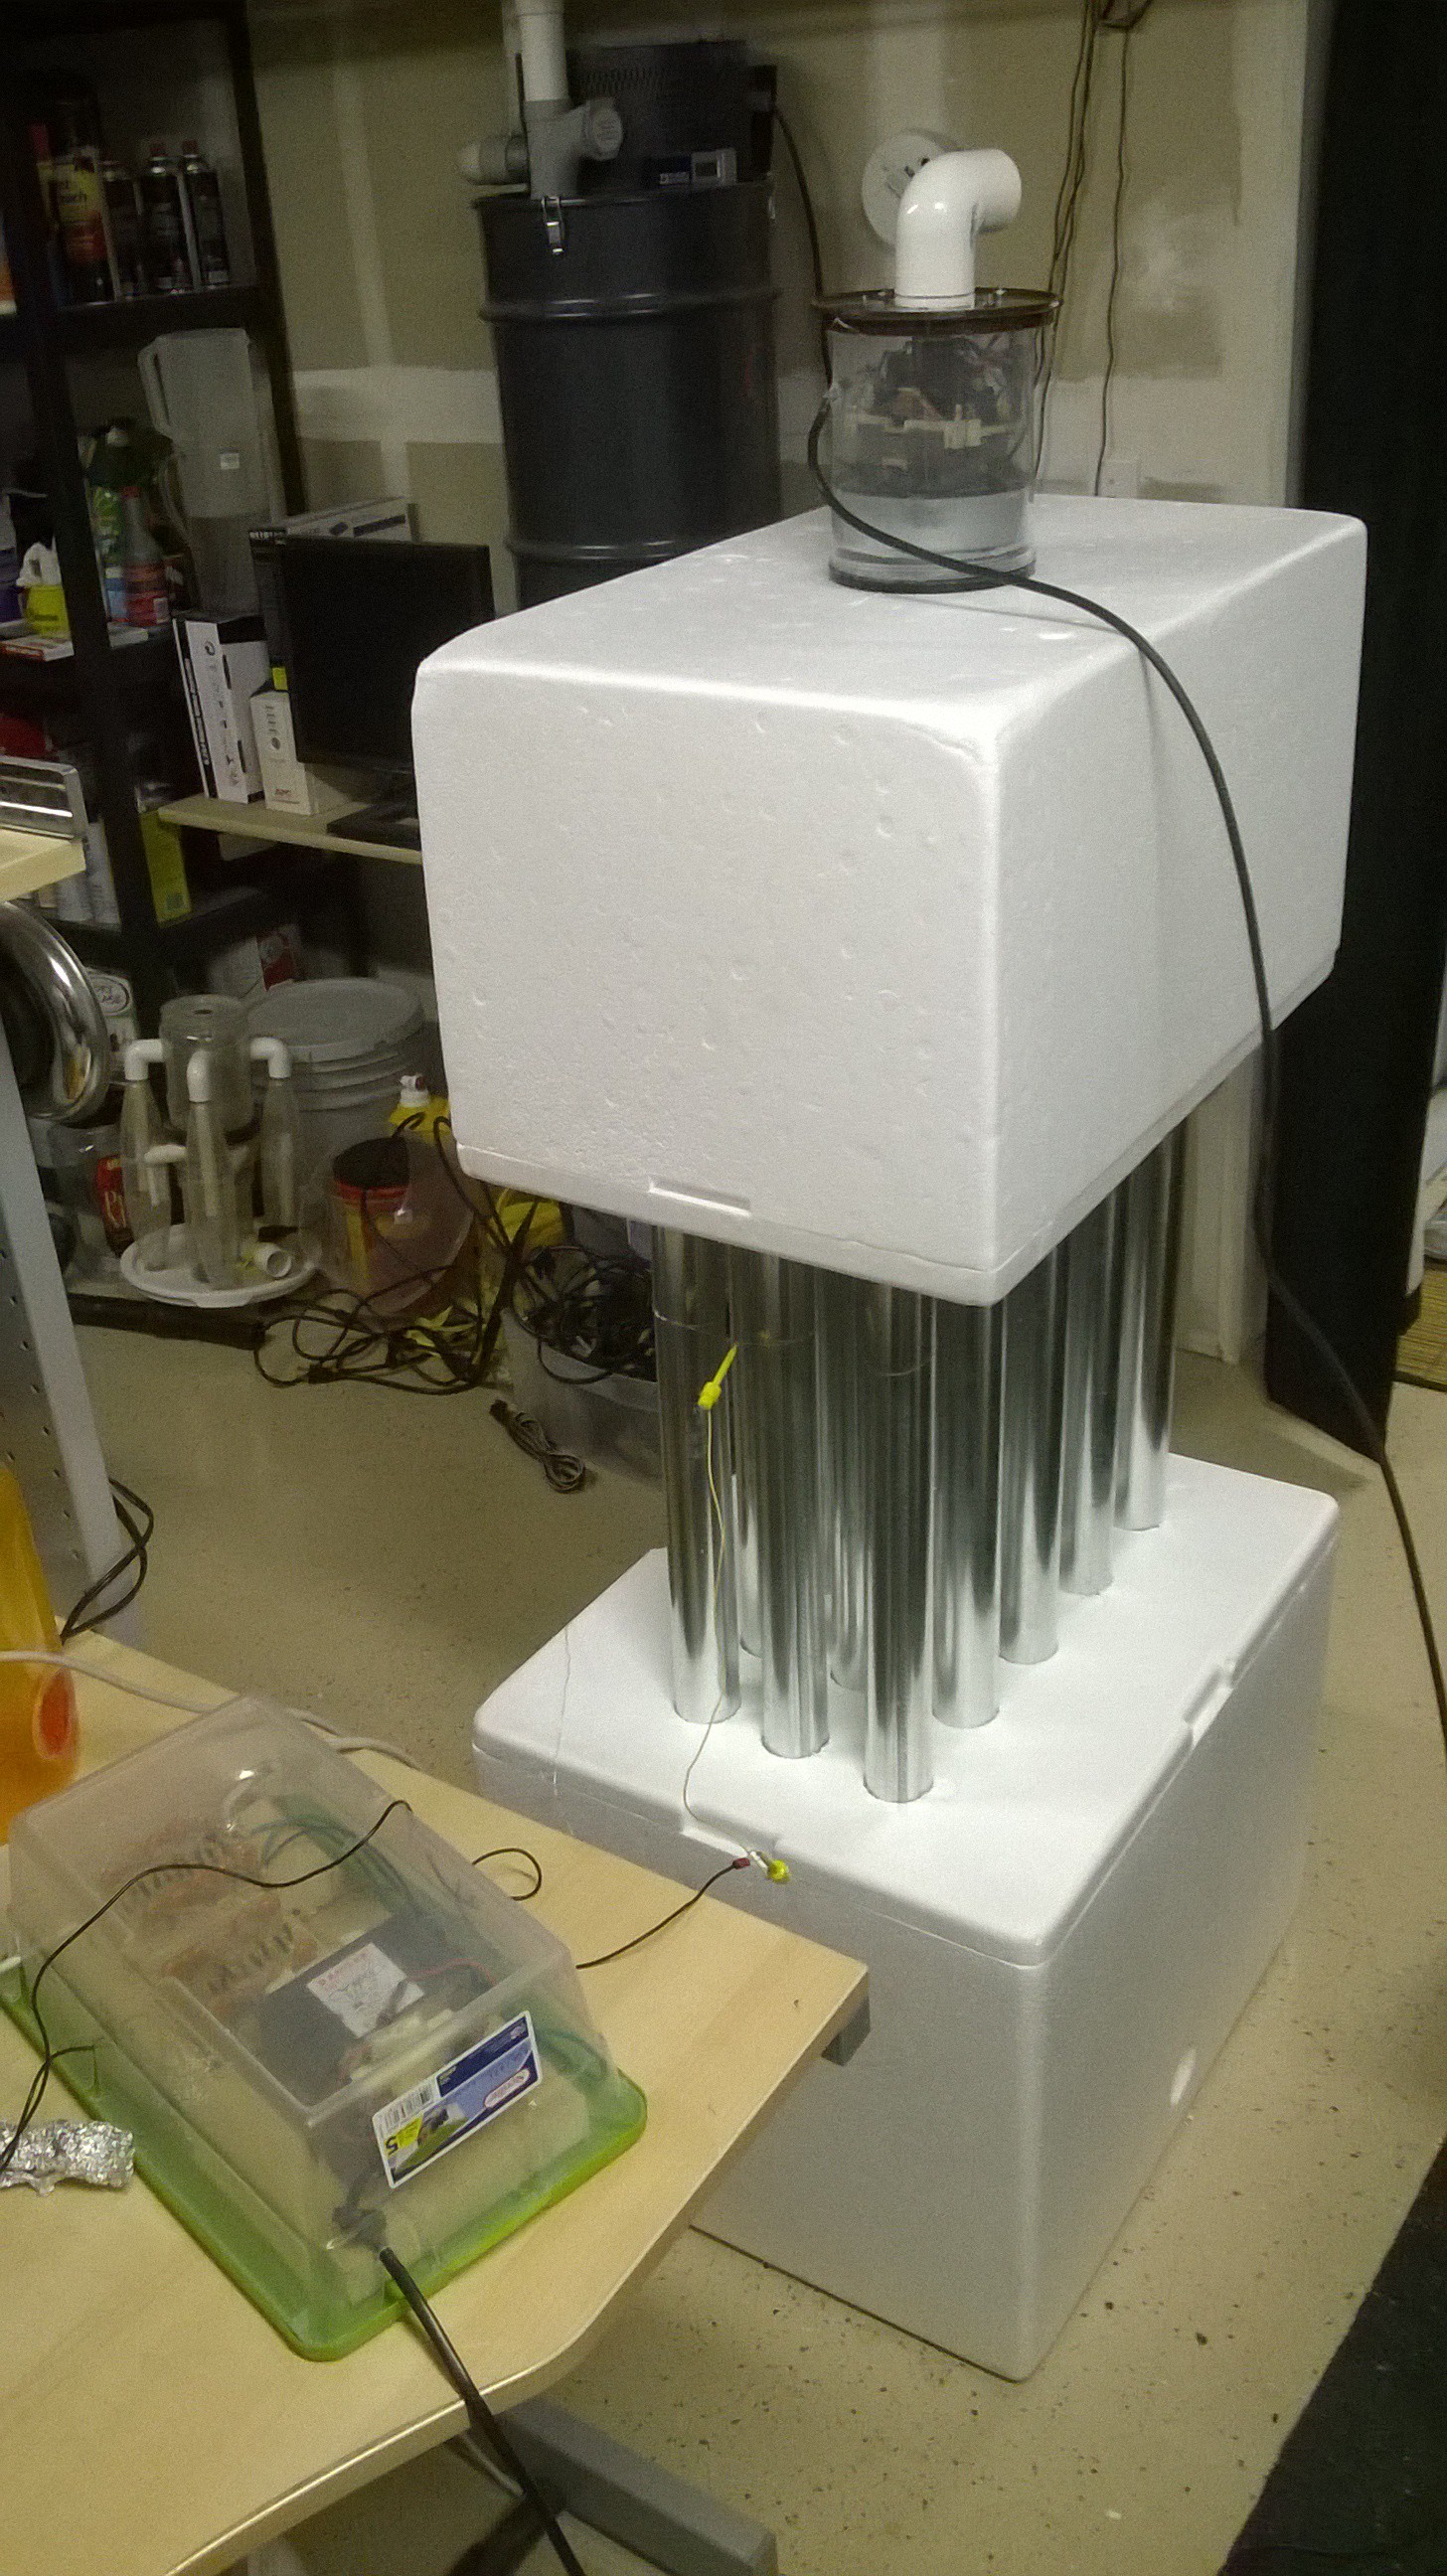
It appeared that 15 pipes was not enough cross sectional area to slow the air down. I would go ahead and make 10 more pipes. Another trip to the hardware store!
At the same time I wanted to prototype the electrified activated carbon idea that I had. I figured an easy way to implement my idea would be to use a stack of flat plastic containers. Each container would have its lid and bottom cut out of it to make a frame, and a screen glued in its place so air can flow through the stack of containers. Then every even container would be filled with activated carbon, and every odd container would contain an ionization grid.
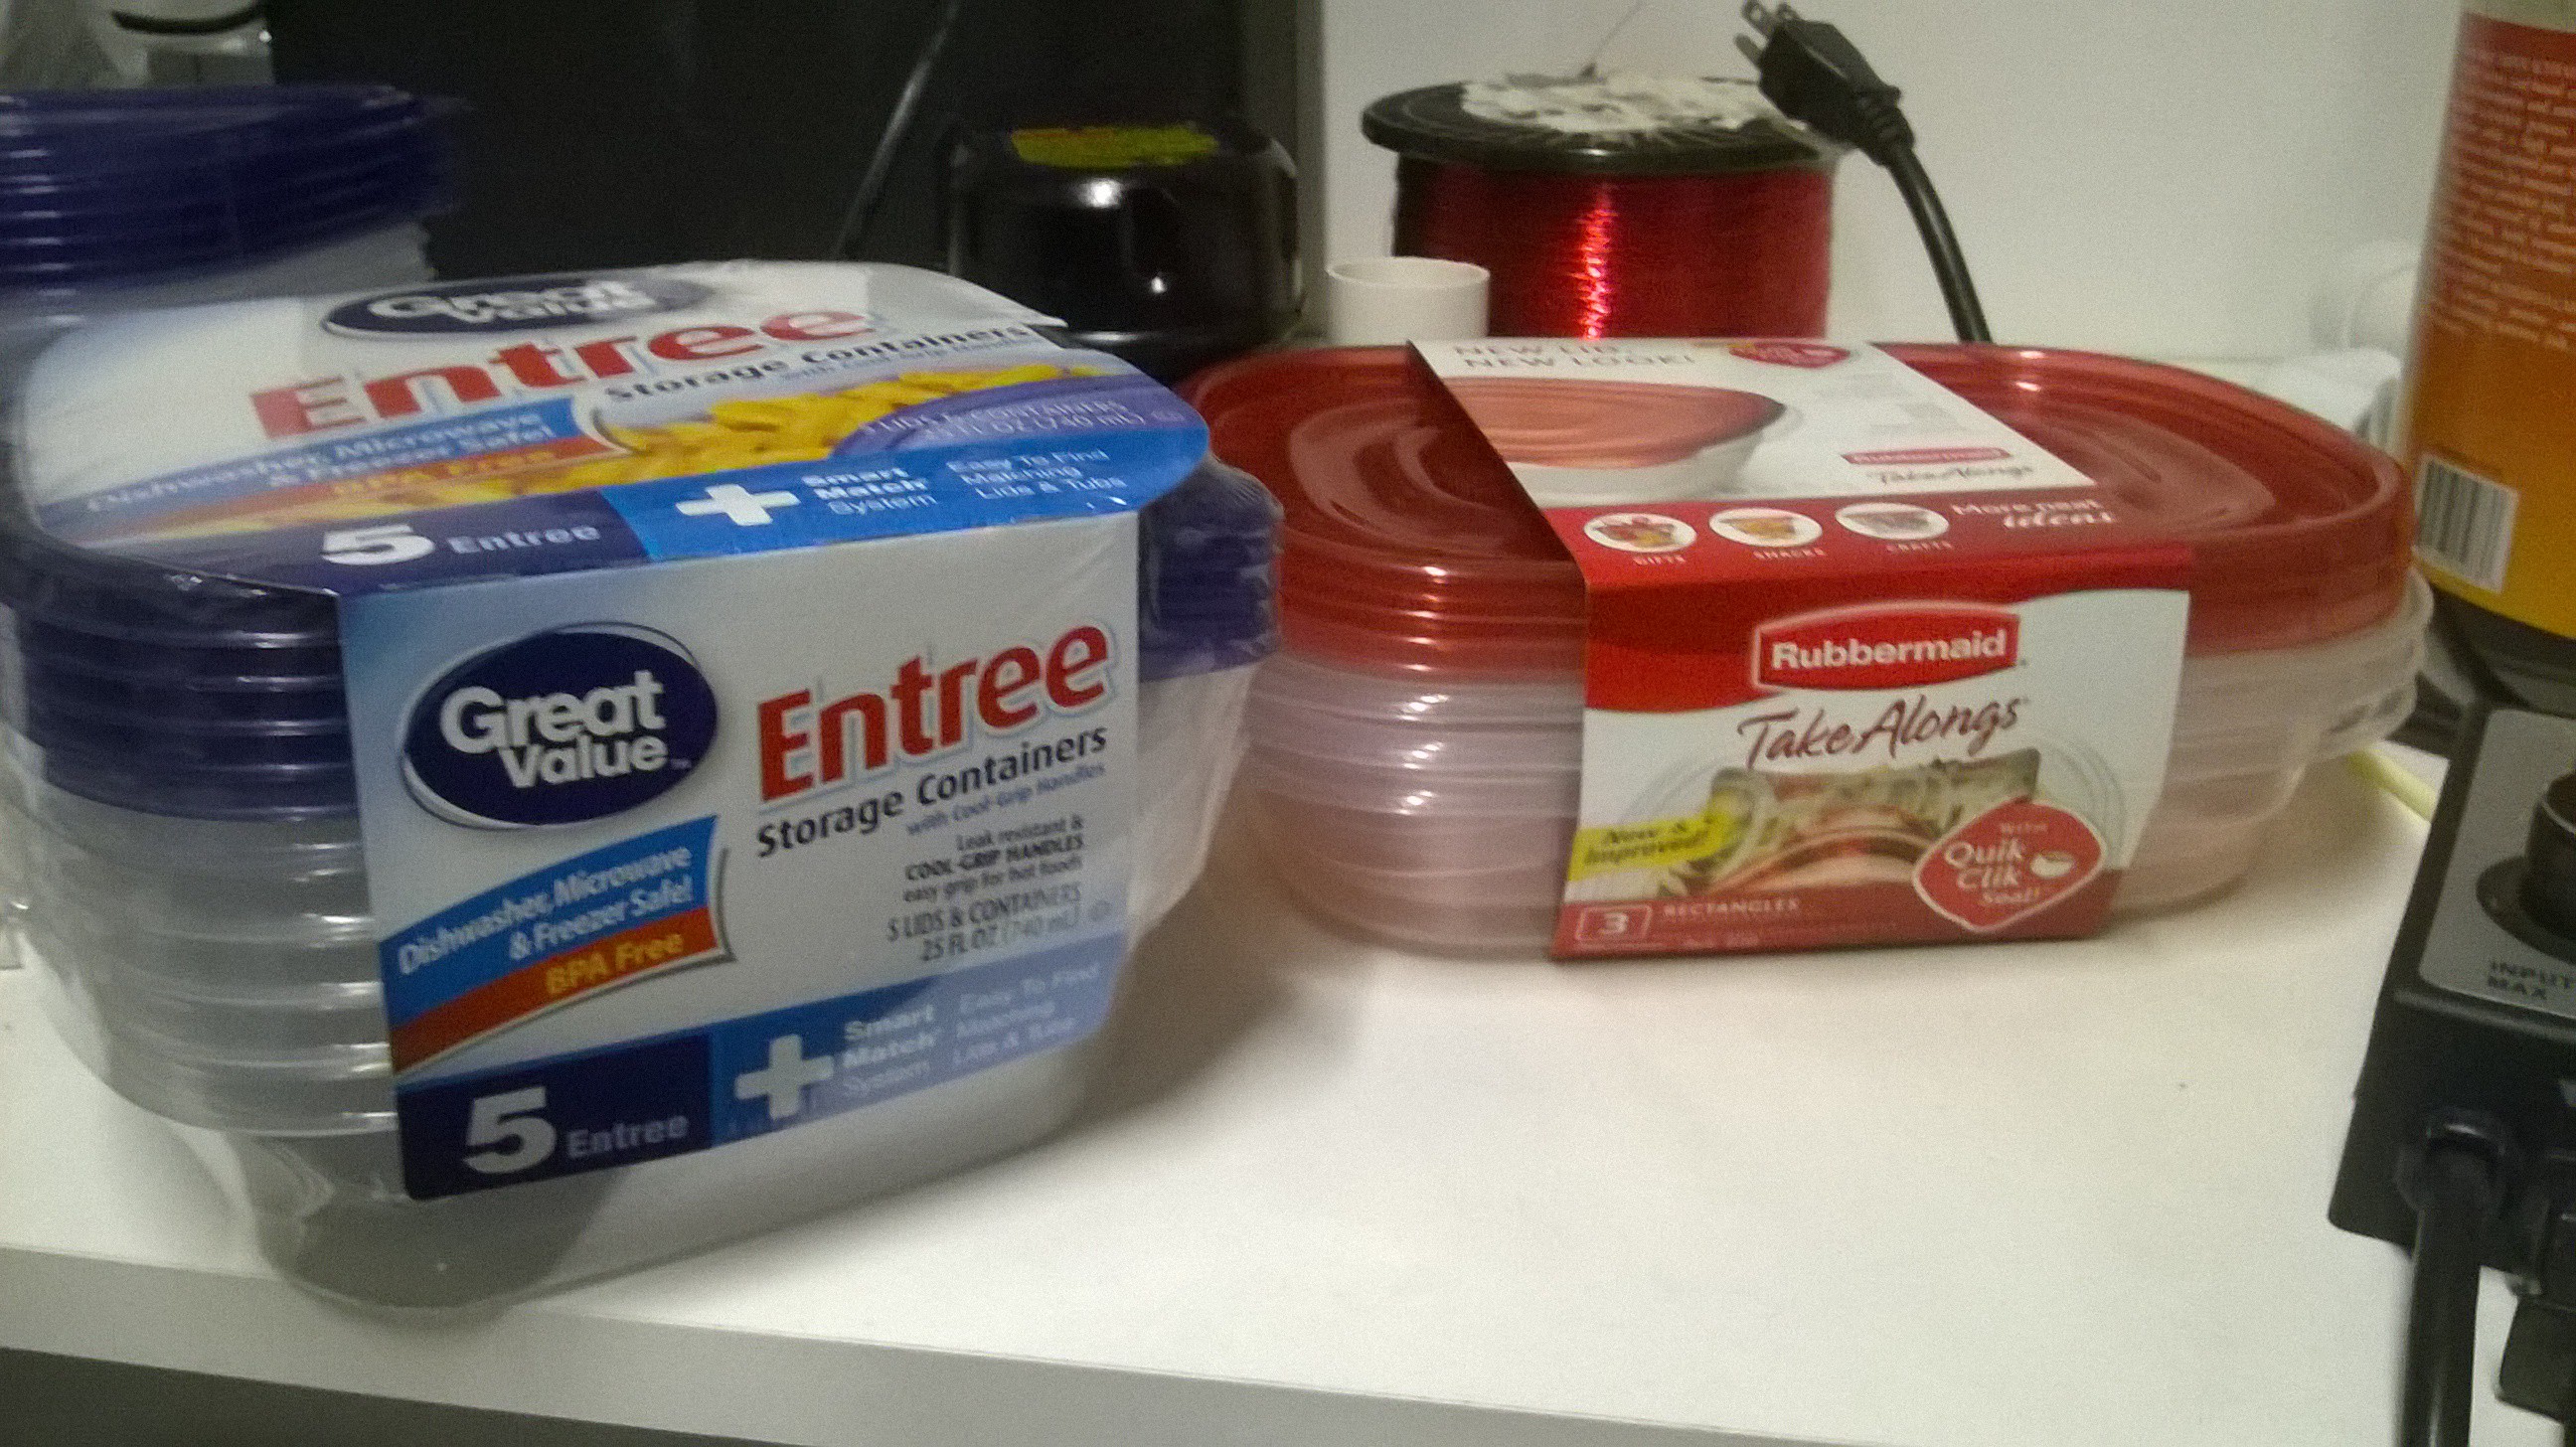
I went to shop for some cheap plastic containers and it seems that plastic sandwich containers would be just the right size not to mention very cheap.
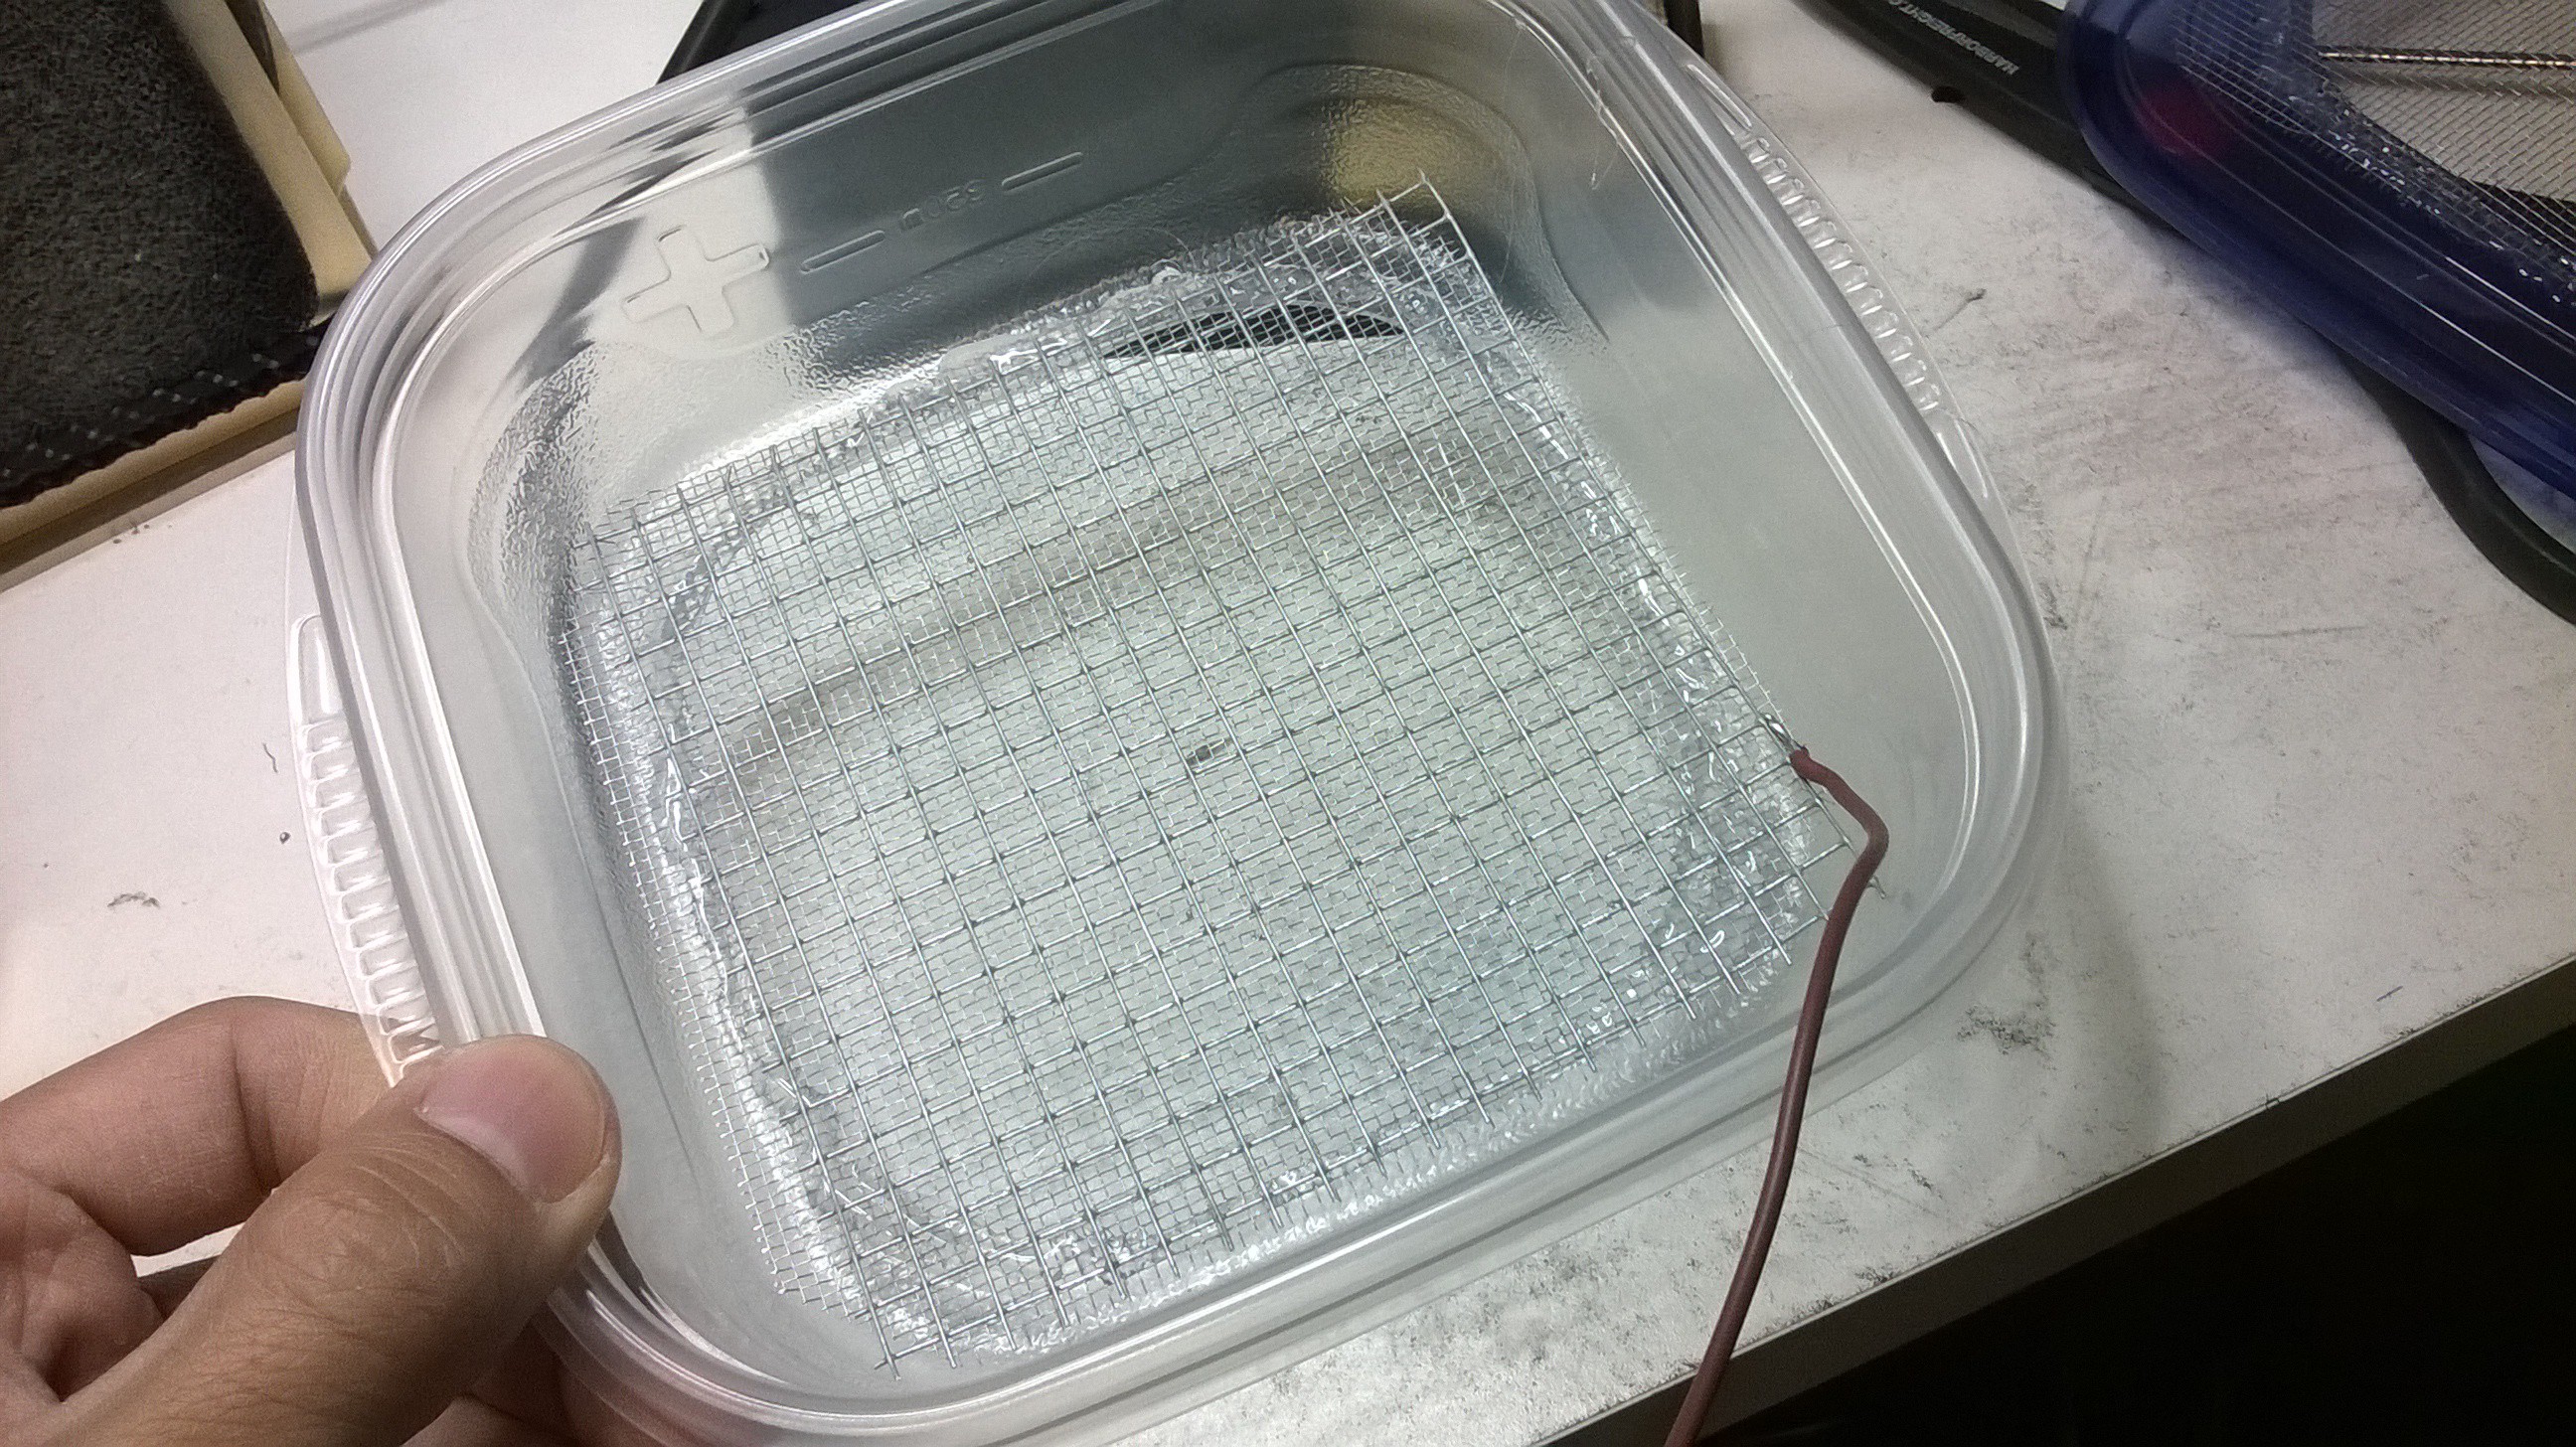
I went ahead to prototype the electrified activated carbon ESP assembly. I cut a square hole in the lids and bottom of all the containers then glued a aluminum screen to it. I then soldered a wire to the screen so I could electrify the activated carbon inside the container.
 To make the ionization grid, I simply zig zagged steel wire within the center of the container. With the help of my parents the other containers were all wired in an hour. I then filled the containers with activated carbon and made a stack of them.
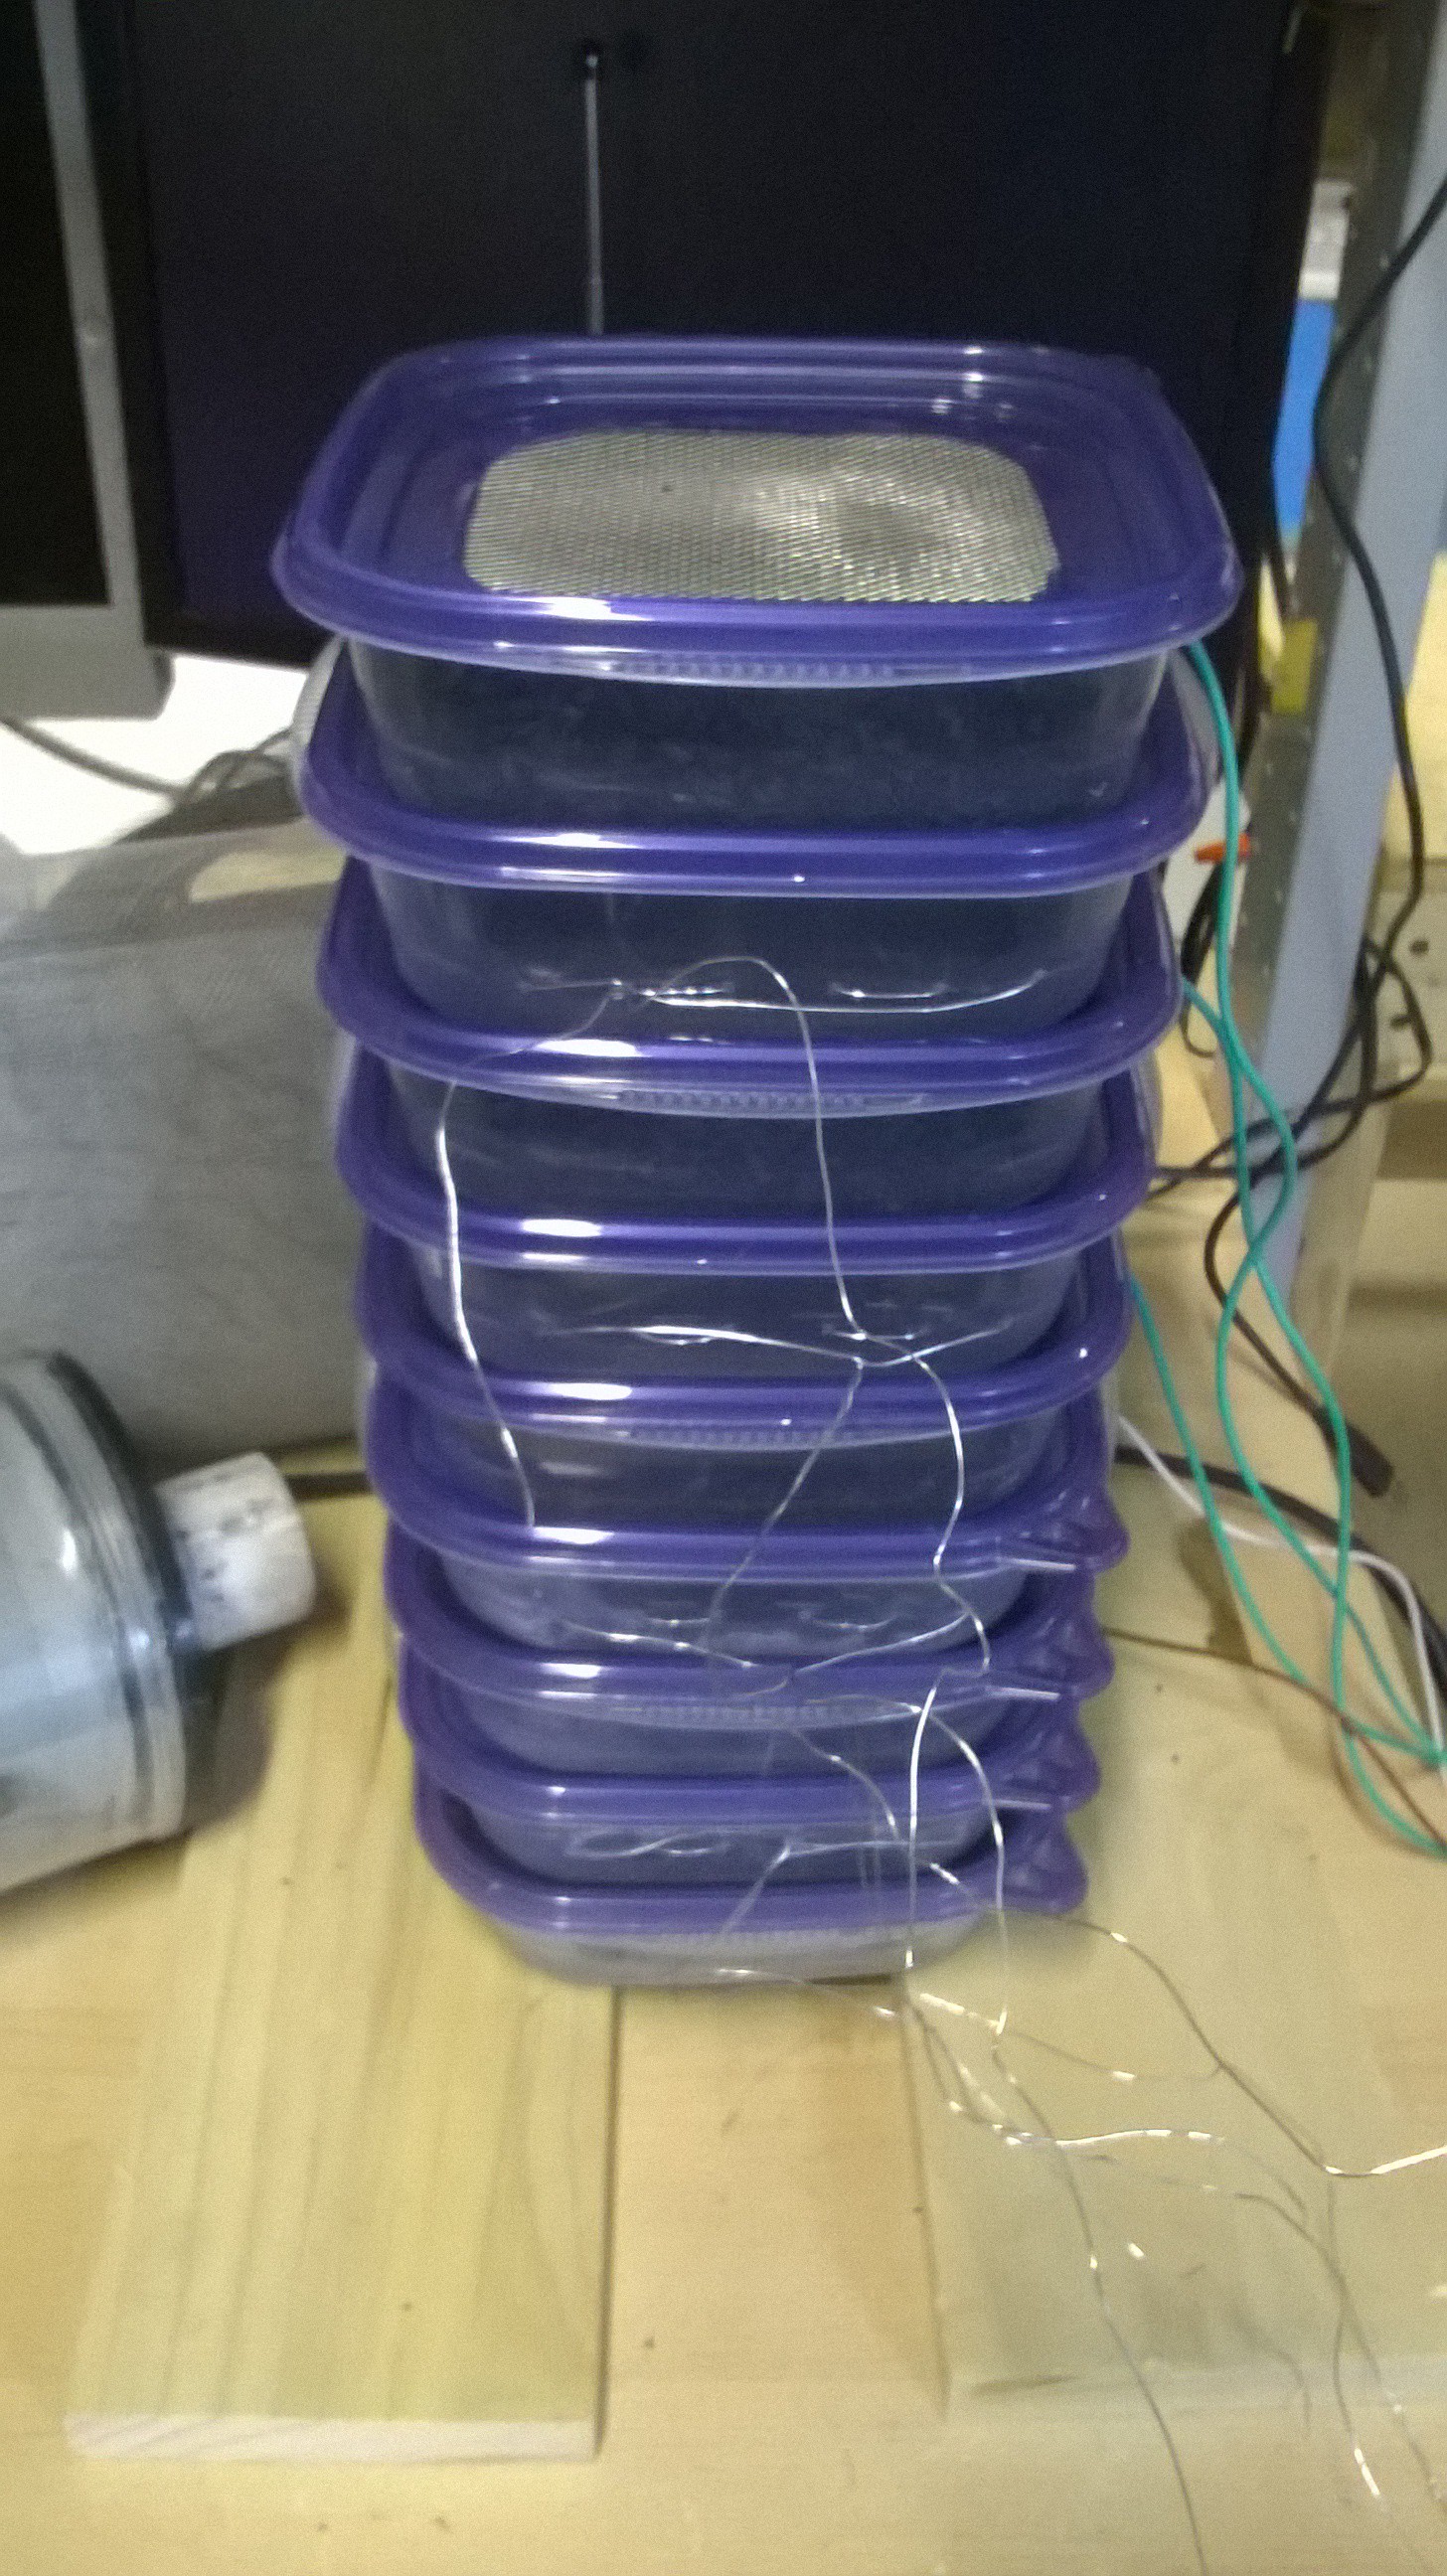 I attempted a small test by placing the vacuum motor on top to suck some fog through it while it was electrified.
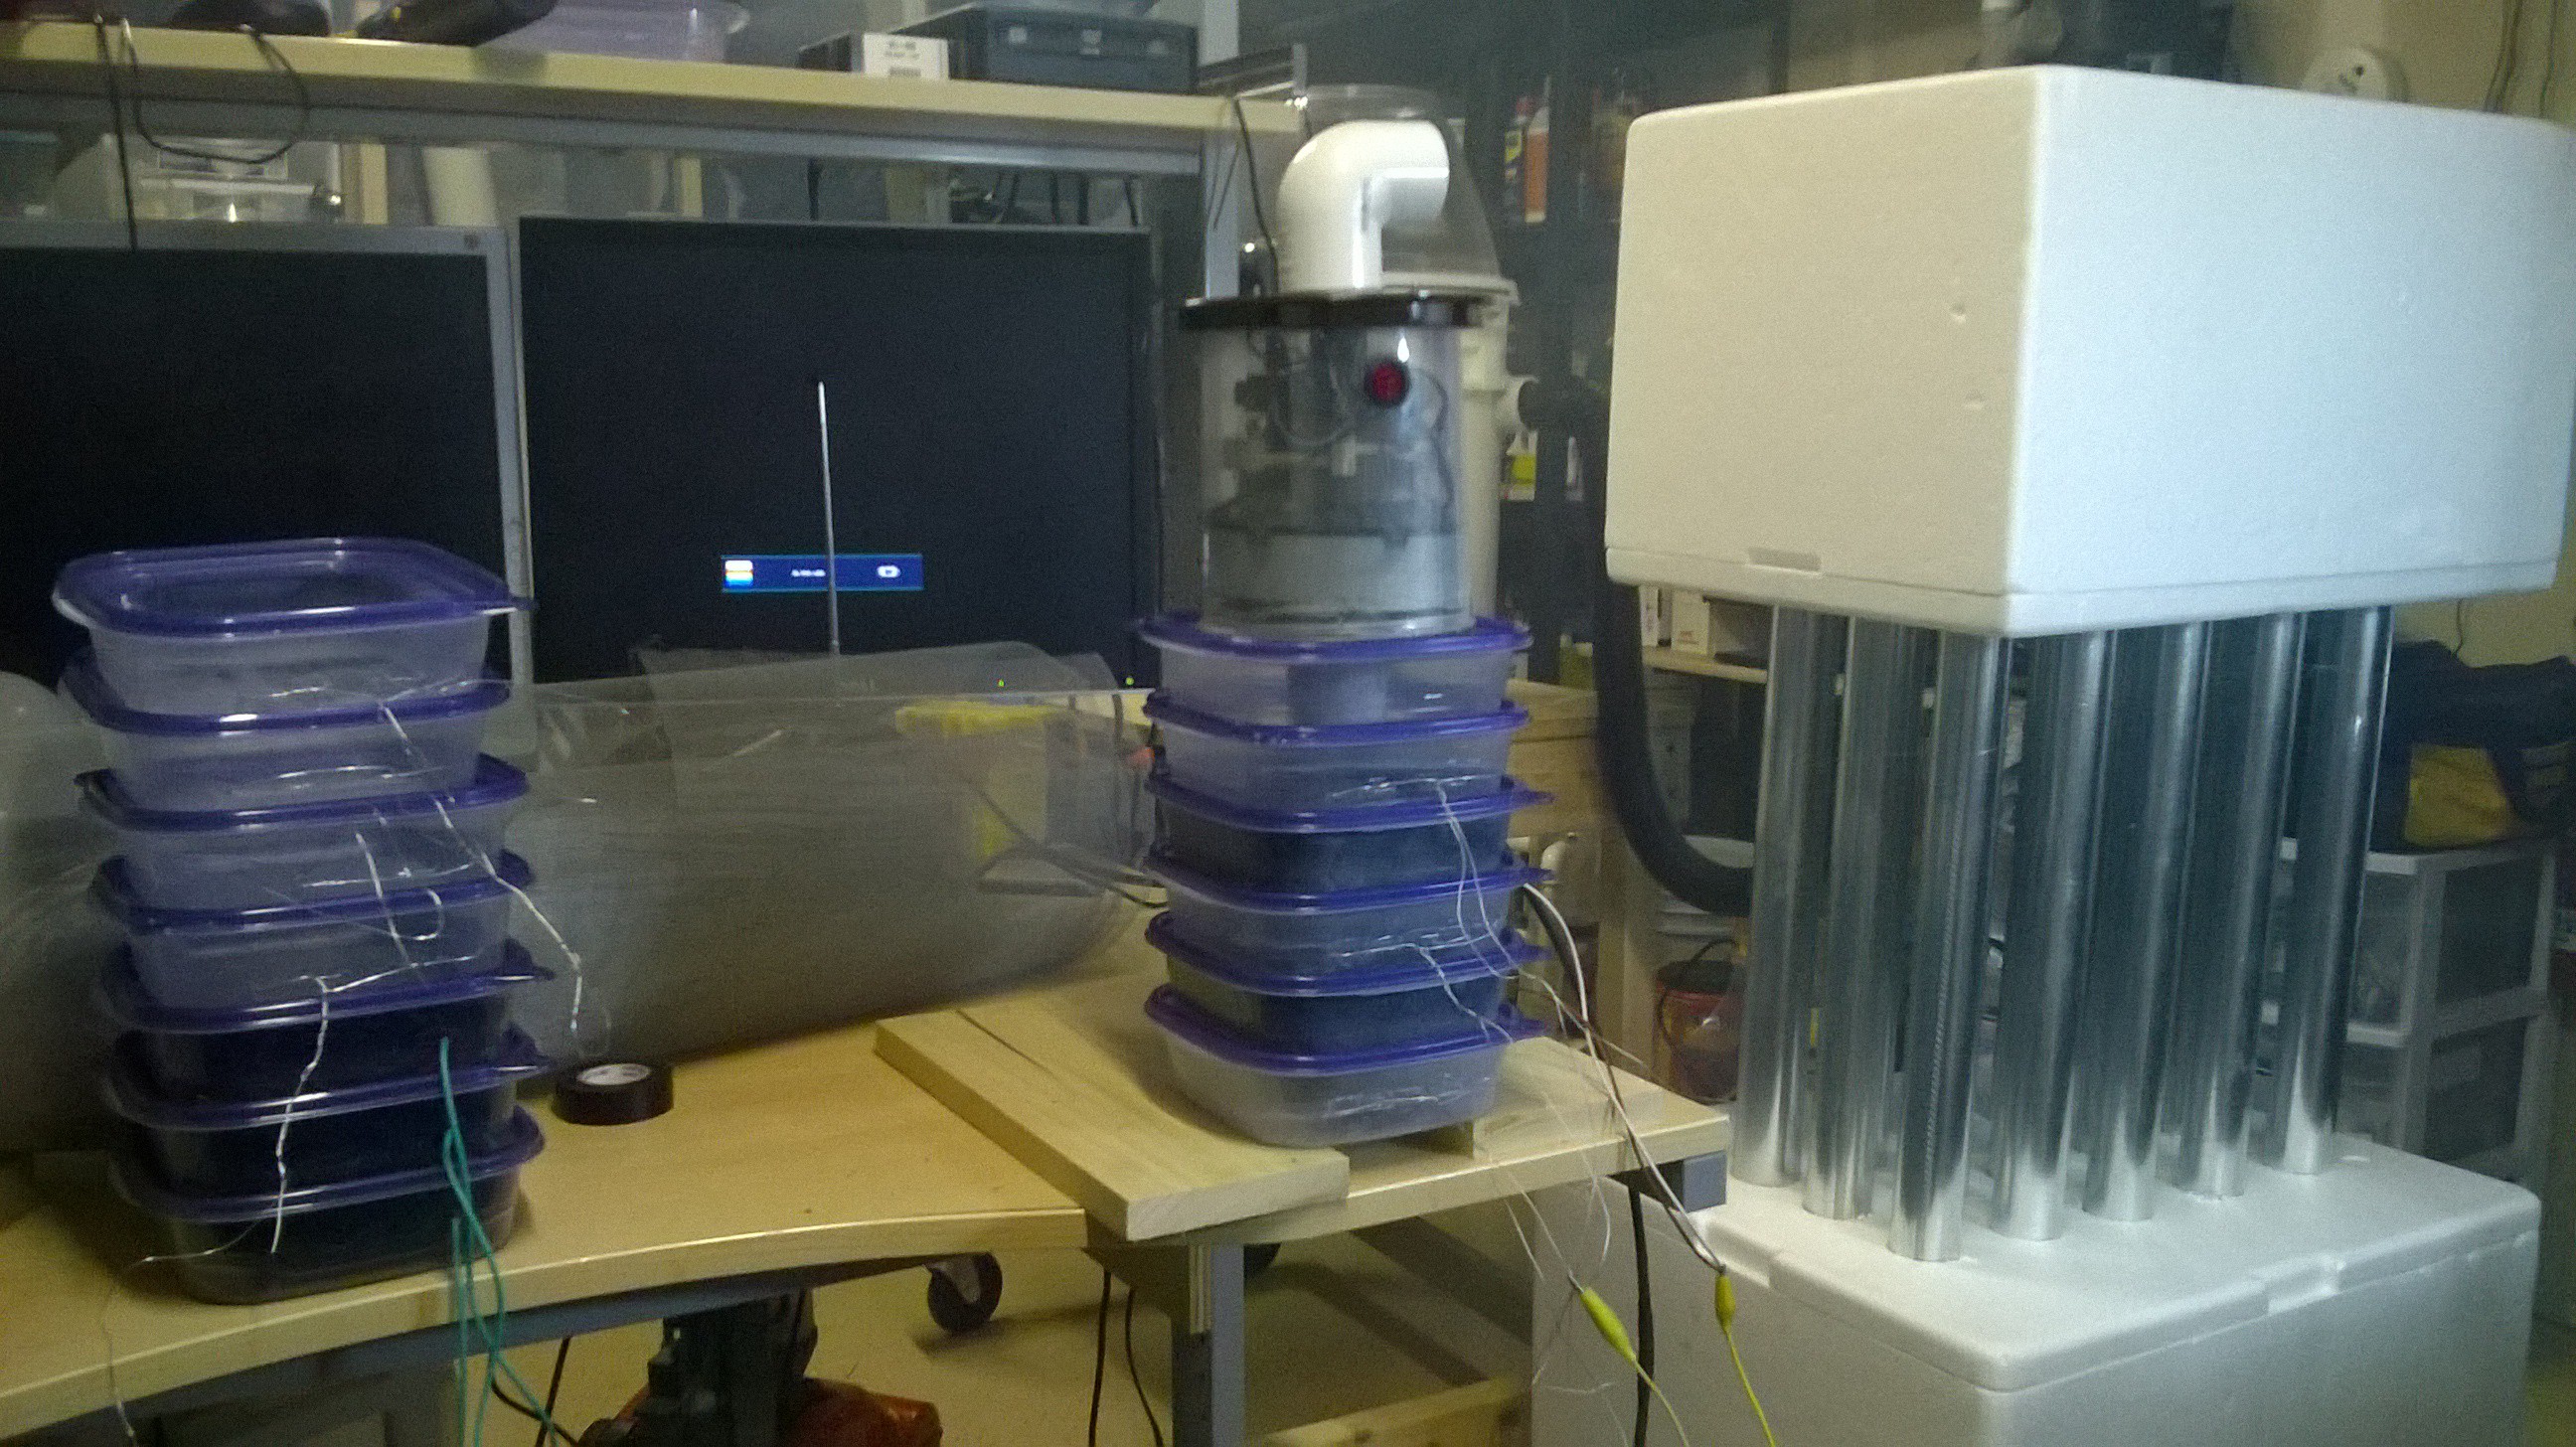
Unfortunately the test was a failure, the air did not have enough time to ionize as it passed axially through all of the containers. The particulate laden air needs a long dwell time to completely ionize so I would have to run more activated carbon containers in parallel rather than in series. This would amount to a lot of activated carbon however. Regardless of the test , I still like the use of sandwich containers to hold the activated carbon as it is highly modular and more or less can be used depending on the application. It also makes it easier to switch out old activated carbon for new.
So far the tube electrostatic precipitator design worked the best so I went ahead and focused all of my efforts on trying to make this design better.
I obtained two square buckets to house the tube ESP inside. With the help of my wonderful parents, I was able to build 10 more ESP pipe assemblies just last weekend. This brought me to a total of 25 pipes. The pipes would be packed together in a 10" by 10" square and fit inside between the two square buckets.
If I were to do this all over, I would have picked square tubes as it was a pain to fill in all the gaps that were present between the round pipes.
This week has been spent on assembling the ESP and tweaking it. I drilled many holes in the lid of the square bucket to fit the pipes.
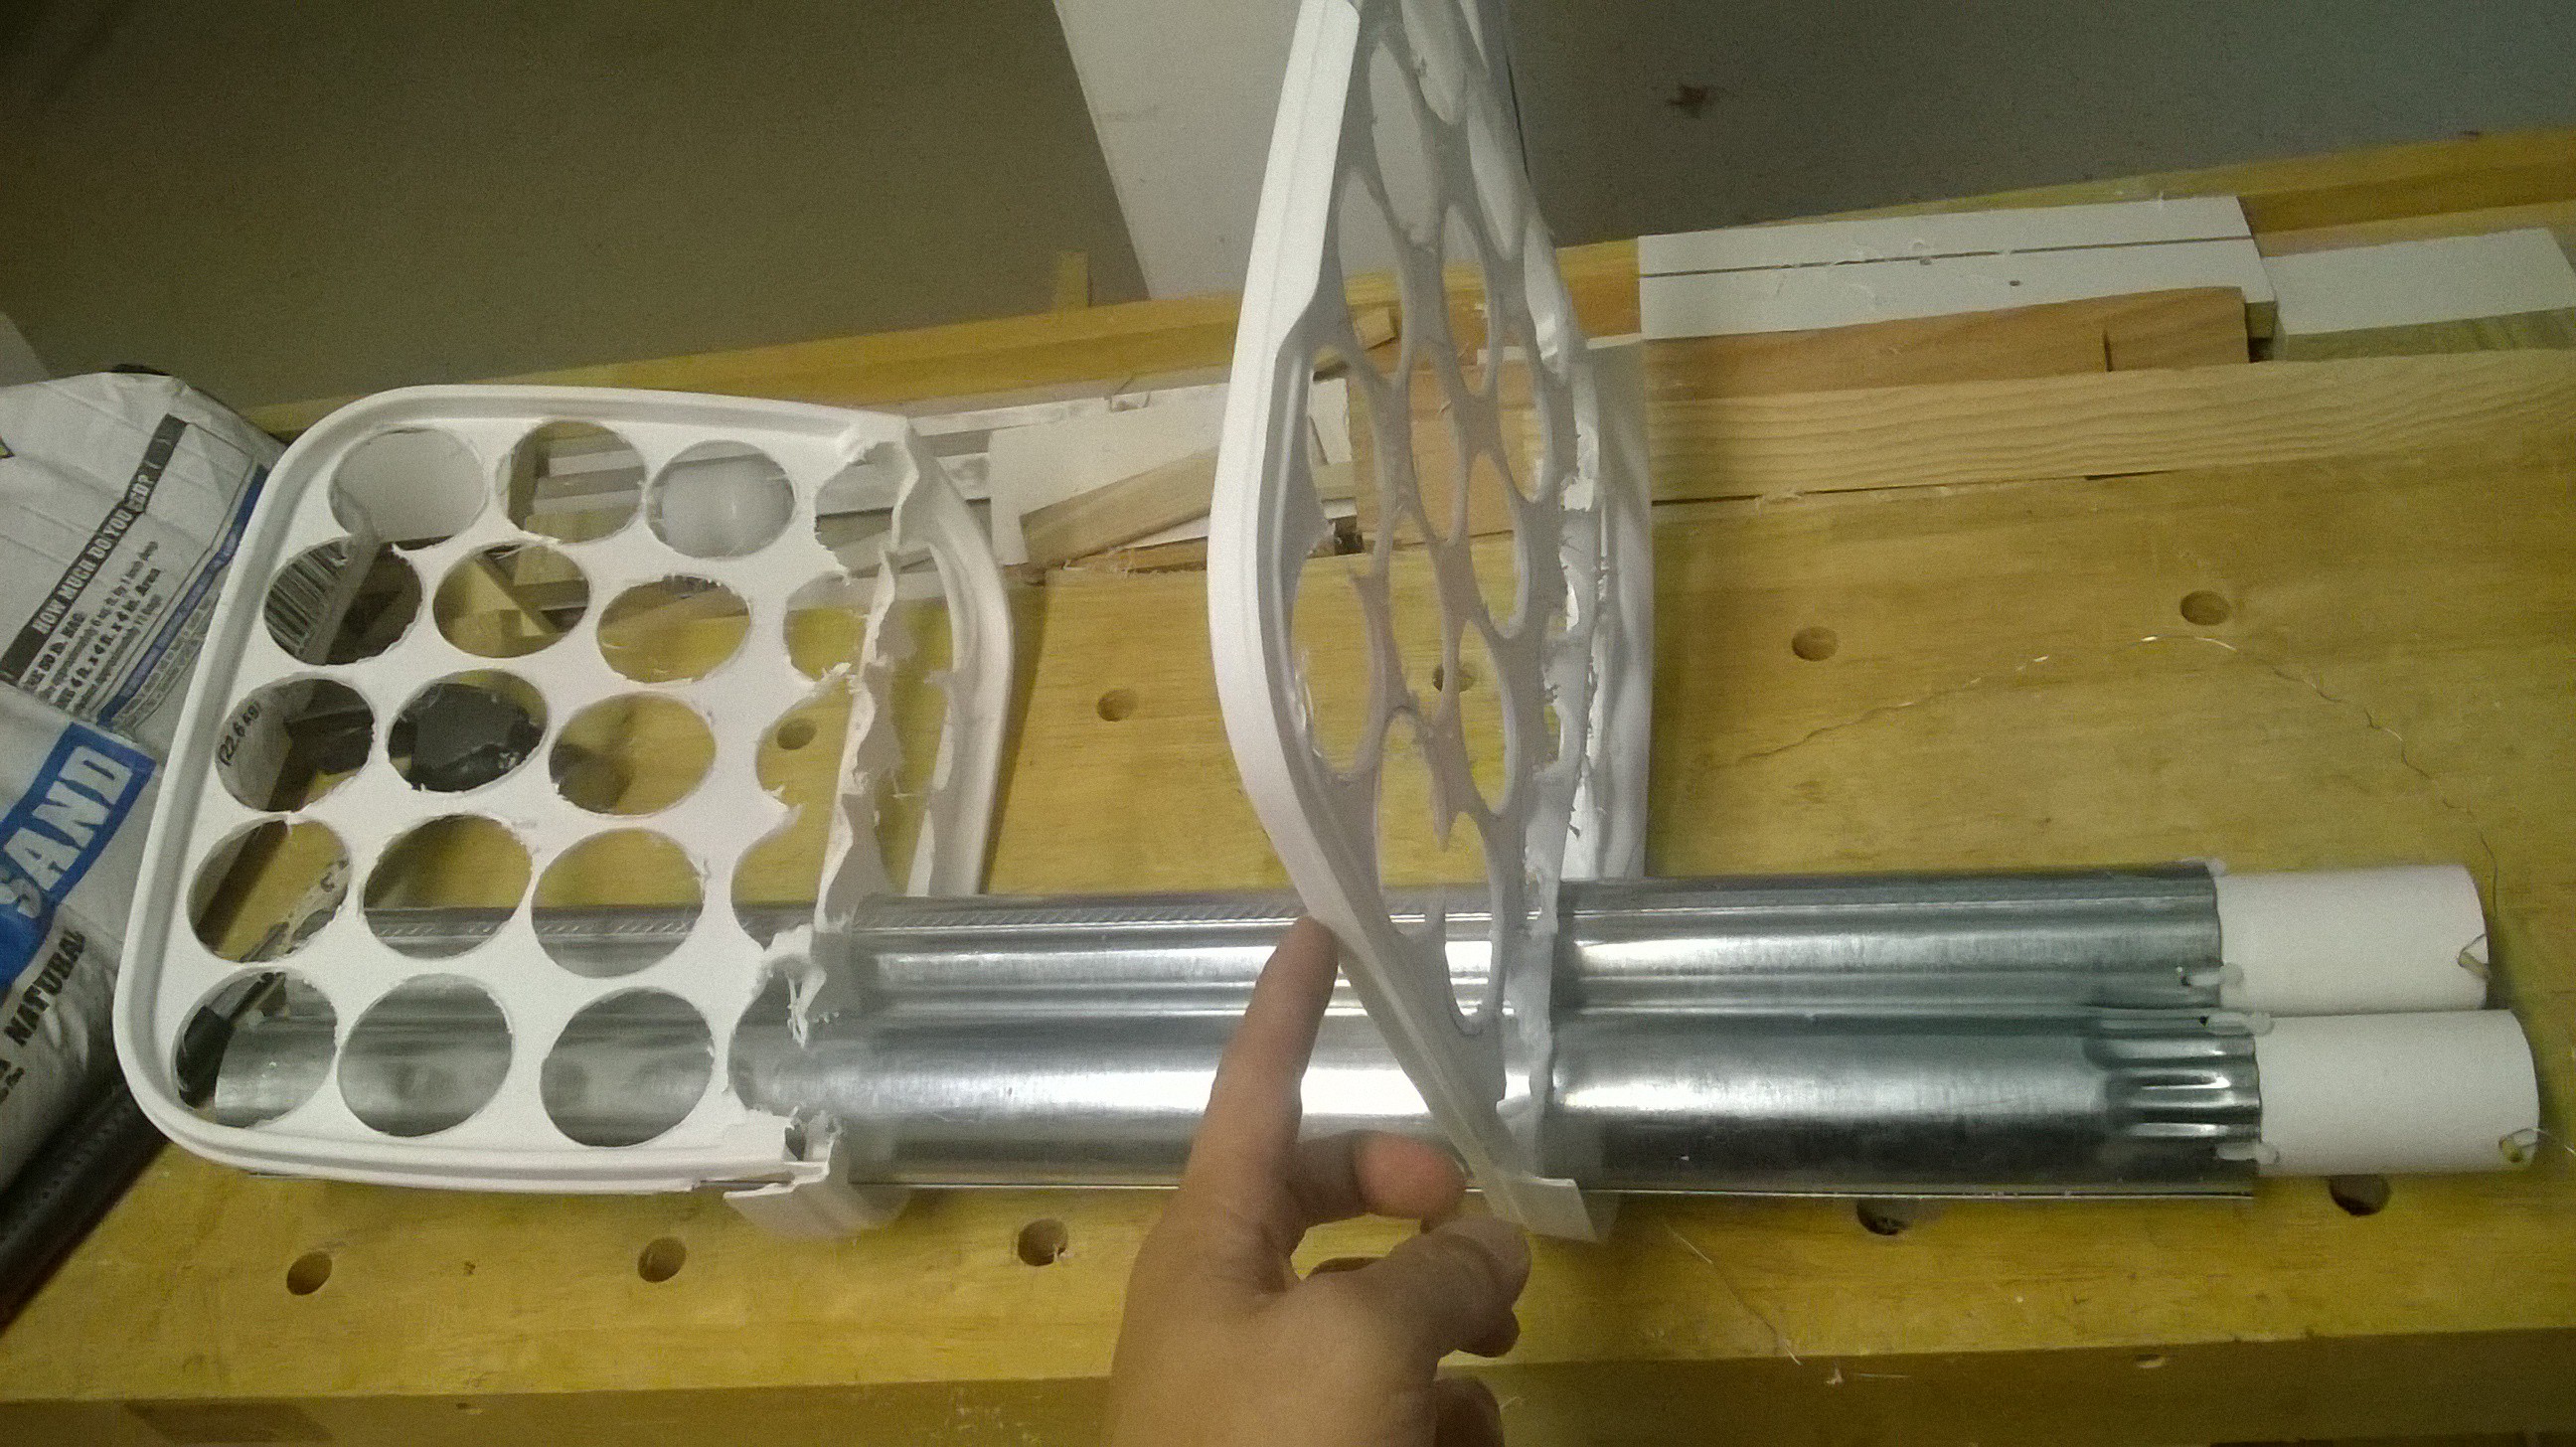
This turned out to be a bad method as It turned into a flimsy plastic net after all the holes were drilled.
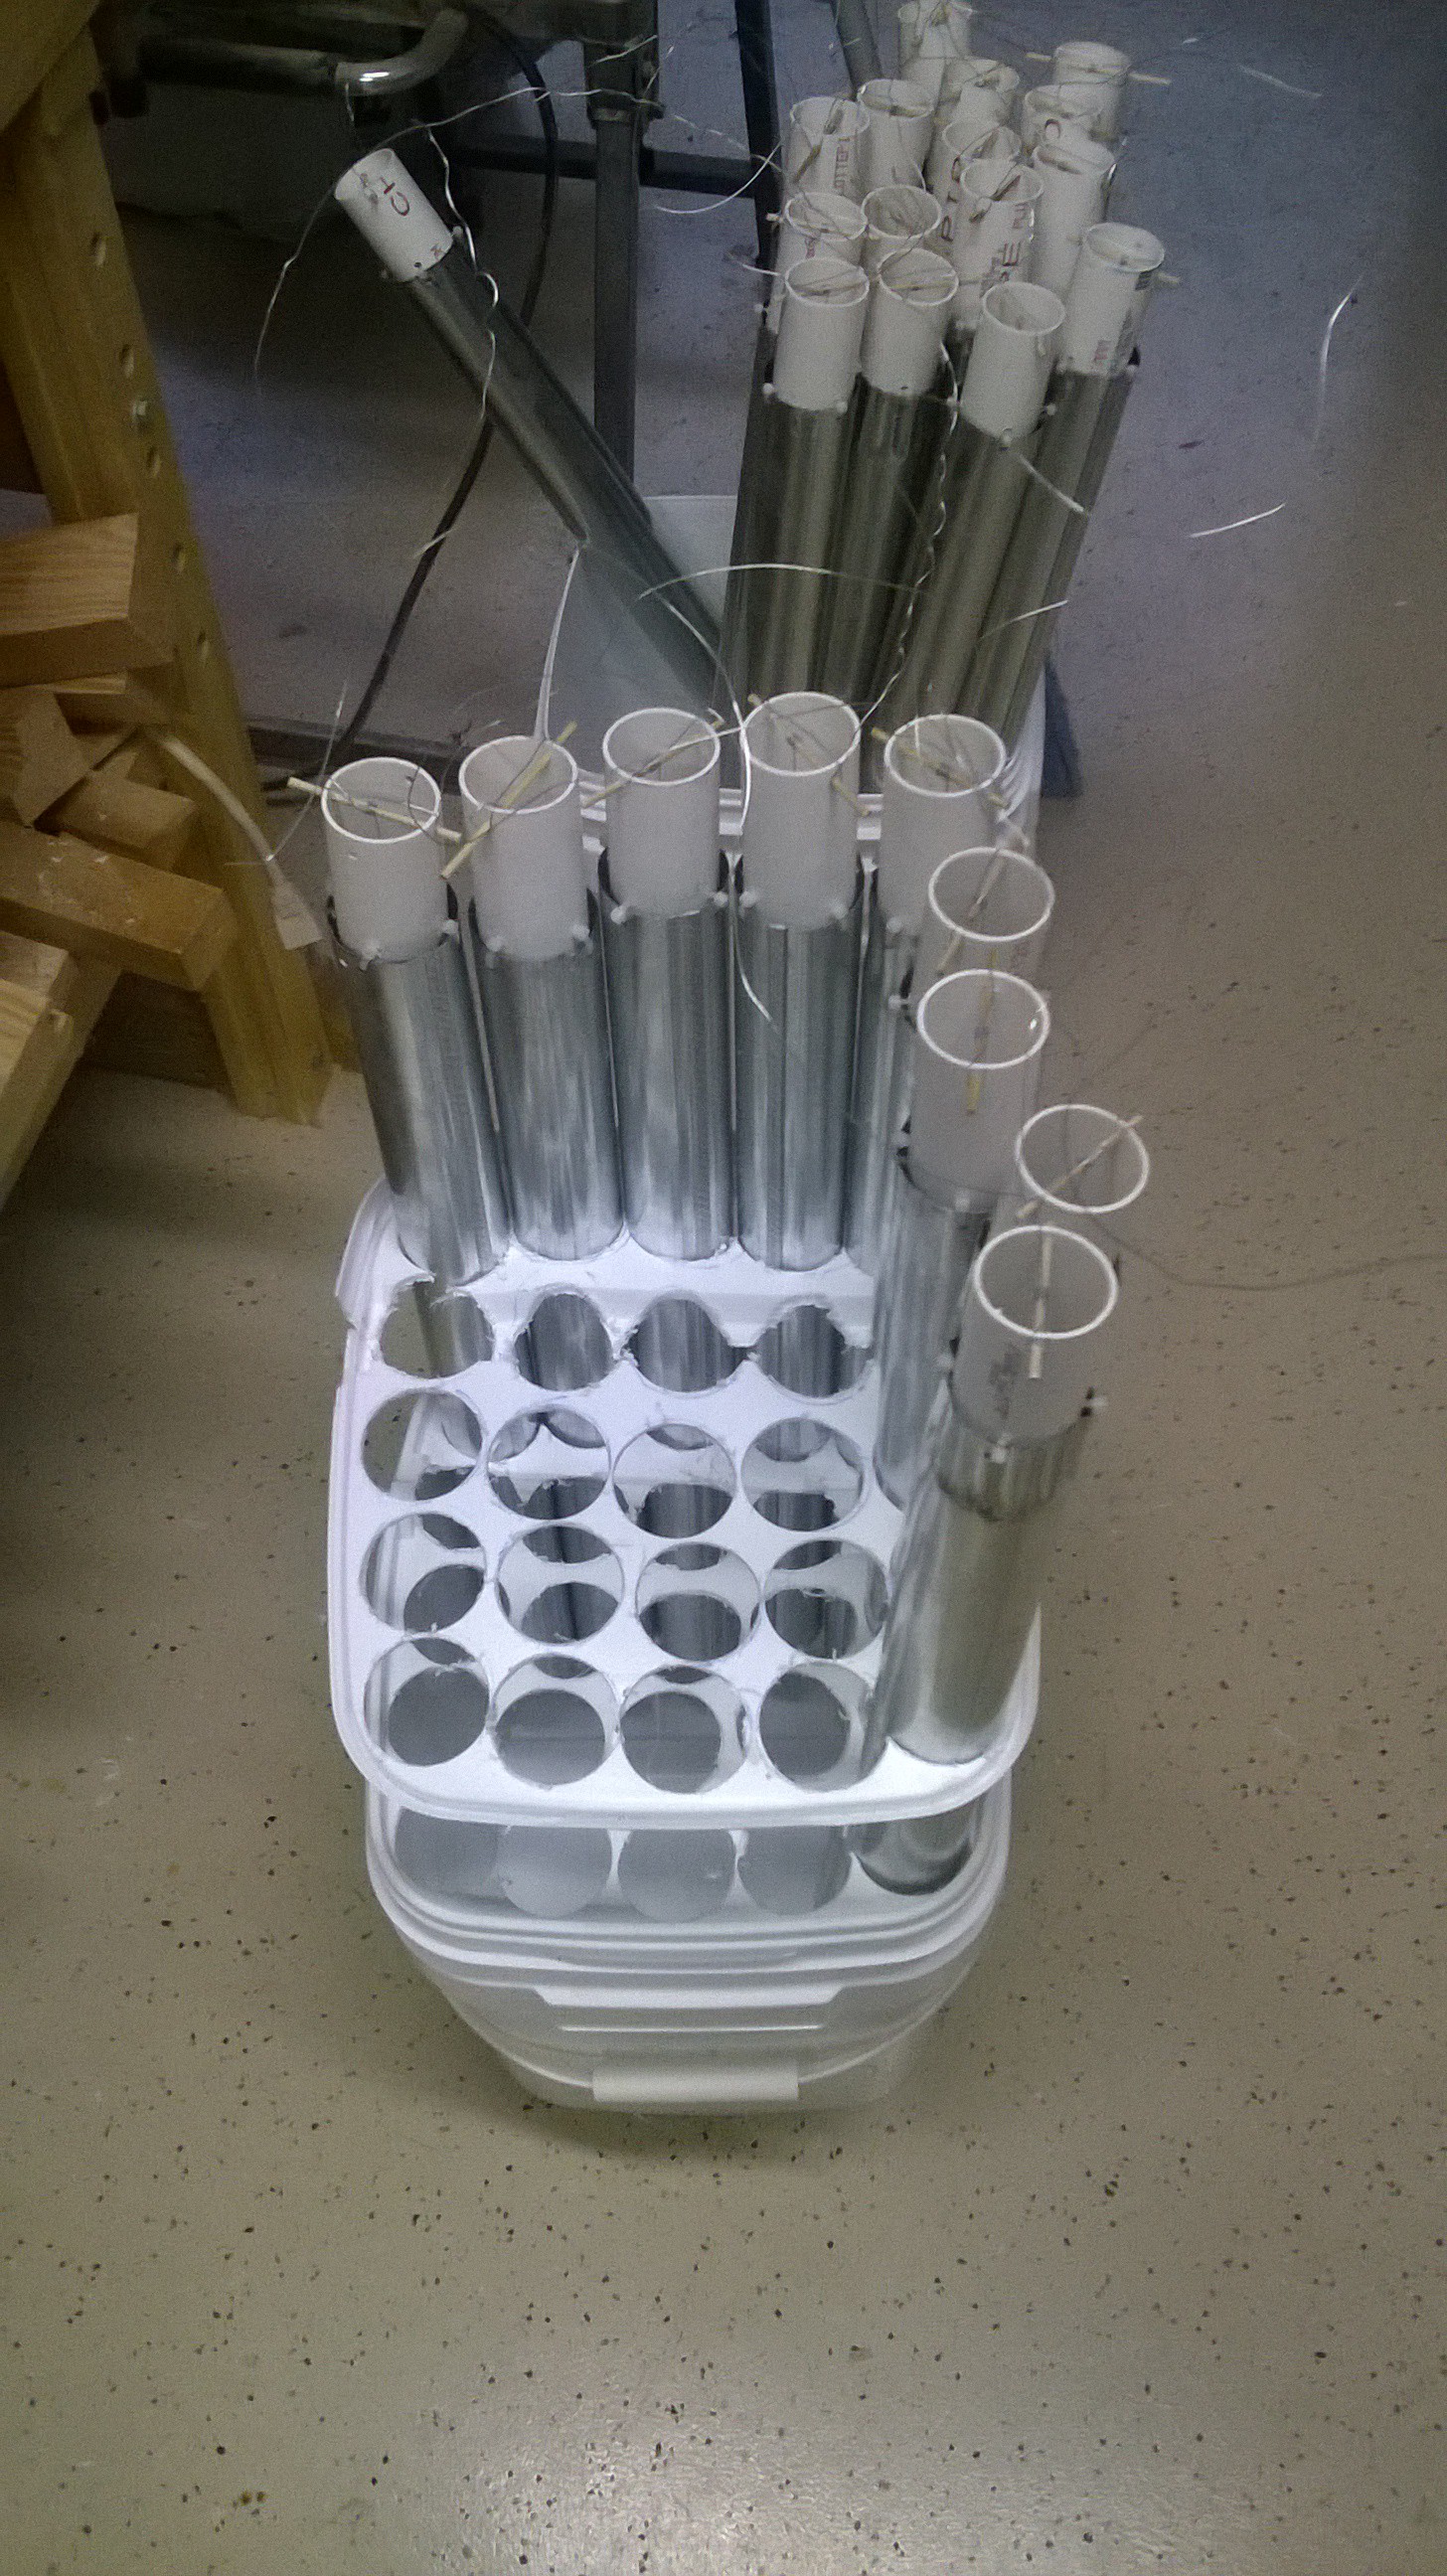
I then turned to a piece of plywood to interface the pipes to the buckets.
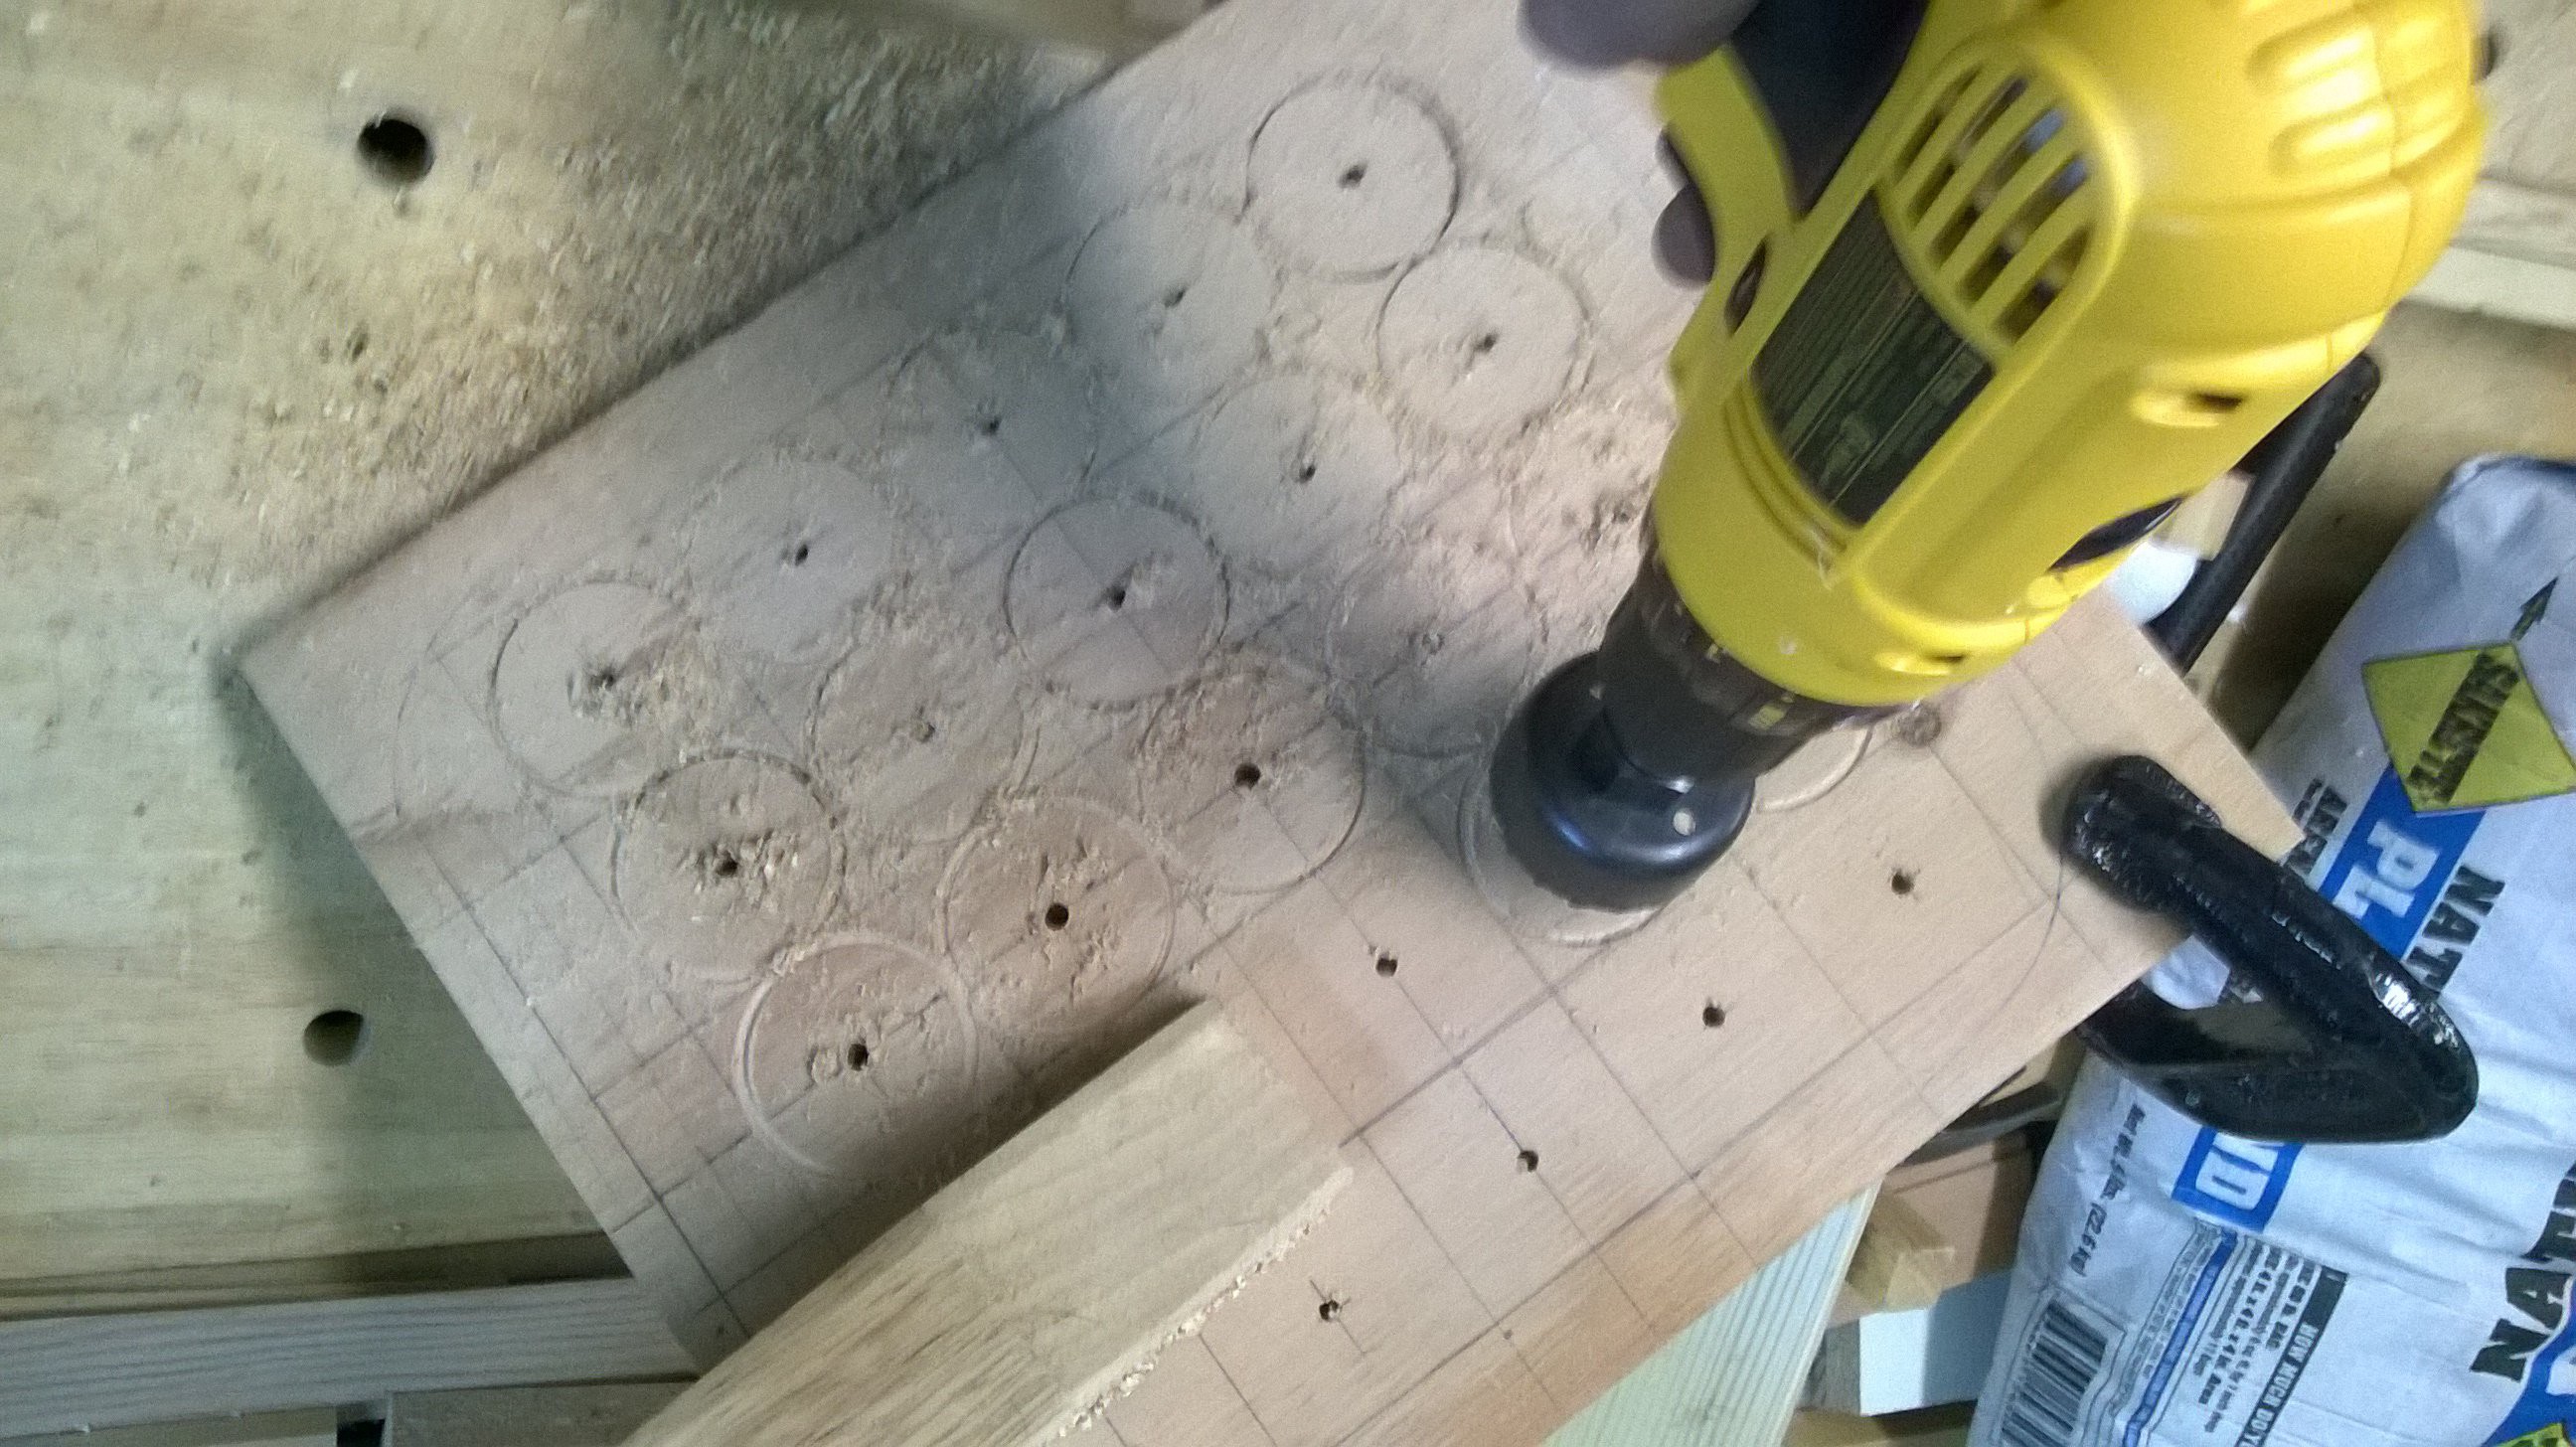
This was a lot more rigid and could hold all of the ESP tubes tightly in a bunch. After the holes were drilled I had to insert the pipes.
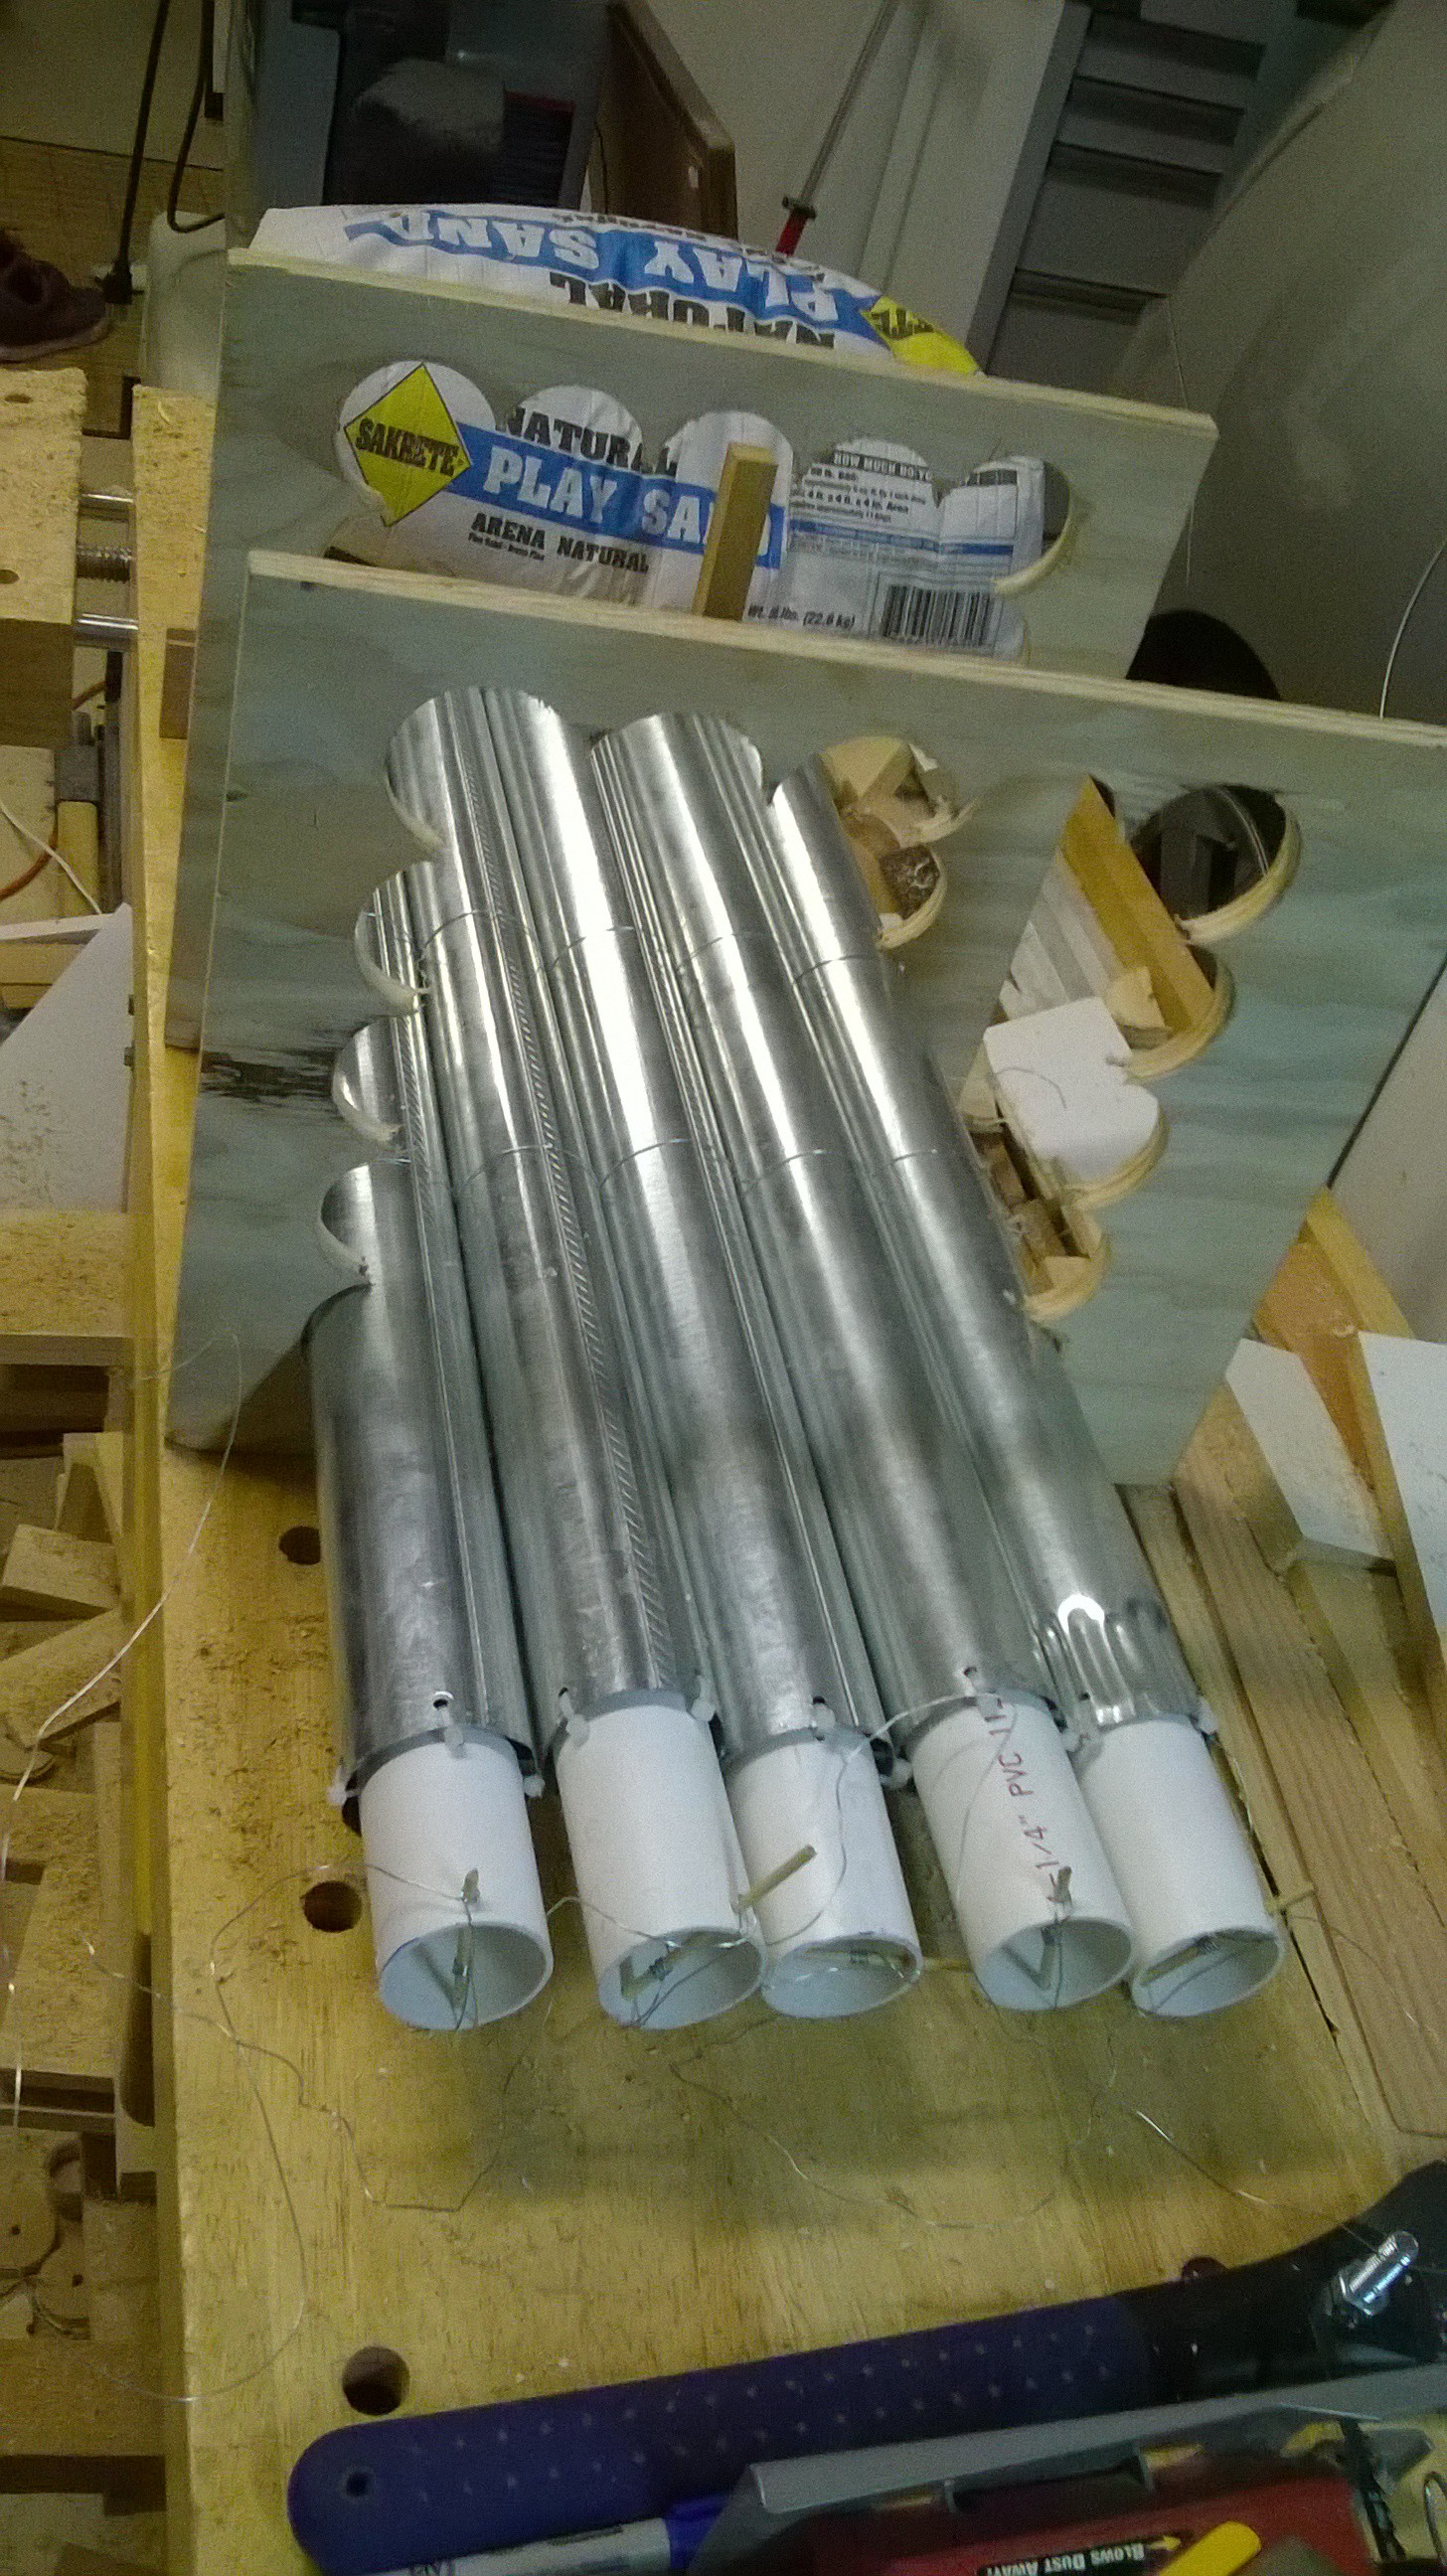 I then had to fill each gap between the pipes with a star shaped piece of wood and lots of guerrilla glue layer by layer.
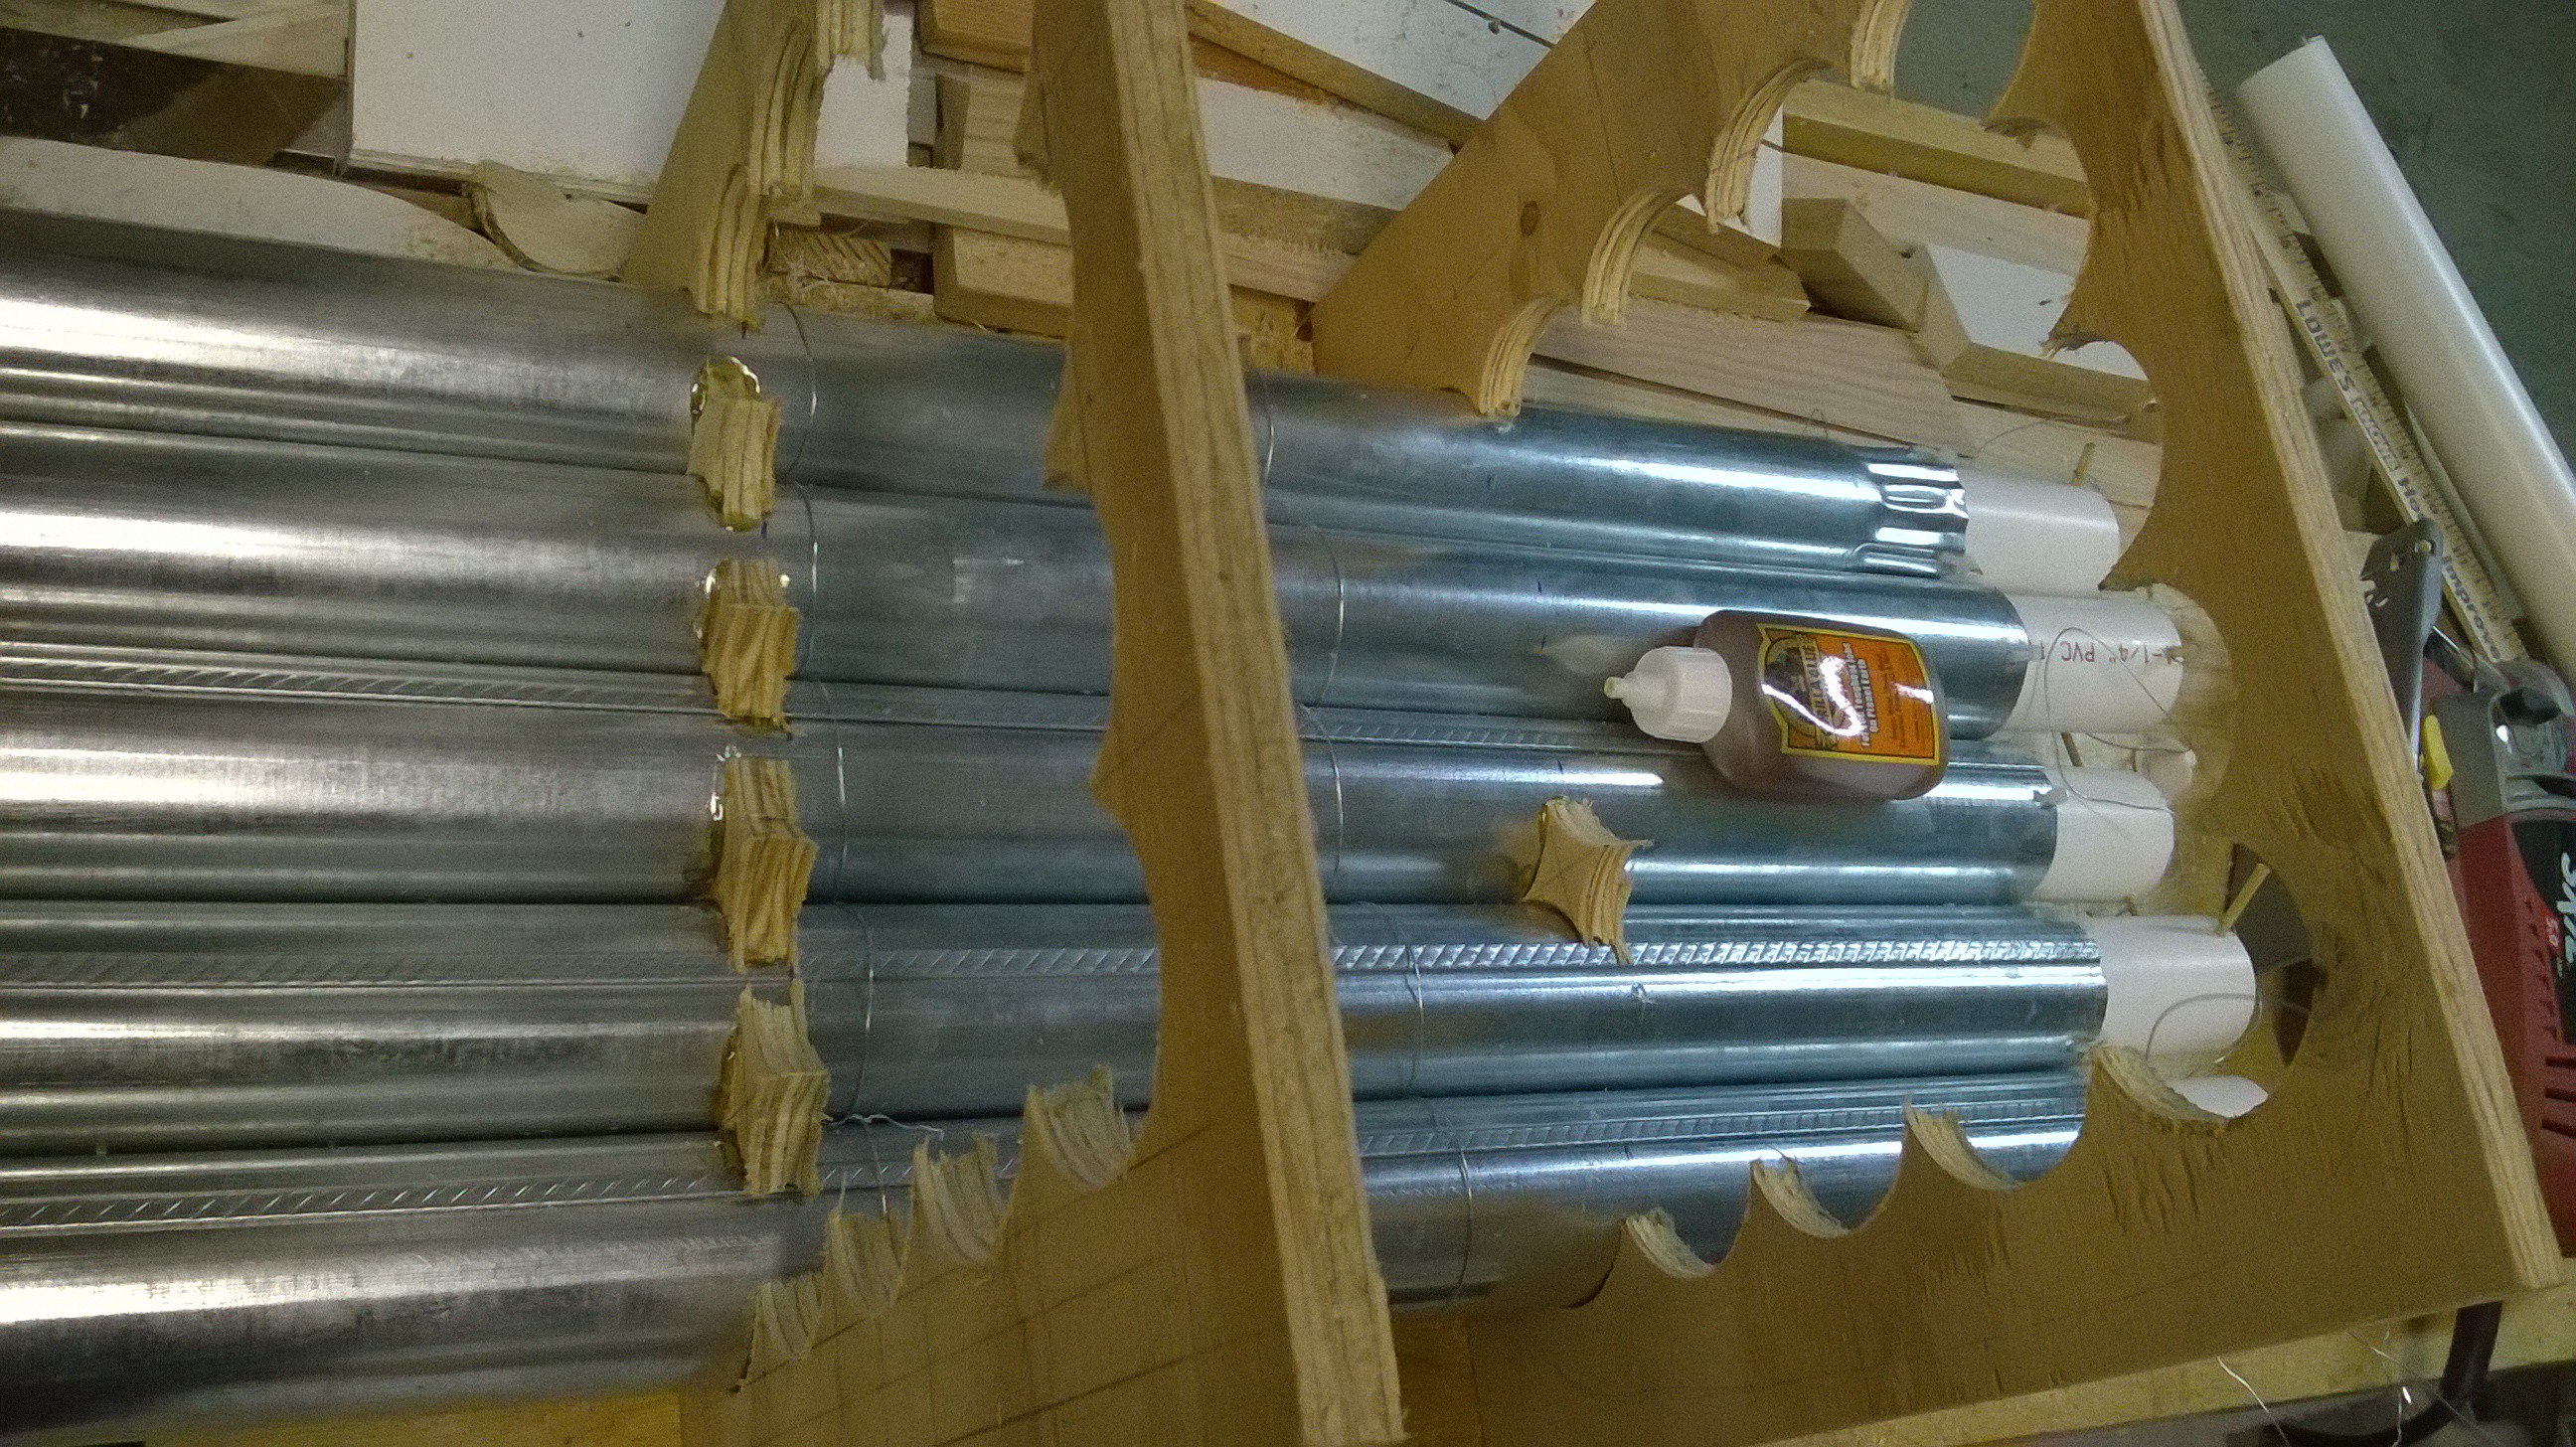 I finally got to the end.
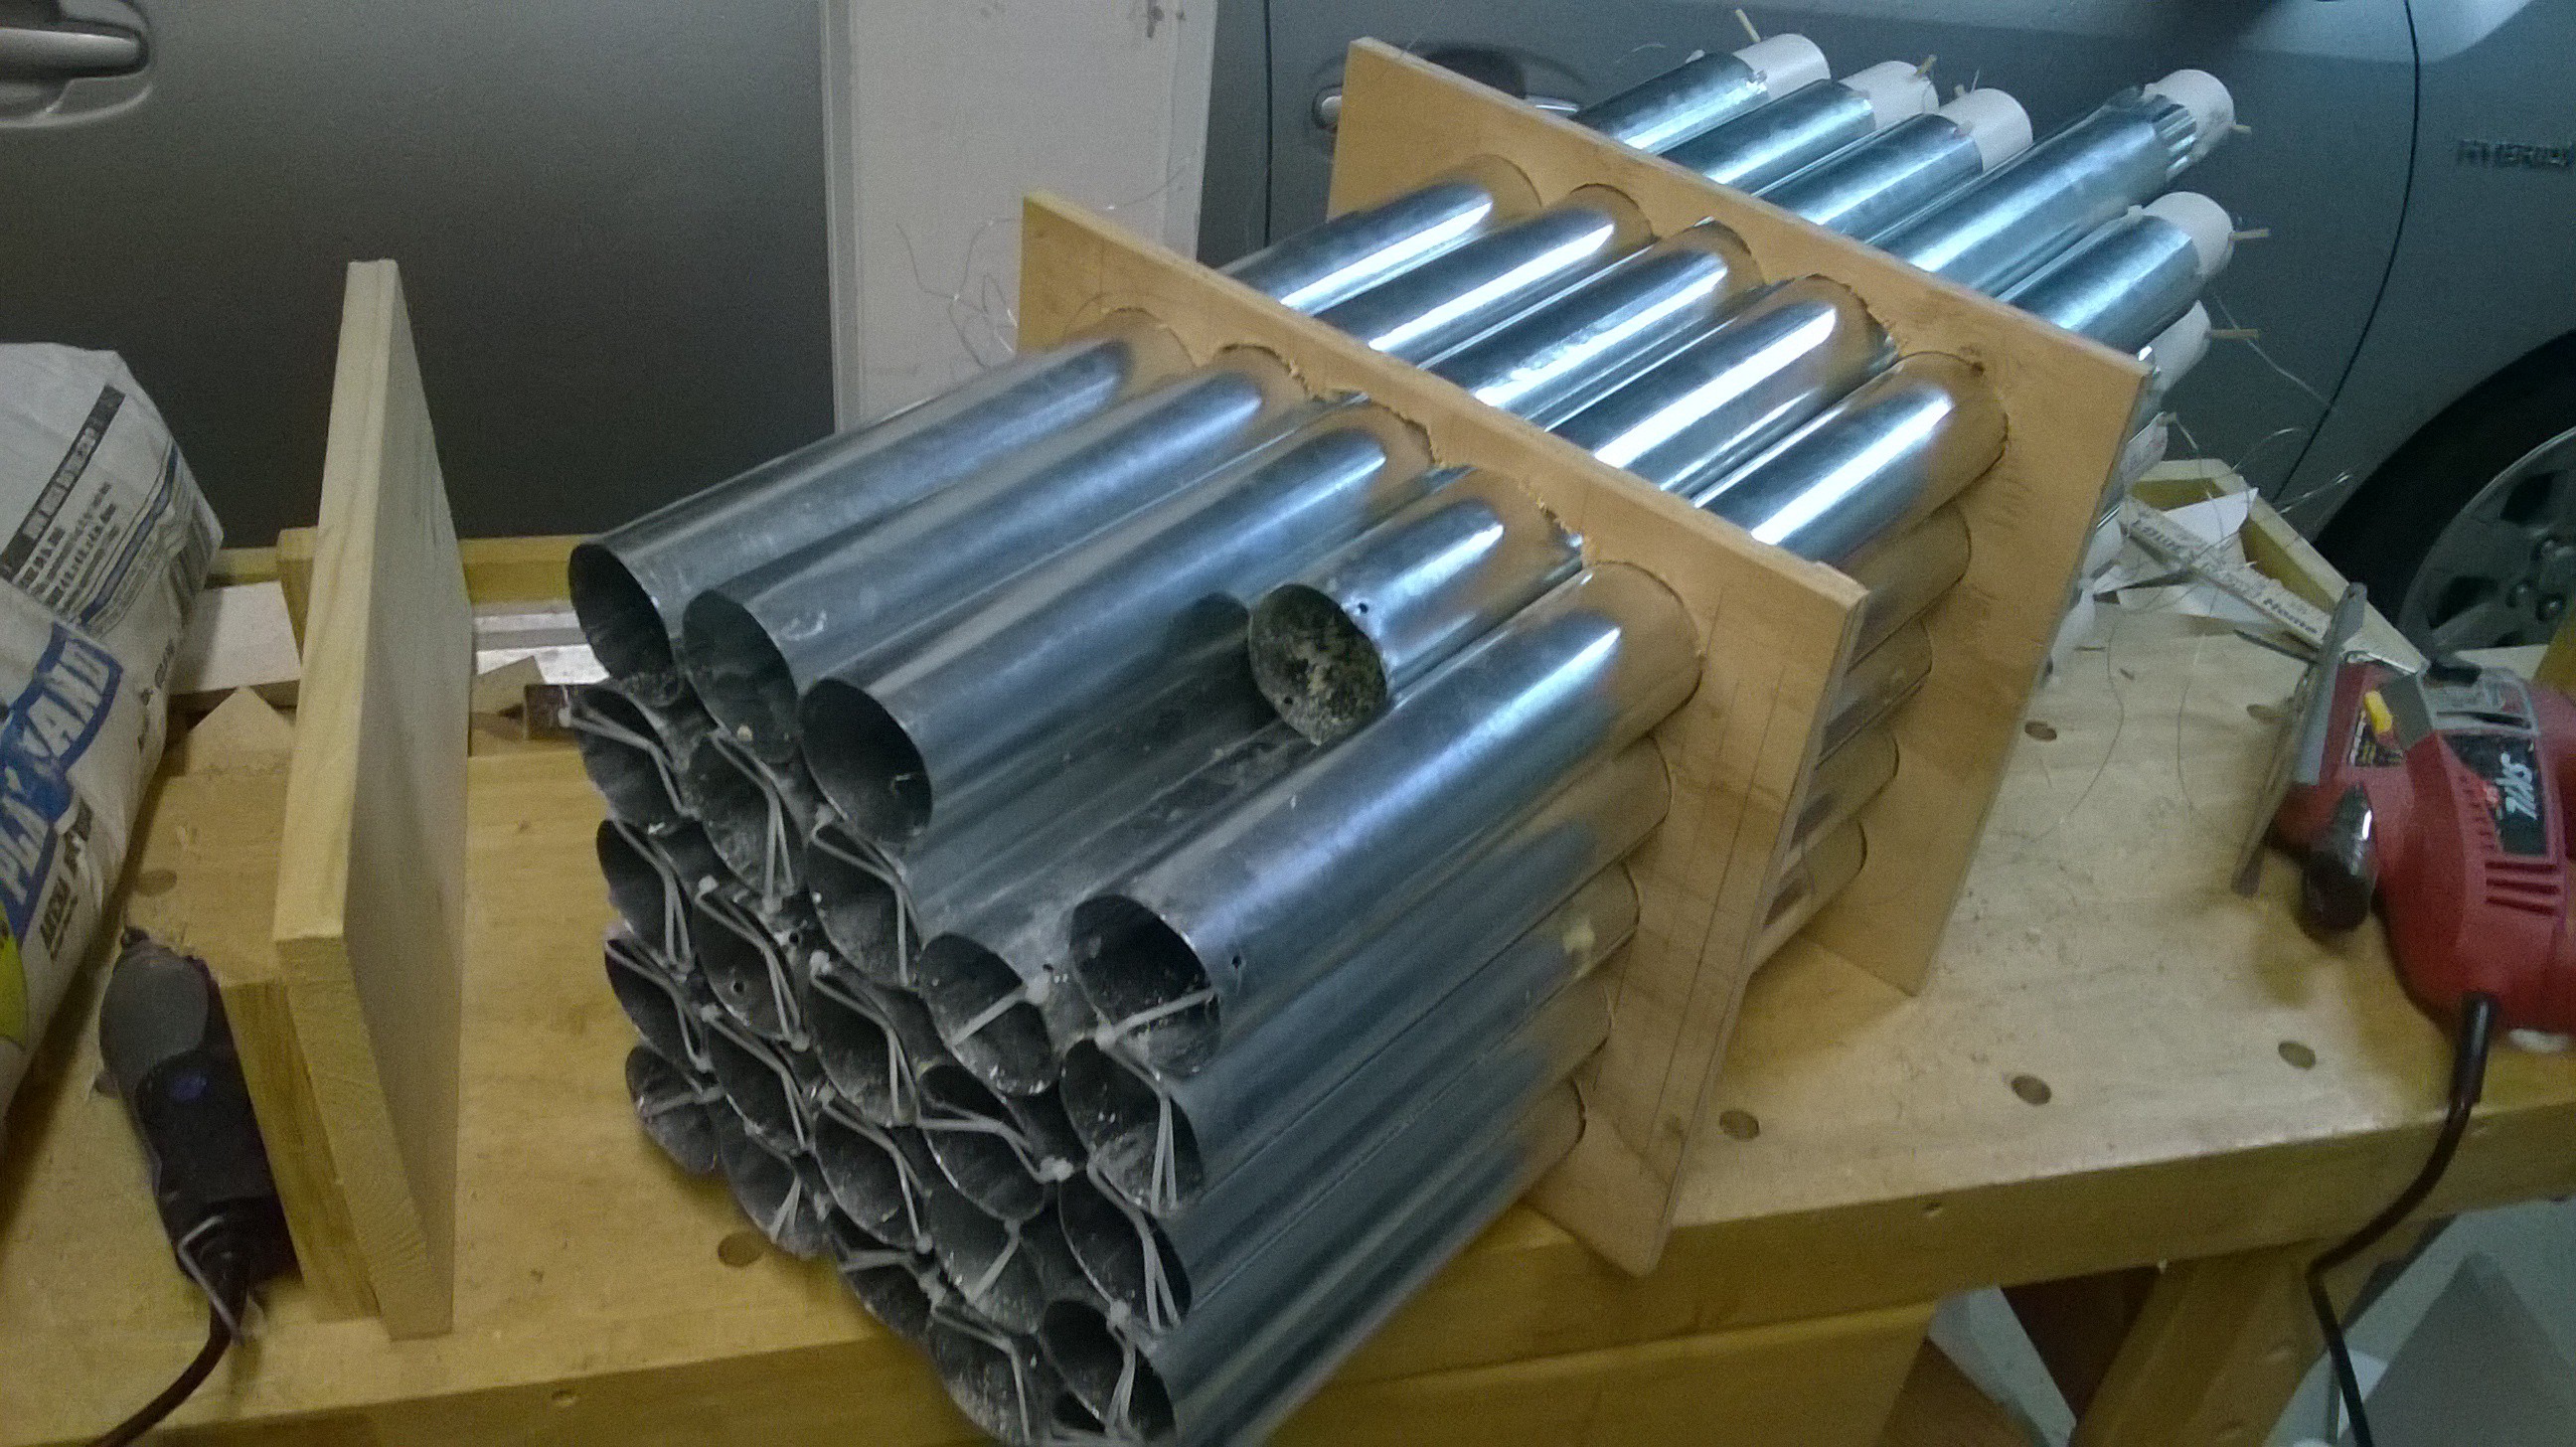 To be safe, I jammed some foam into the gaps between the pipes and dropped small pools of guerrilla glue in them to make it air tight. I also hot glued the edges to make everything sealed.
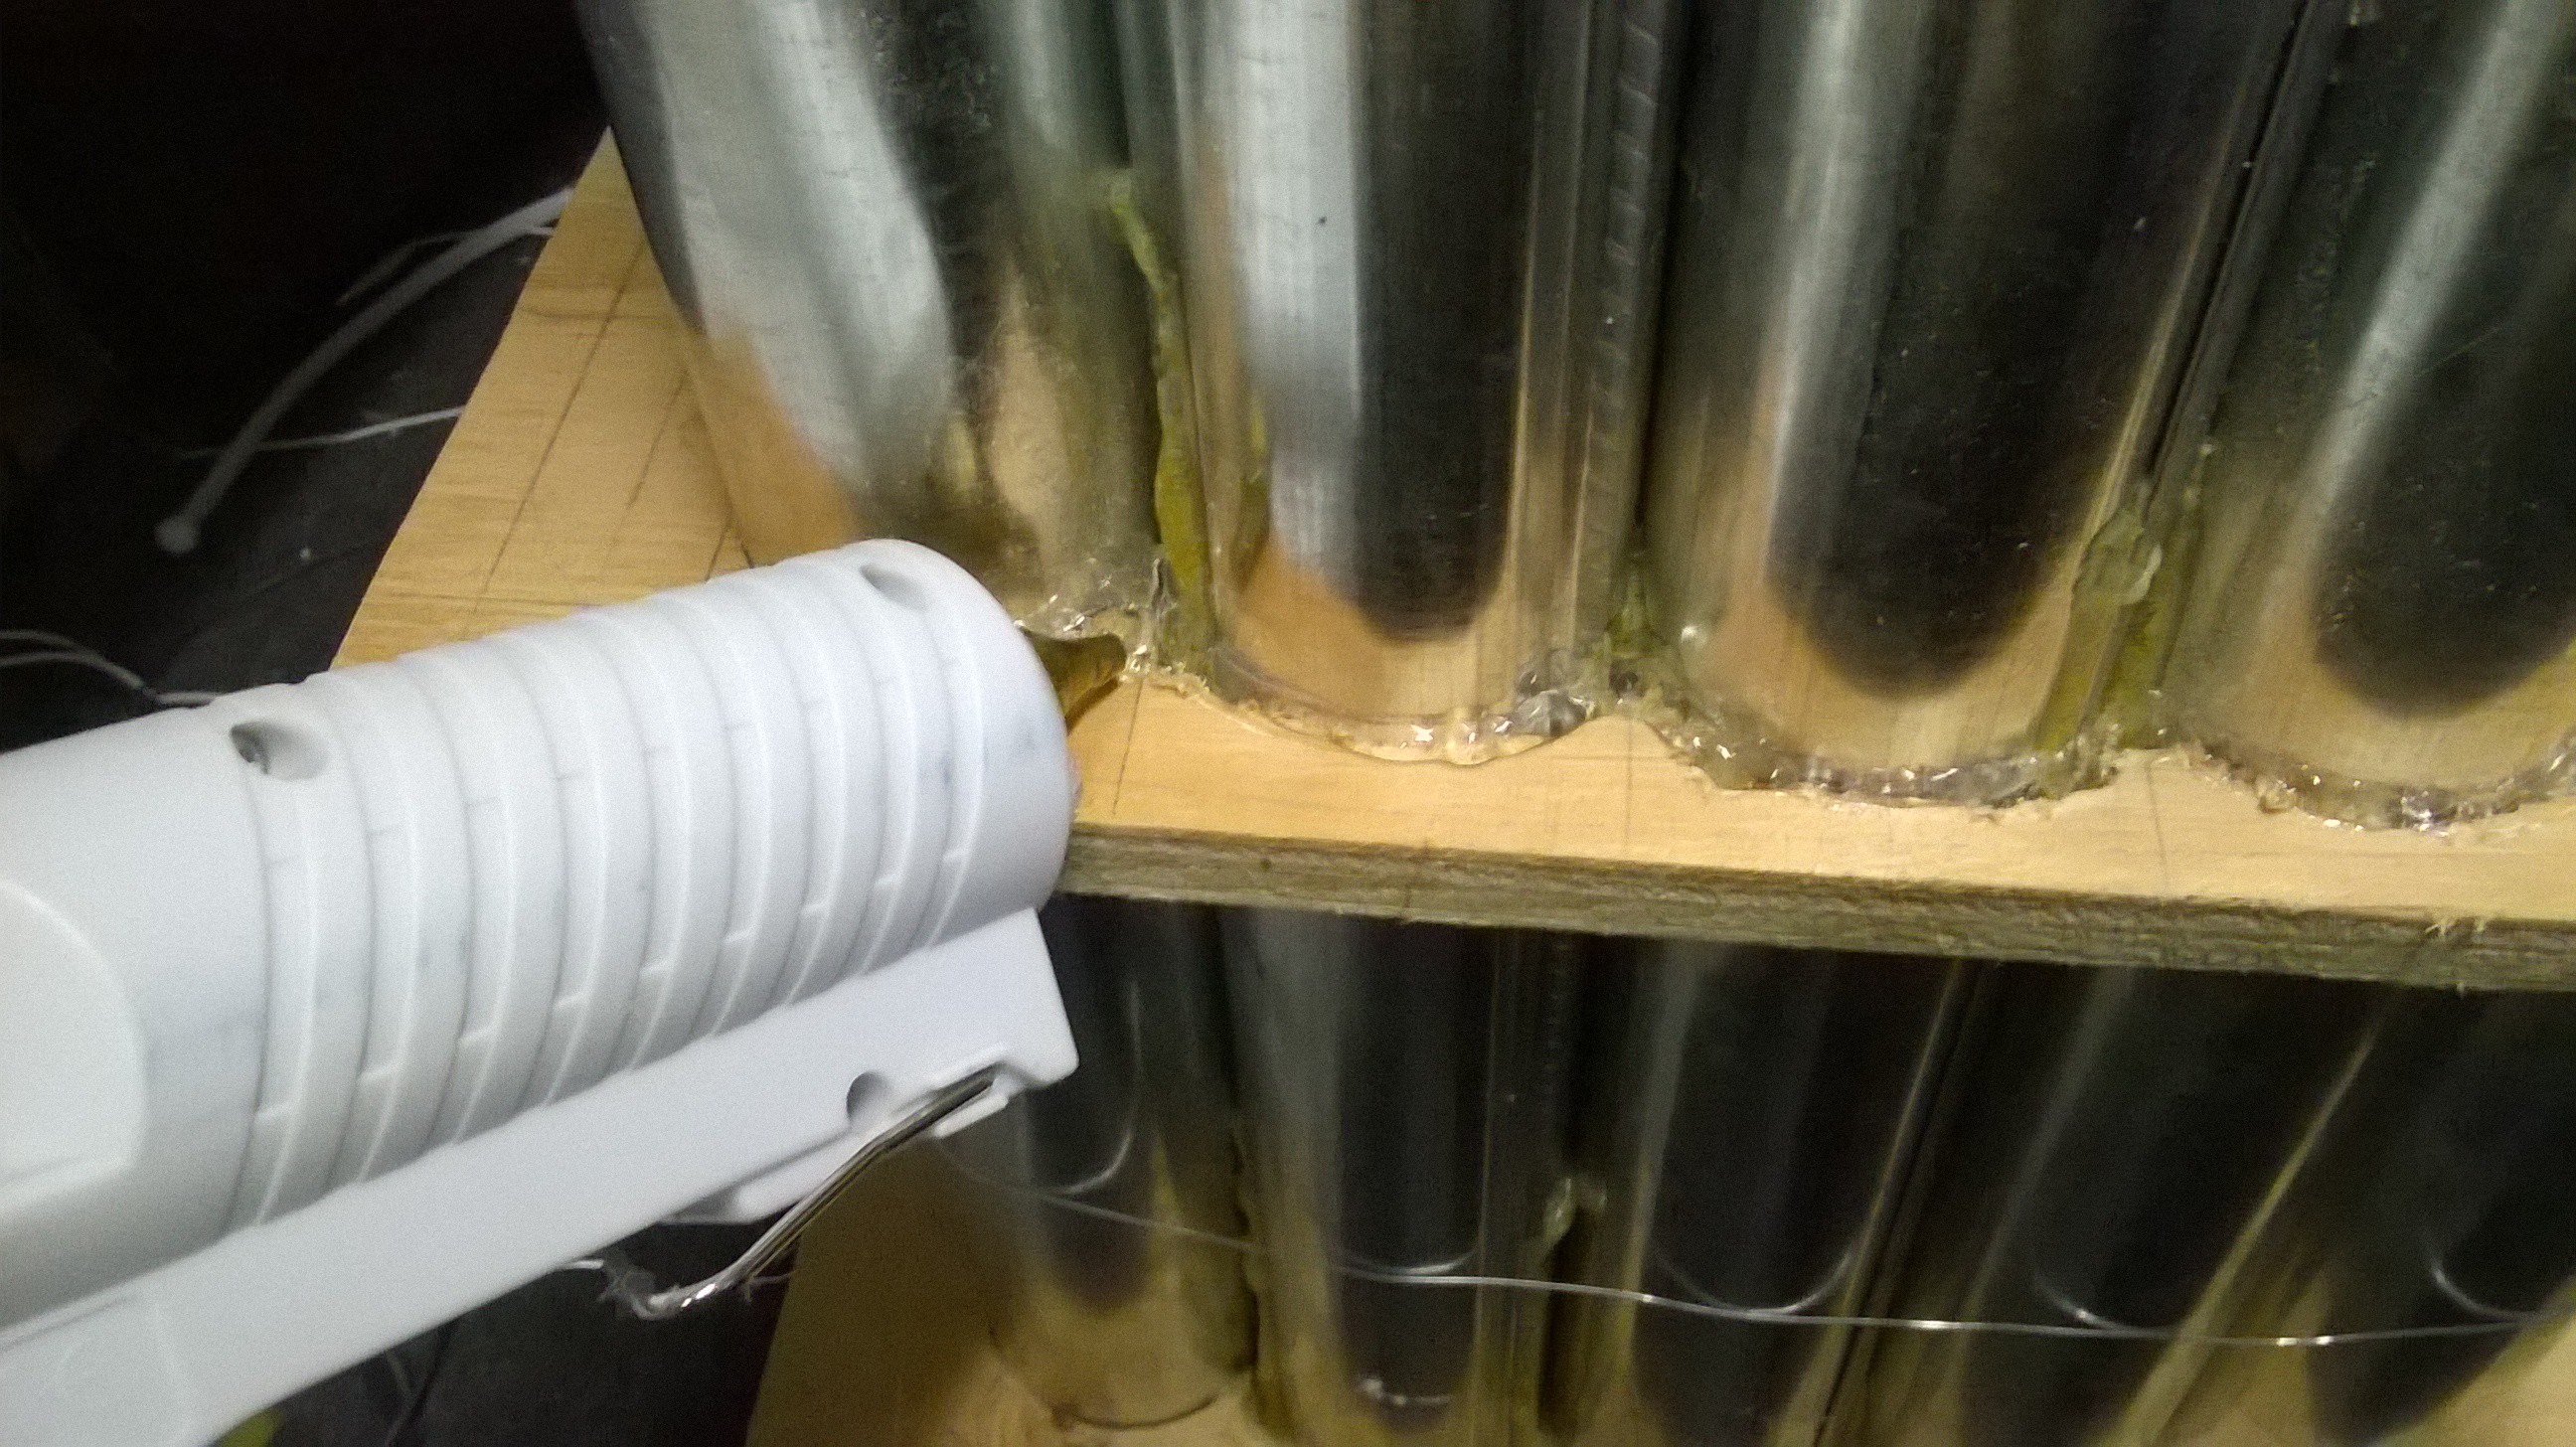 I now had a near finished DIY tube electrostatic precipitator assembly!
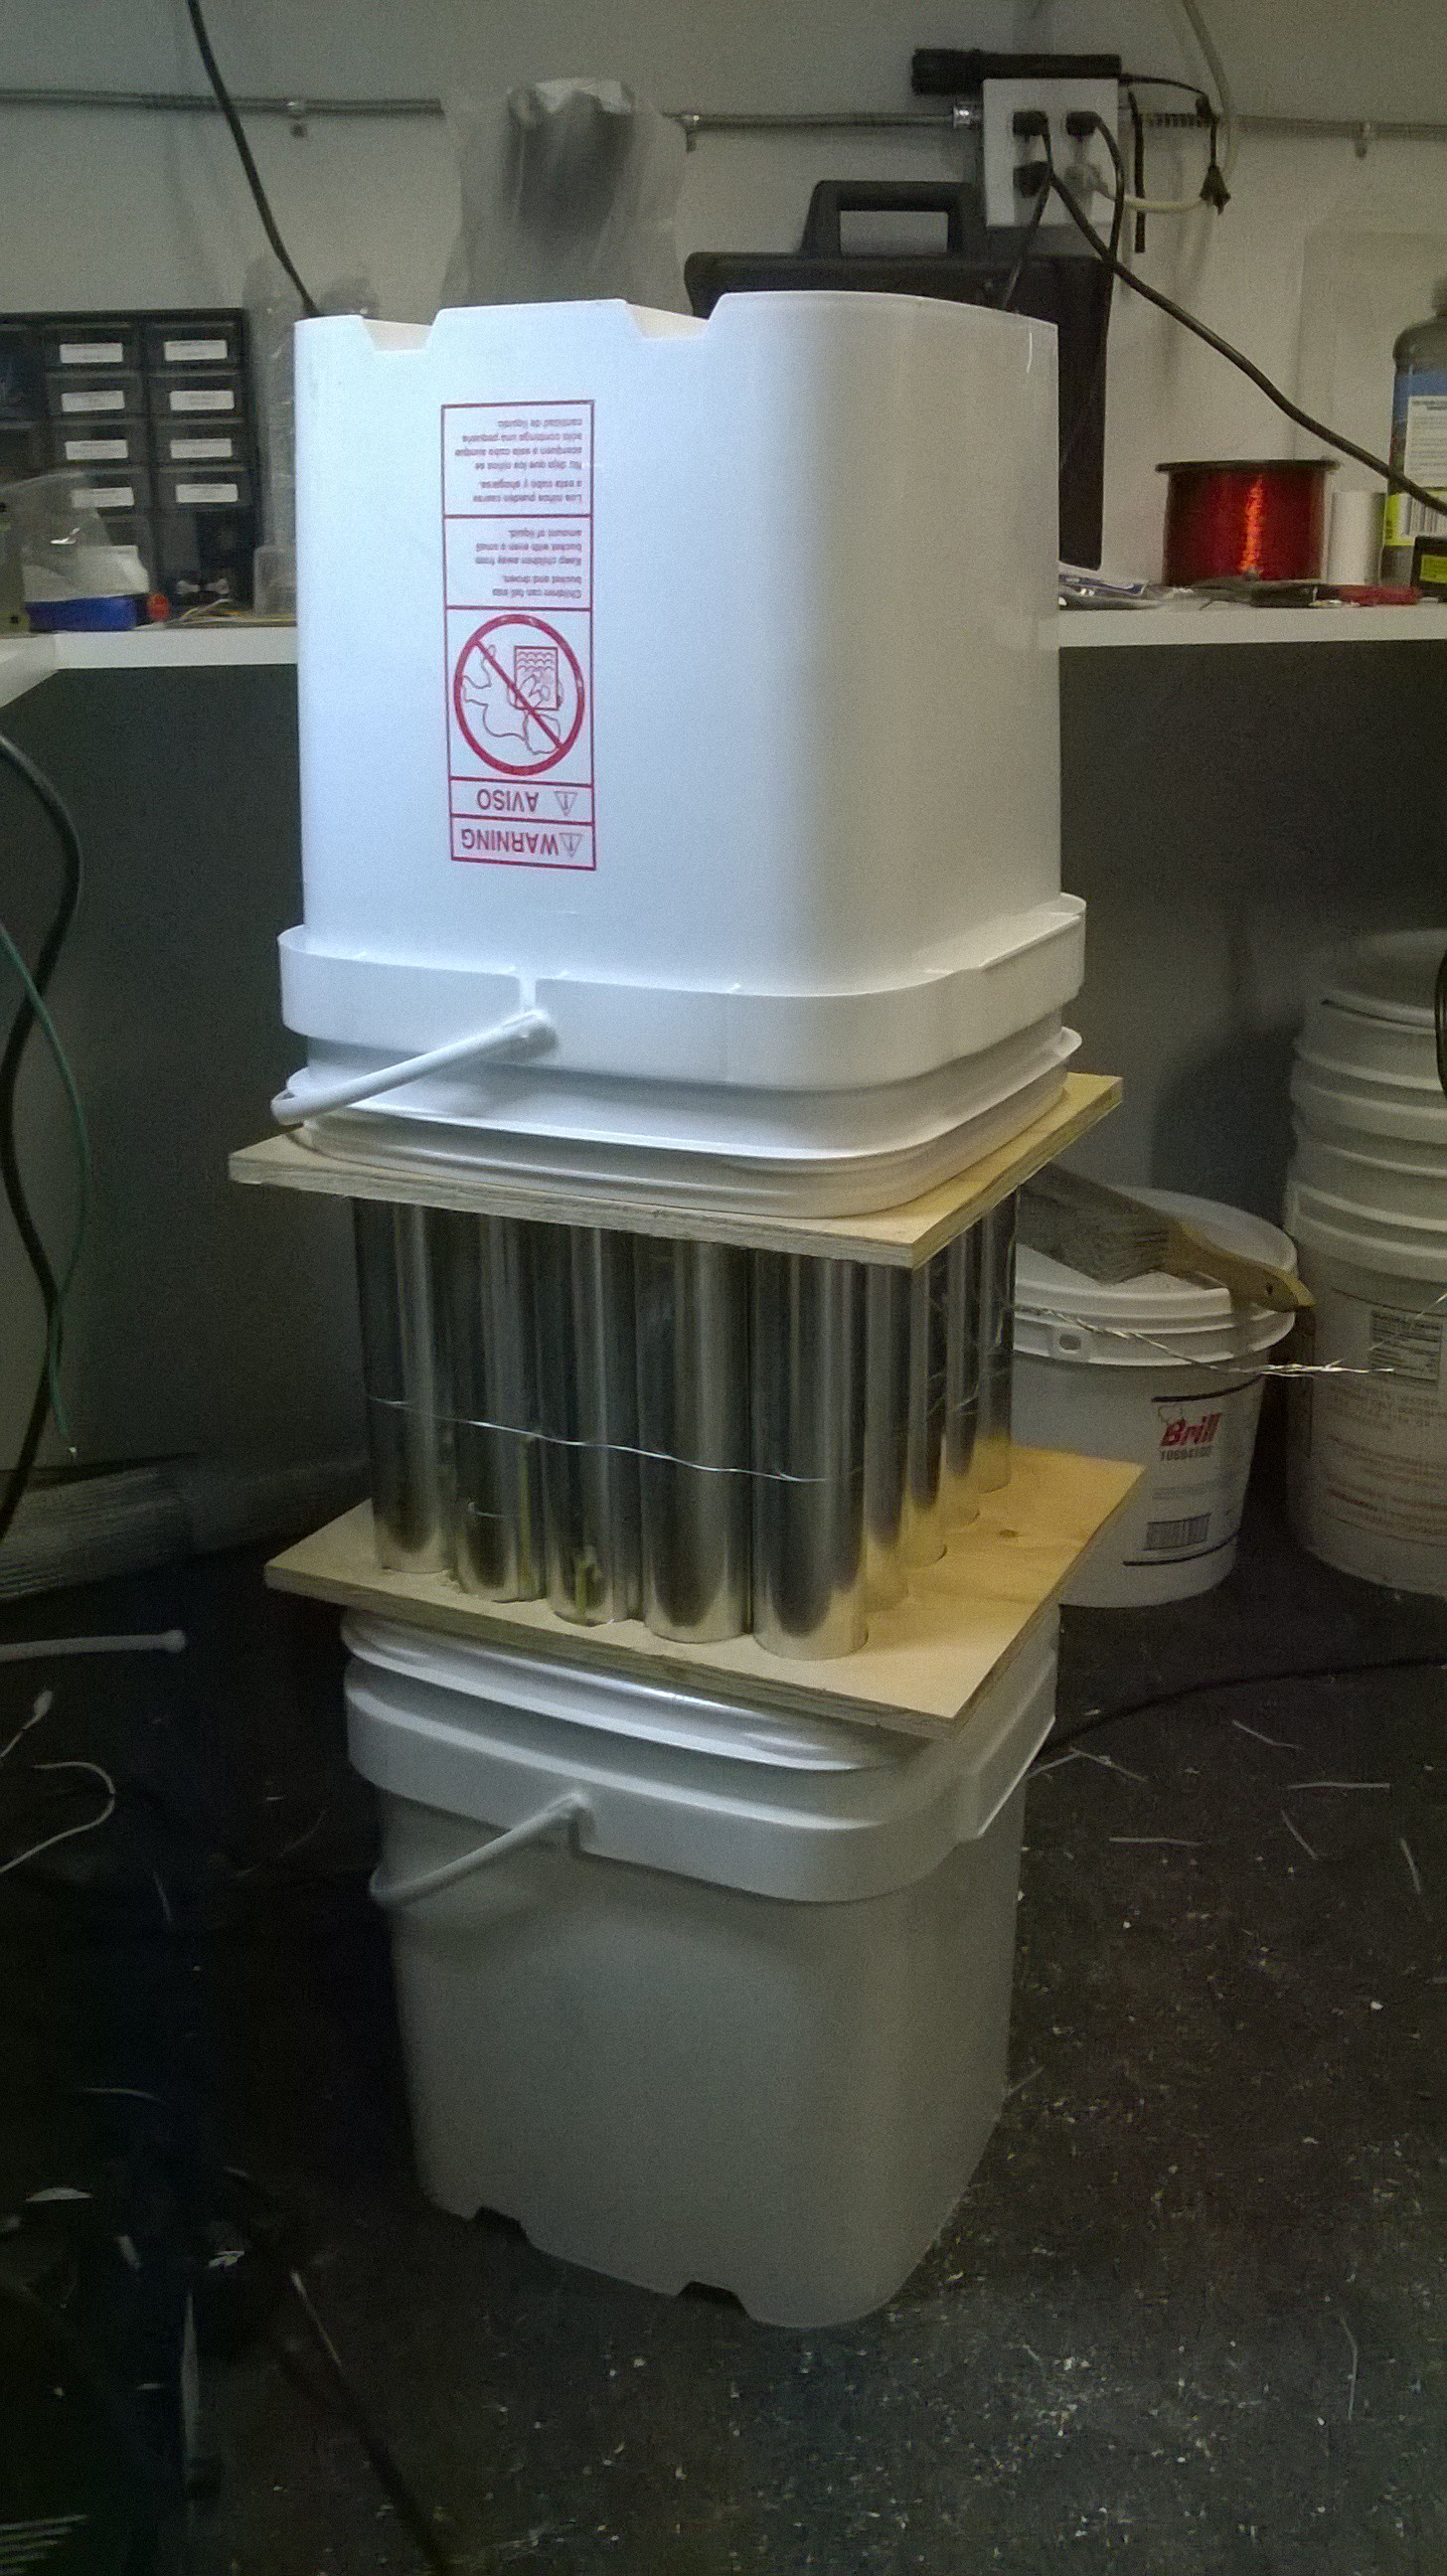
Next step is to test this and try and optimize it with the wet scrubber and activated carbon assemblies.
Discussions
Become a Hackaday.io Member
Create an account to leave a comment. Already have an account? Log In.