-
Video
08/17/2015 at 09:50 • 0 commentsSo here's a little more video showing what we currently have working. I will publish all code happily - just got to work out Github. For now video shows the vernier sending measurements to the Processing sketch that define the diameter of each nares and the width of the septum.
If I hit the 'r' key - the processing sketch then writes a file CPAP.obj of that current object.
This file can be opened in the Makerbot software (or could be imported to Cura etc) and after scaling 10% (the Processing sketch works in pixels not mm's)
And prints in ninjaflex...
The final images of the printed cannula on the bed show the orientation that I print the cannula. Printing the cylinder in this orientation is not ideal but in fact - because it is so small iy actually prints ok without supports.
-
Upgrade Makerbot Replicator 2 for NinjaFlex
08/17/2015 at 09:11 • 0 commentsPrinting with NinjaFlex is tricky. The filament path needs to be constrained so it doesn't buckle when being driven into the extruder.
I found that this extruder upgrade is necessary for my Makerbot Replicator 2 - but easily printable in PLA. The only changes I made to the standard Makerbot print settings were to slow the printing speed to 30mm/sec (230C print temp).
I also have a Printrbot Simple Metal - Ninjaflex not printing as well on this yet but will post details if I have any success. The extruder is jamming when loading fillament. I need to play with the extruder temps and modify the upgrade to the hot end I am using.
-
Digital vernier calipers serial interface
08/17/2015 at 08:16 • 0 commentsSo to customise the template we could either spend years trying to work out how to extract measurements of the diameter of the baby's nares (nostrils) and width of the nasal septum (spacing of the nostrils) from a 3D scan, or we could just measure them.
We figured to get some hacking cred for the project we should send the measurements from some digital caliper direct to the sketch.
Turns out we didn't earn any cred because this project worked straight out of the box with our calipers.
Video below shows it in action...sending a value to a processing sketch template - the code for which will follow. Got no idea about Github so I might just Dropbox these for now.
-
Nasal CPAP template Processing sketch
08/17/2015 at 07:55 • 0 commentsAs we have no prior programming experience (and have rarely used a soldering iron in anger) we decided that rather then jumping straight to the 3D facial scan we should maybe try to develop a simple, but customisable model of a conventional nasal CPAP cannula.
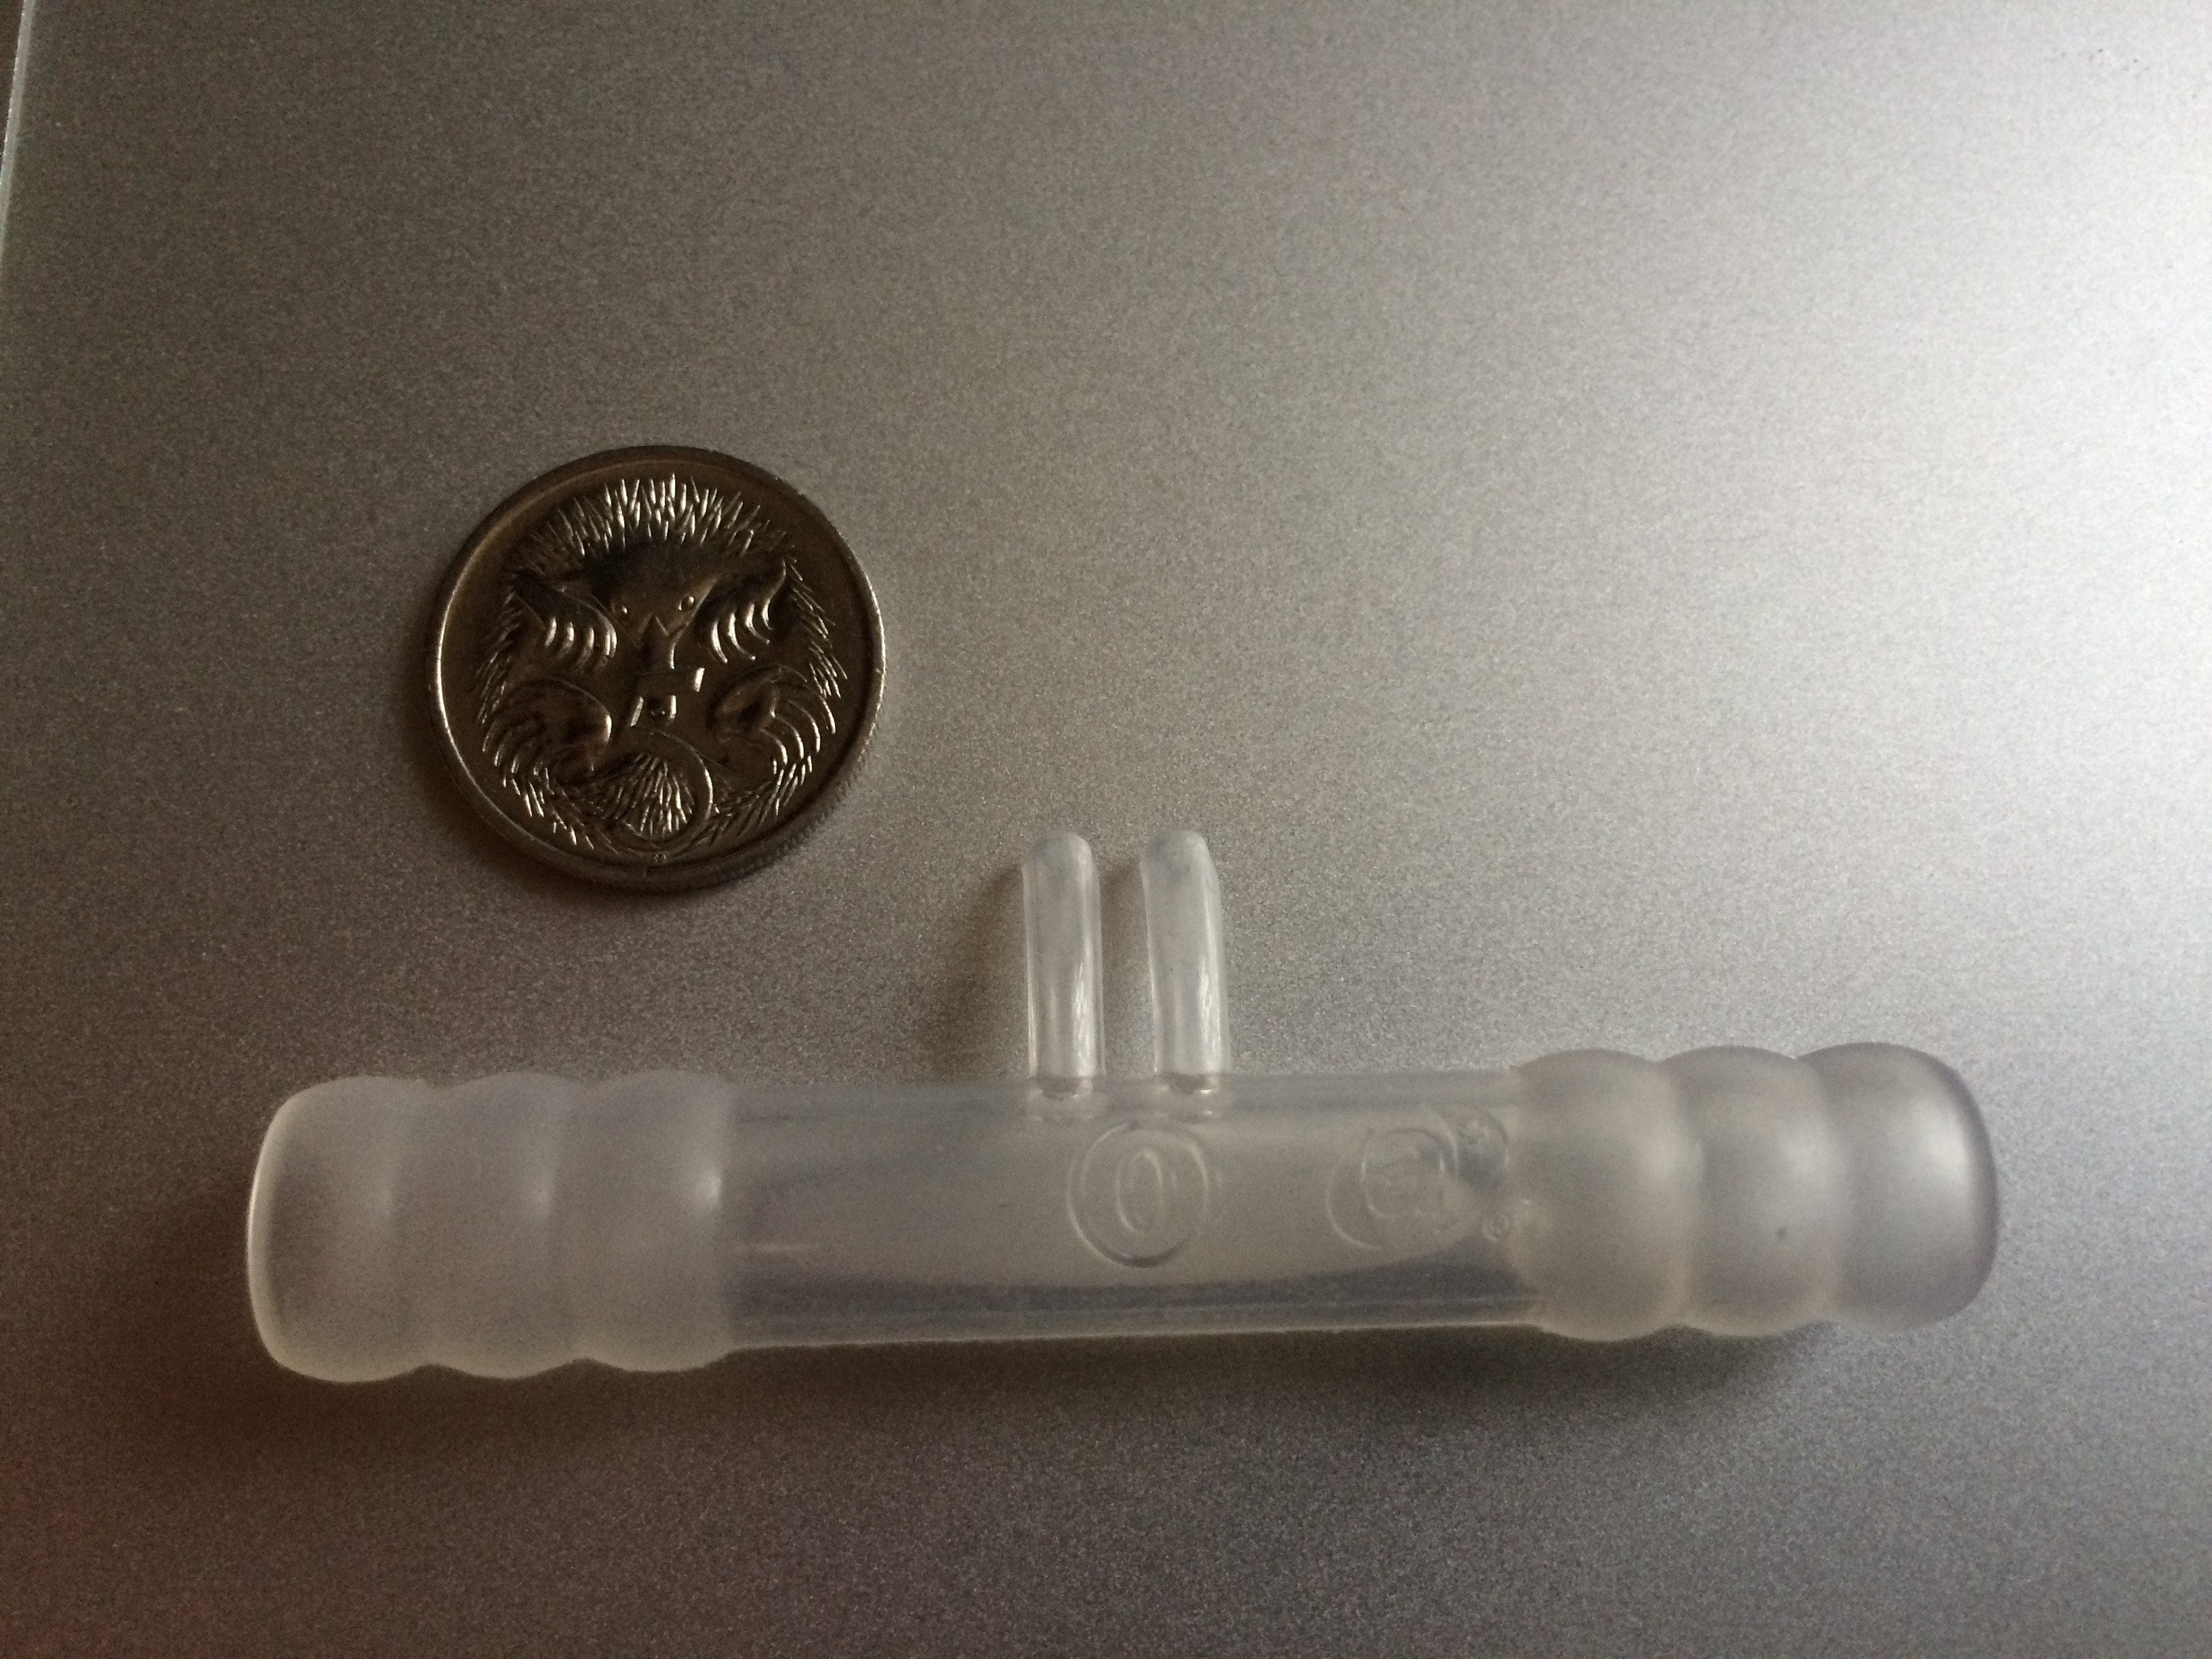
The little guy below is a commercially available device - costs about AU$30-40 each by the way!!! (another reason for this project - and our commitment to open source it - can't hurt disrupting the medical device market now can it??)
Individualised nasal CPAP cannula for preterm kids
Preterm infants come in lots of different sizes. Nasal CPAP cannula come in few sizes. Read on to see if we can 3D print a solution.
 Ben Hartmann