Close
0%
0%

Internet of Cars with Electric Imp and OBD-II

Connect your car to the internet with the Electric Imp and the STN1110 OBD interface. Add GPS and Google Earth for a real time car tracker.

Similar projects worth following
Build your own real time car tracker with an Electric Imp, an STN1110 OBD-II interface and a PA6H GPS module. Vehicle location and stats are plotted real time in Google Earth by relaying the data through Firebase.

The Hardware

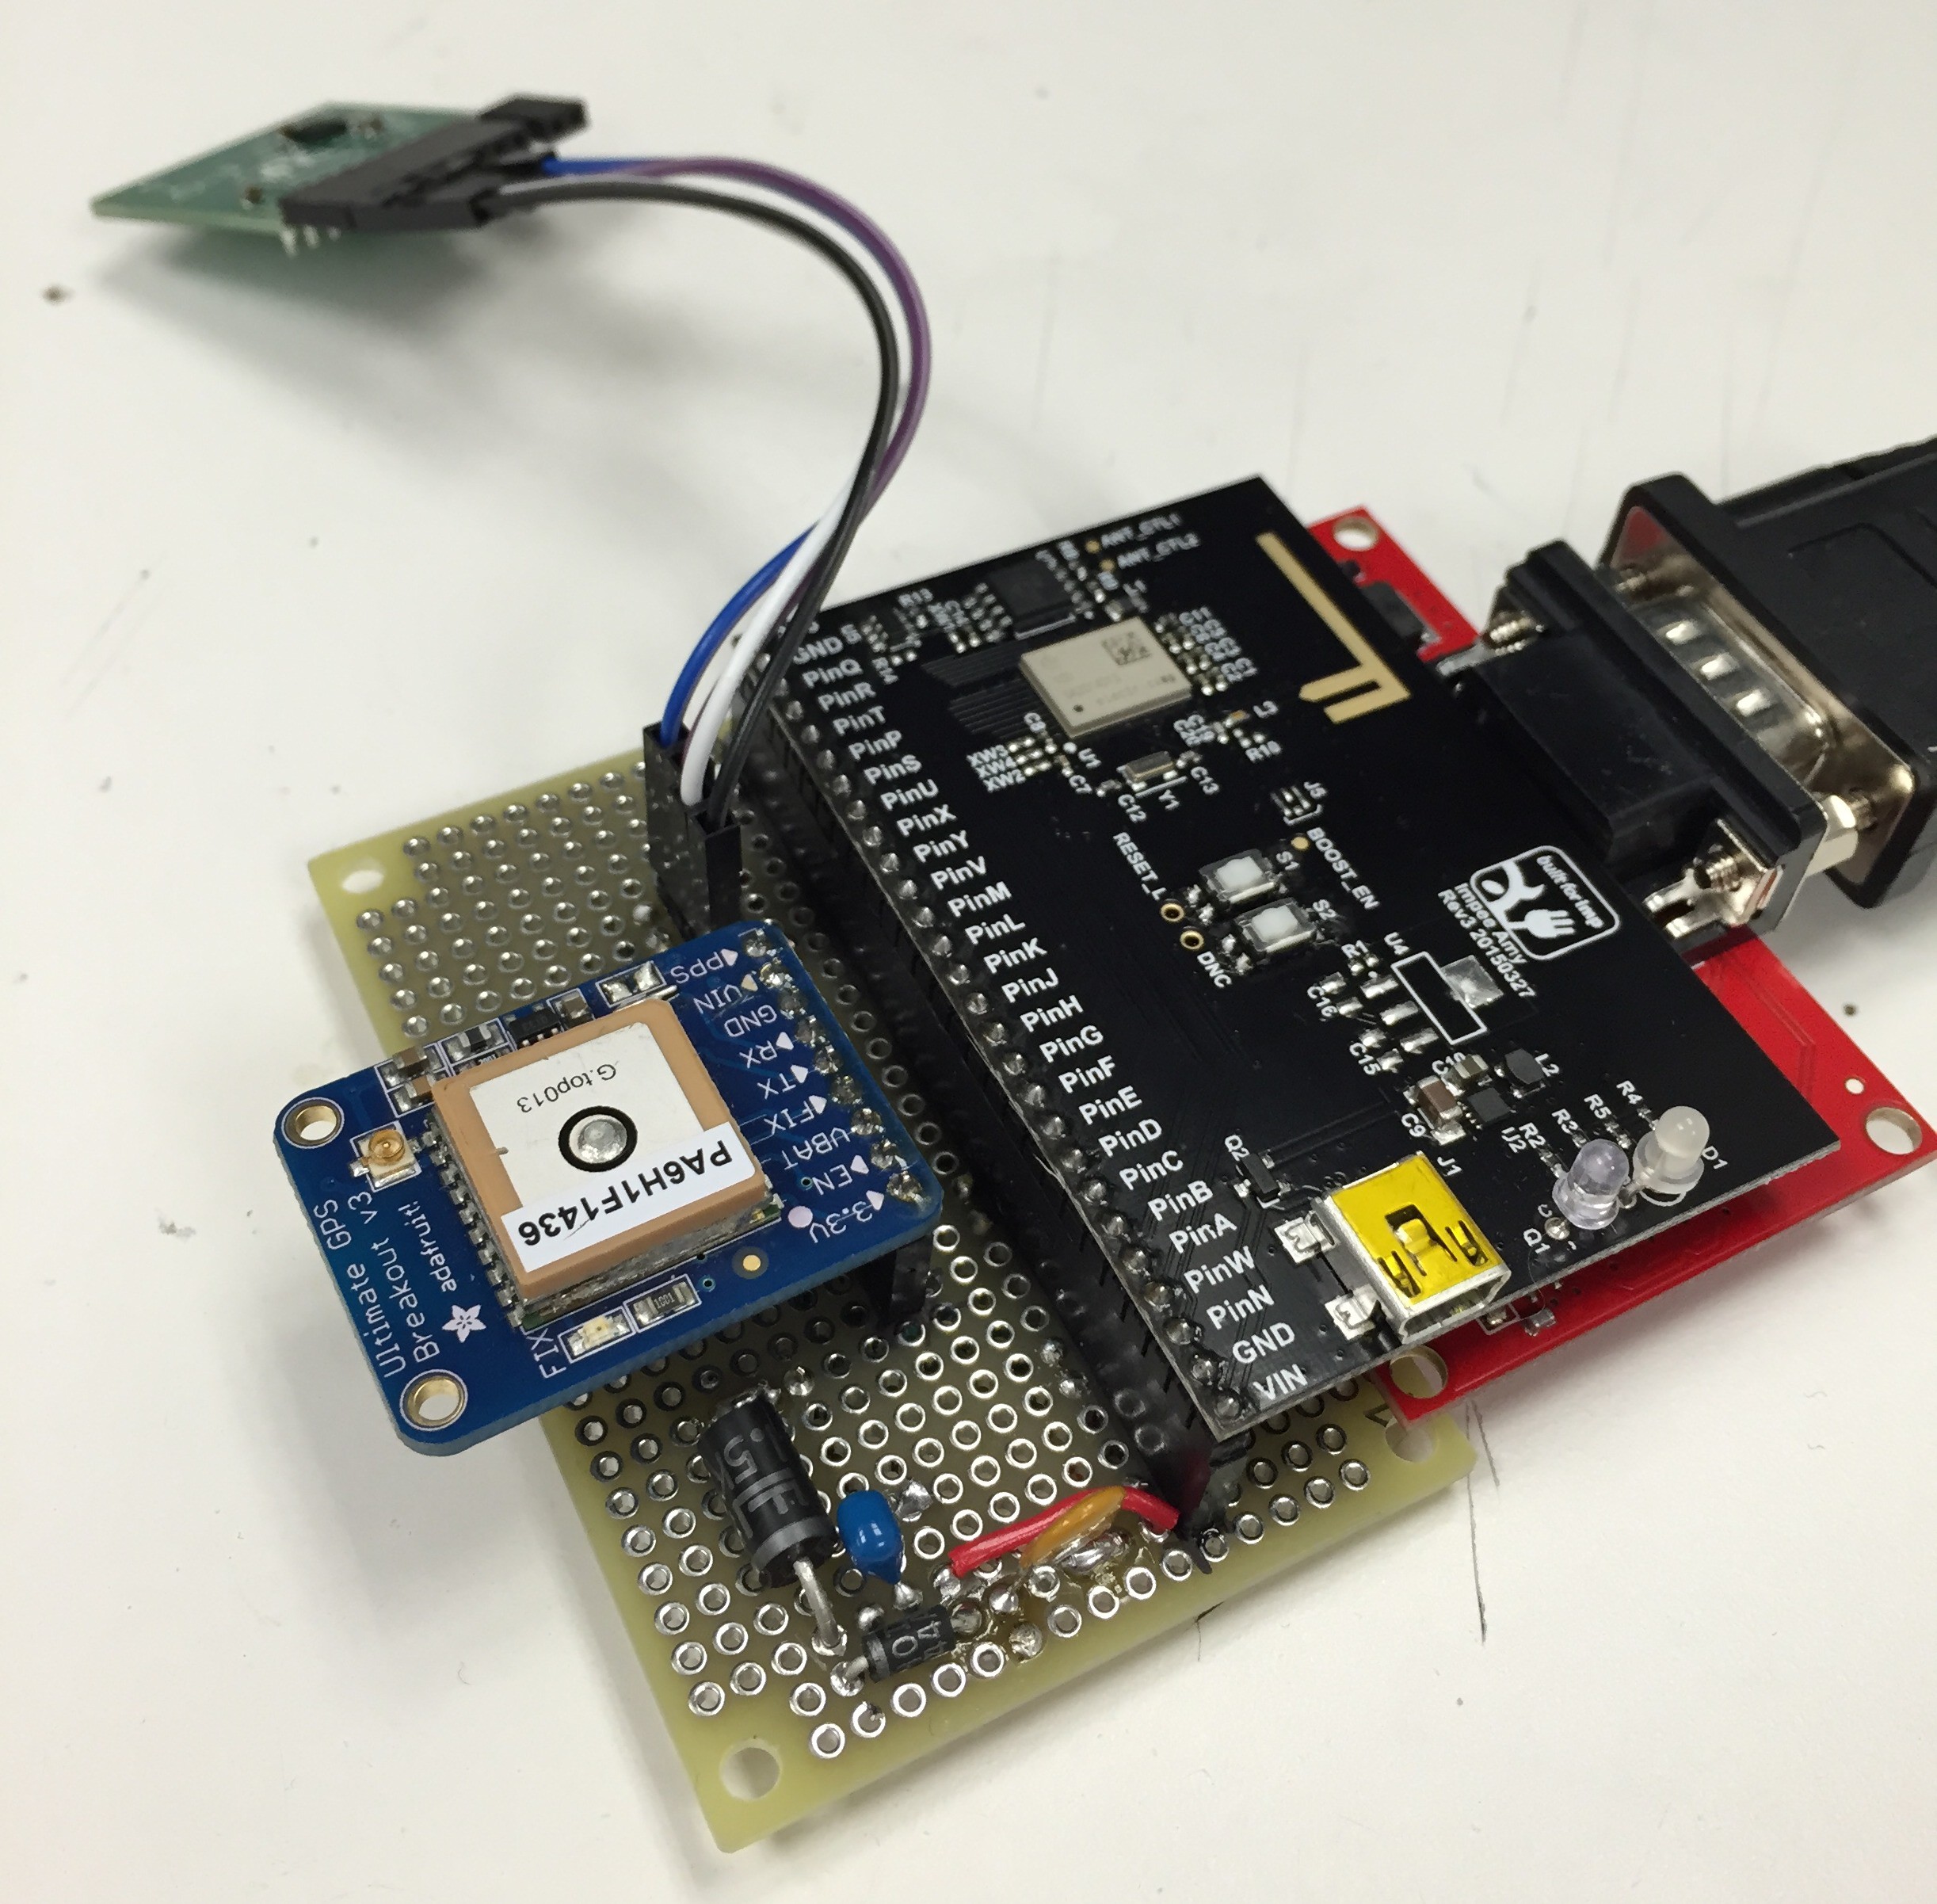
An Electric Imp Amy breakout is used to interface the GPS, OBD-II and accelerometer boards. A simple transient voltage suppressor circuit was built to protect the Imp's DC/DC converter from any high voltage spikes that might happen in a noisy car environment. The GPS and OBD boards communicate over UART with the Imp while the accelerometer module communicates over I2C. The Imp needs a wifi connection, so if you're not unlucky enough to have a car with a remotely exploitable wifi hotspot you can tether it to your phone or other cellular hotspot device.

The Software

The majority of the code is in the driver libraries for the STN1110 OBD to UART interface and the PA6H GPS module. These can be found on Github

STN1110: https://github.com/electricimp/STN1110

PA6H: https://github.com/electricimp/reference/tree/master/hardware/PA6H

The device code batches the updates from each external board and sends them to the agent (the Imp's sever side counterpart) as one packet. The agent receives the packet and pushes it directly to Firebase.

To get real time updates, Google Earth will poll a web sever written in Python. The server is a simple Flask app that grabs everything since the last poll from Firebase and renders it as KML which can be understood by Google Earth.

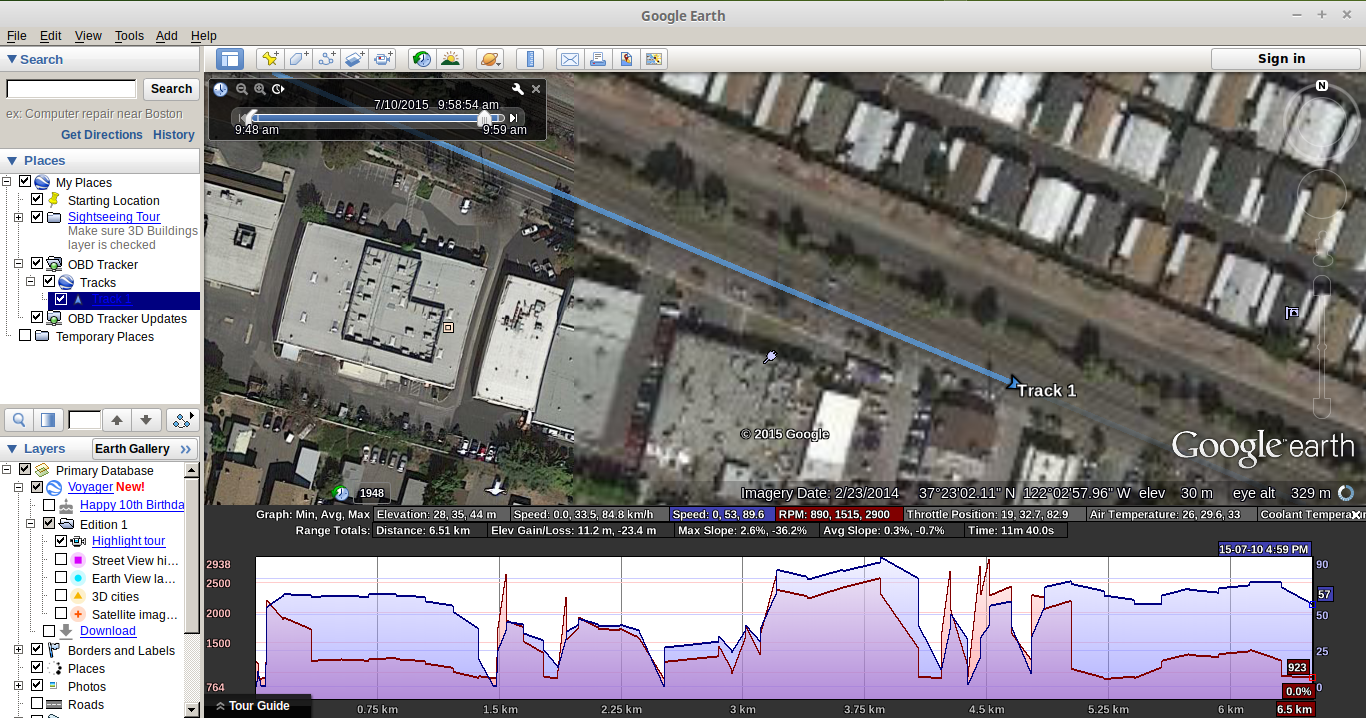
Putting it all together we can watch the car drive around in real time and graph engine stats. Logged data includes

  • Vehicle speed
  • Engine RPM
  • Throttle position
  • Intake air temperature
  • Coolant temperature
  • Fuel pressure
  • Accelerometer x,y,z
  • GPS lat/lon

I have yet to figure out a meaningful way to display accelerometer data in Google Earth, but the data is there so it can be easily post processed.

  • 1
    Step 1

    Transient Voltage Suppressor

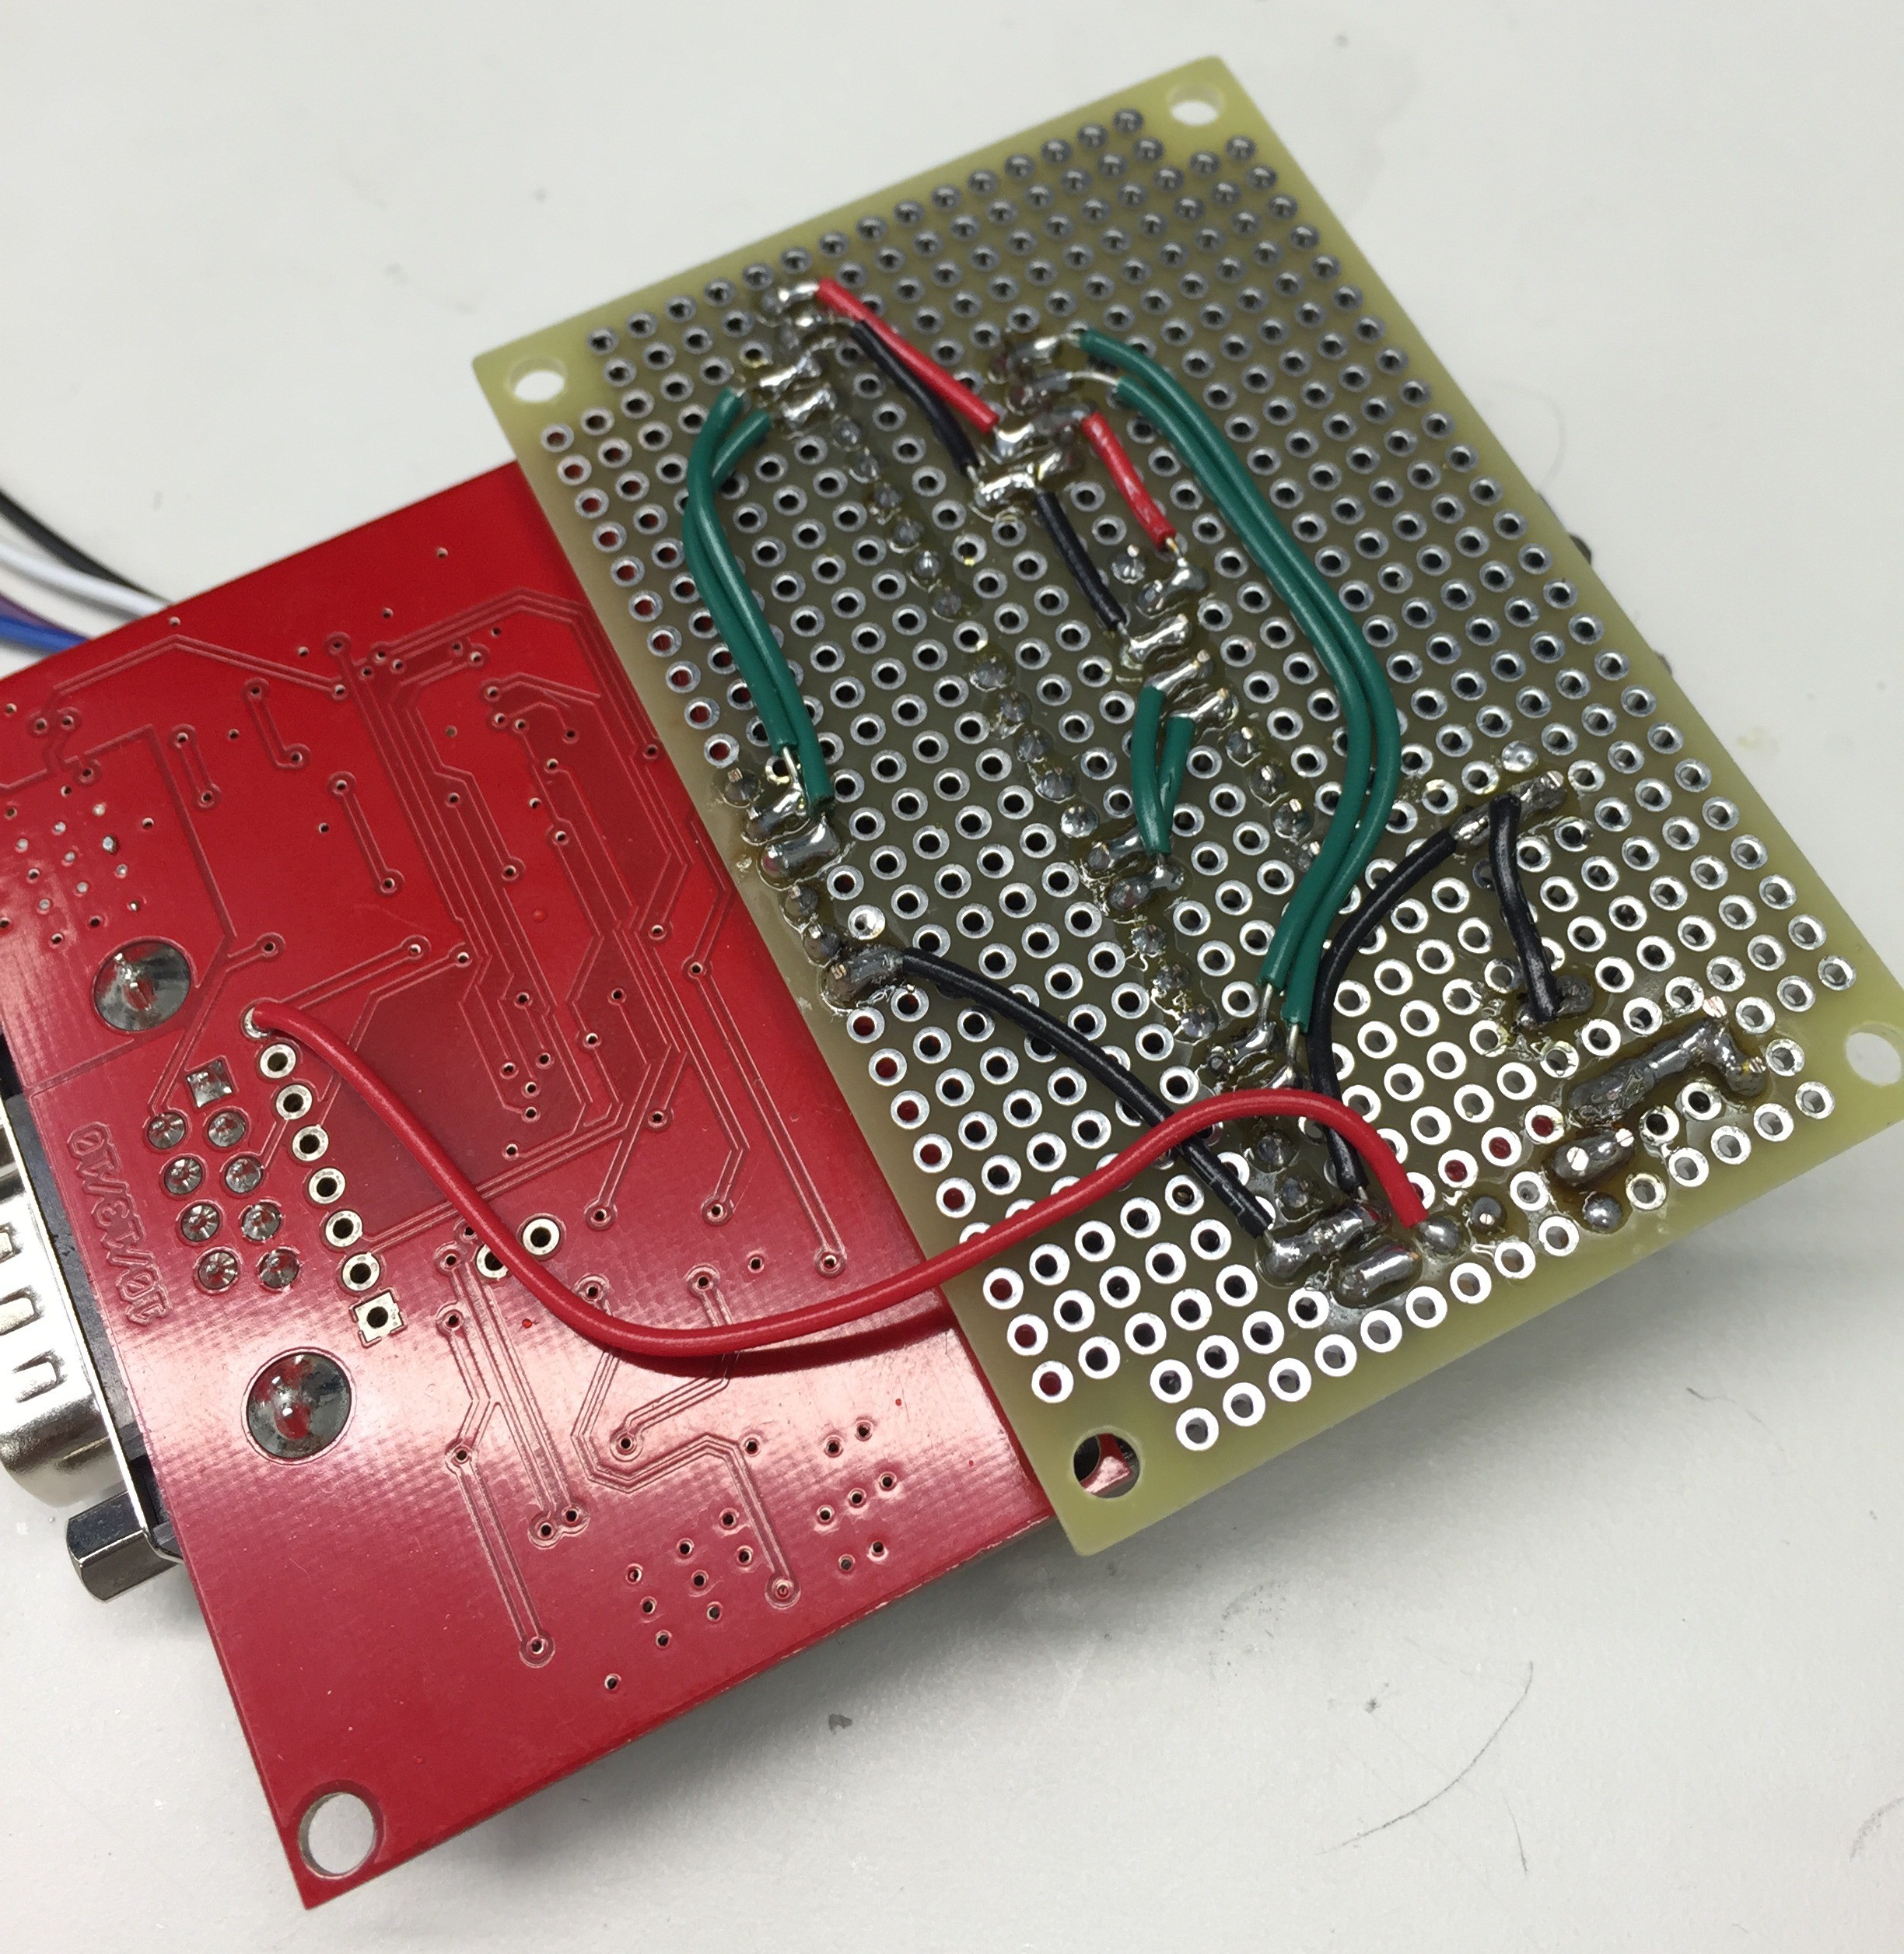
    This simple circuit can be laid out on some protoboard to clamp any high voltage spikes that may damage the Imp's DC/DC converter. I used a TVS diode with a breakdown voltage of 15.2V and a PTC with 0.5A holding current. The PTC will prevent the TVS diode from getting too hot should there be an extended high voltage condition. The battery is connected through the STN1110 breakout board's Vbat pin and V+ is connected to the Imp's Vin.

  • 2
    Step 2

    Wiring

    Depending on your enclosure there are many ways to lay out the physical boards. I will provide the connections for each and leave it as an exercise to the reader to sandwich them together. Make sure to keep the GPS module above any ground planes so it can see the sky unimpeded.

    STN1110 → uartQRPW
    • RX-I → Imp Pin Q
    • TX-O → Imp Pin R
    • GND → GND
    GPS → uartFG
    • TX → Imp Pin G
    • RX → Imp Pin F
    • Vin → Imp 3V3
    • GND → GND
    Accelerometer -> i2cAB
    • SCL → Imp Pin A
    • SDA → Imp Pin B
    • 3V3 → Imp 3V3
    • GND → GND

    Using some 0.1" headers for the Imp and GPS I managed to get everything onto the protoboard I built the transient voltage suppressor on.


  • 3
    Step 3

    KML Track Server

    Checkout the git repo for the track server which is a simple Python app that will pull data from Firebase and feed it to Google Earth as KML. Rename example_config.py to config.py and insert your Firebase info. Make sure you also update the Firebase name and key in the Imp's agent code. Once the Imp is logging data to Firebase, we can run the track sever with

    $ python server.py
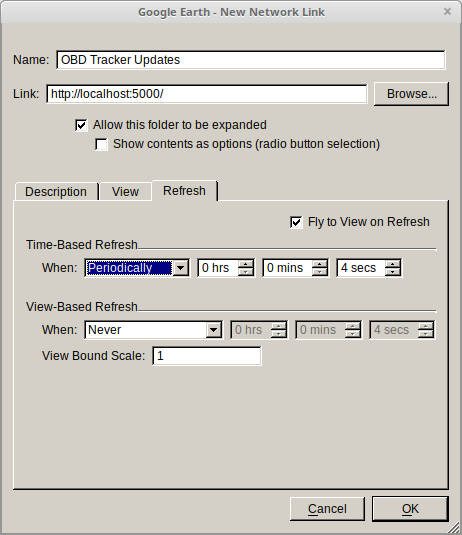
    This will start a web server on port 5000 which we can tell Google Earth to poll. We will need to add two Network Links in Google Earth. The first will load the initial setup data and the second will poll for track updates.

    Initialize (http://localhost:5000/initialize):

    Updates (http://localhost:5000, make sure to set the refresh settings as shown):

    If everything goes well you should now be able to see the GPS location of the car with accompanying stats.

    Right clicking on OBD Tracker and selecting "Show Elevation Profile" will enable the graph pane. Up to two engine stats can be graphed at a time.
View all 3 instructions

Enjoy this project?

Share

Discussions

Similar Projects

Does this project spark your interest?

Become a member to follow this project and never miss any updates