Success!
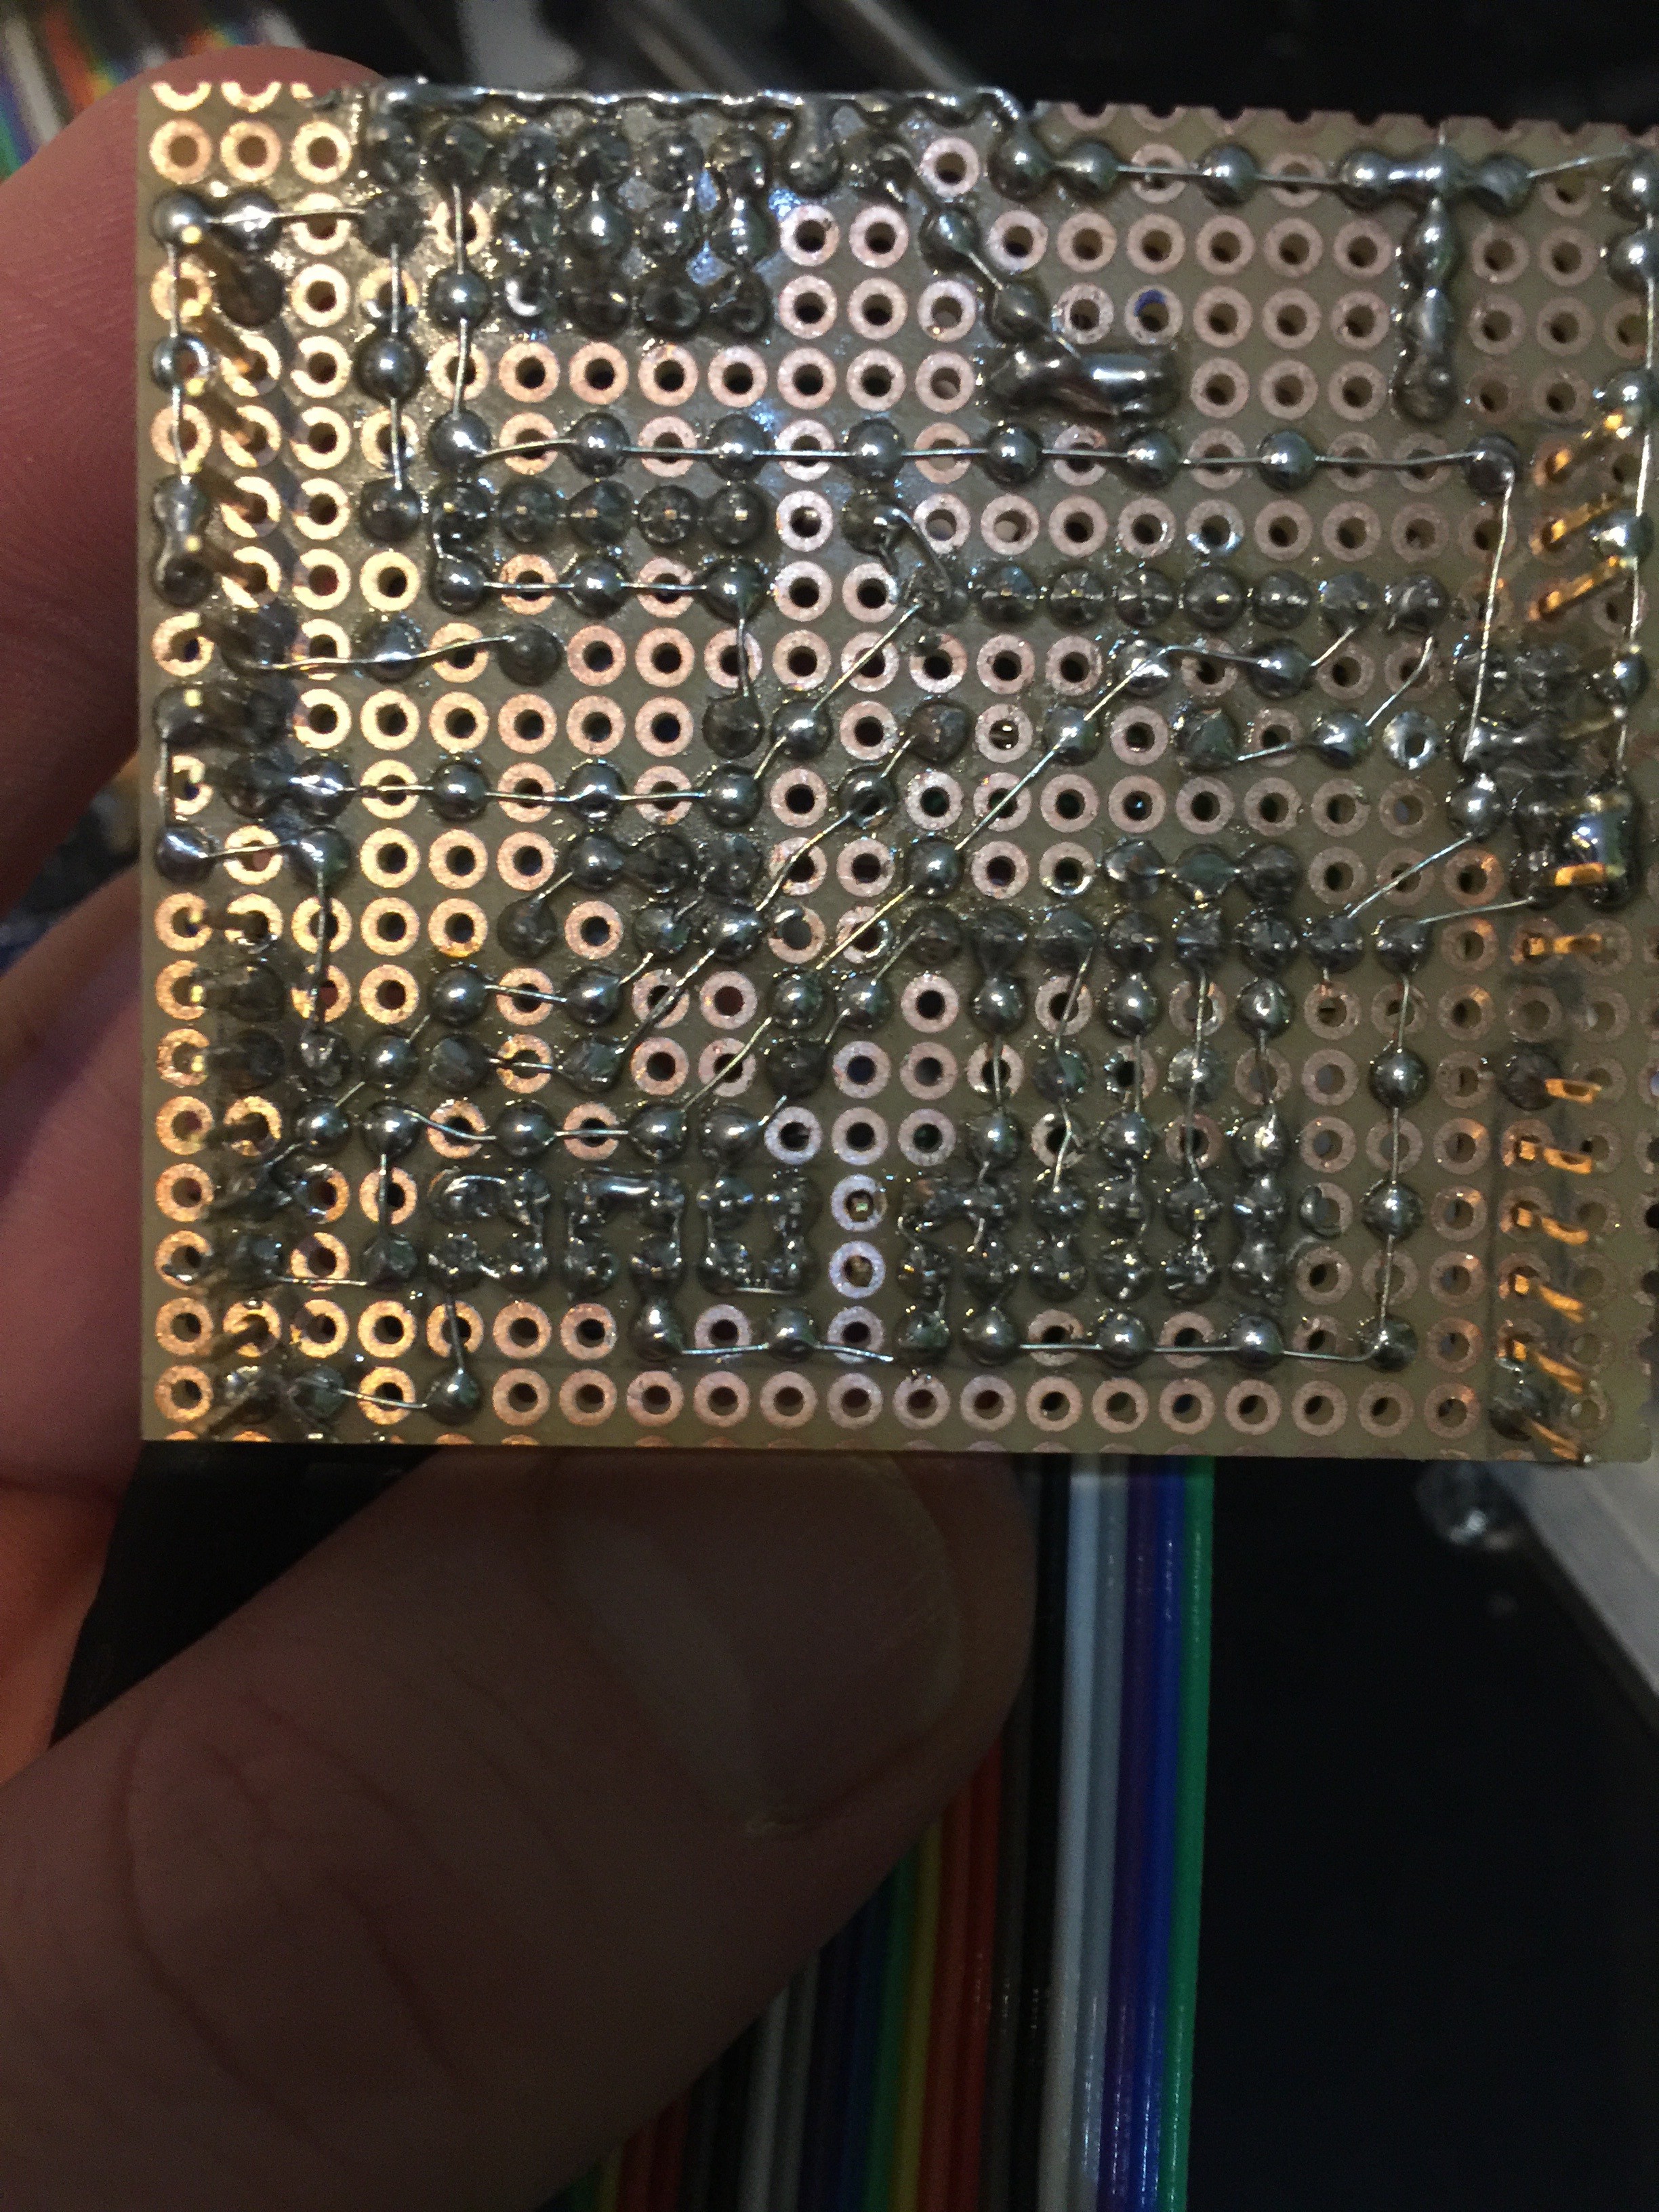
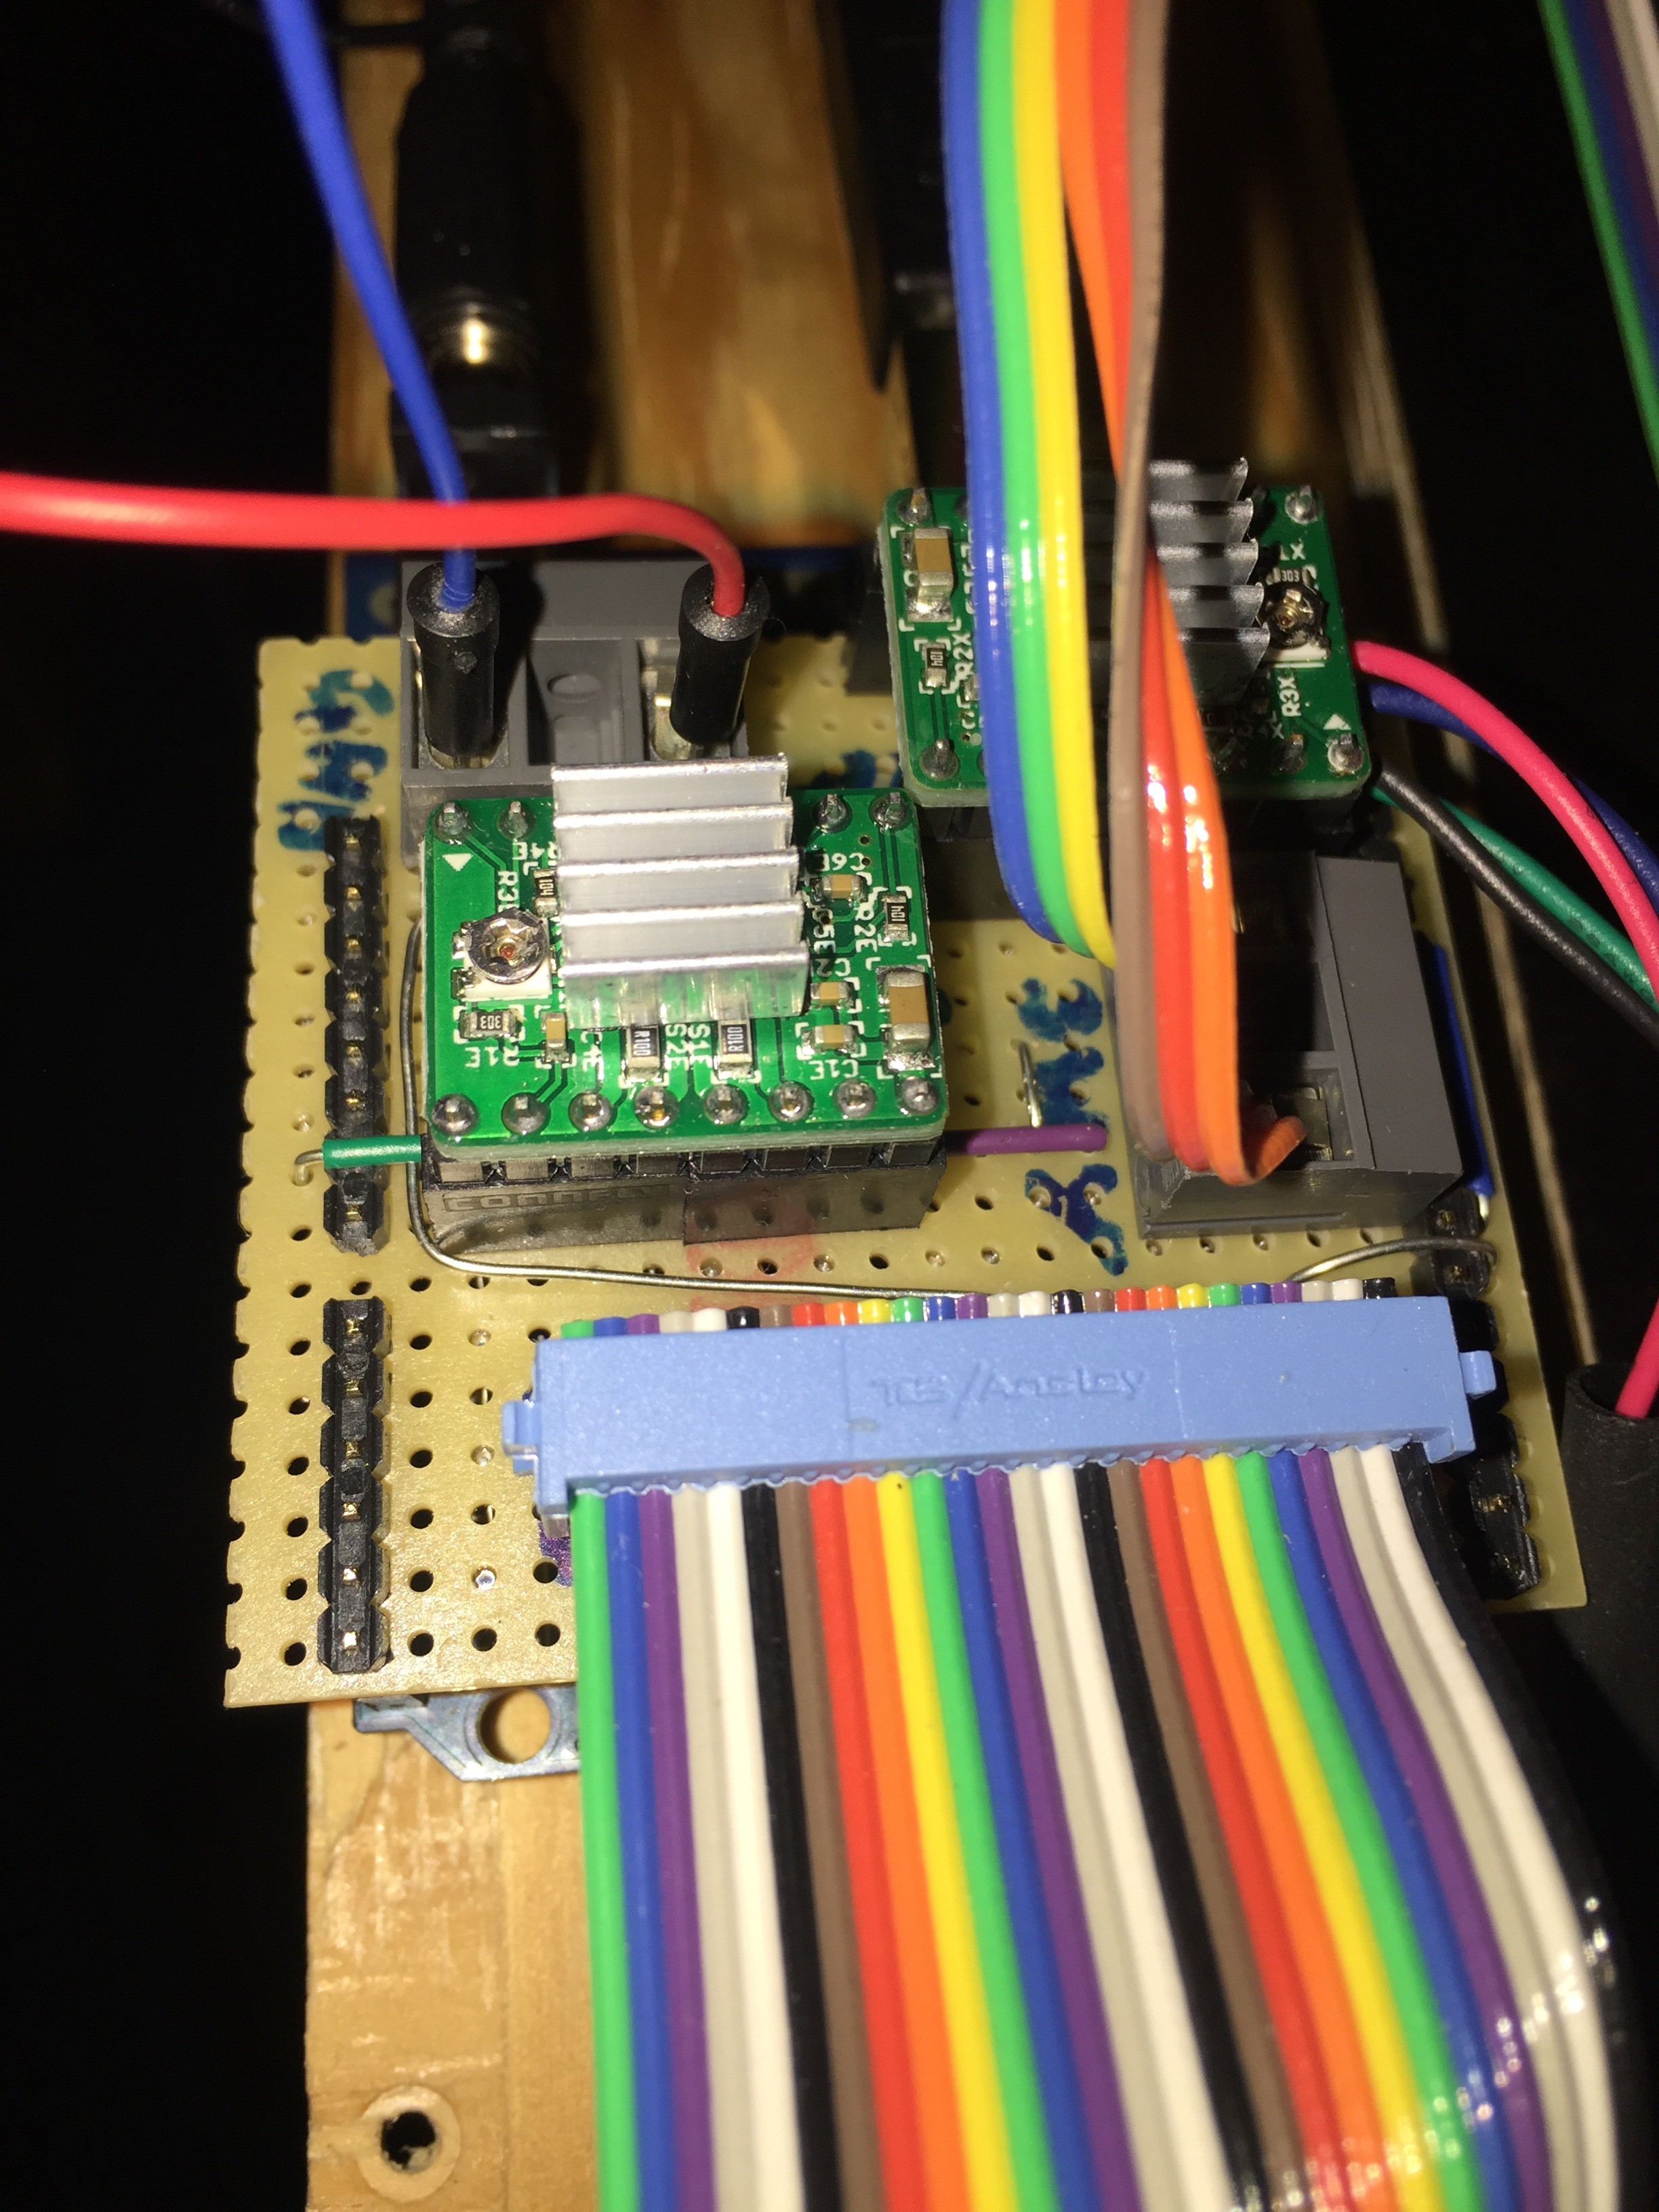
Yesterday for the first time I've had a successful run of my machine using 'grbl'. I know, I promised that I would us a raspberryPi only. And I started with that. Unfortunately the gpio library is not able to generate the needed I/O port frequency which I would need to get a good speed of the machine axes. Another problem is that raspberryPi gpio pins offer only 3.3V. For controlling standard TTL lasers there would be additional electronics needed.
After thinking for a long time I now decided to proceed with grbl and arduino. I still want to develop a cool firmware for raspberryPI. But this will take a long time for development and I think it's very unpleasant having a laser cutter at home which is not working because software needs to be done.
What does that mean for this project?
The basic idea was to build a laser cutter which will run only with a 12V power supply to be connectable to a home solar kit. Fortunately this has nothing to do with the toolchain but only the power supply.
I bought a "cheap" 100W DC-DC converter for Laptops. These converters are available for both AC input and DC input using a cigar lighter jack. These converters have a configurable output voltage. For my setup I use a solar battery as input. If the battery is full it has approx. 13V, if its empty it's about 10-11V. This converter give me 15V output voltage, which is my reference voltage for the setup.
You could use a DC-DC Step-Up converter instead. I use the Laptop adaptor because I've already had it at home.
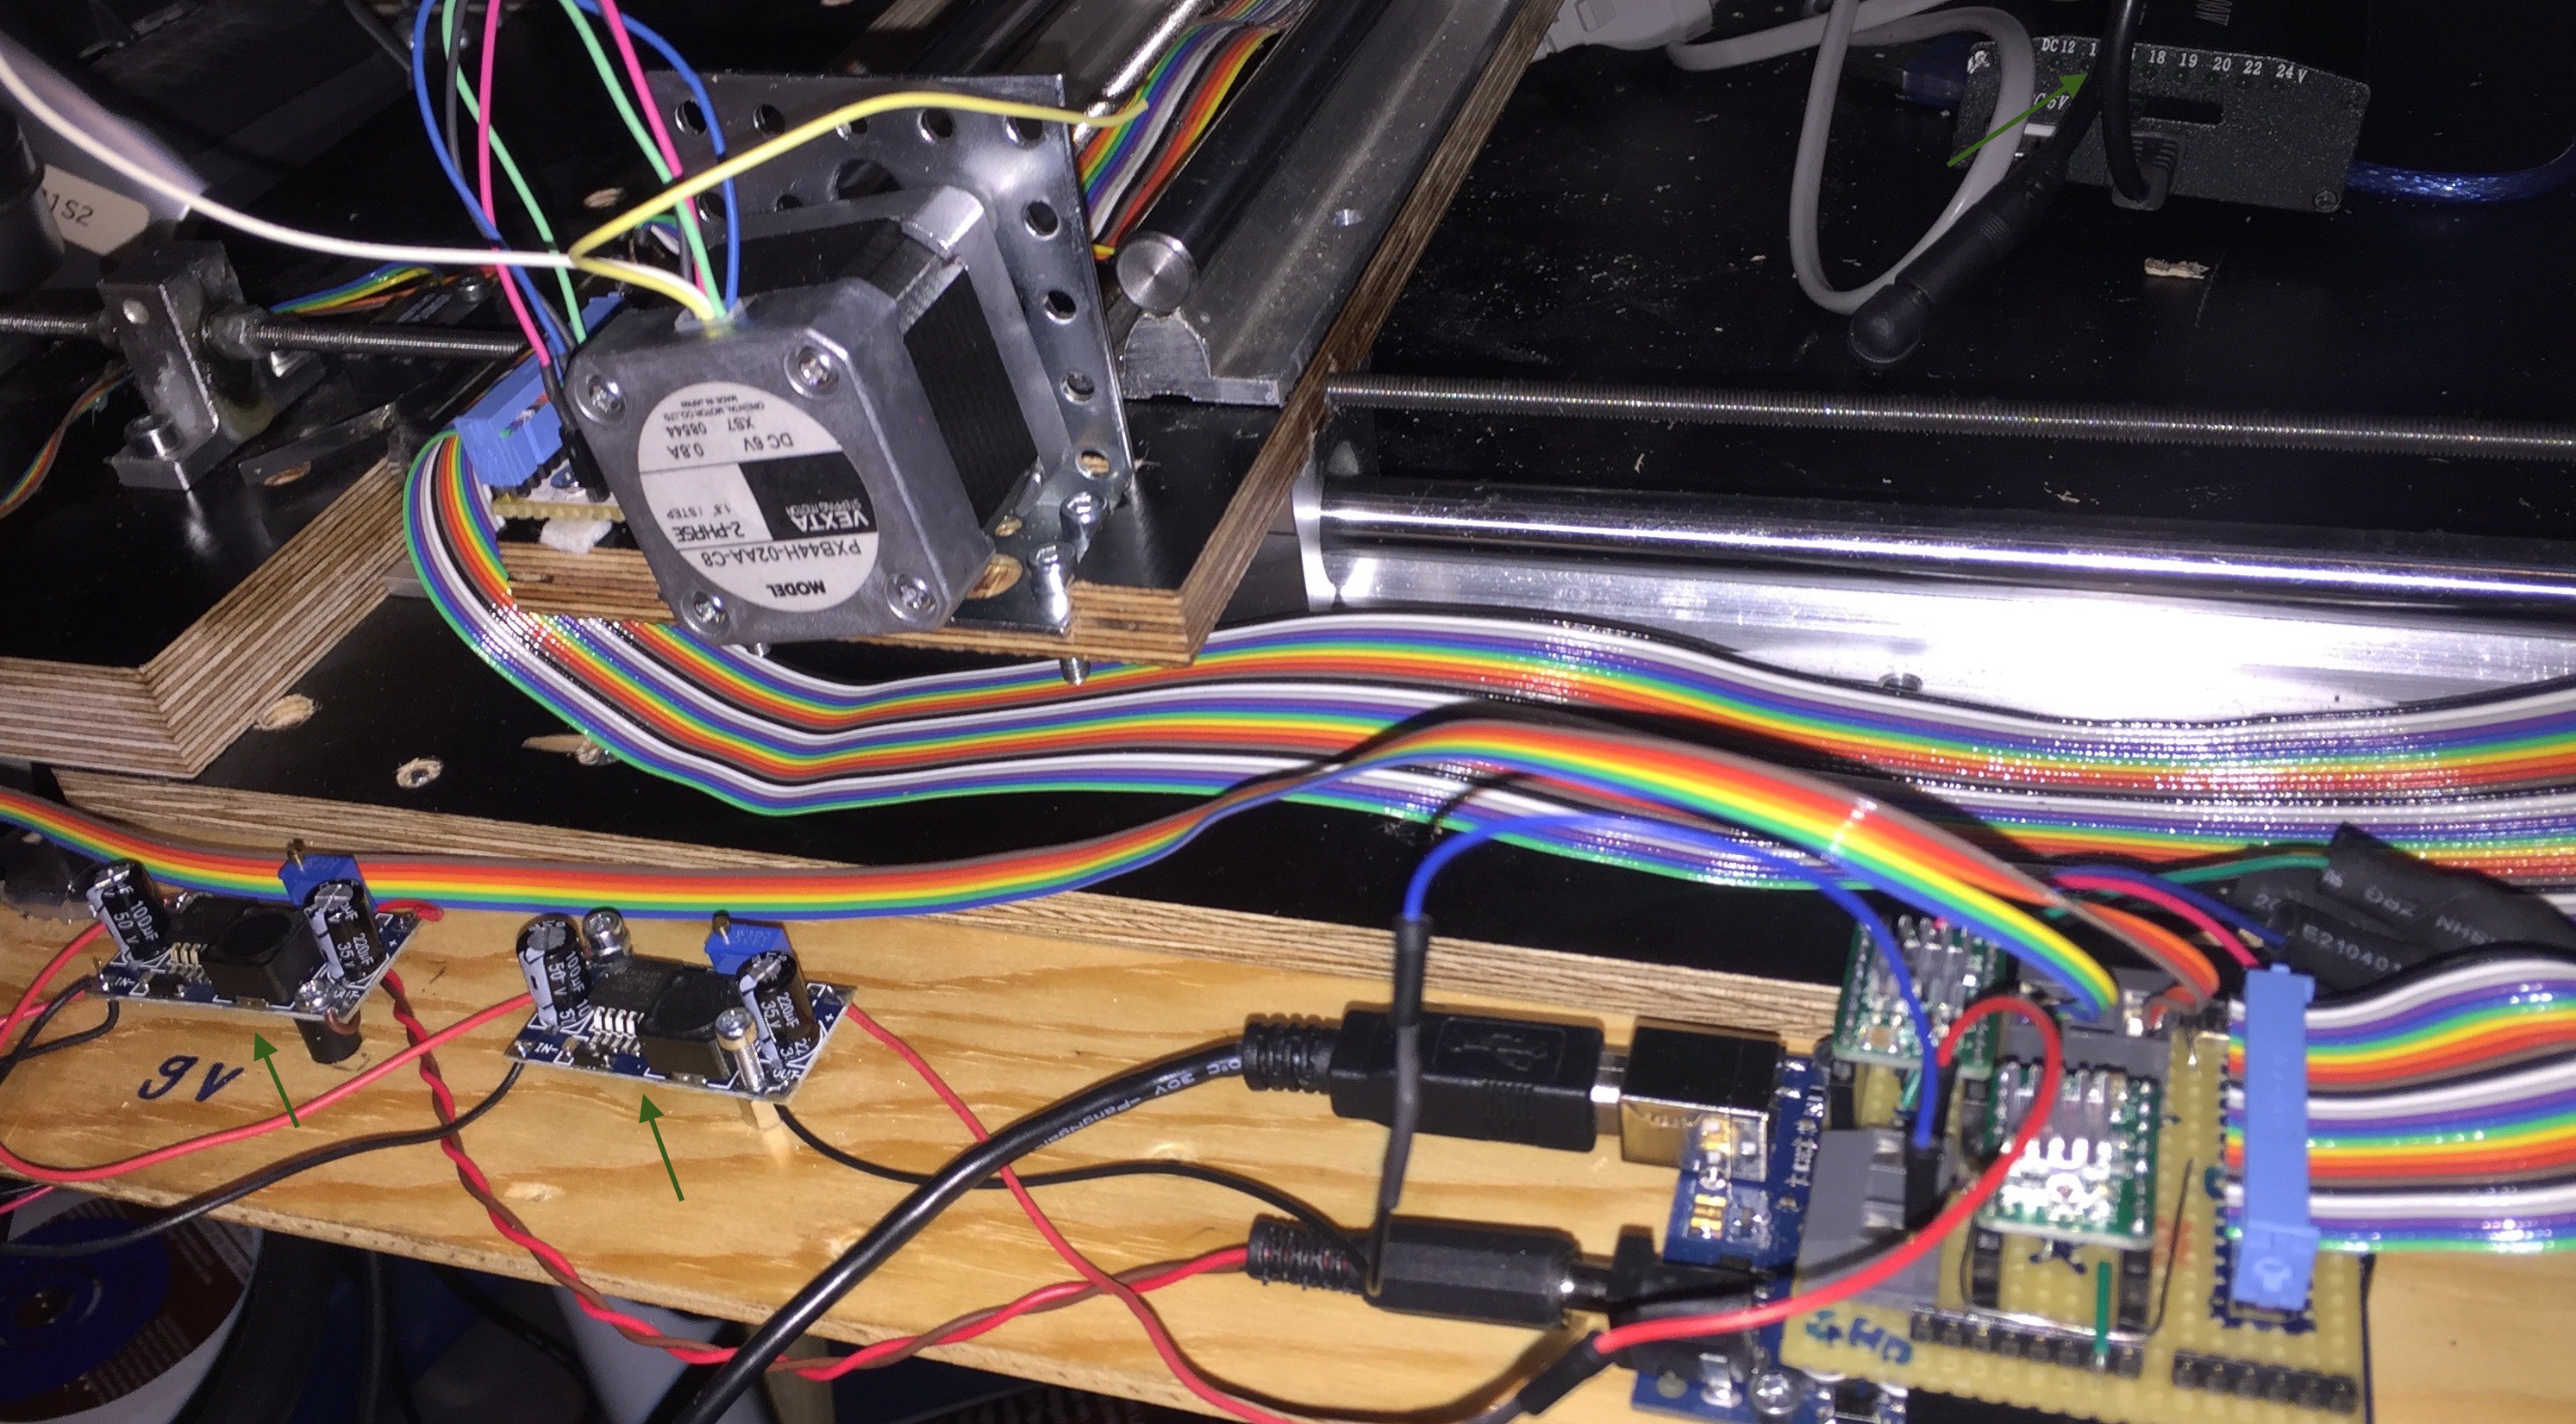
Then I use two step down converters for creating all necessary voltages for my circuit. The first converter was adjusted to 9V to power the arduino, the second converter was adjusted to 12V to power the laser and the steppers.
My laser module has a modulation input of 0..5V. It was connected directly to the grbl v0.9 PWM output pin. In G-Code M03 turns the spindle on and M05 turns it off. These commands are used to turn the laser on and off. The Parameter S0 ... S255 is used to set the laser intensity.

A nice grbl frontend is available: It's written in java and will be my reference tool for configuring and executing G-Code on my machine: https://github.com/winder/Universal-G-Code-Sender

On my Mac I could successfully install LaserWeb: https://github.com/openhardwarecoza/LaserWeb
LaserWeb is still under heavy development and runs in the browser. On Mac OS the tricky part is installing 'node.js'. After a lot of tries I figured out that node is available on home-brew for mac which works great!
Use the terminal: > brew install node
The installation instruction can be found on the project page of LaserWeb. I could successfully install it on the raspberryPi, too.
Unfortunately I was not able to control the grbl using LaserWeb for now. A lot of machine controls are (still) missing. For now I use LaserWeb only to convert svg files to G-Code. LaserWeb is the only tool which I could find, which is really converting svg to code in a usable way (!). Again: Thanks to Paul Kocyla for this hint :-)
According to my project goal the first part is completed: Now there is a working laser cutter which can be connected to a solar battery and it works!

Conclusion
Now the long term development part begins. Creating a good g-code free software for RaspberryPi which will driv the Lasercutter as an embedded firmware. However: Together with grbl and the DC-DC converters, I can use a laser cutter outdoors. It supports any input voltage from 10V to 31V. With the laptop converter it can be used with 110V or 230V DC input, too. I wish you a happy solar powered fabbing ;-)
Let's see how long the development of the new software might take ...
Outlook
A lot of calibration work is still to be done. Then I start producing the first laser cuts. I will post a video here and will complete the build-instructions. After that is done, I will maybe build another laser cutter for my makerspace Digitac.
Then the raspberryPi development is to be done. This will take a lot of time, so be patient. If you need a solar powered laser cutter, start using grbl. Nice grbl v0.9 shields are available, which means there is not so much work to be done. (You don't really need to make your own circuit using a bread board)
You can buy the "Arduino CNC Shield V3.51 - GRBL v0.9 compatible" shield and save a lot of soldering work. The toolchain svg-editor -> LaserWeb -> Universal-G-Code-Sender enables you to create beautiful laser cuts.
Have Fun!
 Jack Pearse
Discussions
Become a Hackaday.io Member
Create an account to leave a comment. Already have an account? Log In.
Congratulations!
Are you sure? yes | no