Close
0%
0%

Crystal Lamp

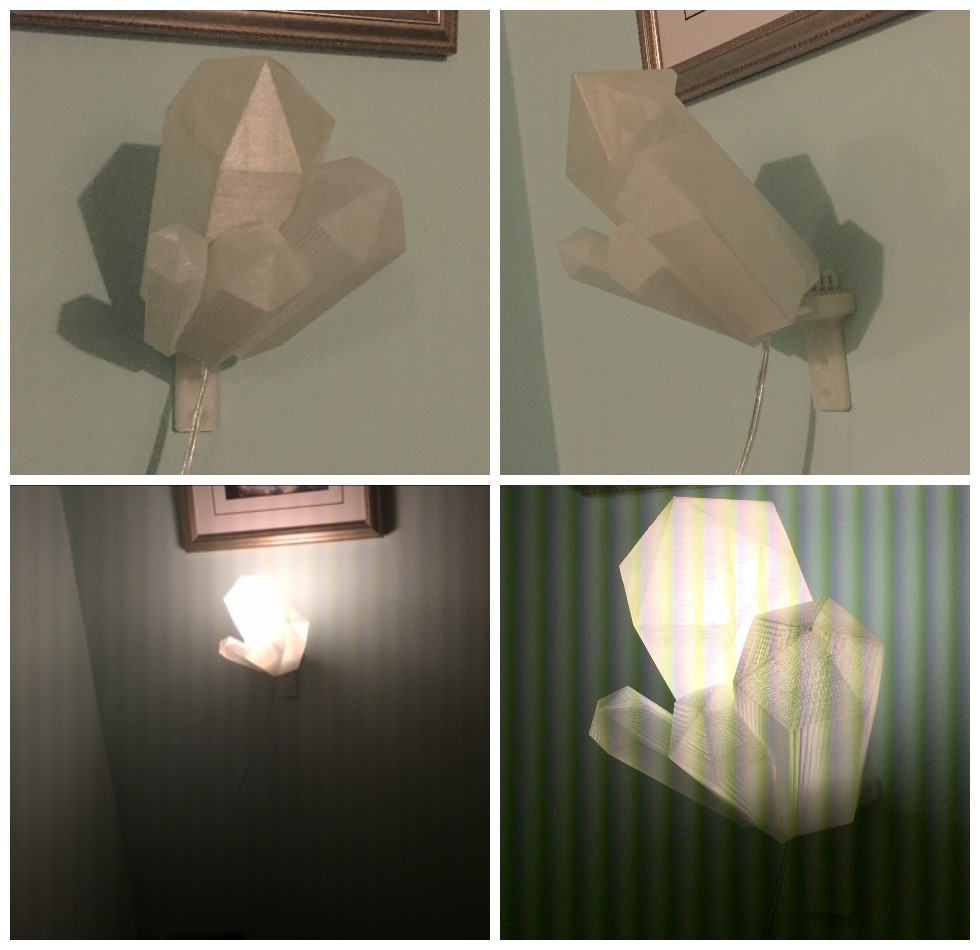
A wall mounted bedside lamp that looks like a large cluster of crystals.
Similar projects worth following
I wanted needed a pair of bedside lamps that were wall mounted as my wife and I were tired of the 15 year old pair we had on our bedside tables (honestly I can't believe we had them this long as they are ridiculously unstable and we each knock them over at least once a week). I wanted something that a) let me be creative and have something unique for a lamp, b) pushed my limits both in the solid design and my 3D printing, c) fit a standard size bulb (LED for heat and power reasons) plugged into standard US 120v wall outlet.

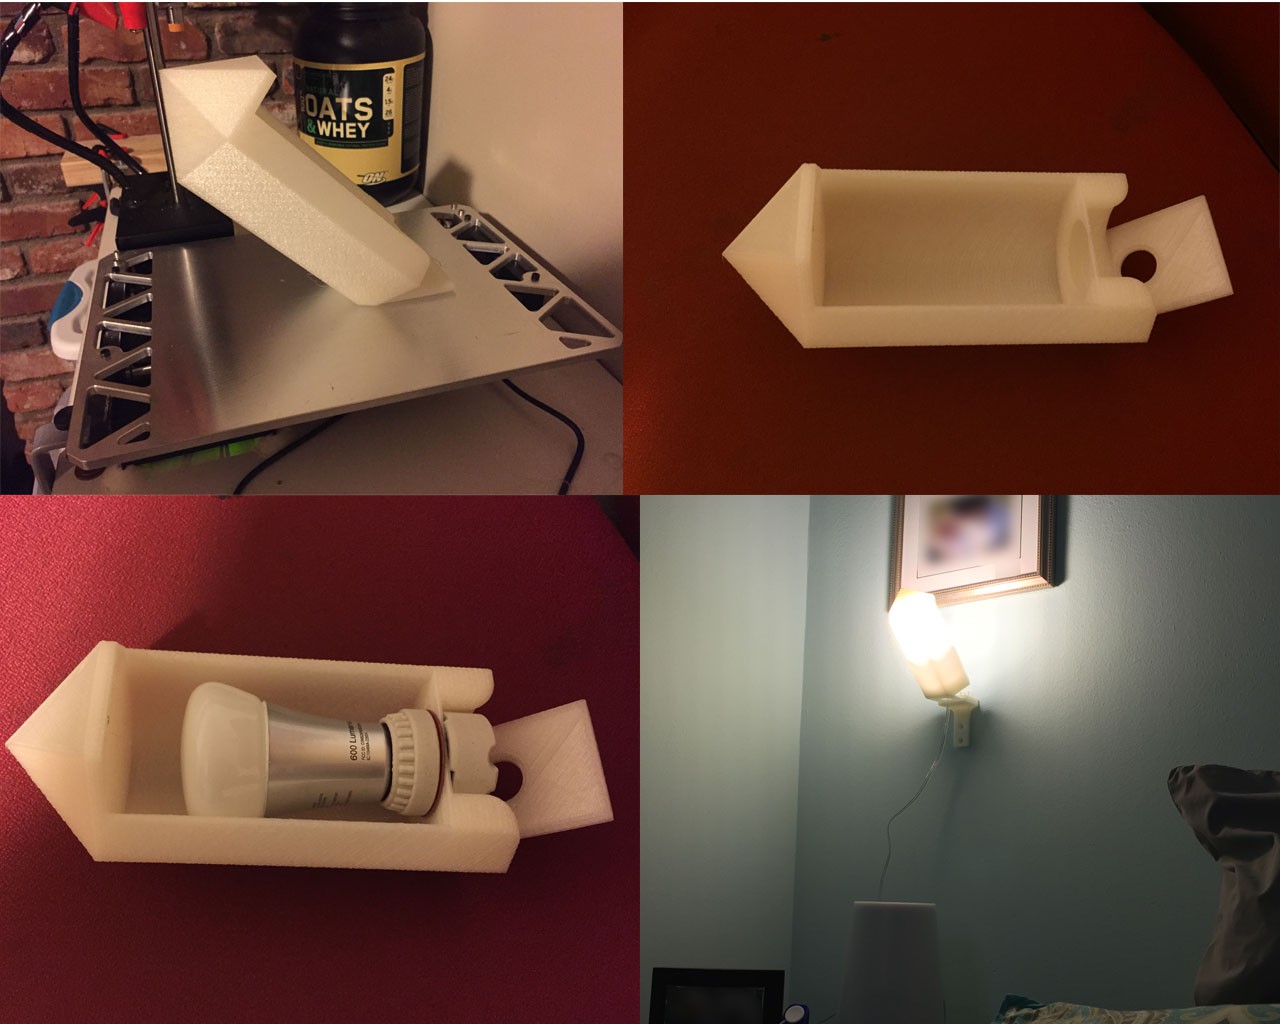
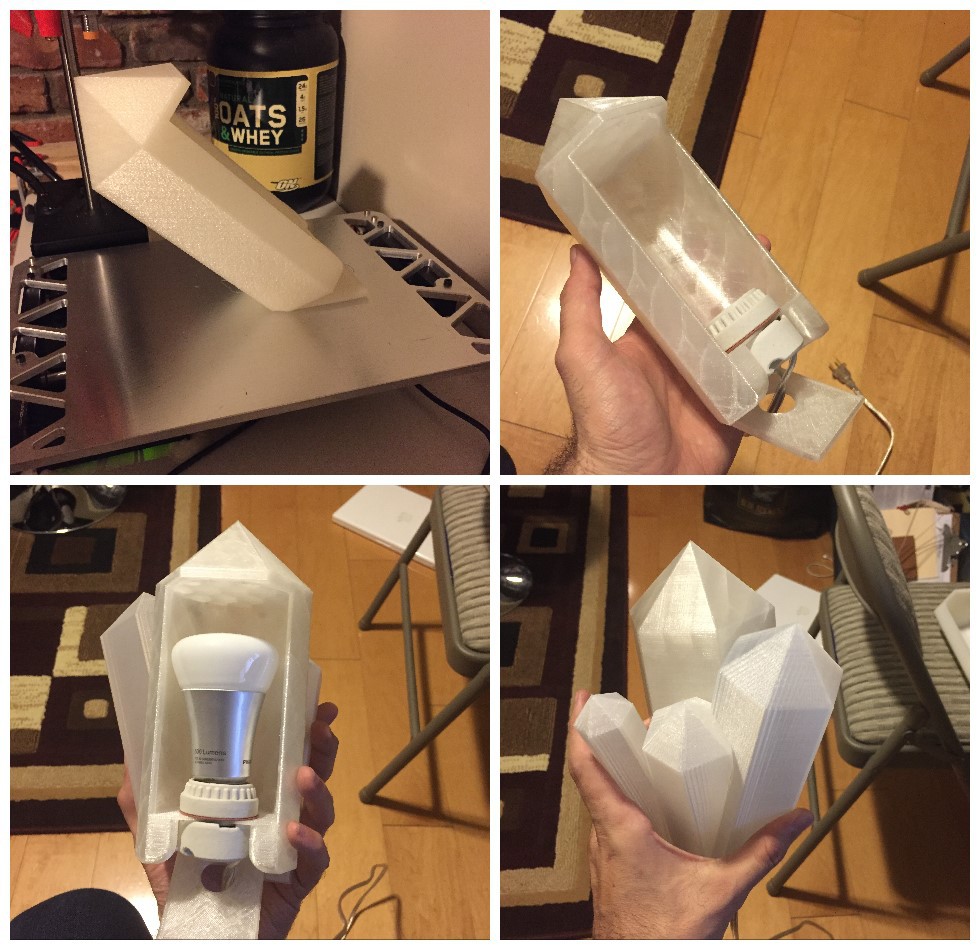
Having decided I needed a pair of wall mounted lamps for the bedside I came up with the idea for a 3D printed cluster of crystals with an internal LED light of some sort that would be bright enough to read by and look good in our bedroom. The crystal design is loosely based on quartz crystal shapes. I have been designing in Fusion 360 (which is the first real solid design program I have used and I am still very much learning as I go). The lamp will be printed on my Printrbot Simple Metal (upgraded with Matrix Precision kit to a build area of 8"x8"x10") with a translucent filament. The current plan is to use a ceramic bulb holder with lamp cord and an inline roller switch. I have decided to go with Philips Hue lights as I wanted a light that I could change the color temp or the color and using the Hue was much easier and less expensive than trying to use any of the current RGB LEDs and a controller at the same lumen level (NeoPixles would be great, but would cost 2-3x as much and require a lot more time). I am not opposed to the extra work, but the Hue is a dead simple drop in at less money for, what I hope, is a great result.

Crystal Lamp-Wall-bracket-Final.stl

Bracket for mounting the lamp to the wall

simplify3d_stl - 840.41 kB - 03/09/2016 at 03:09

Download

Crystal Lamp-Part-0-Final.stl

Main center crystal with place for the light bulb and connector to slide into the wall bracket

simplify3d_stl - 739.83 kB - 03/09/2016 at 03:09

Download

Crystal Lamp-Part-3-Final.stl

smallest extra crystal

simplify3d_stl - 18.54 kB - 03/09/2016 at 03:09

Download

Crystal Lamp-Part-2-Final.stl

medium extra crystal

simplify3d_stl - 5.55 kB - 03/09/2016 at 03:09

Download

Crystal Lamp-Part-1-Final.stl

largest extra crystal

simplify3d_stl - 3.79 kB - 03/09/2016 at 03:09

Download

  • Finished

    JediFix03/09/2016 at 03:31 0 comments

    All Done!

    The second lamp printed on the first try. I mirrored the secondary crystals and they look great on the wall on either side of the bed. The light is great for living and reading.

    I added the files here as well as uploading it all to thingiverse (http://www.thingiverse.com/thing:1401575).

    Please let me know what you think of it and let me know if you make one yourself!

  • Lamp #1 DONE!

    JediFix02/23/2016 at 03:12 0 comments

    Printer still works mechanically after fall, check. All Belts tightened, check. New Alu v2 printhead still works, check. System board in Printrbot replaced, check. New slicing software purchased (not needed for the print, but totally worth it and it does make for nicer prints), check.

    I sliced the main crystal with only a 5% infill this time and used a fast hexagonal infill pattern. I prepped the printer, had it print a new wall bracket yesterday (3 hr print) and that went fine. I am now printing the Bamtack natural transparent PLA filament at 215 C with a top speed of 30 mm/s. I set the print before I left for work today and when I came home (Simplify3D told me it would a 9+ hr print) it was done. Not just done, but super awesome looking. I am so happy with it. The Secondary crystals (3 of them) fit around it perfectly and I quickly fixed them in place with Bondic (UV fast cure adhesive stuff).

    Now I just need to print a mirrored set for the other side of the bed...

    Please tell me what you think in the comments!

  • Printers, print heads and gravity

    JediFix02/14/2016 at 21:13 0 comments

    I had some setbacks, but I am making progress. The new print head arrived and if you own a Printrbot and you don't have the v2 Alu head, get one. This is a much nicer design and on a totally unrelated not to this project I can now print NinjaFlex!

    Last week I received the new print head, installed it and started doing some test prints. The printer was printing a little "louder" than usual. I know know this was due to the Y-axis belt being a little loose. the backlash on Y-axis change is a lot louder if the belt is not nice and tight.

    Now this is where I freely admit there are somethings with my home shop setup that are not ideal. 1) I have the printer setup in our living room, which doubles as desk for my wife and me as well as for our oldest kid. The printer lives up on the mantle over a never used fireplace. and on the hearth I have a large Rubbermaid full of spools of filament and other boxes next to that.

    I was getting our little one ready for his nap in the other room when I heard the crash. My heart sank, my stomach turned and I sprinted down the hall... there is was, my beautiful printer, upside down on the floor, leaning against the Rubbermaid container, a long trail of filament going back up to the spool. I gingerly lifted it back up, inspecting it, fighting back tears.

    Much to my surprise it physically looked fine. I plugged it all back in, but alas it would not talk to the RasPi OctoPrint server. I was leaving in a few hours and so left it to sit and tried to not let thoughts of it ruin my weekend. Over the week I played with it some more, got it to work for a few min, then nothing. Finally I ordered a replacement board from Printrbot. I kept playing with it though and found I could get it working while direct connected to my PC, but only with a different USB cable. I have since gotten it working with the RasPi again, but occasionally I have to reboot everything to get them all to talk. I have not lost anything mid print though. We will see if I decide to replace the board when it arrives.

    I was also, finally, able to get a print done with the new transparent filament. I printed a new wall bracket and printing at 210 C and 30 mm/s it worked perfectly.

    Oh, yes, don't ask me why I did not have anything in place to stop it from shimmying itself off the mantel, call it a mental lapse on my part. I have since fixed that situation as well as tightened up everything on my printer. It is printing even better than before, hopefully it stays that way.

  • More Filament Woes

    JediFix01/30/2016 at 21:14 3 comments

    Got a new spool of transparent filament, Bamtack form Amazon. Super excited, fired up the Printrbot, loaded the filament and bam!, same issue, after a few layers the filament bends to the side at the hobbed gear or jams and just grinds away.

    Every other color I print works fine, but I can't get transparent filament to print at an speed/temp combo I try. A few minutes in at the most and it is jammed, WTF??

    I am 40 min in right now on a different project printing in black filament and it is happy as can be. This is seriously nuts. I have e-mailed Bamtack and will see if they have any ideas, if anyone has any helpful hints, please post them in the comments.

    In the mean time I have ordered up the new v2 Alu extruder from Printrbot. This one has essentially zero space for the filament to move to the sides, buckle, etc. I am really excited about this as it should now let me print flexible filaments like NinjaFlex now, which I would love for several other projects in the works.

    Seriously bummed though as this project is taking me way longer than I would like and I just want it done.

  • Filament woes

    JediFix01/21/2016 at 20:10 0 comments

    So, yeah, i don't know what the heck is going on. I can print every other type of filament i have just fine, but this clear stuff is not working at all. I think it might just be too old and has absorbed too much moisture (I do try and store them well, but who knows).

    I have ordered a new spool from a different supplier and will see how that works when it gets here...

  • Remember: different filament, different settings

    JediFix01/20/2016 at 03:26 0 comments

    And conversely, same filament, same settings! Since I have been printing with a lot of other filaments since the last time I printed the big crystal in late Oct. I have been using colored filaments and they have all been working great at 50mm/s. The filament I am using for this project, 3D Solutech Natural Clear, does NOT like to extrude at that rate. It starts to push back and then bends out of the feed path at the drive gear.

    I am running a test print right now at 35mm/s (I had to go back to an old gcode file and decode the settings I used last time) and it is working great. I will try out the big print in the morning (too loud to print stuff overnight at my place).

    This is a great time to point out that you should ALWAYS document not just your steps, but your settings. While I am good about this at work, I am not very good at this for my projects, it is one of the reasons I started documenting my projects here.

    One of the other things I double checked form the old gcode file is the infill. The final print form Oct. was at 30% infill, I am going to try this one at 15%, again to save material, sped up the print time and to also let more light through.

  • More Crystals!

    JediFix01/18/2016 at 17:07 0 comments

    OK, I dug back into this project and sorted out how I could get this back on track. I created 3 new crystal bodies that attach to the original. I had to make a more solid version of the main crystal body, add the second crystal body, size and position it and hen cut it with the first body.

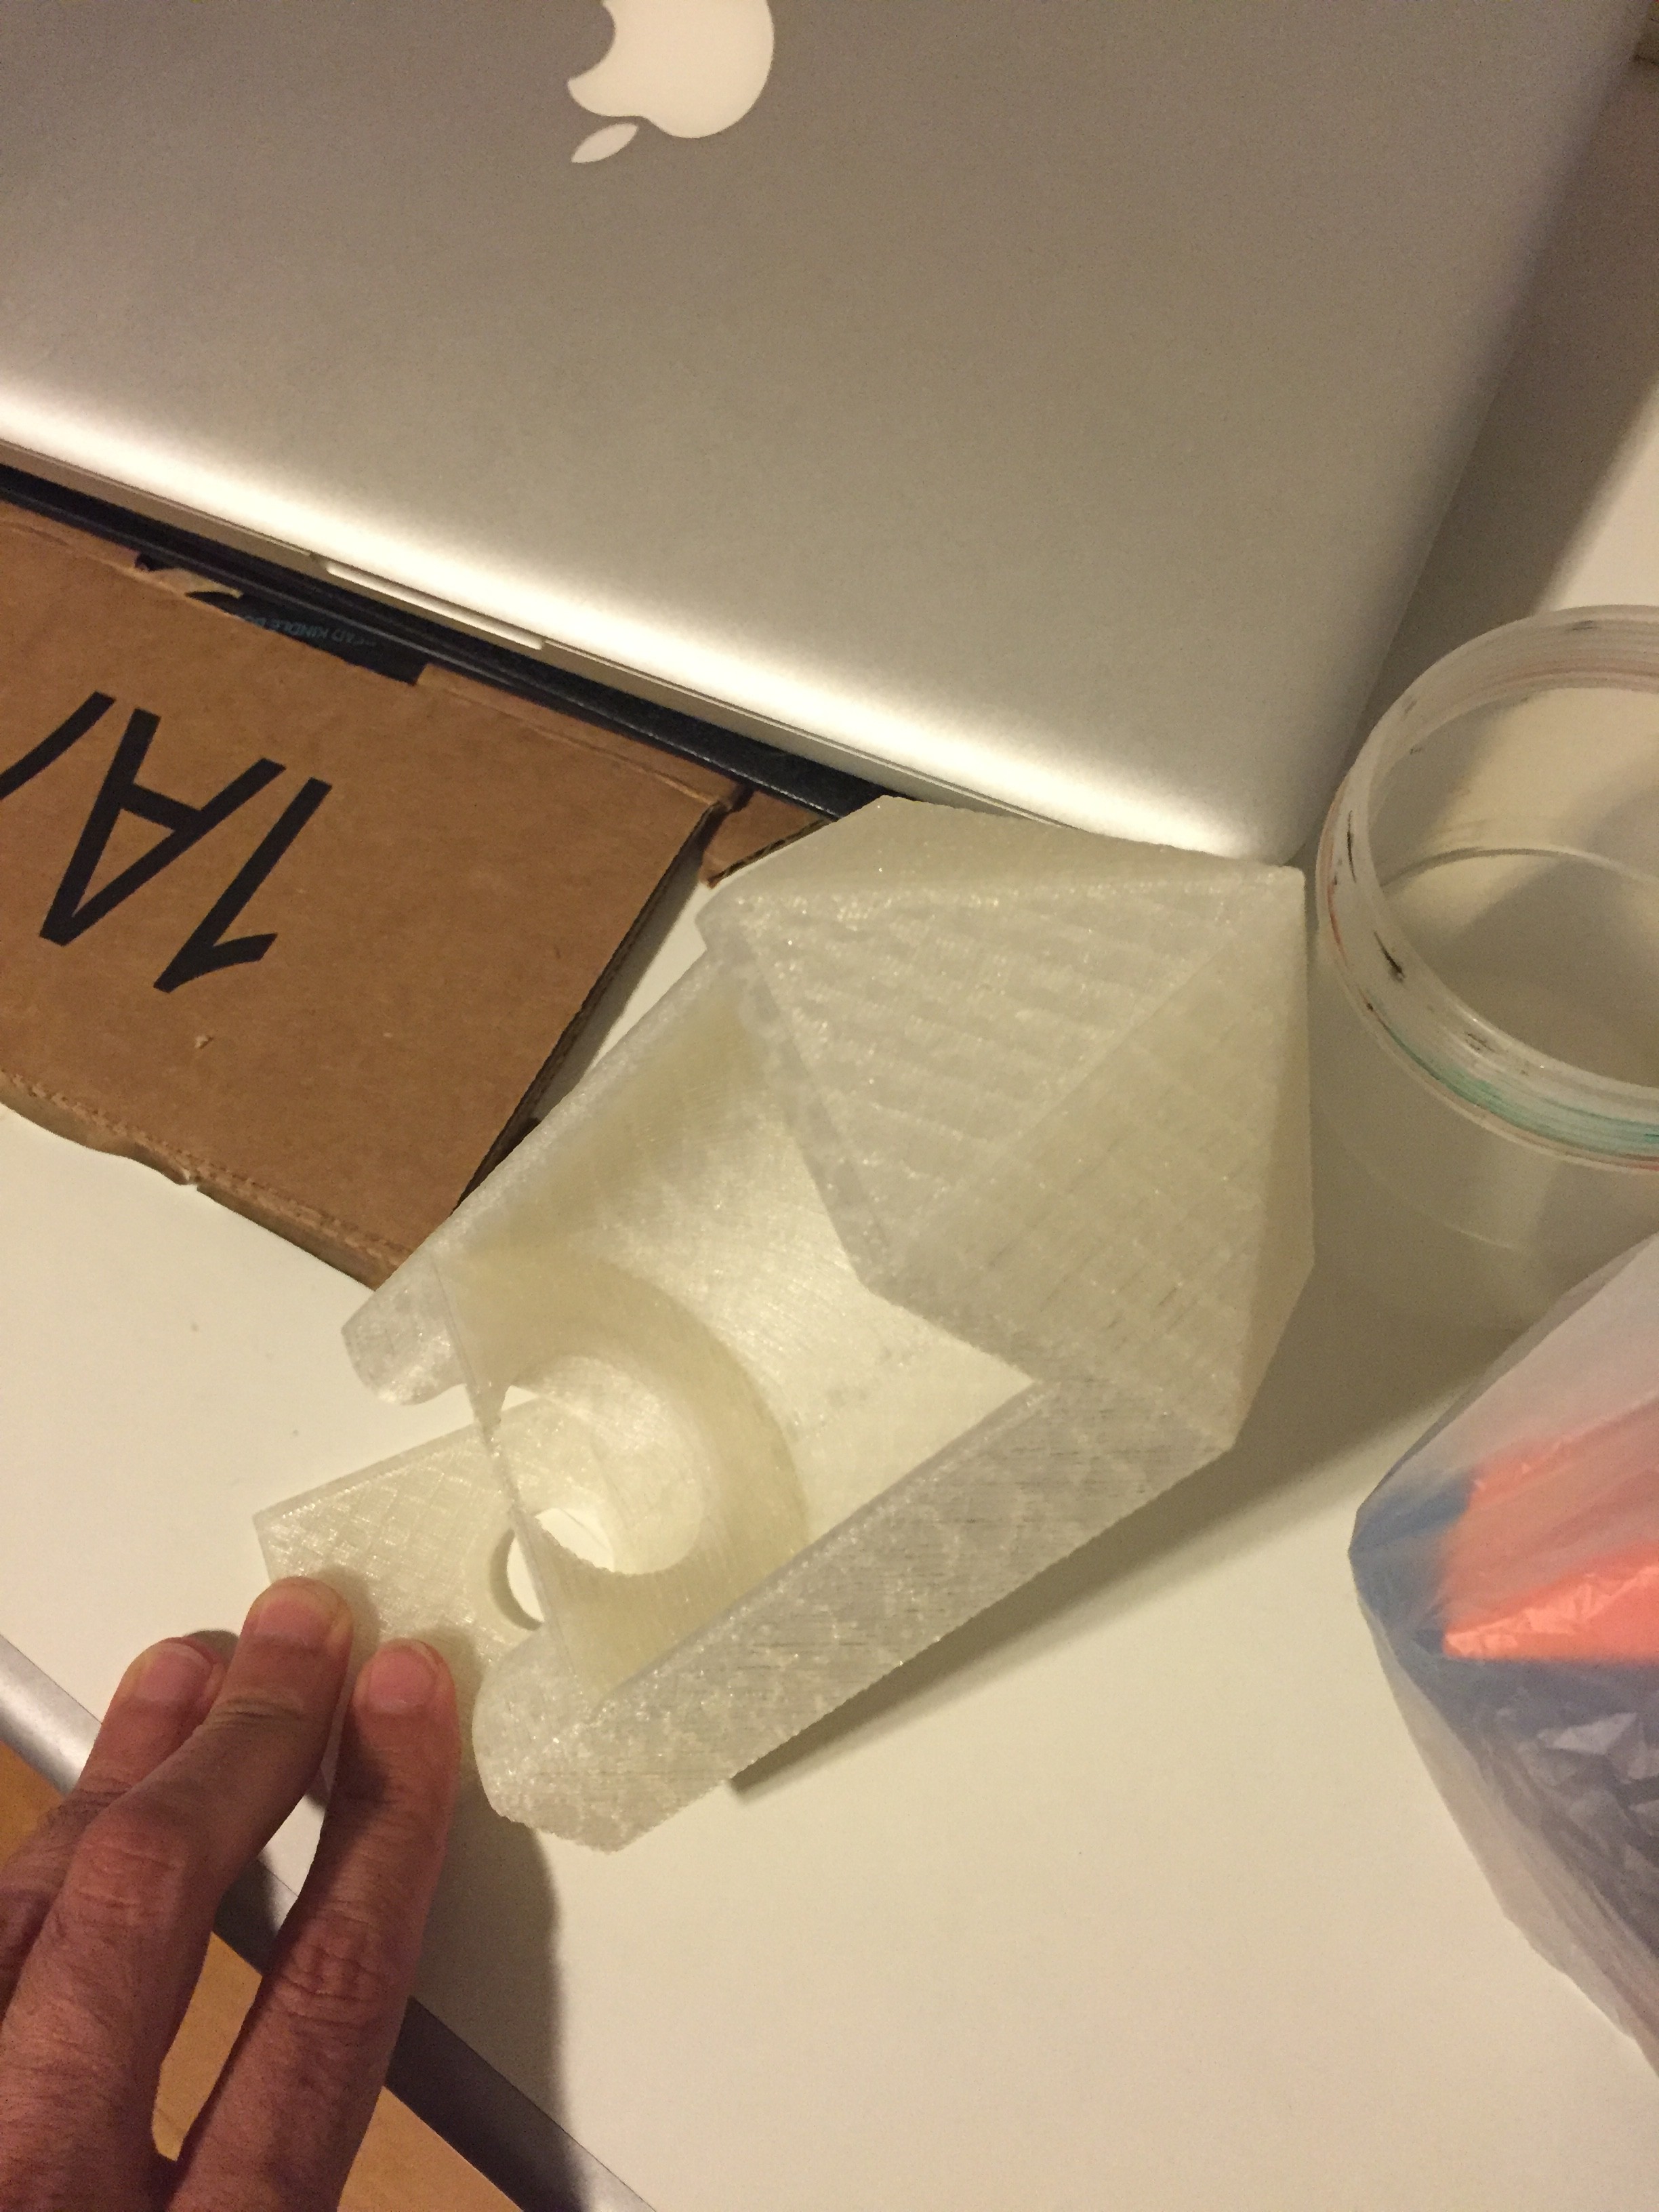
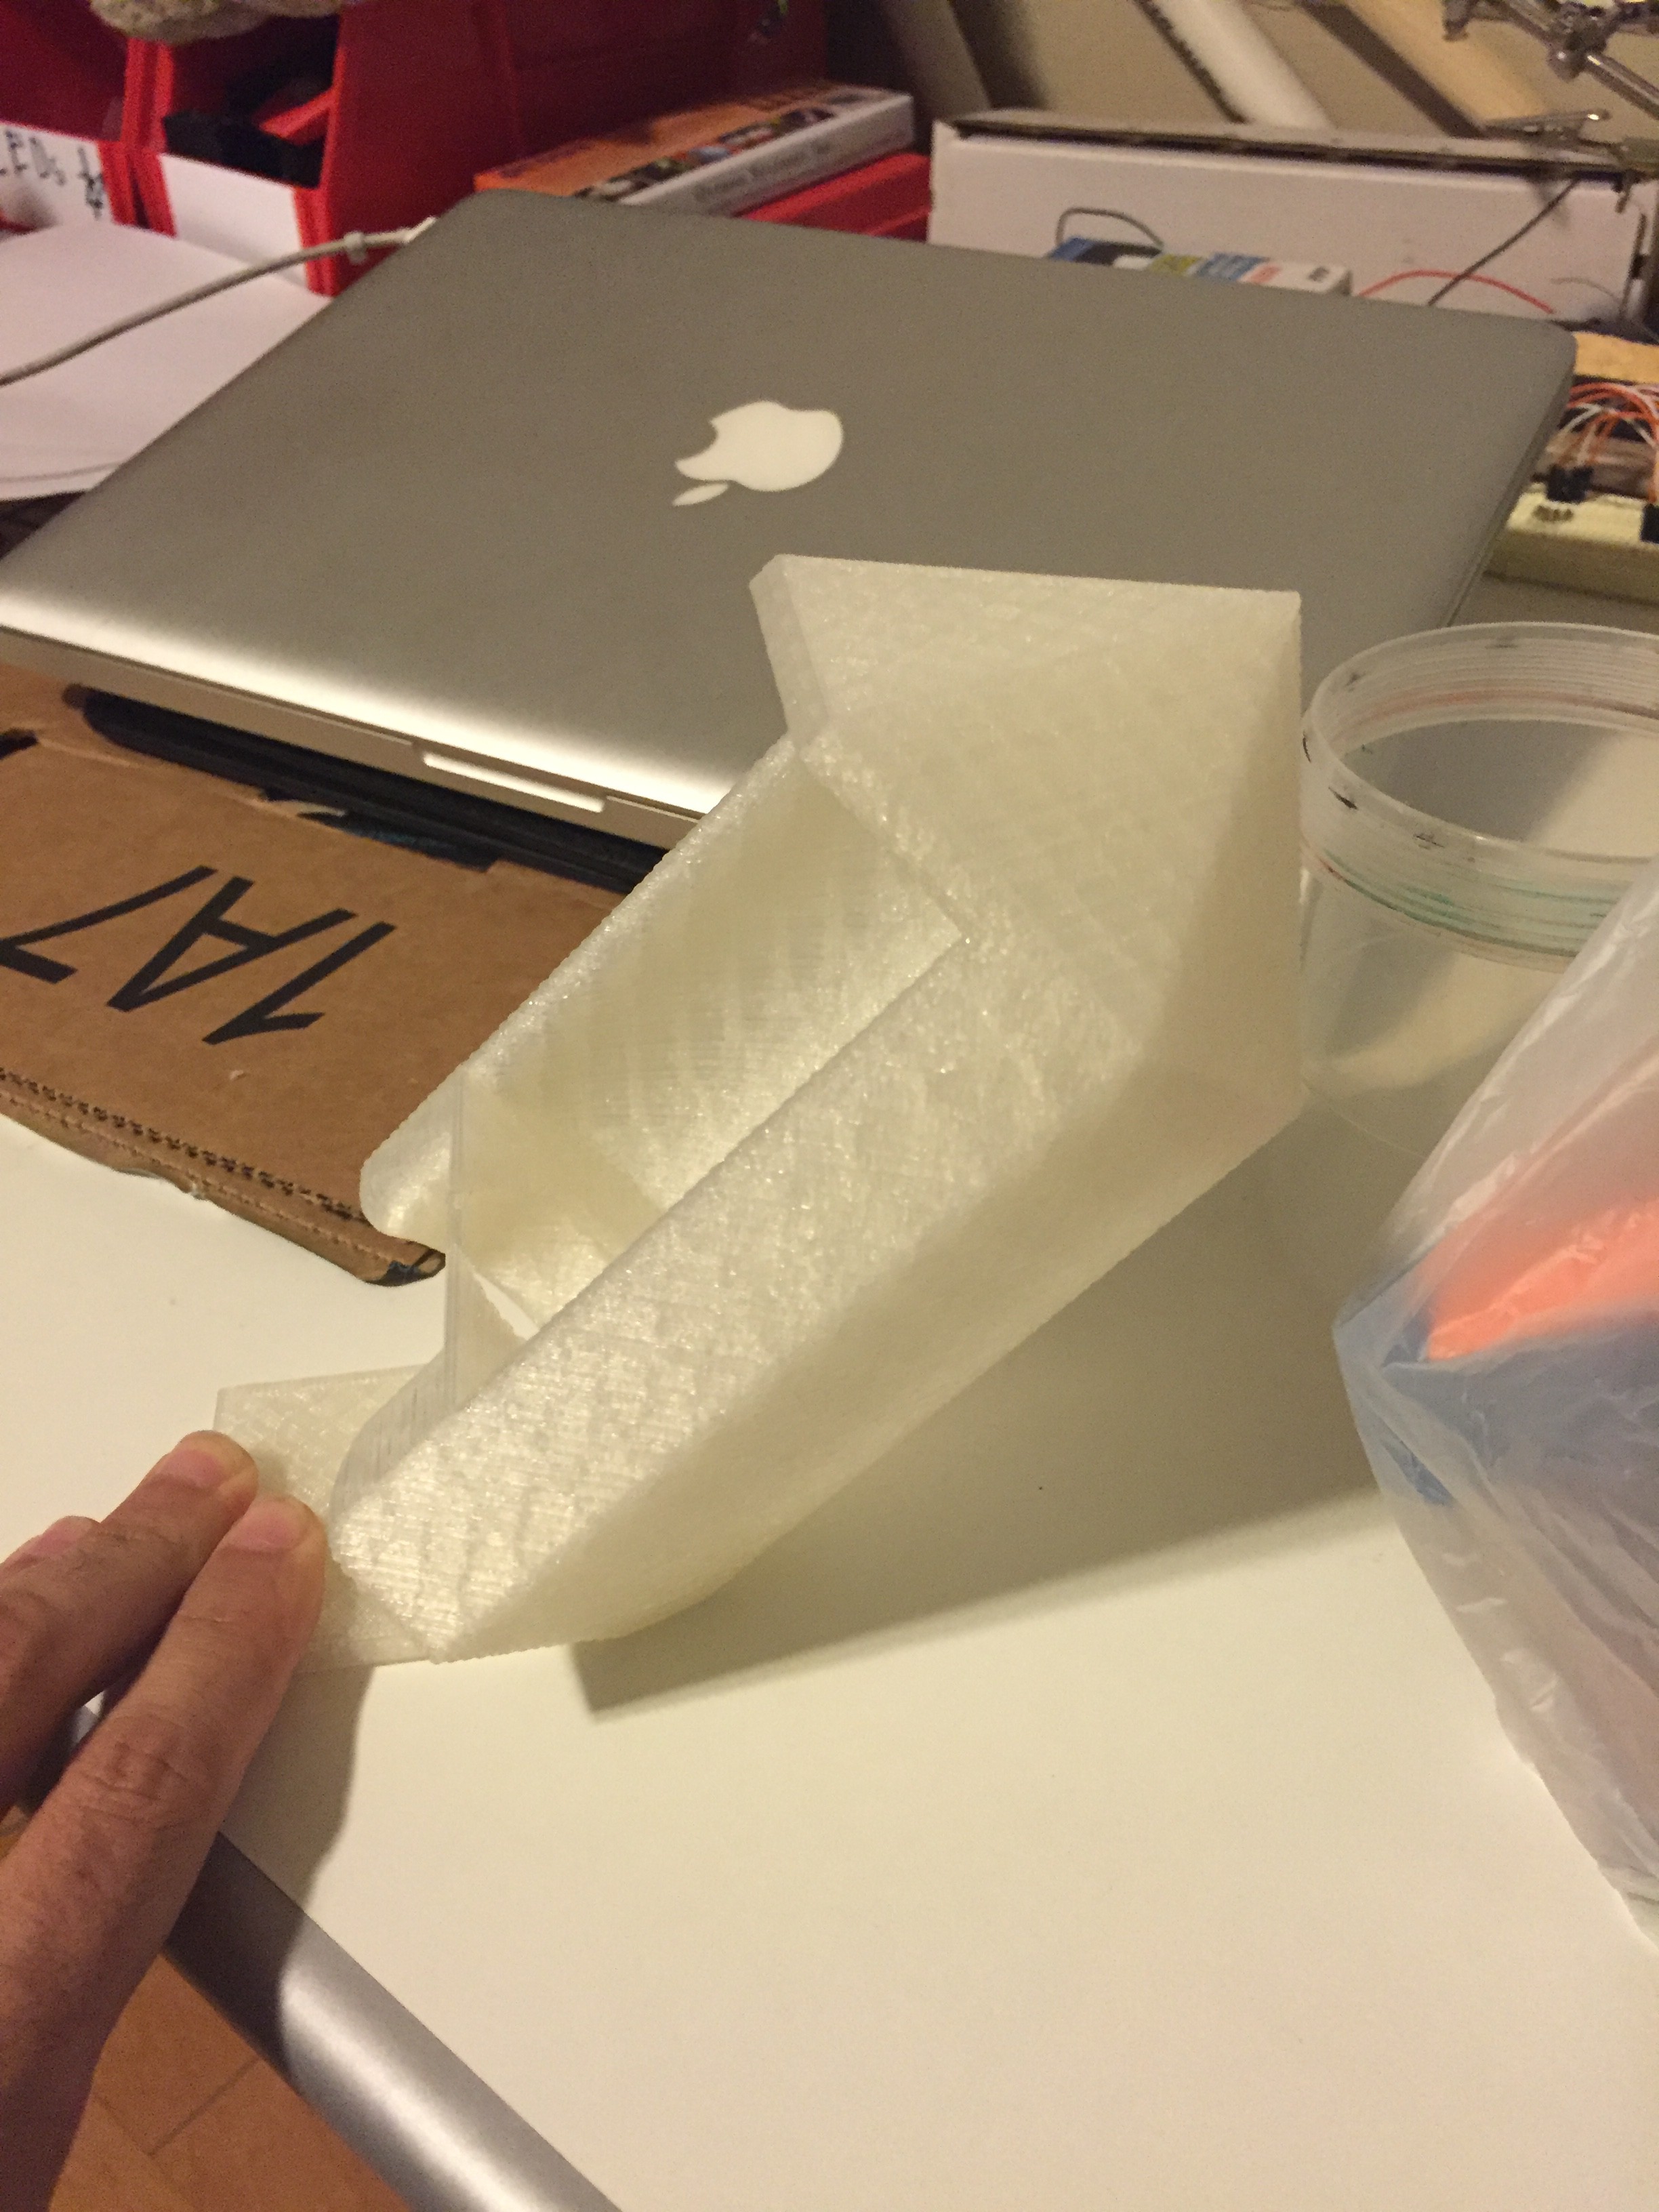
    Once I had that second Crystal modeled I exported it and started printing it. Because if the simpler design I decided to try printing it with 0% infill. The second crystal printed perfectly on the fist try with 0% infill! This is great for several reasons: 1) it prints faster, 2) less infill = more light transfer. While that one was printing I dug back into Fusion360 and modeled up the third crystal, exported and sliced it and then the fourth. Currently Crystal 3 is printing while I type this.

    I test fit Crystal 2 on my current lamp and it fit perfect. I have already modified the main crystal and will be reprinting that and then assembling the whole thing and putting it on my wall to replace the one I have their now. Once this one is complete I will create a mirrored version in Fusion360, reexport and reprint all the parts for a second lamp on the other side of the bed.

  • Request for help

    JediFix01/12/2016 at 17:10 0 comments

    So I have the one basic lamp prototype up in the bedroom and it has been awesome...but it is lacking. I really need to get the final design done so it looks like more of a cluster of crystals and not just one sticking out form the wall (one looks a bit...odd). If there is anyone with 3D design skills (Fusion360 in particular) that wants to collaborate please let me know and I can add you to the project and share files, etc.

    The plan is to design it to print in a few pieces and then glue them together.

    If not I will get to this myself, it is just taking me a bit to get inspired to up my Fusion360 skills.

  • It's a LAMP!

    JediFix10/29/2015 at 13:24 0 comments

    First off let me say that I really dig Fusion 360. I still have very little idea what I am doing in it, but I was able to stumble my way through modifying my file halfway through the history without screwing everything else up when I rolled the history marker forward. This is almost like magic to me, and magic I can just barely control. That said I have a 4cm longer model now!

    I bumped the .stl over to my Printrbot (through my trusty RasPi/OctoPrint controller) and let her rip yesterday morning. It took 9.75 hrs to print! But it DID print, and it looks great!

    I quickly slipped in the socket, wired up the cord, screwed in the bulb and what do you know, LIGHT!

    I attached the bracket to the wall, slipped the lamp into the bracket and turned it on. It is even brighter than I hoped and the lamp does not mess with the coloring of the light at all.

  • Printheads and poor planning

    JediFix10/27/2015 at 13:14 0 comments

    After getting totally fed up with my UBIS 13 hotend I ordered the older ceramic hotend from Printrbot. It arrived a few days later, I sent the day calibrating it by printing all the belt buckle pieces for my wife's Han Solo costume for Halloween.

    Yesterday I started the print of the full crystal in the morning and the good news is I got a full print! 100%, it was awesome! That said, I did not do a great job with my measurements and the bulb is too long, fail.

    I will be working on the file and should be able to do another print this week.

    The print that was too small took ~6 hrs and about 100g of filament.

View all 12 project logs

Enjoy this project?

Share

Discussions

Similar Projects

Does this project spark your interest?

Become a member to follow this project and never miss any updates