First of all, if you haven't seen The Fifth Element, all you need to know is that we're making replicas of these fancy things below which will operate with mechanical and electrical parts instead of spooky earth magic like in the movie =]
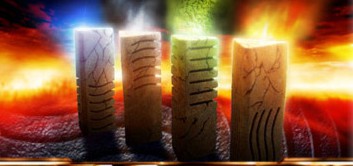
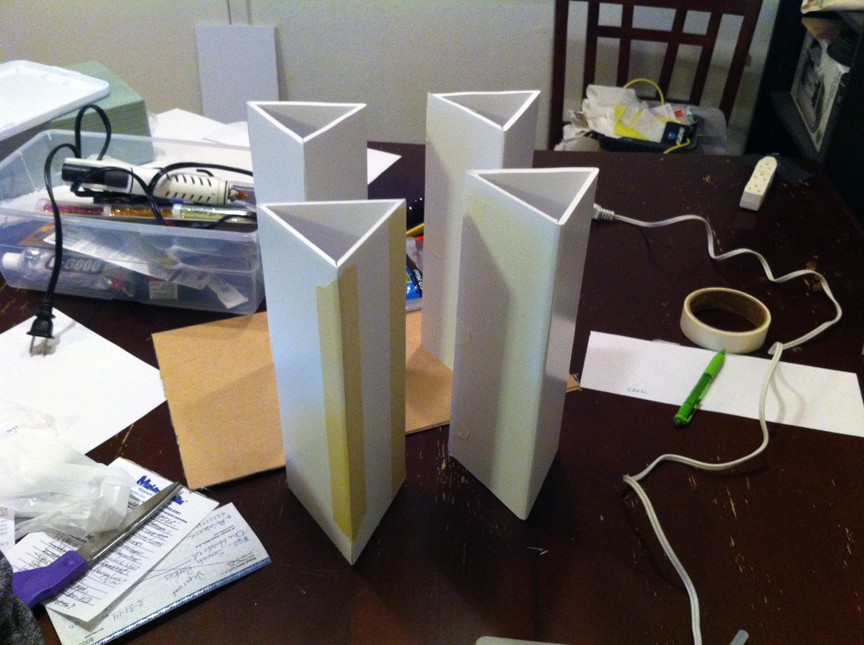
Mark and I decided that regardless of what the outer facade was made of, the inside of our stones needed to have a solid but light core which would give them structure and keep a consistent size throughout the four. Foam core will do the trick for this. As such, we modeled the shapes in their final dimensions in CAD and then worked our way inward to determine the measurements for the core.
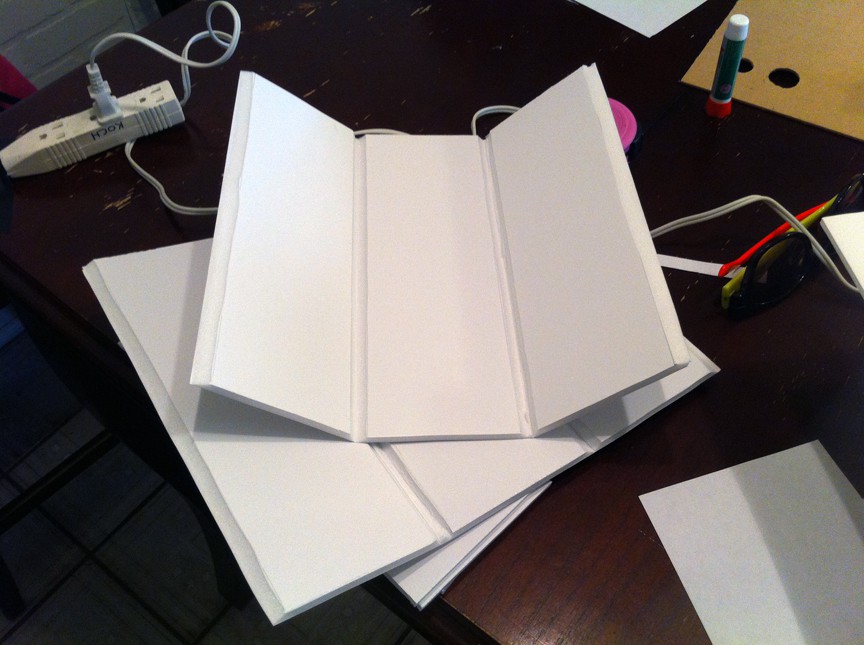
The foam core bases were kept as one whole piece, scored in the areas where it needed to fold in on itself. Easy enough :
I must note that initially we were going to glue floral foam to the outside of these, carve the markings into them, plaster the surface, and then paint them to look like stone, but lets face it...... we have a 3D printer.
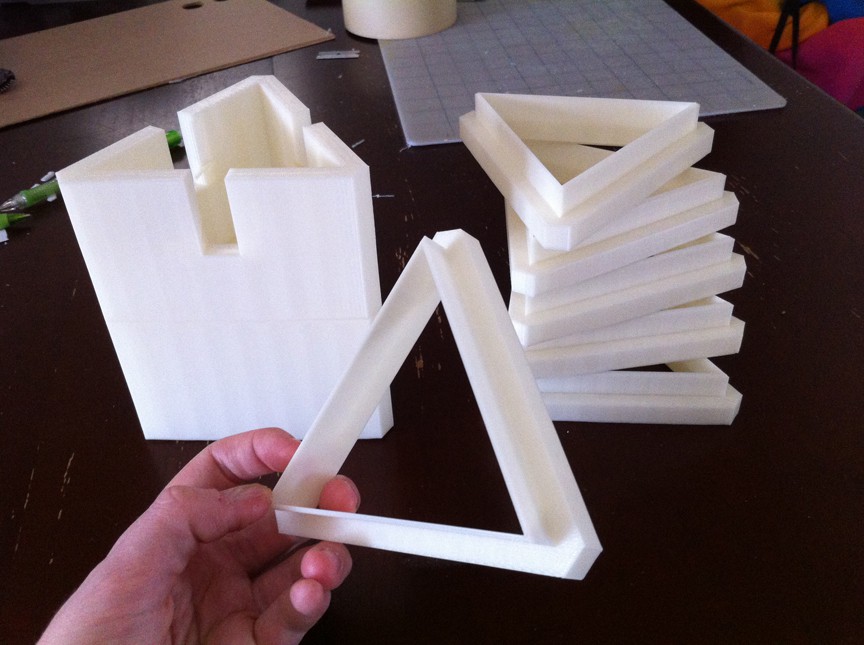
Mark modeled the facade of the stones in CAD. We decided for the sake of printing in safe bursts (incase of fail), it would be smart to break the model into many ring shaped pieces which would stack onto one another. The lower green section is actually six separate smaller pieces :
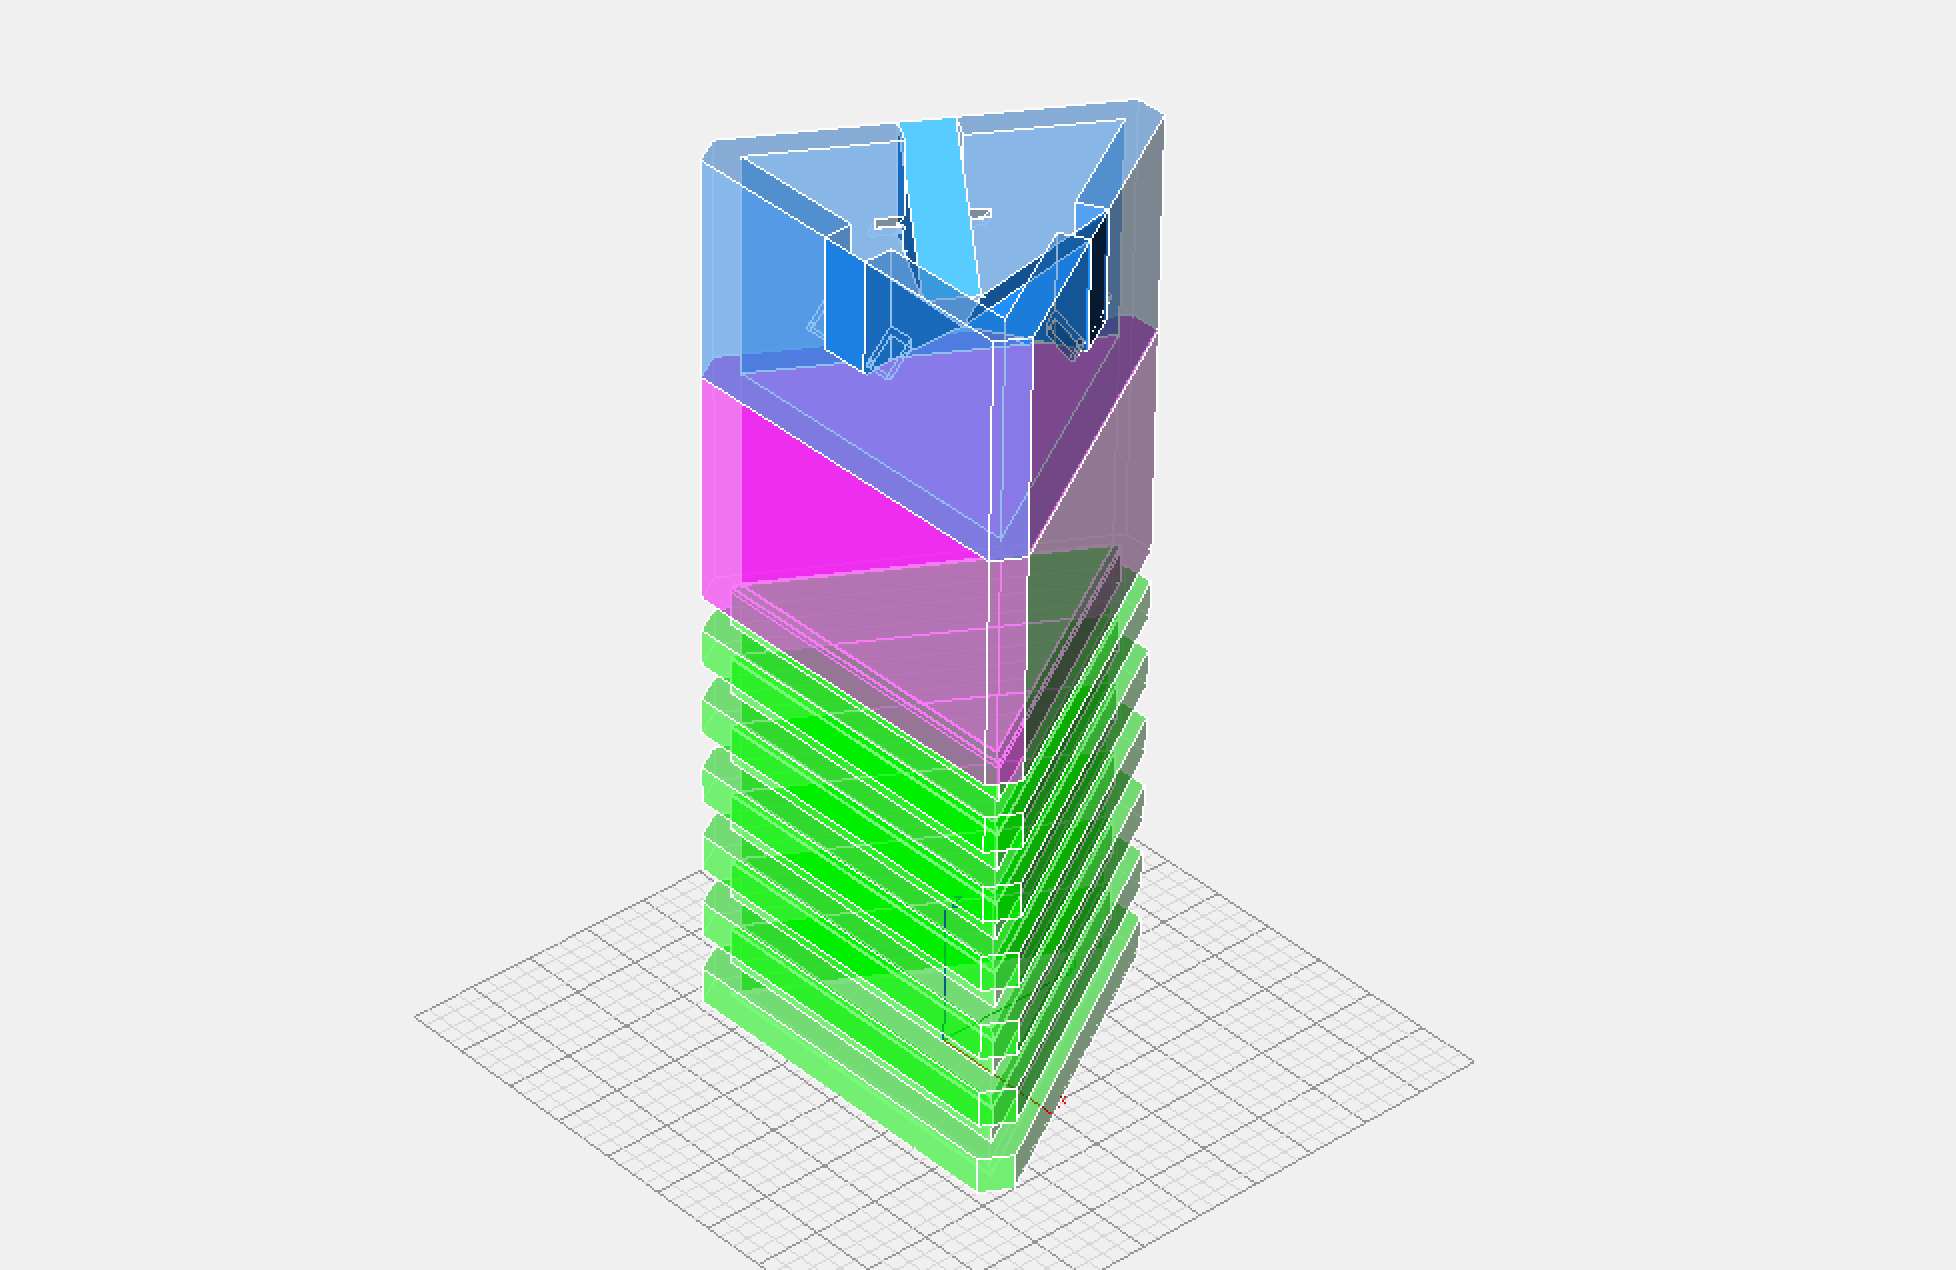
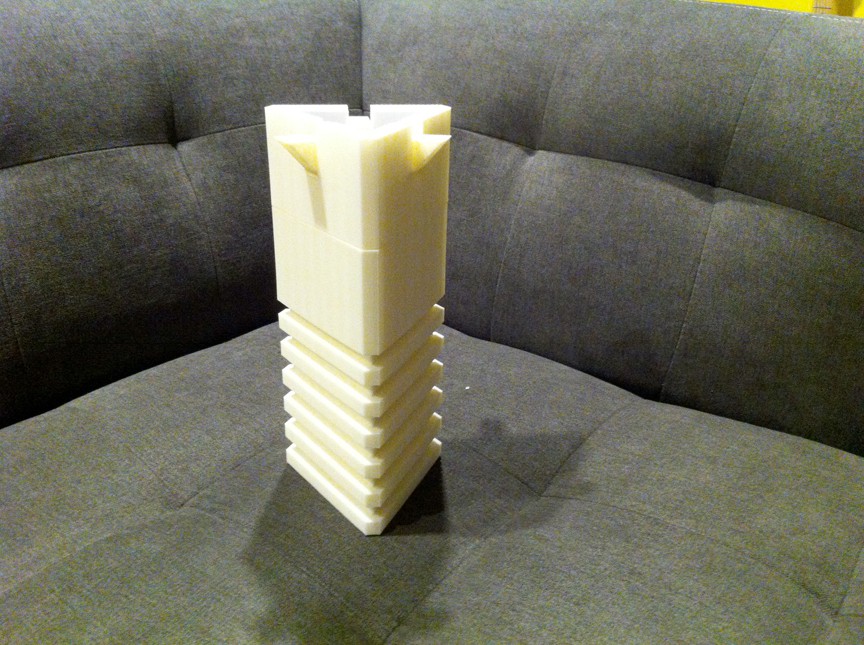
So far today we were able to complete the ‘Earth’ stone... because it has straight lines carved into it instead of wavy ones and is thus the easiest one to recreate. Mark and I printed six rings for the carved bottom half, and two slightly thicker rings for the solid upper half :
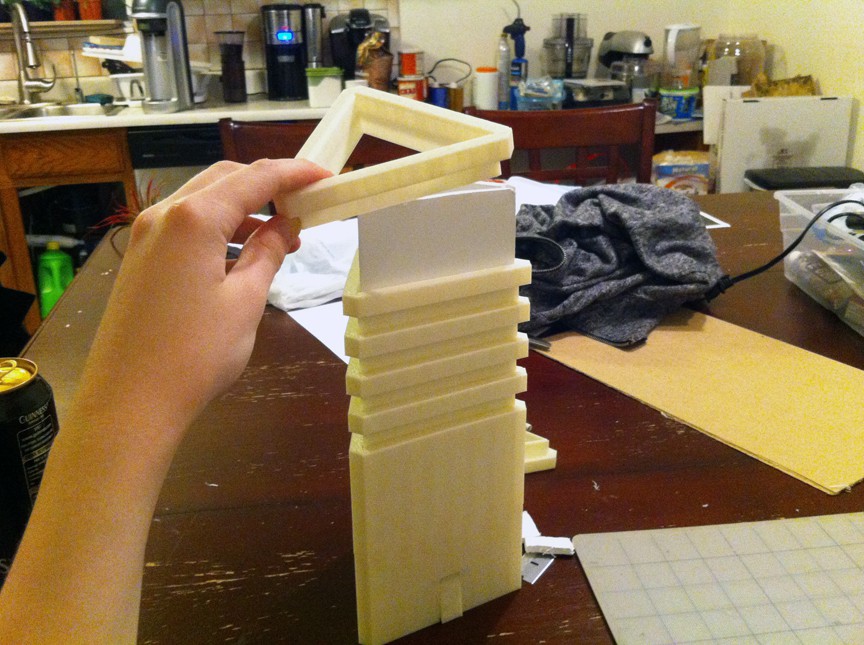
It took the whole day to print all these pieces... but once they were done, I jammed them rather violently onto the foam core centerpiece (tight fit) :
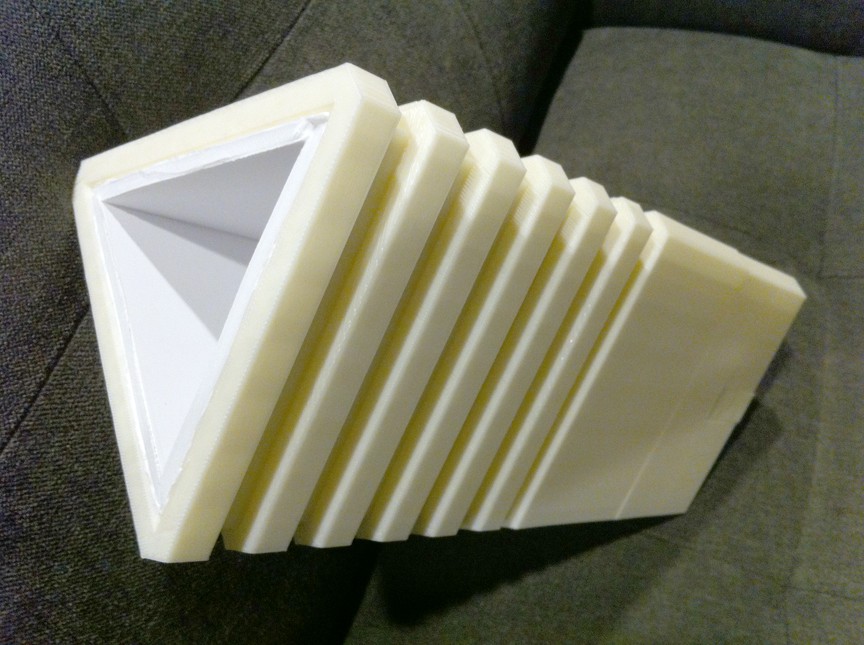
Each ring sits on a small groove/lip of the piece below it, so they lock together like puzzle pieces. The added pressure of the foam core forcing outward keeps them all firmly in place. The final structure is solid and extremely light weight :
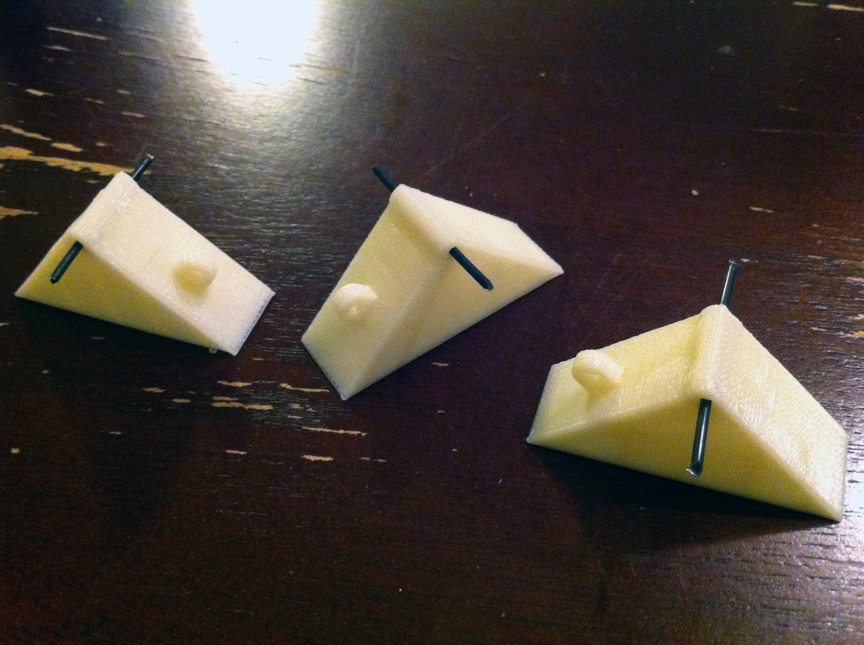
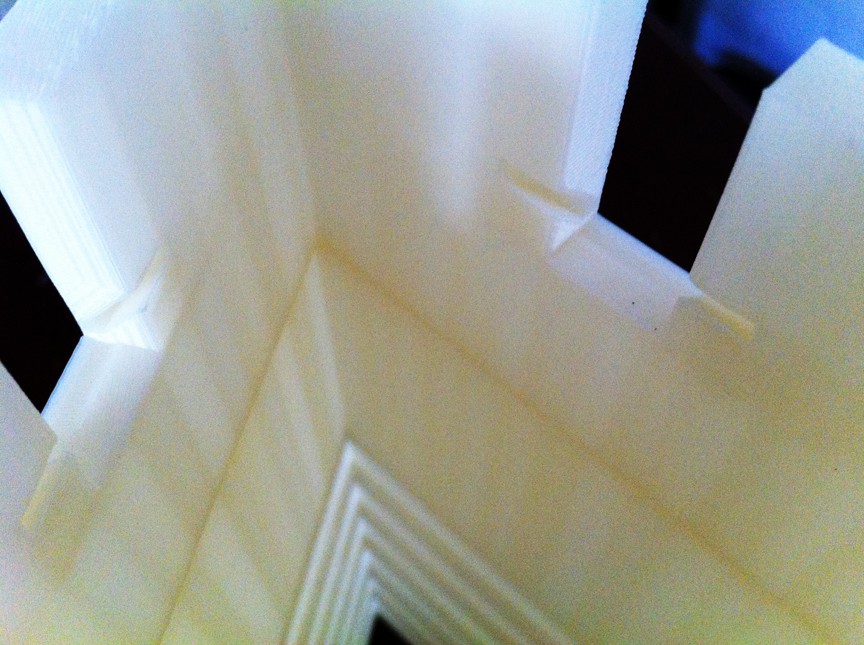
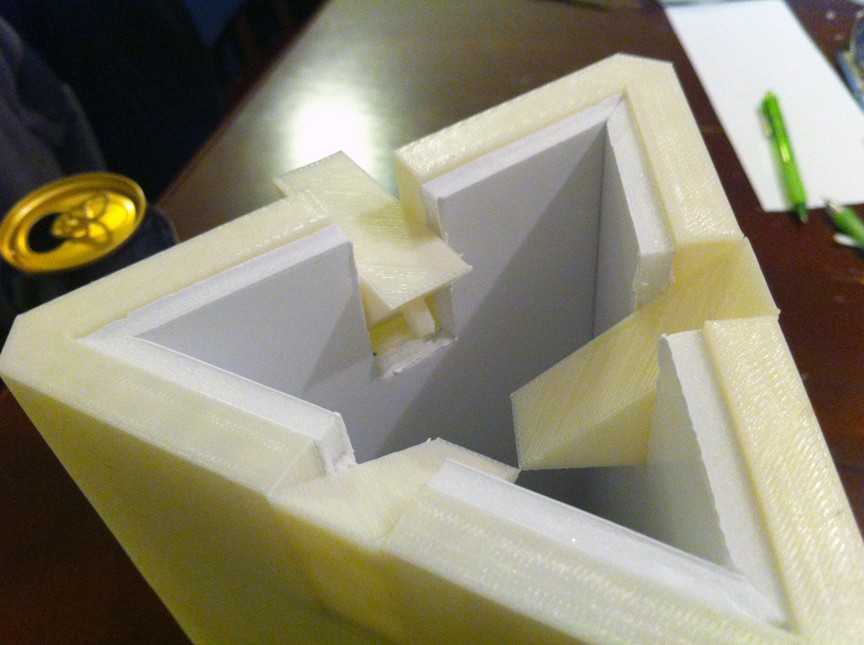
Aside from the design on the outside of the stones, we needed to plan for the moving parts at the top. The upper portion has 15mm wide slots in the center of each face. These are the parts that “open” at the end of the movie when the stones activate. We modeled three triangular slices that swing out on some wire as hinges :
These metal wire bits slide into slots Mark made in the wall of the main piece :
The wedges fit in place like so :
These pieces will actuate via servo and wire pushrod. I plan to start on the servo and LED mount tomorrow while the pieces for the next stone are printing :
So yeah... this is our Earth stone so far. Like I said, technical part comes next... and I'll post an update as soon as I get this one activating and glowing all pretty-like. =]
I think we're doing 'water' next btw. Stay tuned.
 Sarah Petkus
Discussions
Become a Hackaday.io Member
Create an account to leave a comment. Already have an account? Log In.