 kodera2t
My tiny computer surely consists of essential element, human interfaces (keyboard, display), storage (SD card), and processing unit. But the current keyboard (firmware re-loaded Xbox360 chatpad) is not for touch-type long-writing one, as you see.
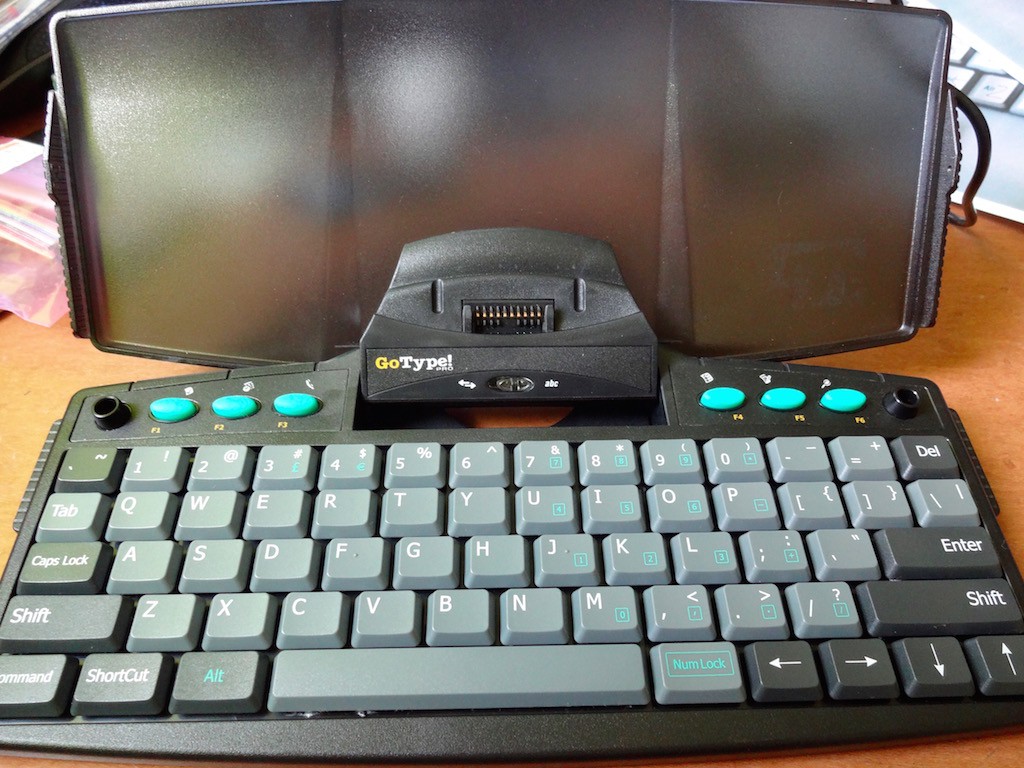
Yesterday I got a keyboard for Palm pilot just by 300JPY at junk shop. Palm is completely obsolete system and not attractive for most people except me! Indeed, the keyboard in 1990 has quite good typing touch compared to crappy current China made. (I have to say this keyboard is also made in China, but ten years ago, lots of China-made with conscious to export was better quality, especially the case of keyboard.) This one is almost brand-new and original user seems not using it so much. (it seems, never used..) I imagined how it will be nice if this keyboard is connected to my tiny computer system!
My good habit before making something is searching hackaday.io, and I found one relevant project converting Palm keyboard into USB and with smartphone. This author uses original keyboard controller circuit and adding USB interface by ATMega32u4, my favorite one, and the author found its communication protocol as "inverted TTL logic at 9600 baud with no parity and one stop bit". My computer character input is TTL serial and I thought it should be piece of cake..... but not in this case.
Surely this keyboard sending "some very long data" for just one key touch. It has some rule between character and produced code, but for me it seems more easier to make keyboard controller from scratch...?
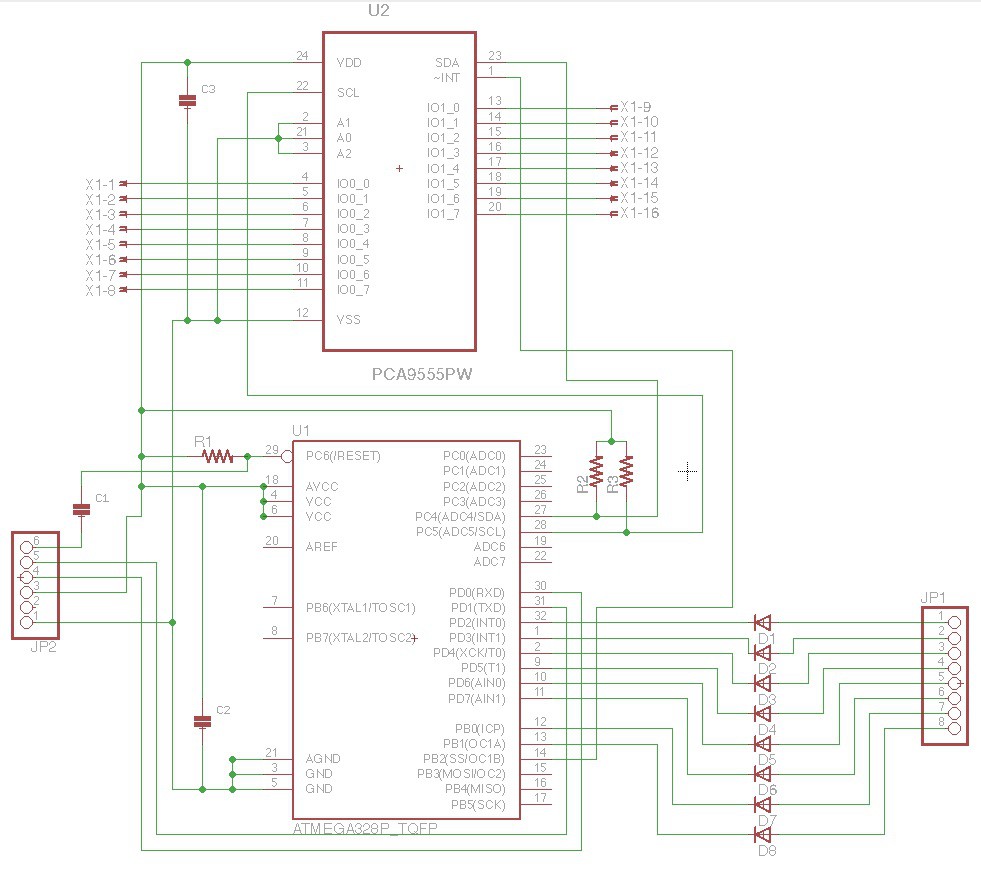
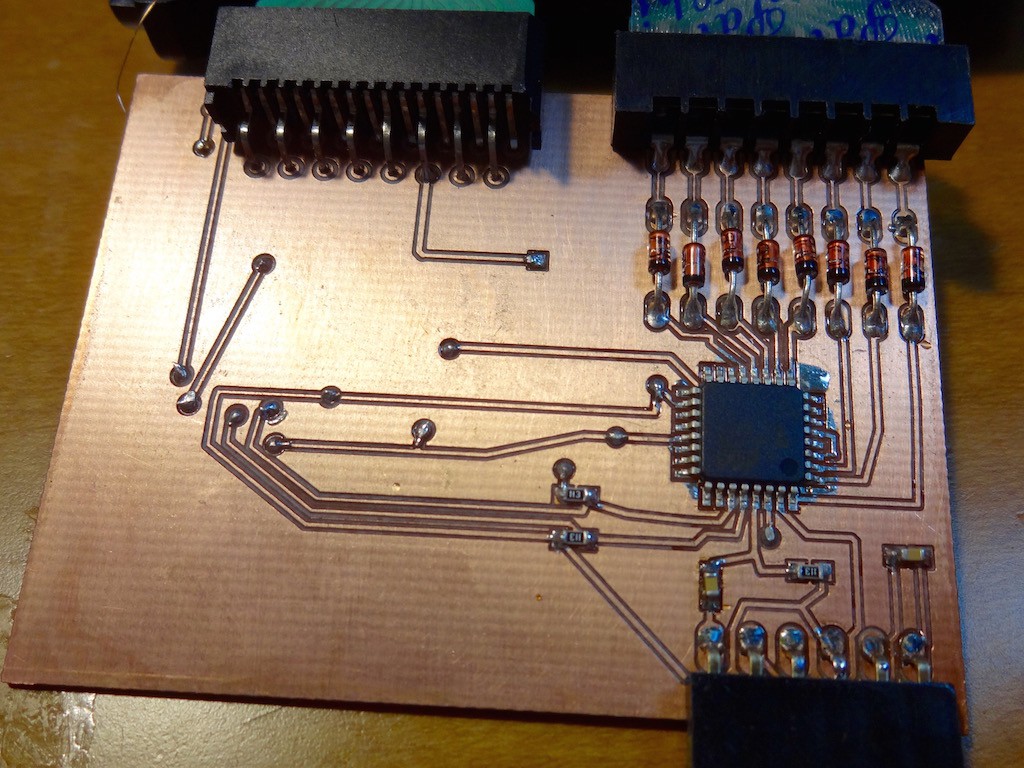
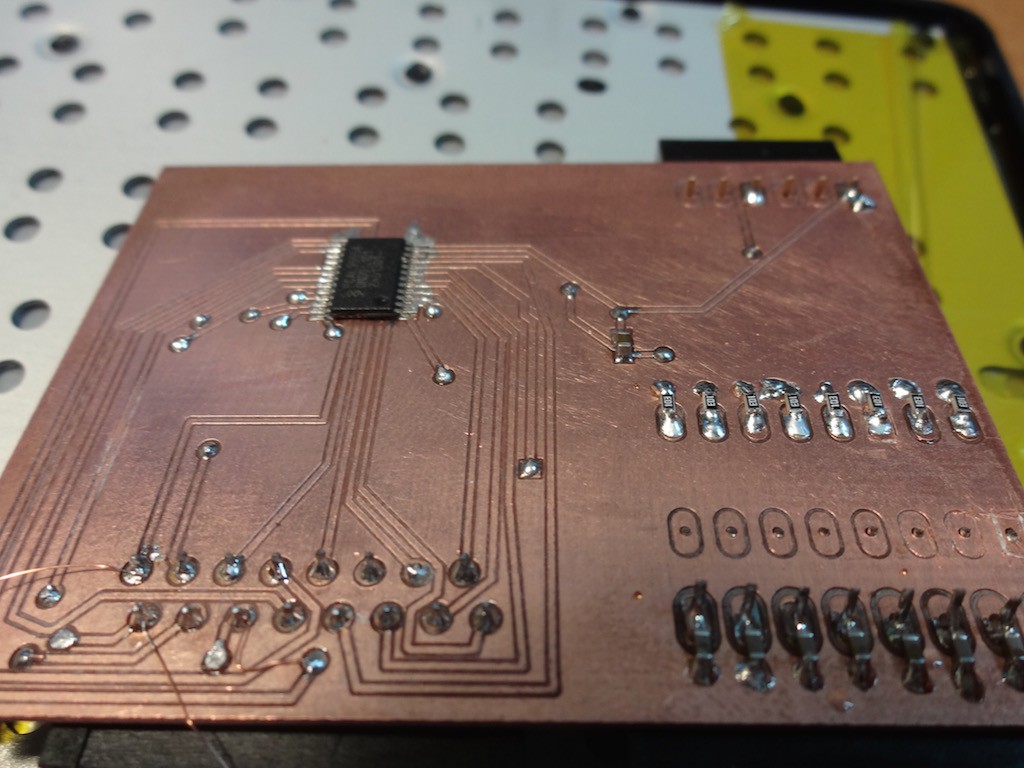

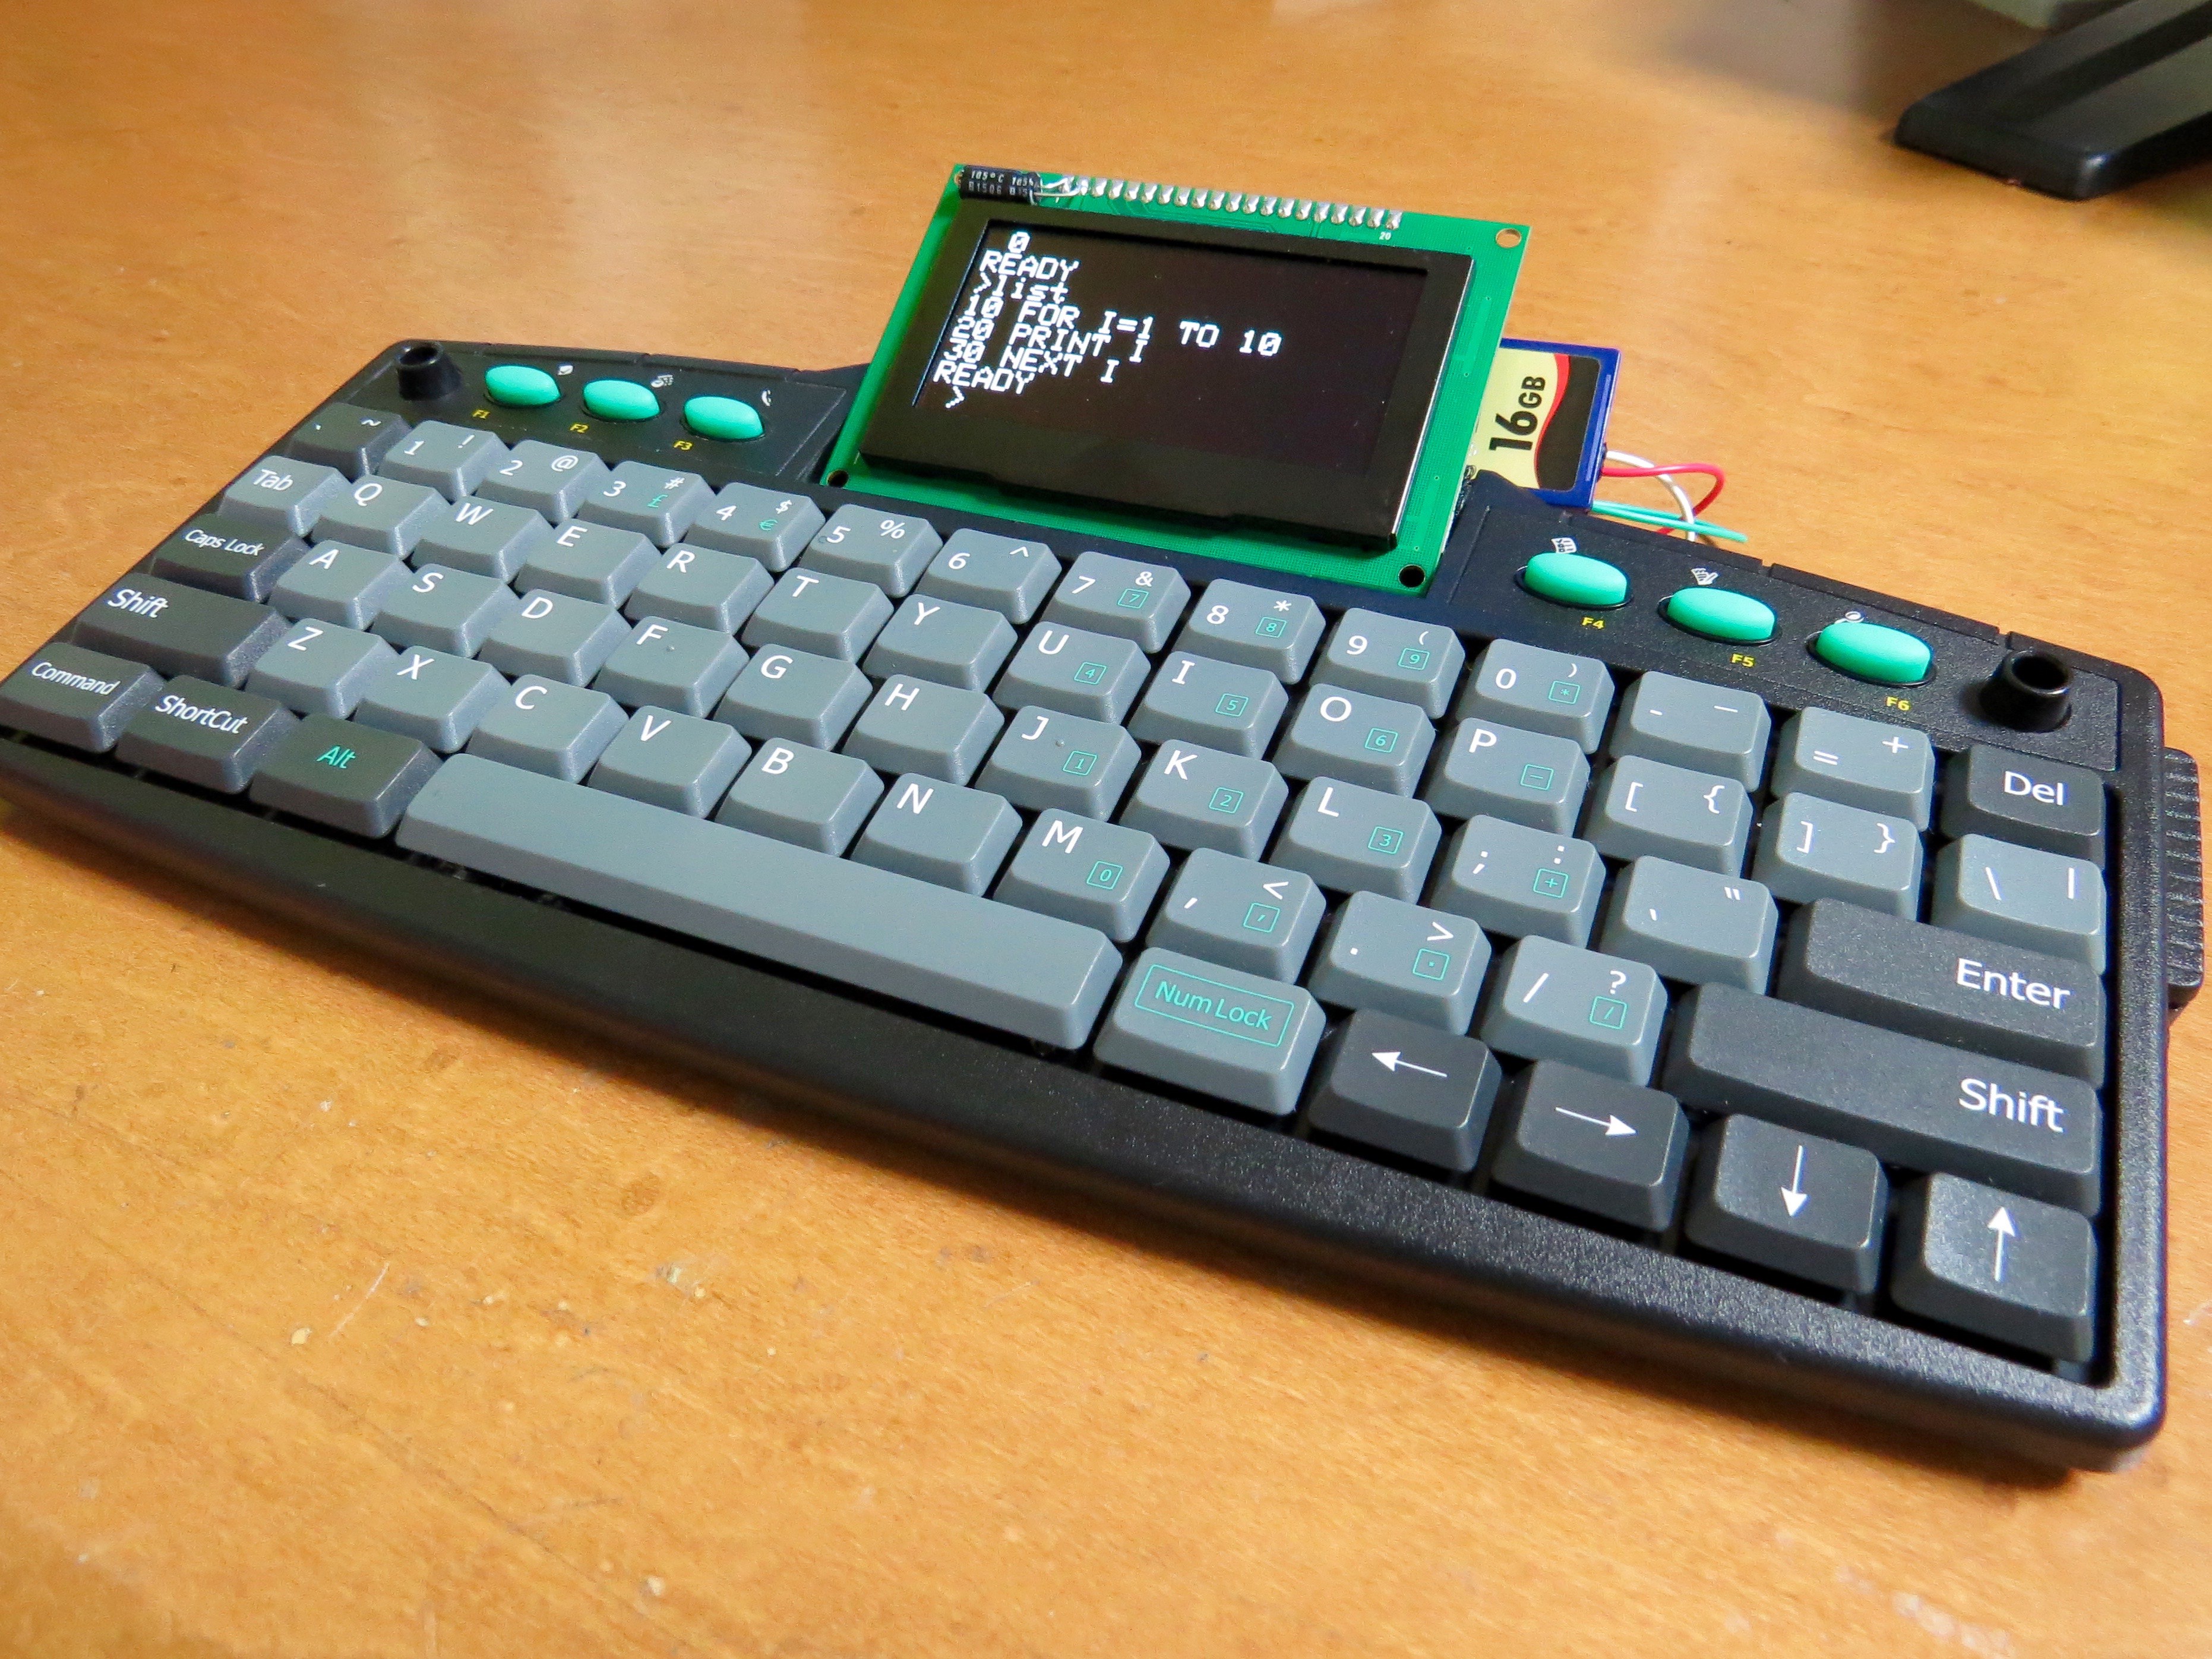
And this is what I made. Actually making keyboard controller is full of "good to know" since actually I did not know what is keyboard matrix and how diodes is working well in it. I found simple key-scanning sometimes produces "too much character" and this type of problem is avoided by software (combination of milis() and ...) Moreover, in addition to full keyboard function (shift key and ...), top six rubber function is also activated. Each of key generates "print ", "load ", "list+CR", "run+CR", "mem+CR", and "cls+CR". Full source including circuit board information and Arduino sketch is released at github, and actual operation can be found in the following movie.... have fun!
Discussions
Become a Hackaday.io Member
Create an account to leave a comment. Already have an account? Log In.