kodera2t
-
Again smaller display but FULL Color!!
10/24/2015 at 04:09 • 0 commentsAgain, the screen is smaller but.....
![]()
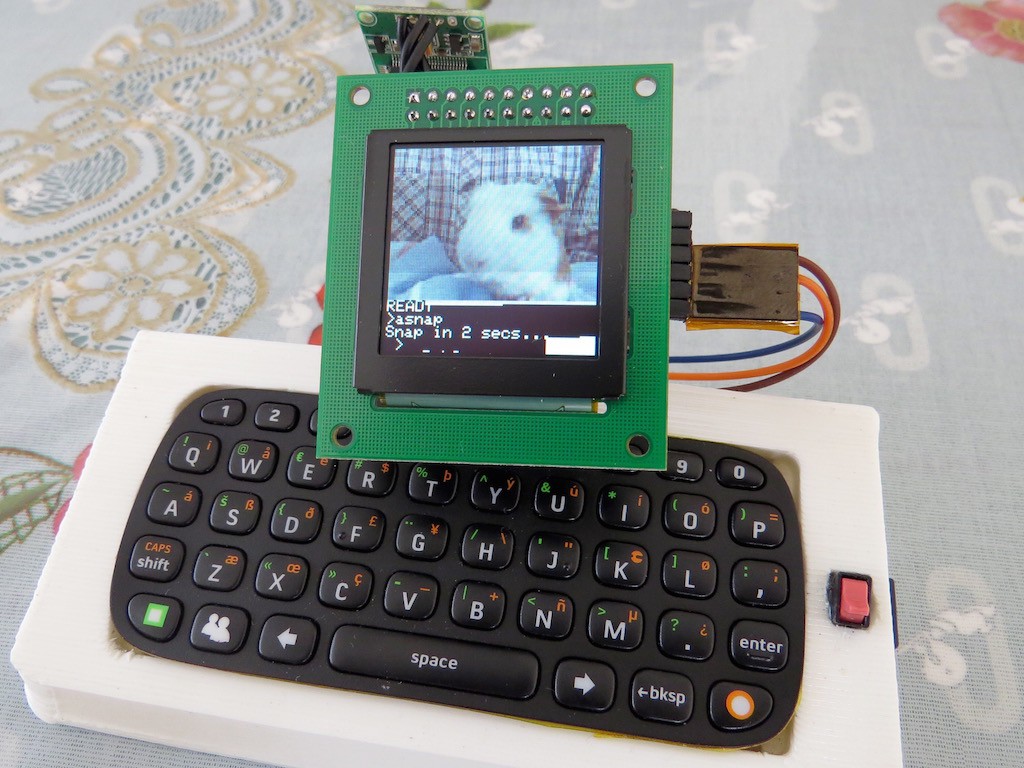
Now it has full color display! The resolution is also twiced (128x64 to 128x128) and frame buffer is already extended to support 21 character x 16 lines !! This is the largest as ever in my tiny computer.
![]()
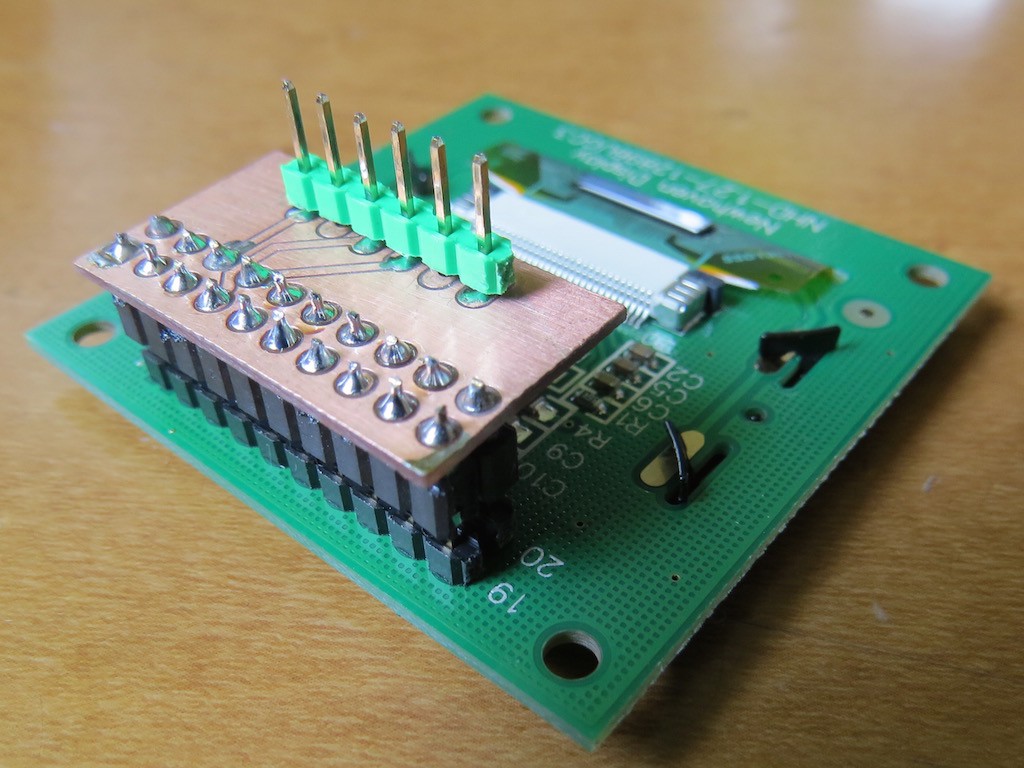
Making tiny computer from scratch is a bit time consuming work and I simply made "pinout-converter" from 20 pin color OLED to 6 pin connector. This OLED module (SSD1351) supports 8-bit, 8080, 6800 access in addition to SPI and accessing can be switched by BS0 and BS1. For SPI mode, both BS0 and BS1 are pulled down. Also in this case CS is pulled down because the original OLED modules does not have one (always selected mode).
The operation can be found in the following movie, and the source is already uploaded to github. Have fun!!
-
Even more larger OLED display
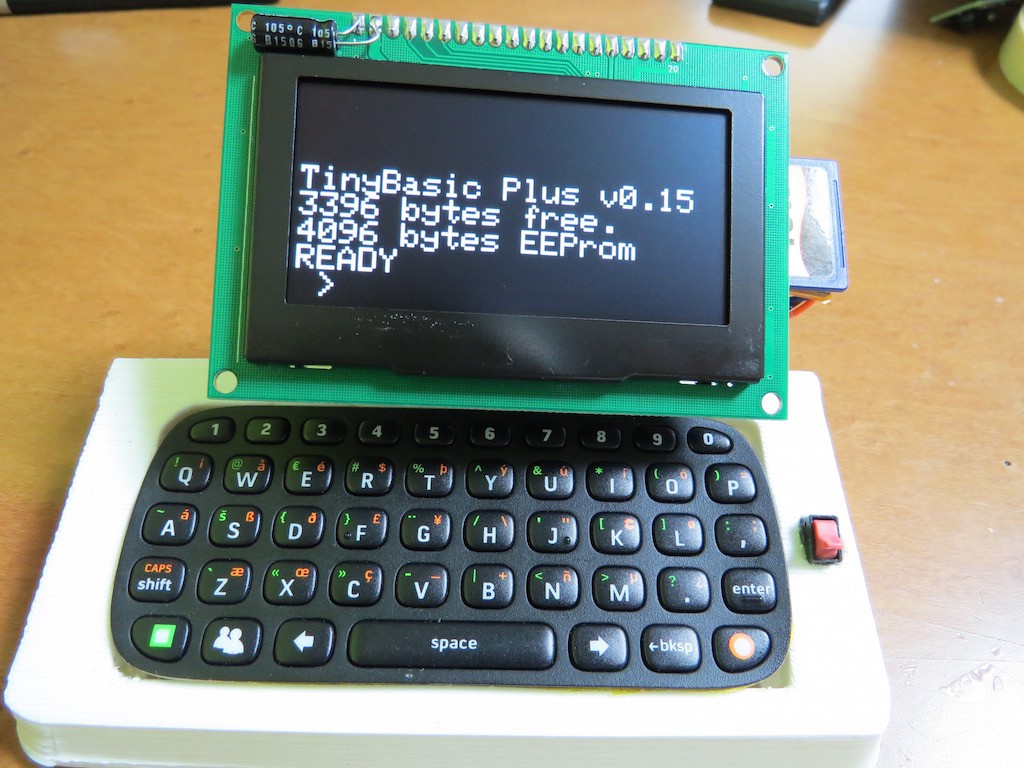
10/17/2015 at 01:58 • 0 commentsBasically I love OLED display because of its clear view from very wide angle direction. Available (for DIY) LCD cannot compete with OLED performance. This time, I got large OLED display from Adafruit and implemented TinyBasicPlus with it.
![]()
The OLED controller is not SSD1306 but SSD1325, but Adafruit already provides driver and TinyBasic supporting was quite straightforward. Resolution is 128x64 as same as previous one and it leads no need of modification for frame buffer programming.
To use lots of previously made tiny computer, I made pinout converter. The original OLED module did, indeed, no CS terminal. Some of low-cost (or application limited?) SPI OLED module has such a omission. I already got to know that,
-------
CS of OLED: can be simply pull-down. IF circuit has multiple SPI connection (for example SD card in addition to OLED), some garbage will appear during another SPI device access, but I don't care
RESET of OLED: can be simply pull-up.
-------
With some of this type simplified connection, Adafruit OLED is working perfectly with my ATMega1284 computer. The new SSD1325 supporting code is uploaded to github.. have fun.
-
RTC and Kanji ROM activation in TinyBasicPlus
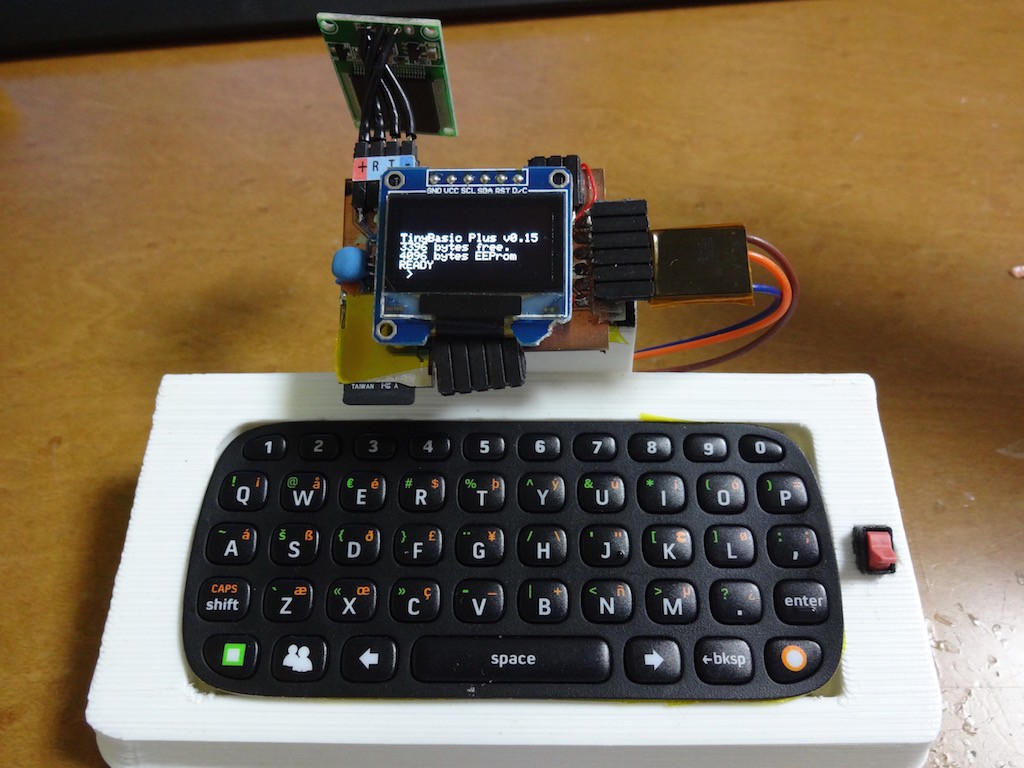
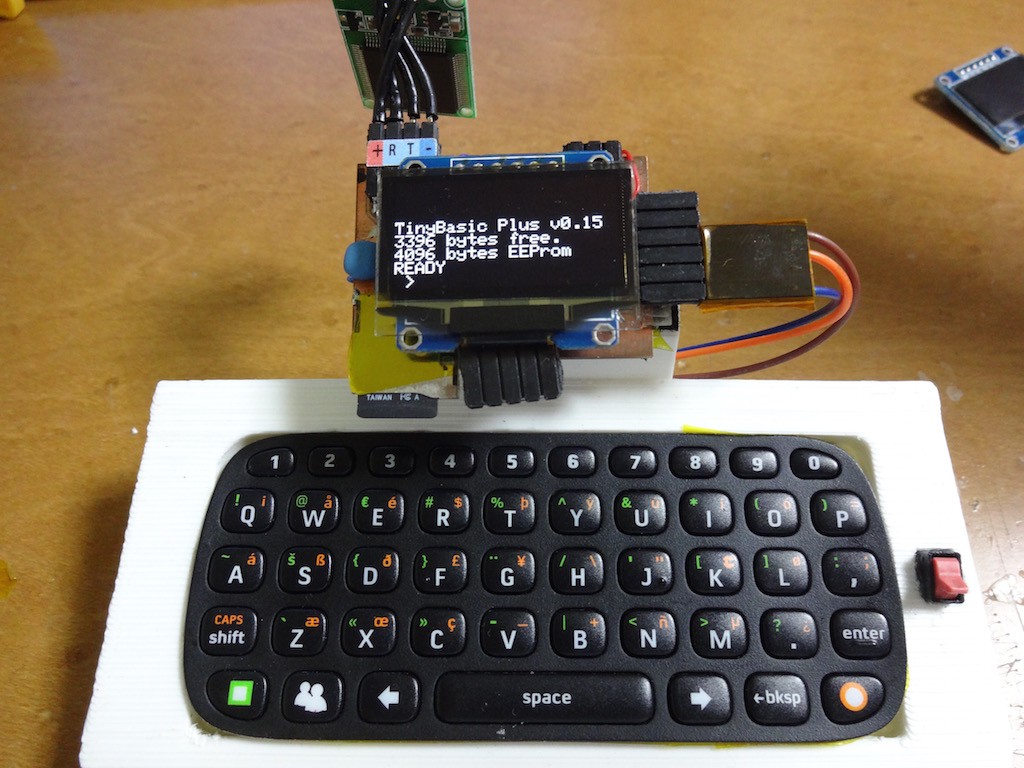
10/12/2015 at 09:06 • 0 commentsActually I have already installed RTC (NXP PCF2129) and SPI Kanji ROM, but I have forgotten to make command to utilize them in TinyBasicPlus. This time I implemented date related functions.Simply date and time command will return current ones,
>date
15, 18, 10
>time
18:10:21
but even the screen got bigger, these character are a bit hard to read, so this timebtime and bdate are added (both will show you larger graphic characters).
Maybe some of you ( if you are agree, I don't think you are major in hackaday..), I implement
jdate
command which provides you "date and time in Japanese expression". Actual operation can be found in the following movie, and its source is uploaded to github... I hope you will have fun.
-
Bigger screen is comfortable!
10/11/2015 at 11:19 • 0 comments![]()
This is the original screen version. Surely I can see but I found another OLED panel.
![]()
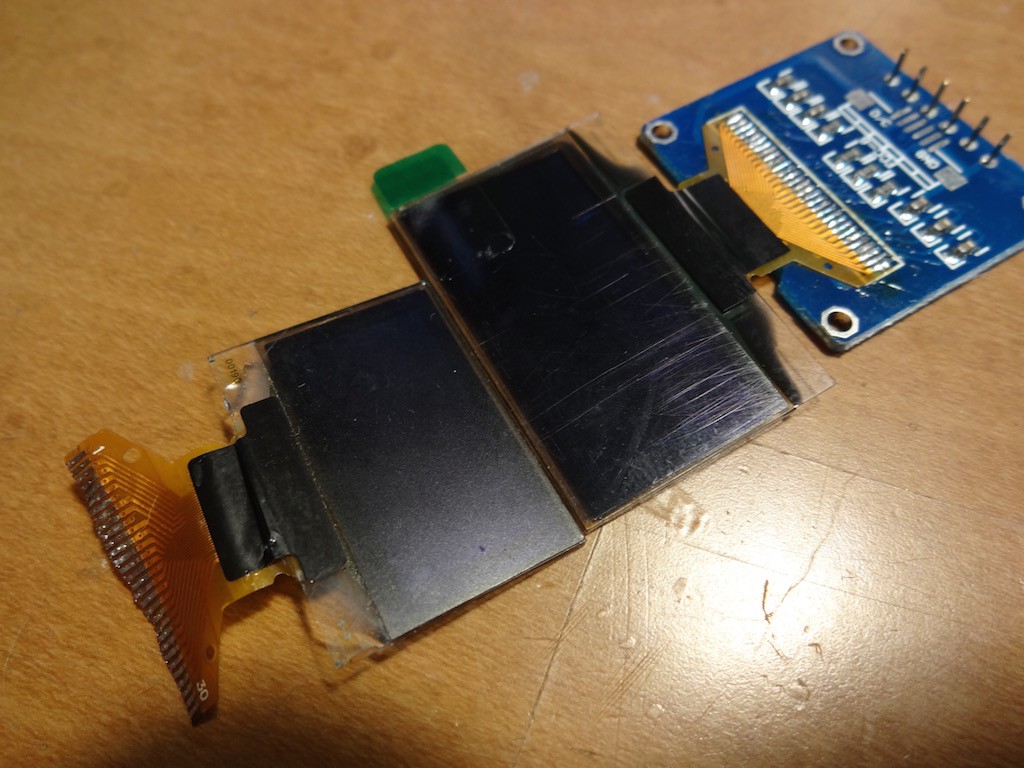
The new one has 1.3 inch but pinout (30pin), resolution (128x64), and controller (SSD1306) is very the same as previous one, meaning I don't need any hardware/software modification at all!!! Very nice.
![]()
Again, this is the original,,, and
![]()
This is the new one! So for me no reason to choose the previous one!
![]()
Camera preview is also bigger ! (showing my guinea pig in his house)
Some small computer project
Simply making small computer as a hobby, combined my previous two (ATMega, SAMD21 ARM) projects in one.