The build process of these is quite simple, parts count is at a minimum, assembly is fast and price per lantern is approx 5 Euro.
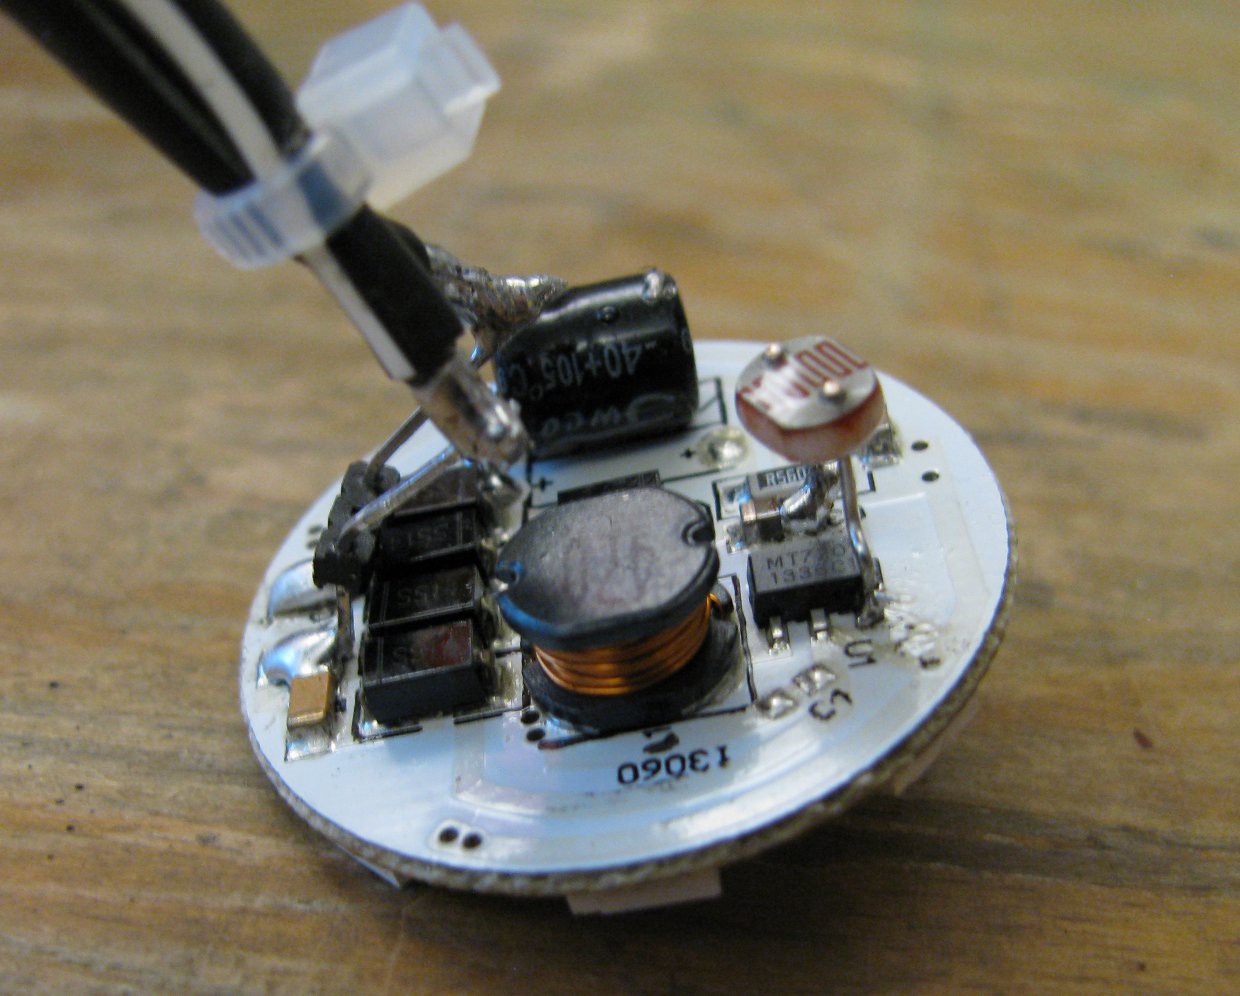
The LED module (see parts list) needs two modifications:
- The power pins are desoldered, bent around, and soldered back in place at a different angle, to allow wire attachment from above the module.
- A light sensitive resistor is attached at the current control pin of the switching regulator towards ground, pulling this pin low as long as light shines on the photoresistor. As the control pin is an analog pin and provides an internal pullup, this one-part solution provides slow "fade in" if sun falls. I can't wait to see the feedback loops/interactions between the different lanterns happen :D To minimize the chance of randomly blinking LED lanterns, the photoresistor is aligned up while the LEDs shine down.

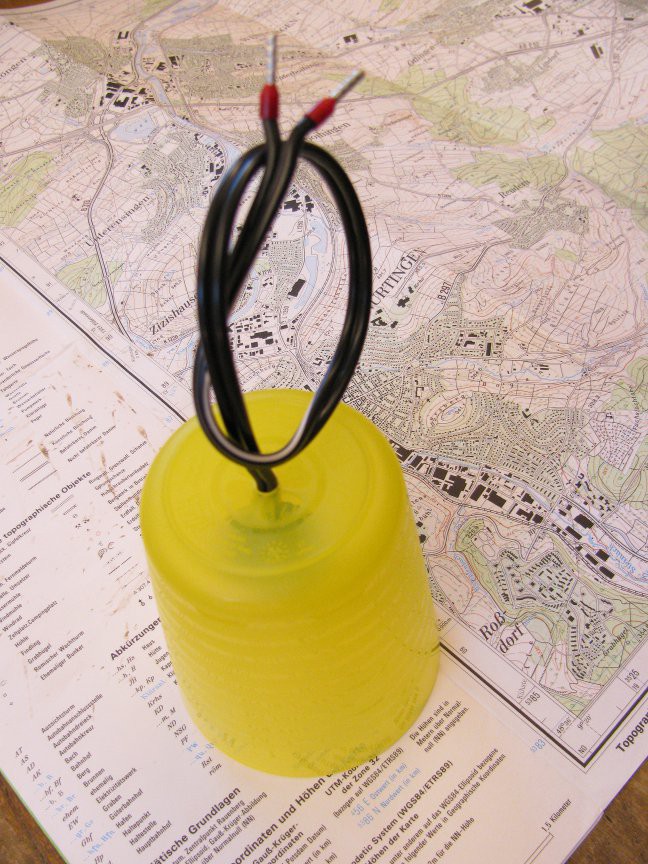
A yellow Ikea plastic cup was chosen for the first epic lantern of doom™ ever made. A drillpress is nice to make a centered hole in the cup (there is even a pattern that helps to find the center).

Ok, so how does this photo resistor hack perform?
Youtube videos are broken on hac.io, right now...Video 1 Video 2
To prevent water from dripping down into the cup, it is necessary to add some hot glue or similar to cover the drilled hole.
 rawe
rawe
Discussions
Become a Hackaday.io Member
Create an account to leave a comment. Already have an account? Log In.