Laser cutting with this robotic arm:
Soldering with Dobot robotic arm:Robotic arm 3D printer:
Do some dangerous experiments and stir solution with Dobot robot arm:
Show something really crazy: Can you believe doing this with Dobot?
Step 1: Prepare materials
The pictures above show all components you need.
List:
main arm
the axis
Arduino mega2560 board
three step motors
bearing specification: 6*12*4
copper gaskets specification:t hickness 1.5mm
M3 nut
M5 bolt
M2*8 inner hexagonal head bolt
M2.5*12 inner hexagonal head bolt
M3*10 inner hexagonal head bolt
...

Step 2: Prepare the tools
You need to prepare the tools below:
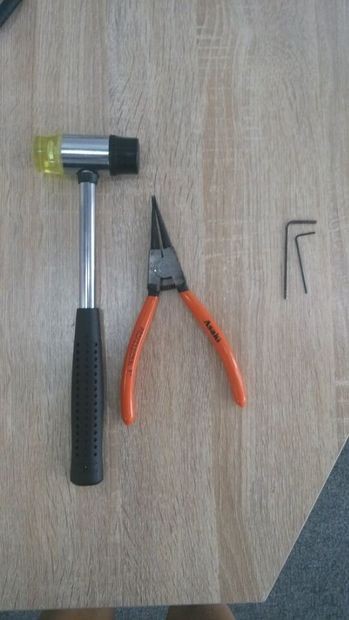
A hammer
Four allen wrenches including M4, M3,M5 and M2
Some glue and a needle-nose plier which is used to open the M4 snap
Step 3: Add the bushings and bearing to three axes
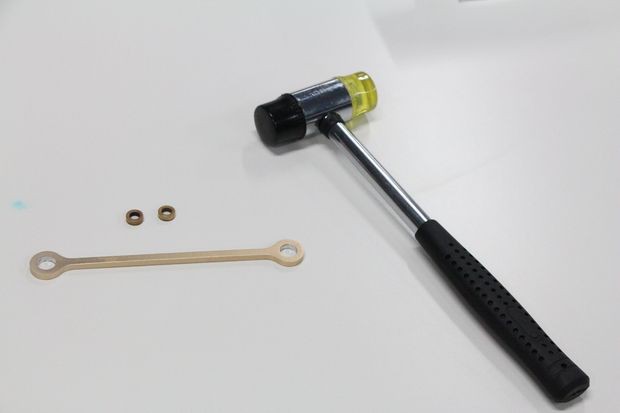
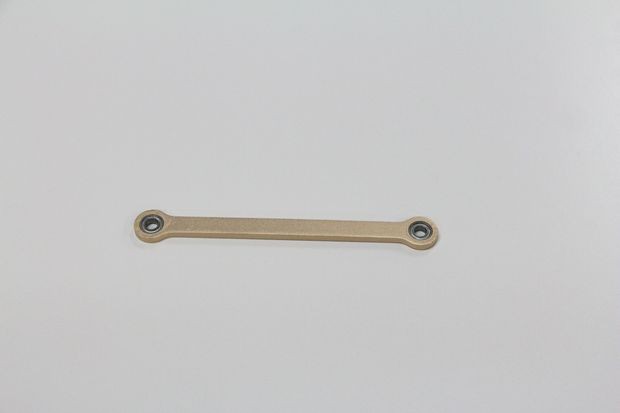
Add the 6*10*8 copper bushings to the A axis and add the 6*10*4 copper bushings to the B axis and then add the 6*12*4 bearings to the C axis. Be careful when you add these components to the axes, you must be sure your bushing and bearing are vertical to the axes or you will get an askew axis with bushings. Maybe you need to use the hammer to knock the bushings and bearings slightly. After finishing these parts, add some glue to the contact surfaces between axes and bushings or bearings to ensure it won't have any sliding between axes and bushing or bearing.
Step 4: Connect the three axes with the triangle linking part
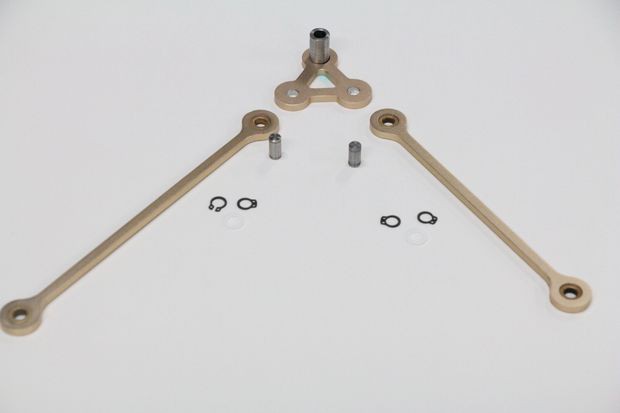
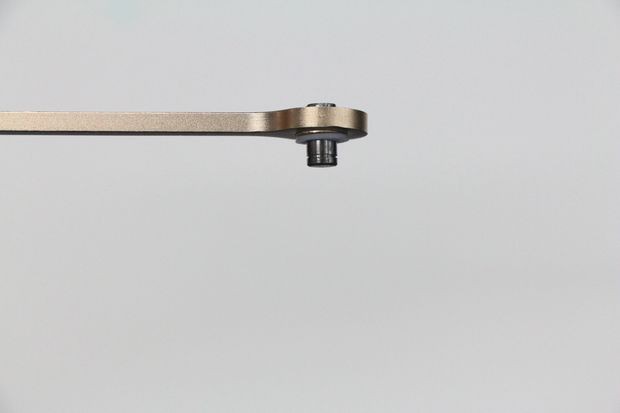
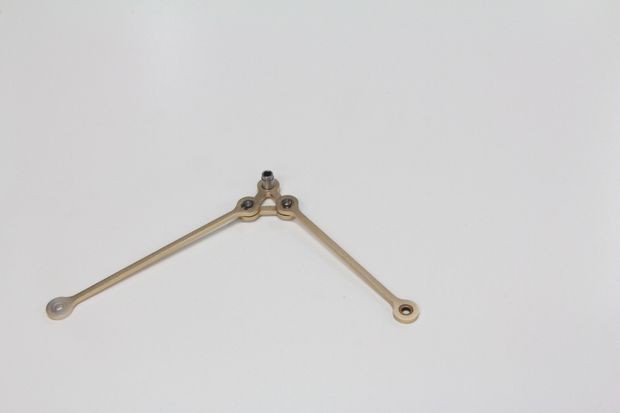
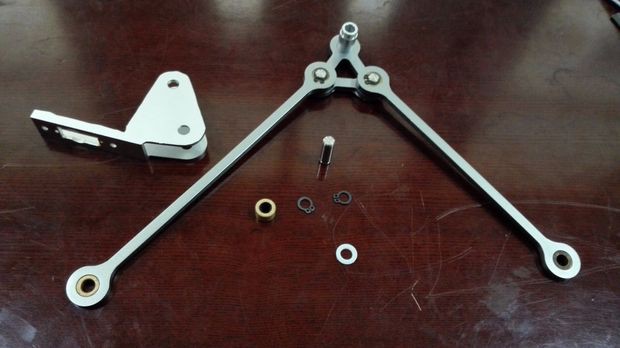
Then we connect the three axes with the triangle linking part. First, add the φ6*9 mm axis to the triangle linking part and add the sleeve to the linking part.You should be careful with the direction of the sleeve. Second, add a 0.7mm nylon washers to the axis. Third, respectively add the A and B axis with bushings to the linking part and you must be careful for the direction of the two axes. The right direction of the axes is showing on the picture. Then we respectively used two snaps to fix the A and B axis. If you have any questions, you can watch this Dobot explosion diagram below:
Step 5: Connect the parallel support part with the B axis
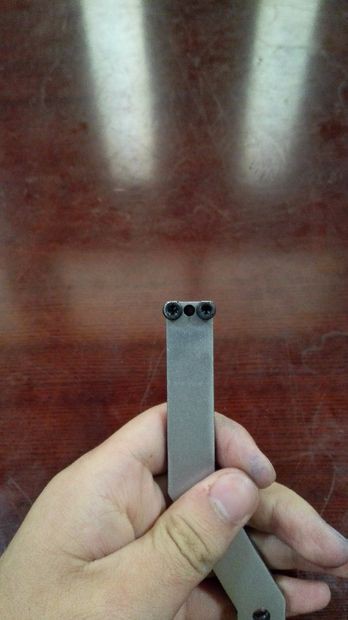
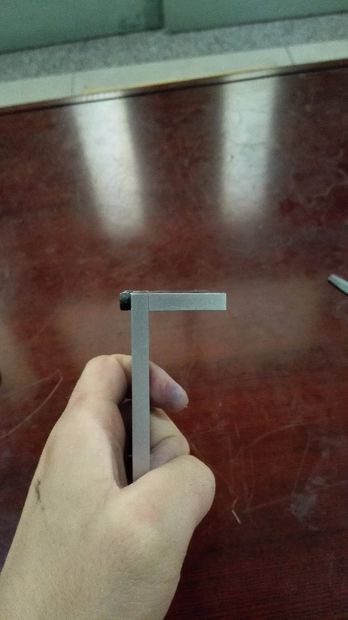
Use two M3*10 screws to fix the small block with the main part of parallel support. Add the φ6*14 axis to the other side of A axis and add a 0.7mm washer to it. After finishing these, add the parallel support to the right side then we use two snaps to fixate it.
Step 6: Connect the head of the arm with the other side of A axis
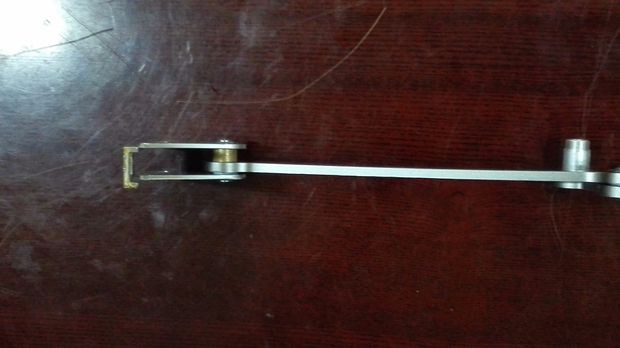
First, we set the head of the arm with the other side of A axis and add two0.7mm washers into it. Then we put the 6*10*6 copper sleeve on the right position and add the φ6*18 axis through the hole. What does it mean by right position? It means that when you look at the arm in front of you, the copper sleeve is in between the left side of the A axis and right side of the arm head, and the two washers are in the other side. Then we fix them with two snaps again.

Step 7: Assemble the small arm
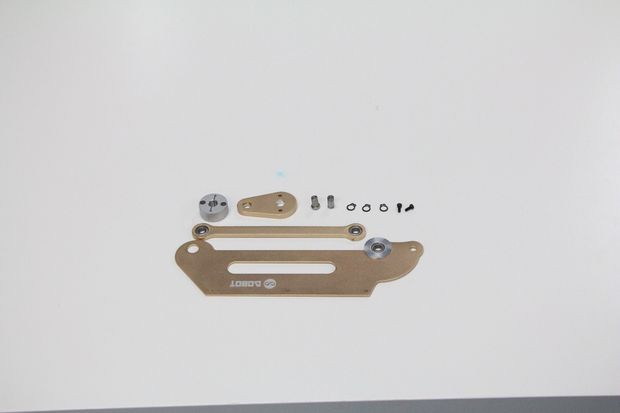
First, add the 6*12*4 bearing to the bearing bush and then add the bearing bush to the small side of the small arm. Second, add the 6*10*4 copper sleeve to the big side of the small arm and you should be careful for the bearing bush that we should ensure it's a little bit projection into the inner side of the small arm and the other side is horizontal with the small arm. Finally, we should put some glue to fix the bearing and bearing bush.

Step 8: Assemble the C axis with the small arm and small arm drive part

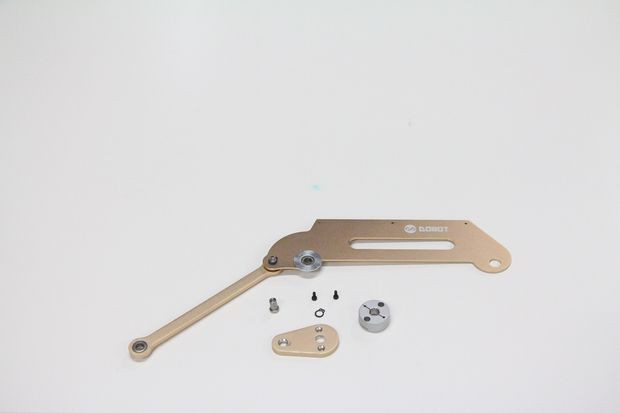
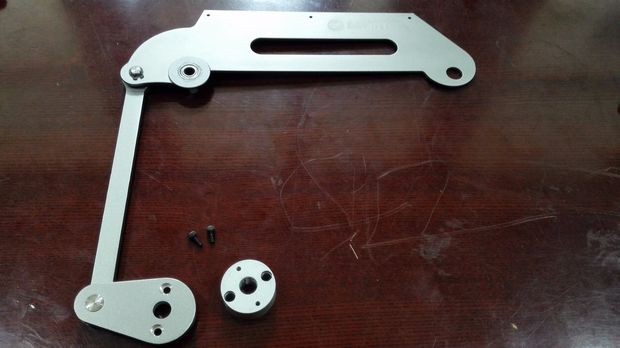
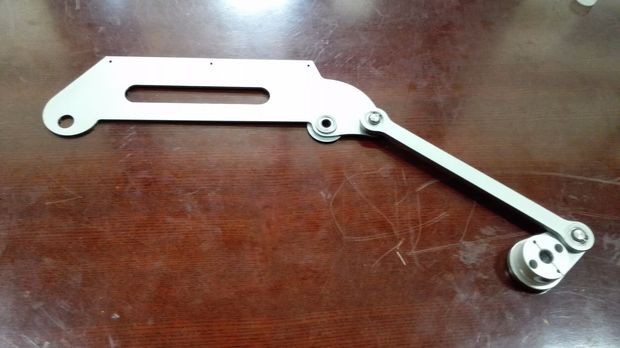
First, put two 1 mm washers between the C axis and the side of small arm with bearing bush. Second, put the φ6*12 axis through the hole and then fix it with two snaps.Third, put a 1 mm washer between the C axis and the small arm drive part and then put the φ6*12 axis through the hole and fix it with two snaps. After finishing these steps, we should fix the coupling with small arm drive part with by two M 2.5*10 screw. Now, we finish the main part of our Dobot arm.
Step 9: Assemble the main arm with small arm and axes
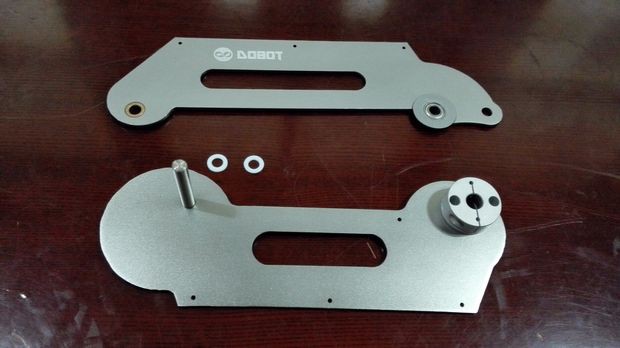
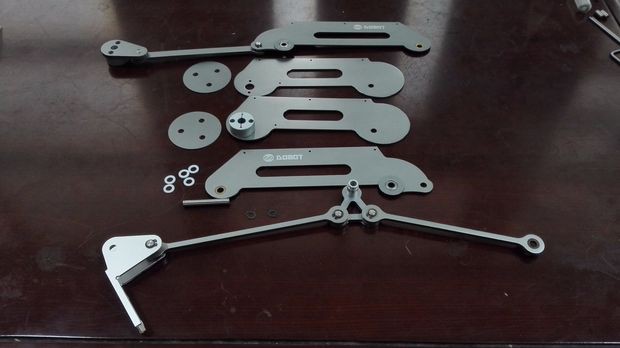
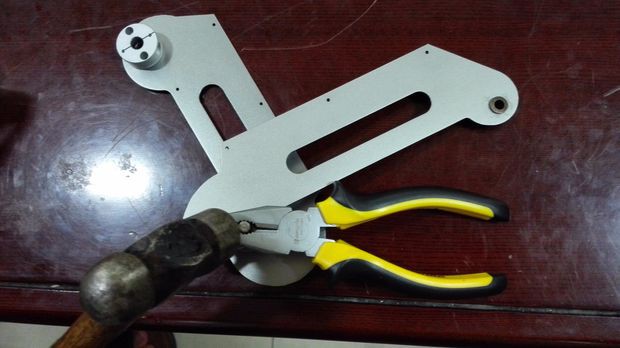
This step might be a little...
Read more »
hi... are u using ramp 1.4 in this project. i just wondering how your robot can interface with that ramp while the ramp 1.4 is available for stepper drivers for 3 axis only?