0%
0%
Mobile Robotic Arm using PHIRO + Arduino
A tutorial showing how to connect an Arduino with a motor wirelessly to PHIRO robot using Pocket Code smartphone app.
 RobotixUSA
Become a Hackaday.io member
Already have an account? Log in.
Just one more thing
To make the experience fit your profile, pick a username and tell us what interests you.
Pick an awesome username
hackaday.io/
Your profile's URL: hackaday.io/username. Max 25 alphanumeric characters.
Pick a few interests
Projects that share your interests
People that share your interests
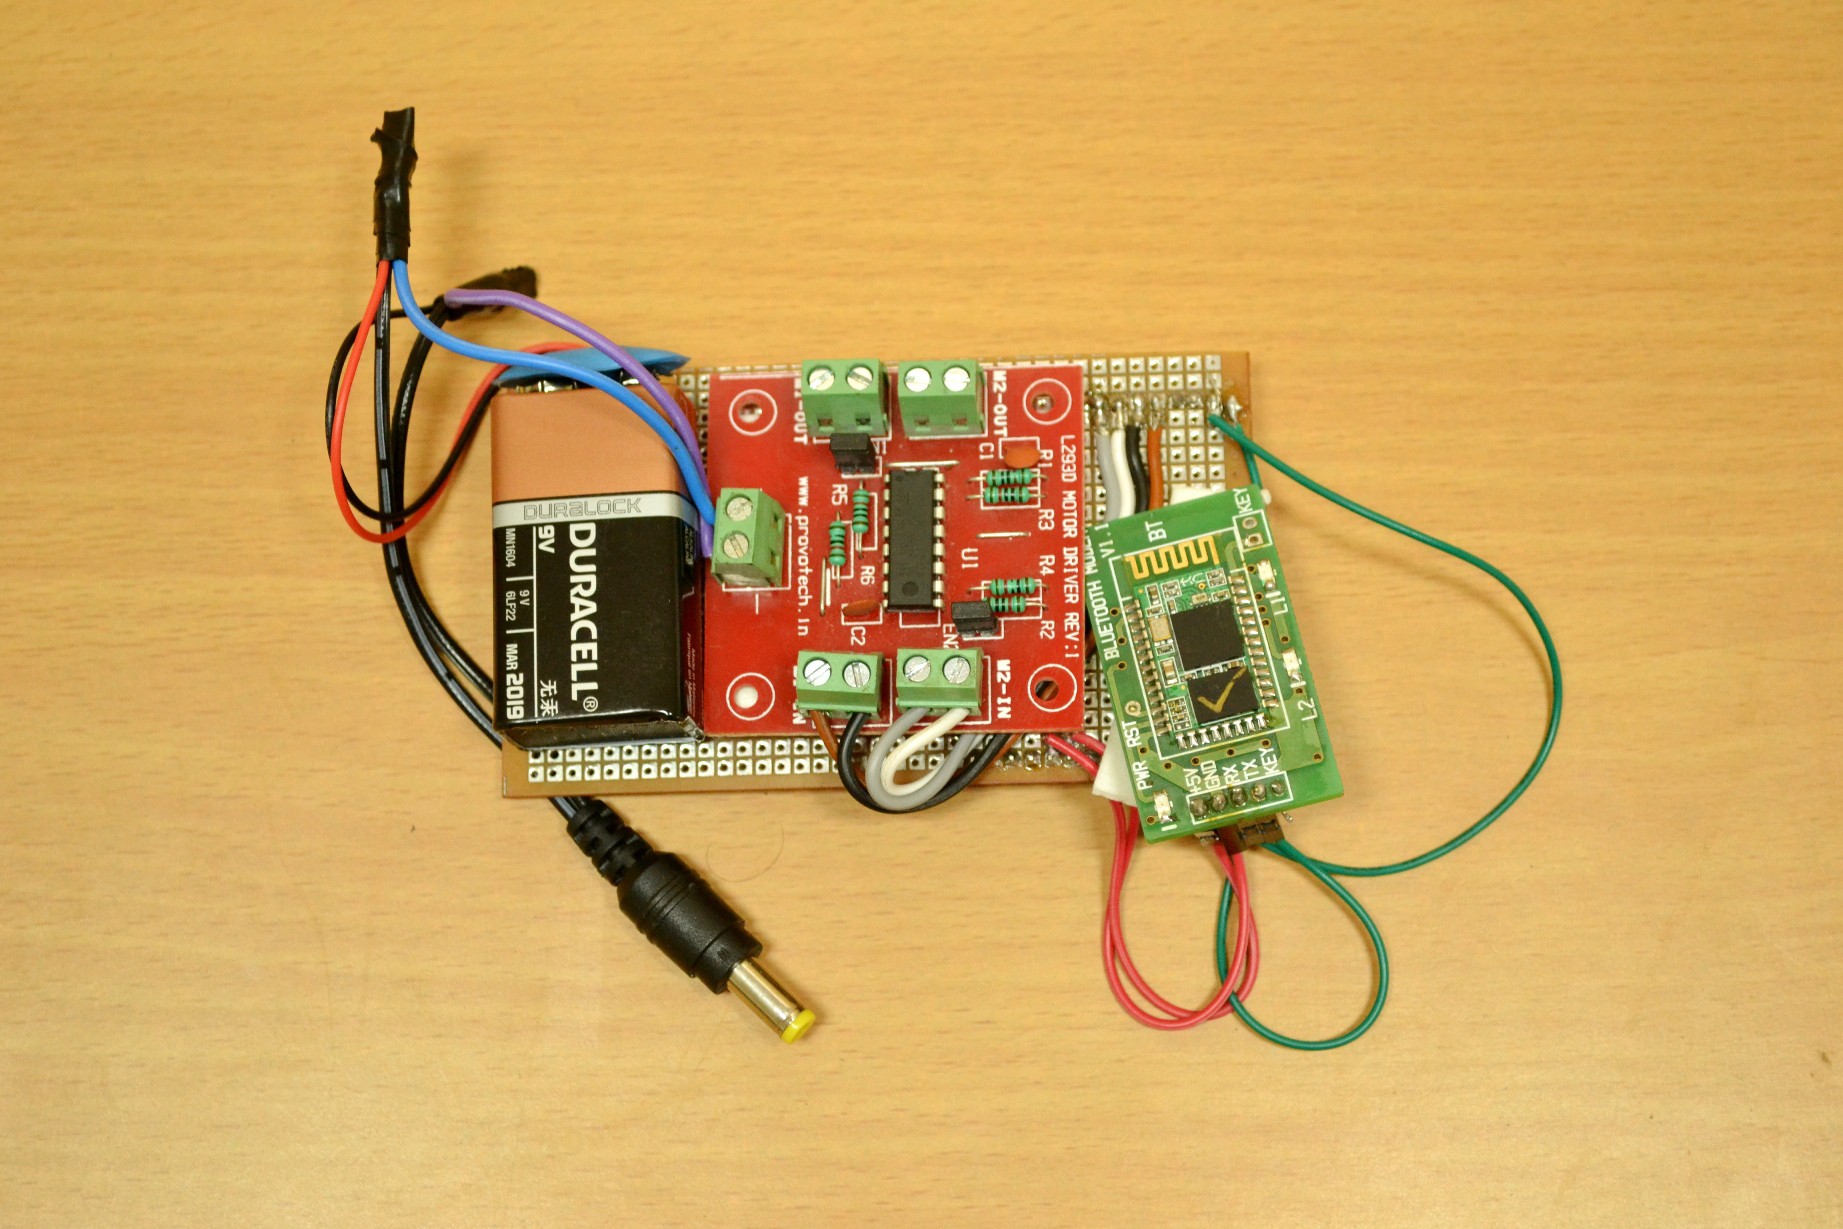

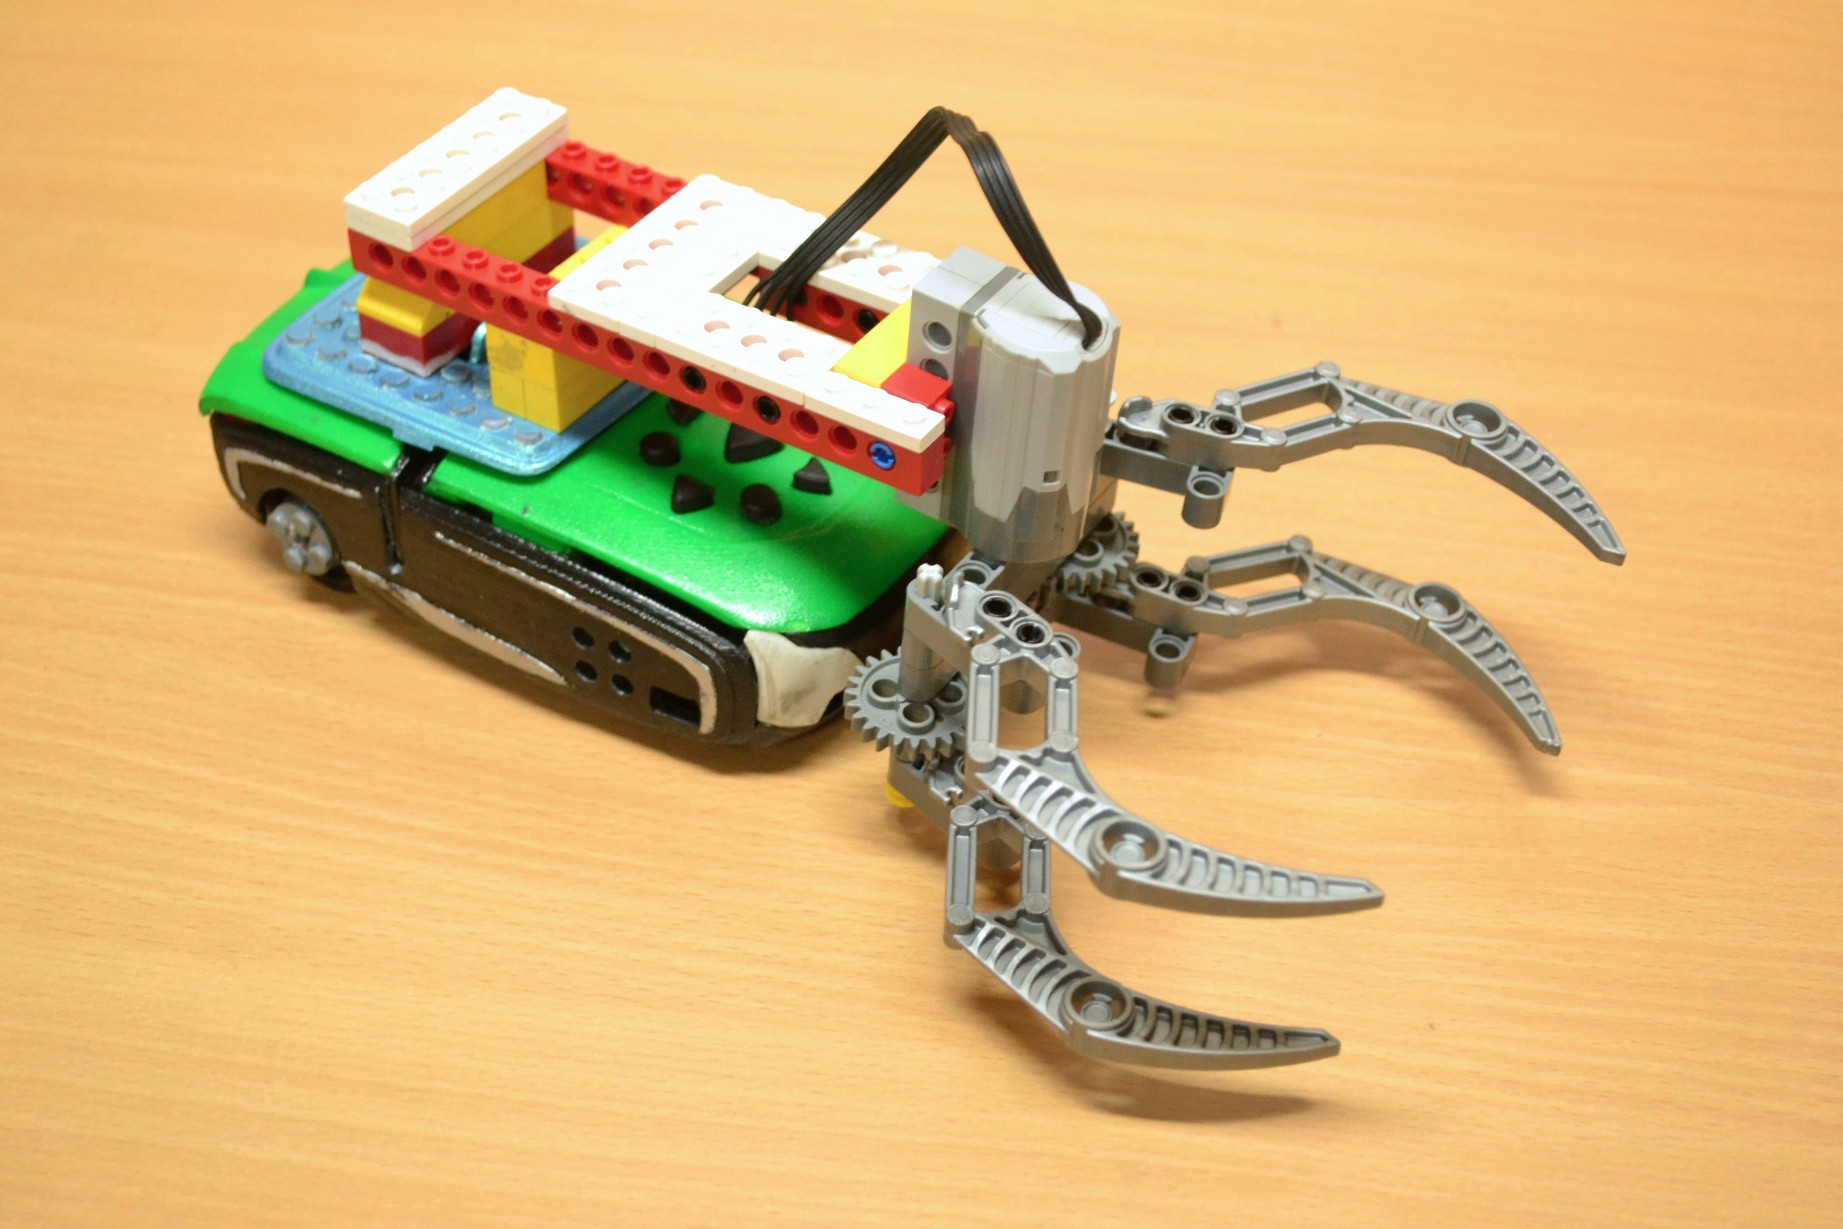 Now we move onto mounting the Electronics (Arduino, Bluetooth and Motor Driver setup) on top.
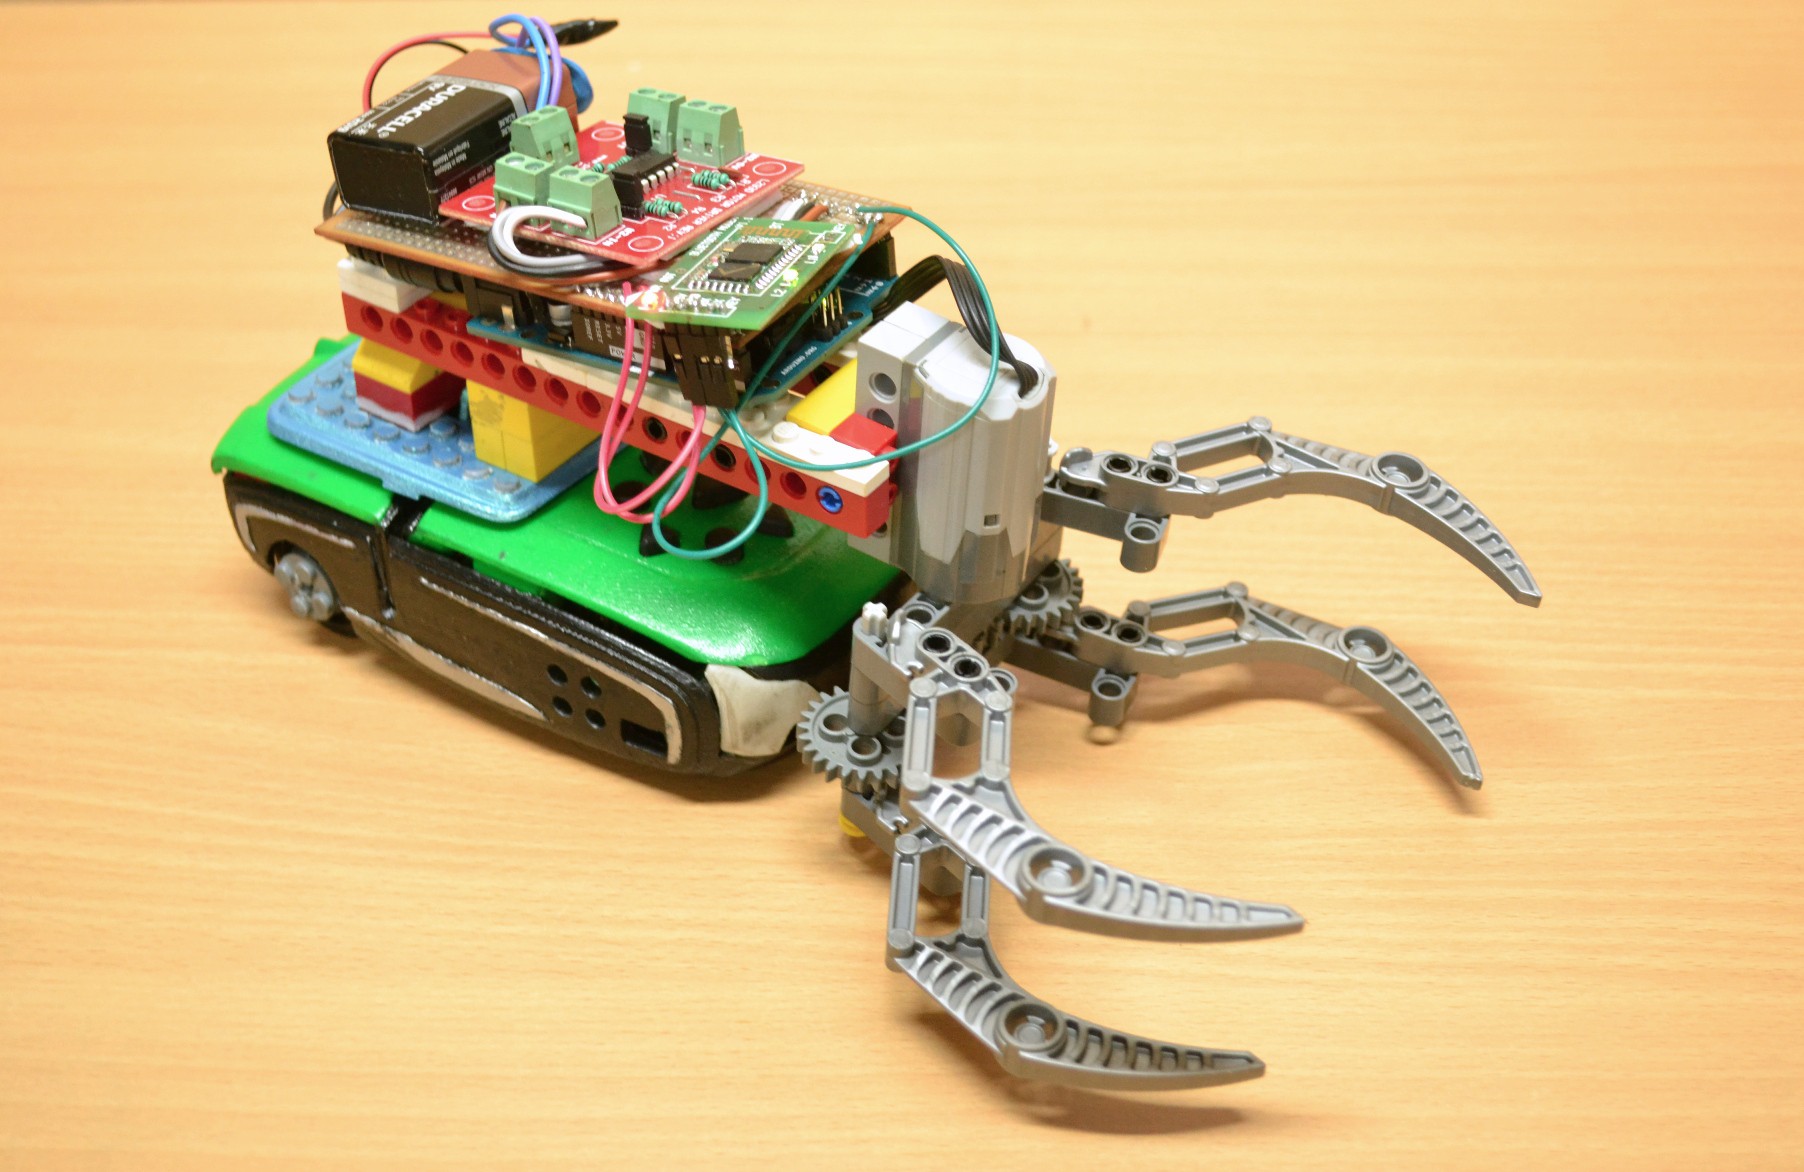 Now let's see how to program using Pocket Code.
 graef685
 Dennis Johansson
 HappyFox
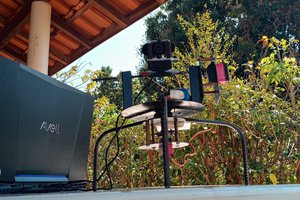
 ghzatomic