-
1Step 1
The first thing you need to do is measure the current through the primary winding of a transformer with NO load attached to the secondary winding(s).
If you are not 100% confident with mains electricity, STOP NOW! This project will output high voltages as it is so it's probably not the project for you.
Set your digital multimeter to the 10A AC setting and wire it in series with the transformer. I highly recommend an isolation transformer for extra protection, and please, earth the transformer case!
Switch everything on and take a note of the current that flows through the primary. It should be a few tens of milliamps. Write this down.
-
2Step 2
Dismantle a transformer. Start by undoing the four lugs underneath it, remove the piece of metal that's being held there and remove the shroud surrounding the rest of the iron.
-
3Step 3
The transformer might (should... some cheap ones aren't) be coated in varnish. Start by running a butter knife or similar around an iron lamination at one end to split it off the stack. You'll notice that it won't budge. This is the tricky bit... you need to get the butter knife and tap the iron core out gently. The iron should be packed in fairly tightly.
-
4Step 4
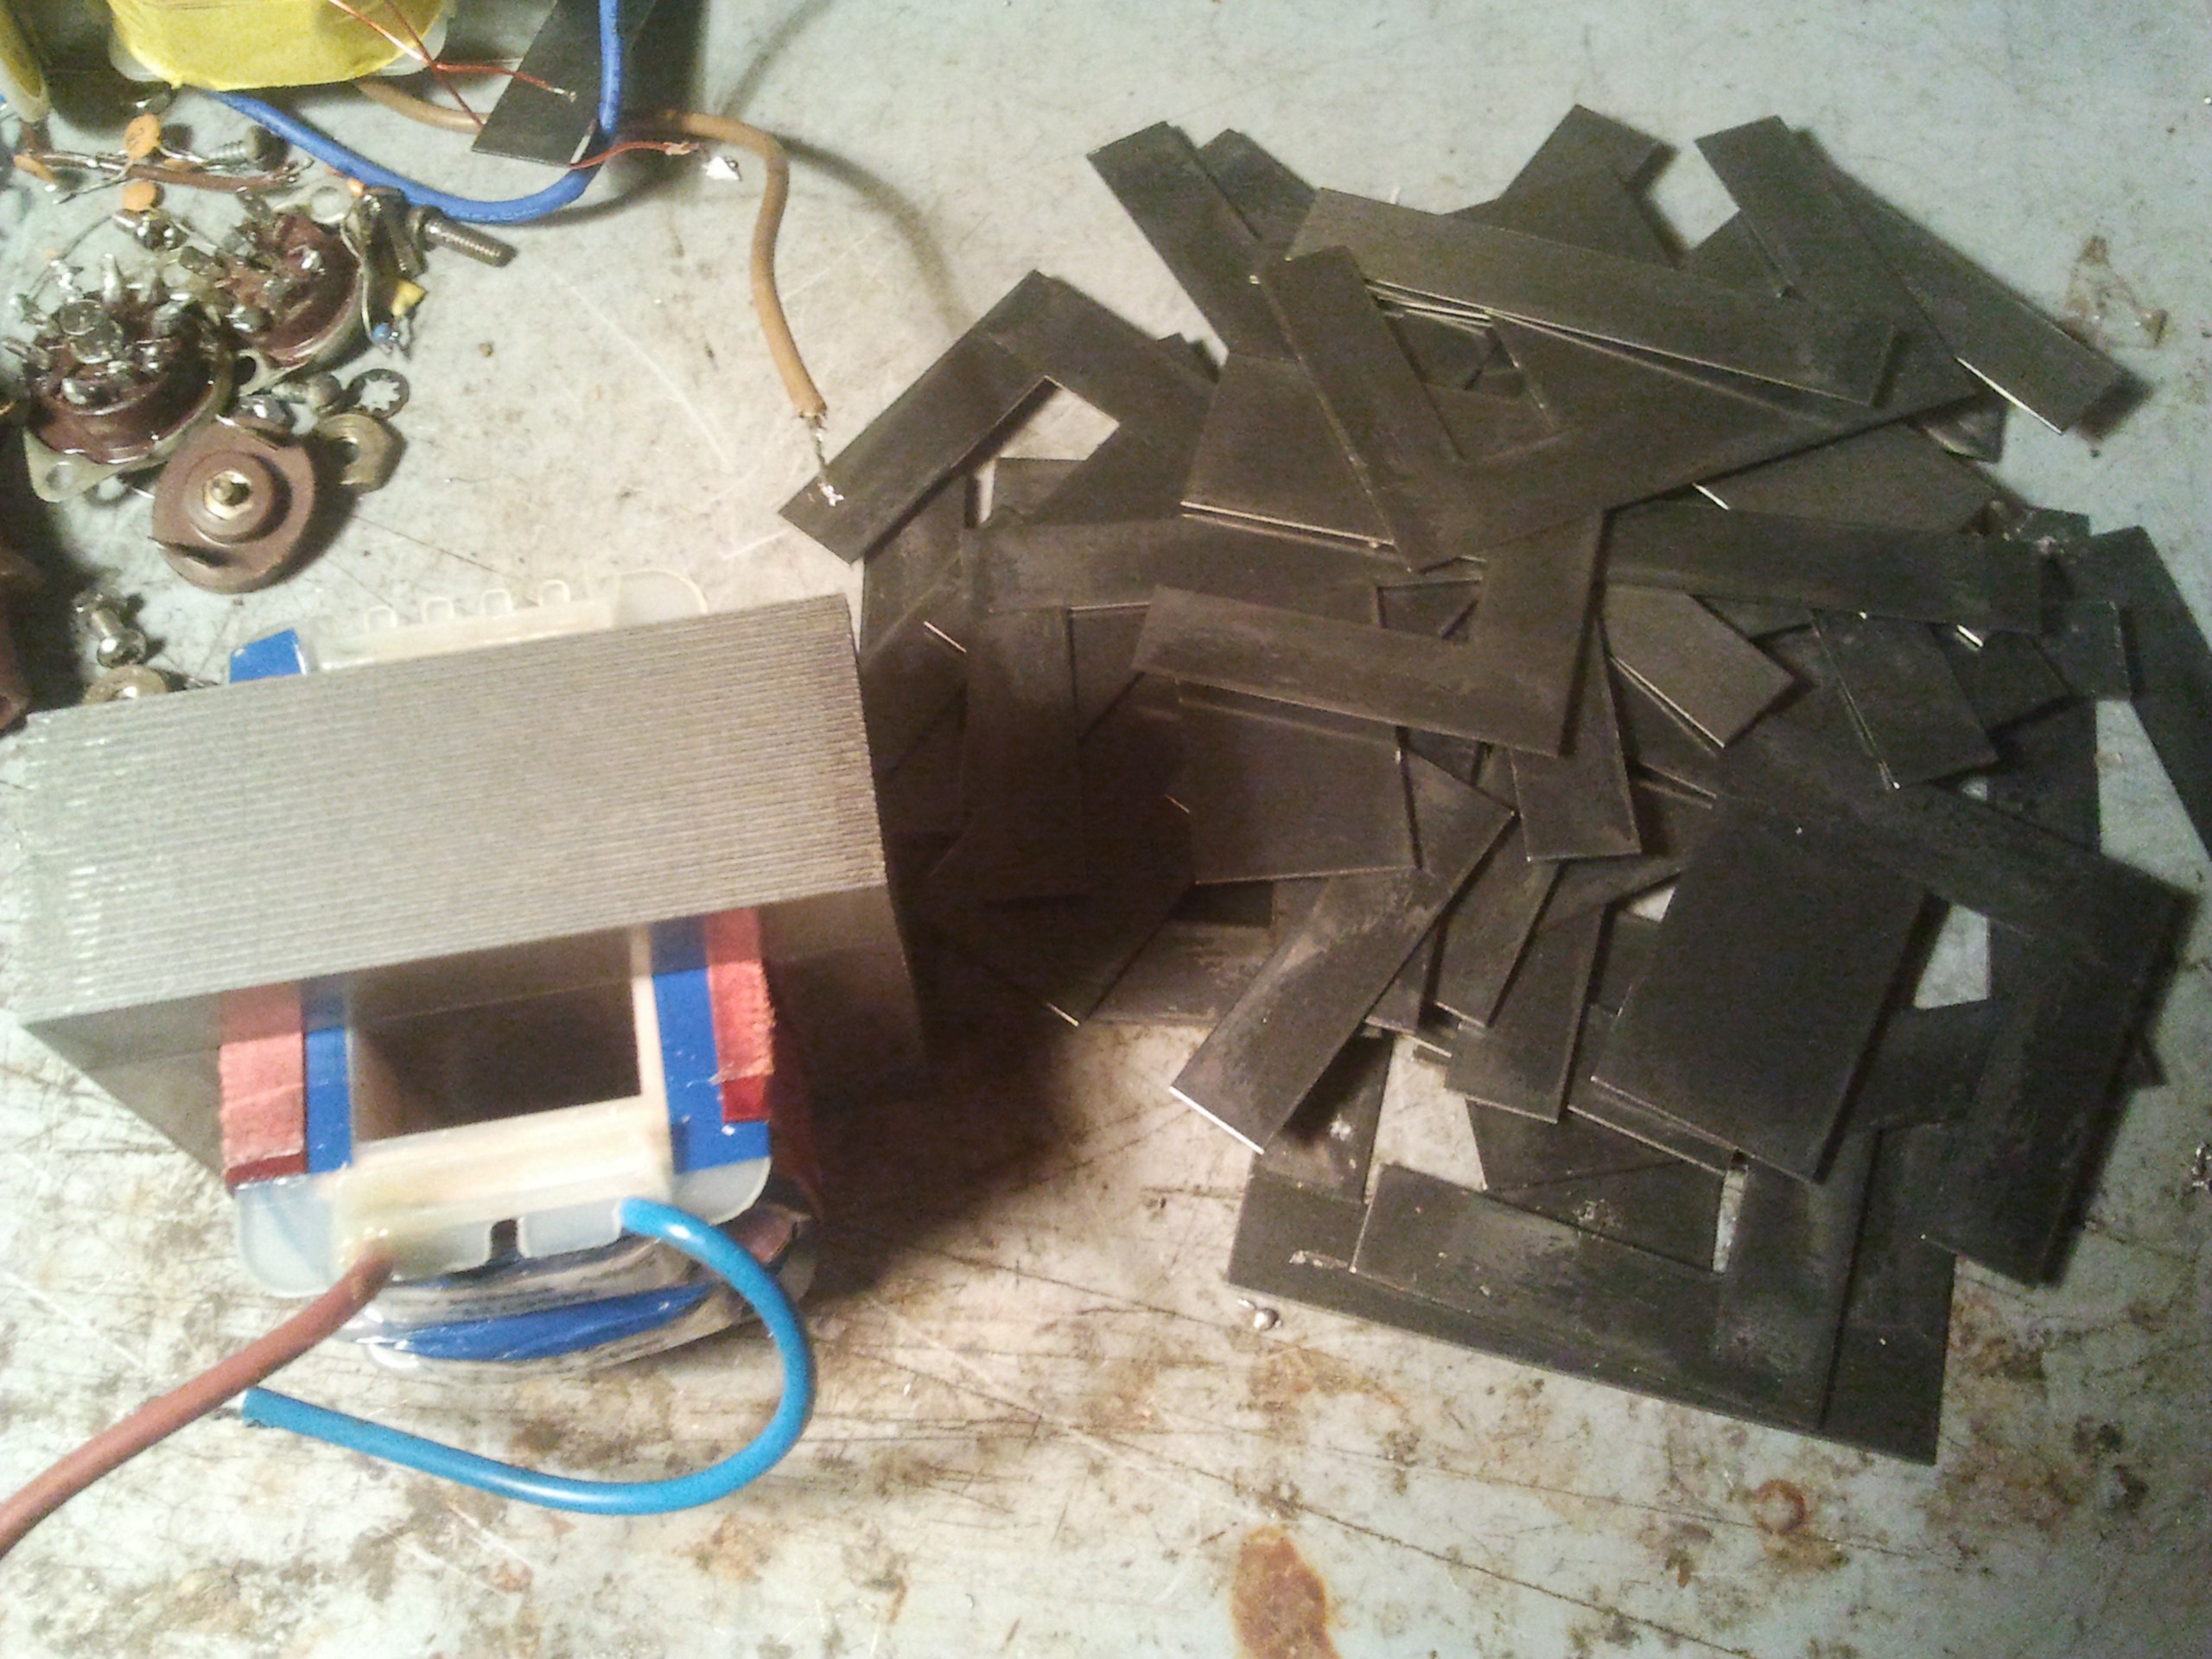
Now you can start to remove the E and I laminations one by one. Just run a knife between each lamination and it'll break off. Be sure to put them in a container of some sort instead of just piling them up on the table (as pictured).
![]()
-
5Step 5
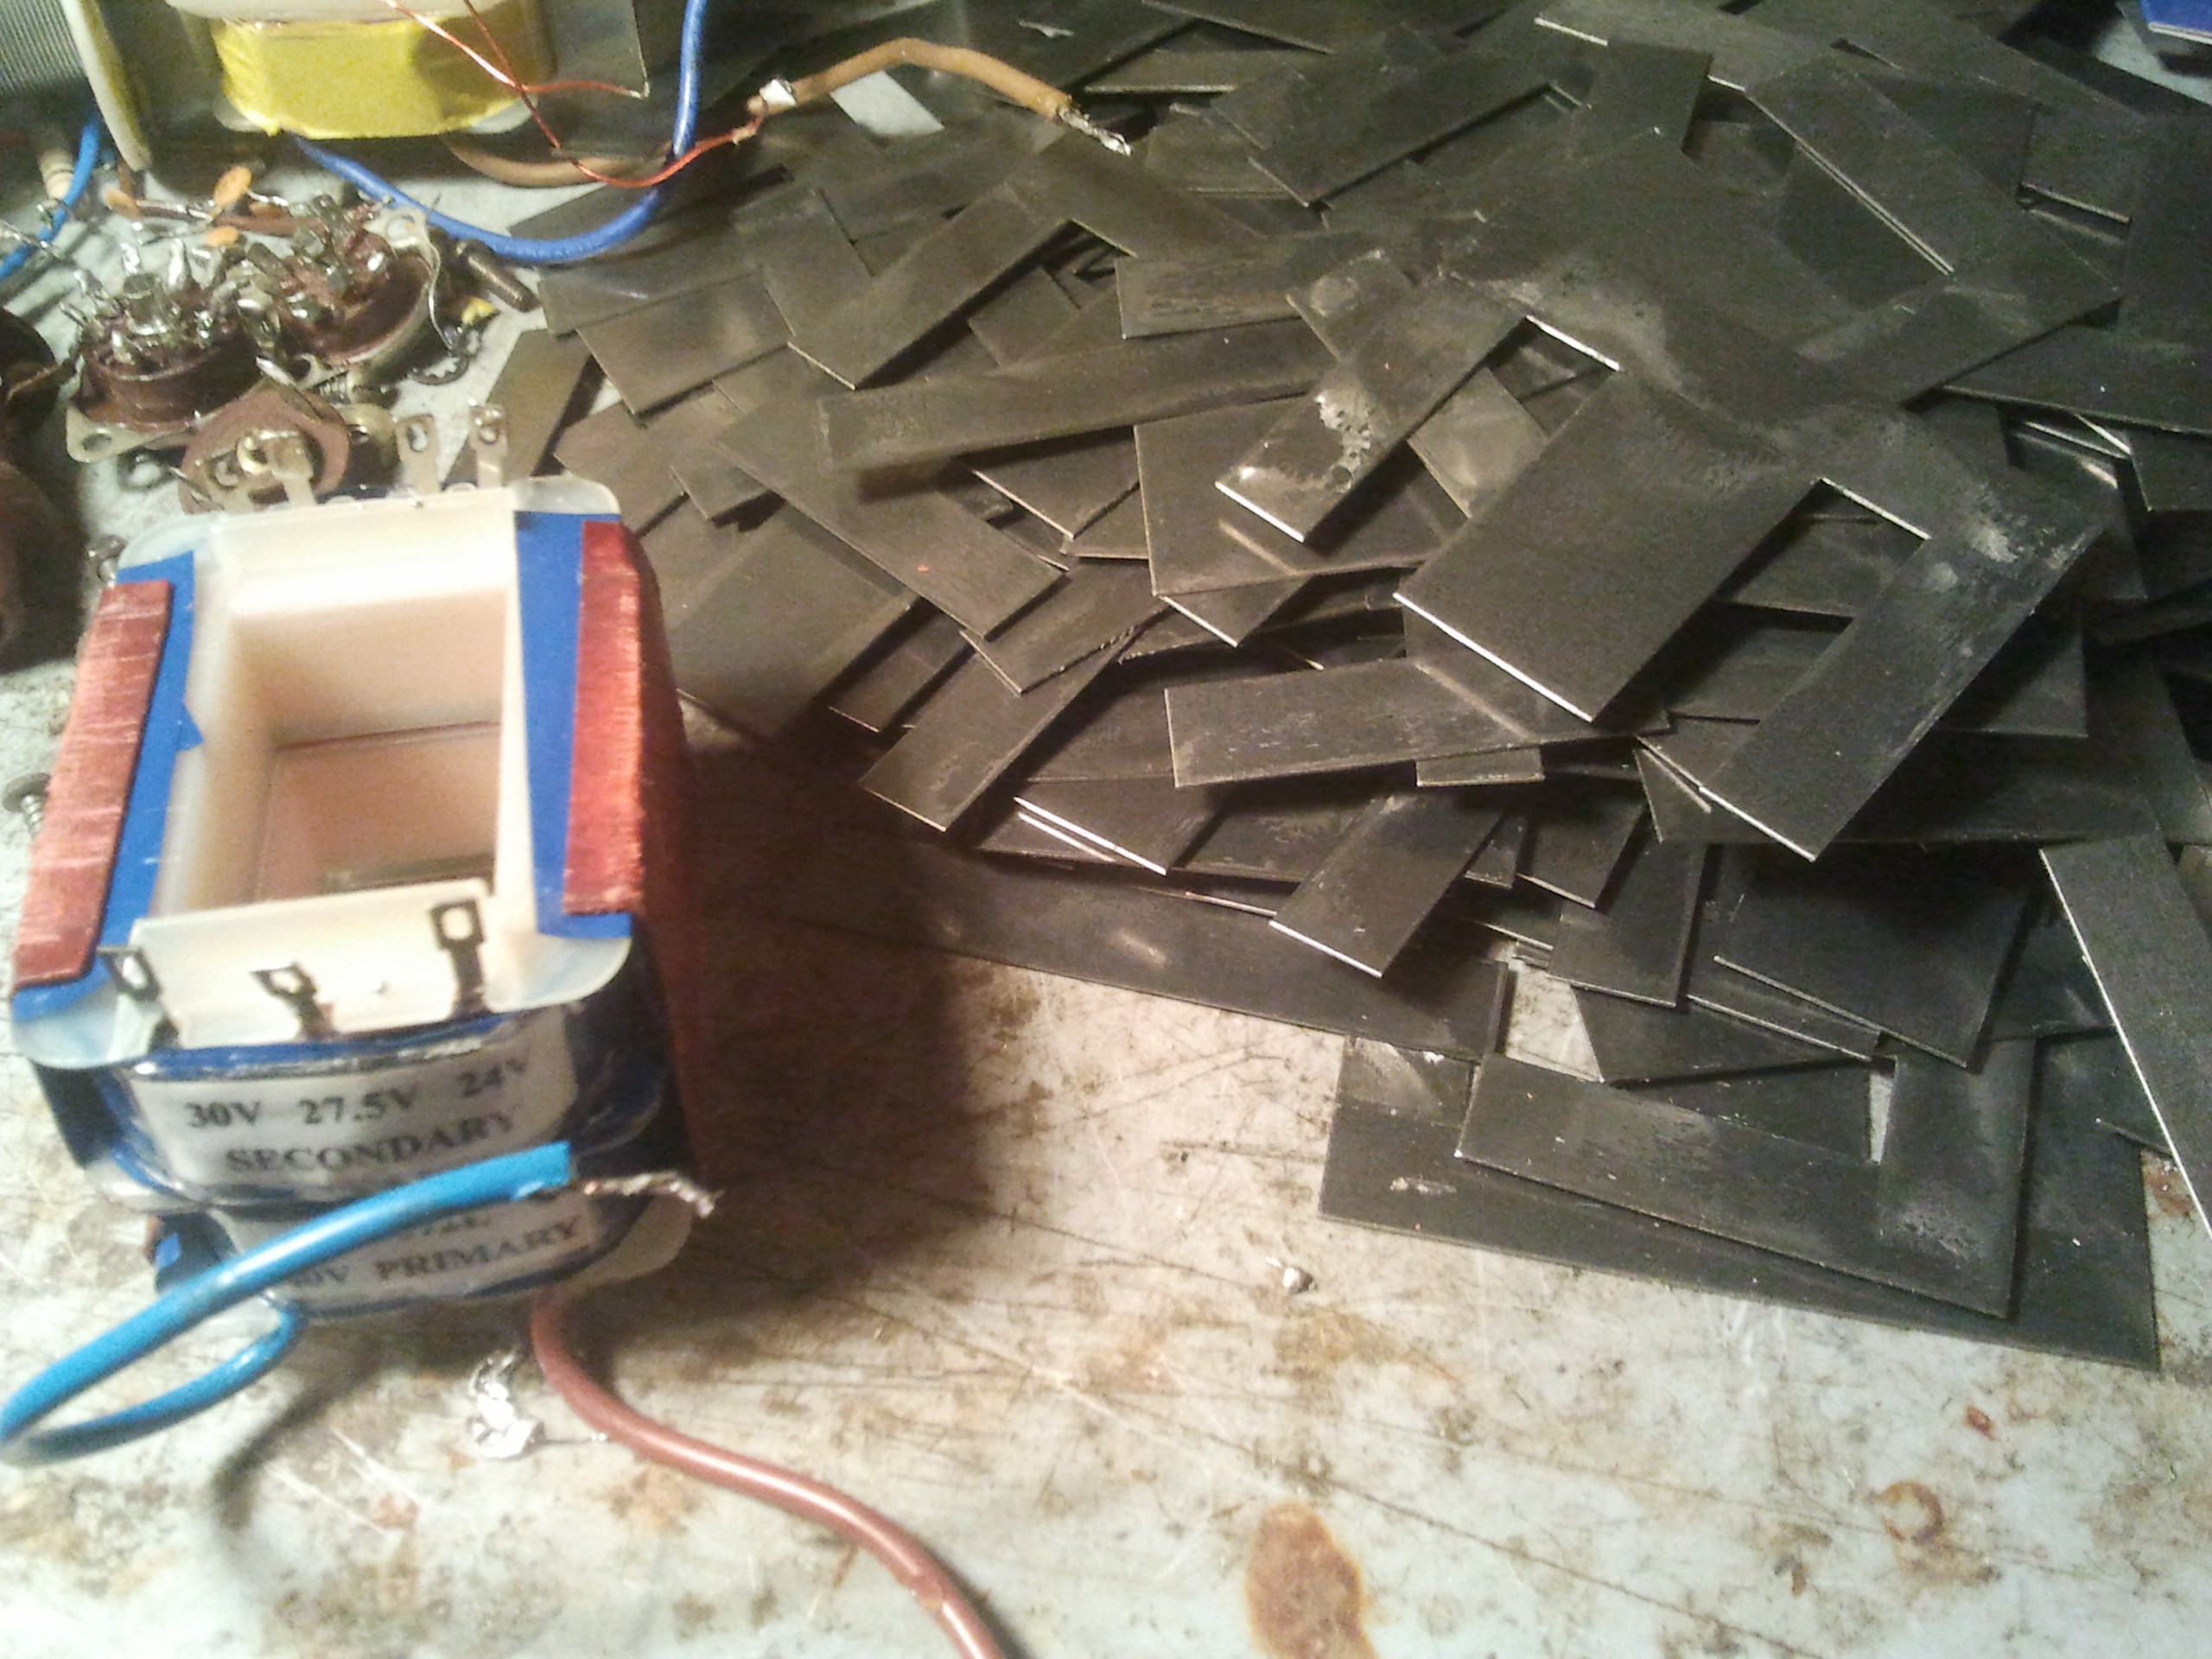
You should be left with a stack of iron sheets and a core.
![]()
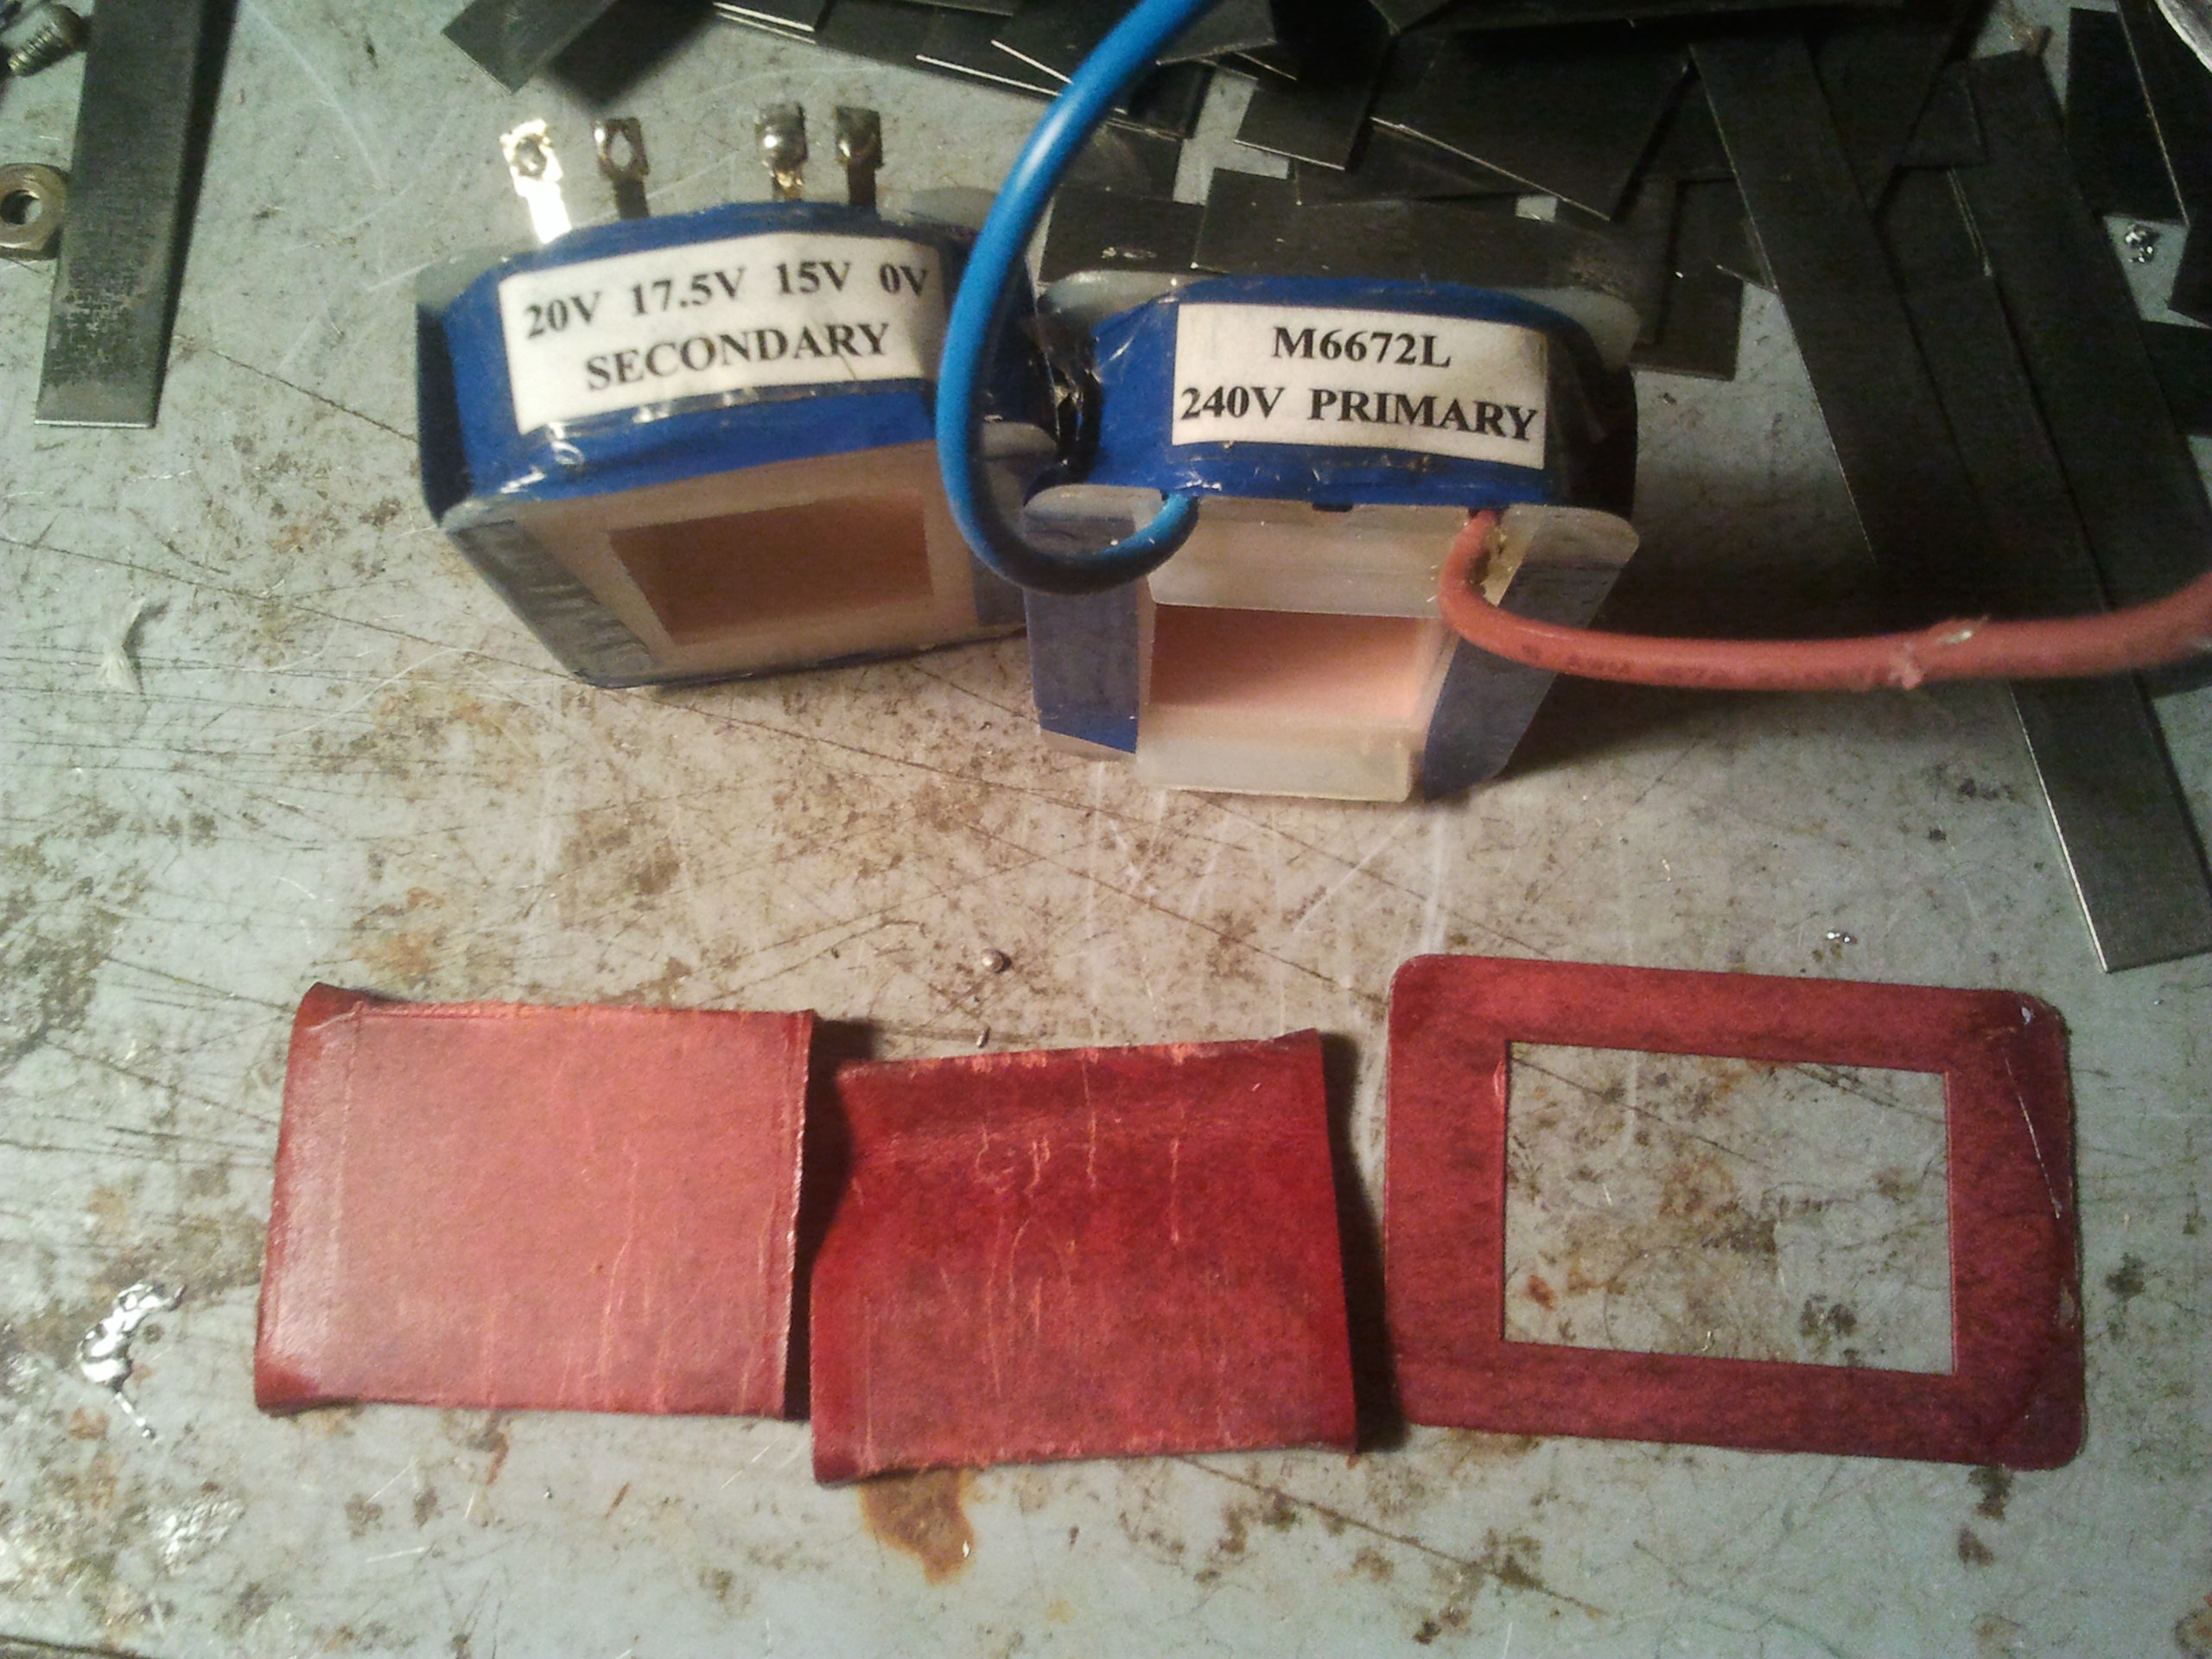
Assuming you've bought the right type of transformer, the core should be made up of two bobbins which can be pulled apart.
![]()
Keep the thick cardboard that surrounds the bobbins!
-
6Step 6
Now do the same for the other transformer!
-
7Step 7
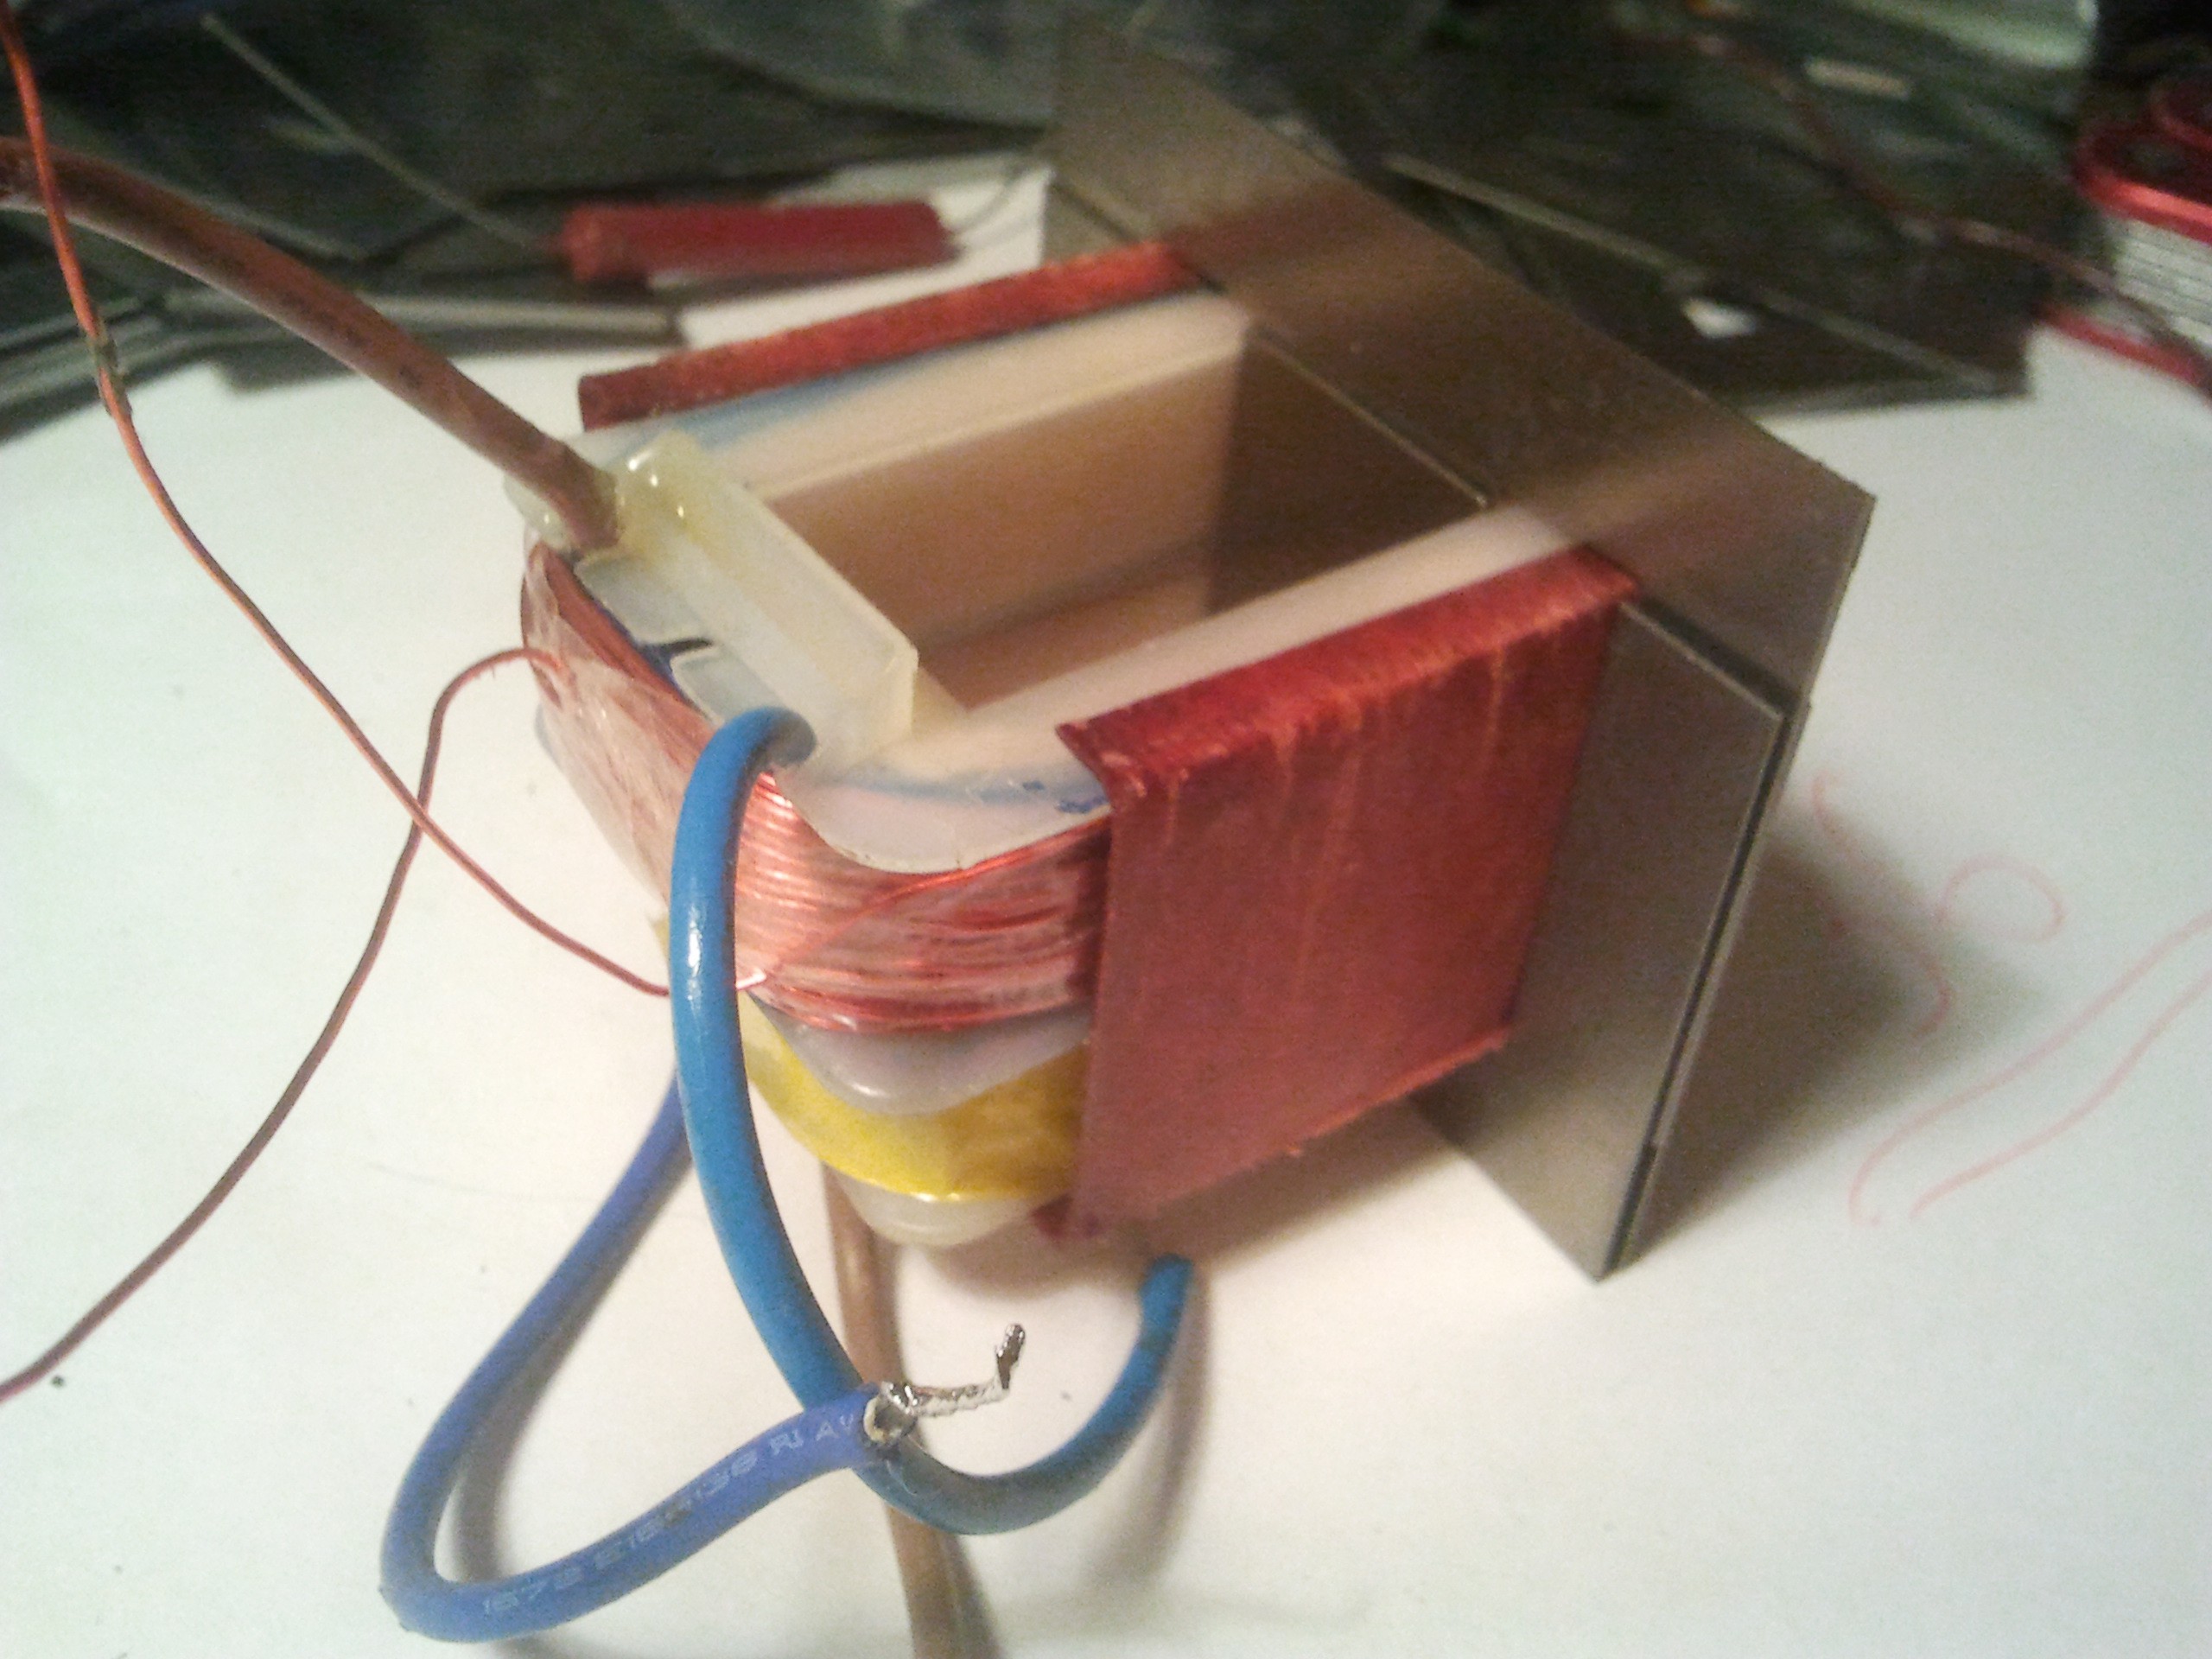
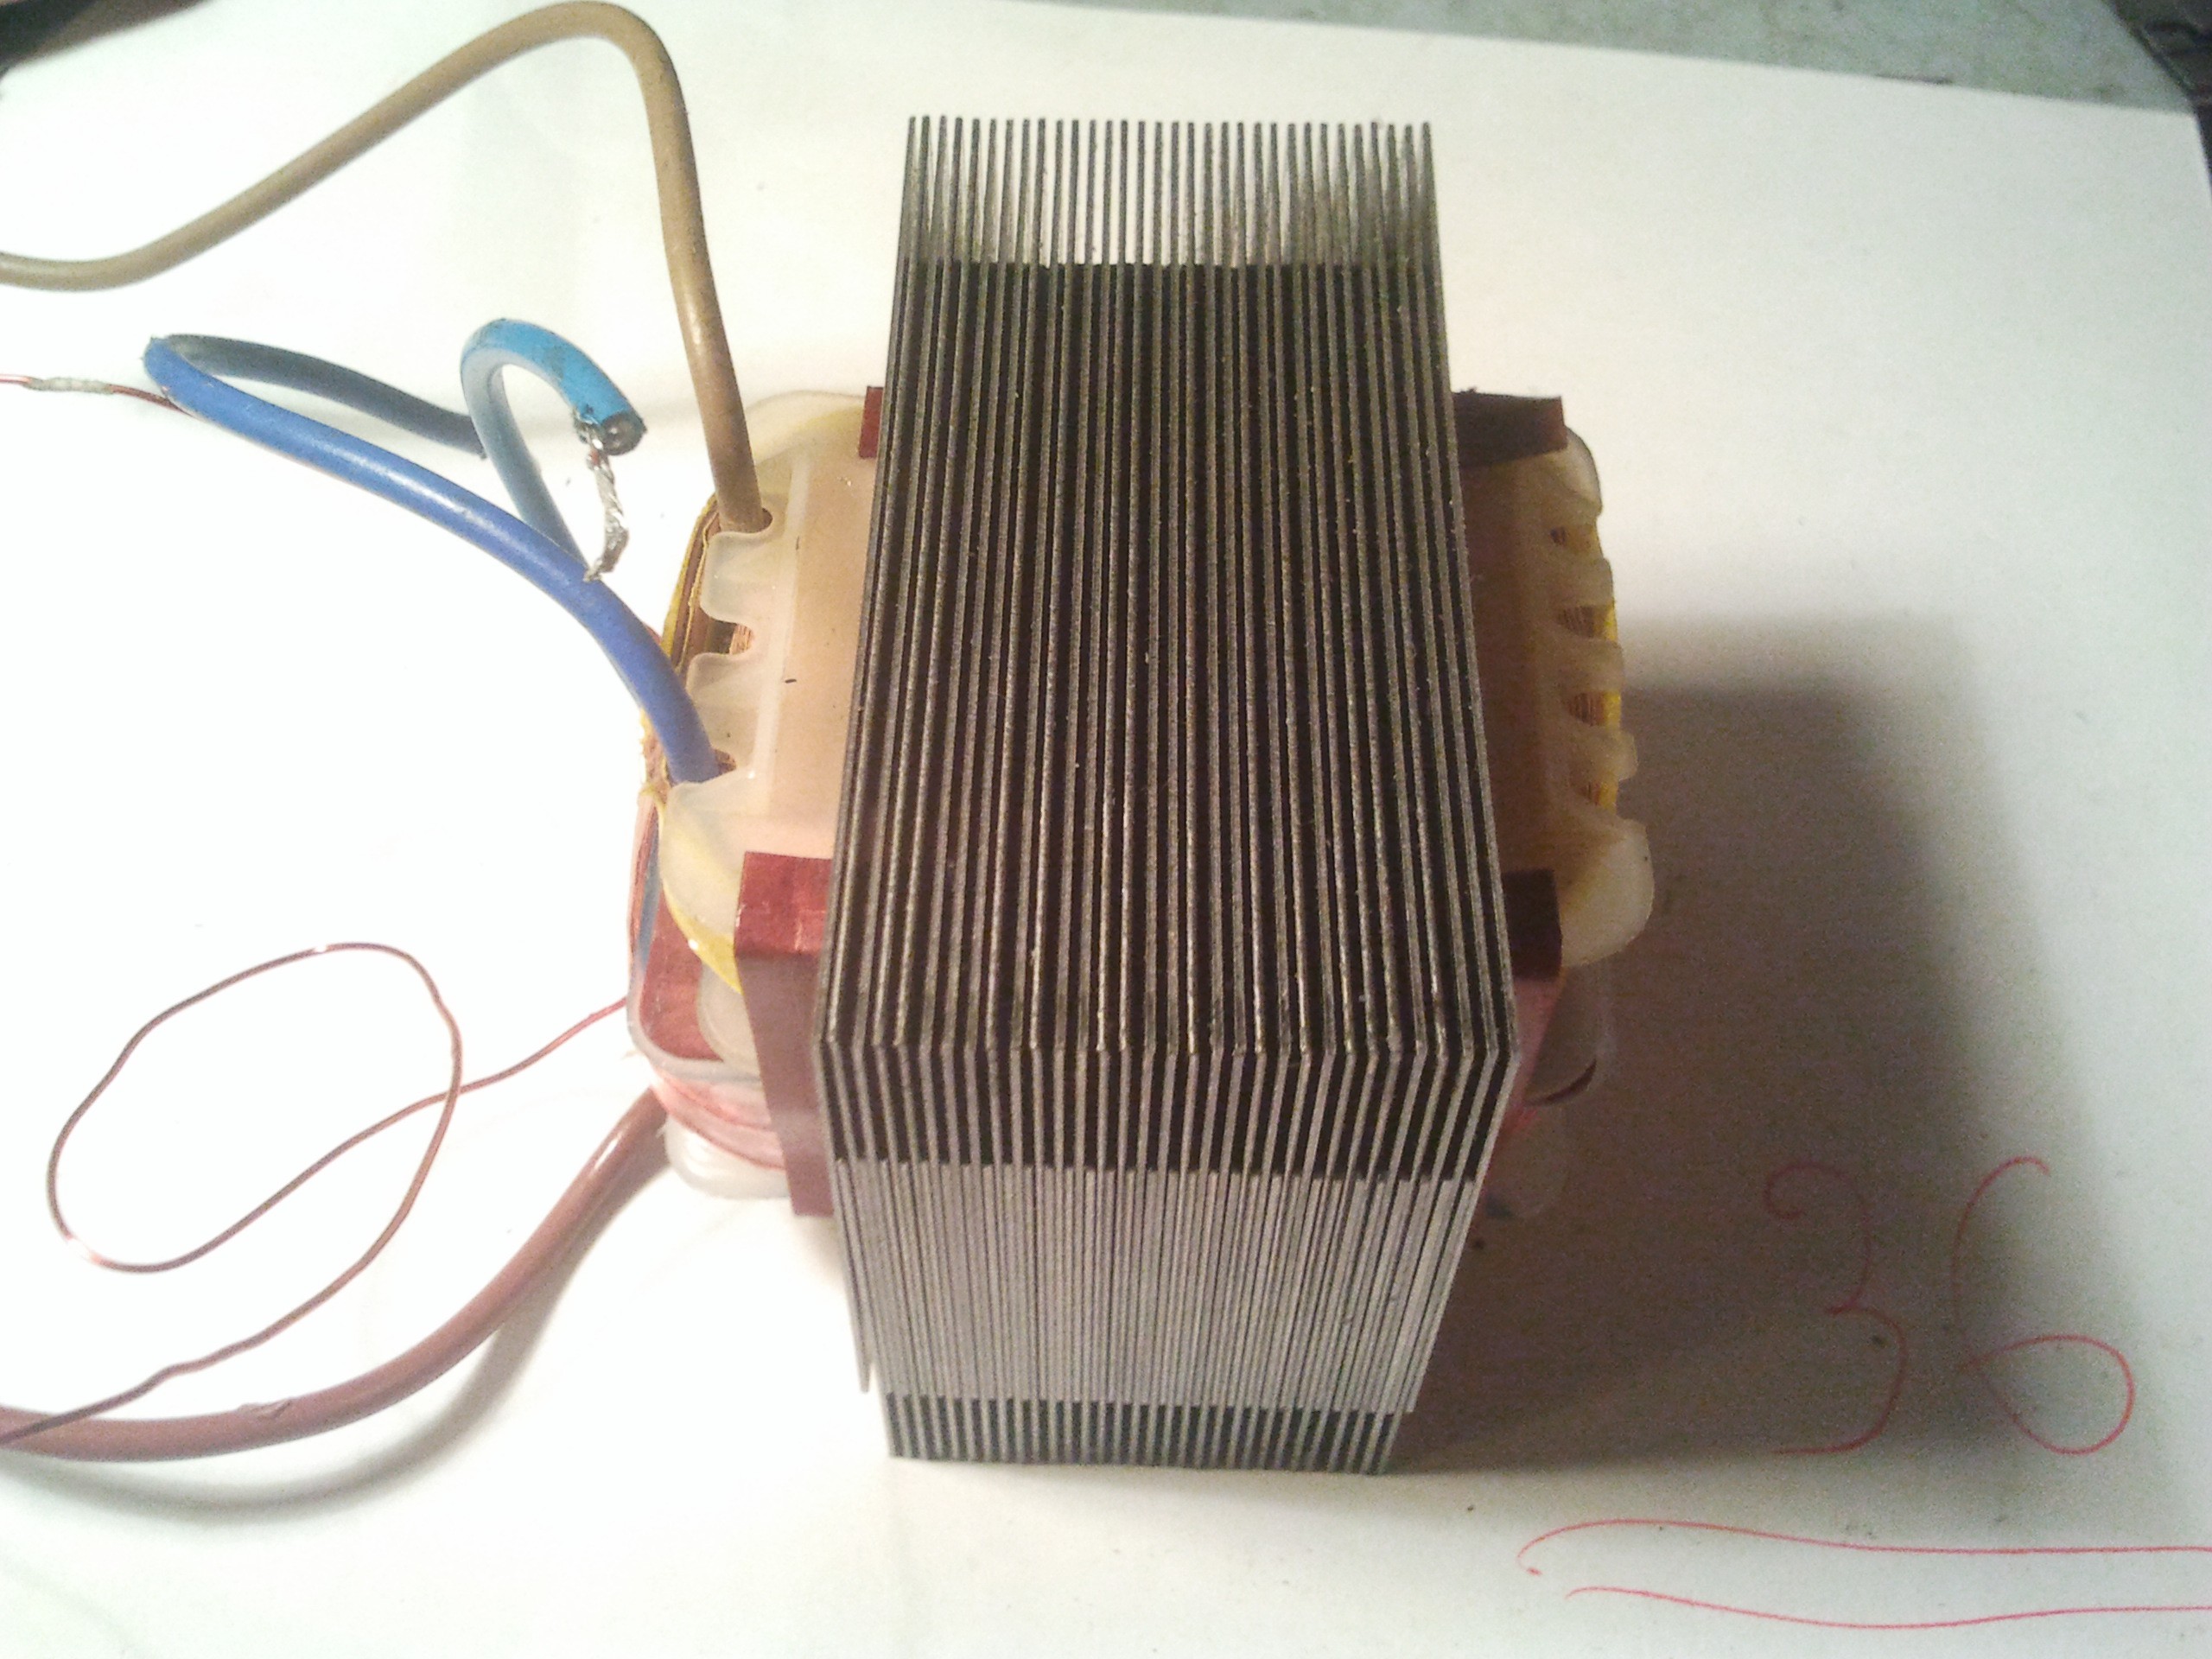
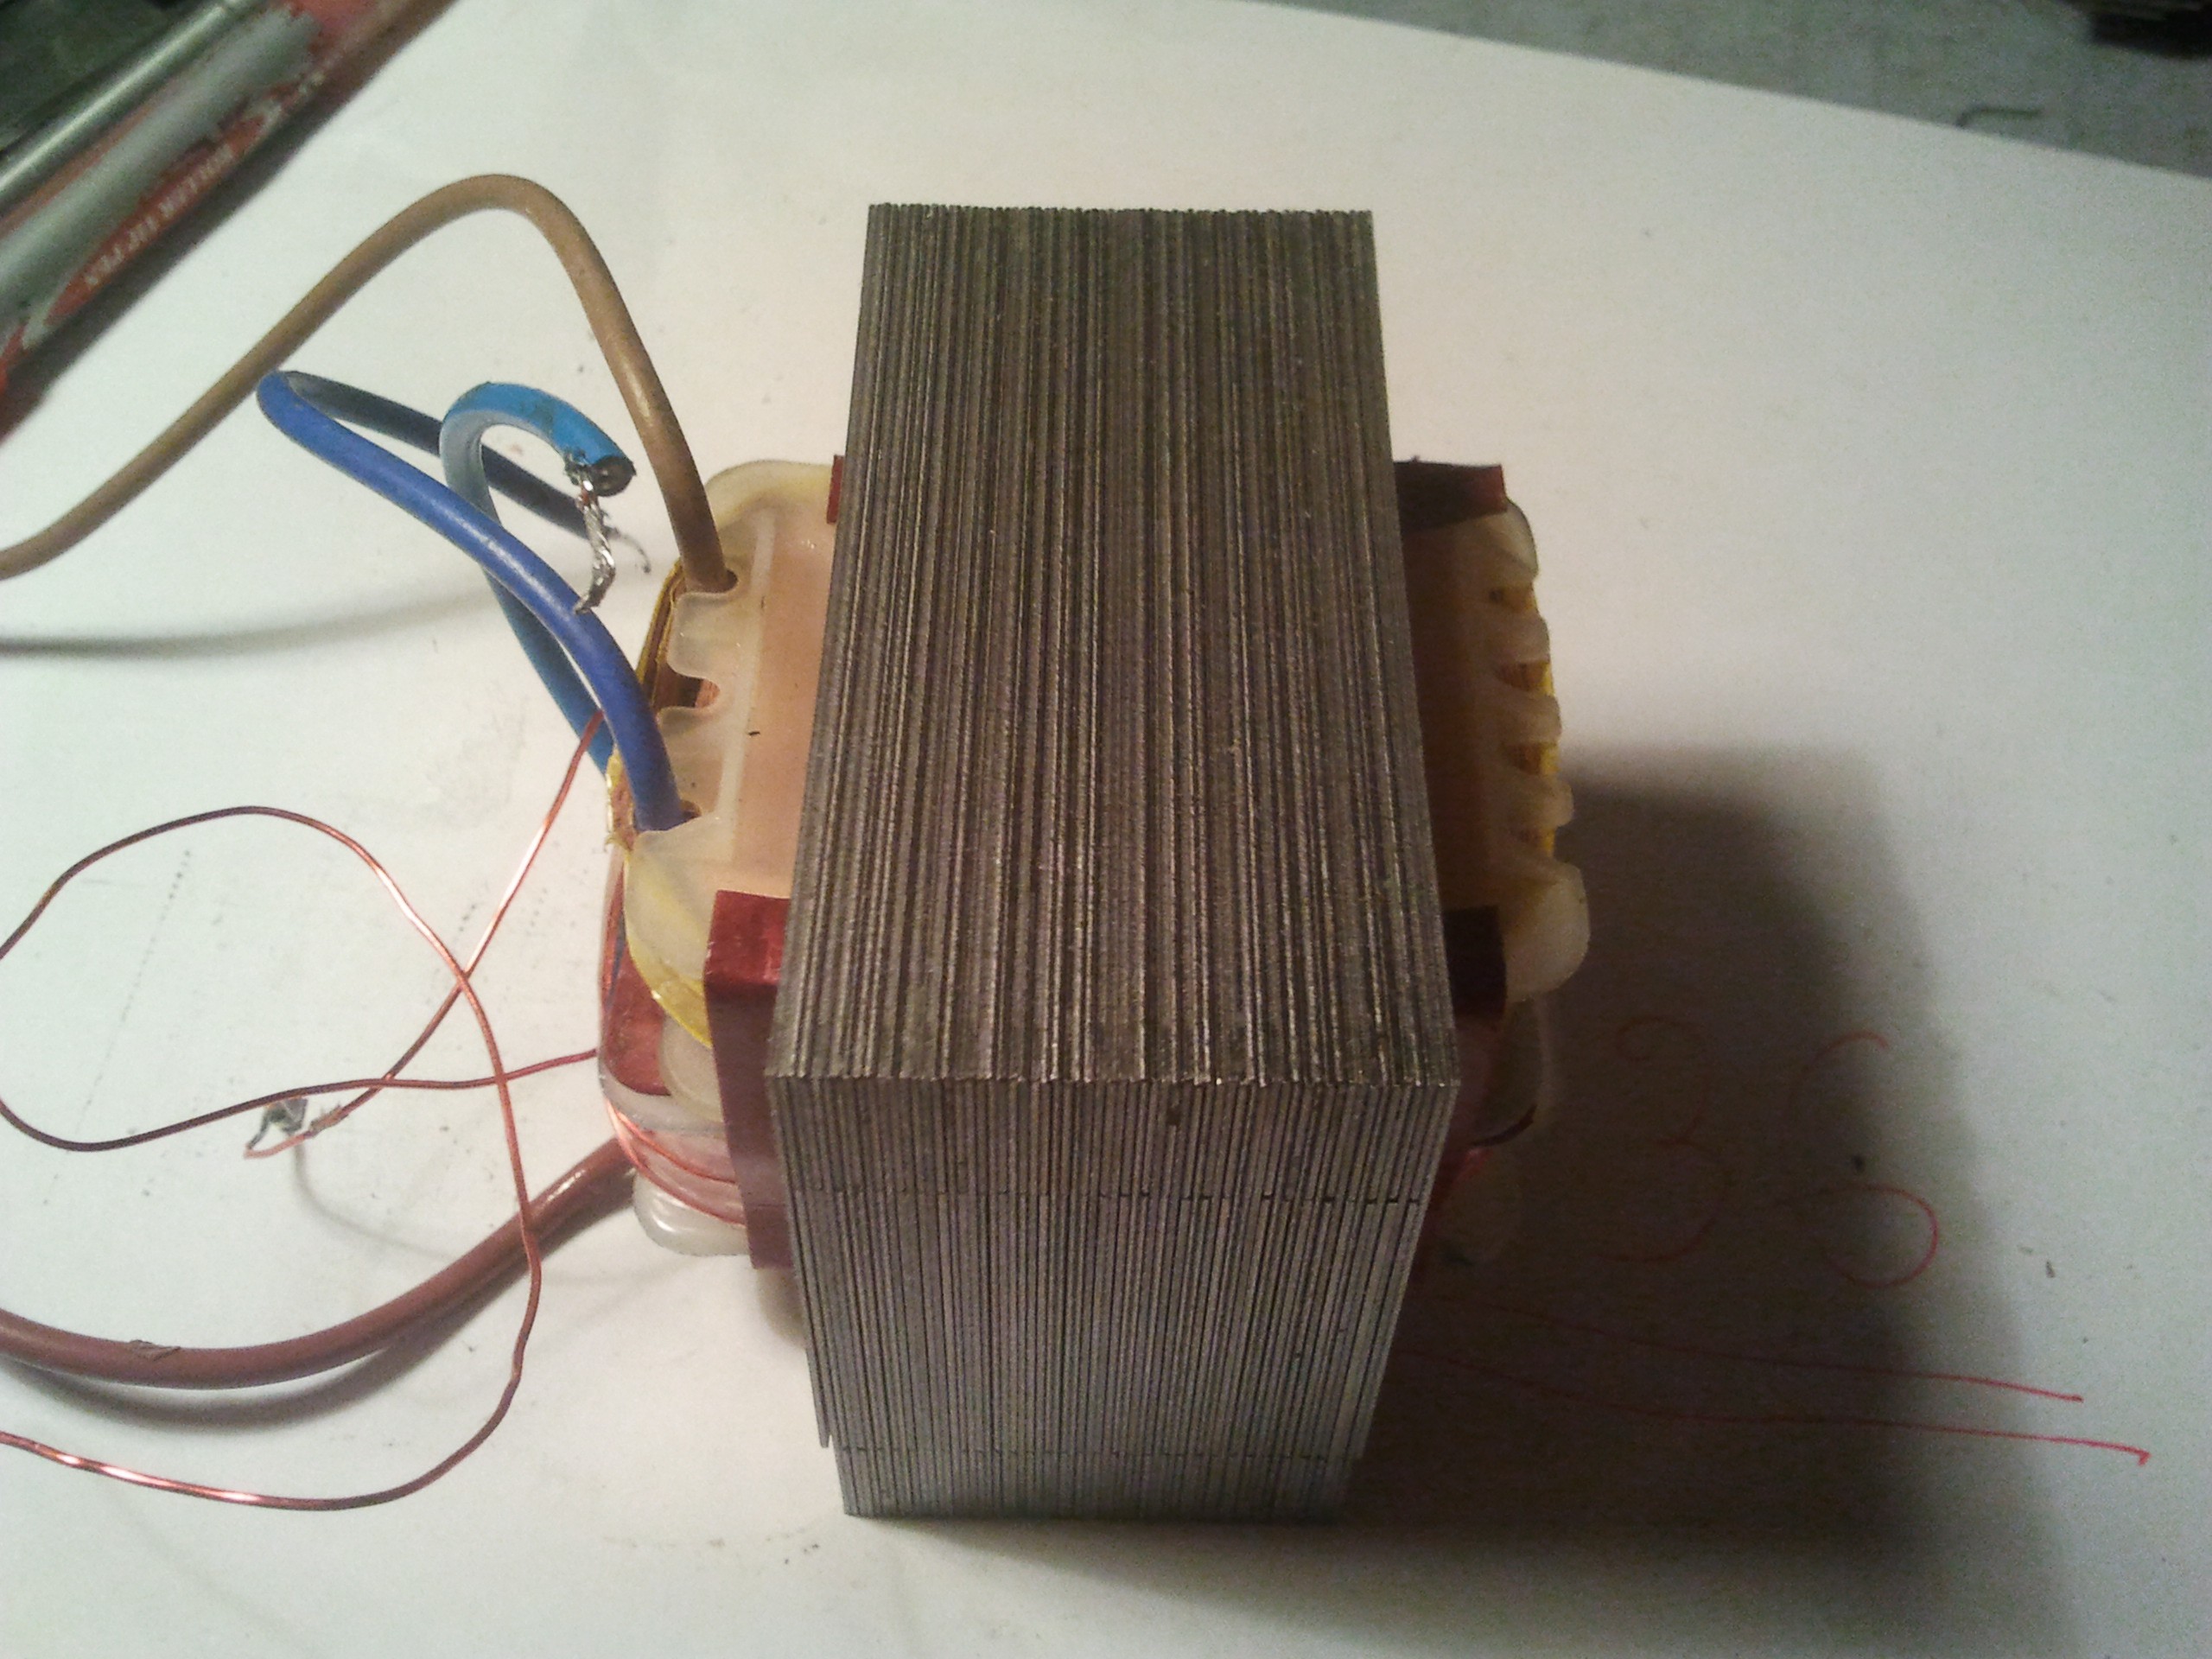
Take the two 240V bobbins and put them together with the protective cardboard and anything else that looks important. Now it's time to reassemble all that iron!
(In this example, I wound a filament winding on top of the second 240V winding. I don't actually recommend this because it will put extra stress on the transformer and may cause it to saturate. The transformer should contain polyfuses which will go open if the transformer gets too hot. If you need a 6.3V filament winding, and you probably do, I suggest using a separate transformer.)
![]()
-
8Step 8
I start with these transformers by layering up the E's in alternating order. That is, put one in from one side, then the next on the other, and so on. Leave the last one or two out.
![]()
-
9Step 9
Now you can slip the remaining I laminations into the gaps left by the E laminations. Leaving the last few E's out will make it easier to do this. You can then complete it by sliding in the remaining E pieces, then the I's. It should be a snug fit.
![]()
-
10Step 10
Reassemble the shroud that surrounded the transformer when it was new and bend the lugs back into place to hold the bottom plate on.
Quick and Nasty Tube Power Supply
A simple way to make a transformer for a vacuum tube project
 256byteram
Discussions
Become a Hackaday.io Member
Create an account to leave a comment. Already have an account? Log In.
Quite some work and you need to buy/get two identical transformers. And they have to be of a construction with two bobbins/coil formers. OK, it is more efficient than connecting the secondaries of the two transformers together-
Is it really that difficult to source the right transformer at the beginning?
Are you sure? yes | no