Yes, finally, the clock is finished. In fact, it has been since the summer of 2020 but I'm just getting around to writing about it. For a long time, the electronics were done, but the clock just sat in a box because I could not decide how I wanted to finish the clock from a mechanical standpoint. All the separate PCBs were screwed to a temporary MDF template that I lasercut back in 2015. I had made a lot of different designs for how to mount all the boards so you could actually hang it on the wall like a real clock, but I was not content with any of the designs. During the pandemic I finally bit the bullet and designed a minimal 3D-printable frame that all components could mount to. This is the final result:
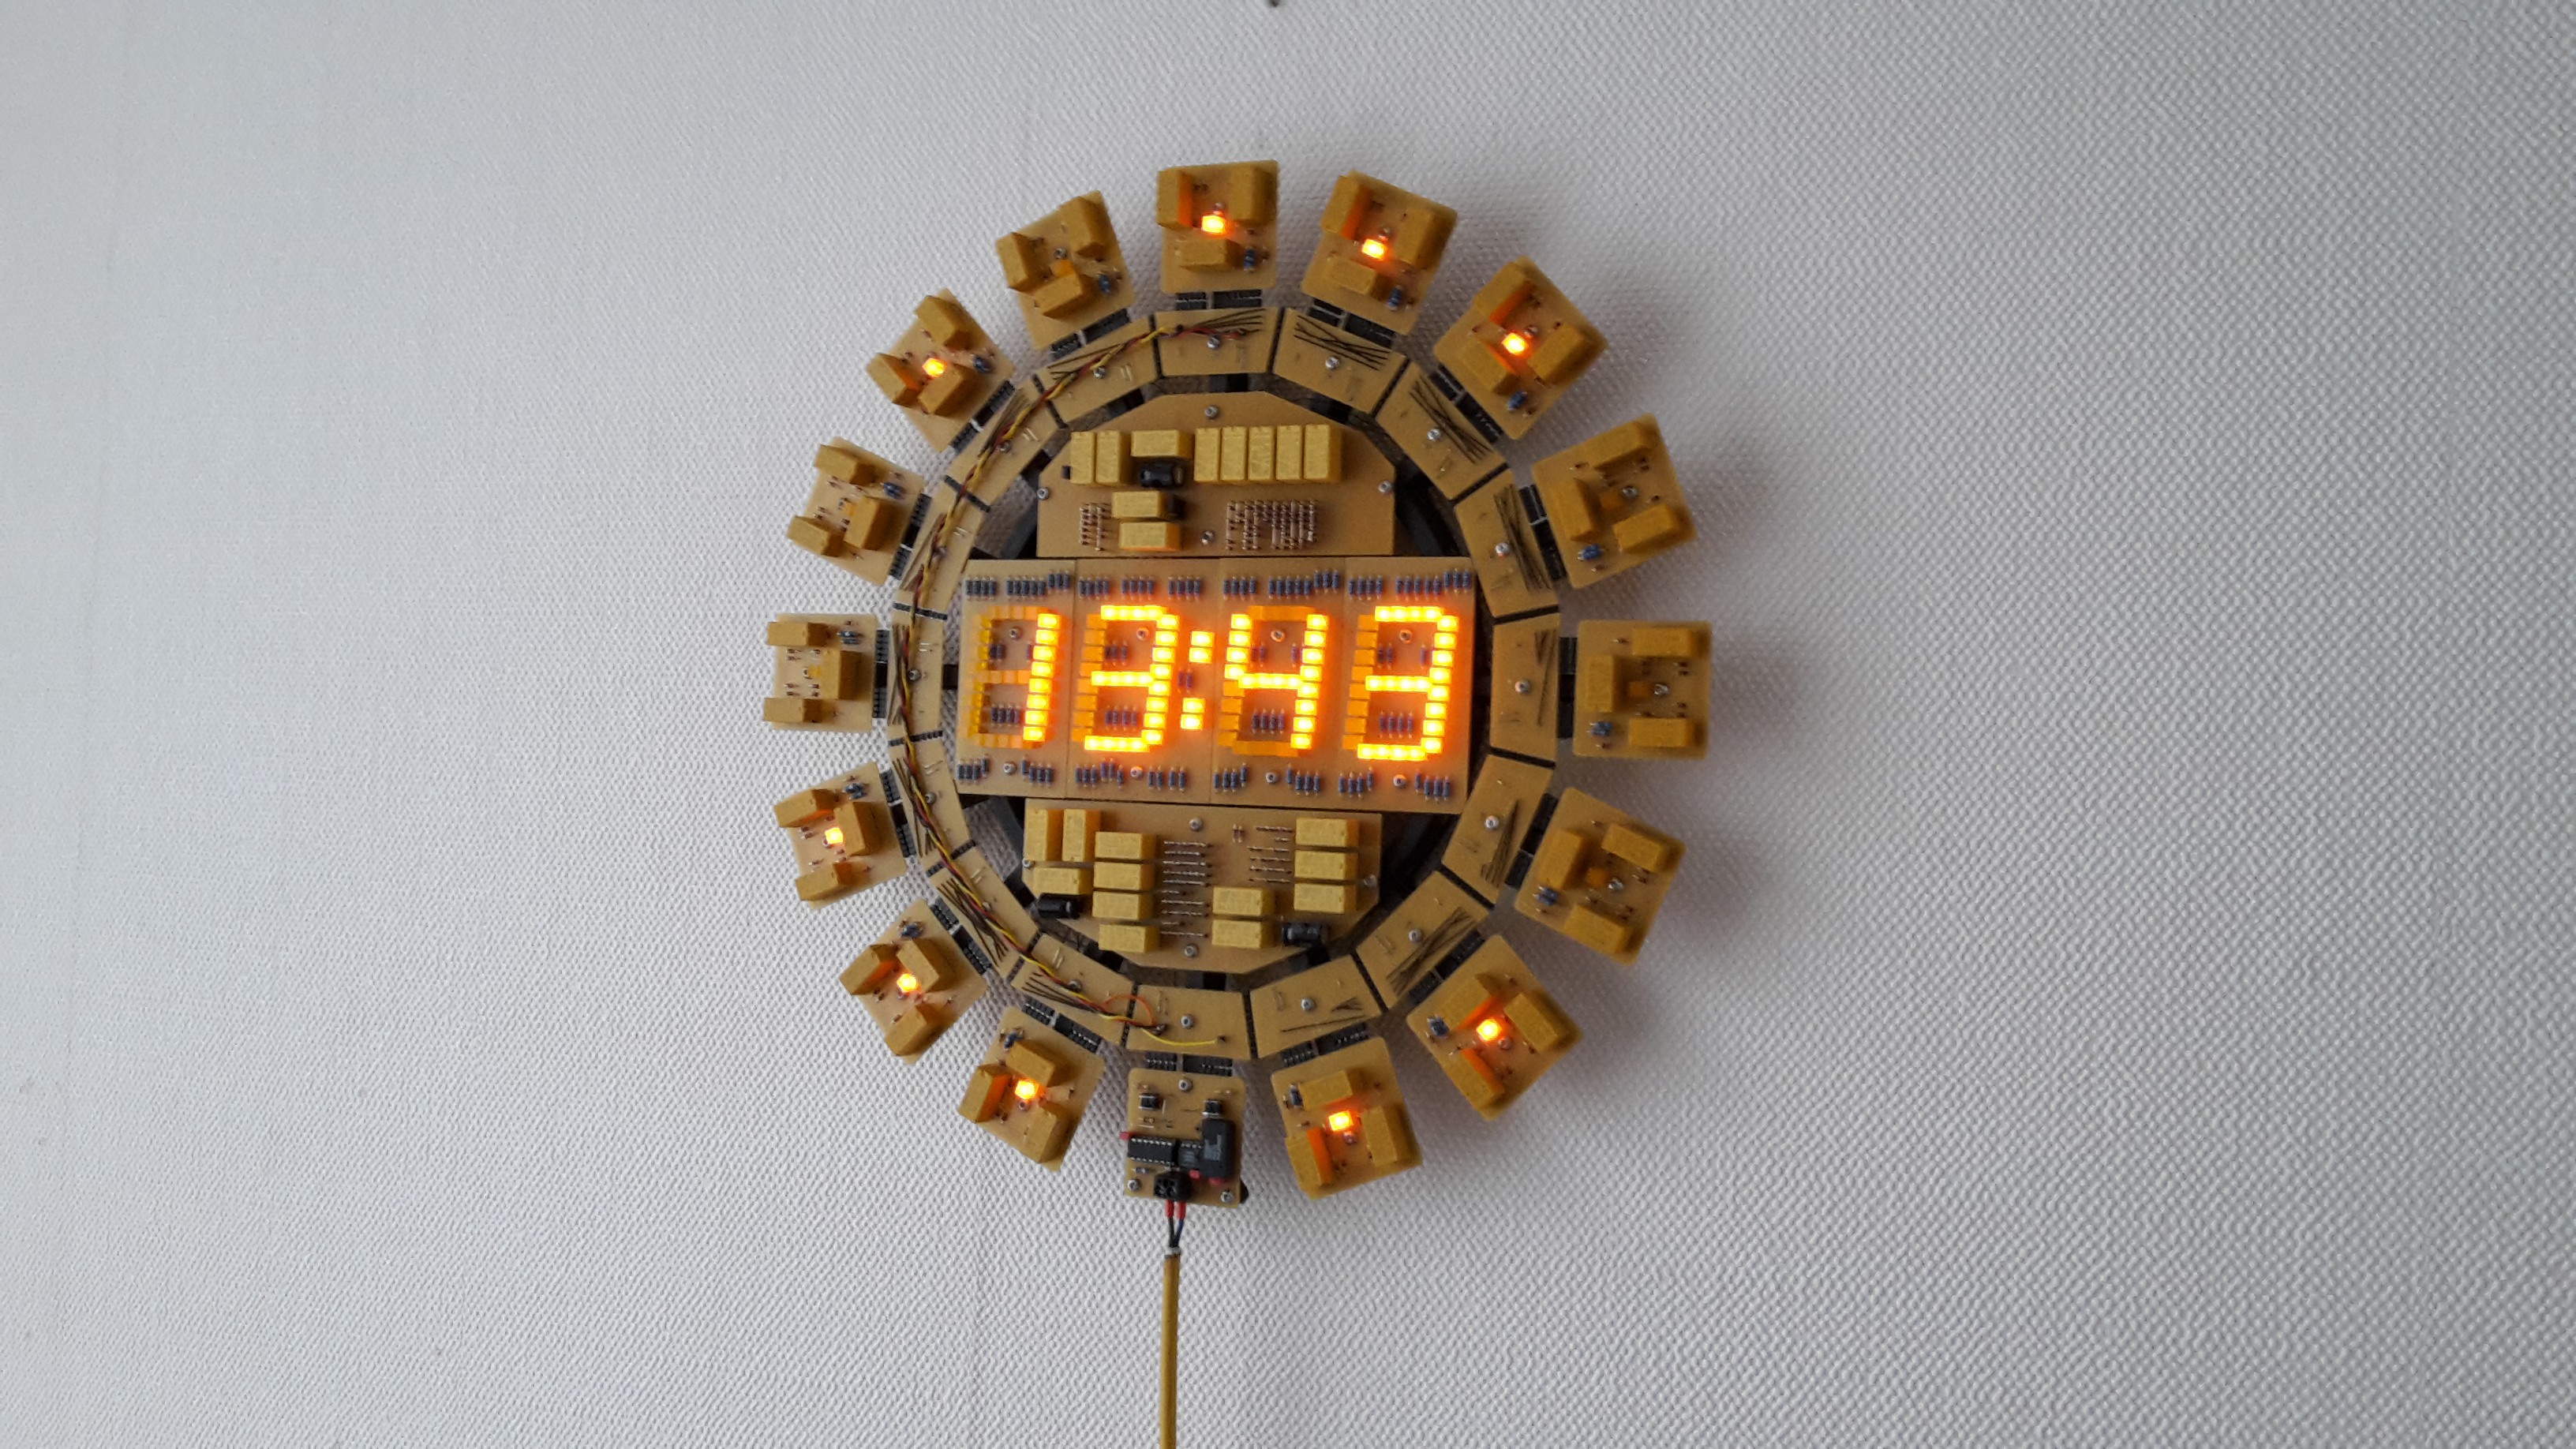
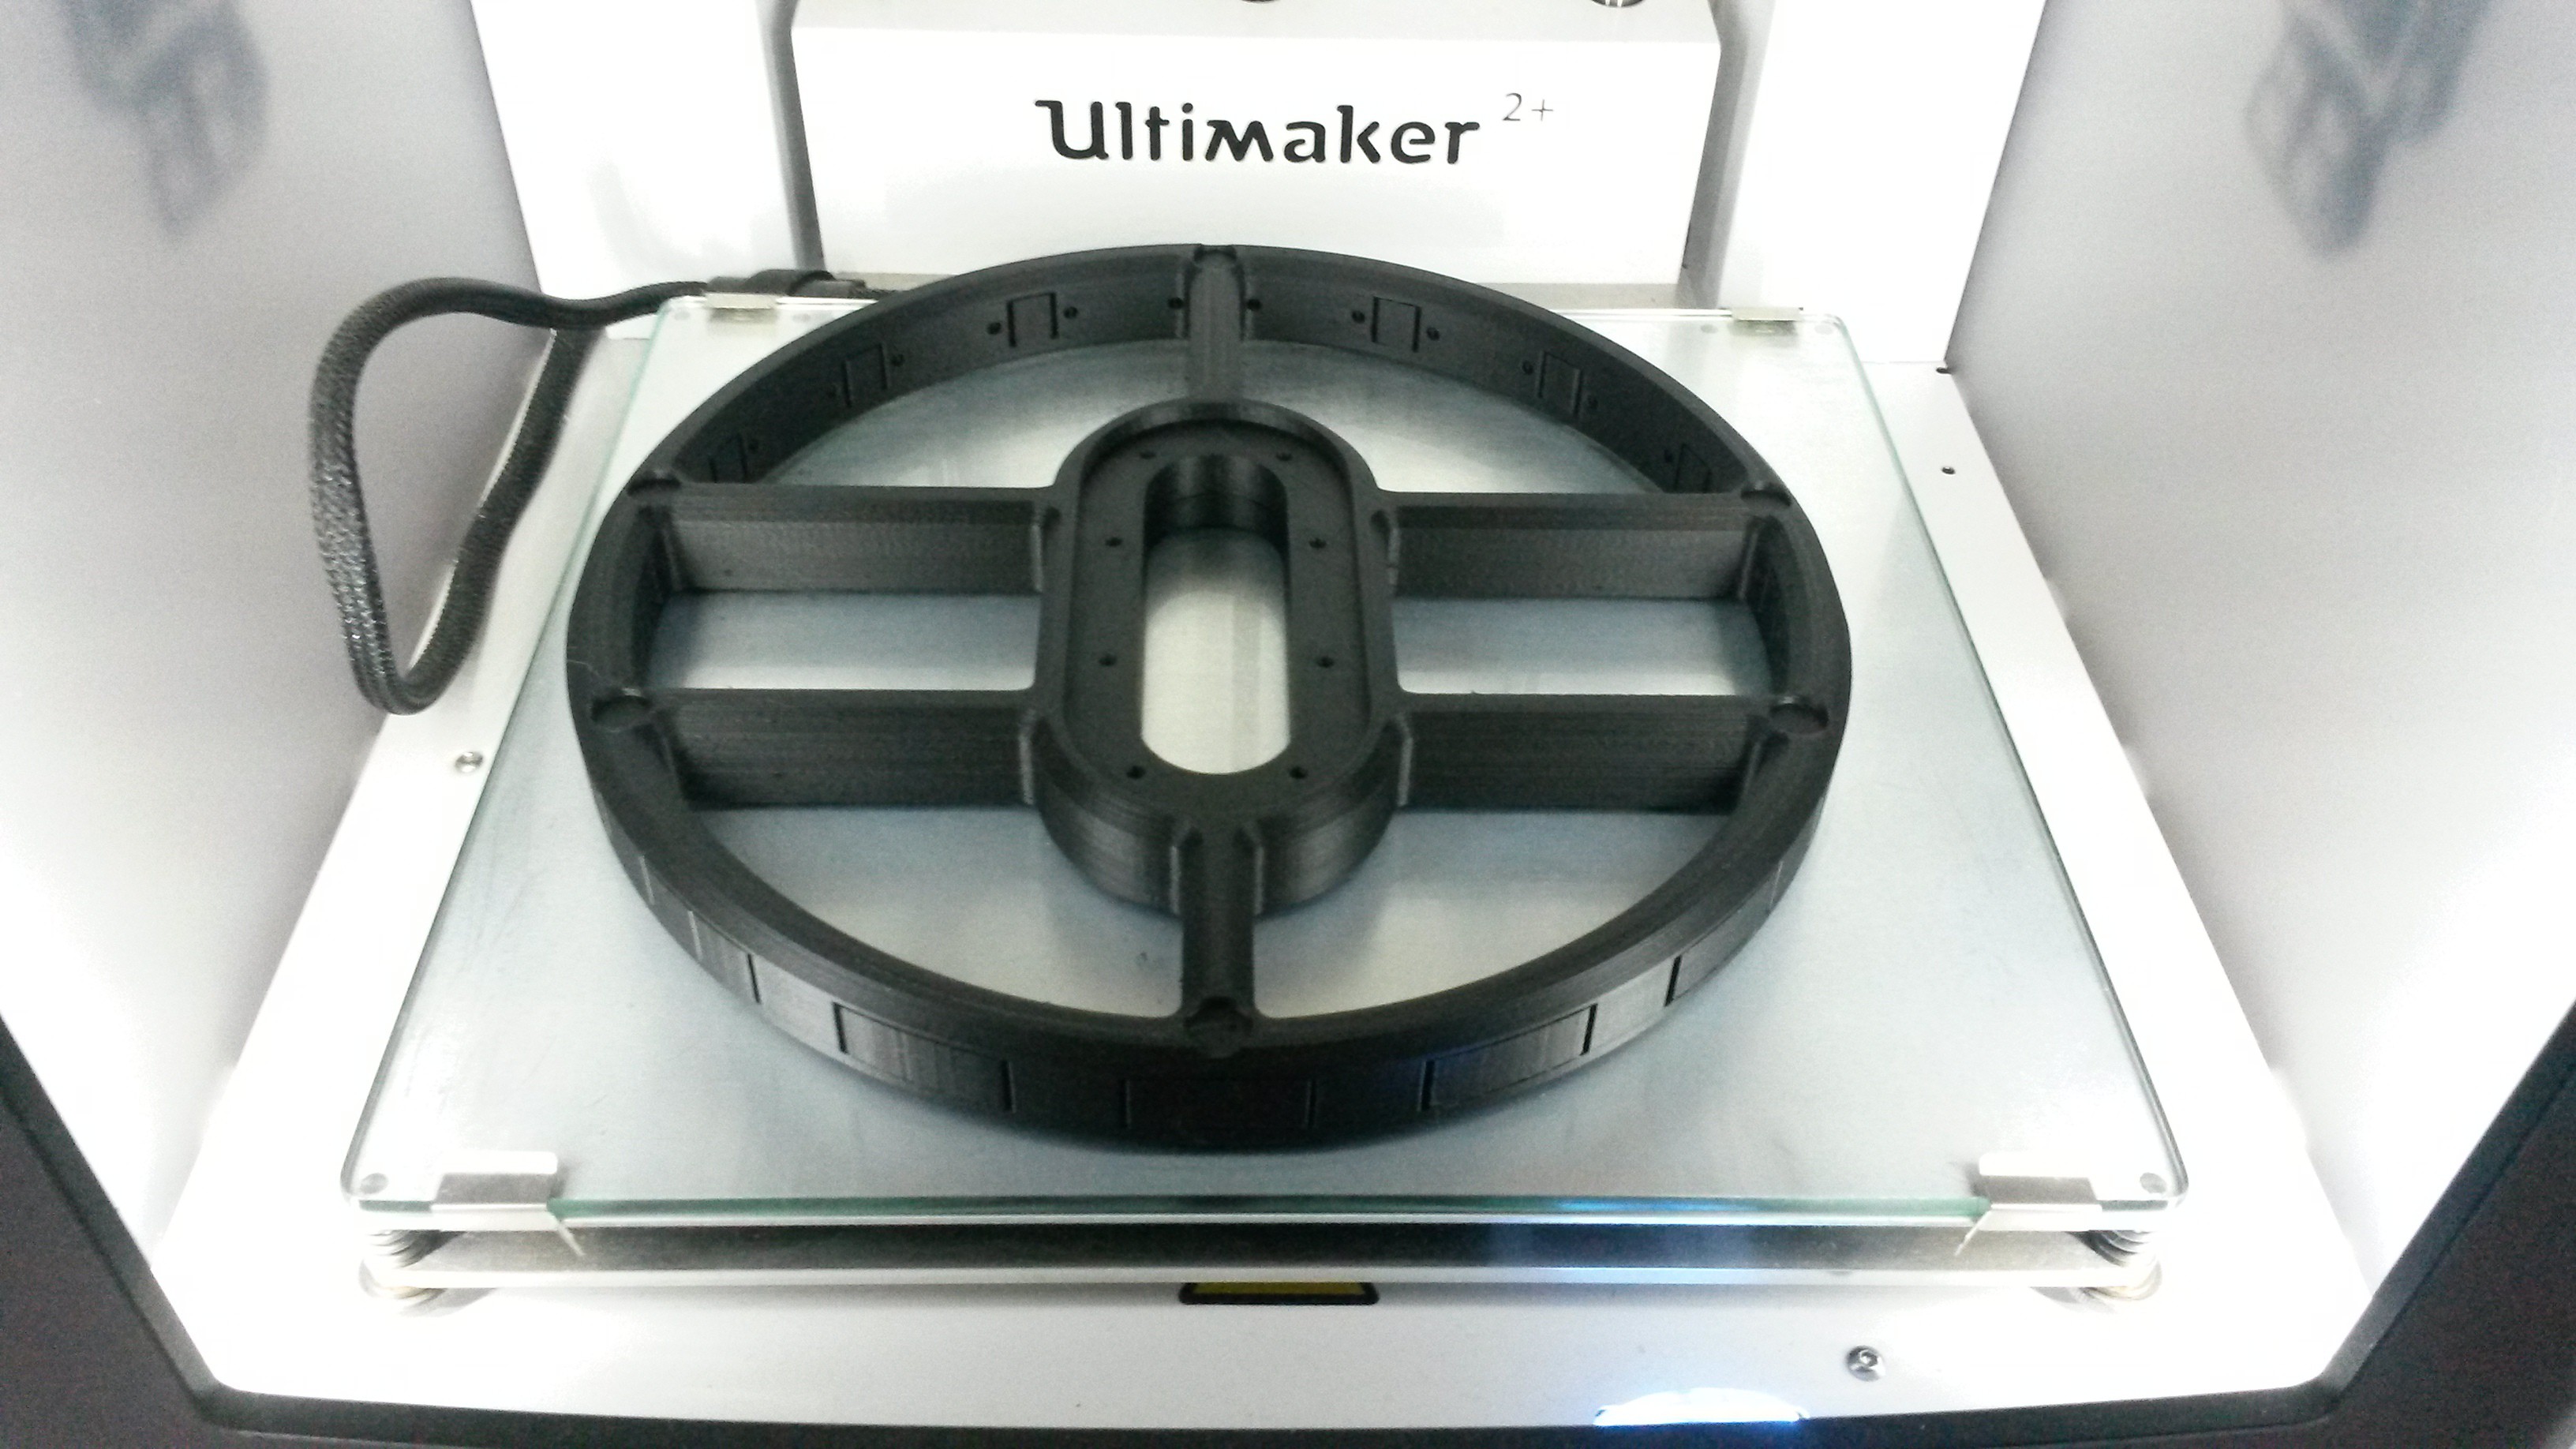
The frame is hardly visible, as it is printed from black PLA. The frame consists of a center section with 16 spokes that slide in an screw to it. The parts have threaded brass inserts where the stainless hardware screws into. The center section was almost too large for my printer, I had to flatten the sides of the circle by a few millimeter. Here it is with the printer just finished:
After printing the spokes and mounting them, I designed an aluminium plate that screws in the middle of the center section. This has keyhole slots that are used to mount to the wall. The plate was ordered from Schaeffer AG (Frontpanel Express in USA). Here's the frame with half the spokes fitted, I could not find a picture of the completed frame.
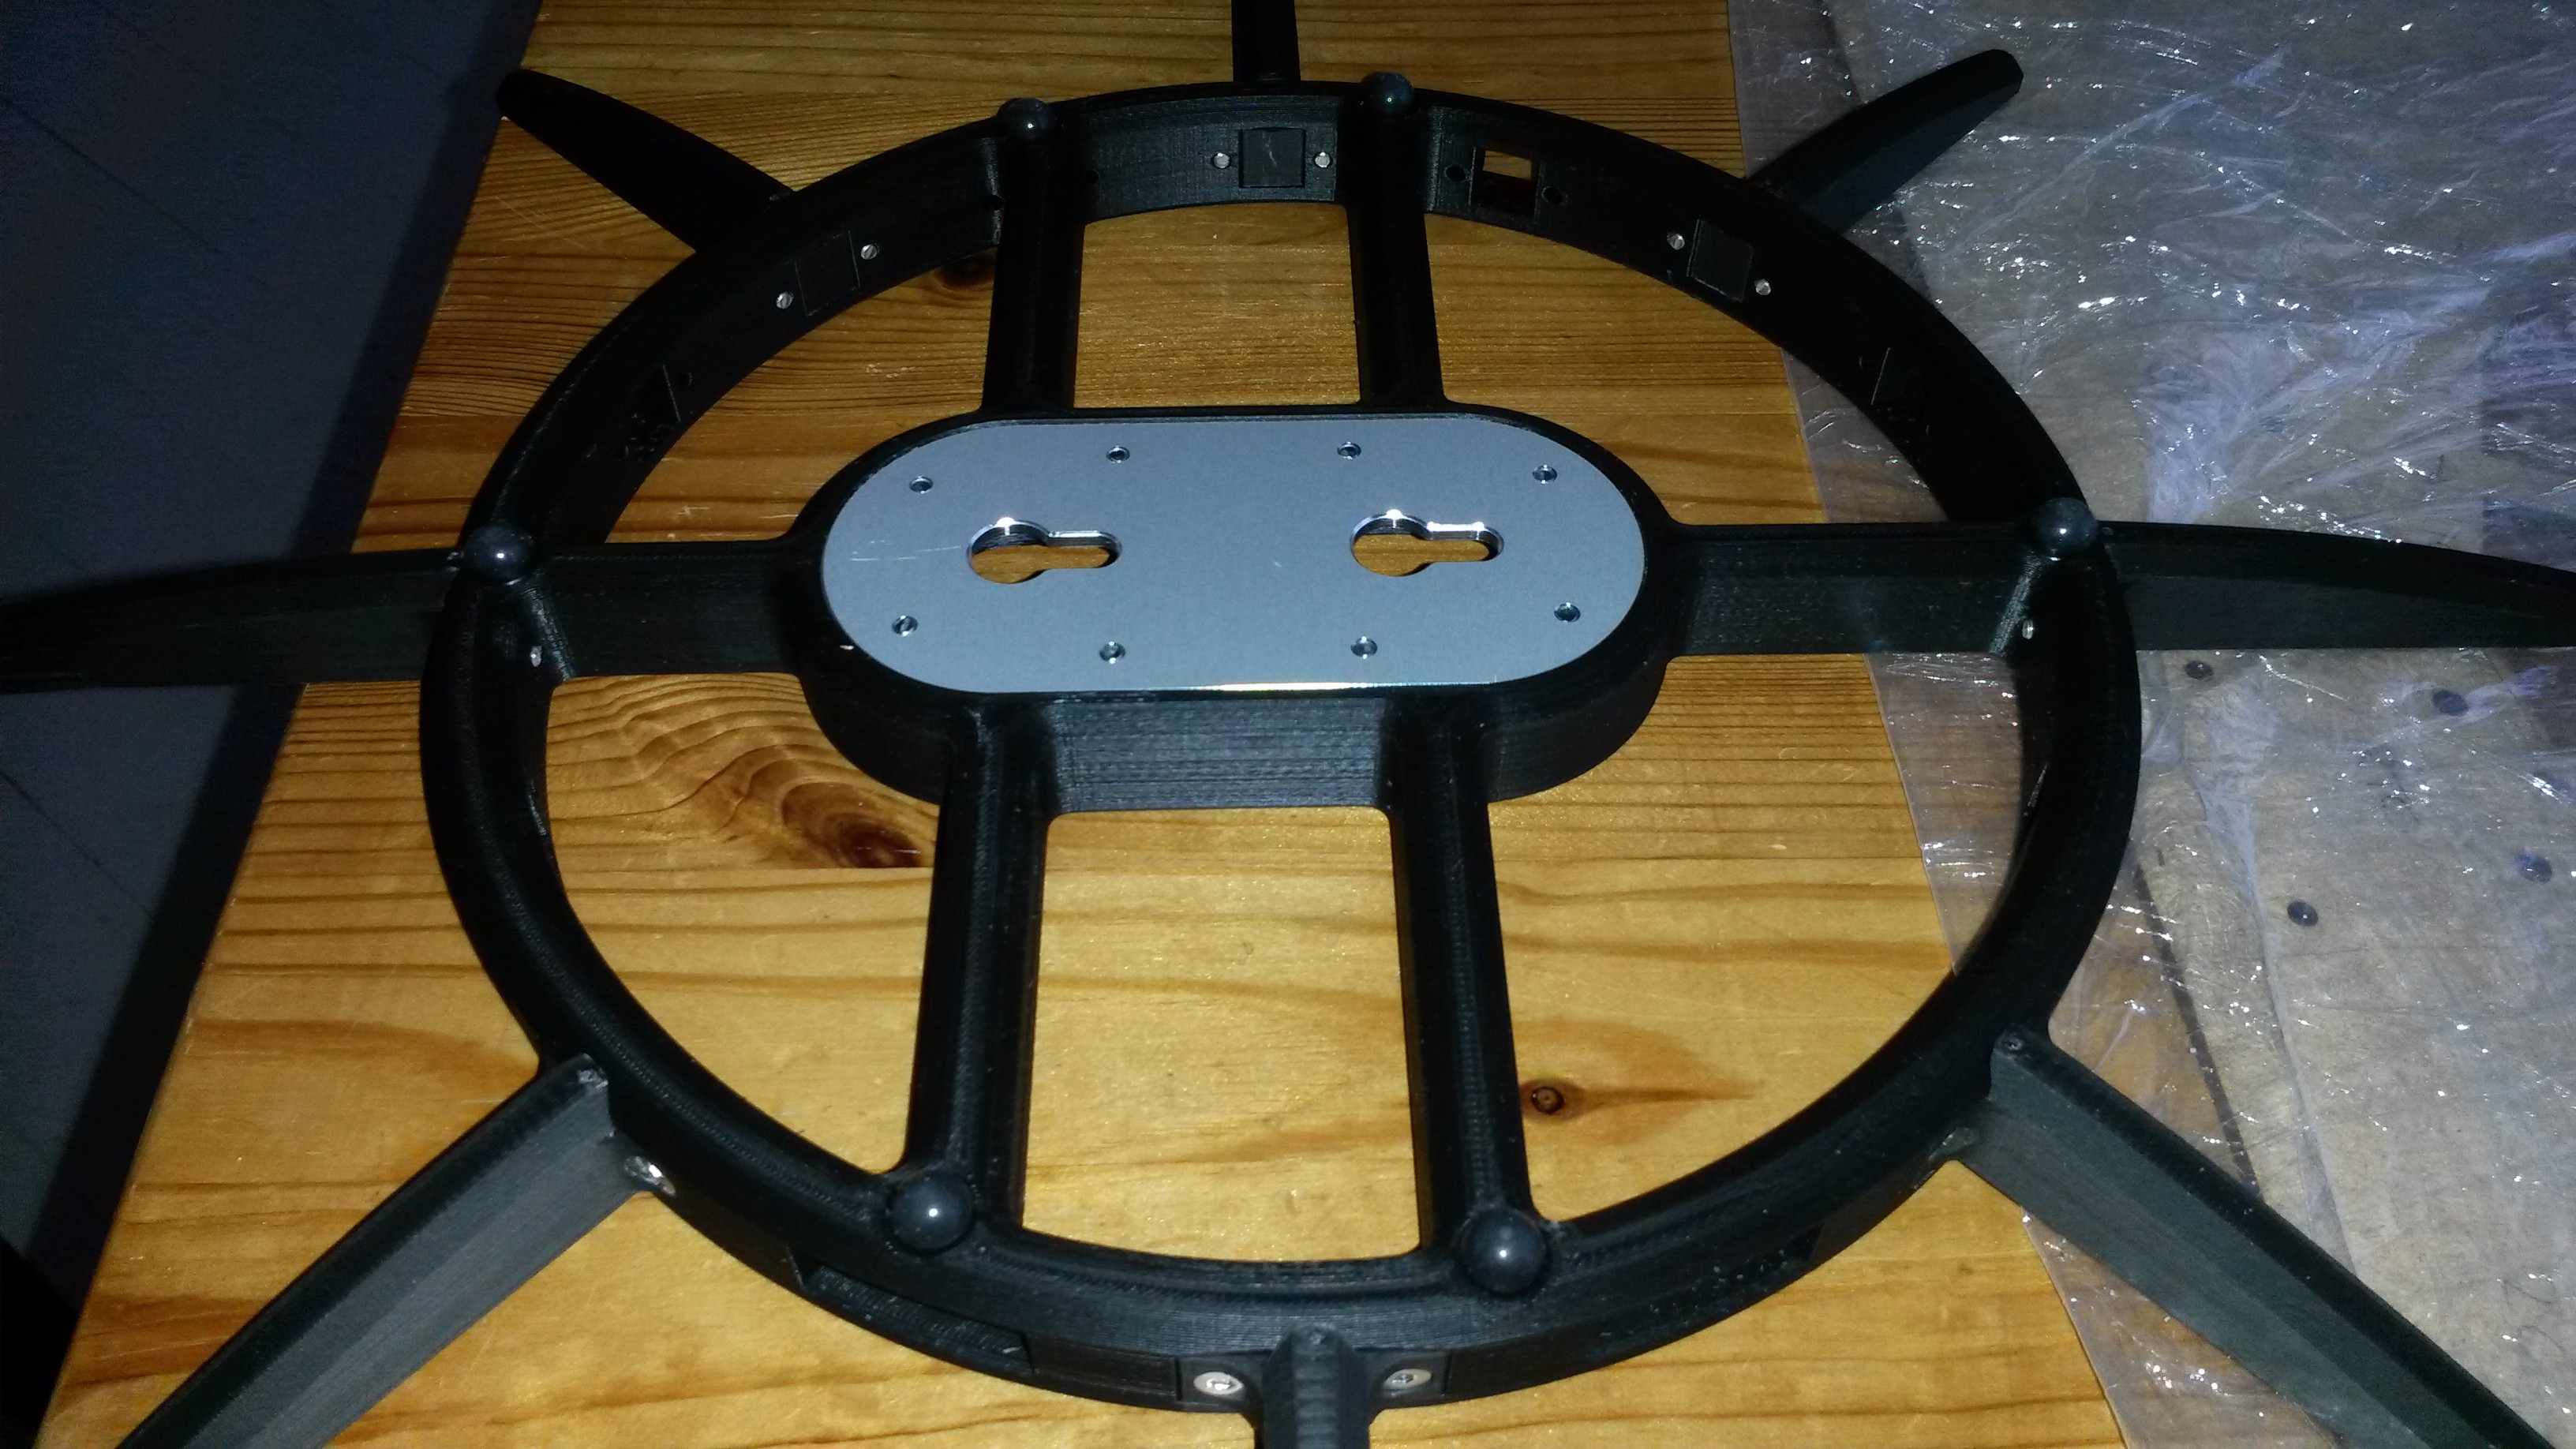
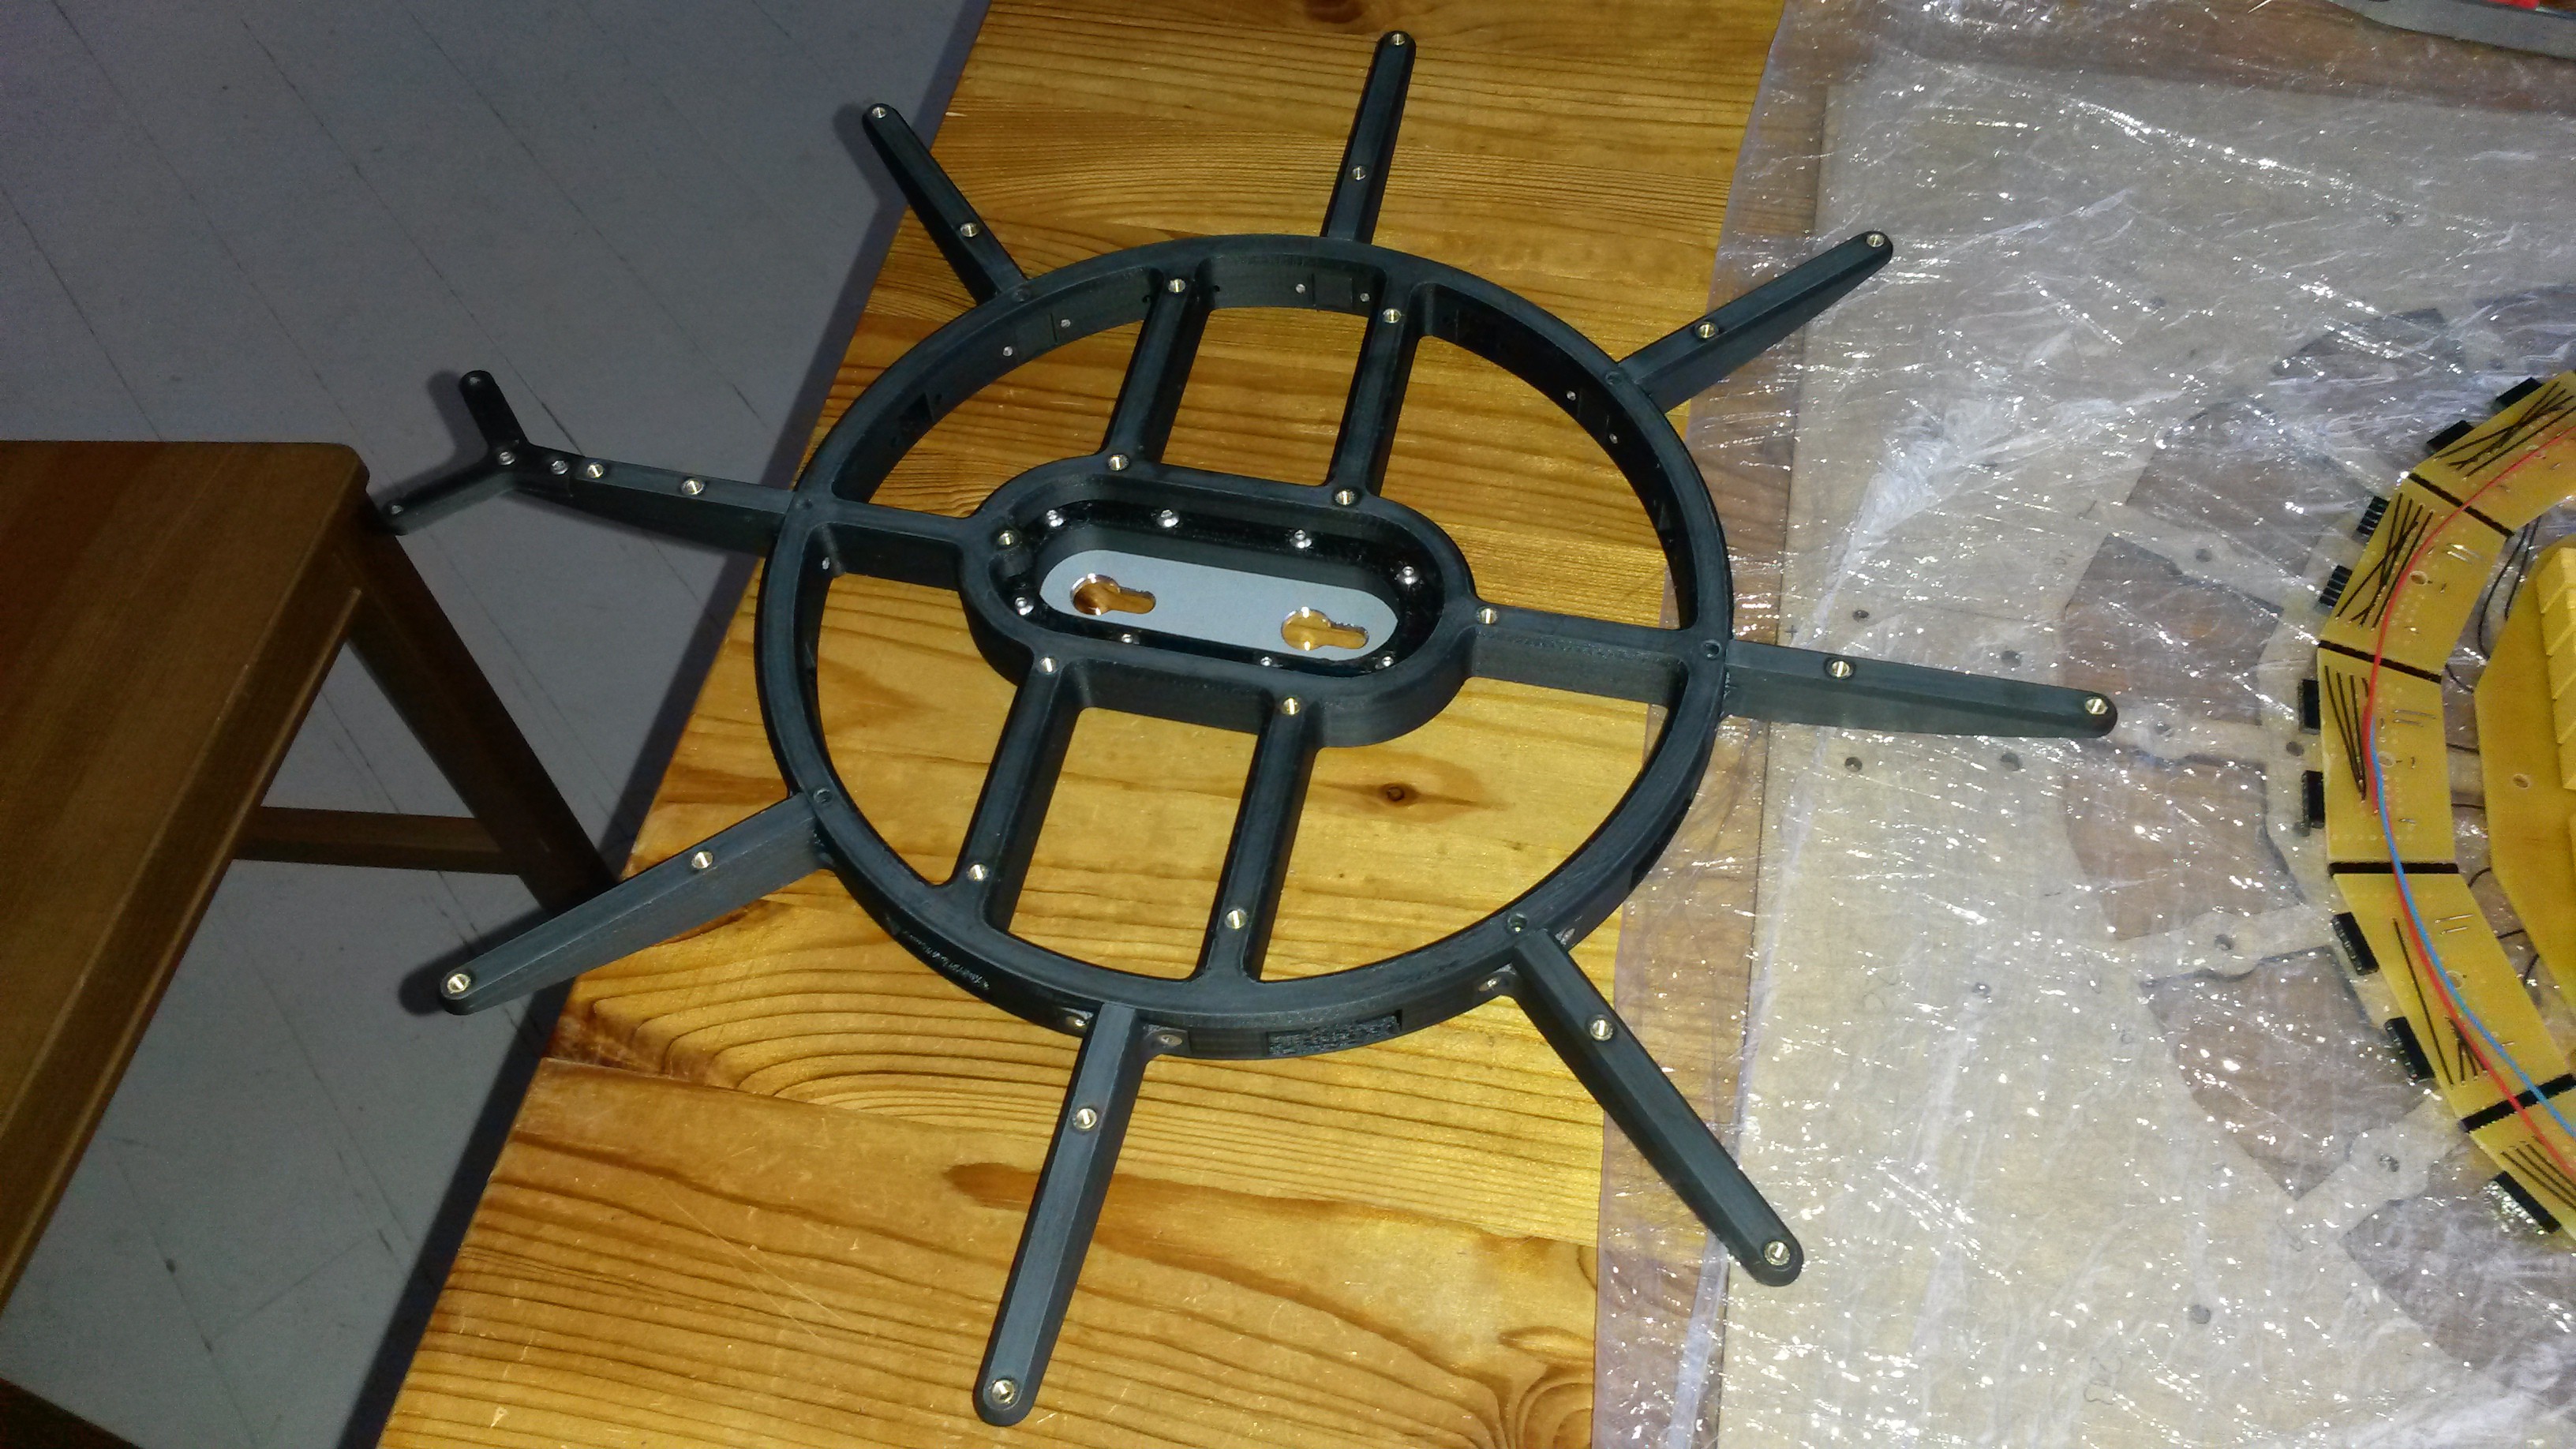
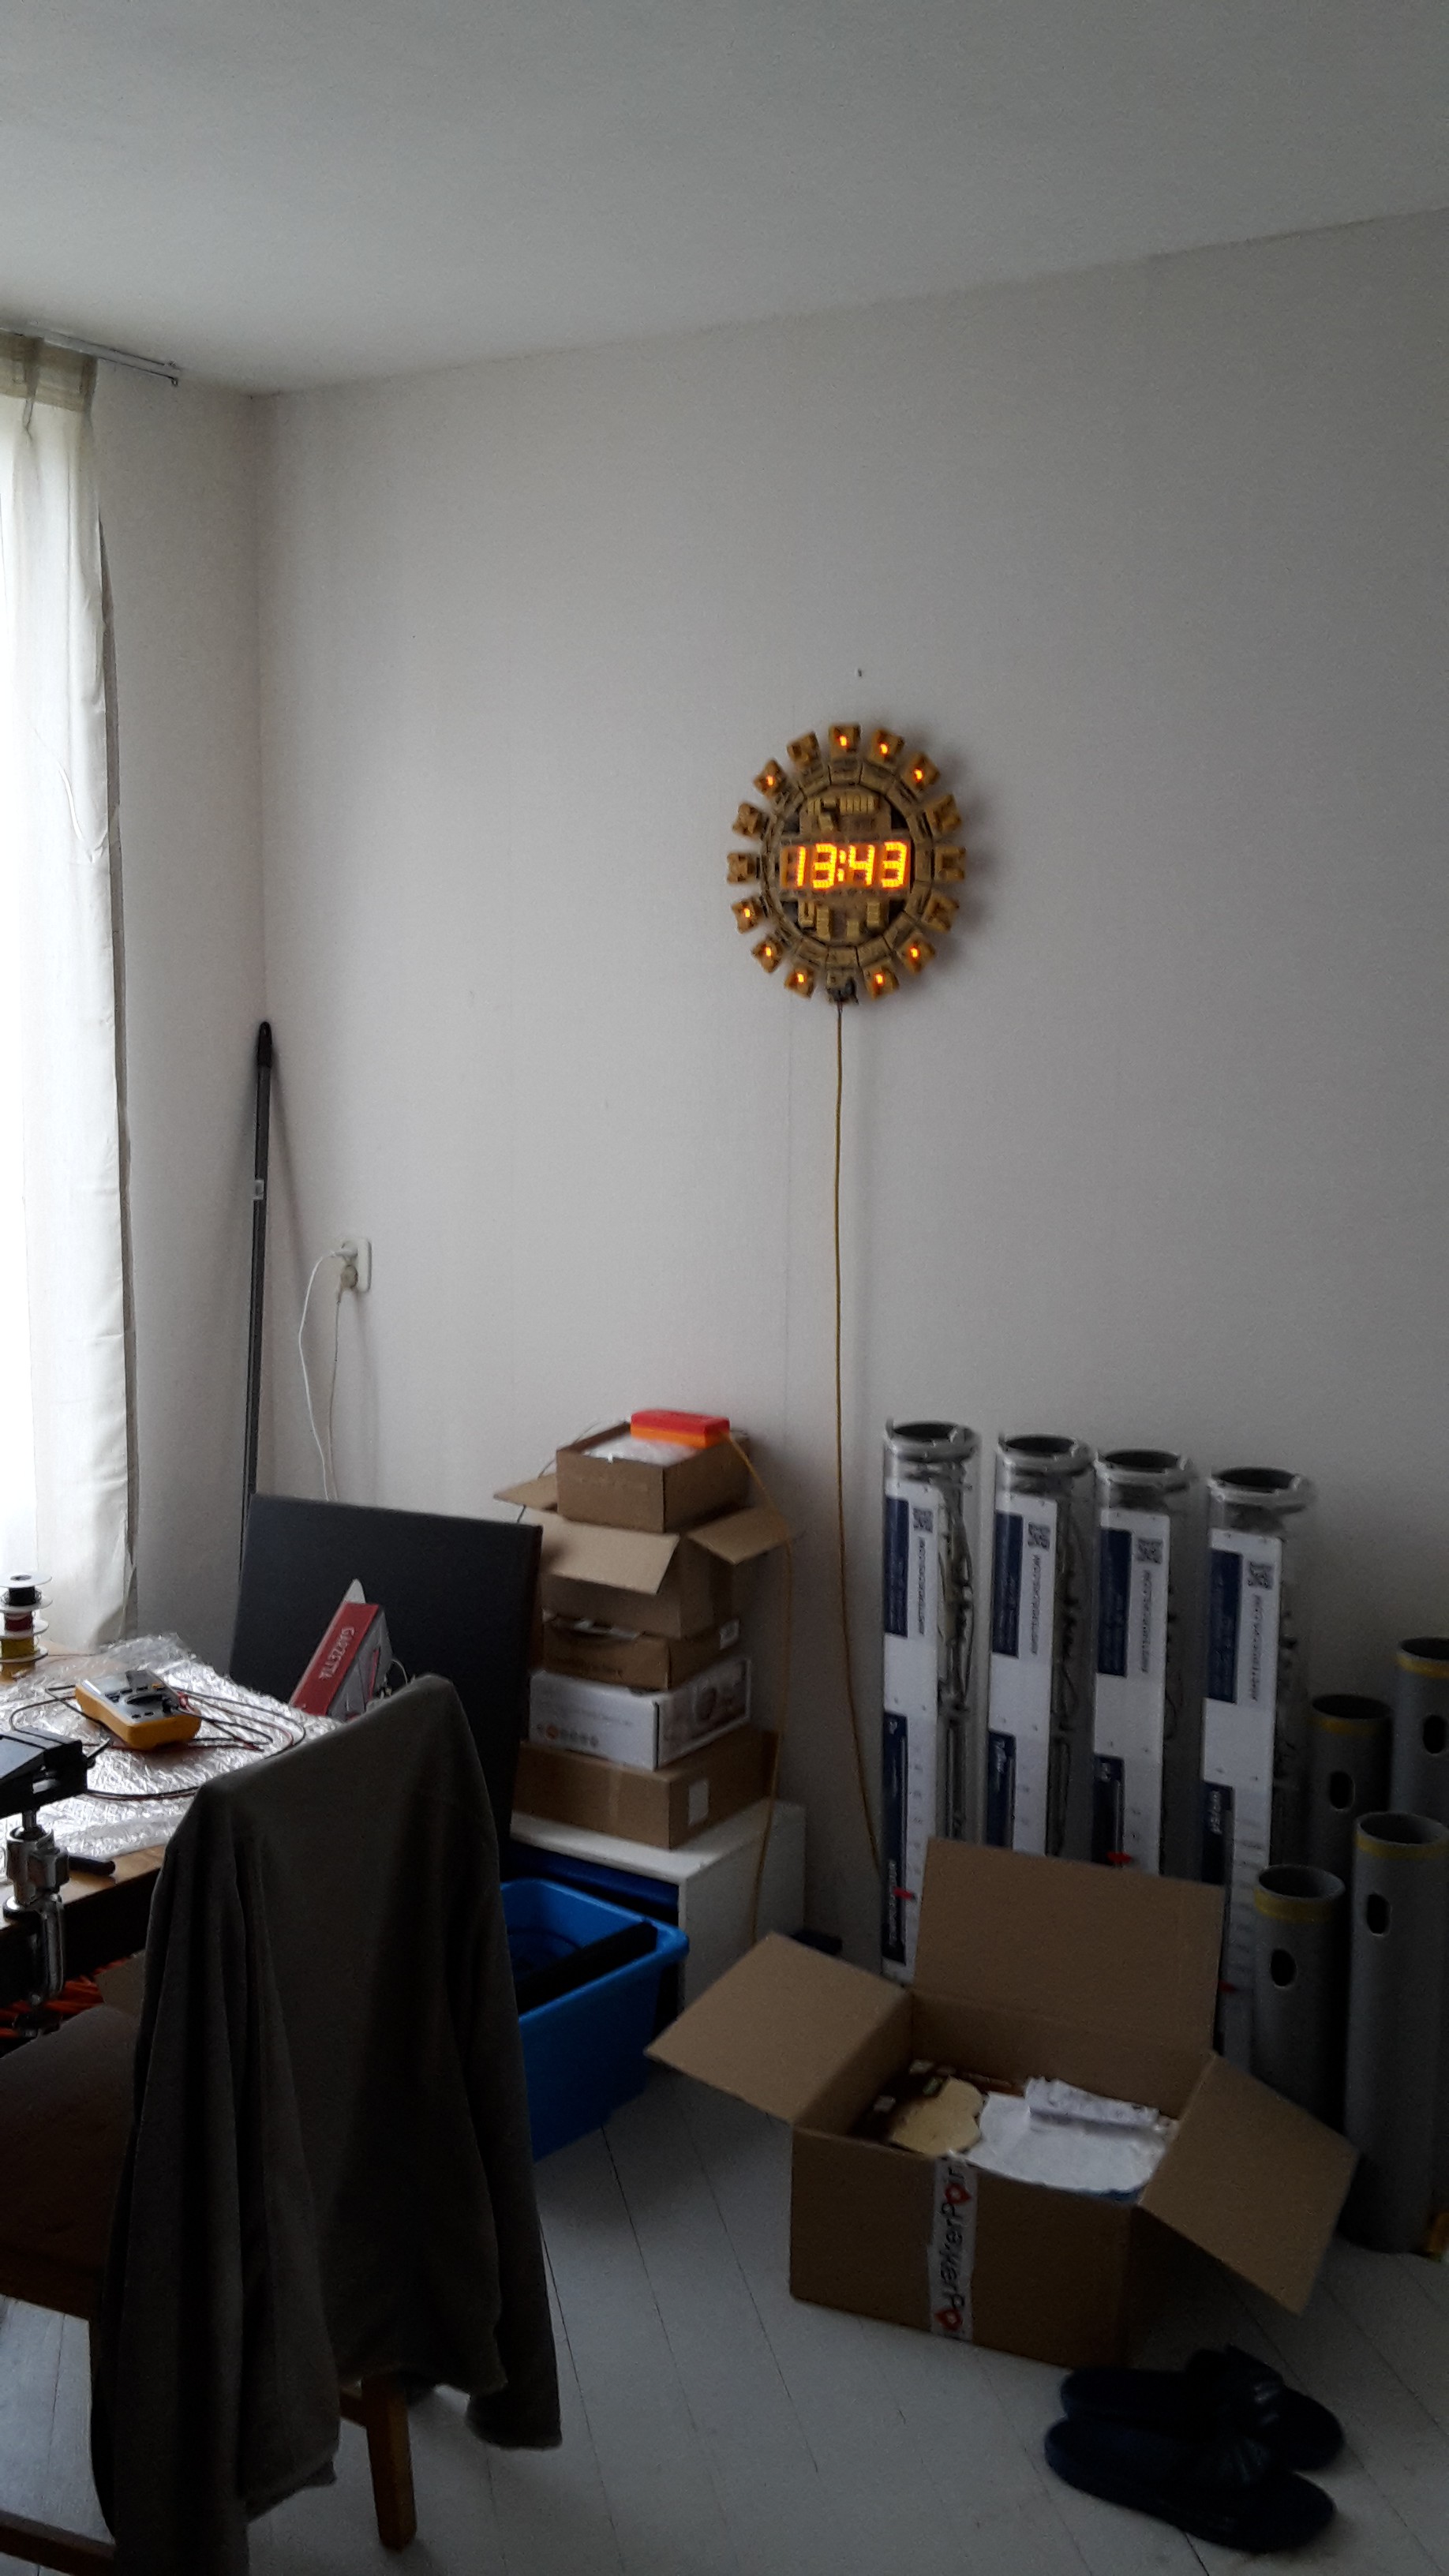
You can see the brass inserts on the front and a few rubber feet on the back so it doesn't sit right up on the wall but a little distance from it. I think it looks good. In this last picture you see how it scales on my wall. The red and orange box on top of the cardboard boxes is the power supply. I printed it from leftover filament, that's the reason for the weird colors.
Let me know what parts of the clock you still want me to describe. The power supply is just a framed switching supply in a custom printed box with a nice yellow fabric lamp cord. I think that the only part missing from the technical description is the working of the carry circuits. This deserves a separate writeup.
 Dave Gönner
Discussions
Become a Hackaday.io Member
Create an account to leave a comment. Already have an account? Log In.