-
Almost standing on it's own
04/06/2019 at 03:07 • 0 commentsWhile away from HaD I added a keyboard and 64KiB of extra EEPROM.
For a computer to be reasonably usable it needs a keyboard, monitor, and permanent storage. I finally have all three!
I got that graphics card working from the previous log, and have given it it's own project #uPD7220 Graphics (and VGA hack). For the keyboard and EEPROM, I figured out how to connect an ATMega328p to the Z80 and to the peripherals. The ATMega's serial port is also accessible from the Z80's programs. Now the computer can load programs from the EEPROM, and I can write to it via a serial port. (Instead of pulling out the EEPROM, programming it, and plugging it back in)
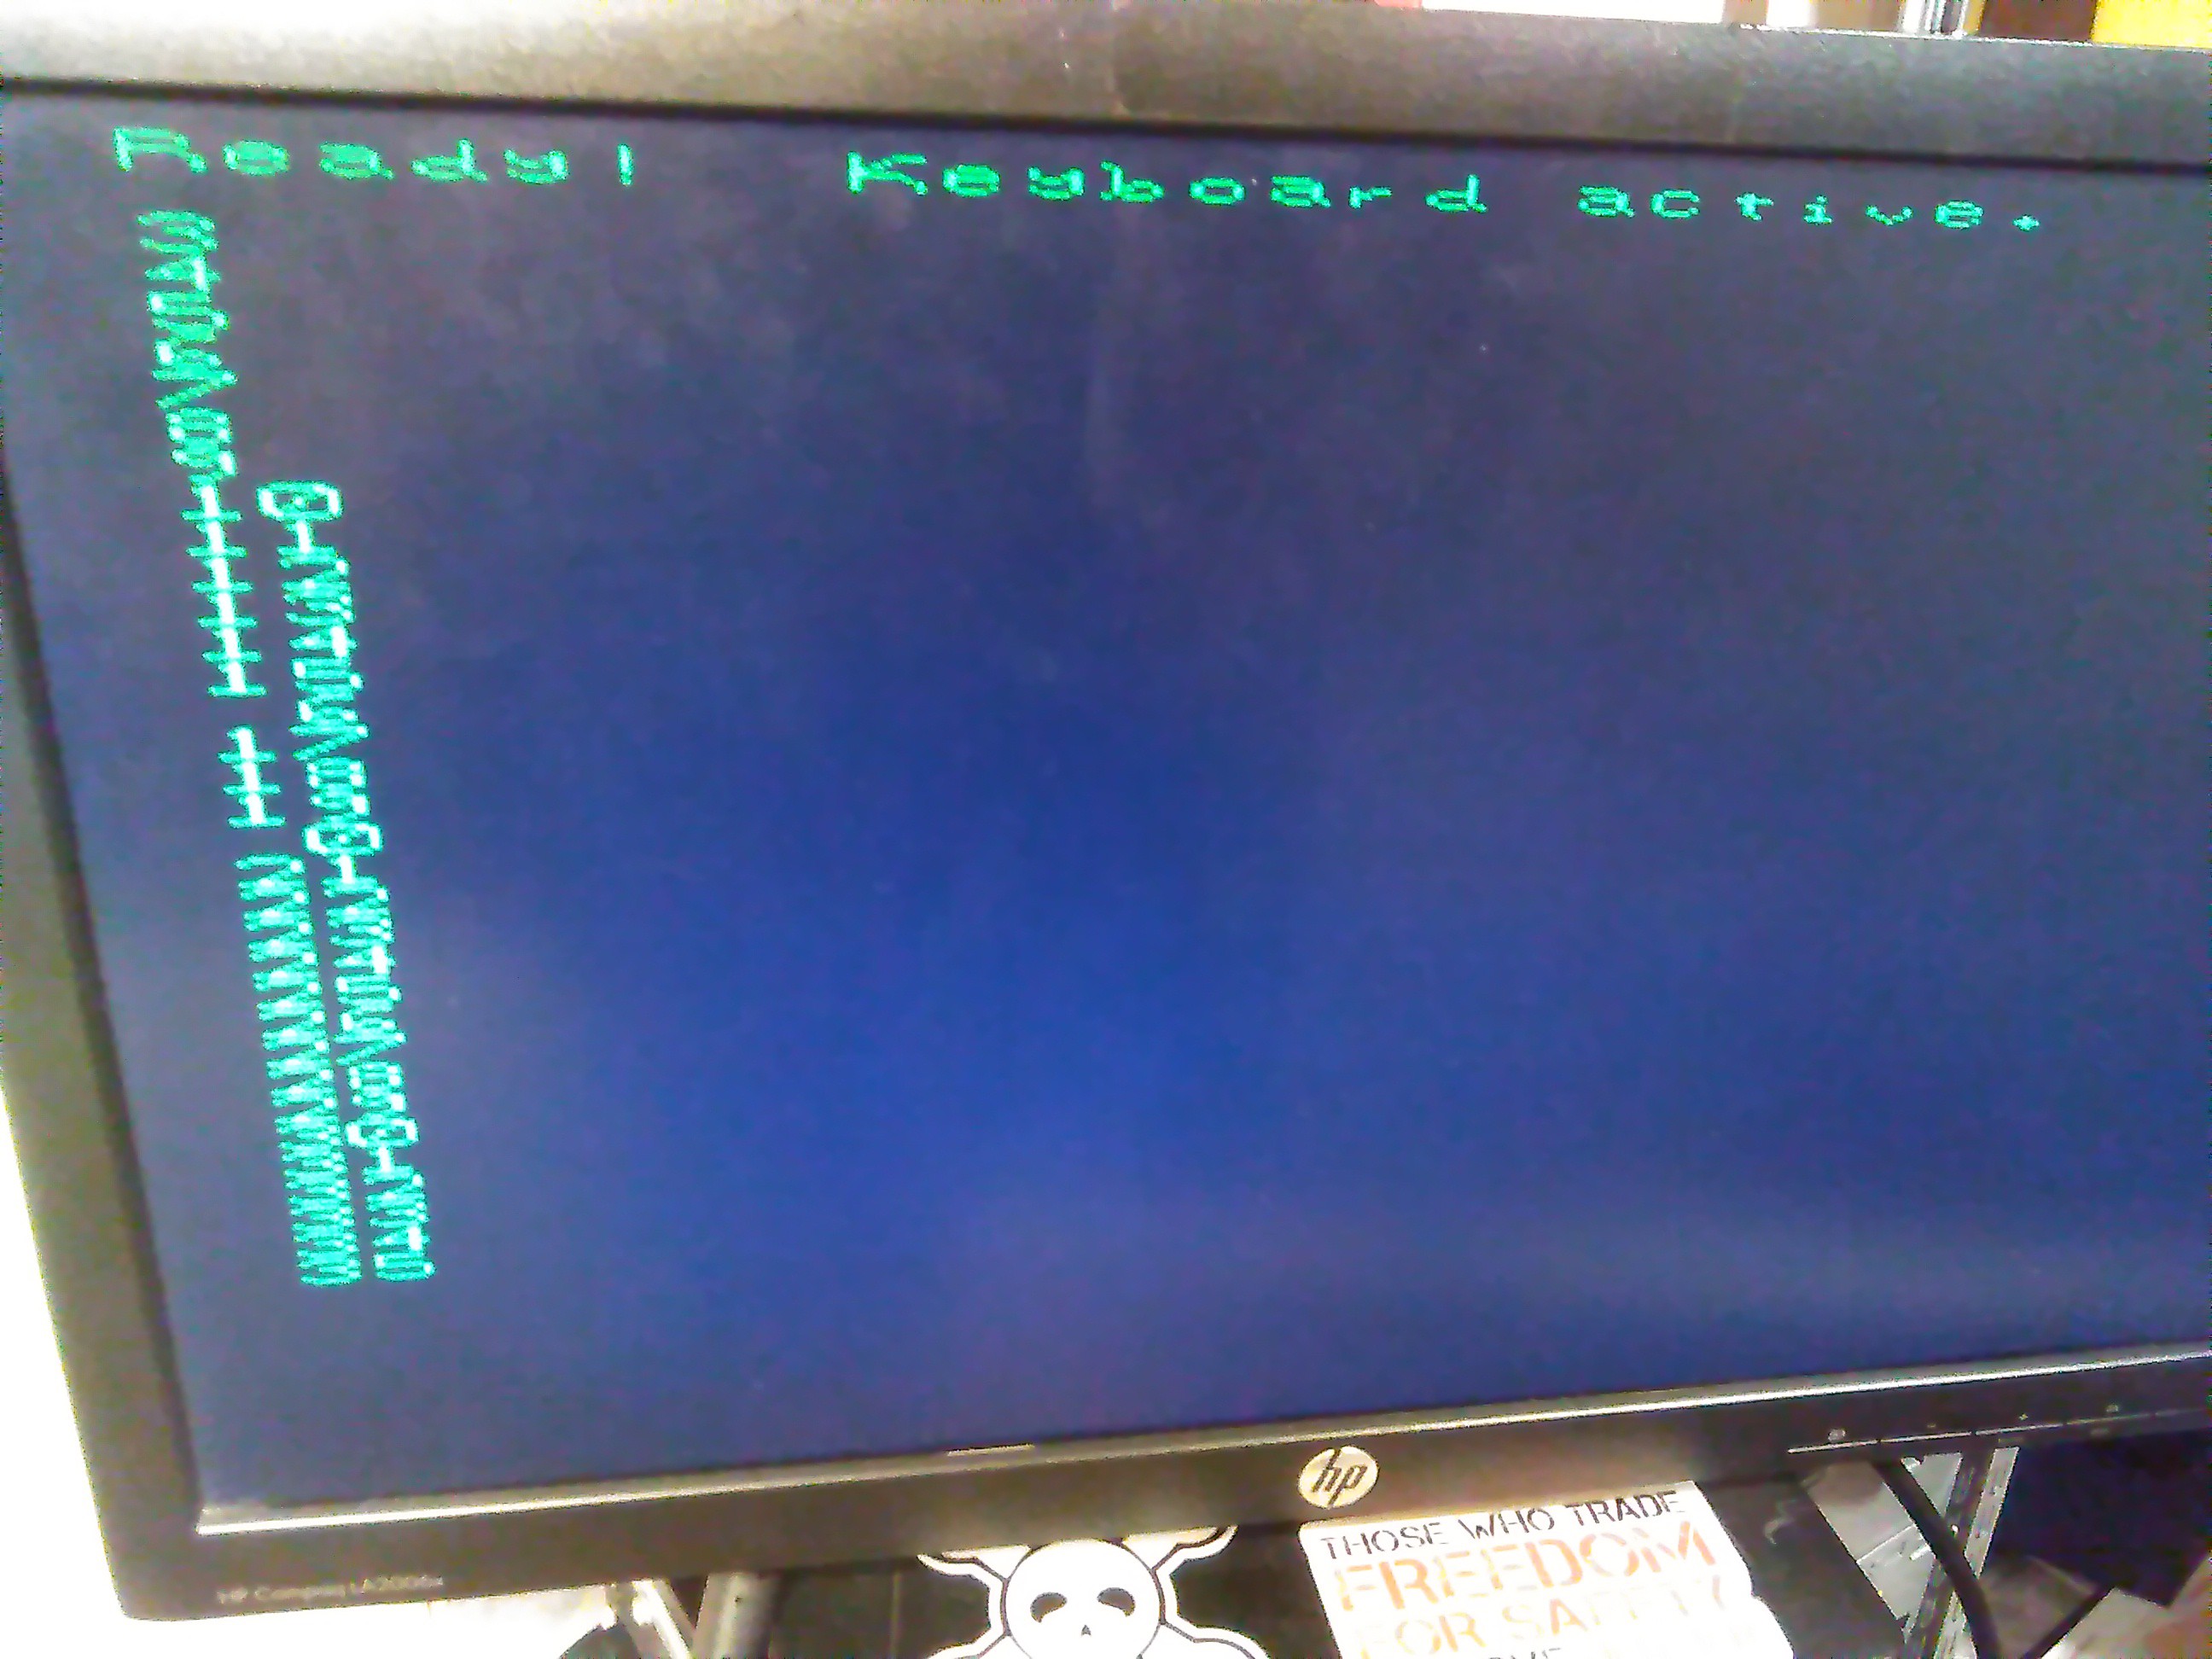
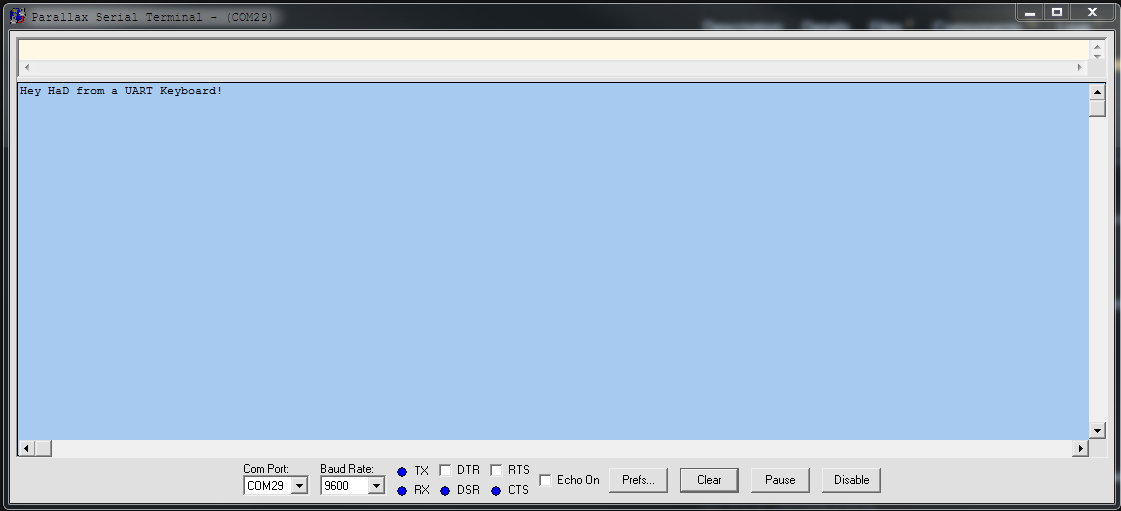
Here is a program in EEPROM that reads keyboard presses and prints them on the screen:
![]()
The font and character rendering isn't the best, but I don't want to be forced to use a modern computer and serial terminal every time I use my Z80 computer. Besides, I will be able to render graphics as well.
The computer's new boot sequence looks something like this:
- Initialize basic devices (not graphics cards or extra devices) and software
- Check to see if block device zero's first sector ends with "ye"
- If the first sector does end in "ye", then it is bootable. Execute it. Otherwise...
- Start the 'flash program'
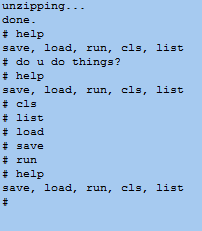
The flash program is like a monitor program except it is controlled by a python script. It's just for writing memory, testing programs, and installing OSes for the first time.
I designed the boot sequence like this because I am far too familiar with the x86 boot sequence, and because it allows me to easily modify the memory. The parallel eeprom chip cannot be written by the Z80, so I have to remove it for programming.
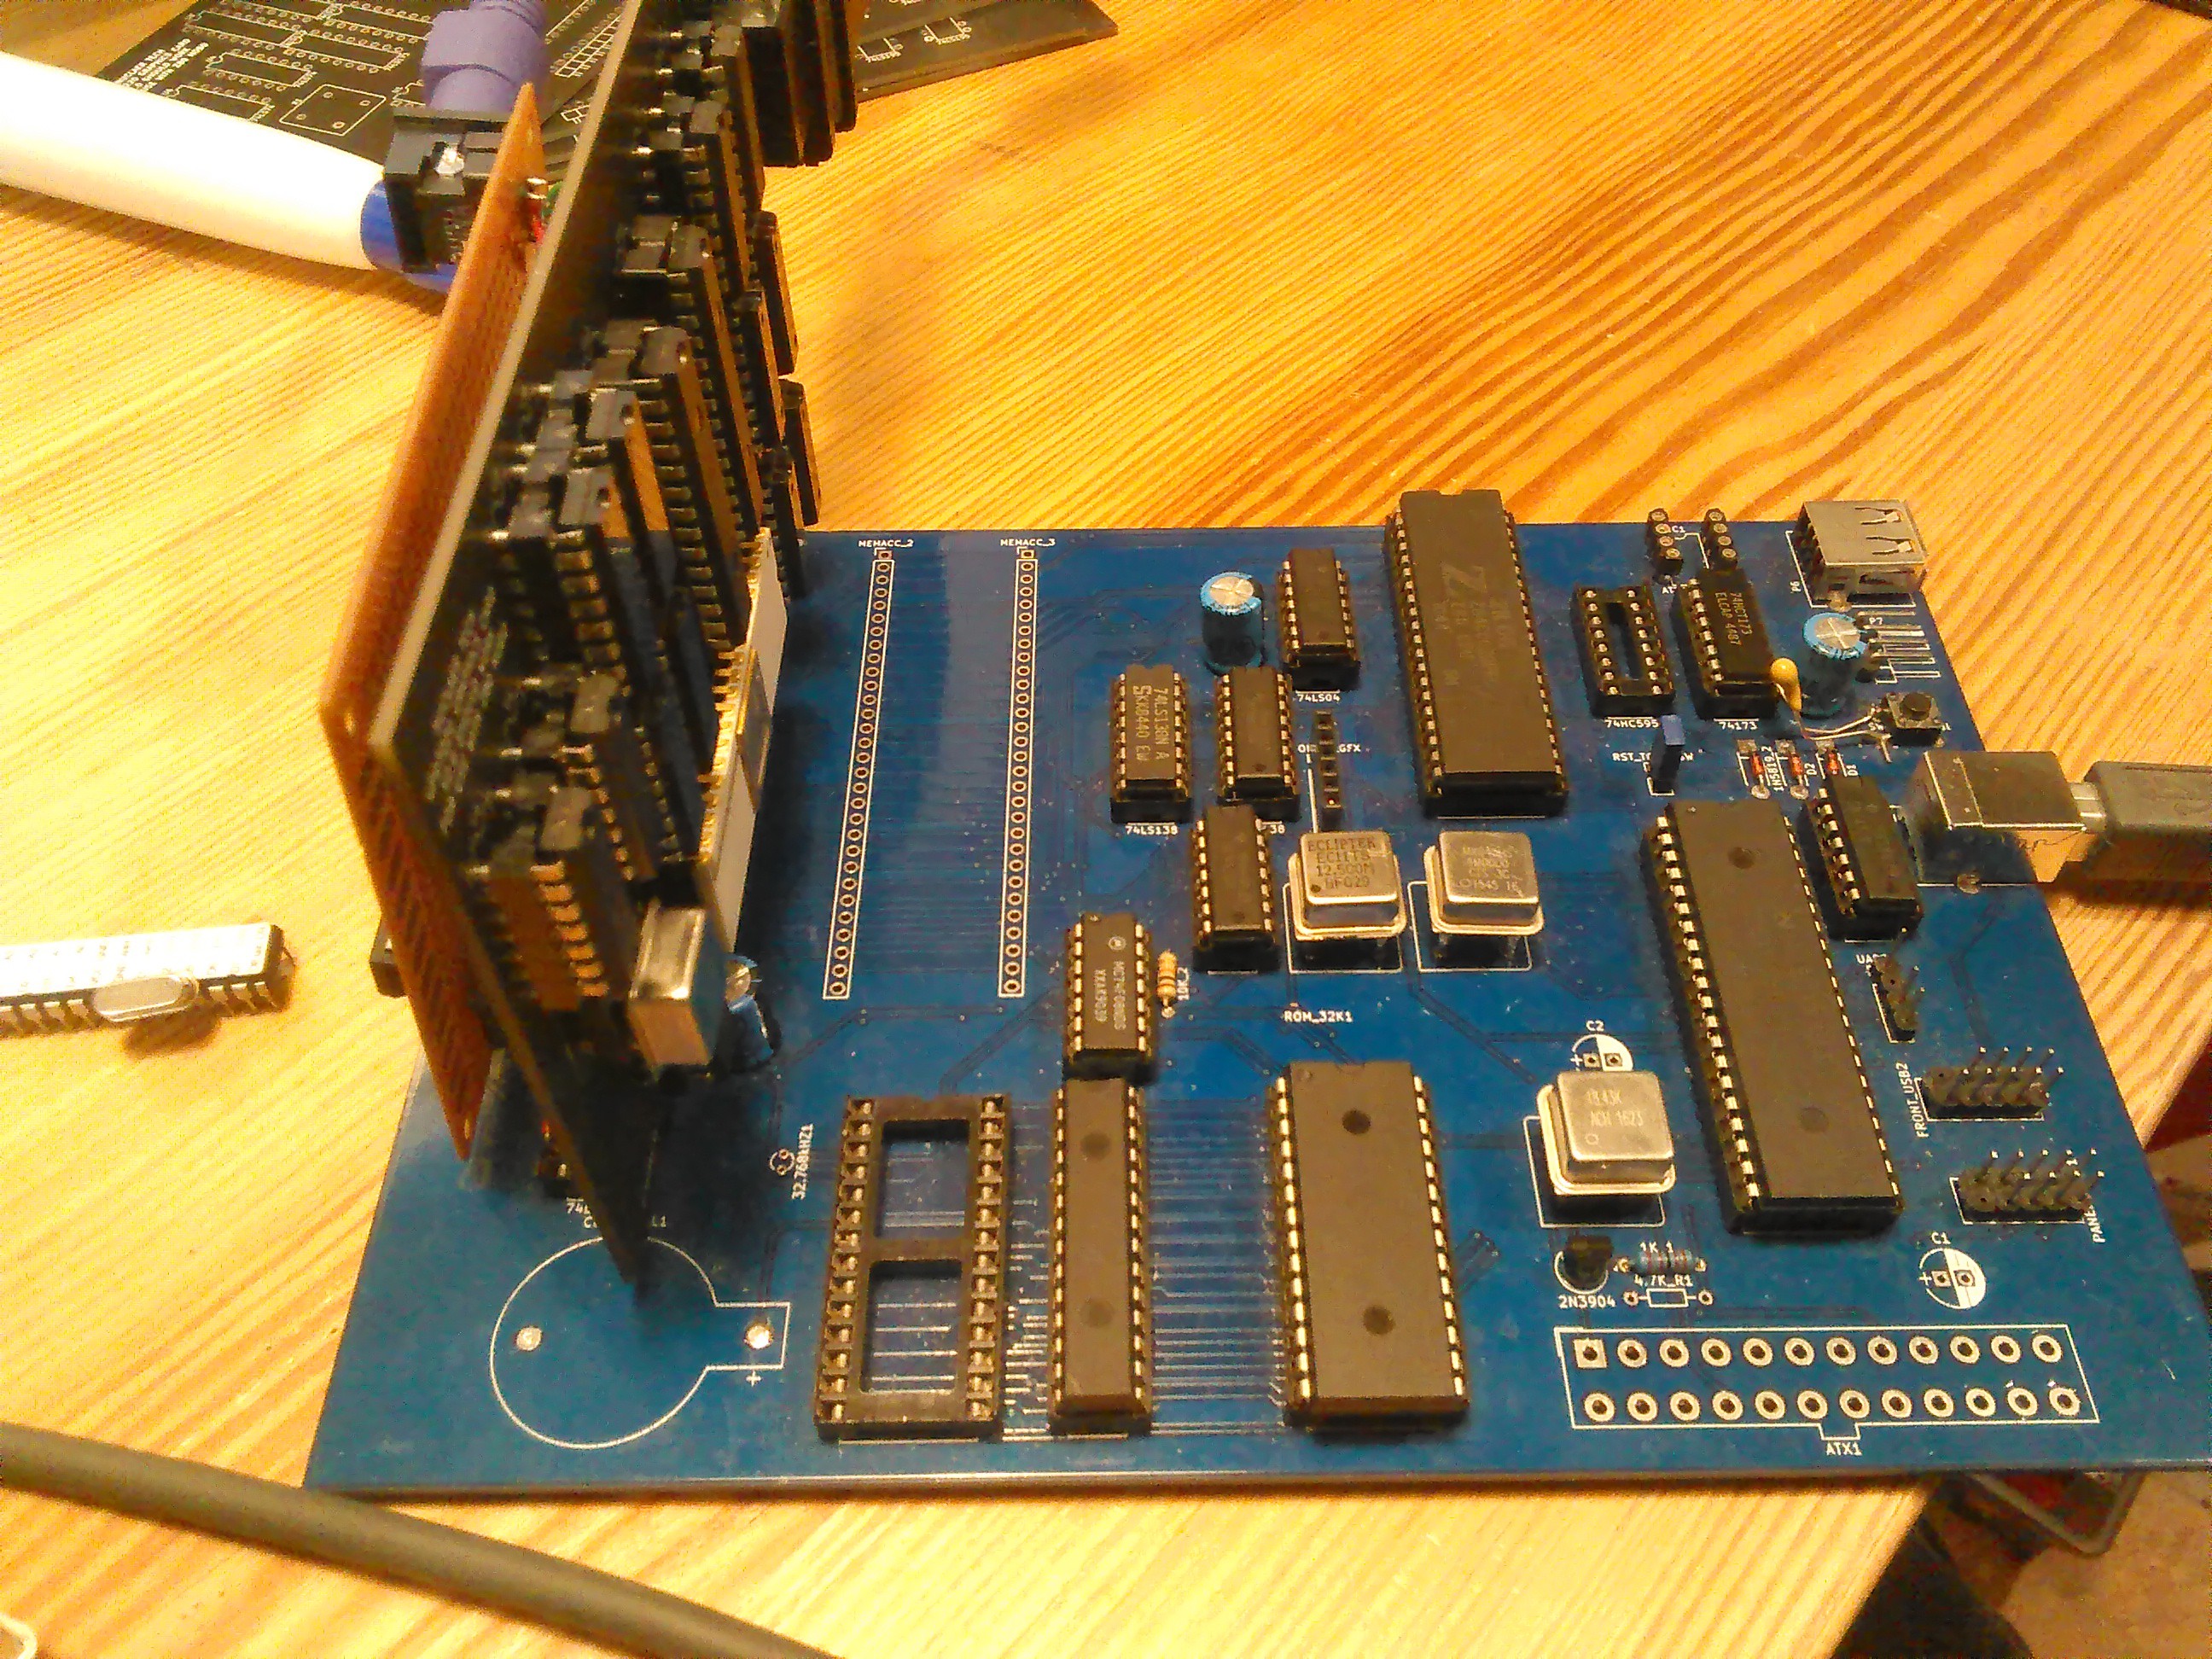
Here is a picture of what the computer looks like now:
![]()
The card on the left has the ATmega. The other card is the graphics card from #uPD7220 Graphics (and VGA hack).
I have different ideas about how the motherboard should be designed now too, so I would like to make a new one. This one has a limited number of expansion slots, many unneeded or broken features, and *should* support banked memory expansions, but I want that feature to be built into the motherboard.
Here is what I have done since last time:
- Added keyboard
- Working graphics card
- Added EEPROM "disk"
- added boot sequence and 'flash program'
- Added a ROM font in the parallel EEPROM
- Removed Herobrine
-
Work on a Better Graphics Card
11/15/2017 at 17:01 • 1 commentI haven't yet gotten the CF card to work... but I had already been working on a graphics card using the UPD7220. I got the boards and am working on drivers.
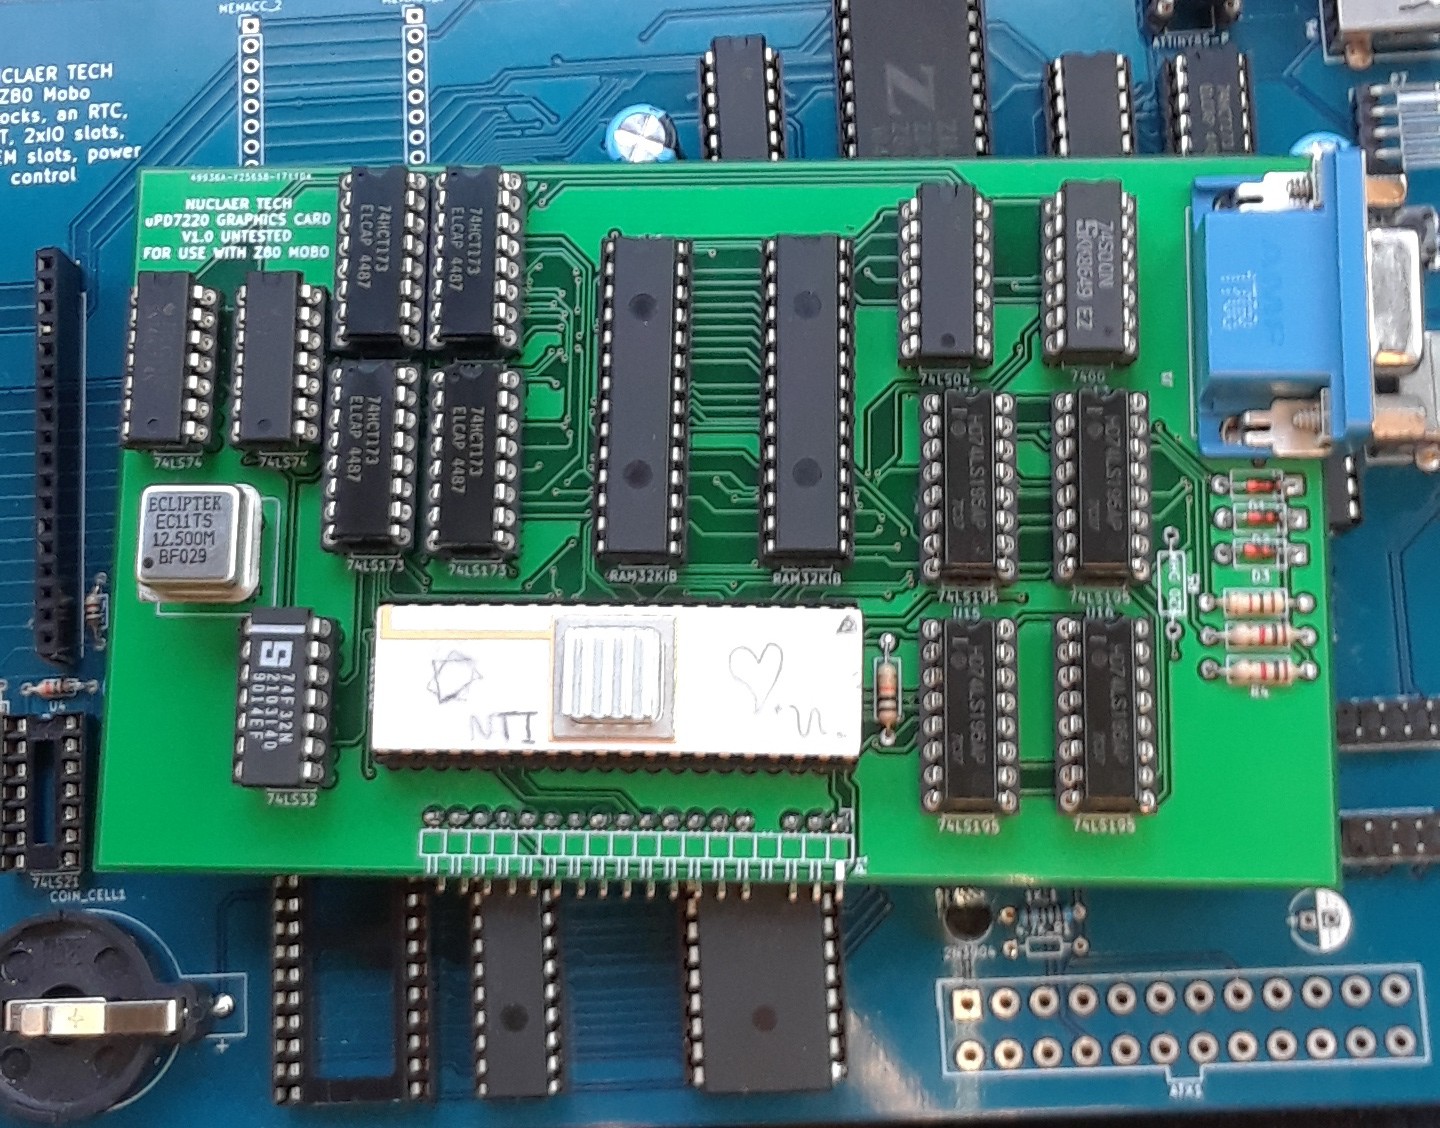
here is the assembled board atop my motherboard:
![]()
The card overclocks the upd7220 to 6.25Mhz and uses a 12.5mhz pixel clock. It has 64KB of RAM (more than the rest of the computer!) and can display 16 colors.
The driver is giving me back some interesting information. It consistently tells me that 4 commands are sent without overflowing the UPD's FIFO, that horizontal blanking is active, and that the FIFO is not full nor empty. The last is odd, the FIFO should be empty before the first command.
The driver tries, as a test, to write and read memory at an address in VRAM. The UPD7220 never sends data back, so I think there is a problem sending the commands to the UPD7220. Interesting!
-
Reading sectors, FAT fs driver: error traceback
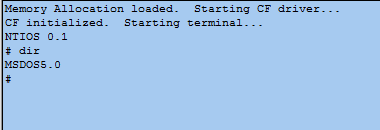
10/08/2017 at 19:40 • 0 commentsThe CF card I had been using was 512MiB, which I have learned is incompatible with my hardware setup... thus the errors. After getting a 128 MiB CF card, I tried an IDE/CF driver for Z80 I had downloaded a while back. I read the first sector and got the os name at offset 3, then sent it via serial:
I used the 'dir' command because there is no fs yet, so we can't list files. But as you can see, it clearly responds with 'MSDOS5.0', meaning reading sector zero actually worked. Yay! now lets make a FAT driver...
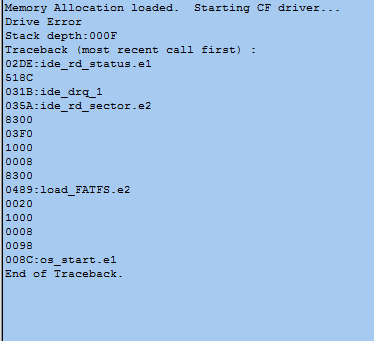
First tests of this FAT driver made the computer simply stop, endlessly waiting for the drive to be ready. I knew the drive had errored, but why? What piece of code caused the error? Time to make a stack tracer.
I put strings before each function call which could lead to an error, then made a program trace any drive error. We can see that the problematic code is at 0x489, where the filesystem is loaded. More specifically, where the root directory is loaded into memory.
I got the drive error code: 0x10, like last time, that the sector wasn't found. So I guess I tried to access a sector that isn't on the card...
That is the next thing to fix.
-
Making friends with some compact flash (almost)
10/06/2017 at 04:35 • 0 commentsMany of my tests yesterday gave me zeros on the status register. I played with it for a while with no avail, but I decided to treat the motherboard as if the expansion ports support hot plugging (they shouldn't). To my surprise not only did the computer not crash, but the CF card actually started working! Almost.
The card gave me an error code: 0x10, aka Sector ID not found. As of yet I haven't found out exactly where this error comes from, but I think it means that the sector doesn't exist. I set the sector to zero, but I am currently using a crappy test driver that is probably the issue. But, I'm talking to it!
You will notice that usually the number (the status, in hex) is 51, bit one being set meaning an error occurred. when I remove the CF card it becomes 50 once, indicating no error. This means my driver code is broken.
I am going to play with someone else's driver, will post another log.
-
Late Log, but motherboards received!
10/01/2017 at 00:30 • 0 commentsThe new mobos somewhat work! I am still compiling a list of things to fix, as the first boards always have problems (at least for me so far).
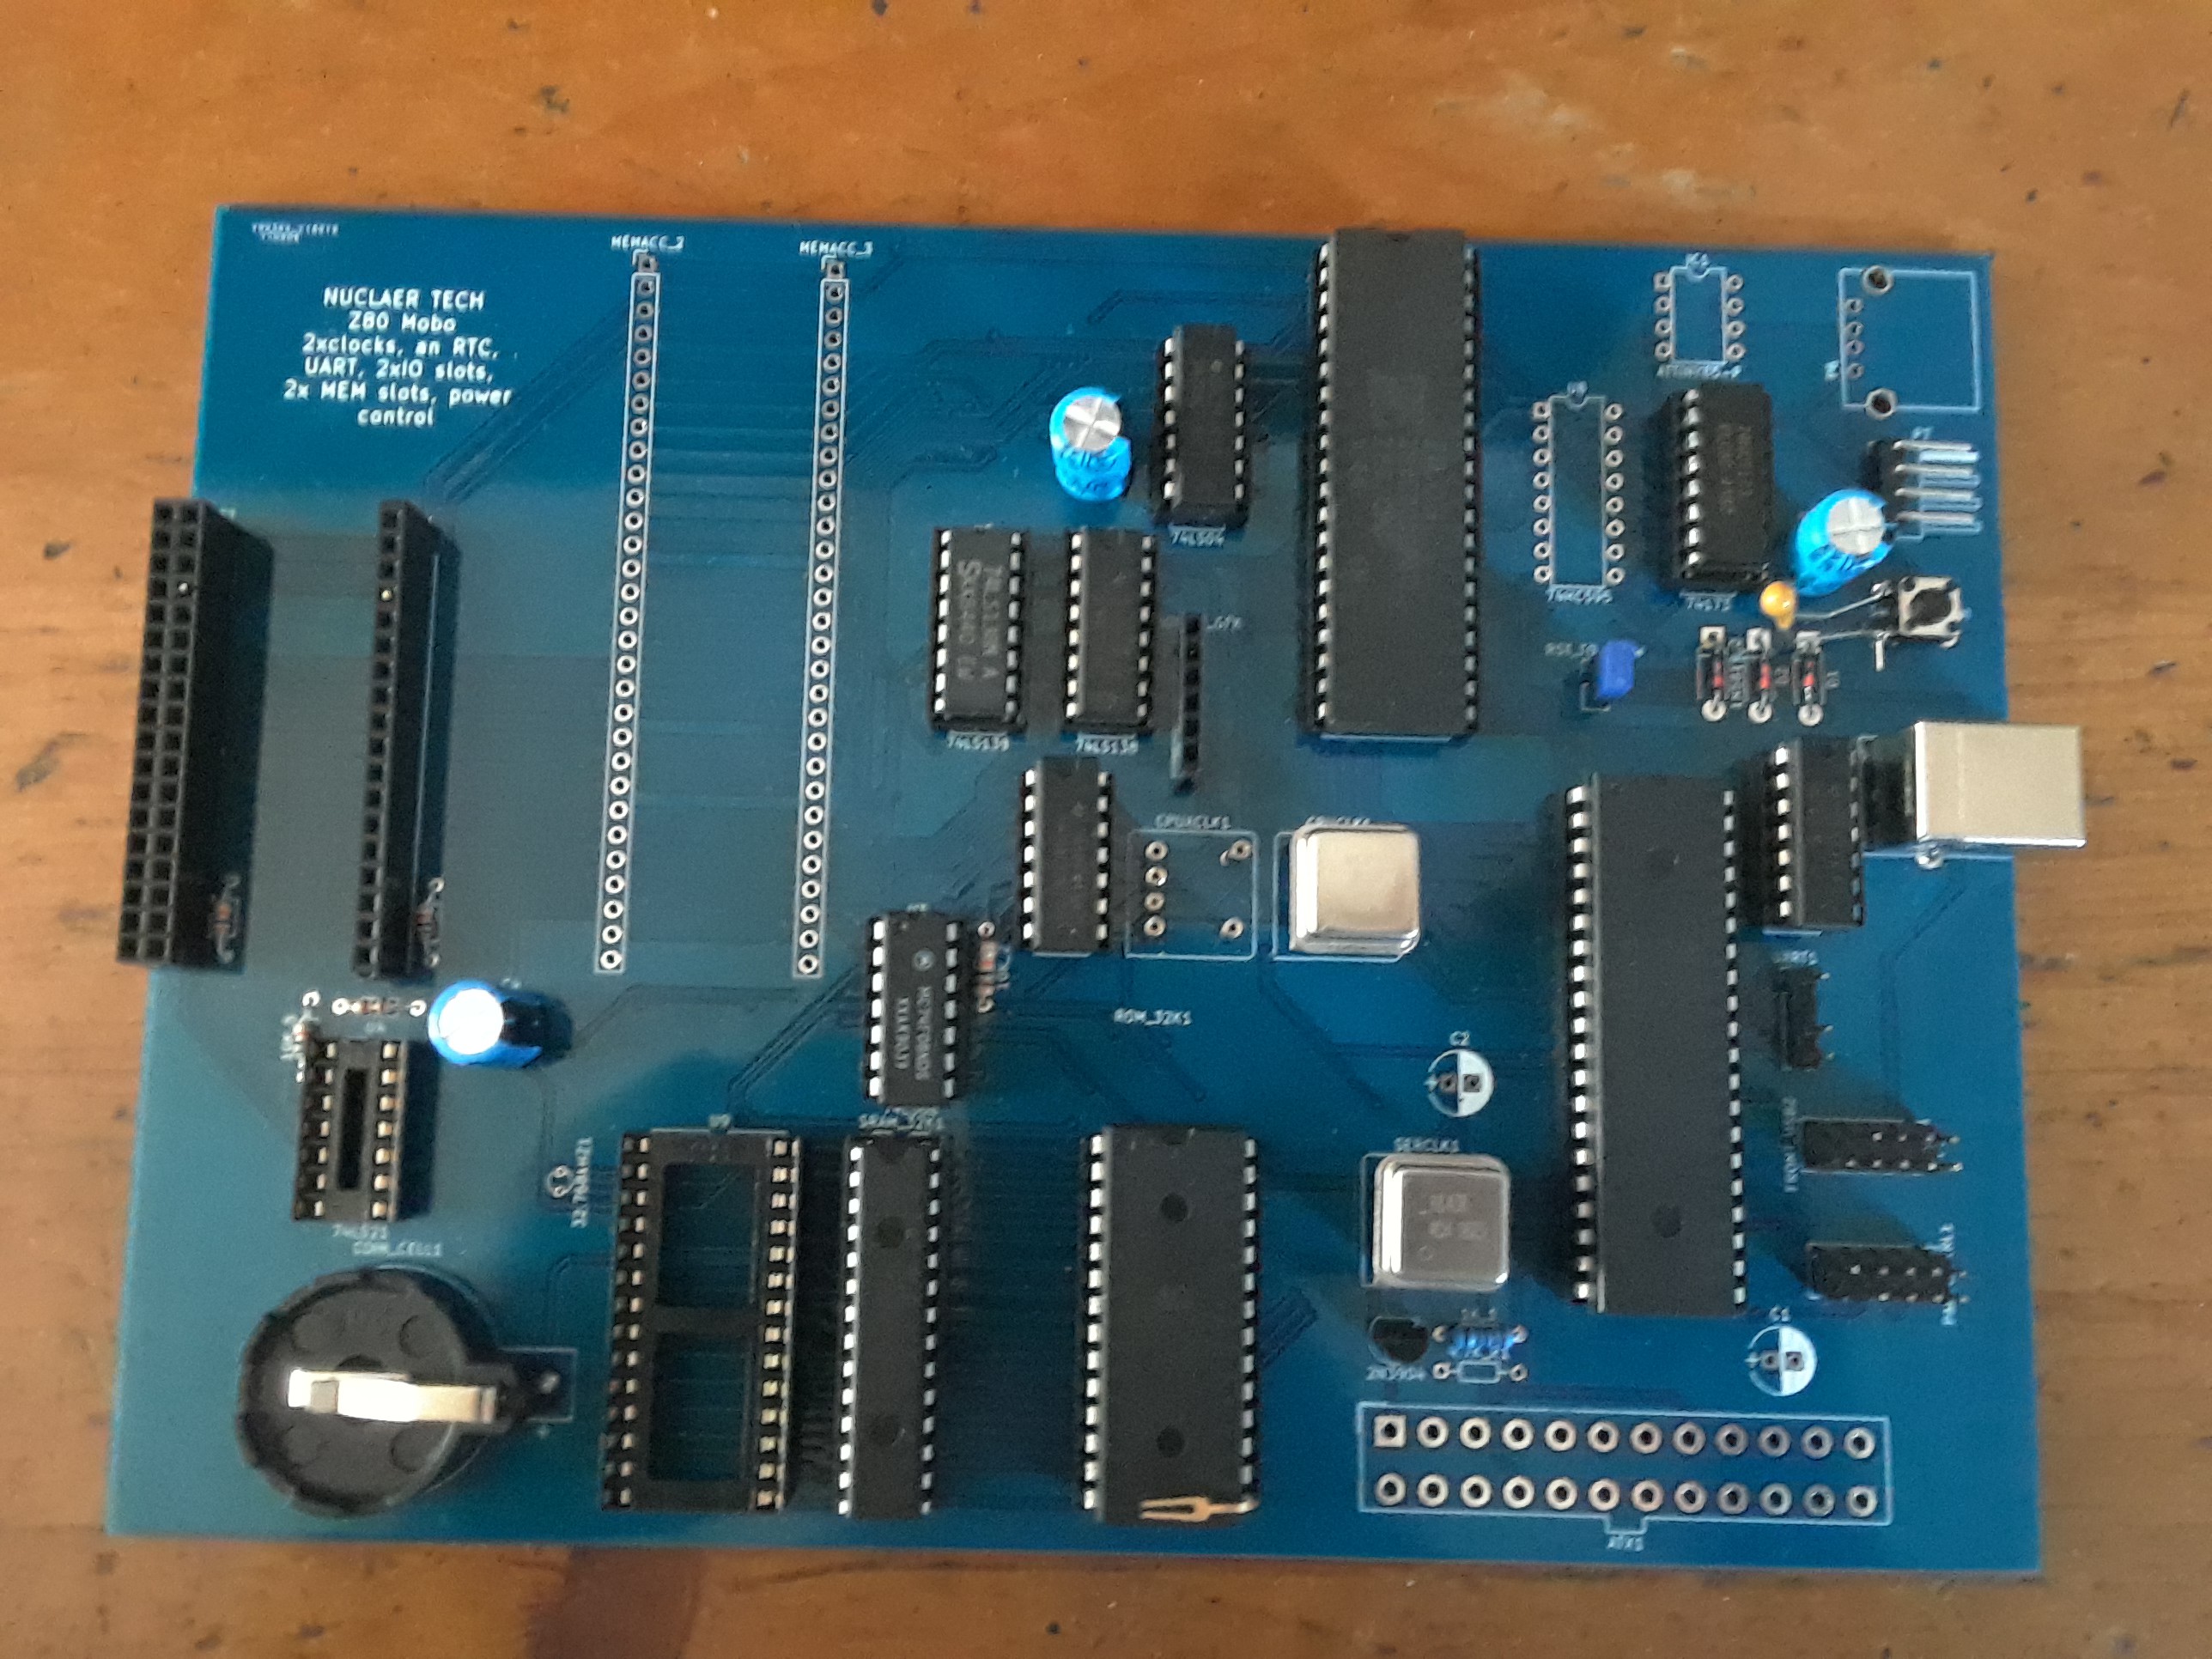
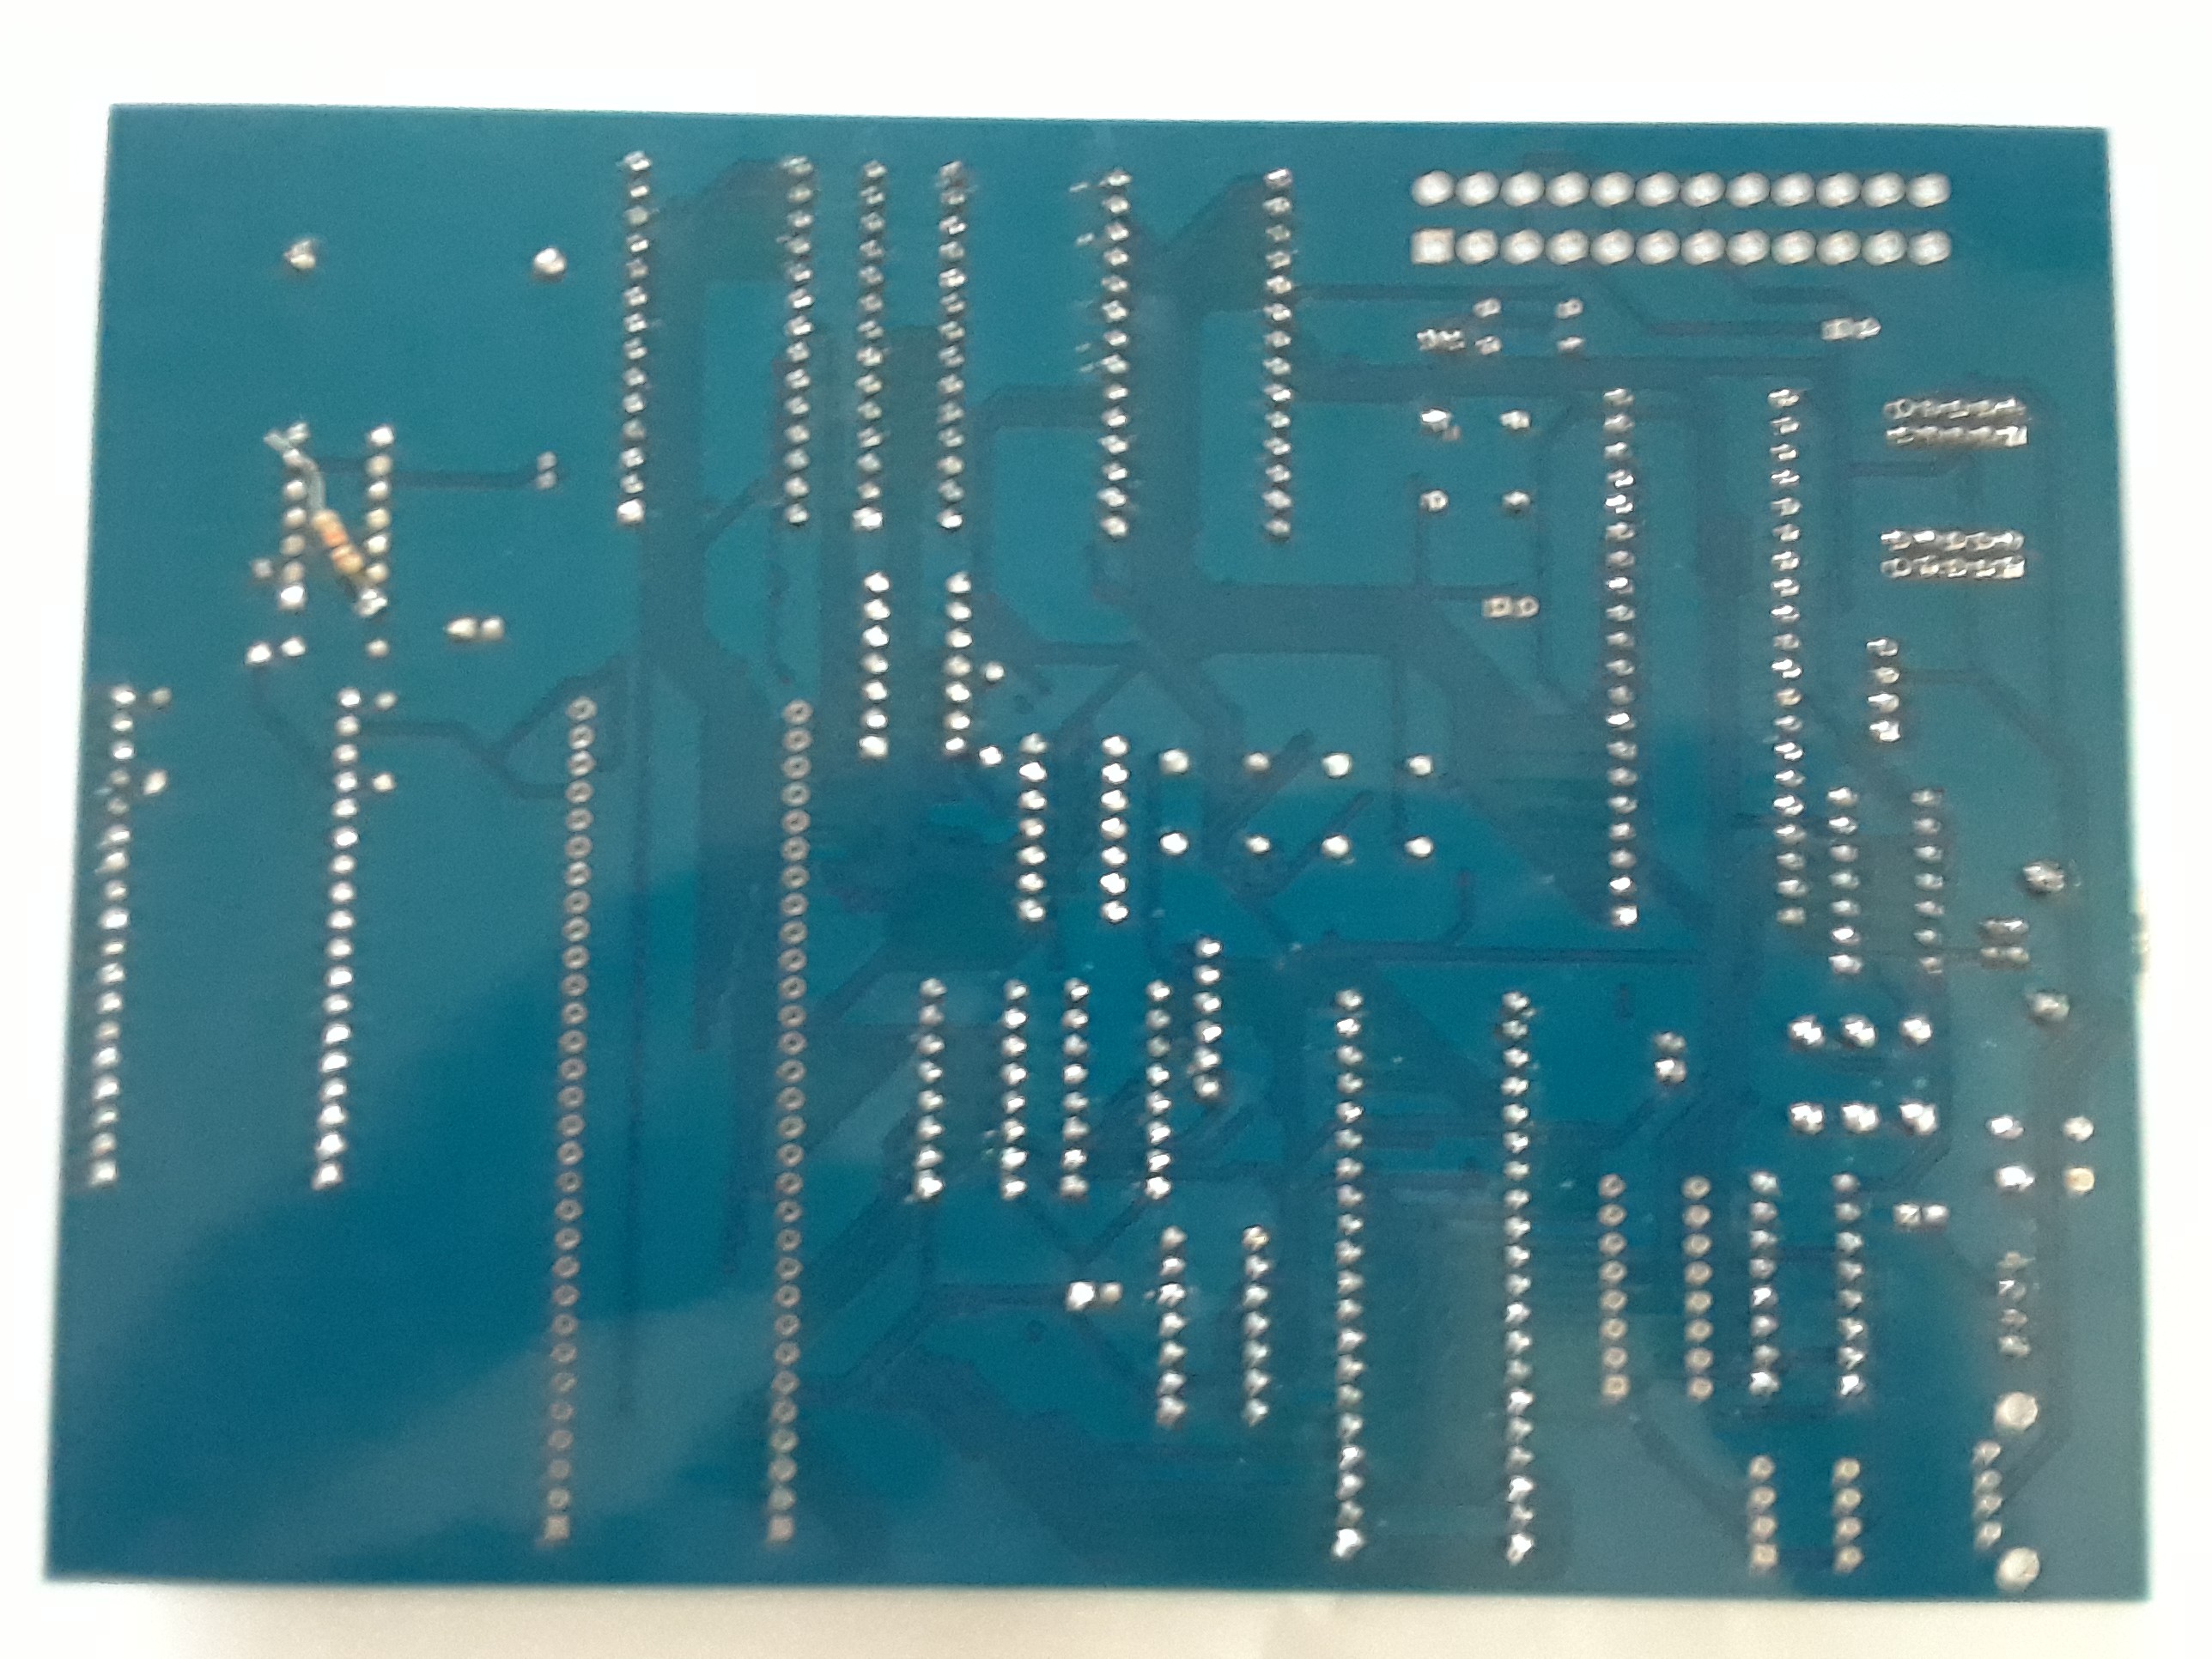
Here are some pics:
![]()
![]()
The board supports UART, 32KiB of RAM and 32KiB of ROM, a bq4845 RTC, ATX power, 4 expansion slots, and two different clocks for the CPU (switchable). With an ATtiny a USB keyboard can be added. There are more bells and whistles, but most of the features I listed aren't tested. I don't have a bq4845 (I ordered 4, but they sent me 4 bq3285s instead).
There are a lot of awesome things, but the board isn't perfect. There are a few pullup resistors I forgot, and it doesn't have any LEDs ;(. I am making a to do list for my next boards, don't worry.
I also need to make that uPD7220 graphics card... I may need to actually order a board for that. I would be worried about that however, because if a make a little mistake... there goes some money for nothing. The embarrassing fact is that I don't have enough patience to solder the wires for a complex TTL circuit. When I build that this machine will be incredible, especially considering that it should be possible to boost this thing up to 20Mhz: the graphics and CPU would be crazy powerful; really exciting.
Unfortunately CF cards and IDE drives don't like any of my z80 computers, so I cant really do anything with files yet. Without a file system an OS isn't super useful, so a CF card reader is the next step.
The reason that I am building this computer to be so nice and powerful, even though it uses (largely) 80s tech, is that I want a platform to build an OS on. And of course because building a computer completely from scratch. The problem with modern computers is that they are too complex to fully understand from books, difficult to program on without an OS, and pretty much are impossible to completely build from scratch at this point. A mixture of simpler, older tech with modern technology that works well with it is the perfect solution. The computer can be fairly powerful, yet easier to program and construct.
With that, here is a video of it working, plus a few more tidbits:
-
ORDERED THE MOTHERBOARDS.
09/12/2017 at 04:29 • 0 commentsMy old boards were an incredible step forward, but they had limited functionality, were not built with power/input/simplicity in mind, sometimes were unreliable, and were starting to die.
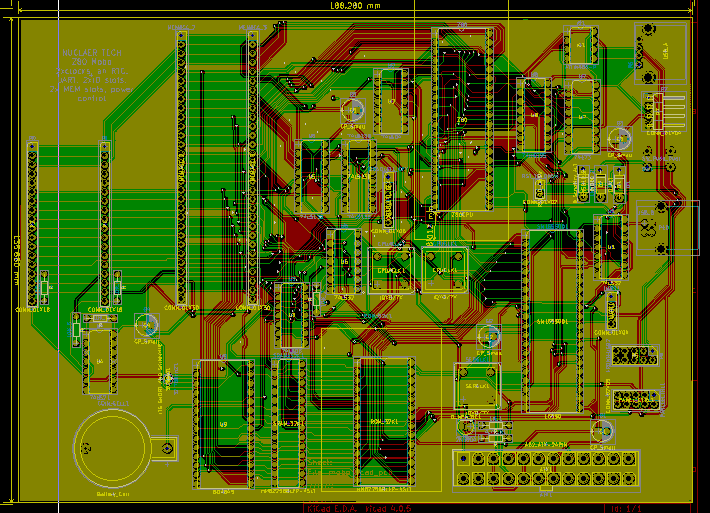
The new boards have proper ground planes plus some cool new features I have been planning for longer than I can remember, including: Changing clock speeds, an RTC, and slots for IO and memory cards. Also it adds support for USB keyboards and an ATX power supply. I can't wait, execpt I dont have all the connectors I need to make it do everything, but it will still be awesome when I get it.
Here is a pic from KiCad:
You can take a peek for yourself, I will upload the files.
Good day Hackers!
-
everything but keyboard and CF working
07/13/2017 at 07:12 • 0 commentsCF card is untested, but there is something really wrong with the keyboard. Certain keys, mainly ones far from the control circuit, don't work. I think I also found a firmware glitch. So there seems to be a matrix problem, right? but all keys work on my test area. Hmm. That's why I am 3d printing a keyboard back, maybe if there is interference or something causing the keyboard not to work in some places, it would be blocked. At least the video is working great!
No pic today ;( oh well
-
Graphics and a keyboard in the works
07/07/2017 at 07:48 • 0 commentsGot basic graphics working; I essentially took one of the NGT20's predecessors and updated the firmware for better graphics.
More exciting : the UART keyboard!
I typed that on a home made mechanical keyboard! Nice and clicky... still am building the card that connects to the Z80 computer. I cant use the other UART as input because the graphics card uses the port. I mean, I could hack it, but... Actually I think I'm going to do that. Lol. Time to hack a graphics card and keyboard port!
-
ITS ALIVE!
06/28/2017 at 23:33 • 0 commentsUART FIXED! I hadn't soldered the oscillators ground line, so the UART chip had no clock signal. Duh. Anyways, I had written an OS with the help of an emulator I think starting about a year ago. Here is a branch of it running on my Z80 computer:
Still a long ways to go. Next step: graphics!
You see, the NGT20 is one of a line of video-card-like devices I made. My Z80 computer has been designed for a long time to be compatible with one of its unnamed relatives. I just got a CF card to IDE adapter and a CF card for files. Also, I have an RTC chip on the way so I can multitask. Lots of things happening moving forward!
-
Big ole update
06/21/2017 at 14:48 • 0 commentsOK, so for now I ditched the motherboard idea. I am not willing to buy a motherboard from a fab, so later I may make a homemade board with vias, as seen here. That blog is really awesome btw, consider reading it sometime.
Well anyways I have been trying to get a 16550 UART working, so far with no luck. I have pretty much reduced the problem down to the UART or the data bus's connection to the 'expansion board' I made because I ran out of room on my first board.
I also added a nice ATX power supply controller circuit, which allows power to go to the (currently useless) IDE hard drive. It's still pretty cool though.
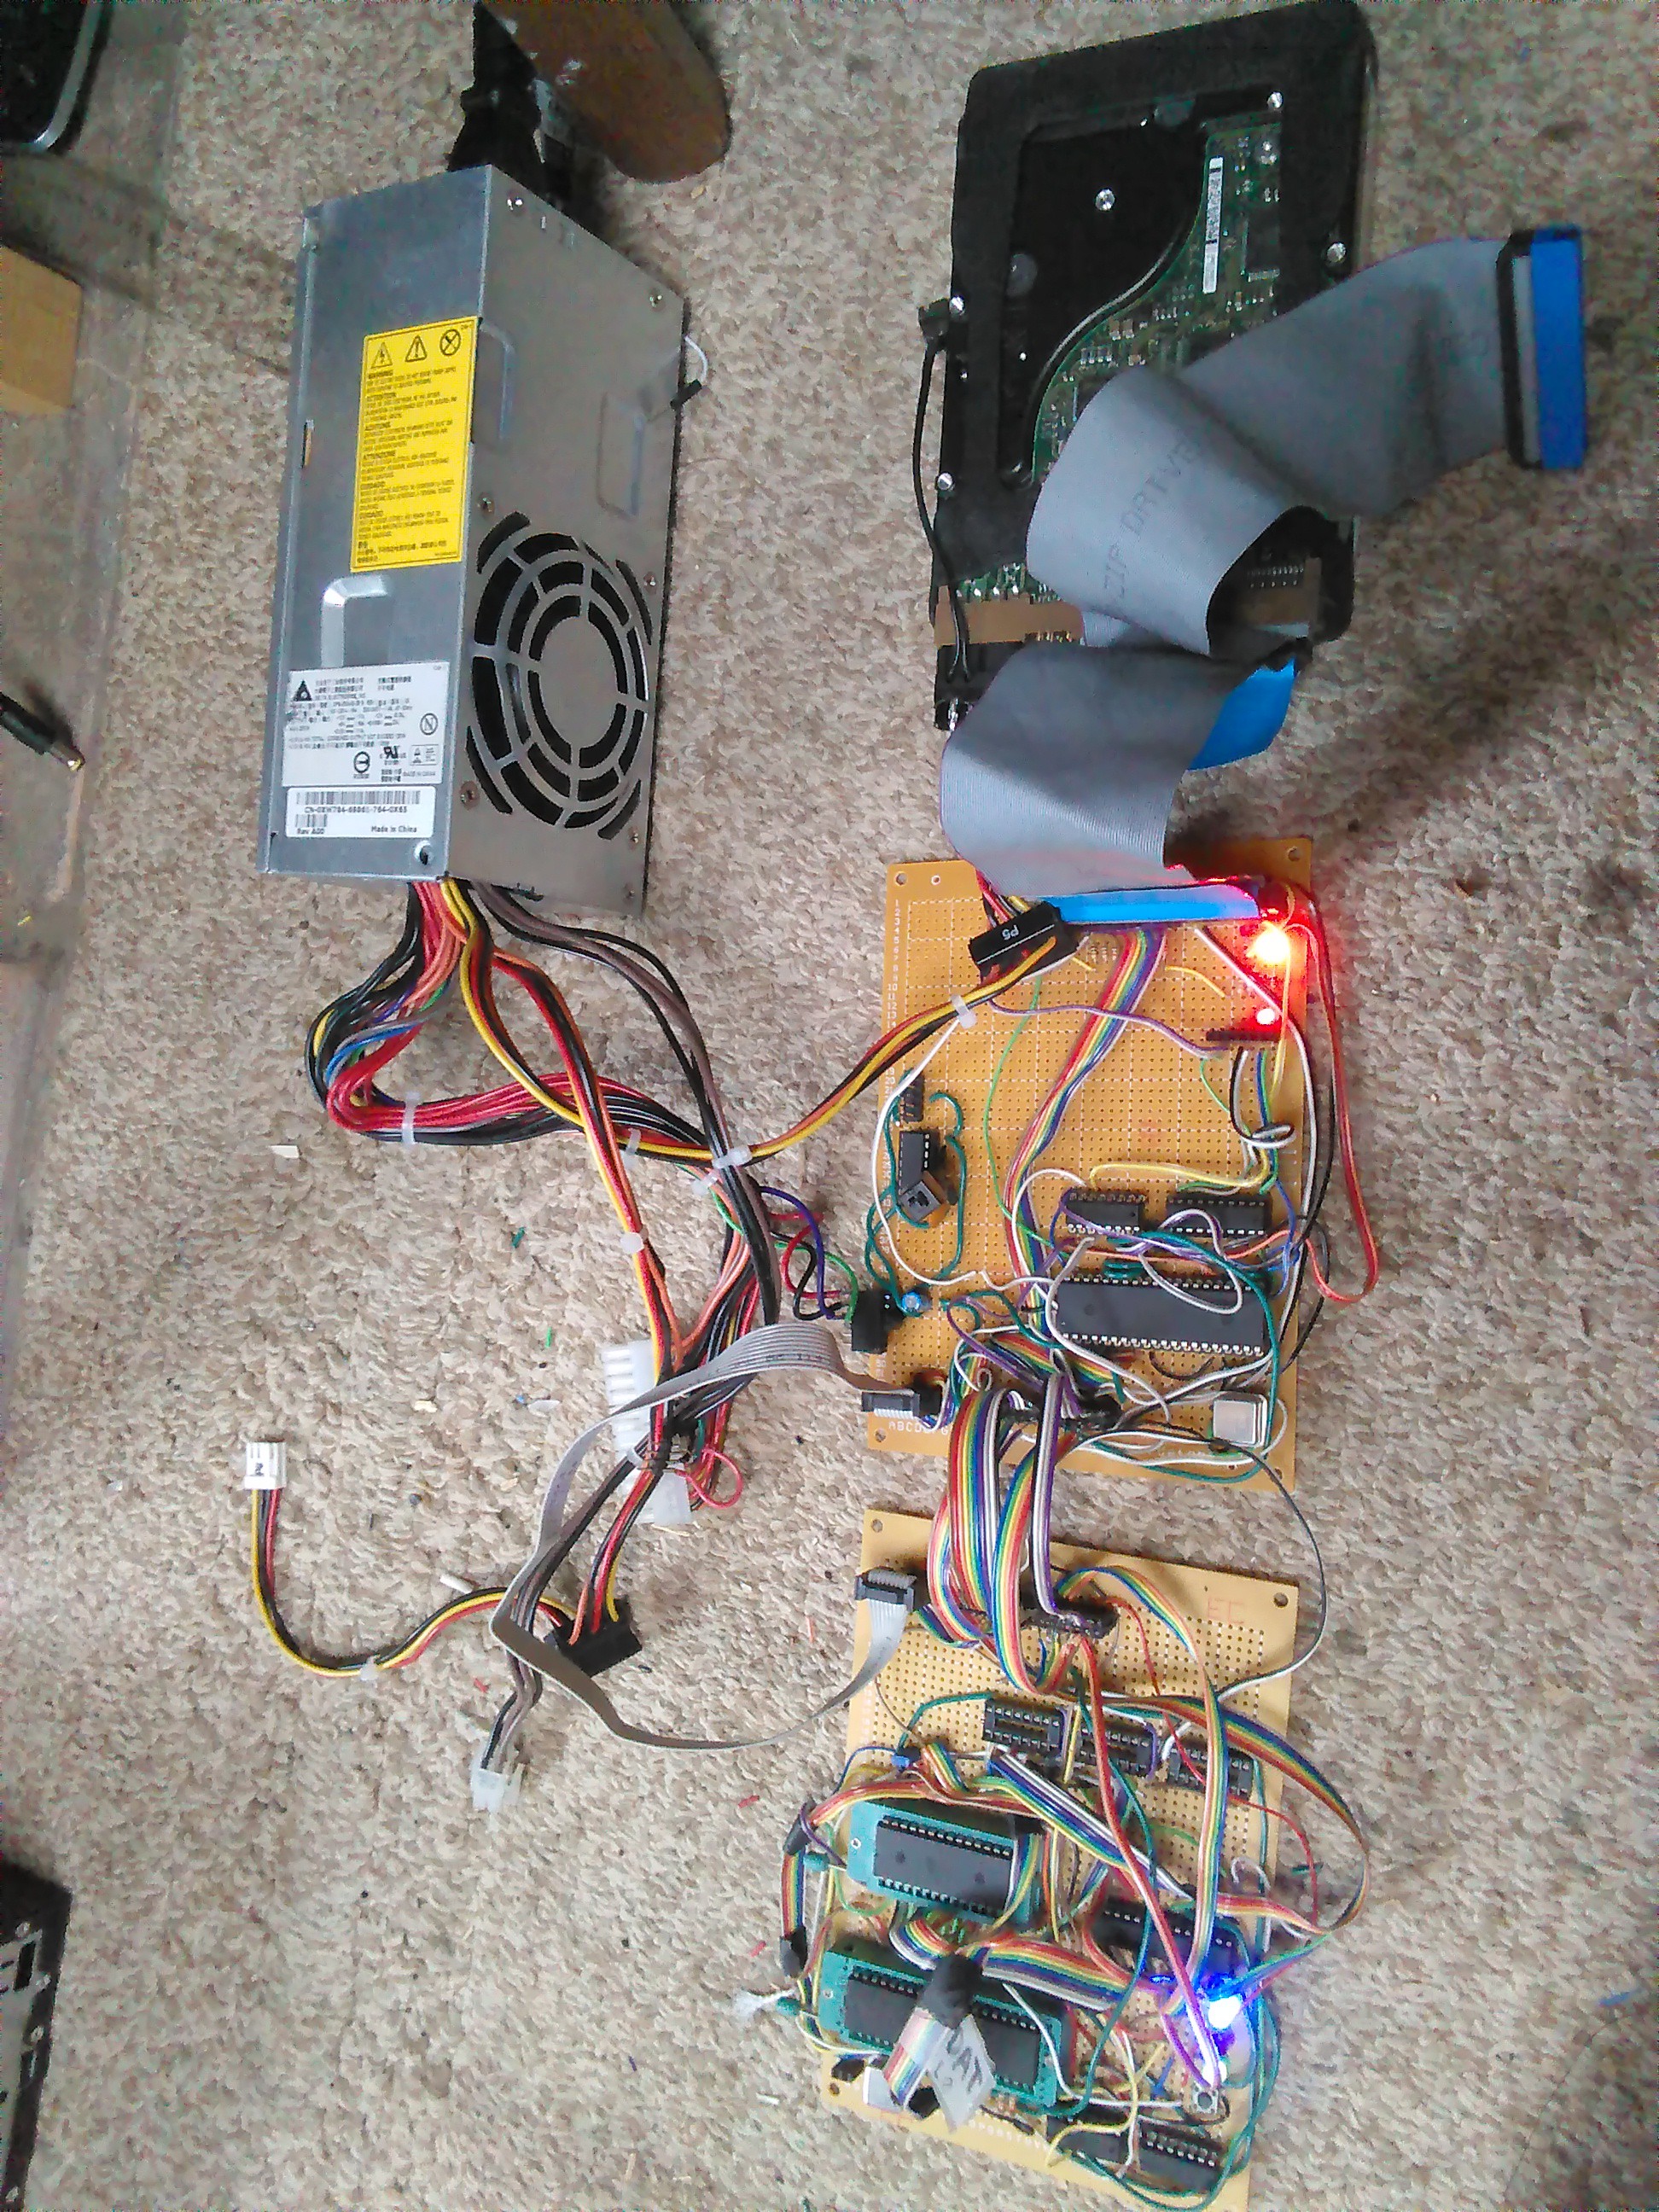
Well, here is the system so far:
![]()
You can see why I need to make my own smaller and more clean PSU. This 'wires going crazy shorting everywhere' business with a WAY oversized powe is beyond terrible. OK, now the computer itself:
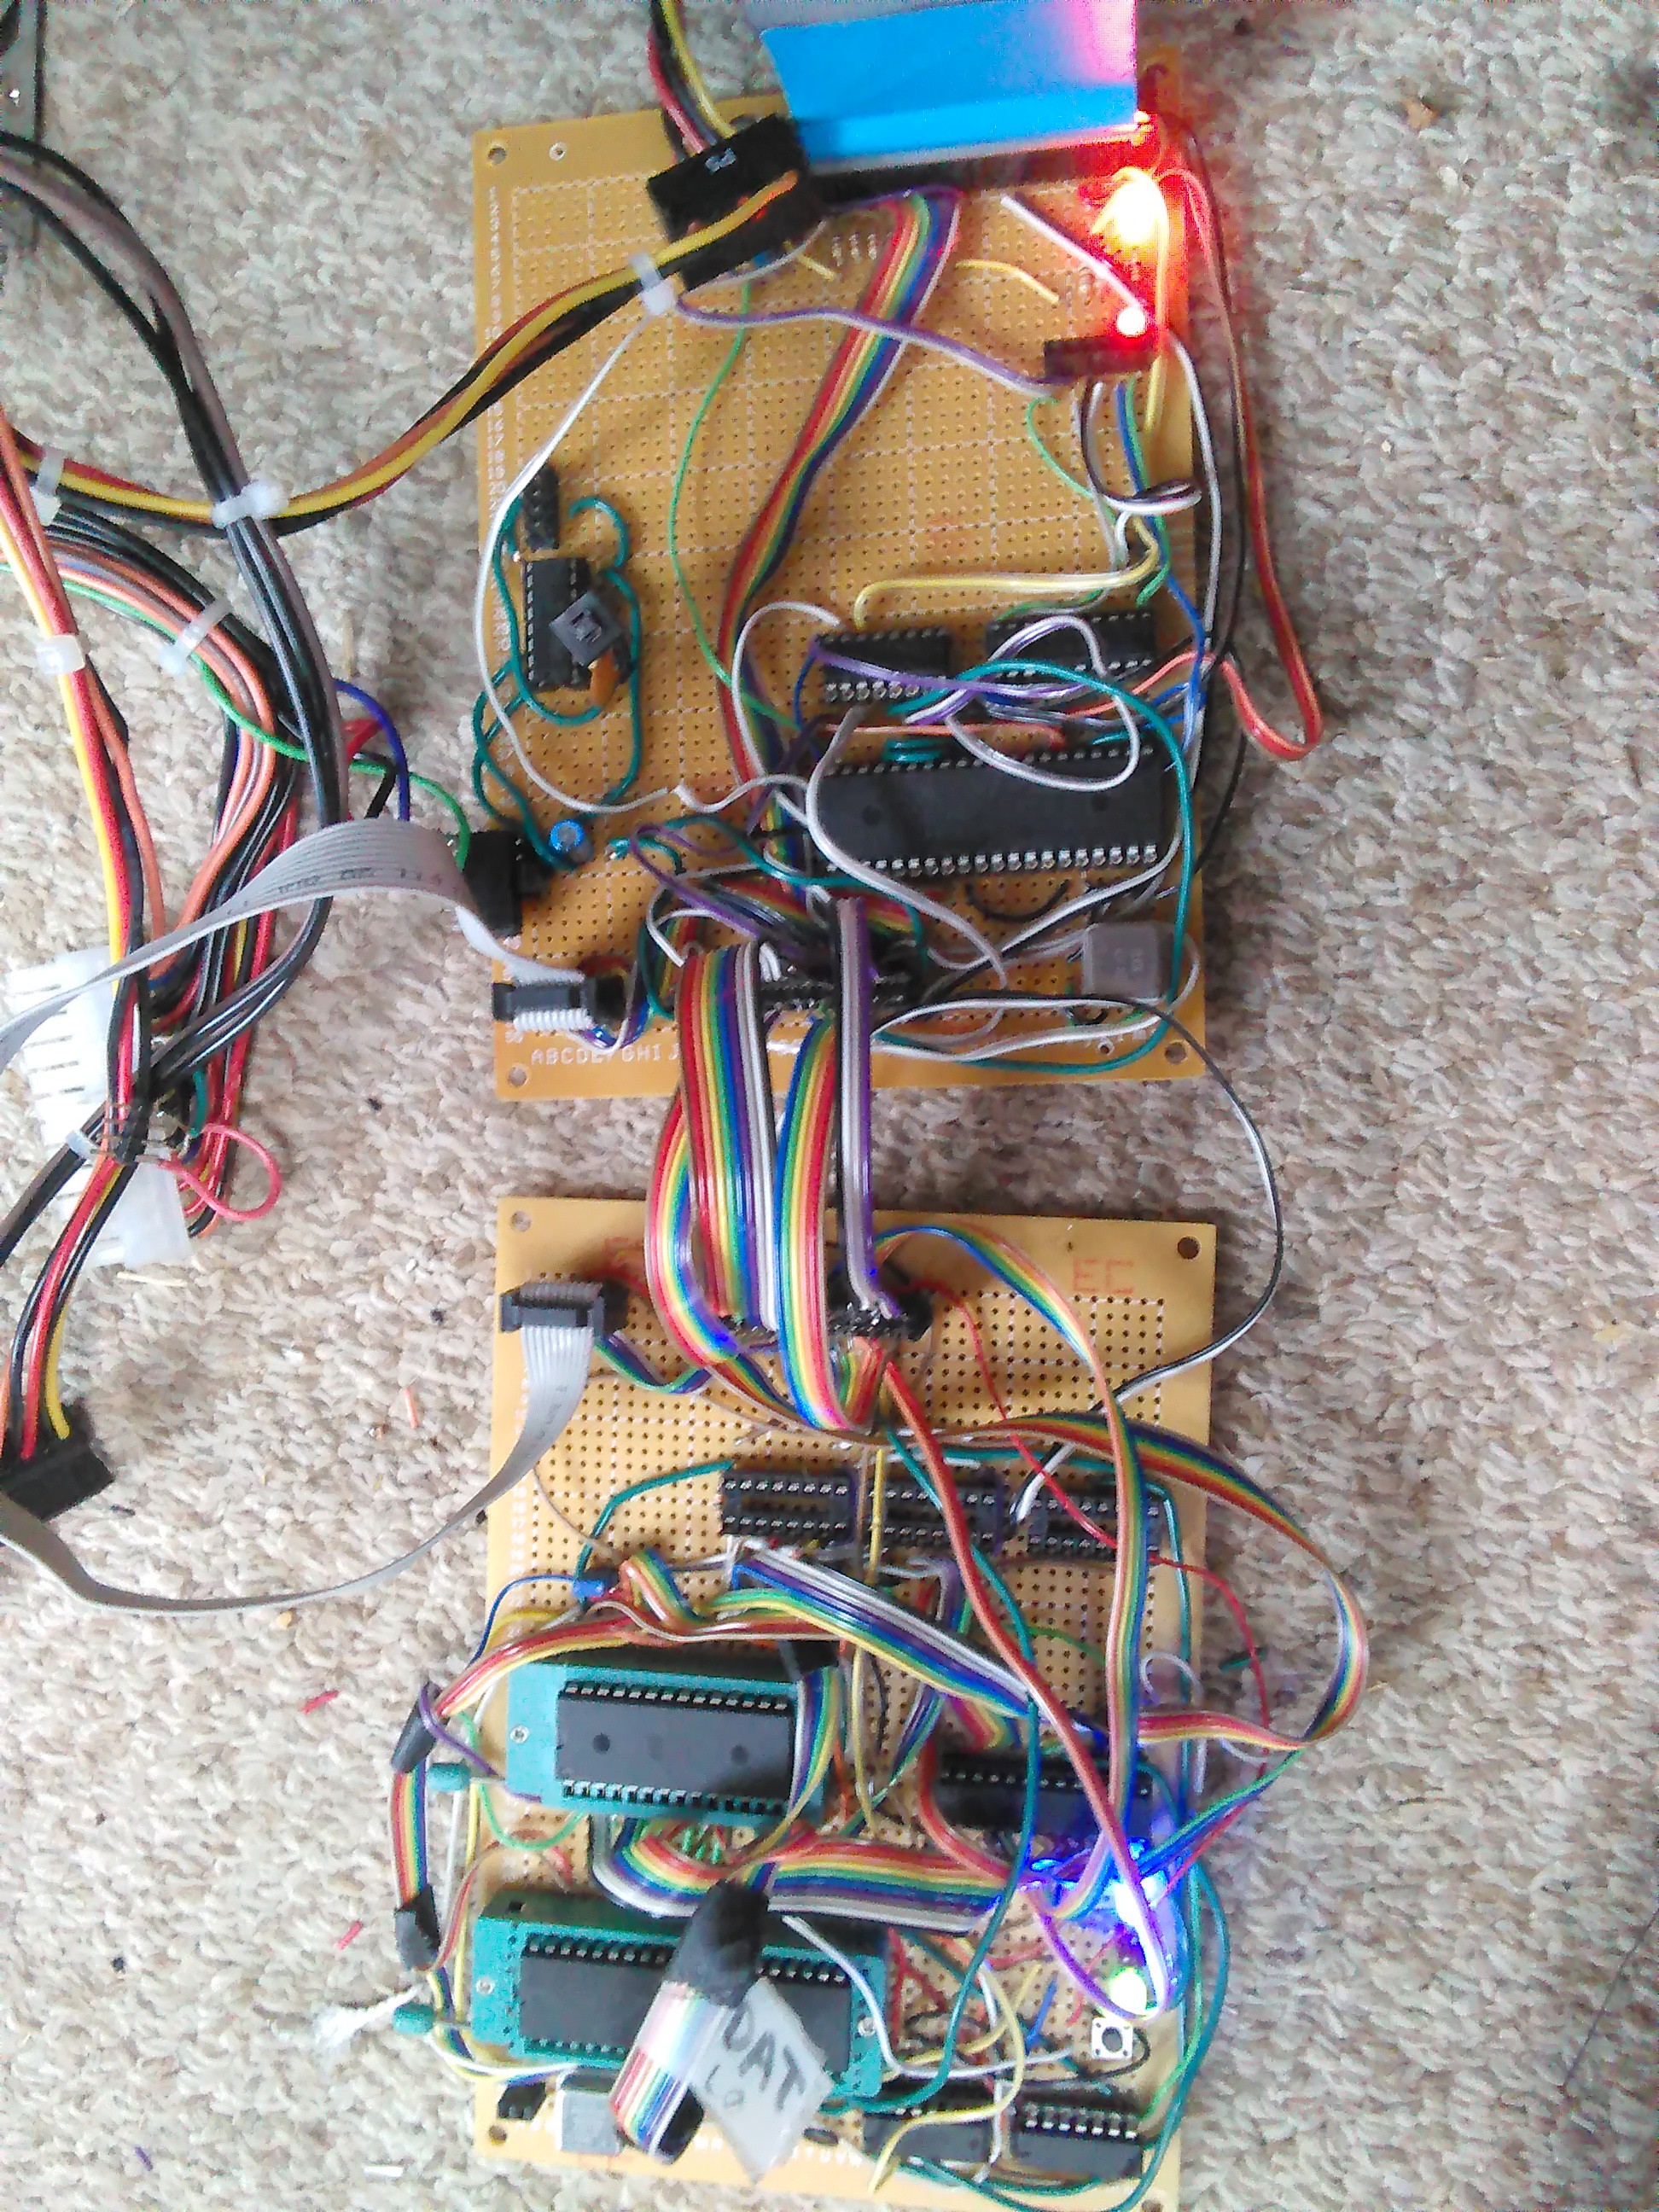
![]()
Z80 overpowered computer
I am building a computer with a 4MHz Z80, 32KiB EEPROM, 32KiB RAM, IDE interface and UART.
 Dylan Brophy