 Maciej Witkowiak
This is also a backlog entry. I did soldering over two evenings: 28th and 29th December. I have no experience with preparing boards for manufacturing so I went with a plain perforated board with 18x24 holes. What's worse, I didn't have proper connectors and I decided to solder all the wires directly to the board.
I used Fritzing to have a general idea how to layout components, which connections must be done close to be board and how to make enough room for external wires.
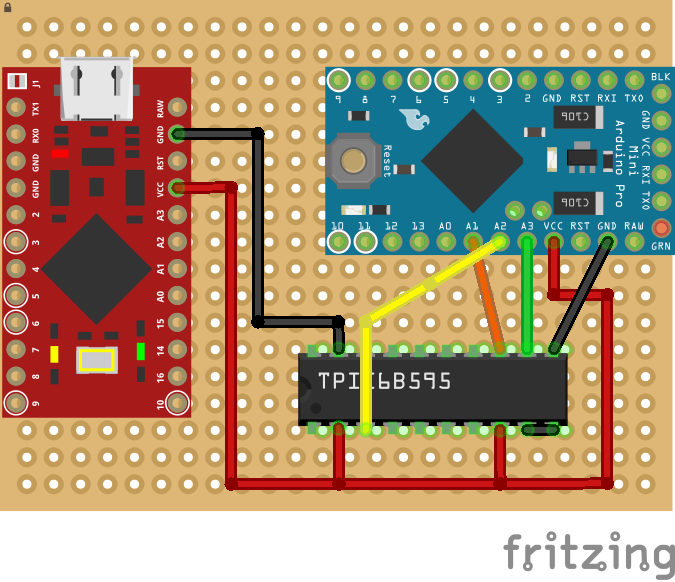
I tried to be smart and wanted to hack precision sockets to mount both Arduino boards for easy replacement. However I didn't test if the pins fit. They don't, so I wasted about one hour on soldering and desoldering the socket. Oh well, both microcontrollers can be reflashed on the board anyway, but now I have to be extra careful not to brick them.
That was only the first mistake.
The second mistake was that on the first evening I connected power and ground wires coming from the components together, but I didn't attach them to the board anywhere. On the next day I went with connecting all the remaining components and I forgot about this fact. So obviously when I tried to test the whole thing it didn't work.
At that time I had a rat's nest of wires and finding the cause took me about two more hours. Surprisingly this was the only problem. I didn't have any issues with shorts or disconnected wires.

The last mistake was to keep the wires to each component as a twisted pair. After soldering all the signal wires it became too difficult to untwist the ground and power wires. Next time I would try to solder only the signal wire, keep the wires separate and make a kind of bus out of ground and power rails after everything is mounted into position.
Or maybe I will buy proper connectors.
The back:
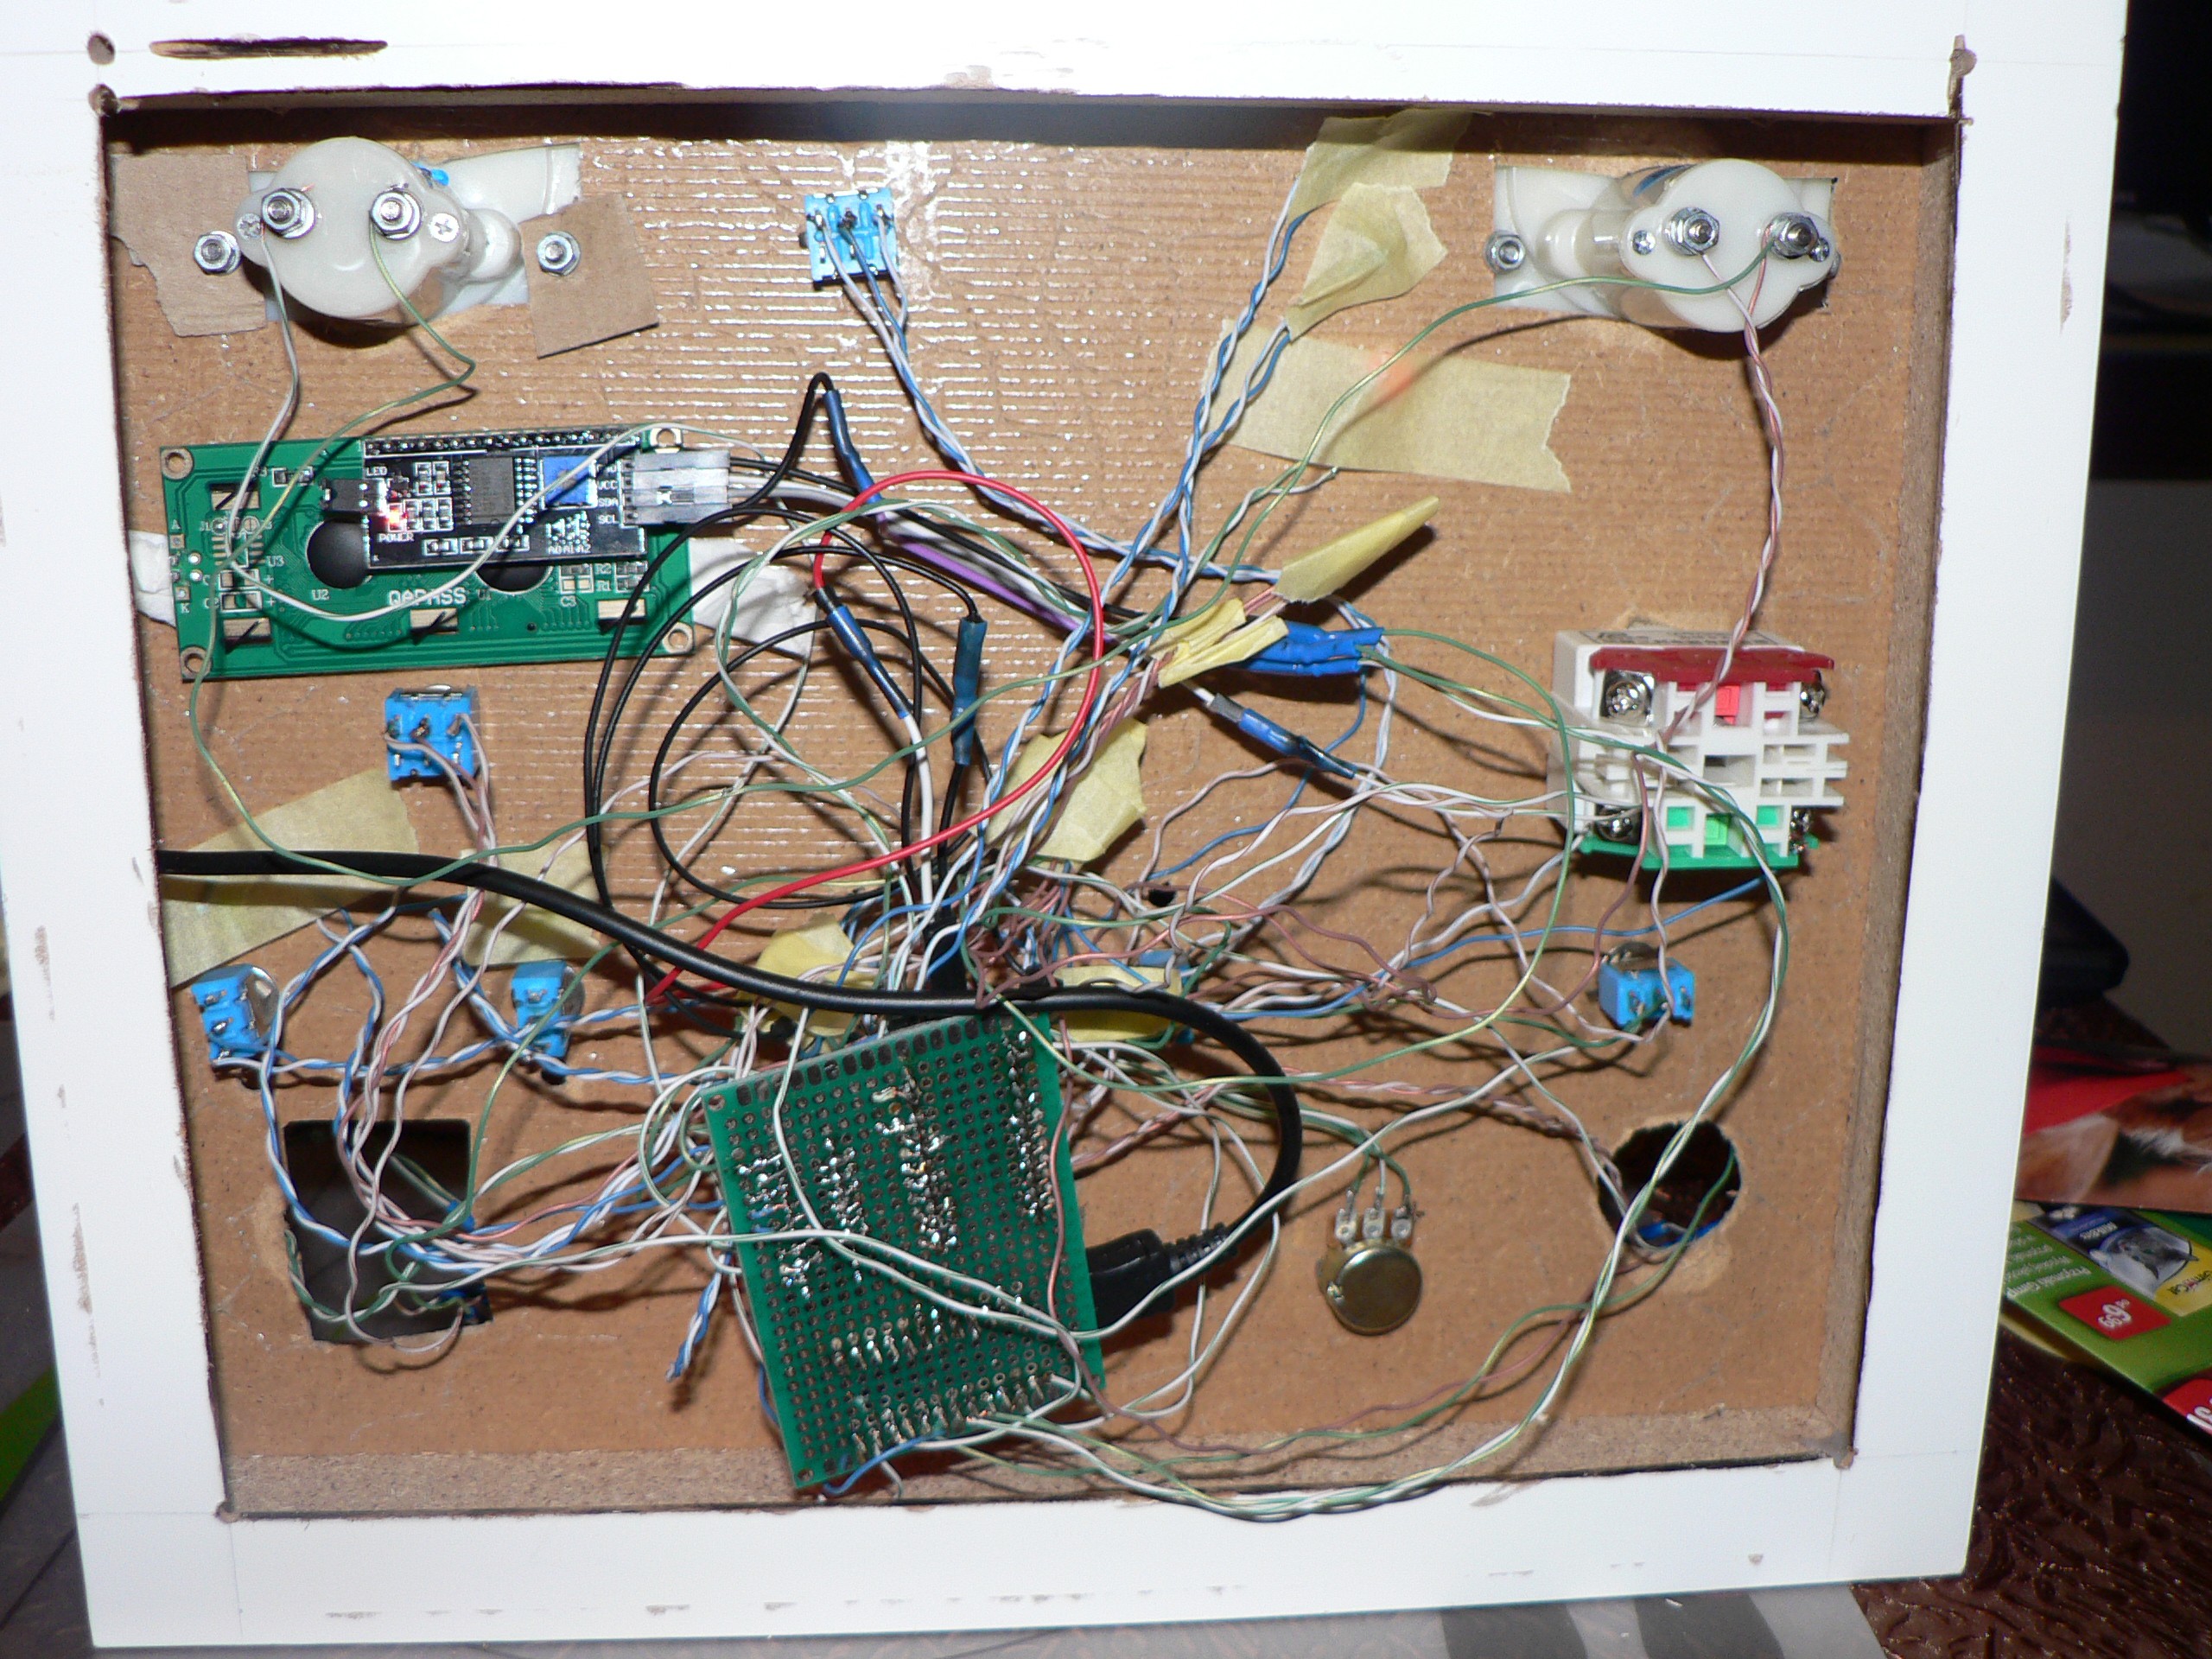
The yellow paper protects signal cables for six indicator LEDs that I will add later.
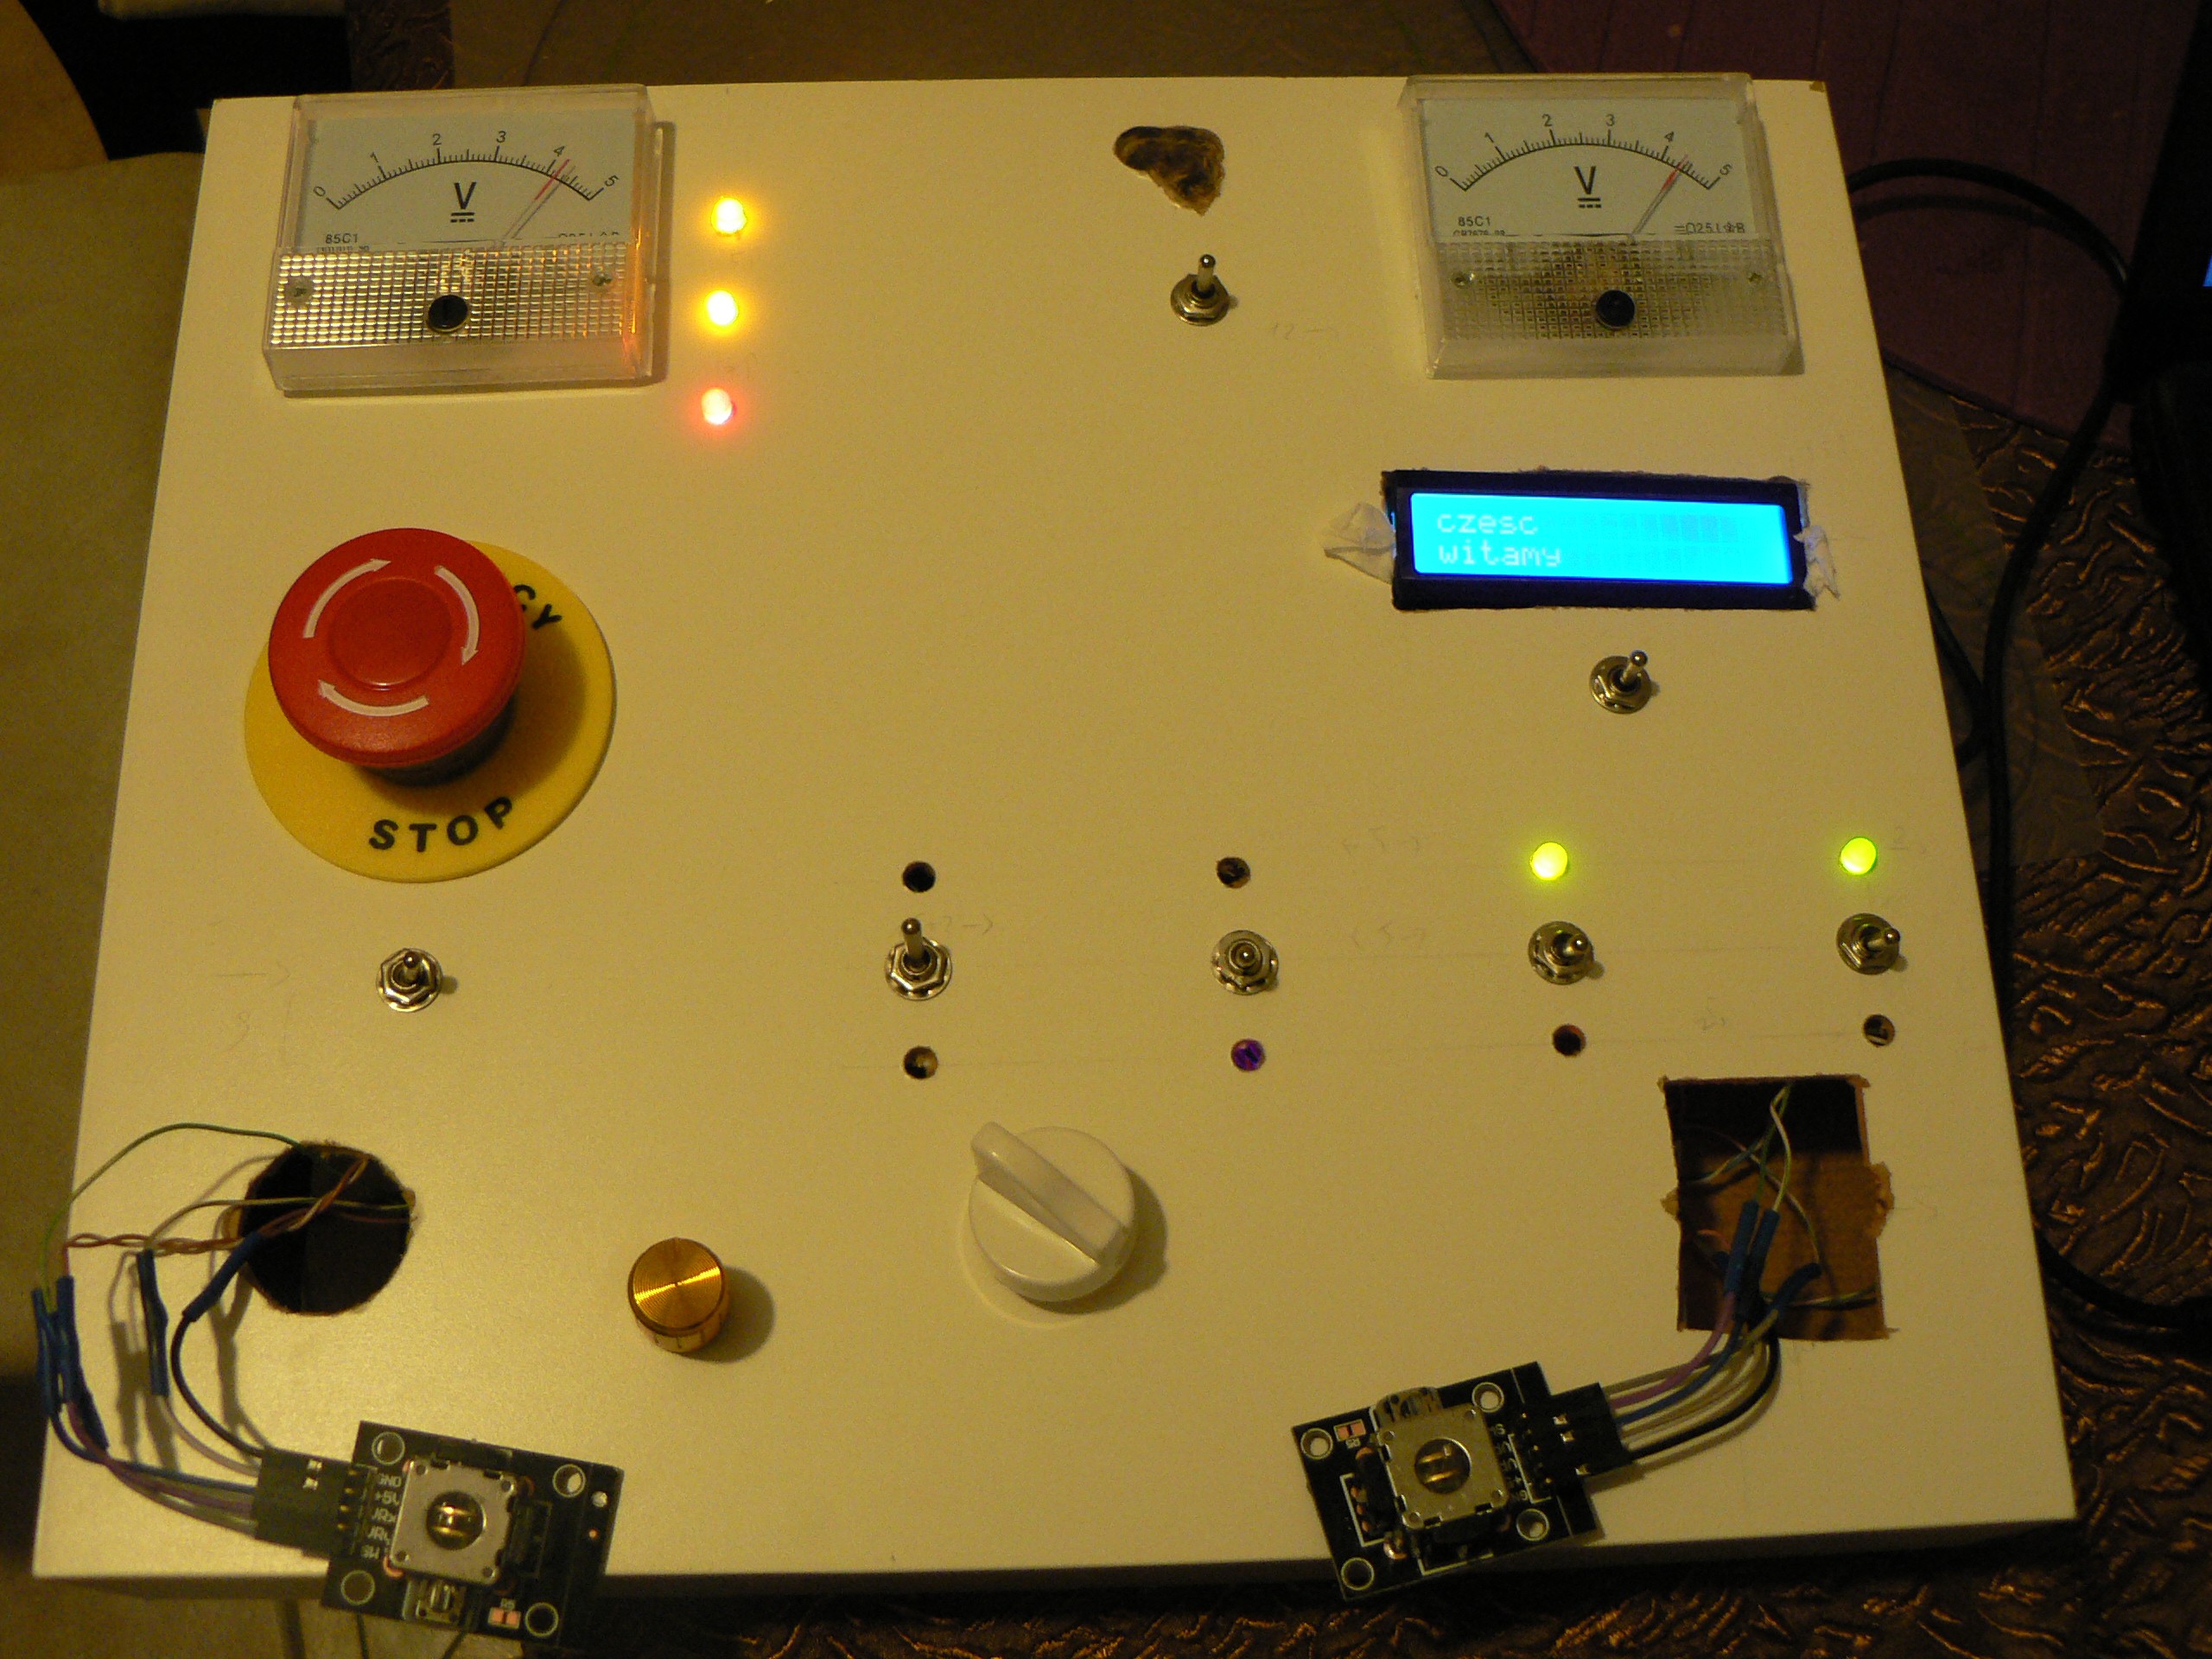
This is the front. Joysticks and OLED display still not mounted and LCD is mounted press-fit using some soft paper compressed between the module and edge of the hole.
Discussions
Become a Hackaday.io Member
Create an account to leave a comment. Already have an account? Log In.