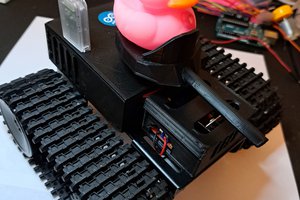
This project was a huge leap forward for me. I intended on using it as a tool to inspire youth in the local area to get into STEM. However, it advanced my knowledge of 3D print and design a ton.
3D Printing the STLs:
- Print the chassis face down. It looks better if you print it on painters tape. You get a matte finish.
- Print the motor mounts upright, it reduces the amount of supports needed
Code:
The code as well as the circuit is broken into multiple layers.
- Mechanical Layer
- Arduino Uno R3 and Motor Shield
- Responsible for controlling the motors
- Arduino Uno R3 and Motor Shield
- Communications Layer
- Arduino Uno R3 and Bluetooth
- Responsible for accepting coms from RC Car remote and setting pins that communicate with the mechanical layer
- Arduino Uno R3 and Bluetooth
- Controller Layer
- Windows Phone
- Windows Phone app that communicates via bluetooth with the Arduino communication layer.
- Windows Phone
 Anthony
 Hulk
Hulk

 production
 Mike
Mike