-
Posted at 12/4/2017 8:27:54 PM
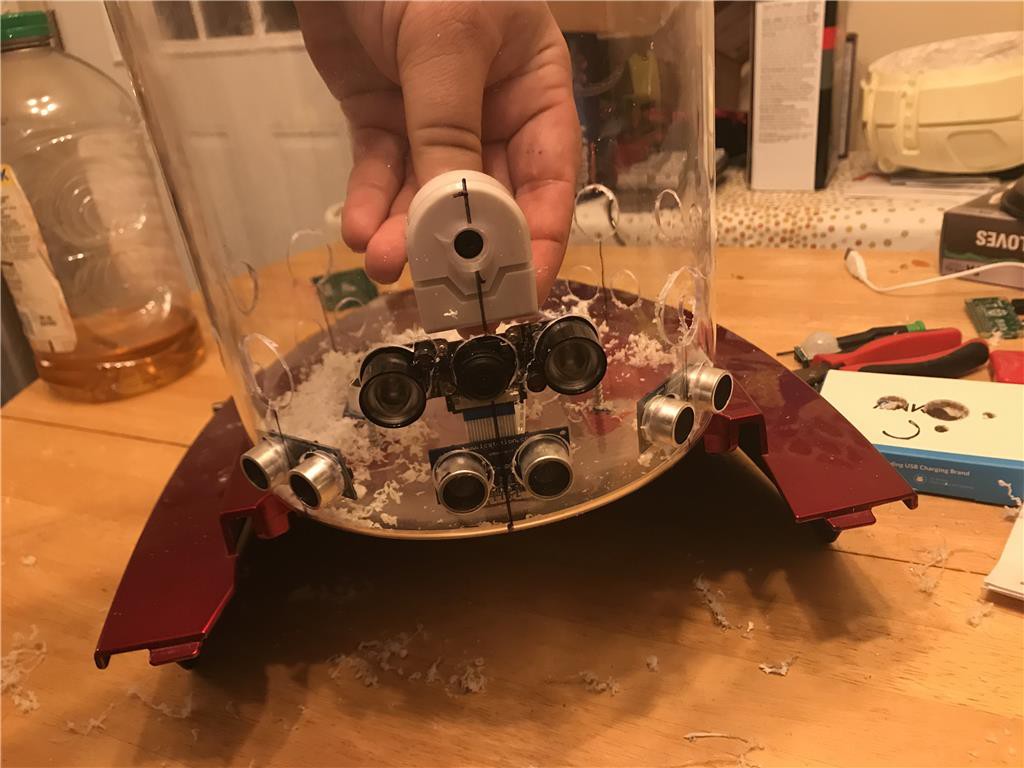
03/22/2018 at 17:32 • 0 commentsFinding places for sensors and the machine vision camera as well that plugs directly into the wifi enabled micro controller.
![]()
I will try these sensors out first, because their angle is very narrow, but I have some automotive style that have about 30 degree wide view... so we will see.
-
Rasp pi being put together Posted at 12/4/2017 11:31:33 AM
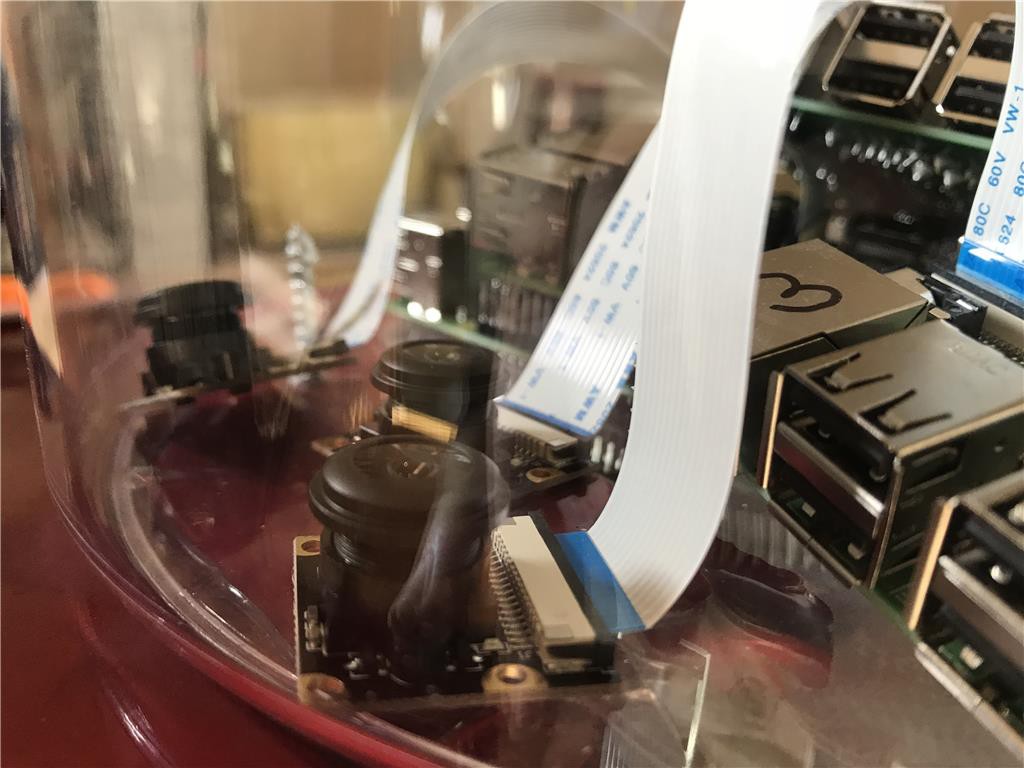
03/22/2018 at 17:27 • 0 commentsOk 4 raspberry pi 3 have been prepped and setup or continuous recording at 800x640 and 15 frames per second . The files are saved 600 seconds at a time in MPEG 4 .avi . Recording to 64 Gb on a Sandisk 64 Gb high endurance card ( specifically for continuous video recording)
![]()
and the drilling begins, I use a stepper bit to carefully get to a hole diameter close to the camera sizes
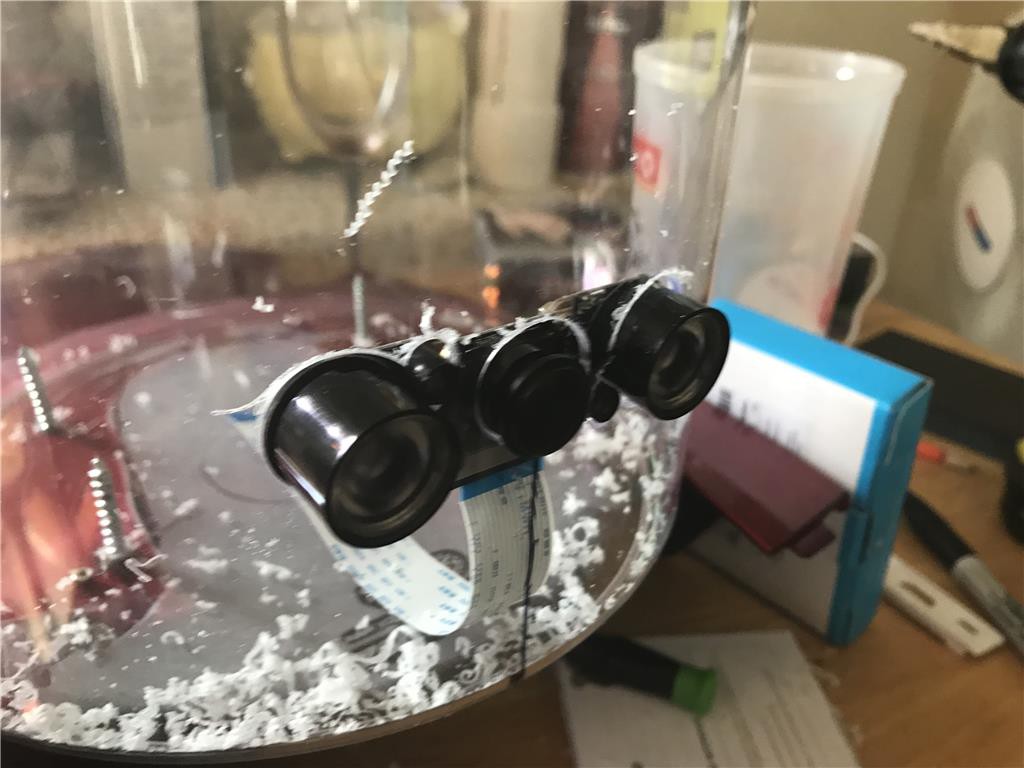
I added the two IR leds to the camera which come on in low light and have an adjustable pot on each board. I will likely use clear epoxy to seal the sensors and plastidip to make the board water resistant. The plastidip peels off if needed.
![]()
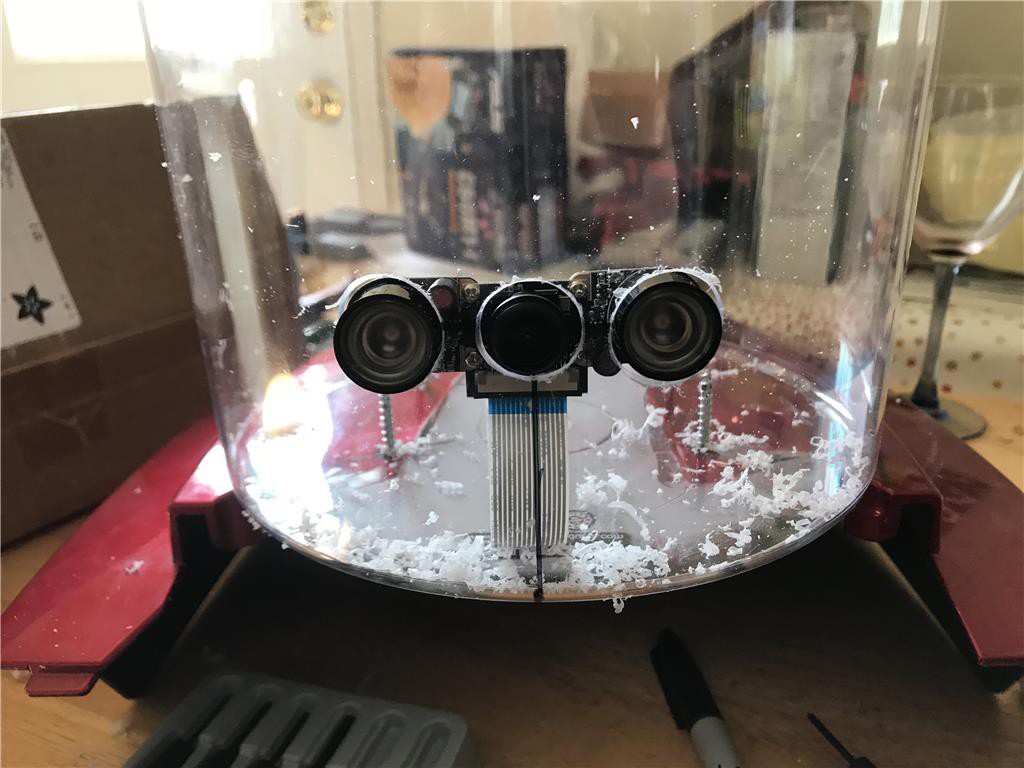
Straight forward view
![]()
-
Posted at 12/1/2017 12:31:11 PM
03/22/2018 at 17:25 • 0 commentsSo I have been pondering theft PREVENTION measures. I have a spare car alarm I could use and maybe with some sensors could use it to sound car alarm if the robot is tampered with. So I have a couple ideas but I want to open a discussion about this as it is something that any autonomous robot indoor or outdoor faces.
viper / Directed 2 way alarm system ( reports back to a remote when a sensor is set off.
Tilt Sensors, physically arranged in 4 directions and mounted to the frame. Forward, backward and side to side.
Plunger sensors or magnetic
4, two on the from lid and two on the rear.
Magnetic sensor, one inside the lid of the sensor stalk.
Ok so 9 sensors there.
Lastly Maybe I could have something that senses the wheels are turning but not energized , or maybe the brake release could have a magnet sensor.
Basically I want something that is very undesirable to drag through my yard to steal. -
Posted at 11/30/2017 5:47:31 PM
03/22/2018 at 17:24 • 0 comments![]()
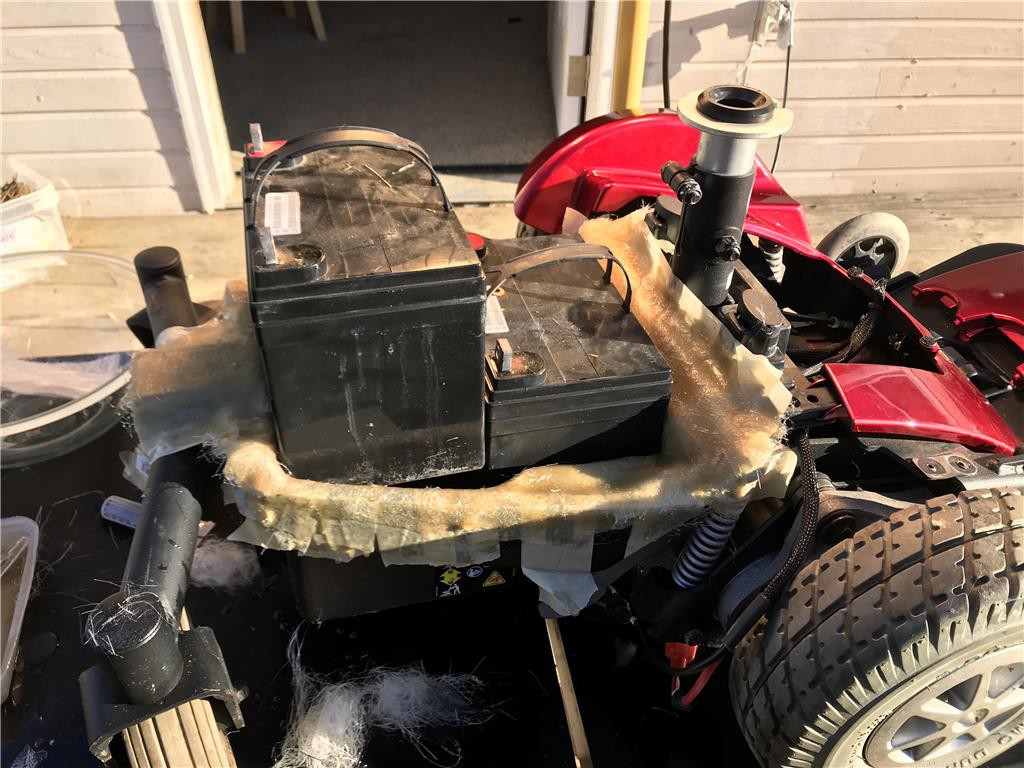
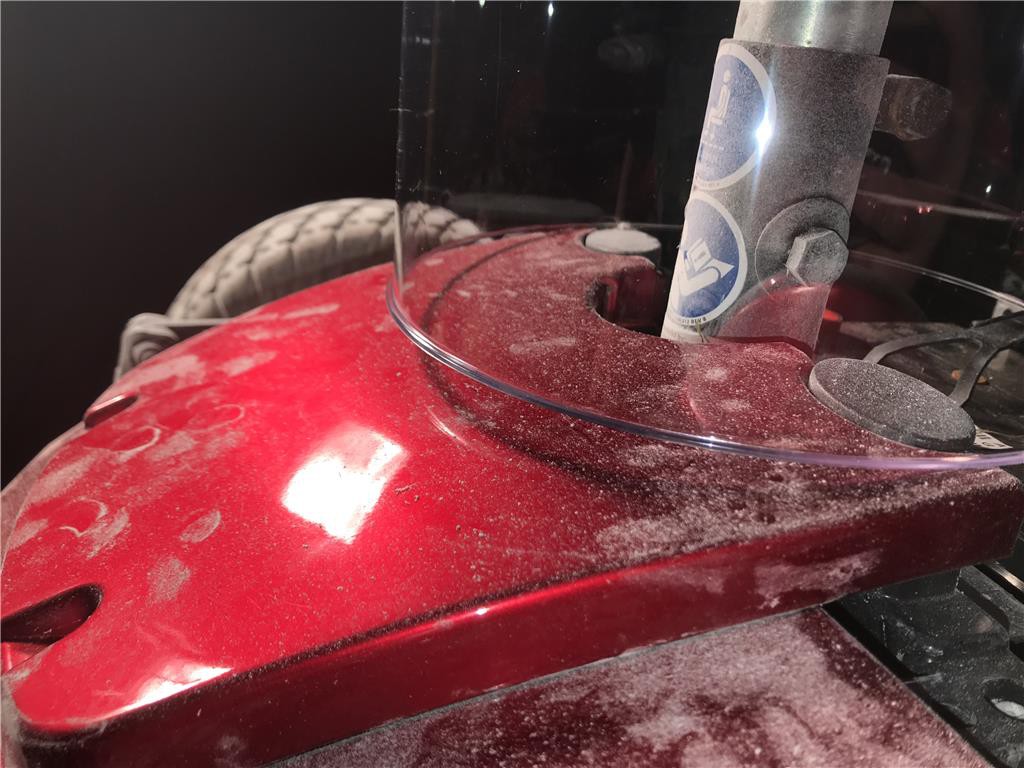
Ok so I started by attaching the sensor stalk to the top of the battery cover, I used Liquid nails clear first after scuffing the plastics on both parts. I used Liquid nails because it is very thick and I needed to center and balance the tube into the correct position. The thick viscosity holds the part in place after I center it. I needed to completely cover the hole where the seat mount was and also level it. So I eye balled it till I liked where it was. I will also put some screws in it later when it is reinforced with fiberglass cloth. It needs to be able to withstand being kicked or falling over on its side without significant damage.
![]()
-
Robo Pee?
03/22/2018 at 17:19 • 0 commentsAs far as "flashy" I don't want it to be so loud that everyone driving by stops to look at it, as they may get too much attention, generally I want to make sure it can be seen and also somewhat intimidating in looks when confronted. Ya know and maybe the robot can pee on them is they don't leave lol. So I am looking at a 12v or 24 volt small pump to make that happen.
-
Naming the bot? hmmm, Posted at 11/29/2017 1:45:26 PM
03/22/2018 at 17:18 • 0 commentsI need a cool "code name" for this security robot. Like " Big brother" , "Night Owl" , "Prowler" , "Jackal" , "Pit bull" or something cool like that. I think a name makes the persona of the robot project. Obviously the purpose of this project is to make a night day security cam rover type robot that records video, makes a physical presence, follows intruders or even talks to a intruder telling them to leave just like a car alarm. ha ha VIPER back away !
-
Posted at 11/29/2017 5:19:18 AM
03/22/2018 at 17:16 • 0 commentsSo unfortunately the shell I made was too thick and battery could not slide in. Sad-face. Its cool, I only blew a couple hours work. I will redo it and correct the mistake..
As you can see the battery is not able to slide in. I did not account for the taper of the battery rack is 1/4 tighter at the base than the top. Sooooo yeah, I hate failing and doing things twice ,but the more I work on Robotics the more I am learning mistakes and stepping stones to success , not failures!
![]()
-
Posted at 11/28/2017 7:40:42 PM
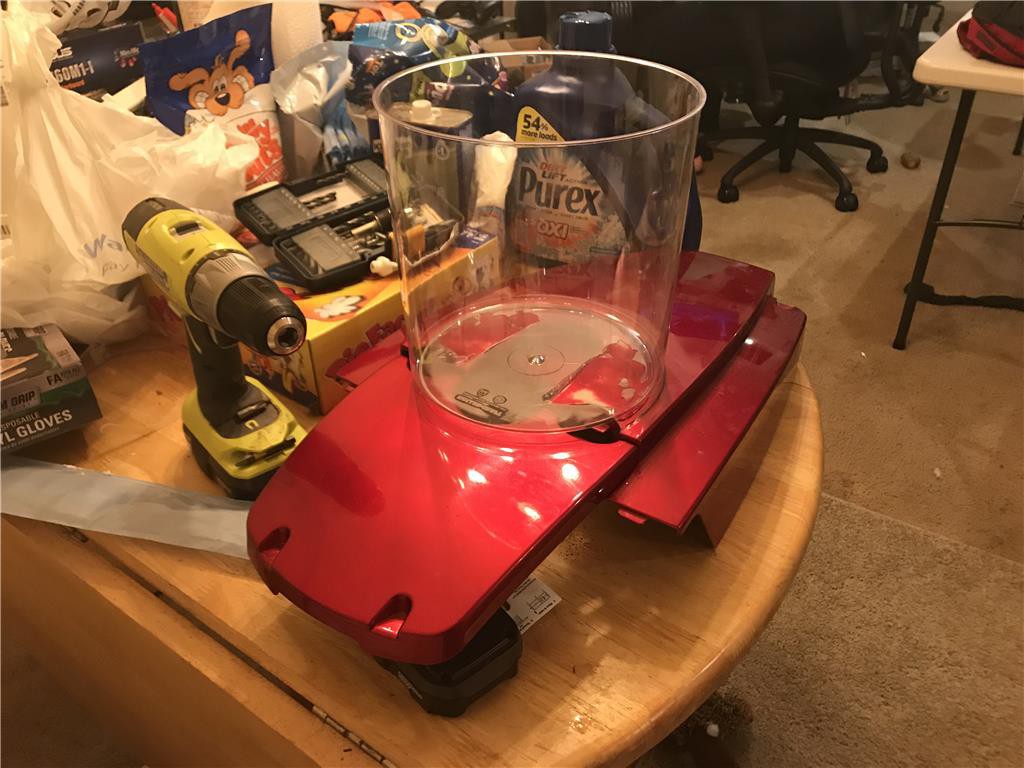
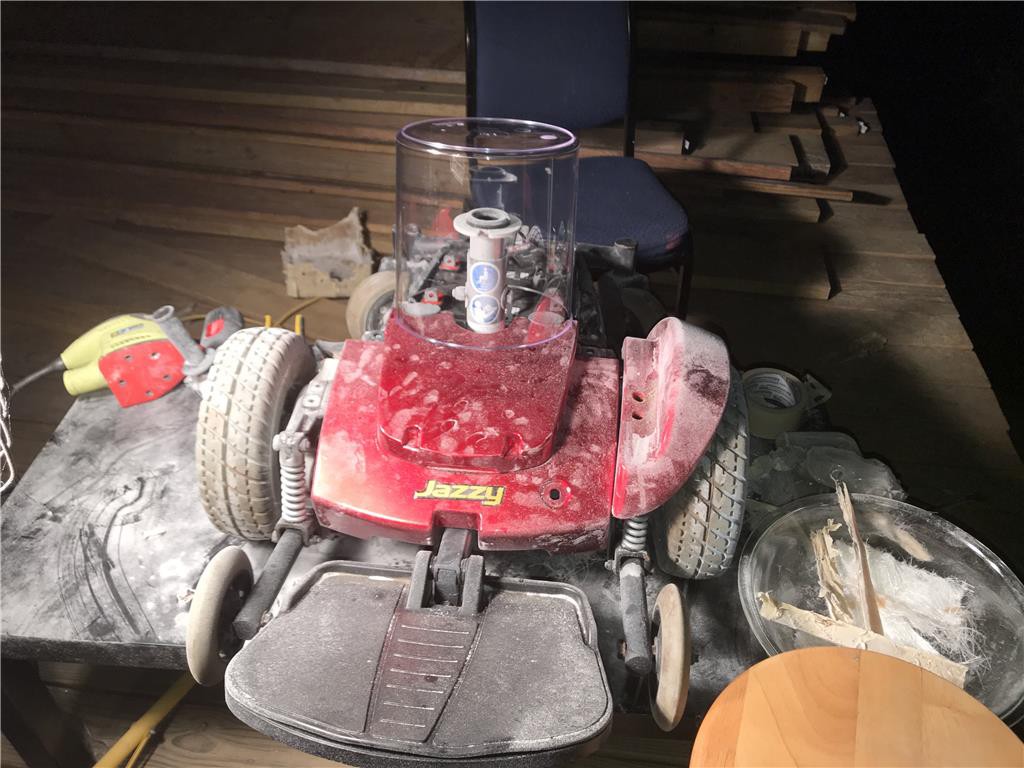
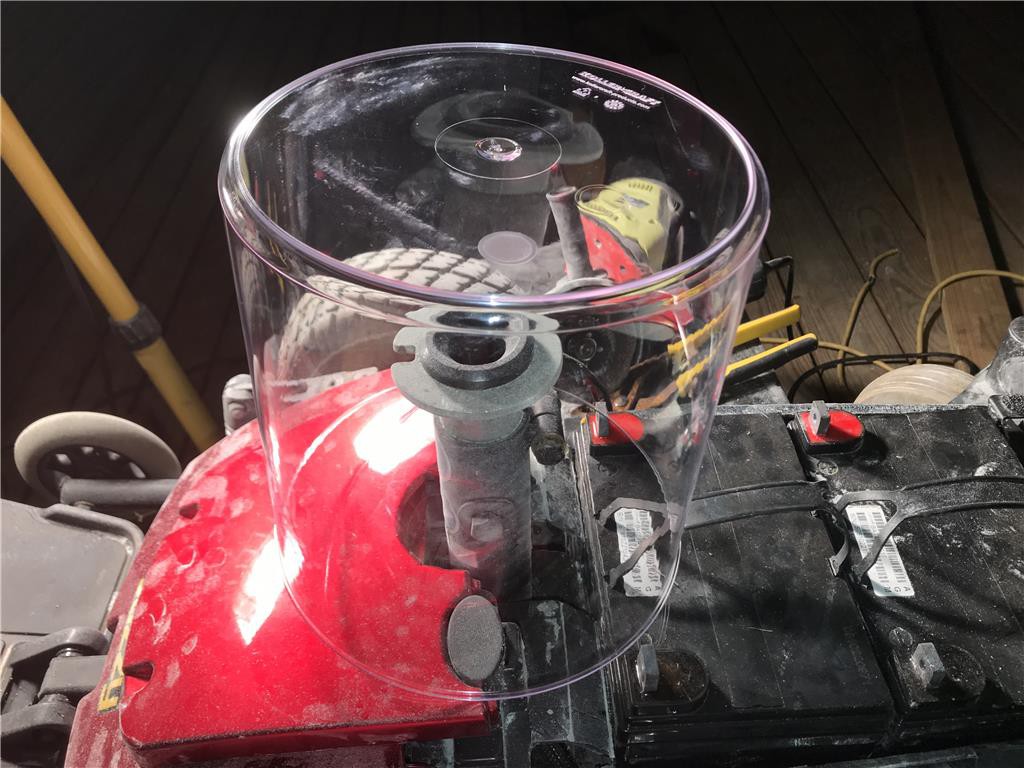
03/22/2018 at 17:15 • 0 commentsOk so here are some pics of the tube I am thinking of using for the sensor stalk.
Pardon the mess but there has been a lot of sanding and cutting going on.
![]()
![]()
-
Posted at 11/28/2017 7:37:31 PM
03/22/2018 at 17:12 • 0 commentsPosted at 11/28/2017 7:37:31 PM
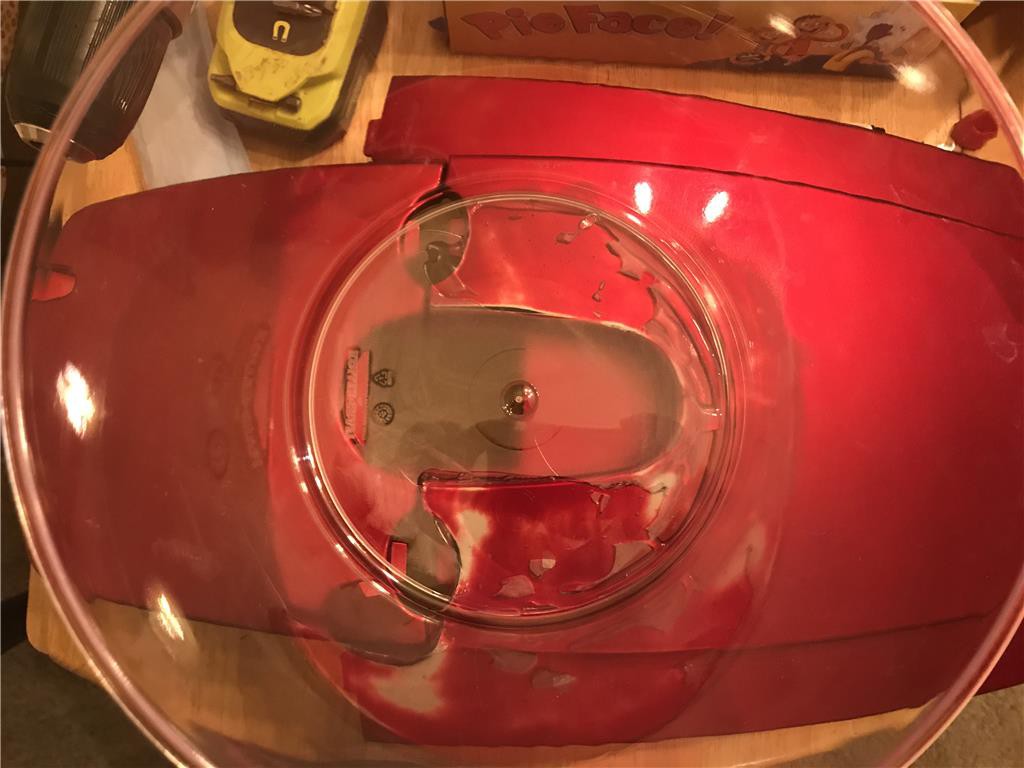
So I have some ideas , one being to have a “ sensor stalk” on top of the Robot. Firs I considered a paint can but I need RF to pass through easily. So I picked up a 1.5 gal aquarium for 17 bucks! Here’s picks of it in comparison to the main body.
![]()
-
Posted at 11/27/2017 11:49:34 PM
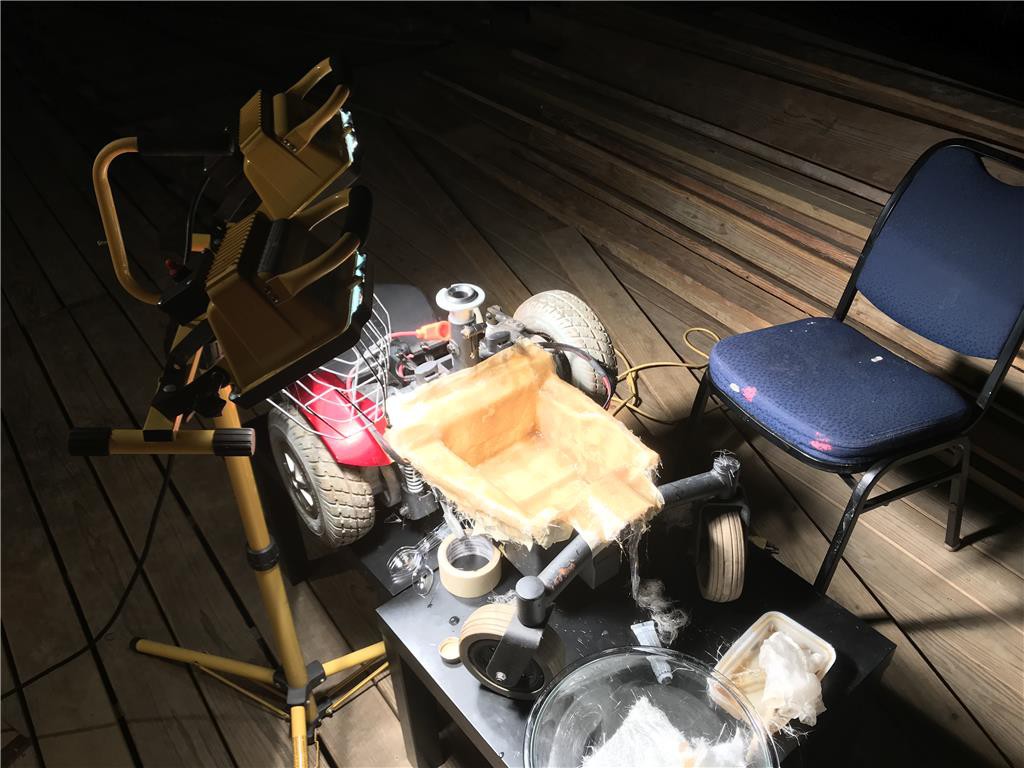
03/22/2018 at 17:11 • 0 commentsOk so fair warning, Polyester fiberglass resin smells to high heaven! So always do projects in a well ventilated area preferably outside. That is where my problem is however. It is literally freezing outside and fiberglass resin cures with an exothermic reaction. I came up with an idea to use a couple 500 watt halogens a couple feet away from the Work area. This worked great! So on to pictures
![]()
After a couple hours curing under the halogen lamps, I was brave enough to bring the chassis inside, most the smell of the fiberglass has already degassed, but I wanted a better look at it.
![]()
It turned out well, I however did brush it on too thick and didn't use a fiberglass metal roller tool like I should have and that makes the layers thicker. In hind site it was a good first try, i will make the layers thinner next time. This however will keep water from flooding the compartment in the event the robot is in a low spot in the yard when a hard rain comes. I want this robot to be able to withstand any weather nature throws at it.
Watchdog Security Camera Robot
Solar charges, Open build, affordable, watch and report or community presence robot.
 Josh Starnes