Getting started
We brainstormed about health problems, science fiction characters and icons, and puns to make into ailment pieces. Significant effort went into making sure different science fiction realms would be represented. In the end, roughly 40 ailments were proposed.
Although the mechanisms and presentation of the original Operation game are simple, ideas for how to make it even more impressive were bandied about. Some forays were made into making a three-dimensional game board. Thought was put into such ideas as making the alien move, having slime in the buckets the ailment pieces would have to be pulled out of, and using a TENS unit to shock players. As the creation process went on, these ideas were all scrapped, and we found that a stripped-down version, much like the original, worked best for what we wanted.
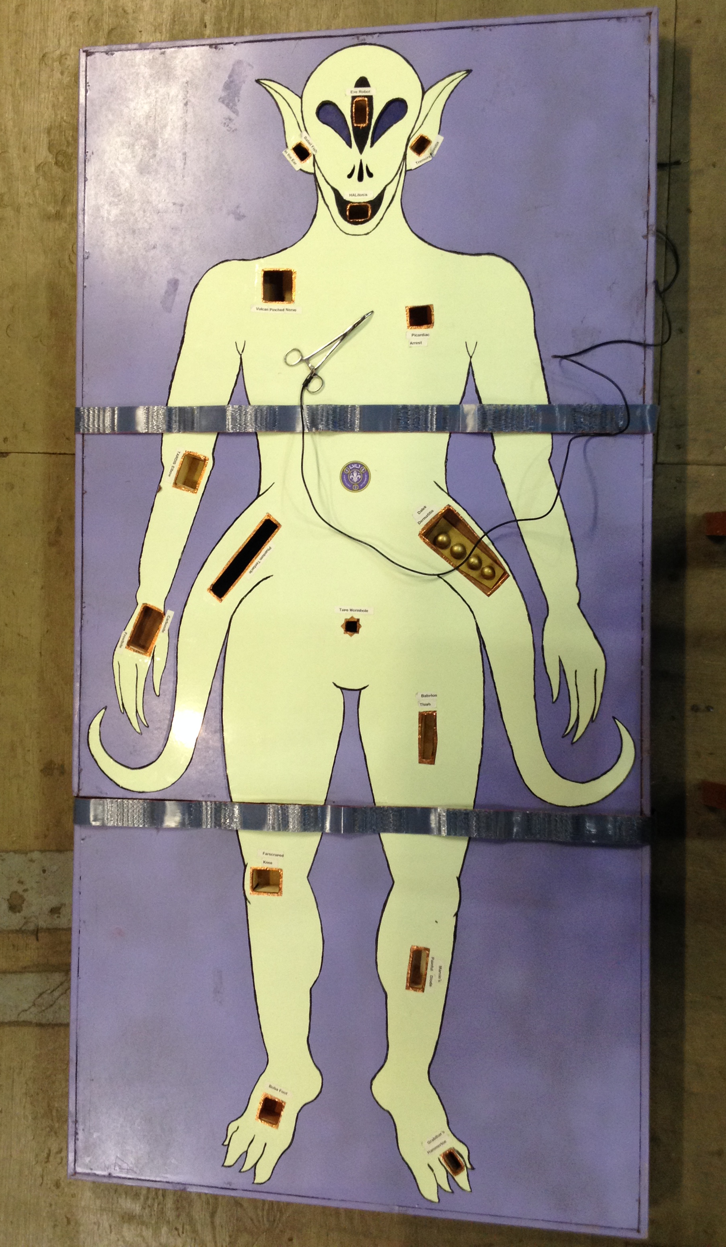
Back to the idea of a two-dimensional image, we made several sketches of aliens. The final choice was humanoid, with all four human limbs plus two tentacles, three eyes, three nostrils, pointed ears, reptilian facial features, and unusual fingers and toes. We then made a larger version to provide a visual guide for the next stages of planning.
Next we had to decide which ailments to implement. We discussed how each suggestion could be realistically transformed into a playing piece. Many ideas were eliminated quickly as being too difficult. Others options took longer to decide on, particularly given the limited board space. In the end, we narrowed the list to 19 ailments.
Creation of the ailment pieces
Babelfish in the Ear
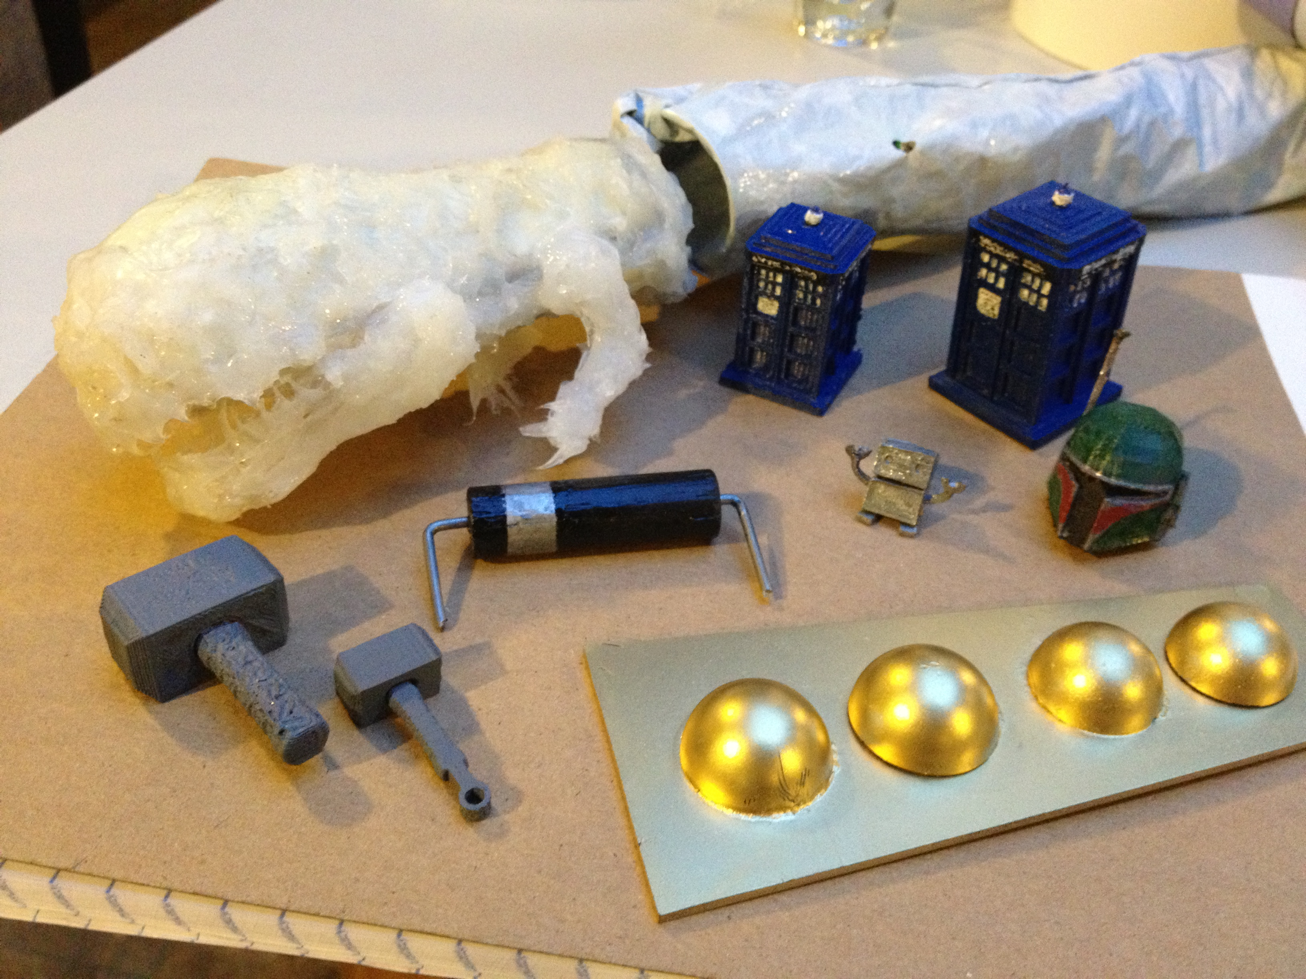
We used Goldfish crackers to represent the babelfish from The Hitchhiker’s Guide to the Galaxy.
Tremors Tinnitis
We used gummi worms to be the worm-like Graboids from Tremors.
Eye Robot
We used a 3-D printer to make a tiny, adorable silver robot for this play on I, Robot.
HALitosis
We 3-D printed a black backplate for the eye of HAL from 2001: A Space Odyssey, then used a large red LED for the eye itself.
Vulcan Pinched Nerve
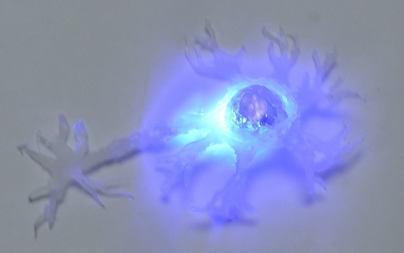
We bought toys that contained a small ball that, when struck, produced flashing lights. We then drew an outline of a nerve cell and used clear silicone caulk to fill it in. We cut a hole in the silicone where the nucleus would go, inserted a light-up ball, then used silicone to cover the rest of the ball and glue it firmly in place to the rest of the piece.
Picardiac Arrest
A PEZ dispenser featuring Captain Jean-Luc Picard of Star Trek:The Next Generation was purchased, and the head removed. This was used as a stand-alone playing piece.
Jeffries Tuberculosis
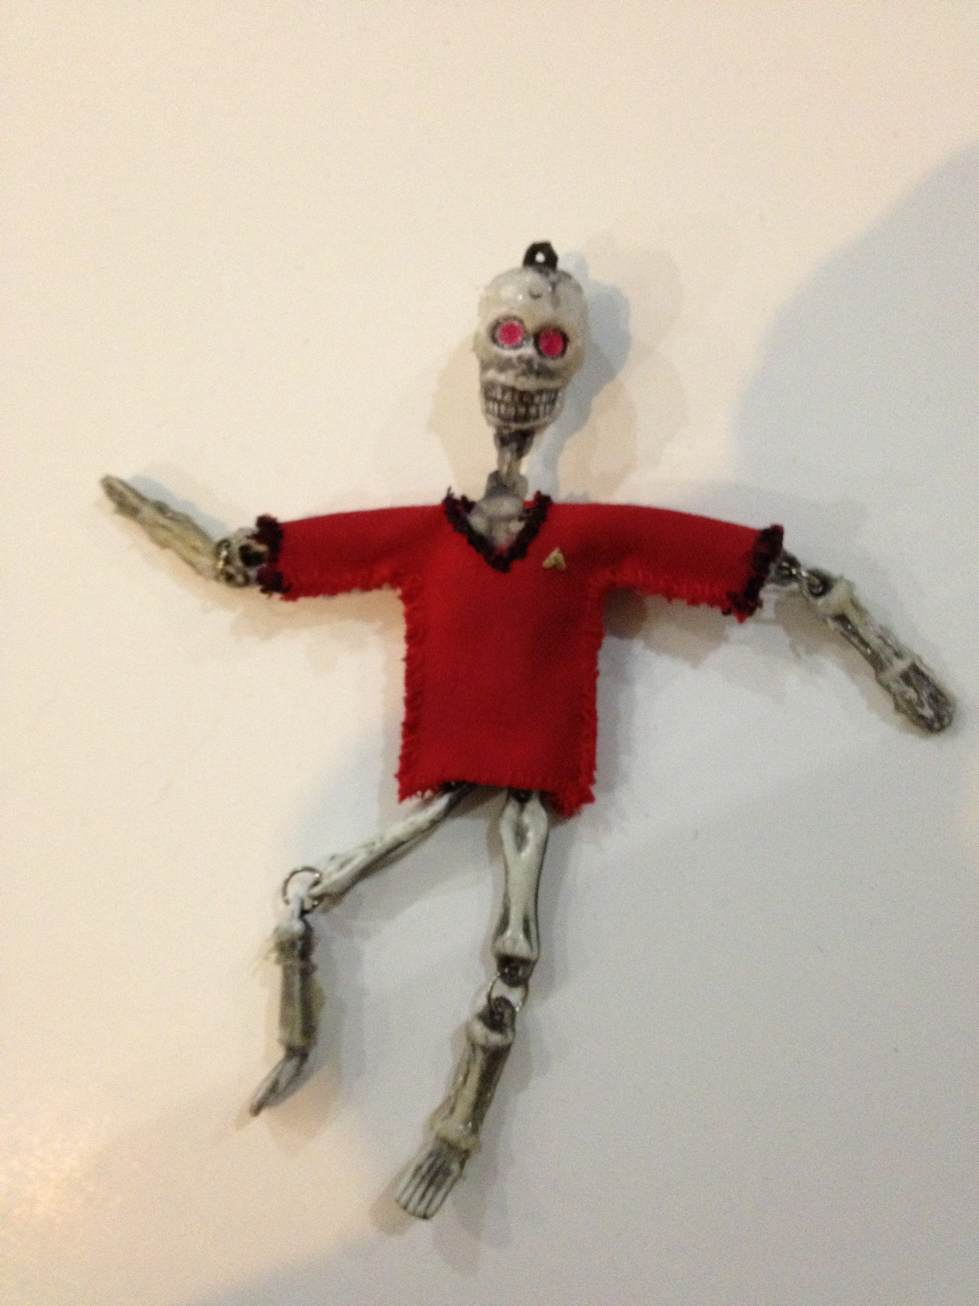
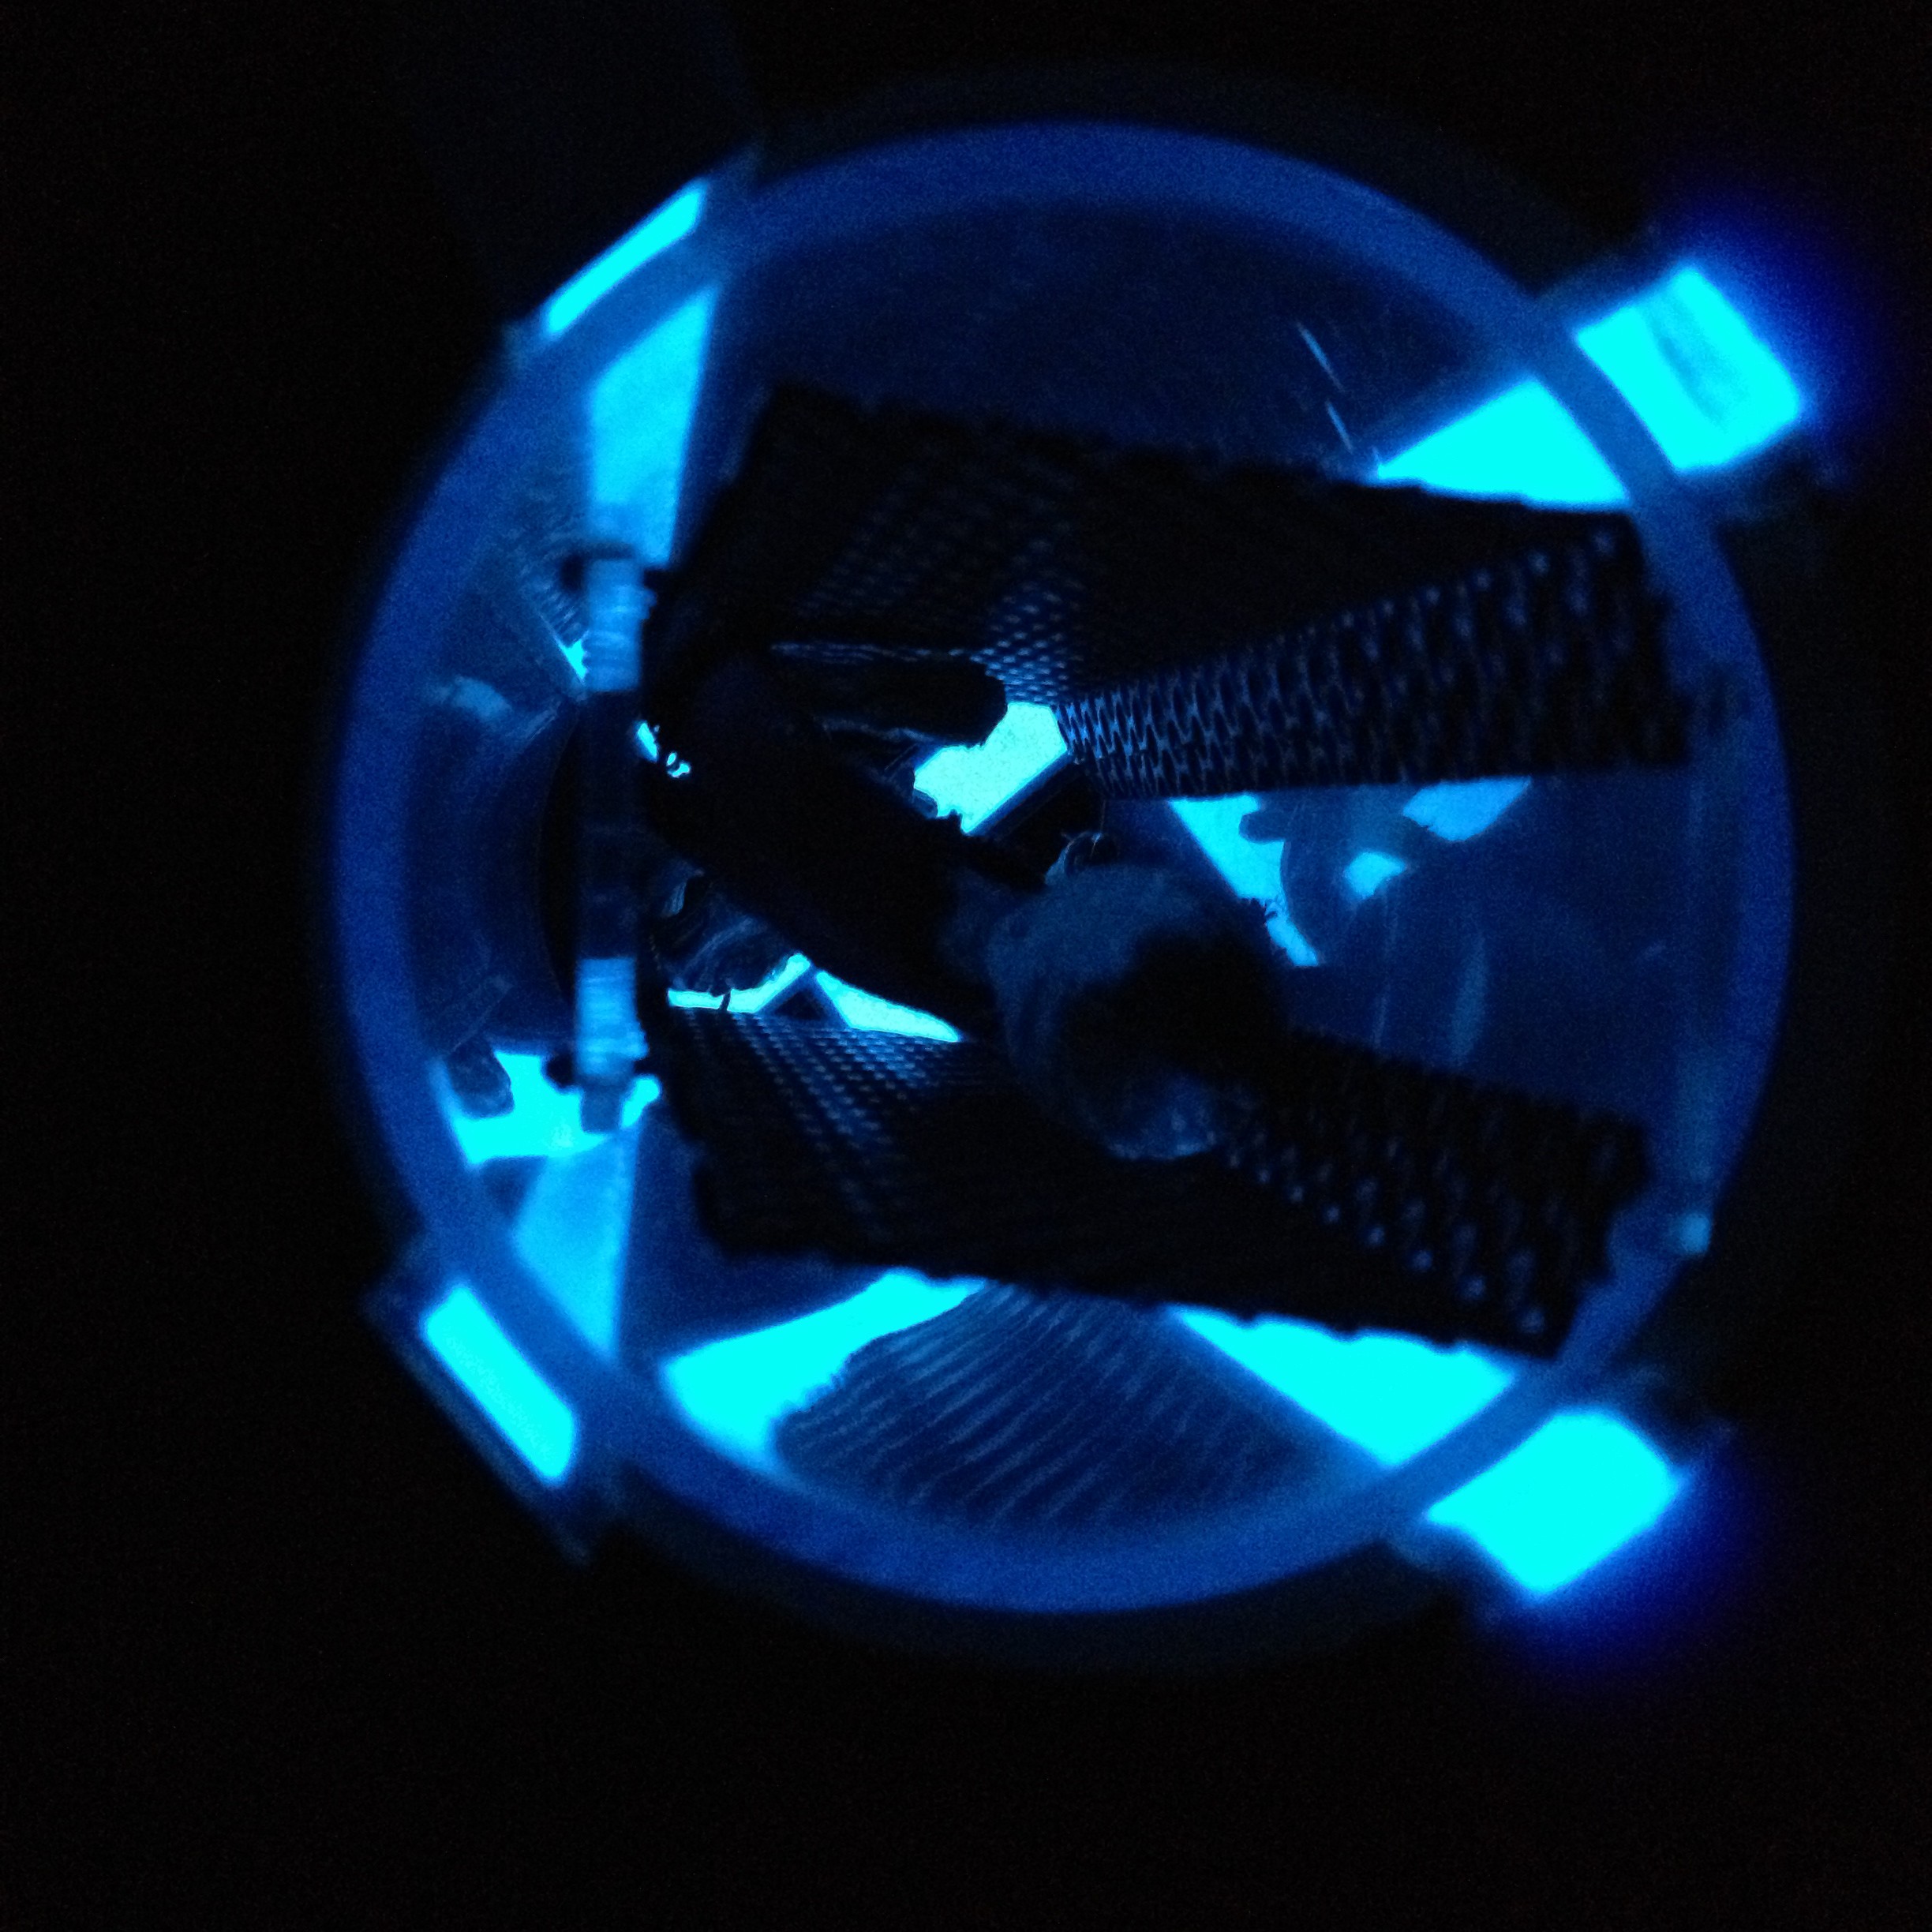
This was modeled after a Jeffries tube from Star Trek. Pieces of metal grating were connected into an octagon and secured in a plastic tube. EL tape connected to a battery pack was used to line two edges of the tube, to resemble floor light strips. We sewed a red shirt with a Star Trek emblem on the breast and put it on a tiny plastic skeleton. Clear silicone was added to the skeleton to give it stability and some extra creepiness. This was not implemented in time for the presentation of the game.
Chestburster

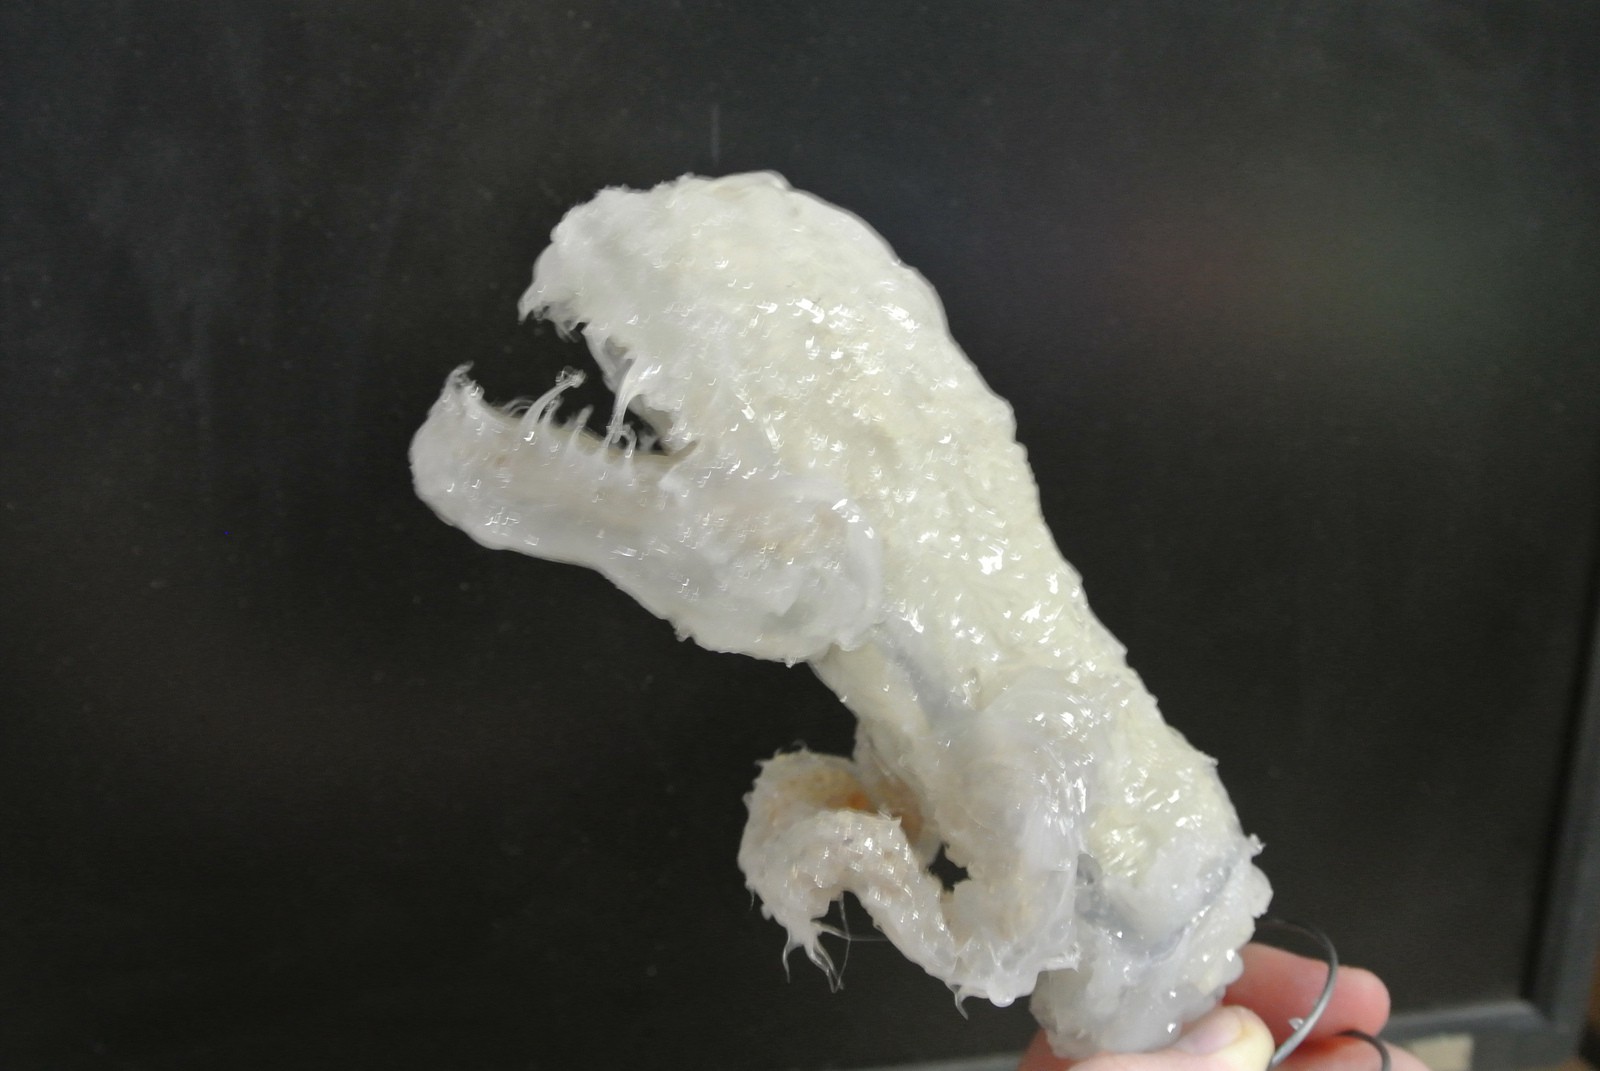
This was to be a surprise element to the game. It would be hidden under a flap, and the game master would be able to push a button and have a creepy alien burst out of the chest of the alien patient. Although this feature wasn’t implemented due to time constraints, the piece itself was built. A CueCat was used as the armature for the body, plus pipe cleaners for the jaw and body, and a joke spring snake was used as the launching mechanism. Clear silicone was used to coat the piece and to sculpt teeth and fingers. Hot glue was initially used to fill out the jaw and secure the arms, but we discovered it was too heavy a material, so it was replaced by silicone. A solenoid was going to be used to release the creature to spring out.
Tattooine Removal
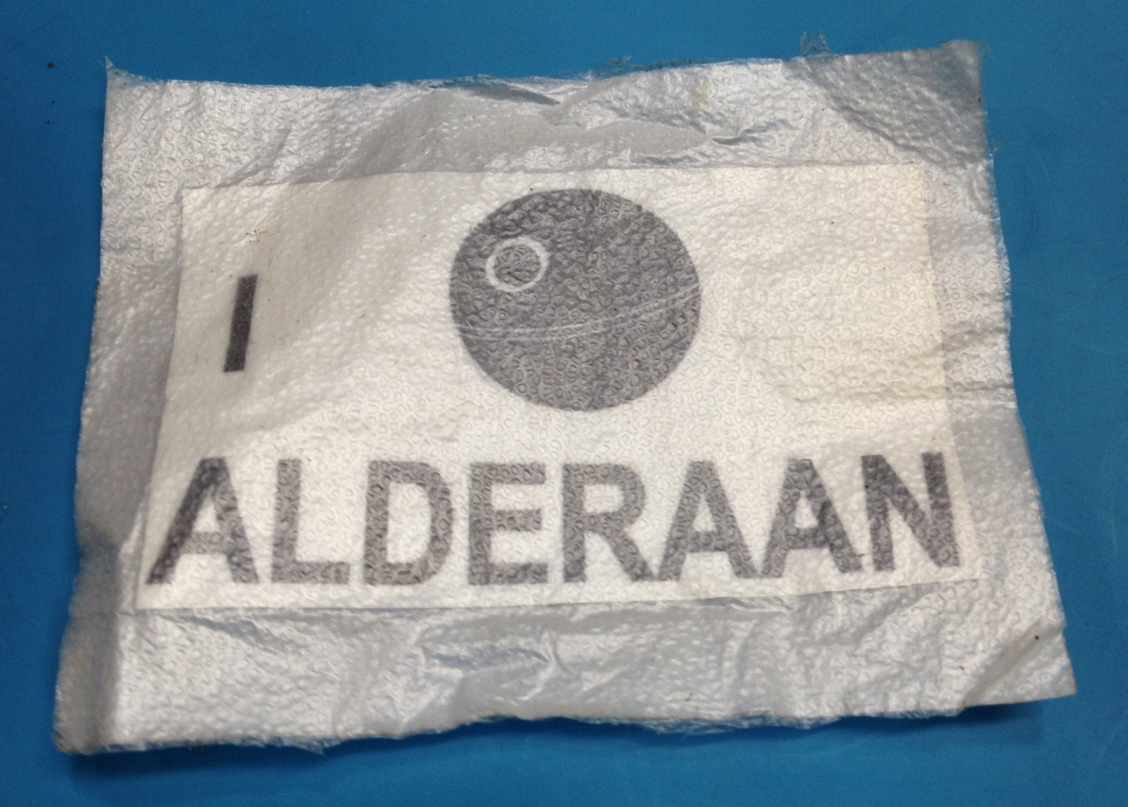
An image of a tattoo was created with imaging software and printed out using a vinyl printer. It was then placed within layers of a plastic wrap that had a texture similar to human skin. This Star Wars reference included an extra layer of pun: the tattoo said I (picture of the Deathstar) Alderaan. We tried to find a way to have the tattoo stick to the board so that the player would have to peel it off, but we were unable to figure out how to do it in time. This will probably be finished as an ailment in a bucket like most of the others are.
TARDIS Elbow
A 3-D printer was used to print a small TARDIS, from Doctor Who. This was then sprayed with primer, painted blue, and then given tiny details in white and black.
Carbonite Frostbite
We 3-D printed a small version of Han Solo, frozen in carbonite as in the Star Wars trilogy. Several versions were printed, trying to find one that could handle a bit of rough treatment. The final version was primered, then given a black wash to enhance details.
Dalek Dermatitis
A piece was crafted to look like a side panel from a Dalek from Doctor Who. A laser cutter was used to cut a clear acrylic trapezoid. Many different options to create the hemisphere bumps were considered. In the end, we cut in half balls from computer mice, and used the rubber outside coating. These were glued to the acrylic, then the entire piece was primered and painted gold.
Phantom Tentacle
This was originally supposed to require the player to stretch a rubber band to connect two pegs, representing the reconnection of a tentacle to the body. The pegs weren’t implemented in time, however, so this became simply a rubber band. This was a Phantom Tollbooth/Phantom Menace reference.
Tape Wormhole
Clear silicone caulk was used to create a yard-long worm that was to be drawn out through a very small hole in the board. Wormholes are a staple of science fiction, e.g. the wormhole technology Scorpius from Farscape hunts down John Crighton to obtain.
Babylon Thigh
A MicroMachines toy version of the space station from Babylon 5 was purchased and used directly as a play piece.
Farscraped Knee
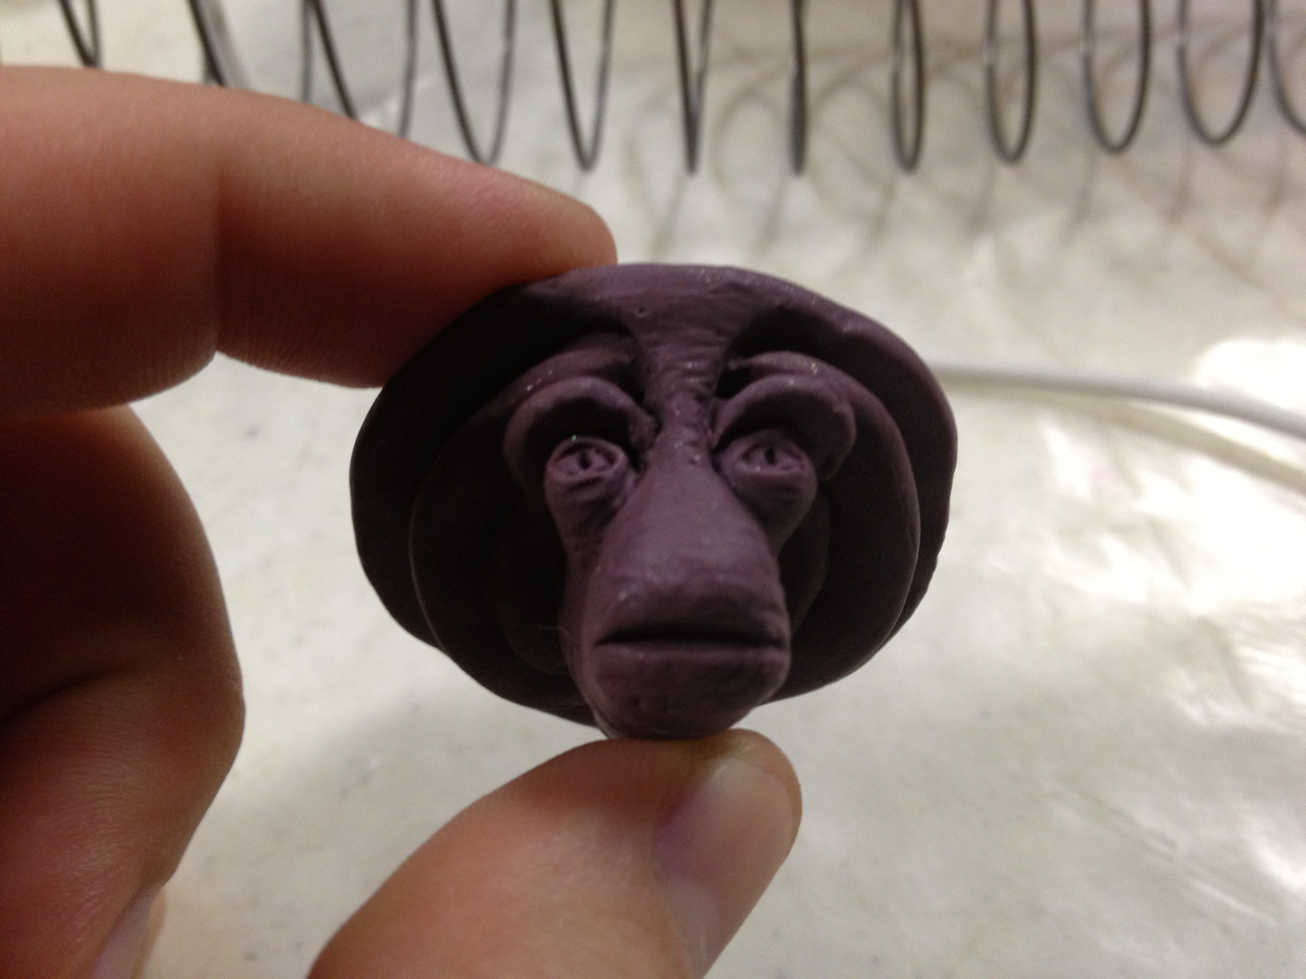
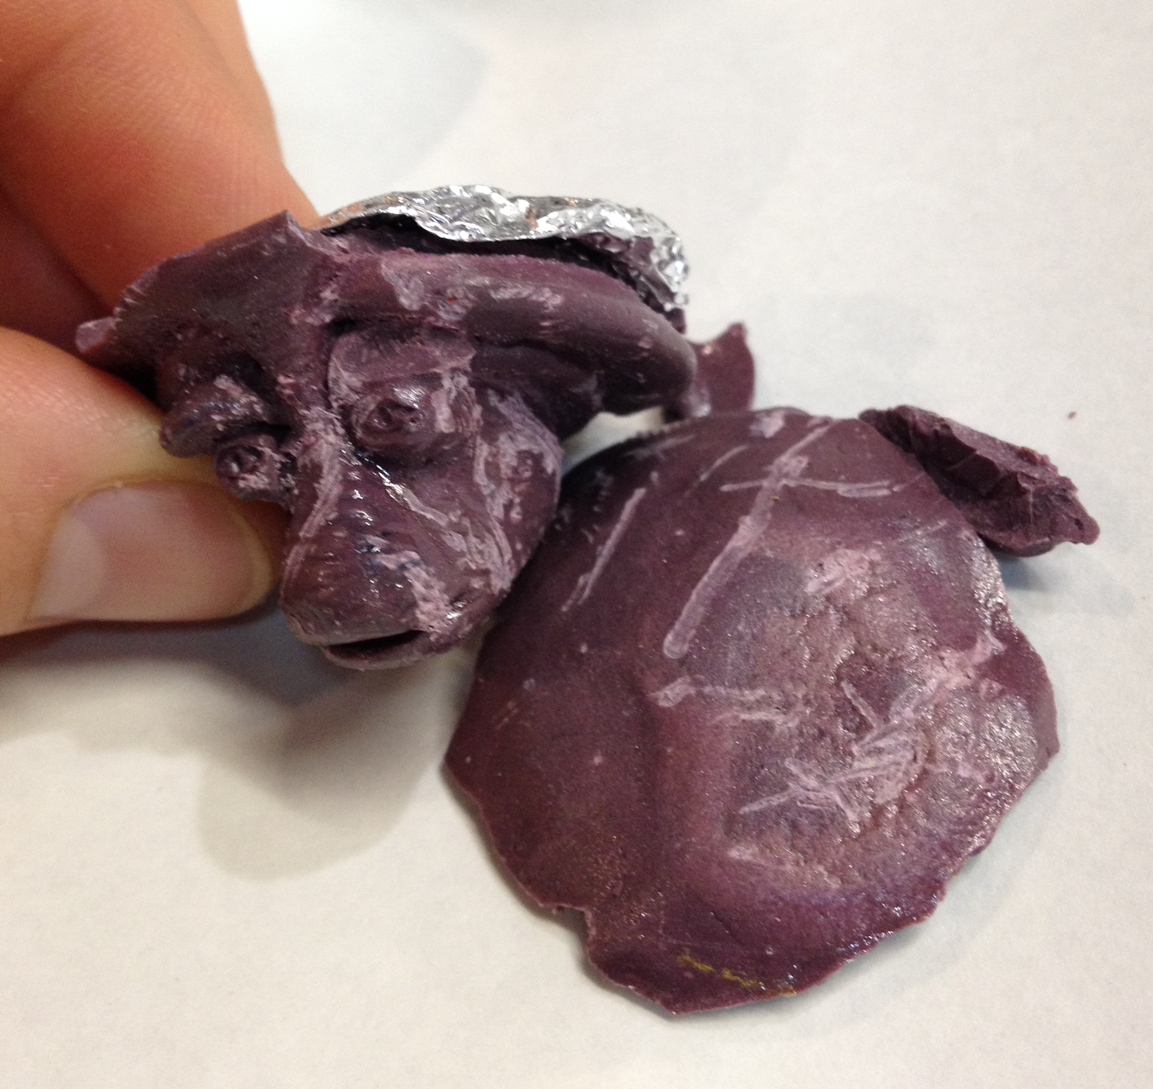
We used polymer clay on an aluminum foil armature to sculpt the head of Pilot from Farscape, with the top of his head made to resemble a kneecap. This piece did not survive the Maker Faire intact, alas.
Marvin’s Painful Diode
This play on The Hitchhiker’s Guide to the Galaxy was a wooden cylinder with bent metal pieces attached on either end, and painted black with a silver stripe to resemble a diode.
Boba Foot
A 3-D template for a full Boba Fett from Star Wars was found, but had to be altered so that just the head would be printed. Part of a bobby pin was cut off, then heated up and pressed into the helmet to create an antenna. A touch of silicone was added to the tip for detail, and the helmet was primered then painted in detailed color to match the original.
Grabthar’s Hammertoe
We 3-D printed Thor’s hammer, but painted it differently and named it after the mythical hammer referred to by Sir Alexander Dane’s tagline in Galaxy Quest.
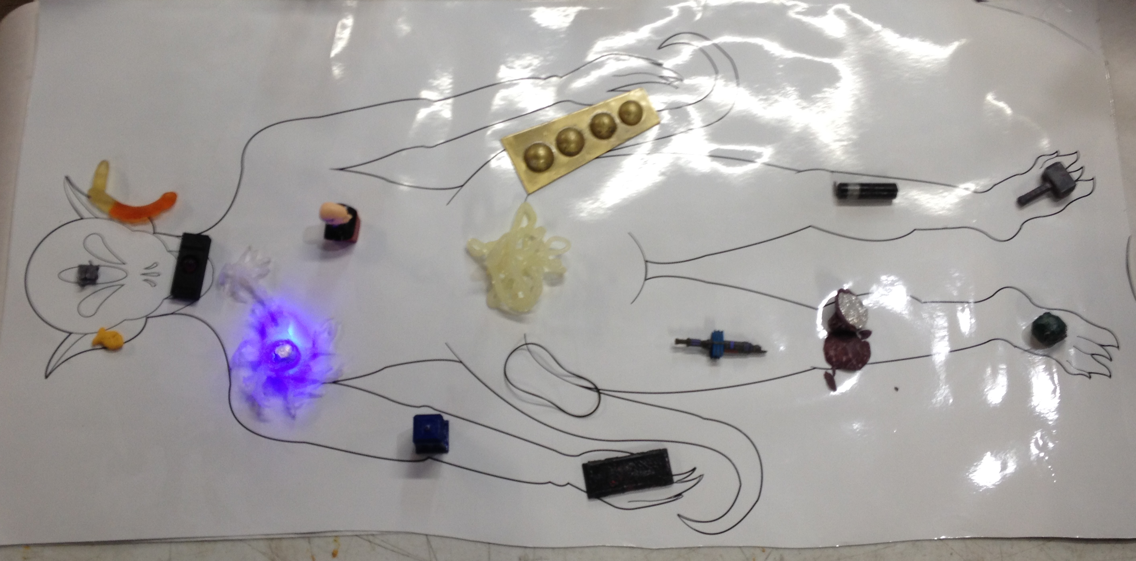
Most of the pieces made it through the Faire. :)
Creation of the game board
The visual design
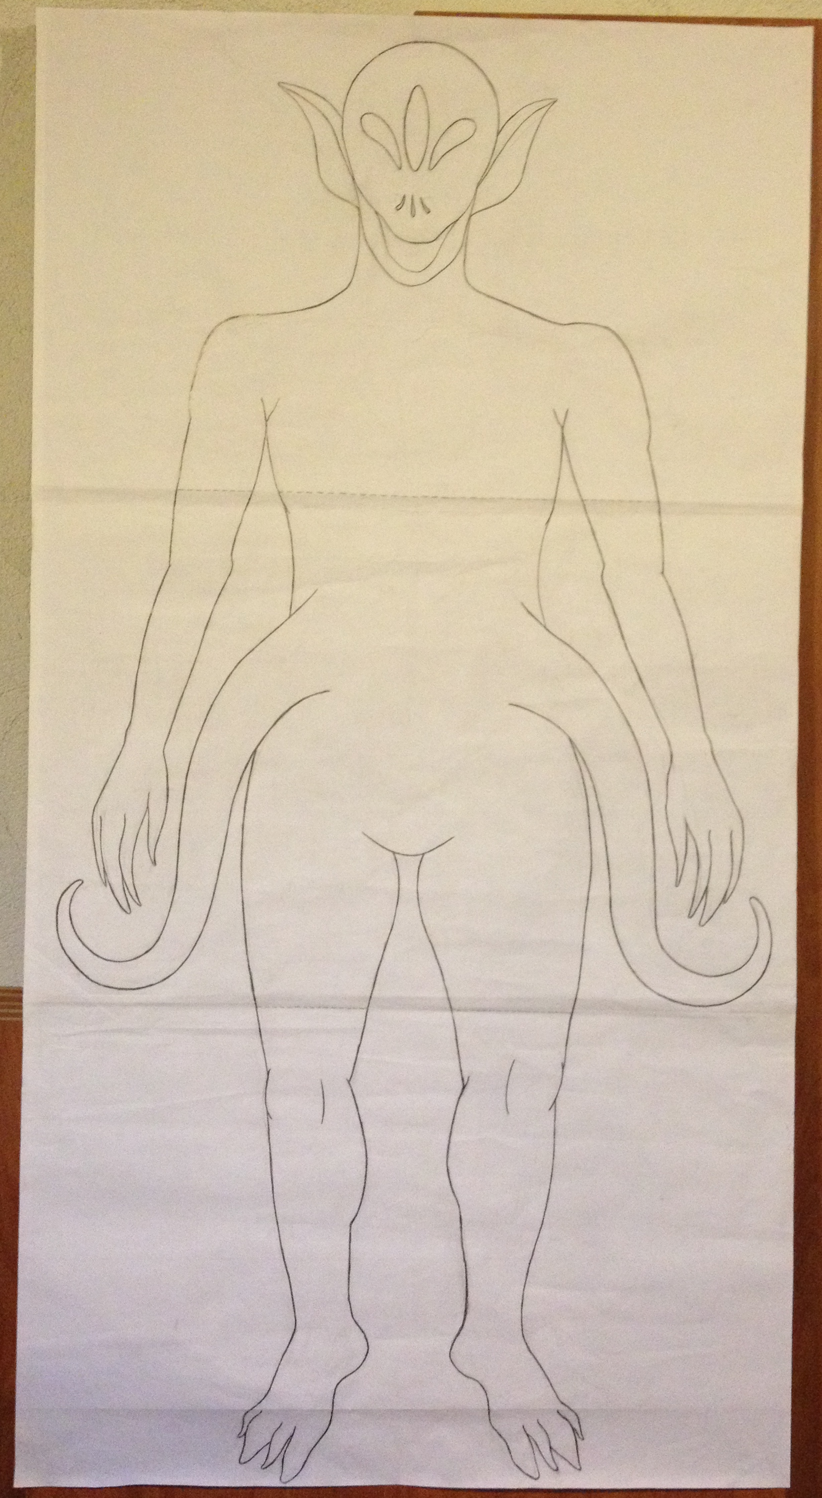
We eventually drew a life-size version of the alien. A picture was taken of this drawing and it was imported into an imaging software program, then converted to a vector line drawing. A vinyl printer was then used to produce full-size vinyl stickers of the alien for the board. One, printed on white vinyl, was used as a template to size and cut holes for the ailment buckets. Then a clean copy was printed out on glow-in-the-dark vinyl and cut along the outline. This was set aside for later.
The board
The game needed to be portable, so we decided to make the board able to separate into three pieces. A piece of Masonite was purchased and cut into three segments. The white vinyl image was attached to the board. Holes were drawn onto it to match the size of the openings needed to retrieve each ailment as well as following the contours of the eyes and nostrils. A dremel was then used to cut the holes, and a razor blade to hone the edges. Translucent blue paper was used to line the openings of the eyes that would have lights behind them, and black fabric was used to line the nostrils that would have a buzzer behind it.
The ailment buckets
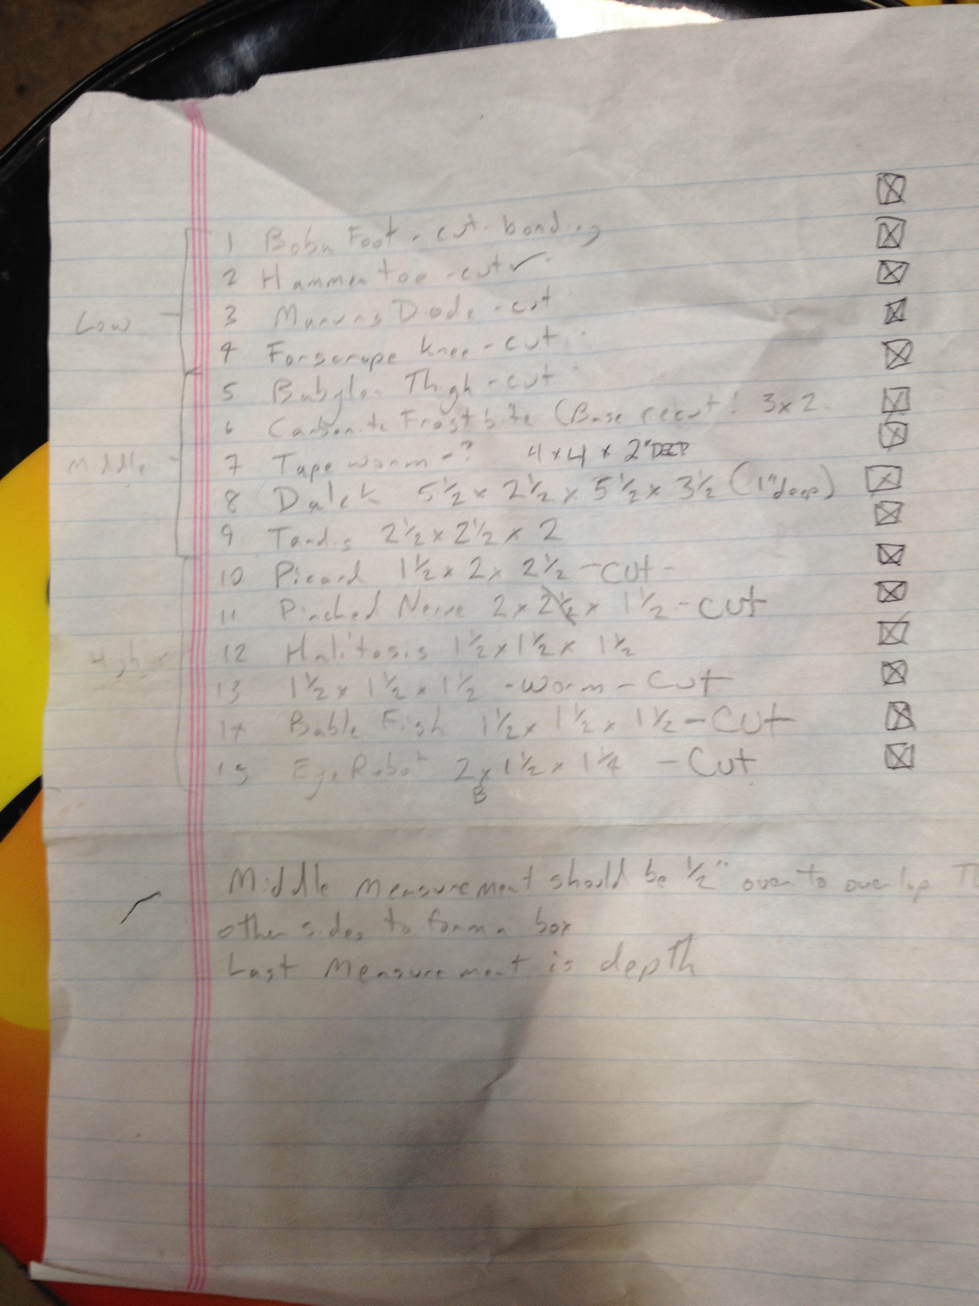
Several ideas were floated on how to do this. We had to decide what material to use for the containers and how to connect them to the board. Cloth, plastic, and Masonite were all possibilities, but we settled on simple wood boxes, cut to the size needed to hold the pieces, glued together with the help of vices, and then glued to the board. The only exception was that a black fabric pocket was used for Phantom Tentacle.
The frame
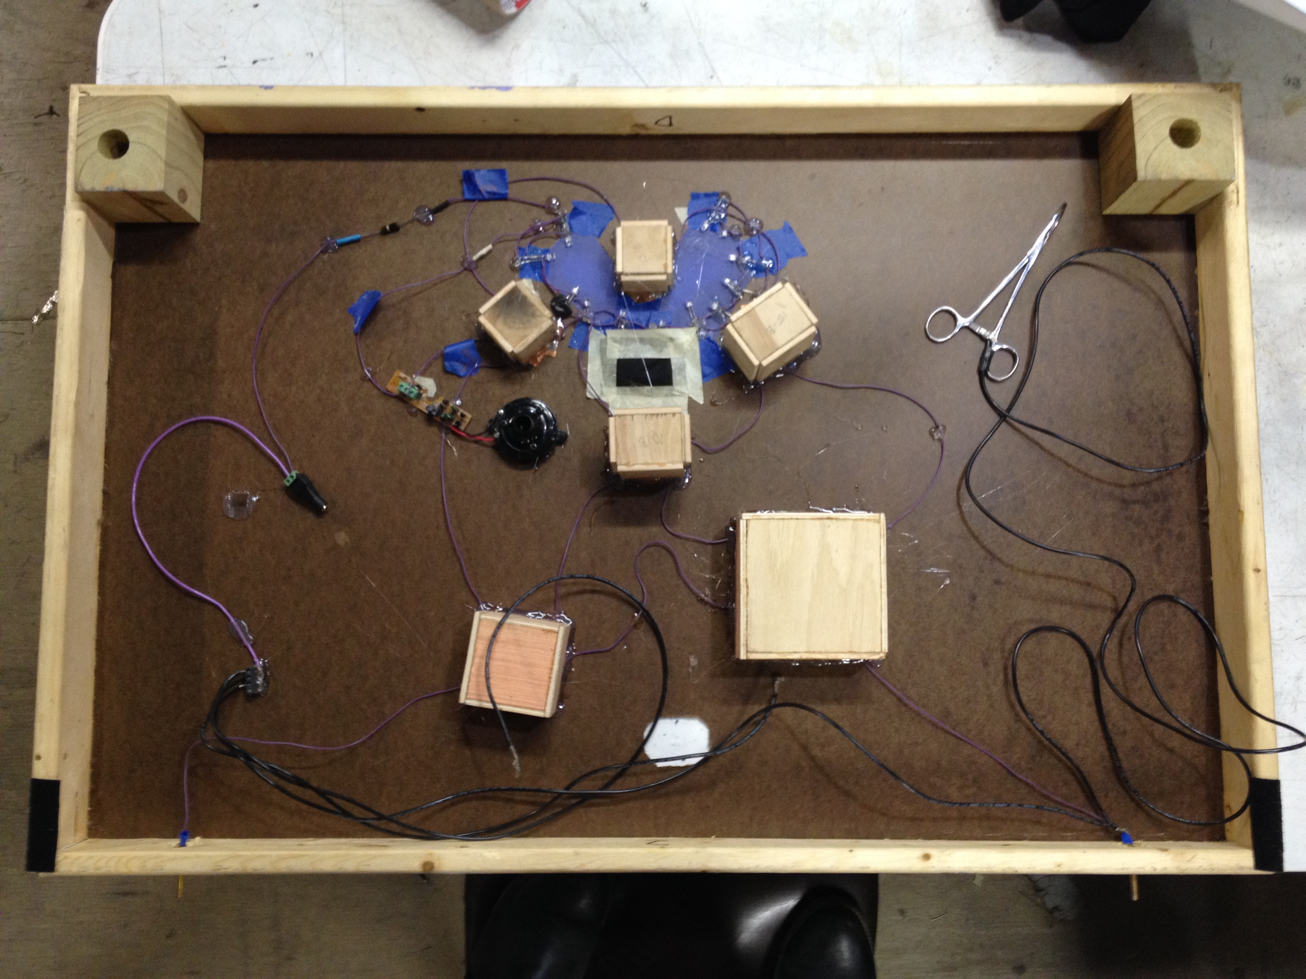
Because the game needed to be able to separate into transportable pieces, the frame was crafted in three pieces that could be reconnected using bolts and wingnuts. Each piece of the board slid into place in the frame. We also decided that we wanted the game to be stand-alone, so we made removable legs for it that put it at a height that would be comfortable for most children and adults to reach.
The electronics
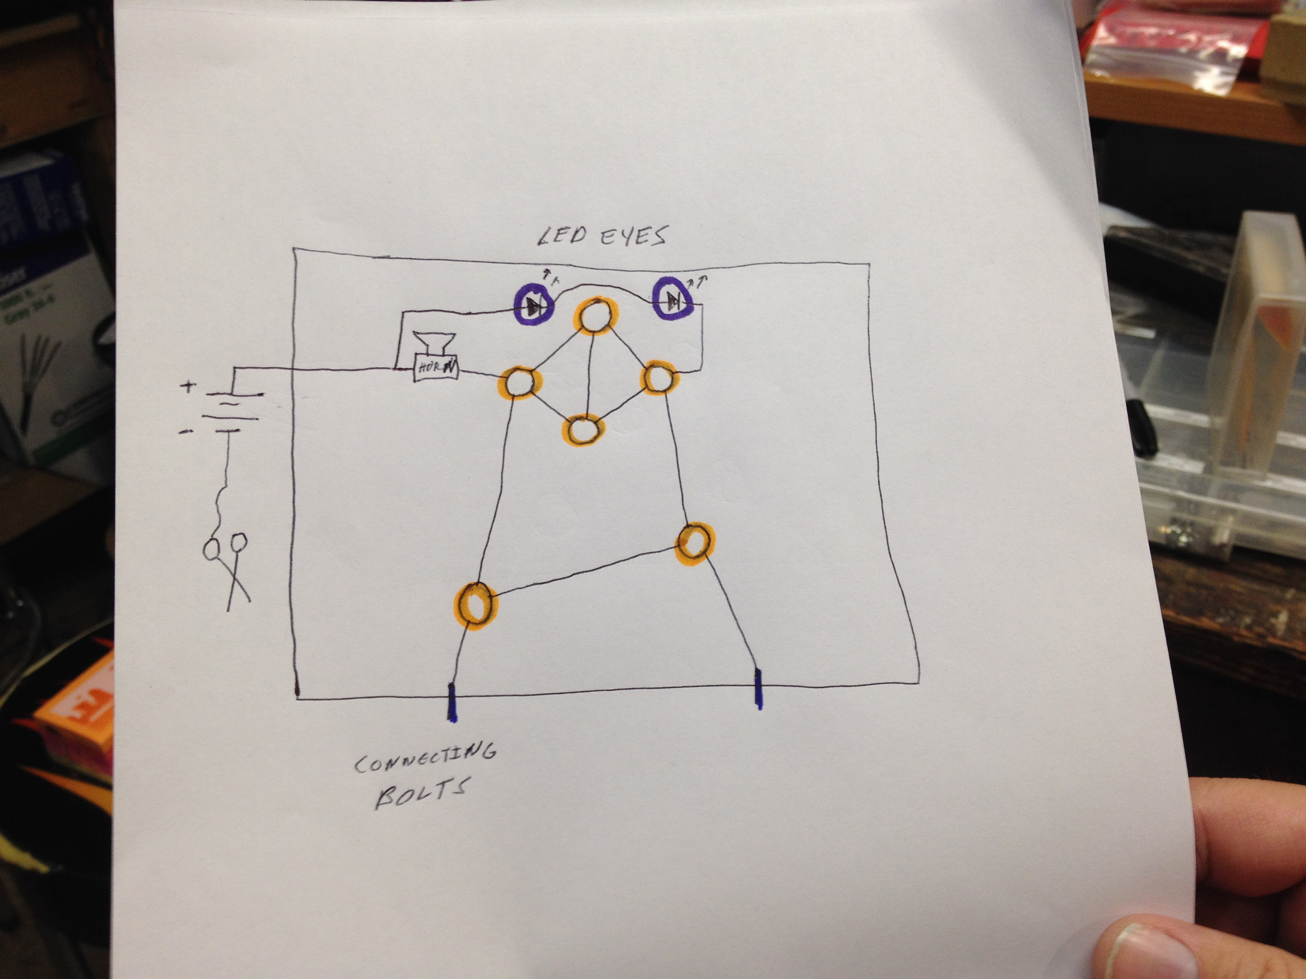
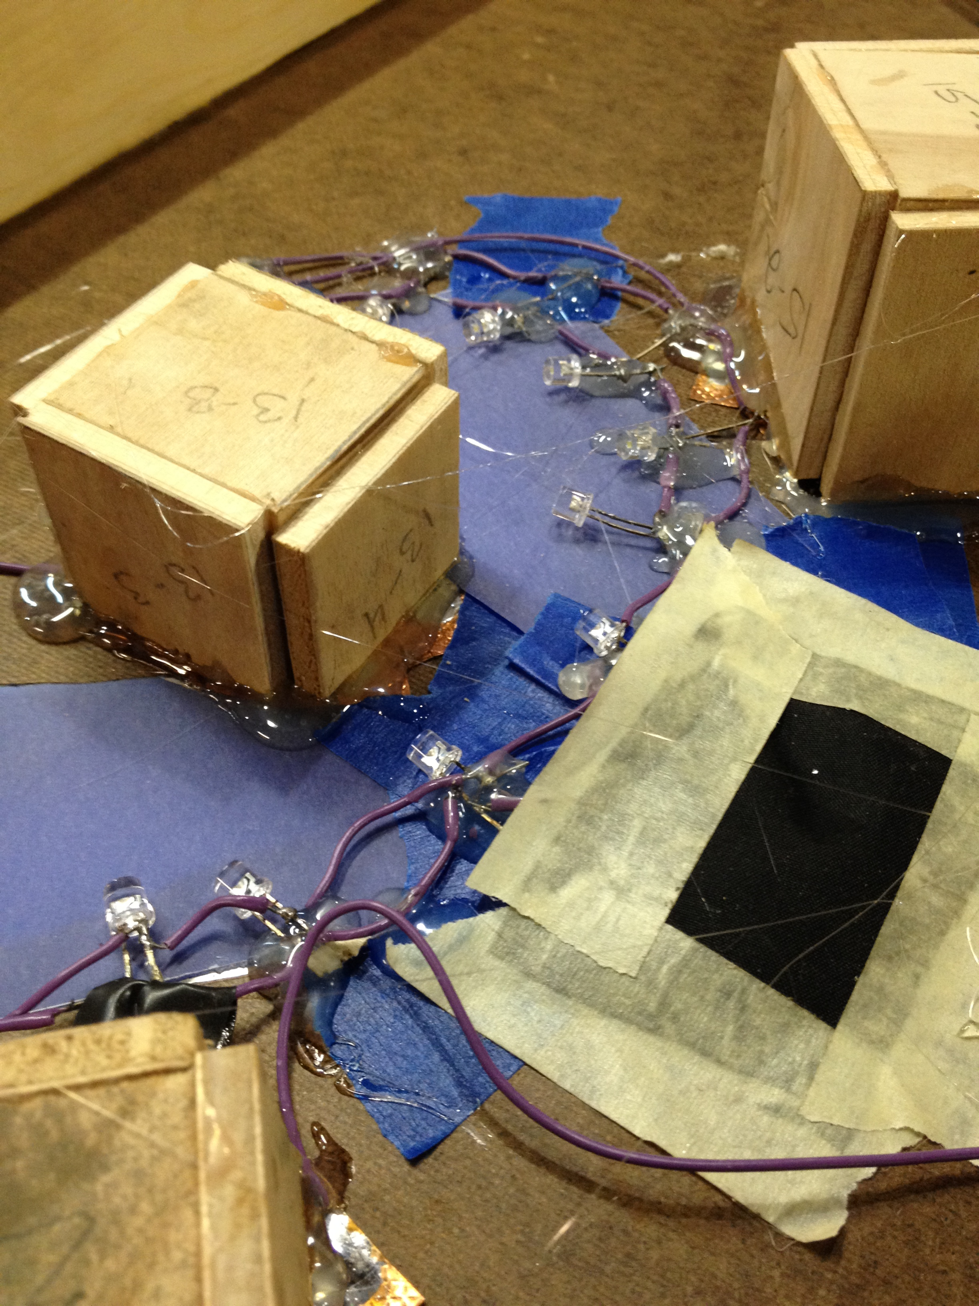
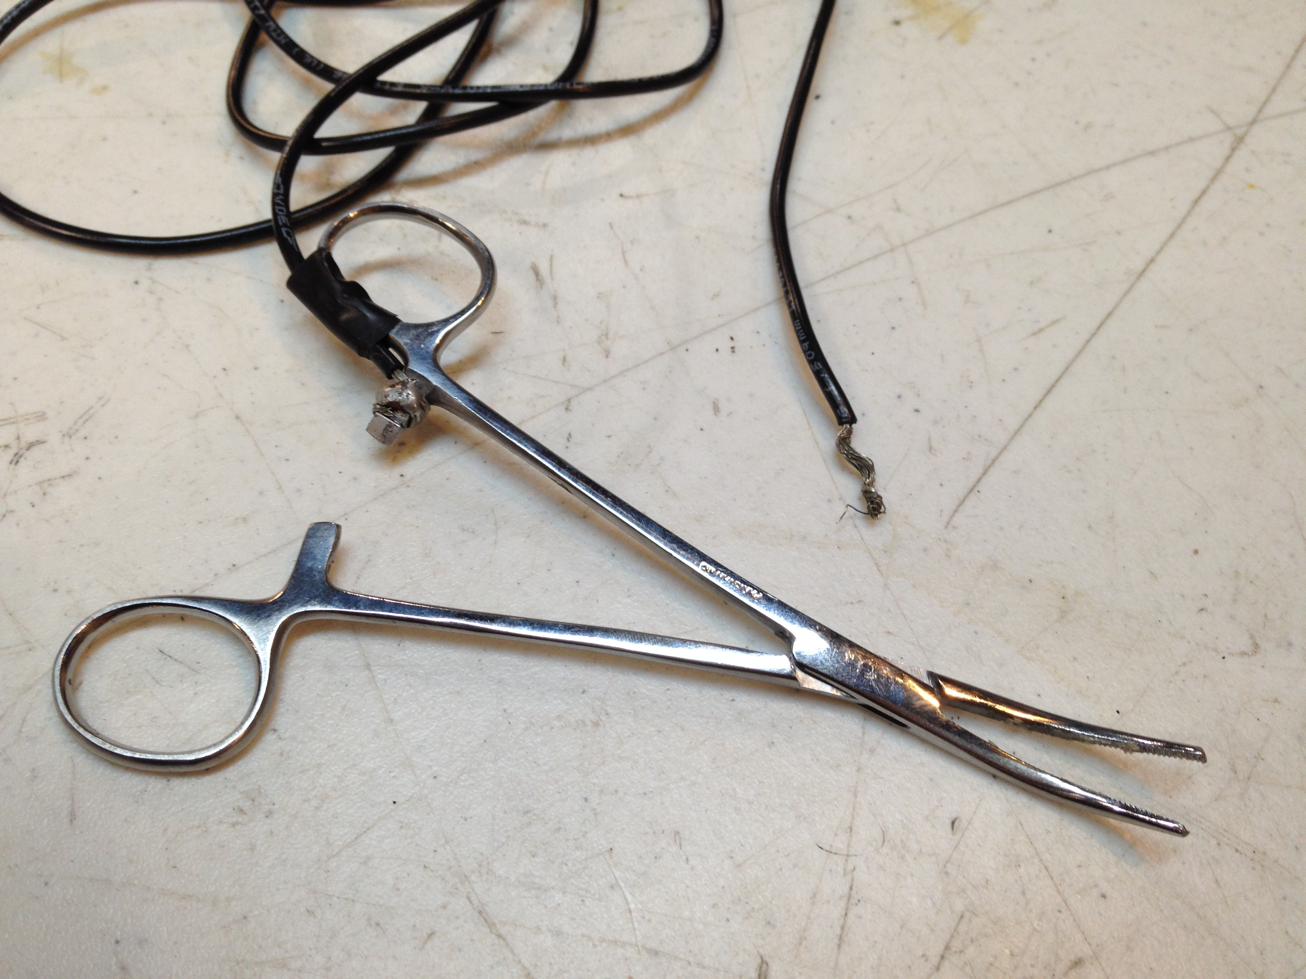
The vinyl sticker was removed from the board, then each ailment opening was lined with copper tape. Hot glue was used on the underside of the board to wire each bit of copper together, and to connect it all to a battery. At the places where the game split, in order to keep the electrical current flowing, wires were connected to the metal fasteners that joined the pieces together. We took four pairs of curved hemostatic forceps and lightly coated the gripping surfaces with silicone. Soldering the lead wires was accomplished by tightly winding the wire around the locking tab and using lots of solder. It hadn't occurred to us until then that surgical steel is not easy to solder, so when in doubt add lots of solder. Then we used tape to attach wires to them long enough to allow players to reach all areas of the board. They were wired to the board so that when they made contact with the copper tape, they would complete a circuit. We connected LEDs and a buzzer to the underside of the board so that when the circuit completed, the eyes would light up, and a gentle alarm would sound through the nostrils.
Final touches
The frame and board were painted lavender. Then the pale green glow-in-the-dark sticker of the alien was lined up and attached to the finished, painted board. The vinyl was then cut away to reveal the holes in the board (except the ones for Jeffries Tuberculosis, Tatooine Removal, and the Chestburster, which haven’t yet been implemented) and 3/8” of the copper tape lining them. Paint was used to outline the alien and add details to the face, fingers, toes, and other body parts. A LVL1 sticker was added at the place where the Chestburster will eventually emerge. Flat ribbon cable was stretched across the joins in the board and fastened with Velcro to the underside of the frame. This hid the joins and made it look like the alien was strapped down to keep it still during the operation. Finally, we used a label maker to put the punny names on each of the ailments.
Results
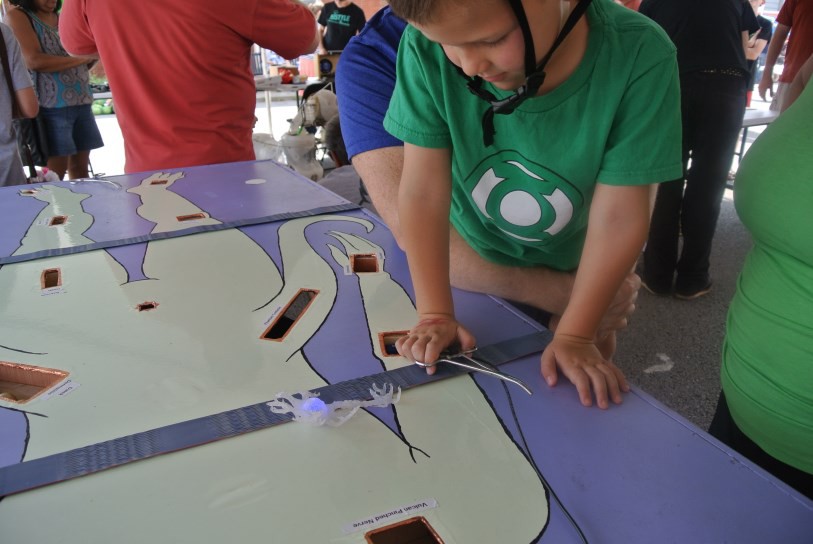
The game was set up at the LVL1 Hackerspace tent at Louisville’s 2013 Mini Maker Fair. It was a huge hit. Adults, children, and even adolescents came to watch and play. Players found that the pieces had a broad range of difficulty. Adults typically were more successful than children, but interestingly, there were some that adults often struggled with more than children. Everyone loved the science fiction references. The TARDIS and Boba Fett’s helmet were the best recognized items, and seemed to make people very happy to find.
 Quinn Silverleaf