I've always wanted to make sure that anyone could build their own eXaDrums module. But that's easier said than done, as an additional board is required to convert the signals of the drums' sensors (piezos) into data a Raspberry Pi understands.
I'm very happy to announce that you can now build your own eXaDrums module if you want to. In this log I'll explain you how. I'll assume that you have all the required components: Raspberry Pi, SD card, USB soundcard, power supply, etc.
ADC Board Prototype
A Working Raspberry Pi ADC Board
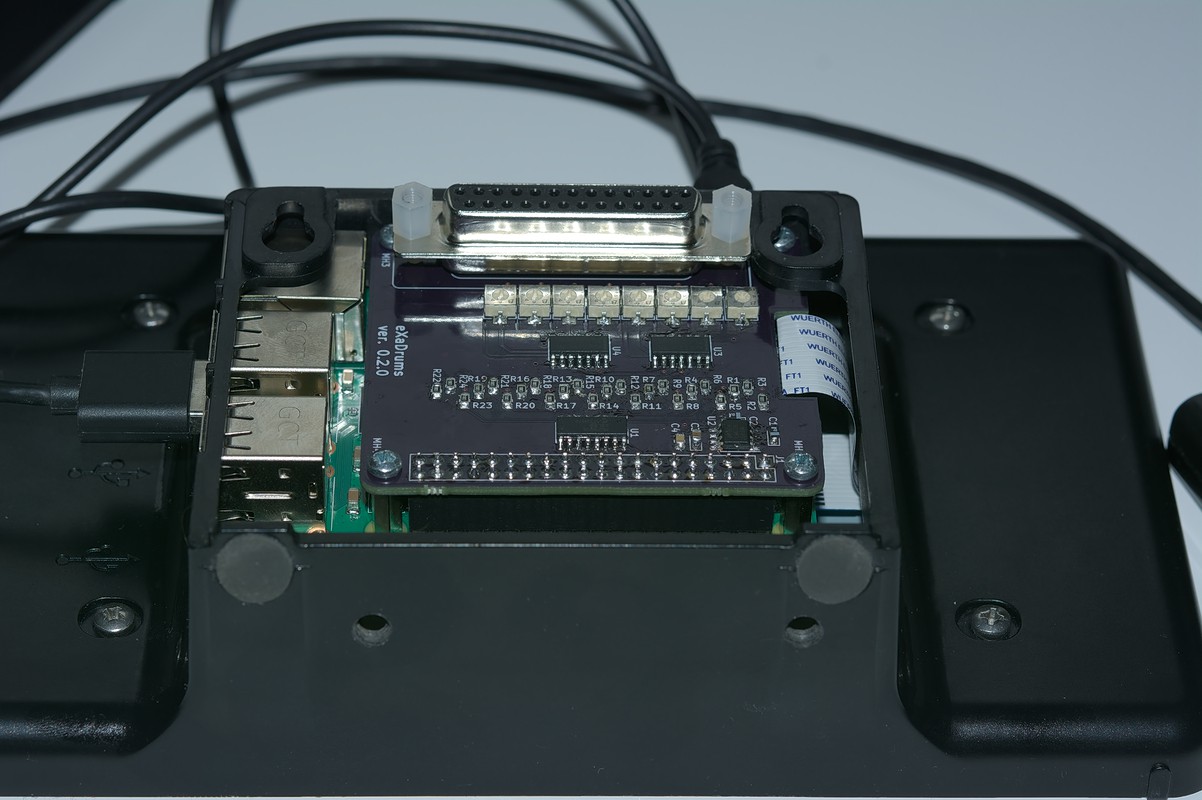
Yes, the image that you see shows a prototype that I recently ordered from OSH Park. It fits pretty nicely in the enclosure I have, as the only modification I had to make was to cut a piece out of the back lid, and tap two holes underneath the enclosure.
You may be wondering why the board has a DB25 connector? There is a simple reason to that: the board is intended to be used with a Roland TD-4KP drum set, which uses a DB25 connector.
Two prototypes
Of course, the board can be modified in order to work with other drum kits. Which brings us to the boards that I made. The one shown on the first image is actually the second board that I got from OSH Park. I ordered a first one that includes the hi-hat pedal controller input, but it doesn't fit into the enclosure, so I also got this new one, with rounded corners. Both boards are open source, and available on Github, so you can modify them to get your own custom boards.
OSH Park Orders
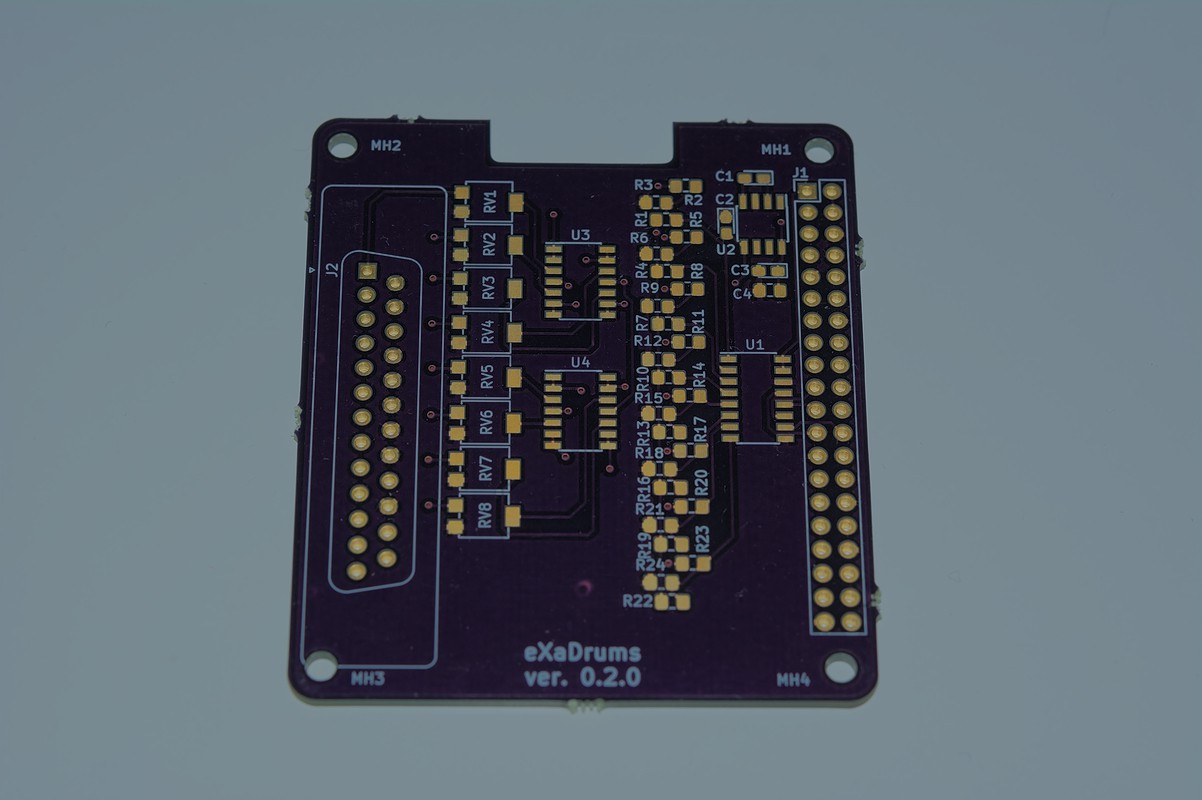
Below is a picture of one of the three boards that I received from OSH Park.
The project is shared on OSH Park, so you can order three boards like that one for $28.15.
Here's a brief description of the board, followed by more theoretical considerations in the next section.
From left to right, we have:
- A DB25 connector to be plugged into a Roland TD4-KP drum kit.
- 8x 1MΩ potentiometers (RV1 to RV8).
- 2x TLC2264 Low power consumption operational amplifiers (U3 and U4).
- A series of 24 100k resistors (R1 to R24).
- An MCP3008 ADC (U1).
- An LMC7660 voltage inverter (U2) and its capacitors (C1 to C4).
- The 40-pin header that goes on the Raspberry Pi.
A Little Bit Of Theory
Piezo sensor conditioning is a lot harder than it seems at first glance. The output voltage of a piezo sensors often varies between more than 10V and less than -10V. Mapping that kind of voltage to the input of an MCP3008, which is 0-3.3V is thus a bit of a challenge.
Lets take it step by step. First of all, the output of the sensor has to be scaled down while being connected to a high impedance in order to make sure that its dynamics isn't altered. To achieve that, a 1MΩ is used to create a voltage divider that feeds an voltage follower (op amp), as shown below.
This first step ensure that the input voltage V+ of the op amp is constrained between +Vcc and -Vcc (+/-5V in our case). The op amp input also guarantees a high impedance.
Then, the output of the op amp is connected to a three-resistor voltage mapping circuit that obeys to the following equation:
If the three resistors are the same, and Vbias = 5V, we get Vout = Vin/3 + Vbias/3 = Vin/3 + 1.67V.
Because Vin varies between +/-Vcc=+/-5V, Vout varies between 0V and 2*5/3V = 3.33V, a voltage that is perfect for the inputs of our MCP3008.
So now you understand how the board works. The 8 potentiometers are used to scale down the piezos voltages to +/-5V, then the two op amps ICs (U3 and U4) are used as 8 voltage followers, to feed the 24 resistors that are divided in 8 groups of 3 in order to scale the voltage to 0-3.33V, and feed the MCP3008 (U1). The voltage inverter (U2) is an LMC7660 and is used to create the -5V from the +5V of the Raspberry Pi's power supply. Two additional capacitors (C3 and C4) are there as bypass capacitors.
Testing The Drum Module
How To Order And Make The Board
First of all, you need to order the board itself from OSH Park. Then,you need to buy all the components and solder them to the board. All the required components are listed on Github, as well their references from Farnell. As far as soldering goes, I recommend the use of very good tweezers, a screwdriver iron tip, or thinner, and eventually a magnifier. If you're not too confident with soldering SMD, I recommend you watch a few tutorials on YouTube, and you'll see it's not that hard at all, although it takes a little bit of practice.
How To Assemble The Module
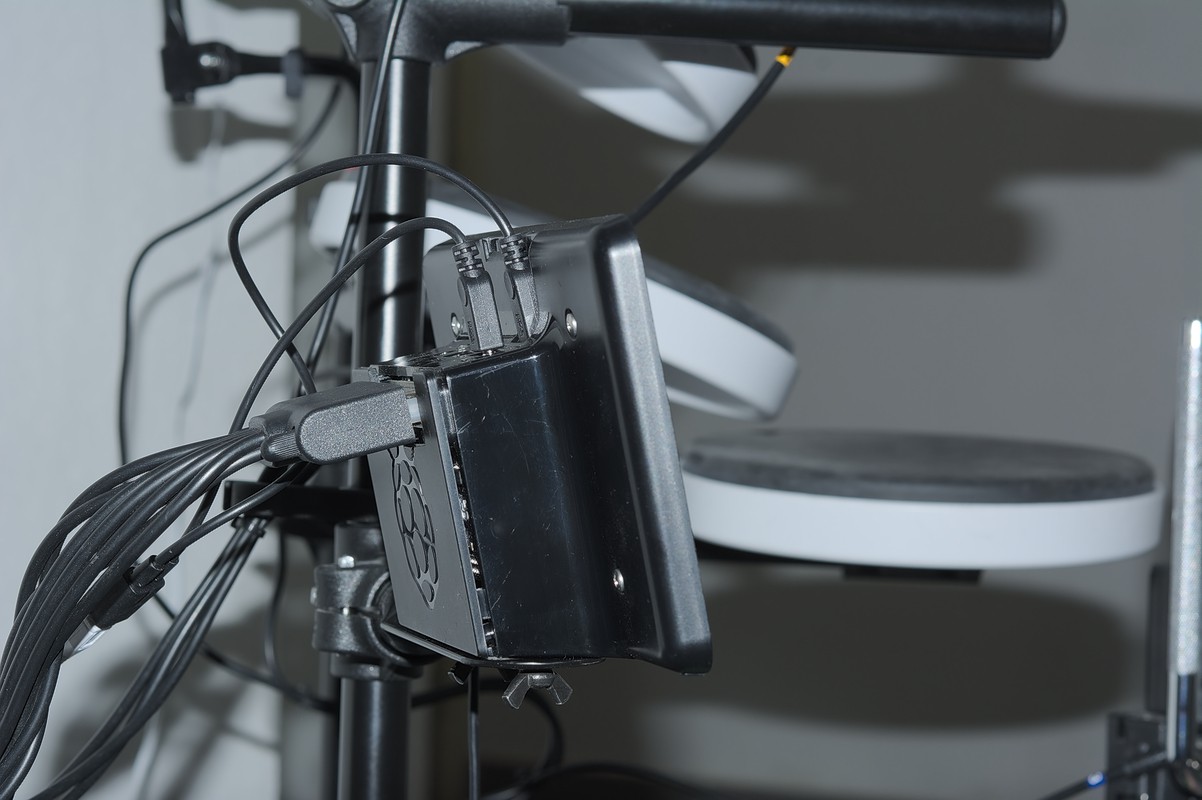
If you use the same enclosure that I have, things should be fairly easy, as you just need to cut a piece of the back cover of the enclosure to create an opening for the DB25 connector. The result is shown below.
Looks nice, doesn't it?
If you don't want to modify the enclosure, you can use it without the back cover.
Testing The Module
Perhaps the best way to get a feel of what it's like to play drums on eXaDrums is a short video, so here you go:
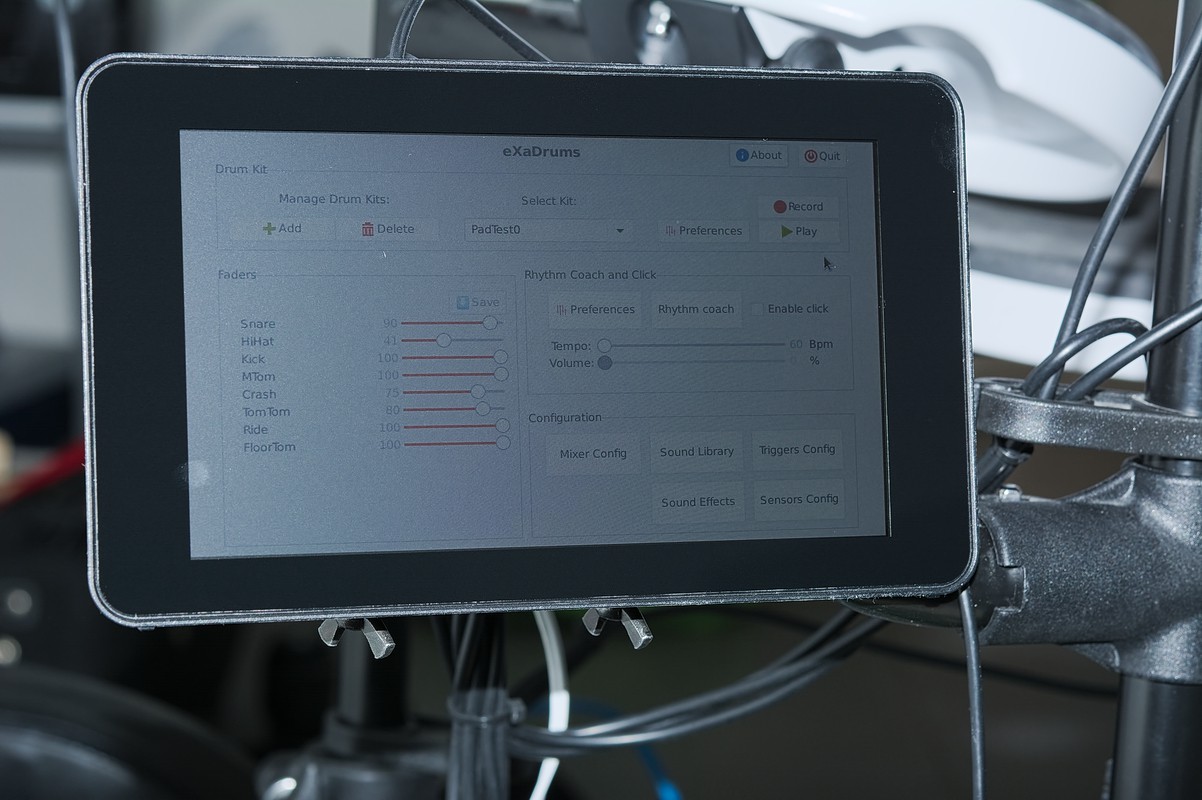
And in case you're wondering how the user interface looks like, here's a photo:
![]() Conclusion
Conclusion
I wanted to do something a bit special for this 42nd log entry, so I thought I'd show that anyone can make an eXaDrums module. I hope you guys found this post interesting, and I'll make sure to show more features and demos in the future.
 Jeremy


 Conclusion
Discussions
Become a Hackaday.io Member
Create an account to leave a comment. Already have an account? Log In.
Hello, I'd like to know if you can "remove the" DB25 connector so i can solder 6.3 jacks, I want to replace my millenium MPS600 drummodule :)
Are you sure? yes | no